In this tutorial, I will explain how to manage your Docker containers with Portainer.
Portainer is an application that runs under Docker and will allow you to have a graphical interface (Web) to manage your containers under Docker.
With Portainer you will be able to:
- Create / Modify / Delete containers
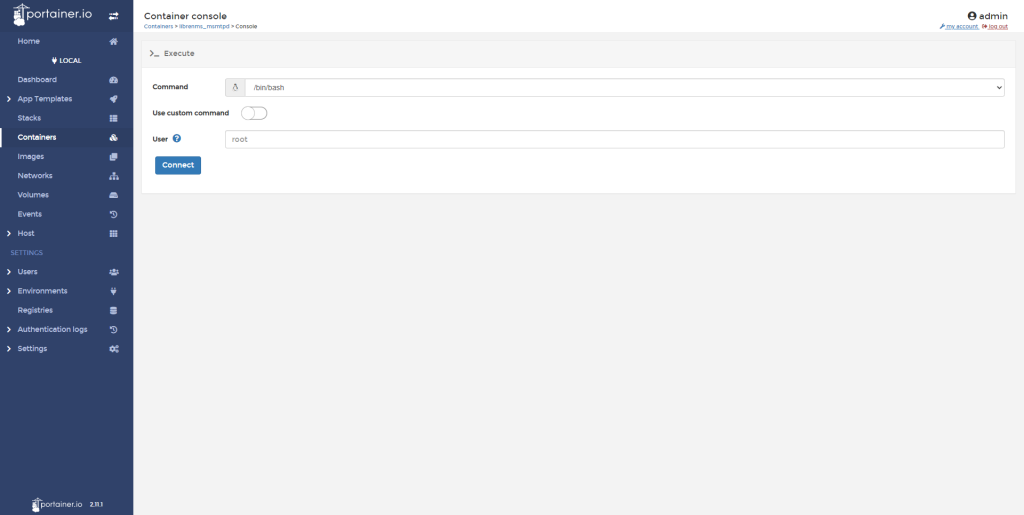
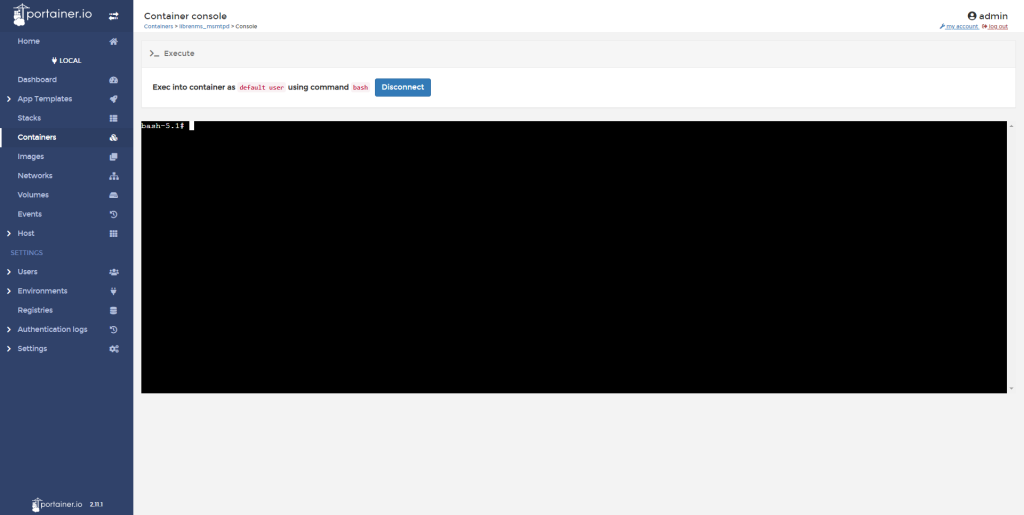
- Administrators your containers (SSH access)
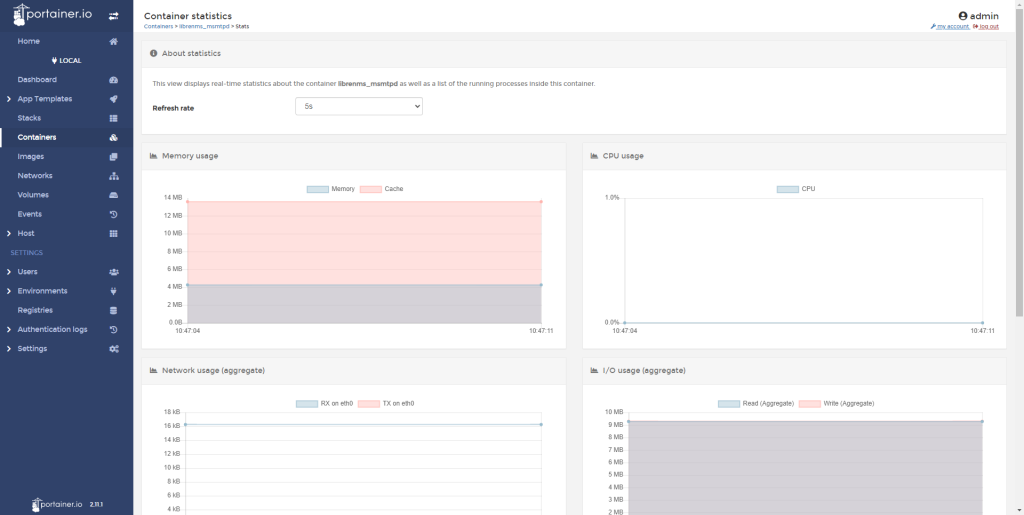
- Have resource usage statistics
- Manage images and volumes that are no longer in use
- …
Portainer facilitates the use of Docker containers, especially when you are not a fan of command lines.
Portainer exists in two versions:
- Community : which is a free version with “limited” functionality
- Business : which offers some additional functionality. (it is possible to have a free license for 5 nodes).
To compare the editions, I let you do it on : https://www.portainer.io/features
As you will have understood, to install and use Portainer you need a server with Docker installed.
Installing portainer
We will now see how to install portainer, in this tutorial I will use docker-compose.
I find it convenient to use docker-compose with the config file.
On your server, create a folder where we will store the docker-compose.yml file.
Personally I use a container folder at the root
Create the folder:
sudo mkdir portainerGo to the folder you just created:
cd portainerCreate the docker-compose.yml file:
sudo touch docker-compose.ymlEdit file:
sudo nano docker-compose.ymlPaste the contents of the file below:
Paste the contents of the file below:
Save the file.
Download the image with the command:
sudo docker-compose pull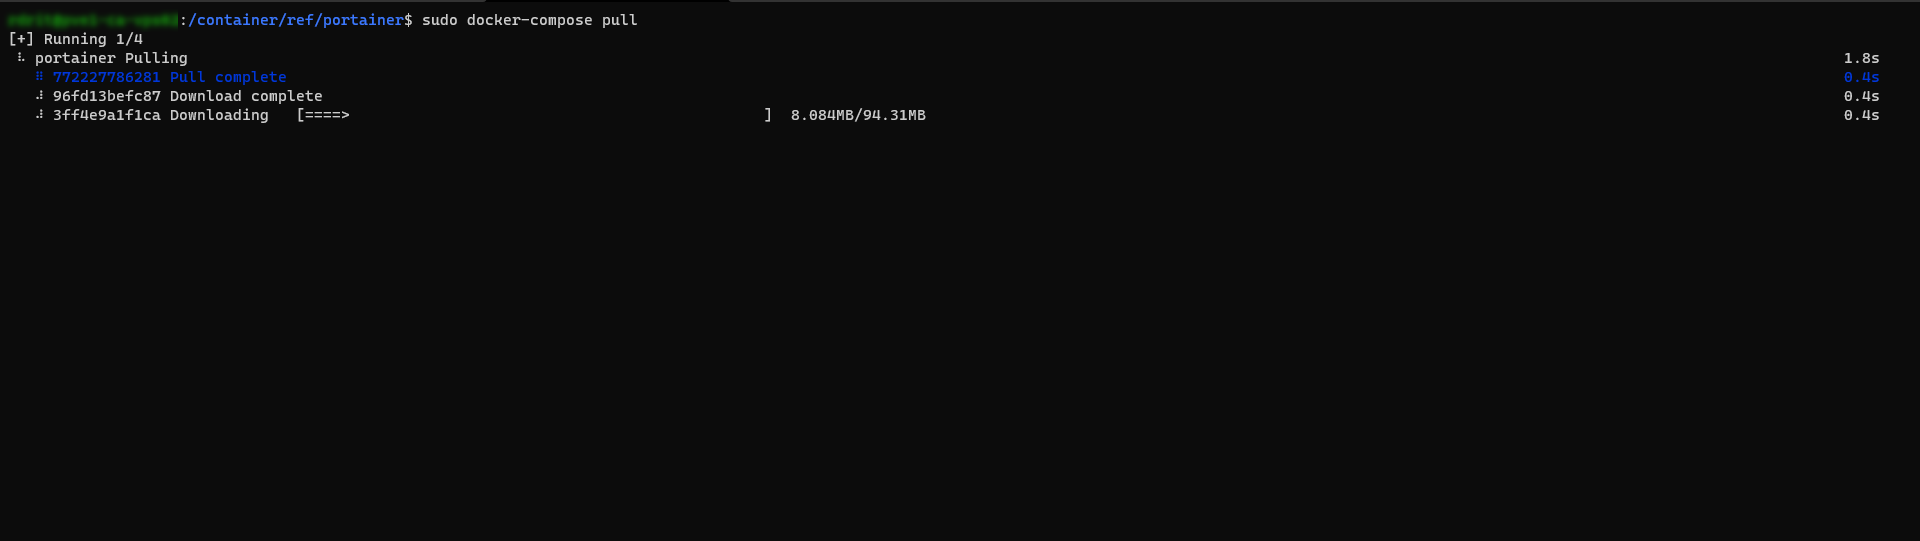
Once the image is downloaded, start the Portainer container with the command:
sudo docker-compose up -d
Wait while the container is created and started.
We could have directly run the command docker-compose up -d to download the image and create the container.
Once the container is started, you can check its operation with the sudo docker ps command.
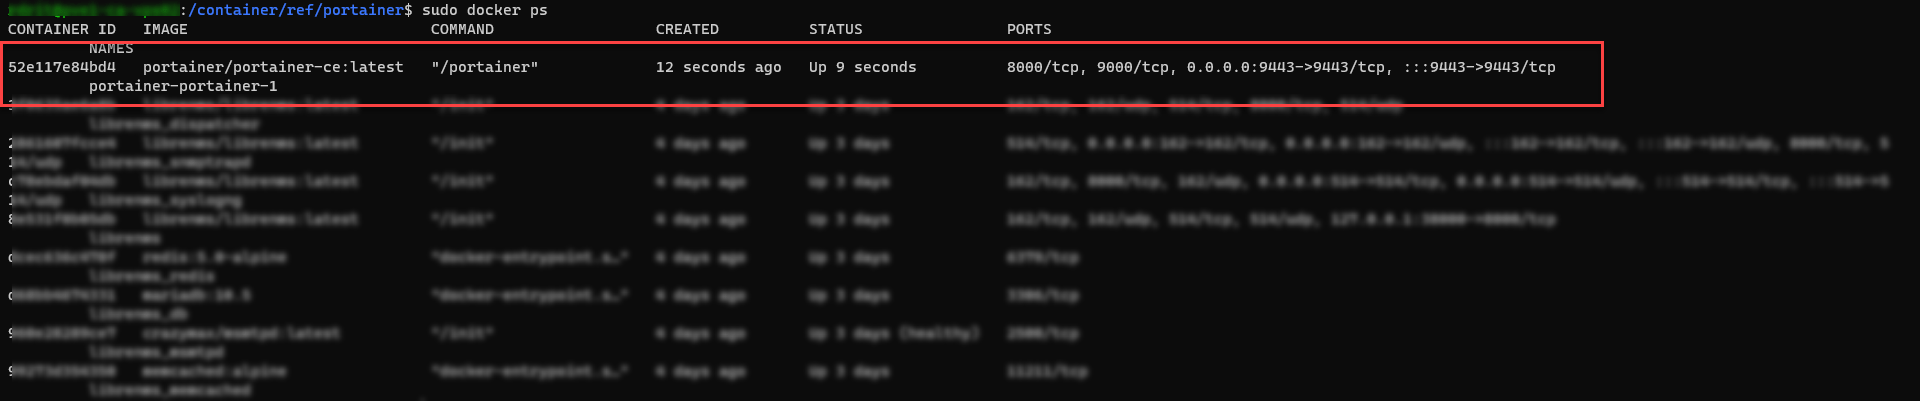
The portainer container is ready.
Post-deployment configuration
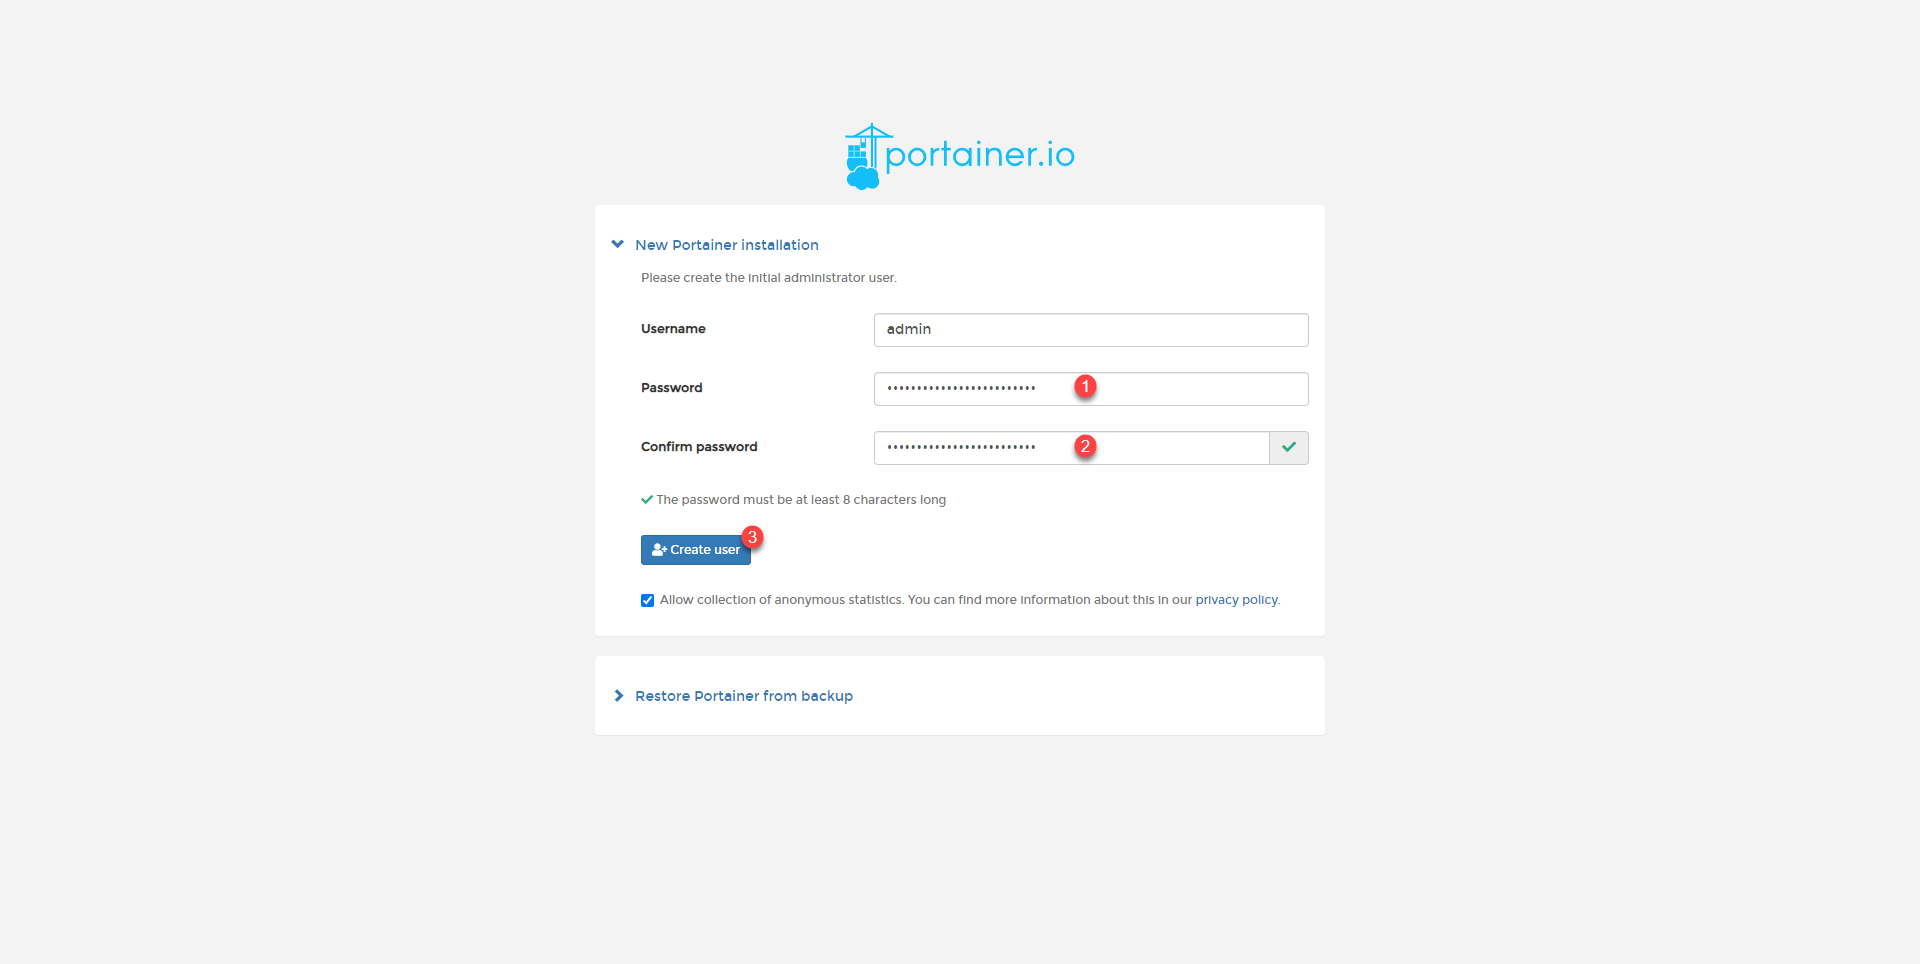
The post-deployment configuration mainly allows you to configure the password for the admin account.
Open an internet browser and go to the url : https://ip-server:9443 Open an internet browser and go to the url

We arrive on a page that asks us to configure an administrator account, enter a password 1 and confirm the 2 then click on the Create user 3 button.
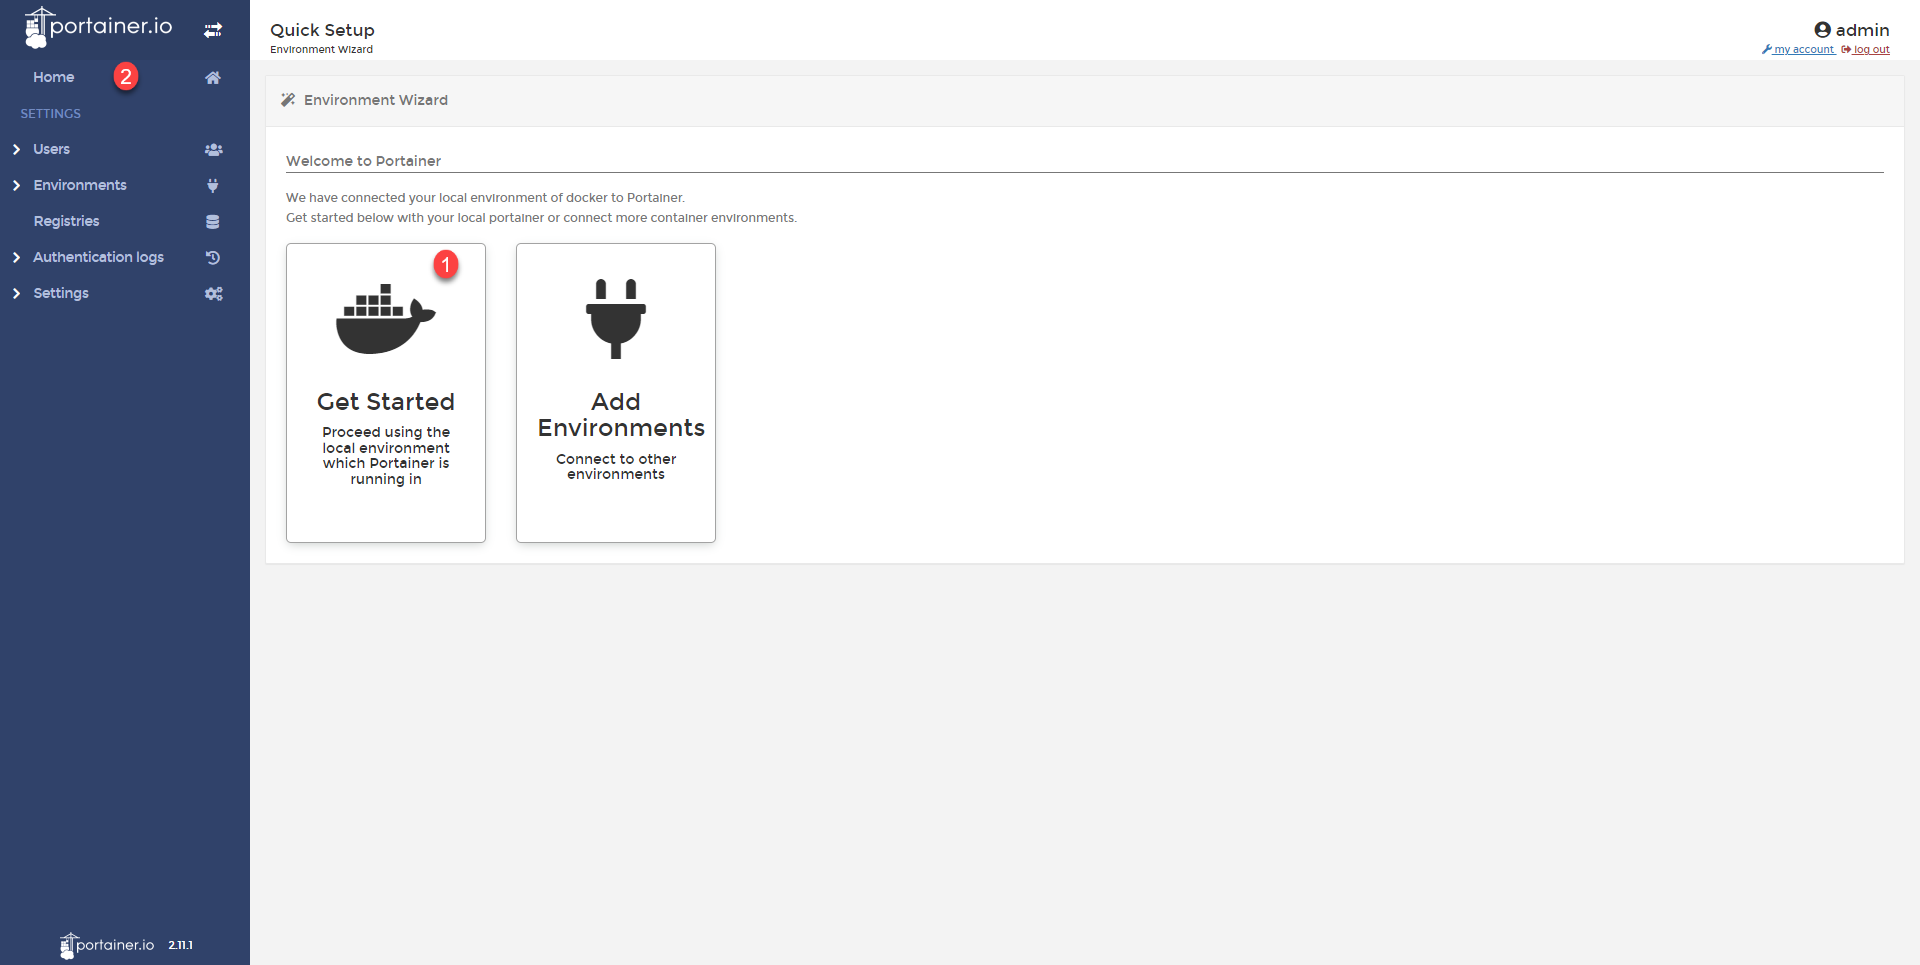
Then we are redirected to the portal, click on Get Started 1 or Home 2 in the navigation menu.
Explore portainer features
In this part, I’ll “quickly” introduce you to portainer so you can find out what you can do with it.
On the “Home” page, we find our local server where the Portainer container is, at a glance, we can see the number of containers and their general status.
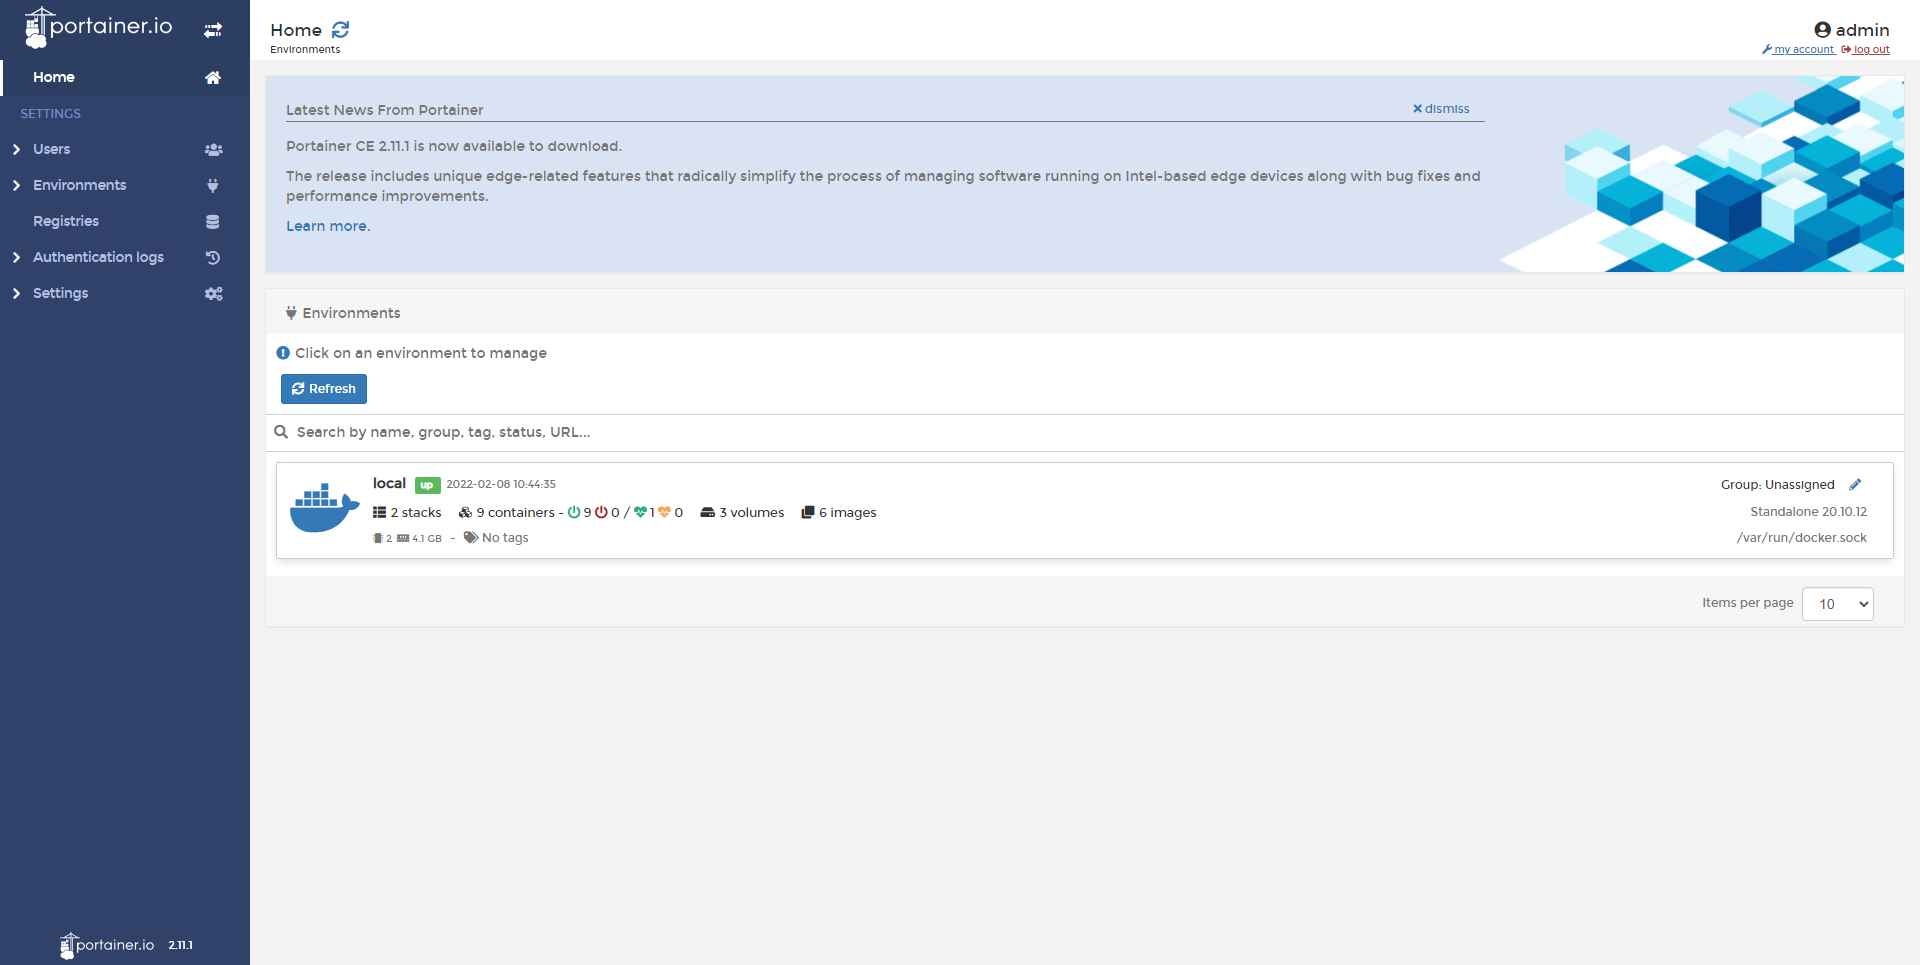
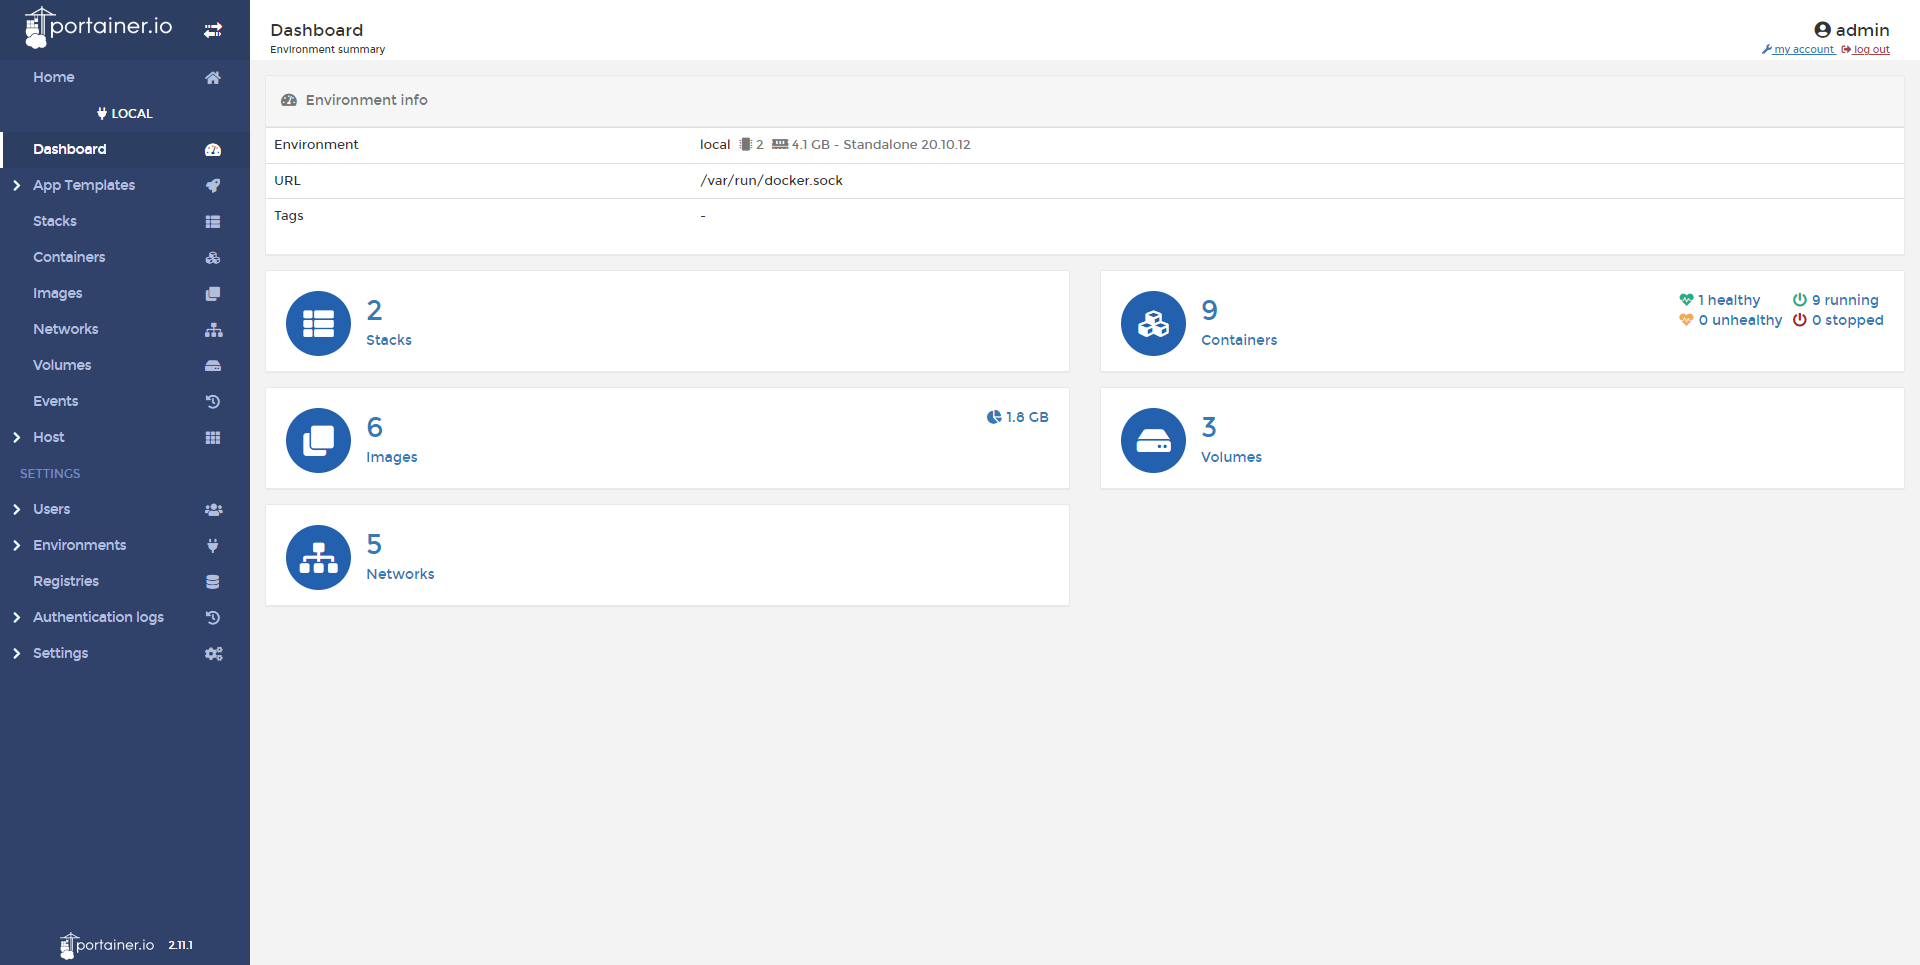
By clicking on the server, we arrive on another page, which will allow us to access different elements of the Docker service.
The stacks are groups of container(s), we will mainly find in the stacks, the containers that were created with docker-compose.
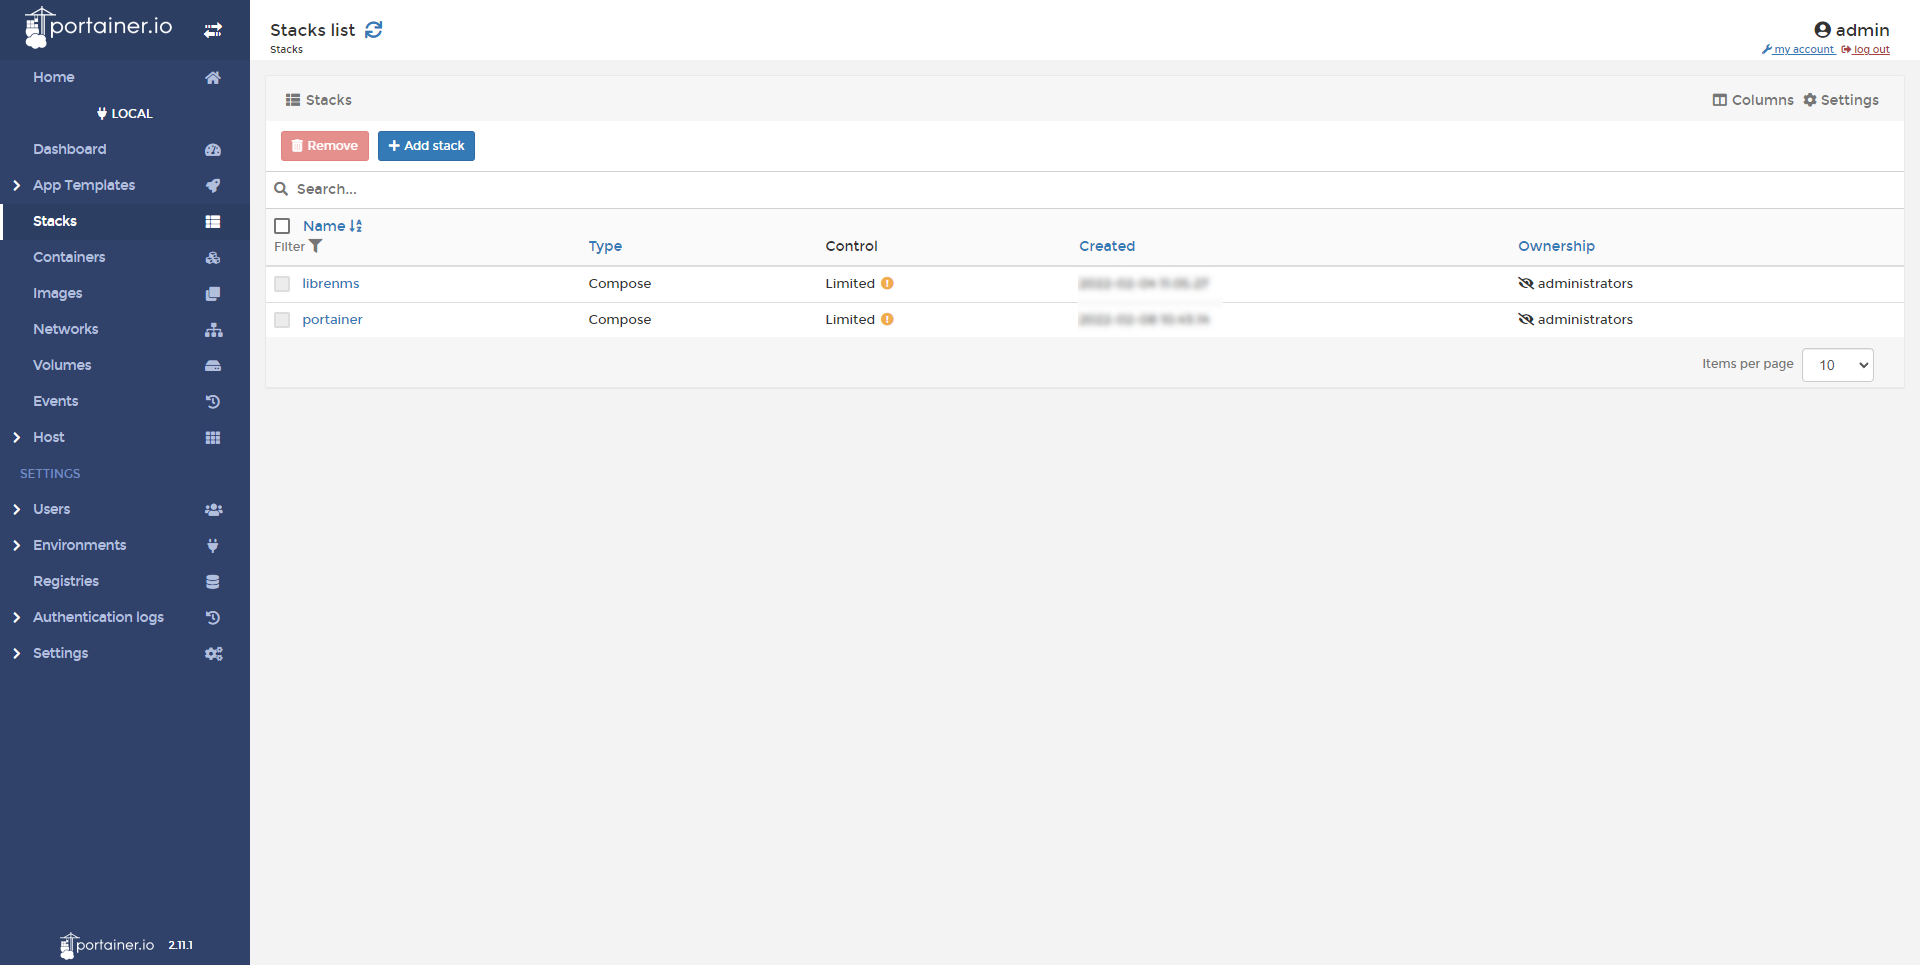
It is possible to create a new stack from the portainer interface and it can be managed from the web interface
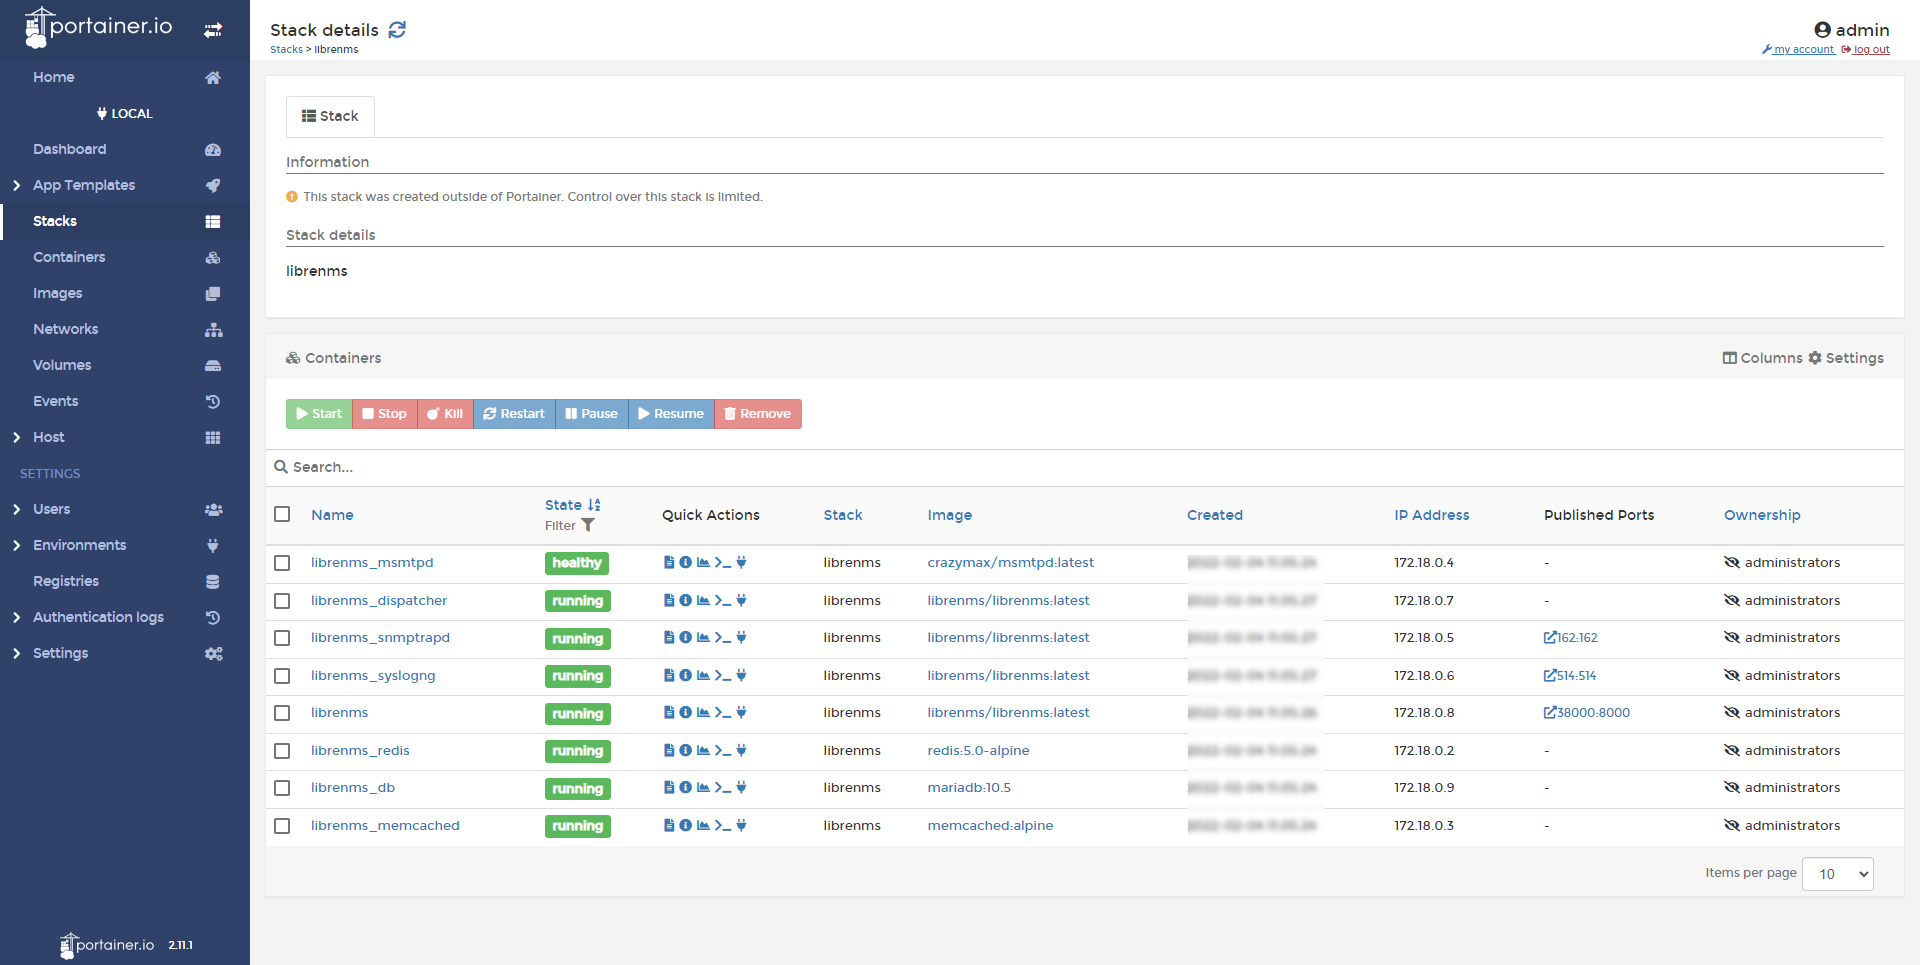
In the containers part, we find all the containers of the server, whether stacked or not, from this page, it is possible to act on the containers (start / stop / restart …) and also to create a new container.
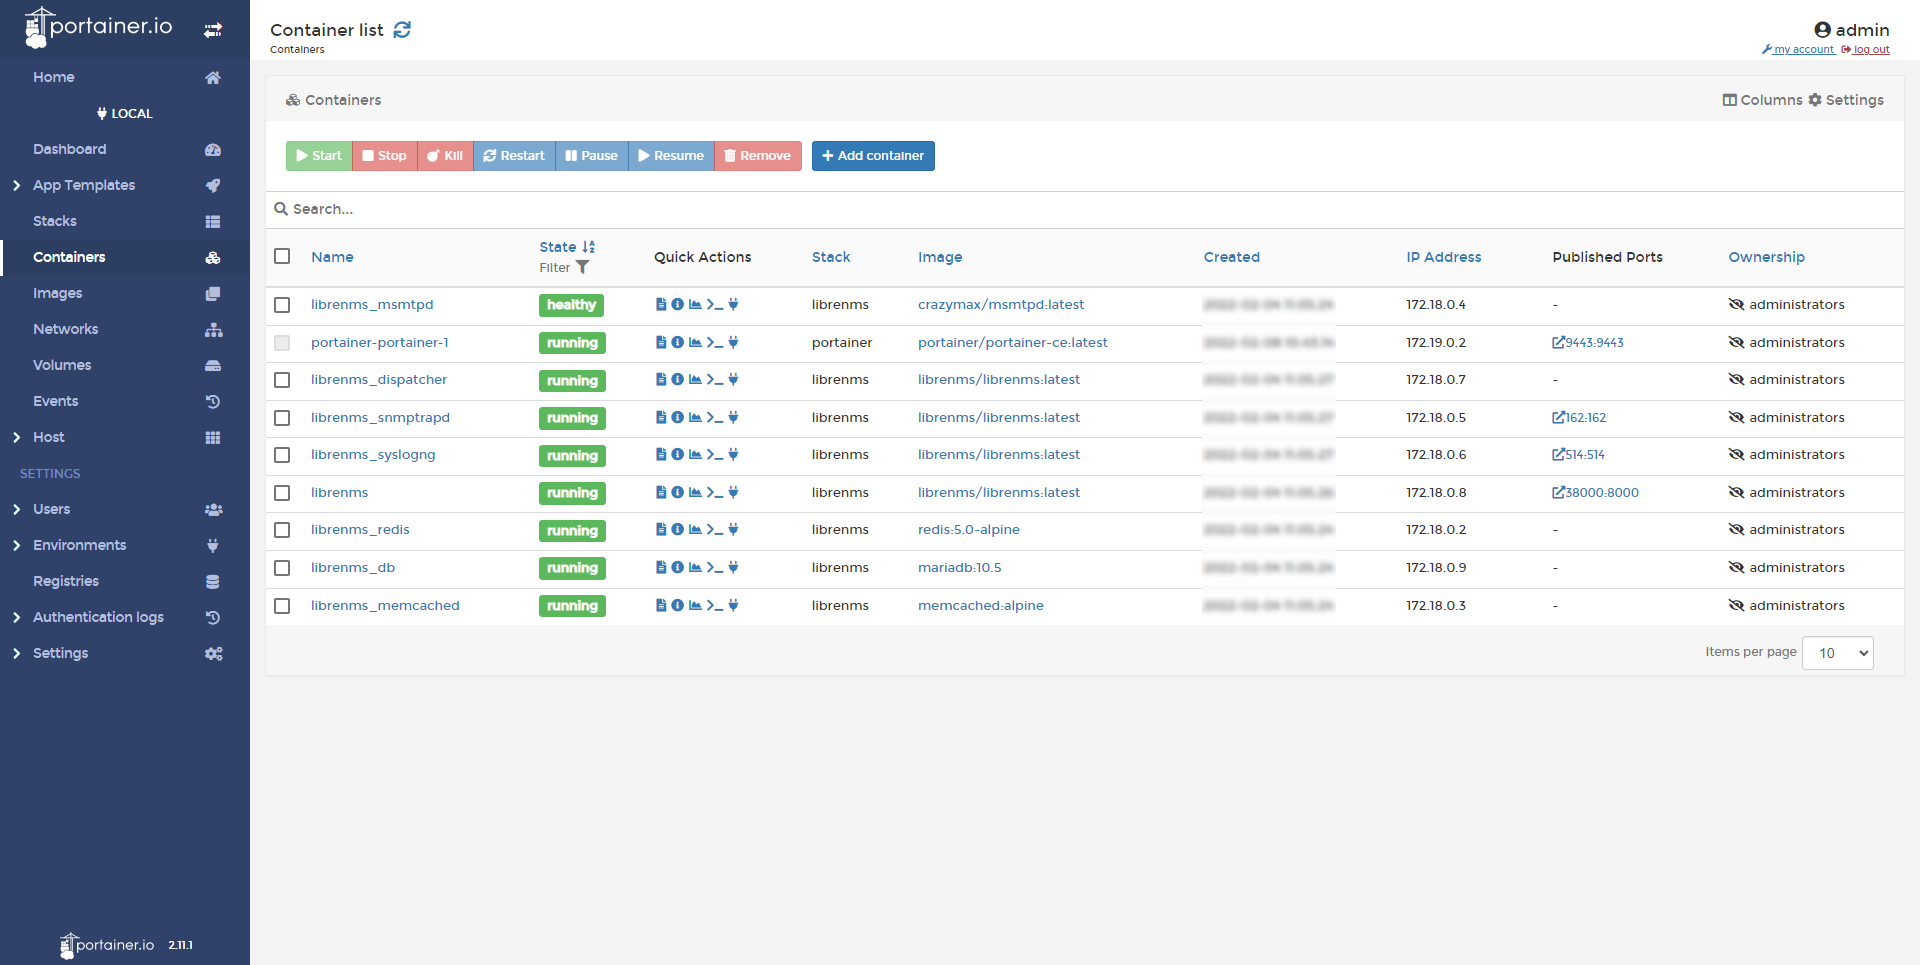
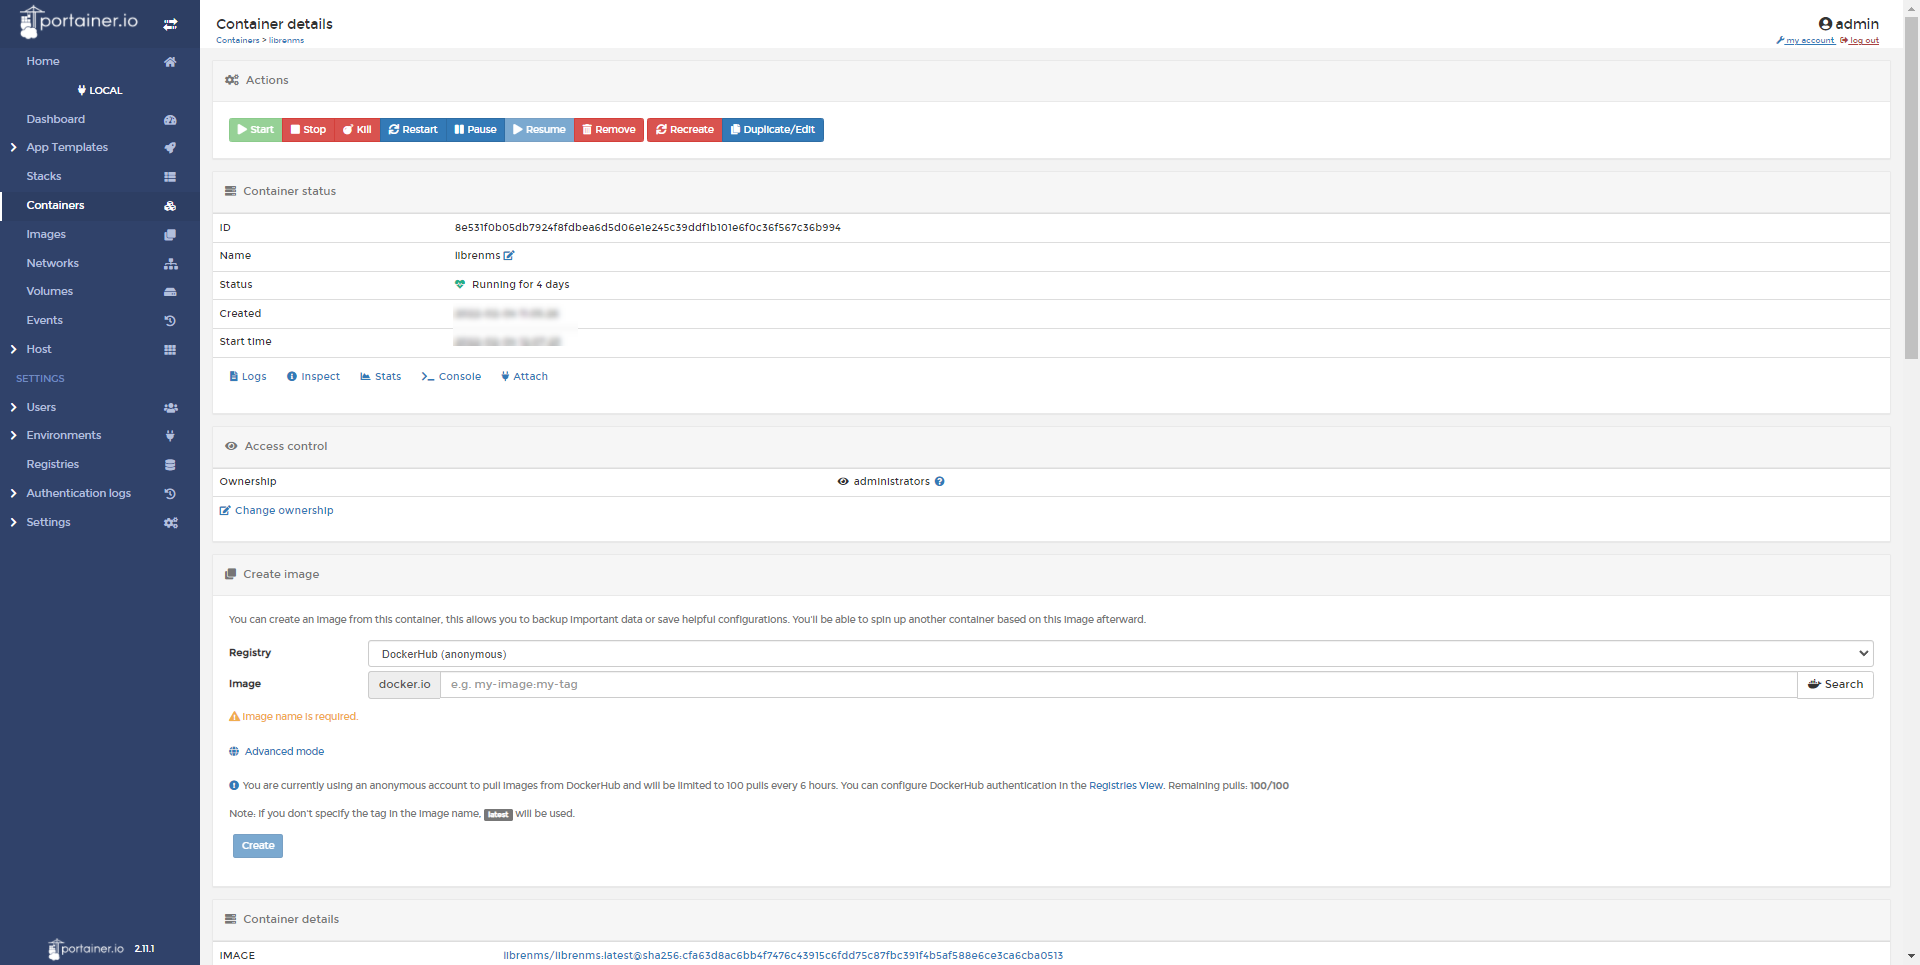
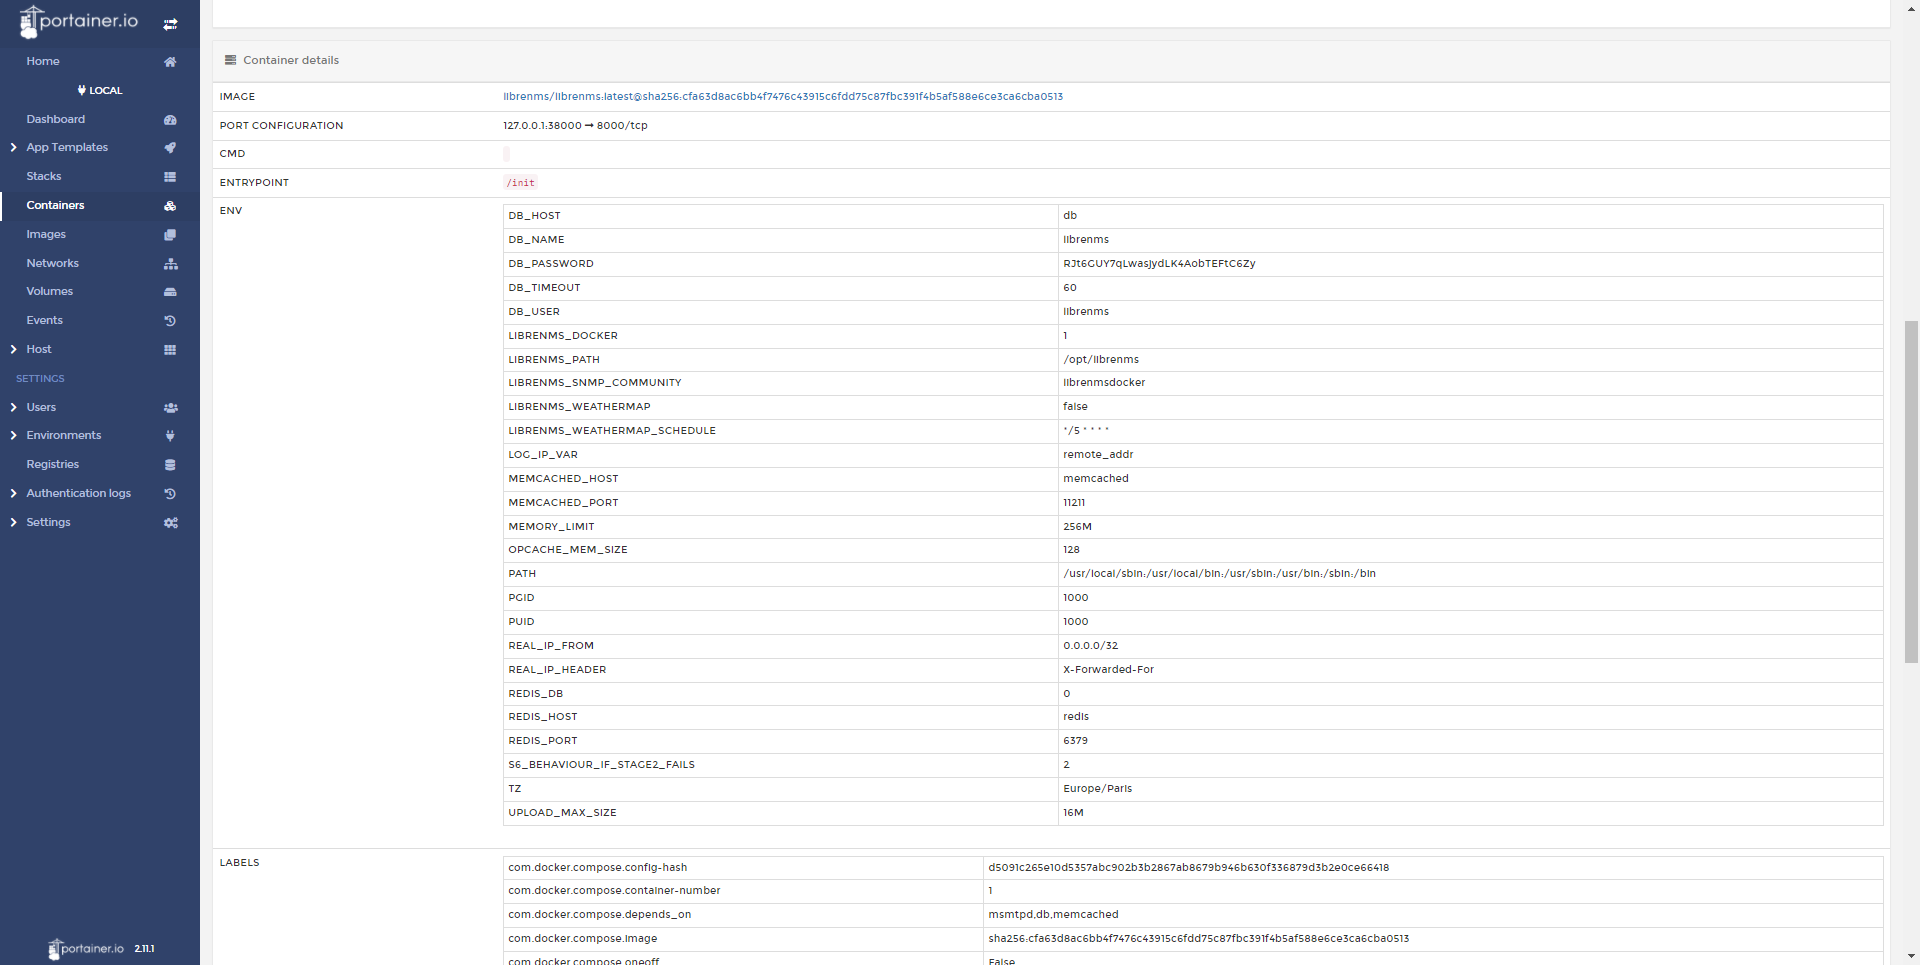
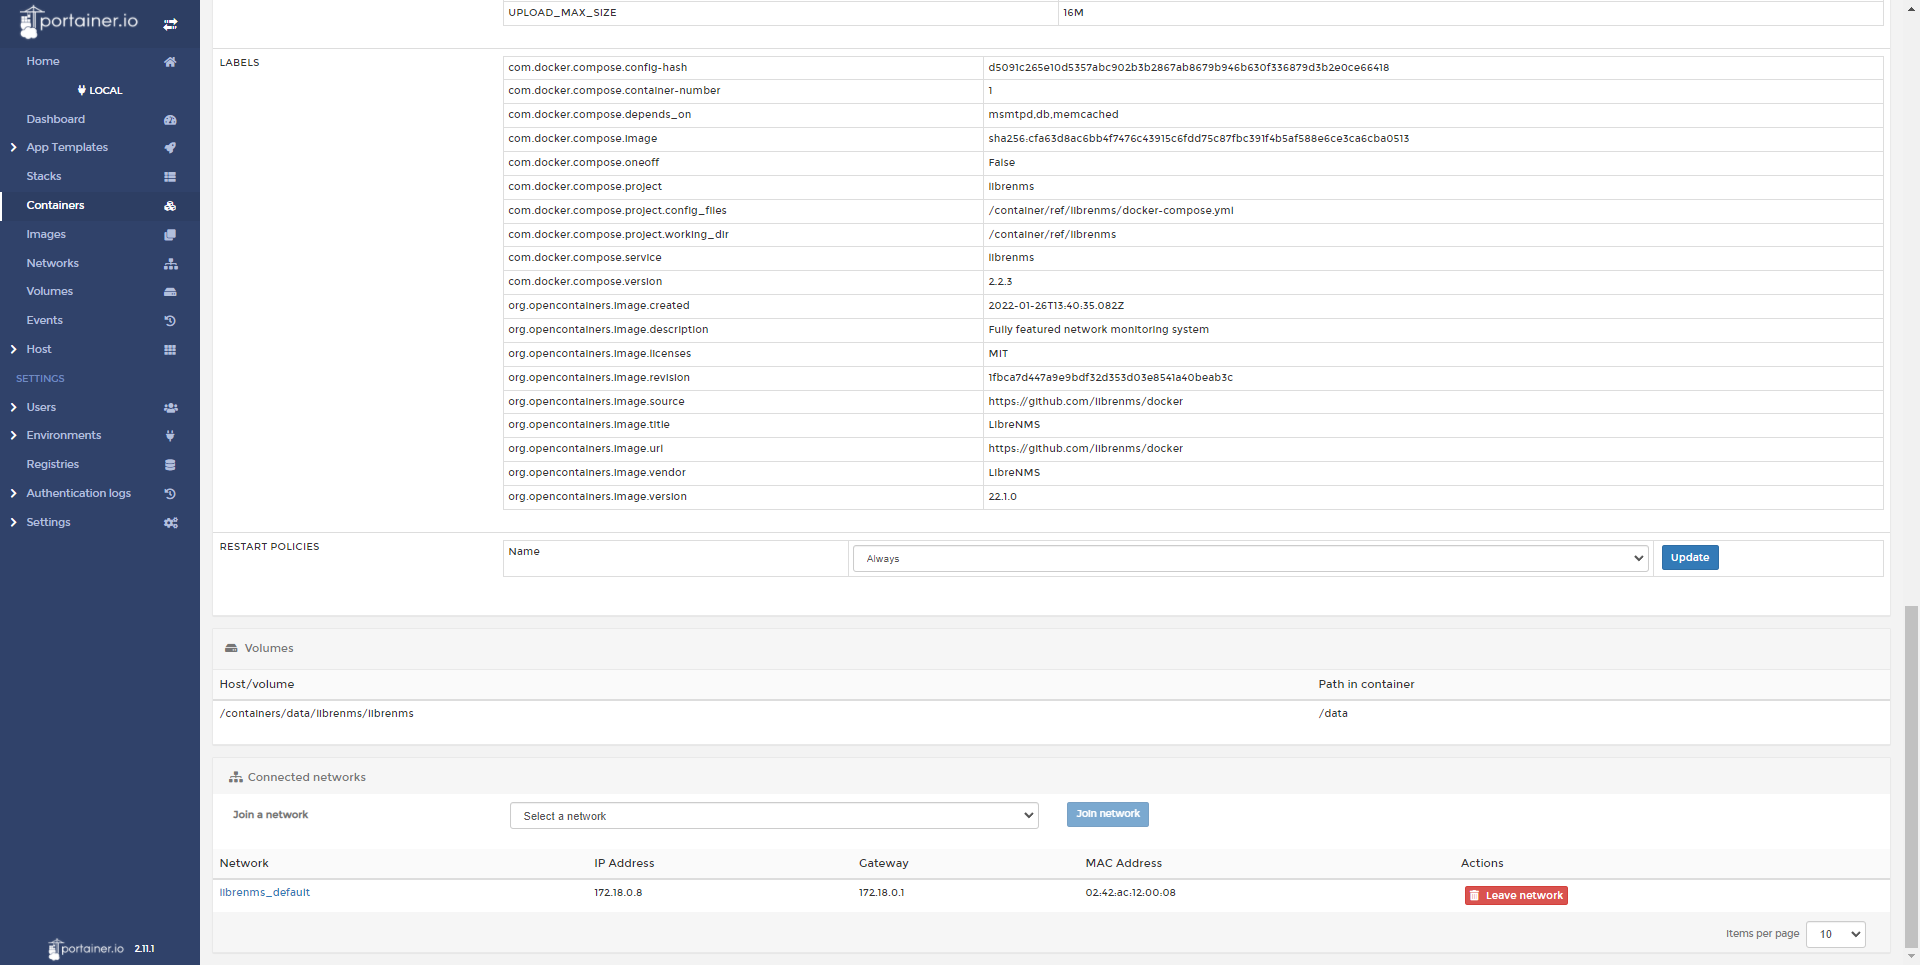
By clicking on the name of a container, you arrive on a page that details it and from where you can also perform different actions.
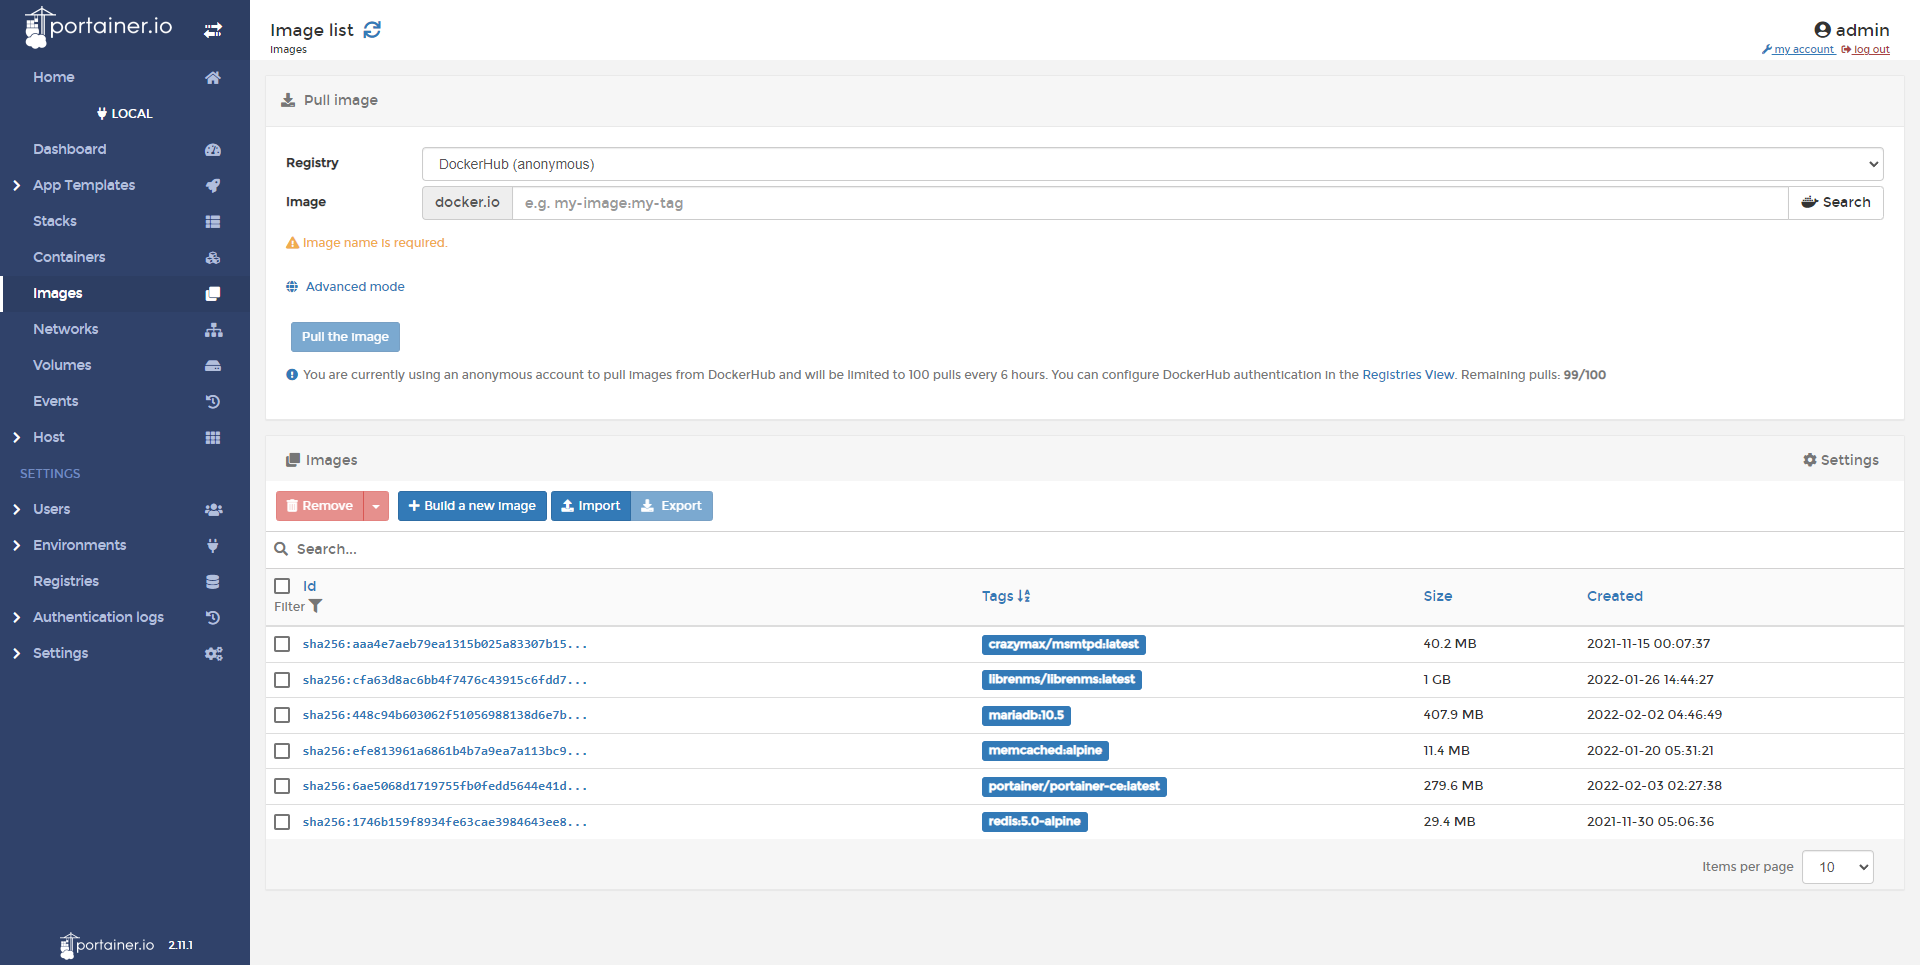
Images, here we find all the container images that are on the server, it is possible to delete unused images from this view.
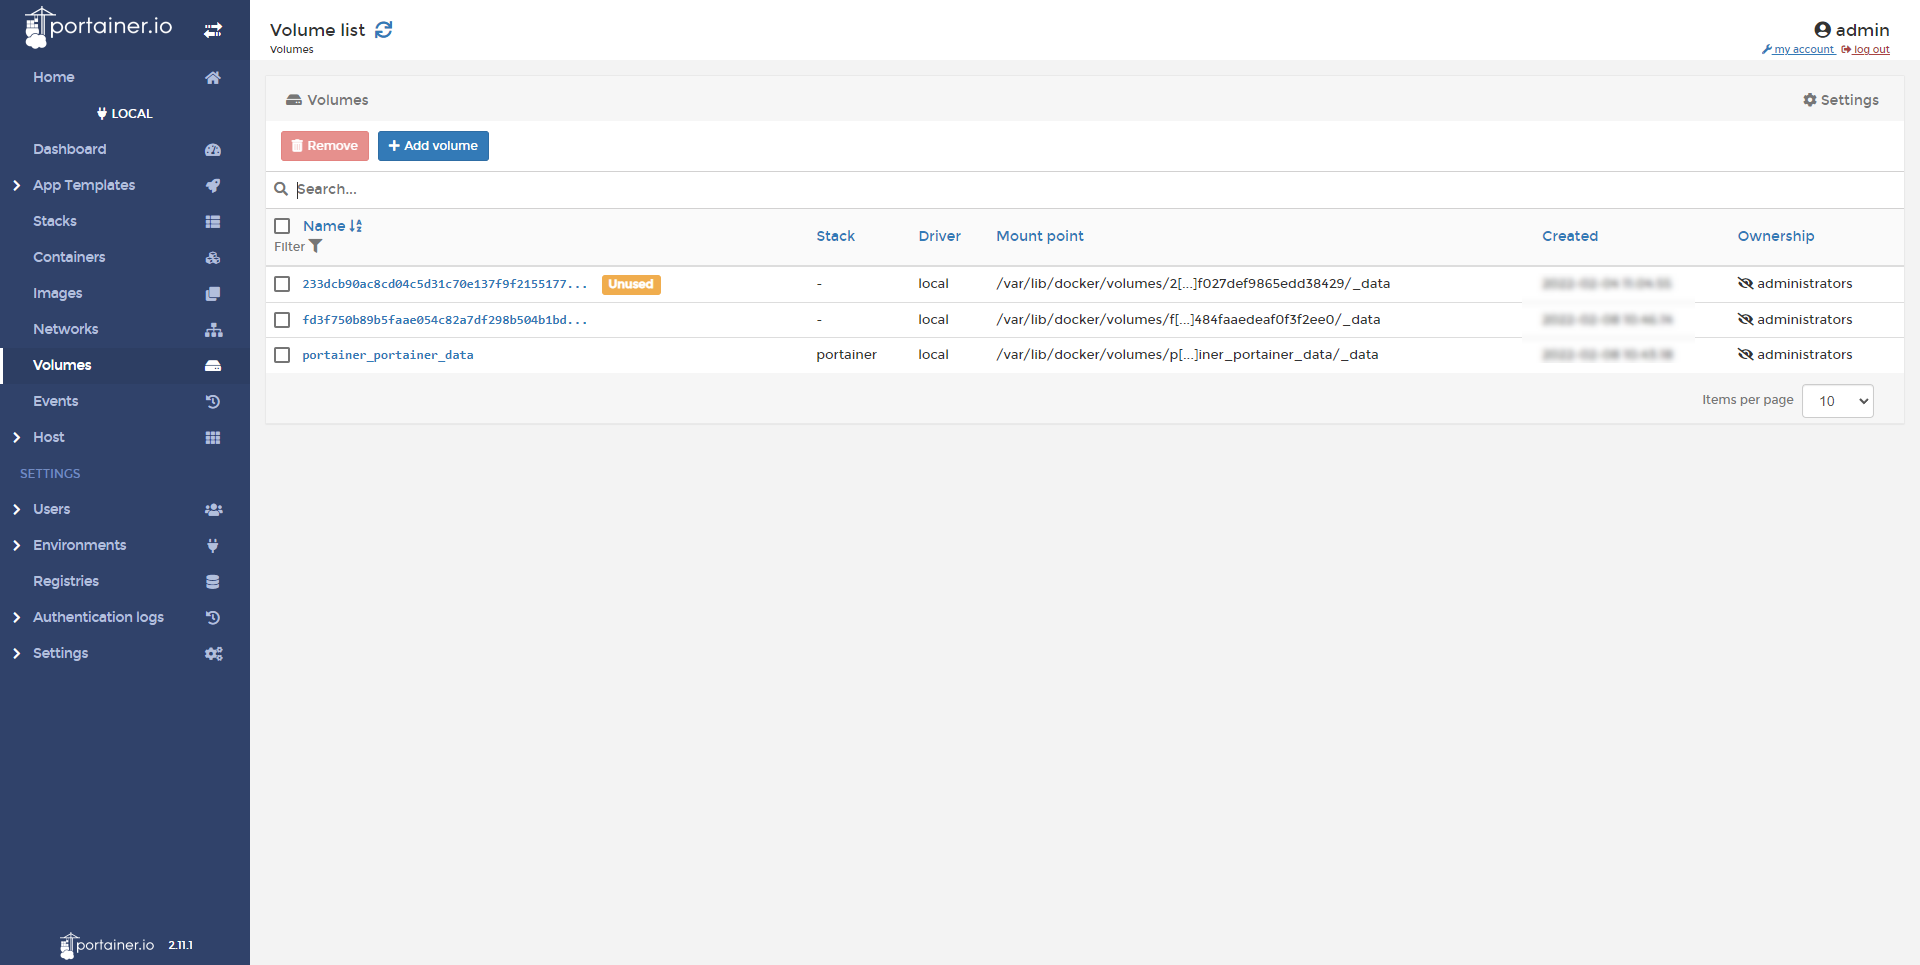
Volumes: as for the images, we will find here all the volumes used for the containers.
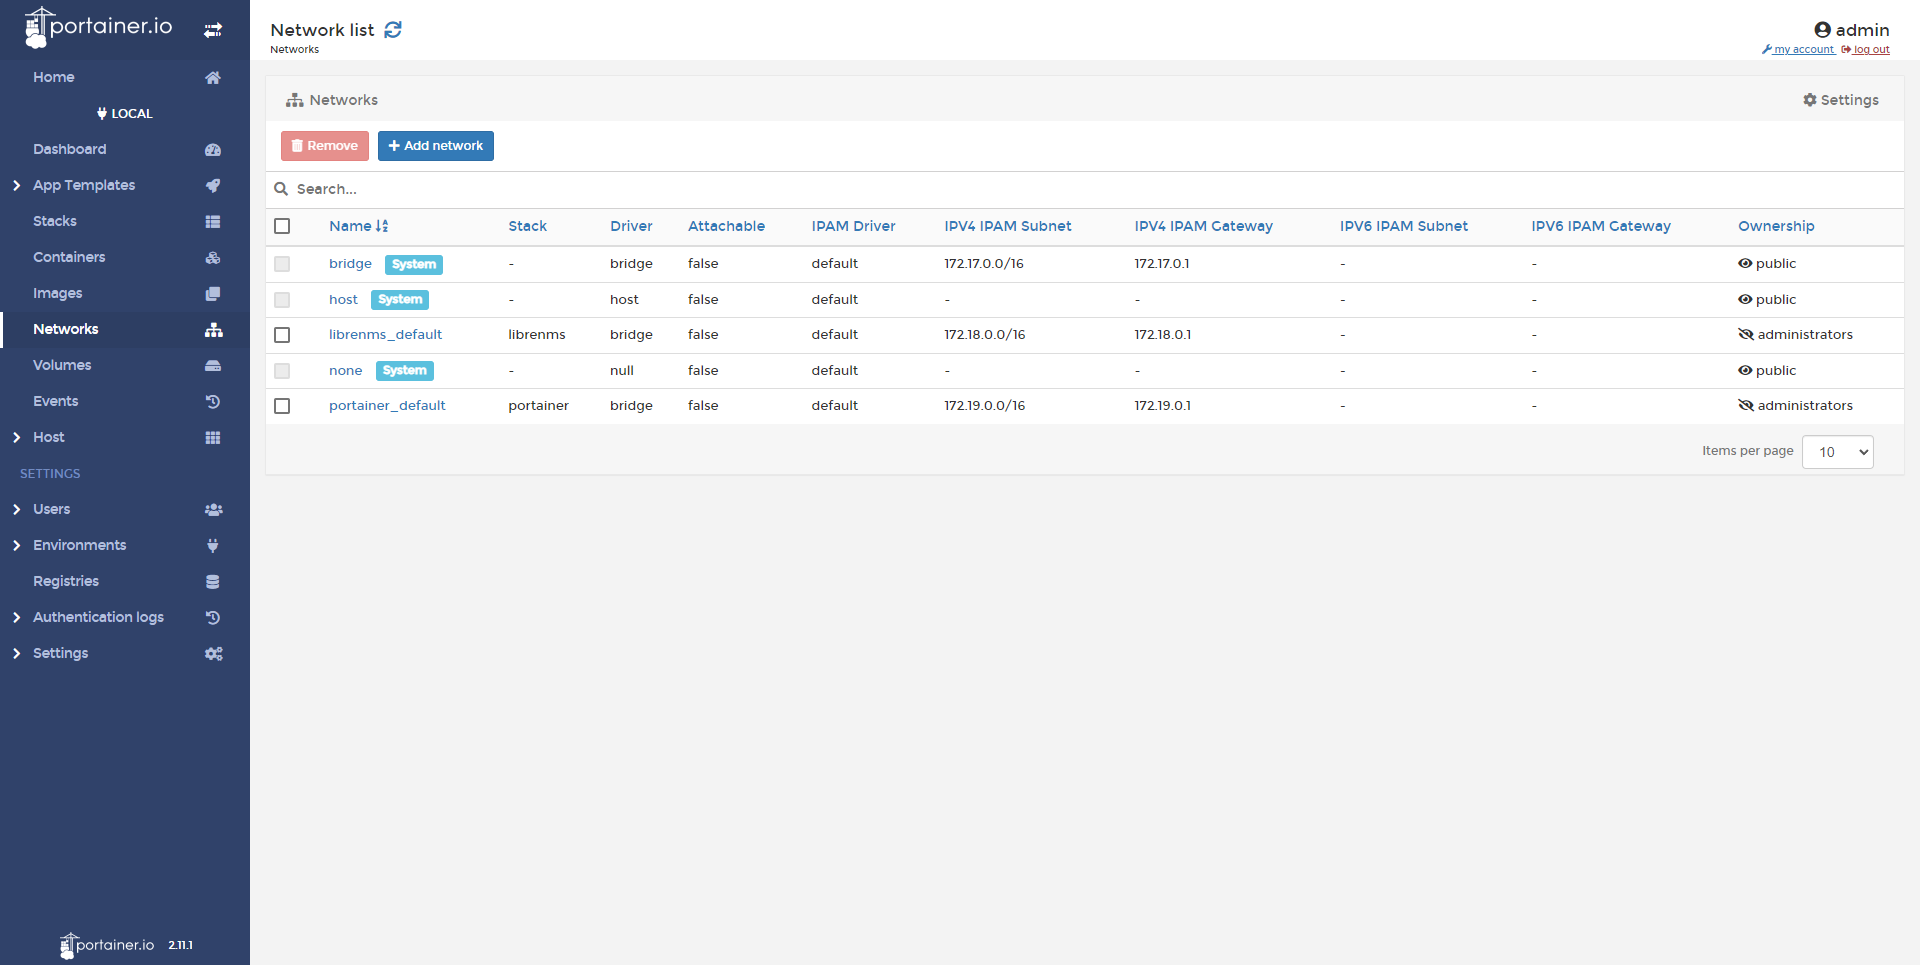
Networks: here we find the different ones created by the stacks and docker.
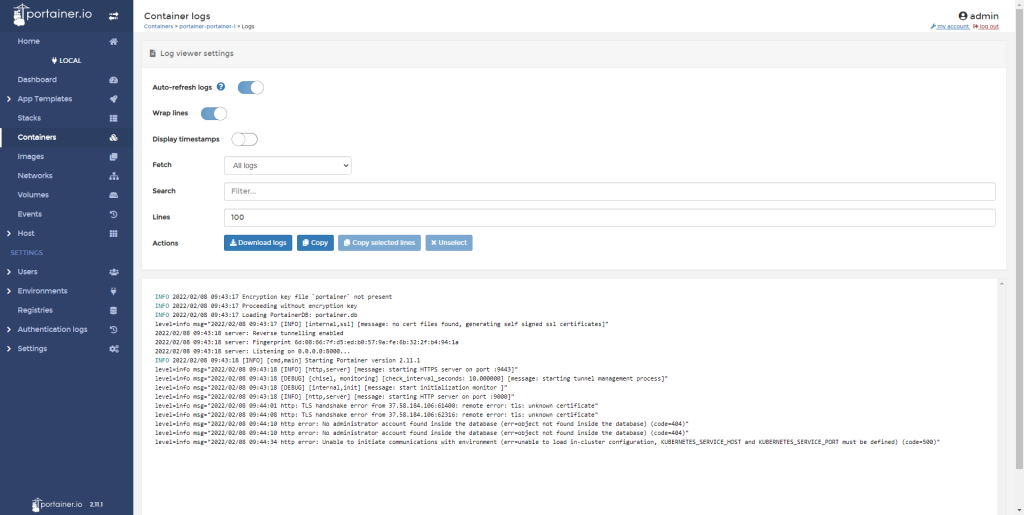
From Portainer you can also access different elements of the containers such as:
- logs
- Performances
- SSH Concole
You can now manage your containers using a graphical interface.
Manage multiple Docker servers with portainer-agent
It is possible to manage several Portainer Docker servers, for this you must install an agent which is also in container on the server you want to administer.
There are two agents:
- Portainer agent
- Portainer Edge agent
The main difference between the two agents and the direction of communications, with Portainer agent, the communication is initiated from Portainer so the actions are instantaneous as if we manage the local agent while Portainer Edge agent comes to connect to Portainer at regular intervals to check if actions are performed.
Portainer agent is to be used with caution, because the agent does not have authentication, which allows you to connect to it from any Portainer portal.
There is still a security, an agent cannot be linked to two Portainer instances simultaneously, on the other hand if the agent has no communication with his instance for 90 days, he loses the link with his instance.
We therefore avoid publishing Portainer agent directly on the Internet, even internally we ensure security with a firewall.
I will still explain to you how secure the agent is with Nginx if you want to use it with a public IP.
On the server you want to administer, as for portainer, create a folder and inside it a docker-compose.yml file and paste the content below:
Retrieve the image:
sudo docker-compose pullStart the container:
sudo docker-compose up -dNow that the agent is working, it needs to be added to the portainer web interface.
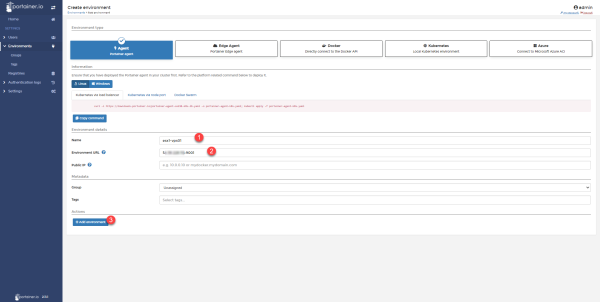
From the navigation menu, click on Environments 1 and then click on Add environment 2.
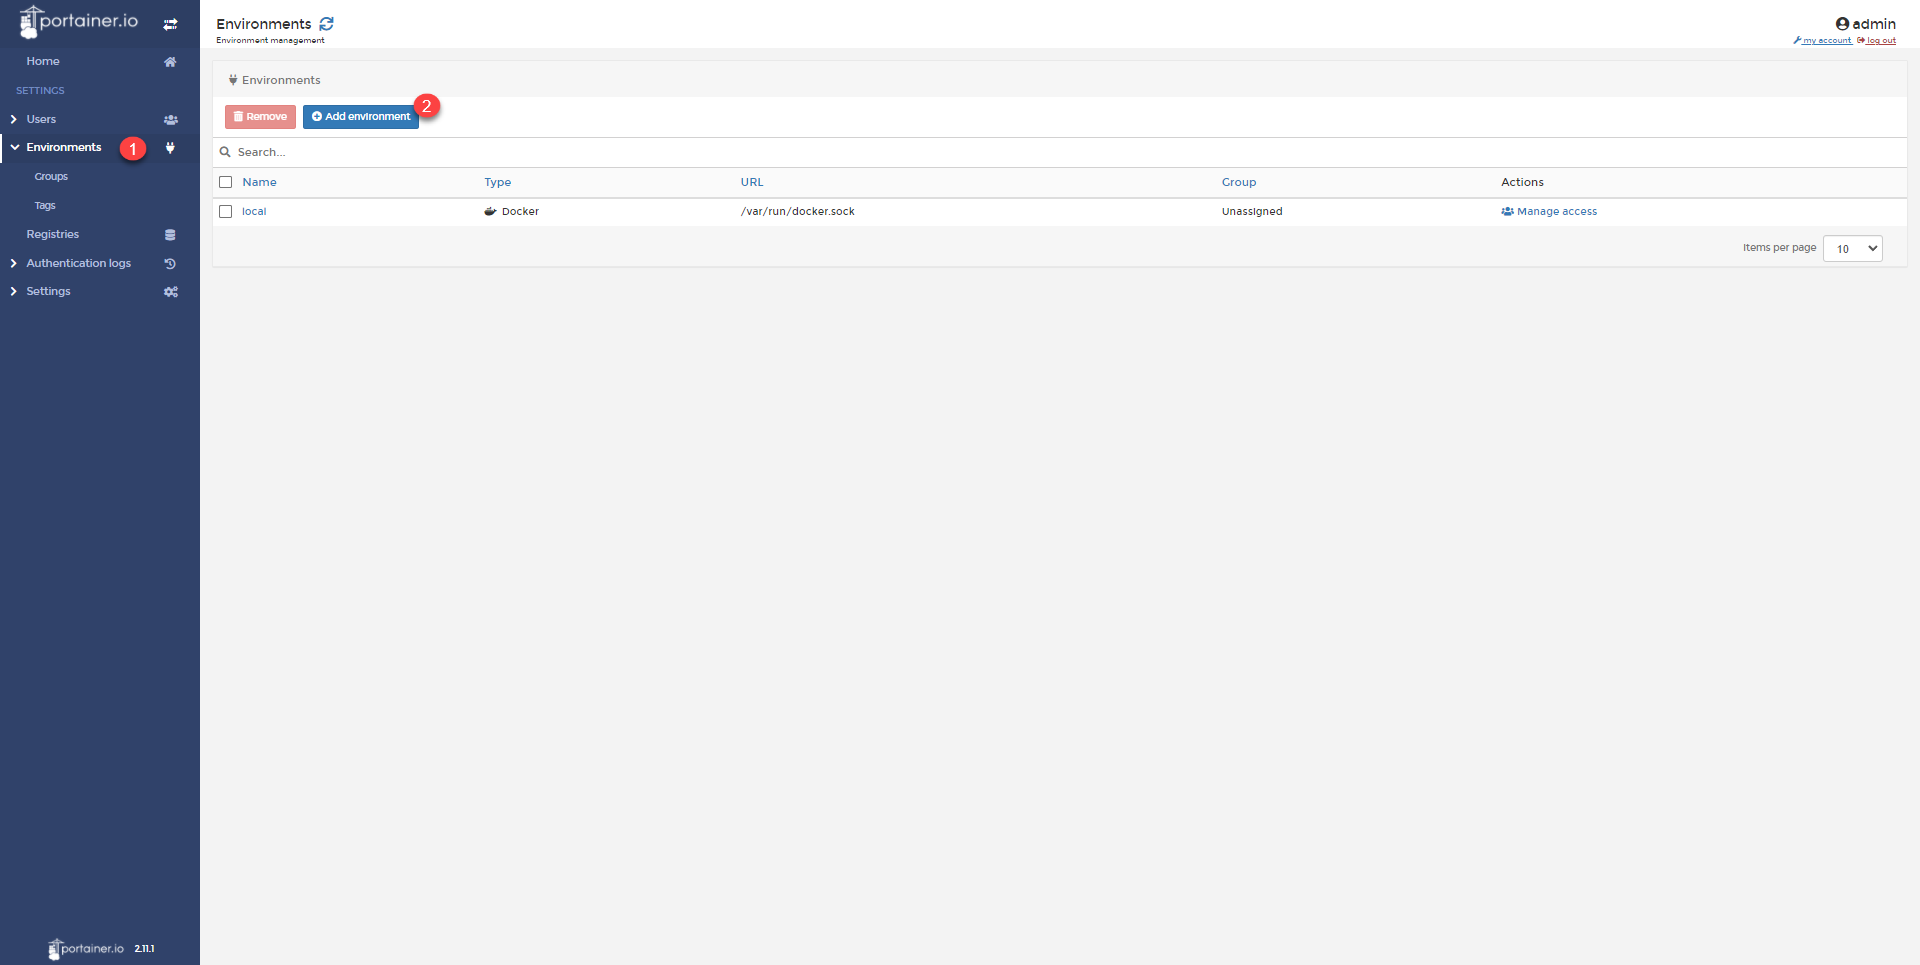
Indicate the name of the server 1 as well as its IP address and the port of the agent 2 (by default 9001) and click on the Add environment 3 button.
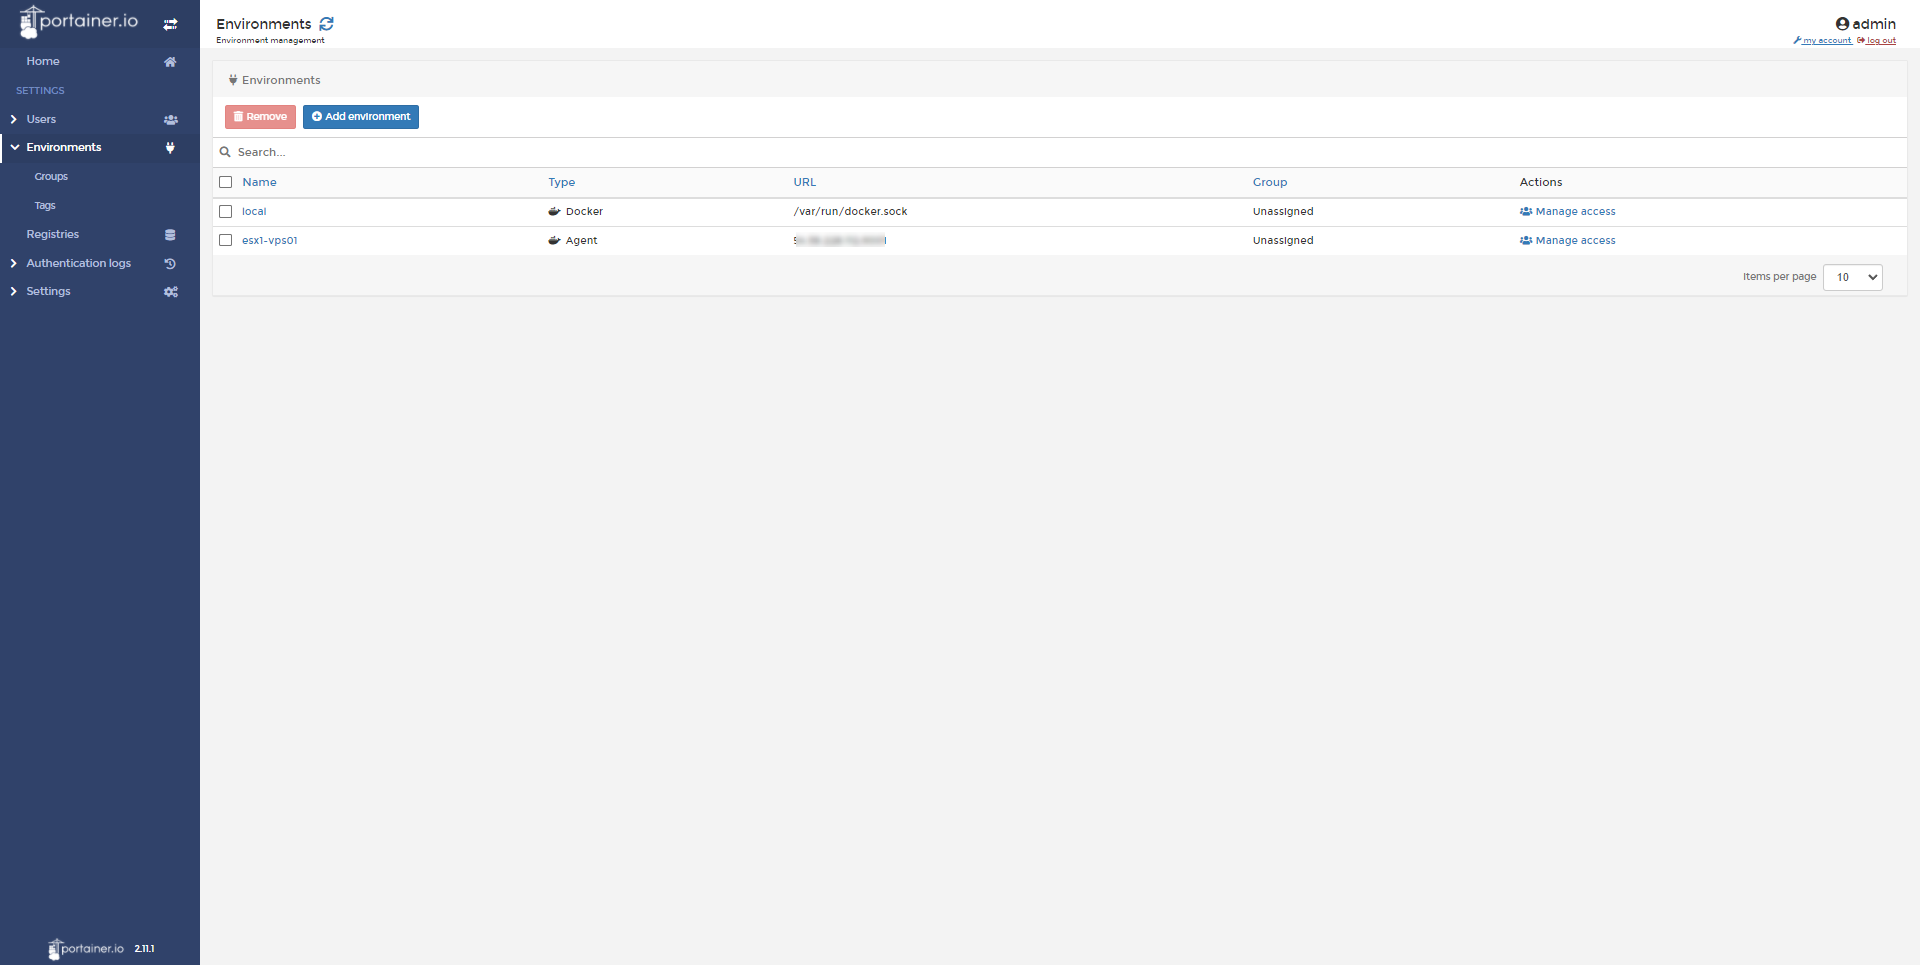
The agent is added:
On the home page, we can see the two Docker servers.
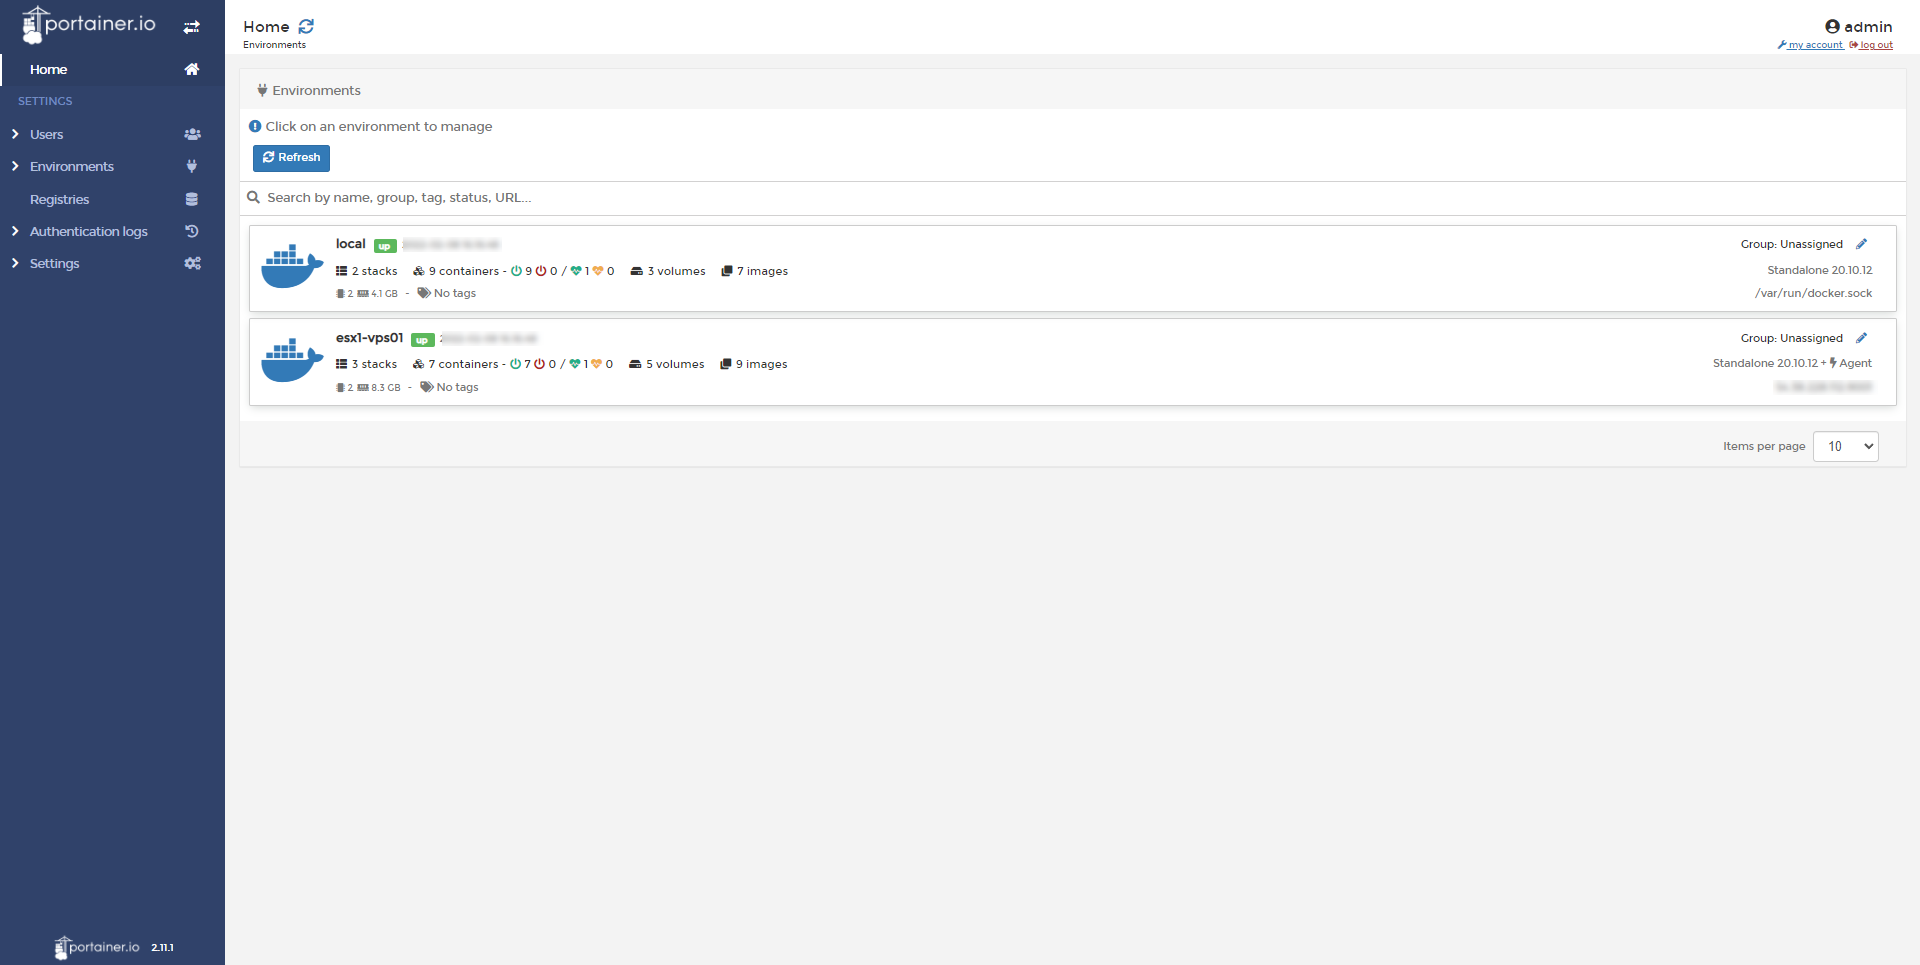
You can manage the remote server the same way as the local server
At the start of this part, I talked about security, I will give you two solutions to “secure” the agent and the instance.
Secure portainer-agent with Nginx and a firewall
The first solution that I propose to you is to secure access to the agent by using the firewall of your Linux server and the reverse proxy features of Nginx. nginx stream module must be installed
If the agent is running shut it down.
The first step will be to authorize the IP address of your server where portainer is installed:
sudo ufw allow from server-ip-portainerThis command is valid on Ubuntu with ufw
Edit the /etc/nginx/nginx.conf file and after the http{} block add:
Edit the agent’s docker-compose.yml file to change the port exposure:
You have to modify port 9001 because it is used by Nginx, for this tutorial, I used port 9002 which is configured in the stream{} block. I also added the IP address 127.0.0.1 to prevent it from being published on any IP including the public address.
Test the Nginx configuration:
sudo nginx -tIf everything is good, restart nginx:
sudo systemctl restart nginxStart the container with up -d to reload the configuration:
sudo docker-compose up -dWith this solution, port 9001 must be available only to your portainer server
Use a VPN
The second solution to secure the publication of the agent will be to use a VPN between the two Docker servers.
You can use tailscale services which offers a VPN solution for up to 20 clients.
Once the VPN is in place, you have to adapt the configuration of the agent in docker-compose:
ports:
      - vpn-ip:9001:9001
And in portainer, you have to configure the IP address of the VPN card.
You now have all the information you need to manage your Docker containers with portainer.