In this tutorial, I will walk you through how to add swap space on Ubuntu 20.04 and above.
A swap space on Linux is a location on the disk, which allows the OS to load the random access memory (RAM), on Windows we find this type of file pagefile.sys
By default, on server versions of Ubuntu, space is no longer added by default.
Adding swap space to an SSD can reduce its lifespan.
Check if swap space is present
Before embarking on the creation of a swap space, we will check if it already exists and for this there are several solutions.
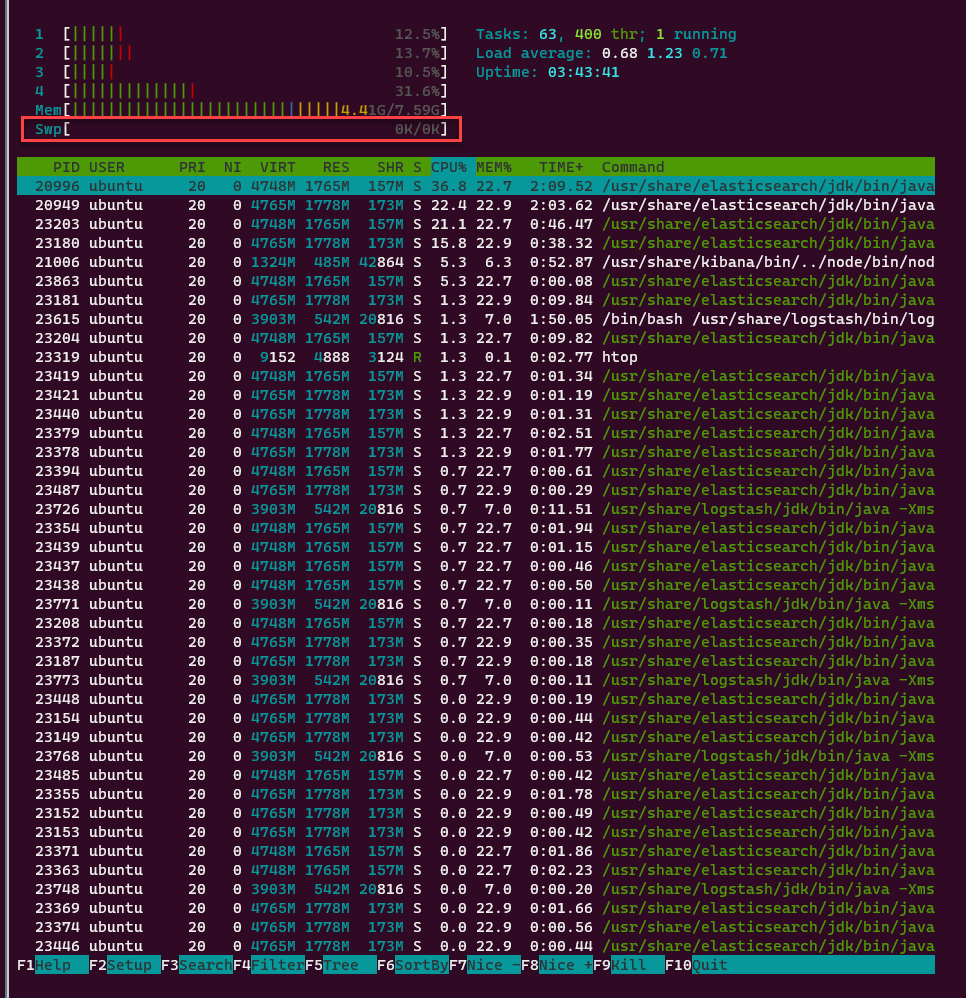
With htop :
sudo htopOn the capture below, we can see the Swp is at 0K.
With the swapon command:
sudo swapon --showIf no swap is configured, the command returns nothing
With the command free
sudo free -hThe command returns the available memory as well as the swap is 0.
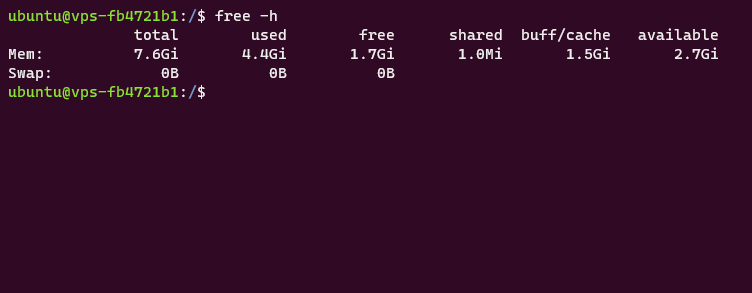
We are sure not to have any swap on our machine.
Create swap space
To create a swap space, it comes down to creating a file of a defined size on our disk and then configuring Linux to tell it that it can unload its RAM into this file.
Creating the swap file:
sudo fallocate -l 4G /swapfileThis command creates a 4G file named swapfile at the root of disk /.
It is possible to check the creation of the file with the command:
ls -lh /swapfileModify rights
Enter the command below to allow only the root user:
sudo chmod 600 /swapfileYou can use this command again to check the permissions:
ls -lh /swapfileEnable swap space
We will now tell the system that we have a swap space:
sudo mkswap /swapfile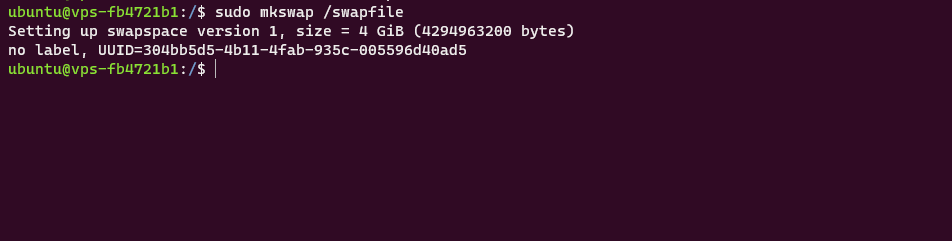
You can enable swap with the command:
sudo swapon /swapfileTo check that it is activated, enter:
sudo swapon --show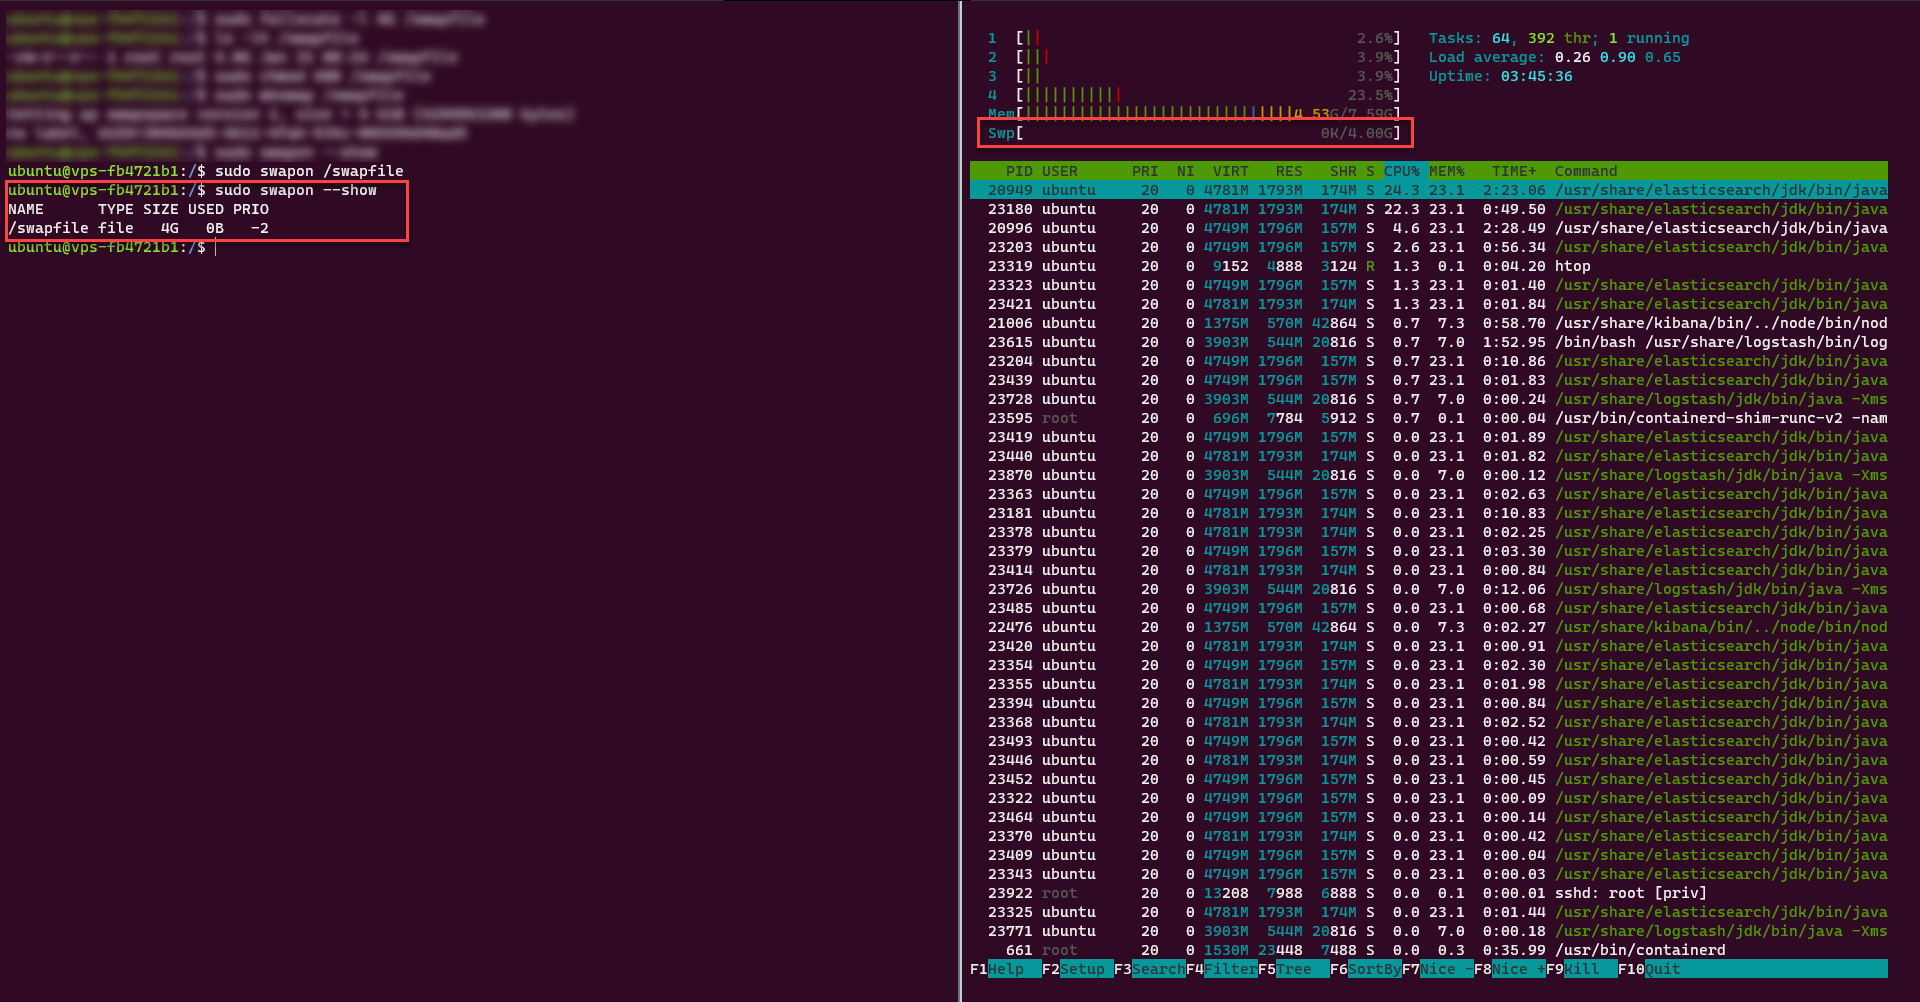
The swap space is functional.
Configure Boot Swap
For the moment, the swap is not permanent, if you restart your Linux, the swap space will not be mounted, to make it permanent, you must add a record to the file /etc/fstab.
To add this line, enter the following command:
echo '/swapfile none swap sw 0 0' | sudo tee -a /etc/fstabWith this line, at the next boot, the swap will be available.
Setting up swap usage
This part is optional, but if you want to optimize the use in order to use it more or less, you must adjust the swappiness parameter.
swappiness is parameter between 0 and 100, it will determine the frequency of exchange between the ram and the swap. The closer the value approaches 100, for the swap is used. By default the value is 60.
To display the current value of swappiness enter:
cat /proc/sys/vm/swappinessTo temporarily change the value enter the command:
sudo sysctl vm.swappiness=30To apply the value permanently, you must write the value in the /etc/sysctl.conf file.
Open file:
sudo nano /etc/sysctl.confAdd at the end:
vm.swappiness=30If the parameter already exists, modify the value
Now you know how to set up a swap file on Ubuntu.