Neste tutorial, explicarei como instalar o cliente Telnet no PowerShell.
Usar o PowerShell para instalar esse recurso do Windows pode ser feito em minutos.
Instalando o cliente Telnet no PowerShell
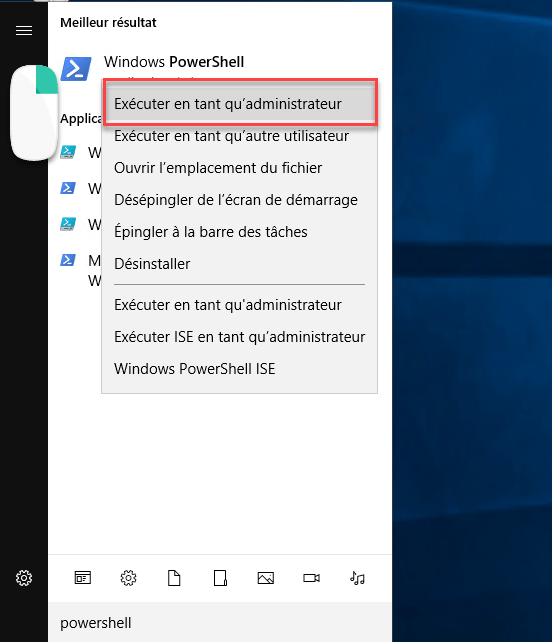
Abra um prompt de comando do PowerShell como administrador
No menu iniciar, pesquise Powershell, clique com o botão direito nele e clique em Executar como administrador.
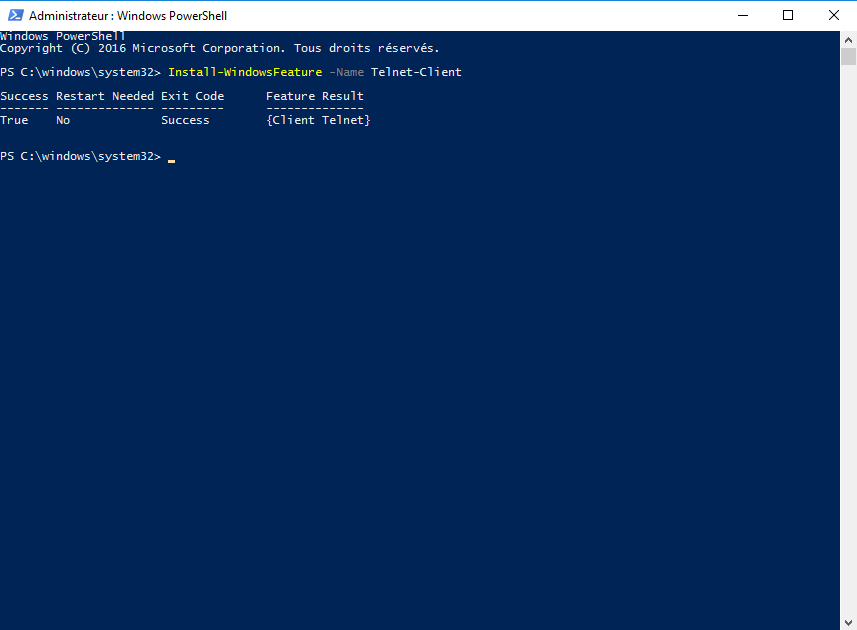
Use o comando Install-WindowsFeature para instalar o cliente Telnet
Na janela do PowerShell, digite o seguinte comando:
Install-WindowsFeature -Name Telnet-Client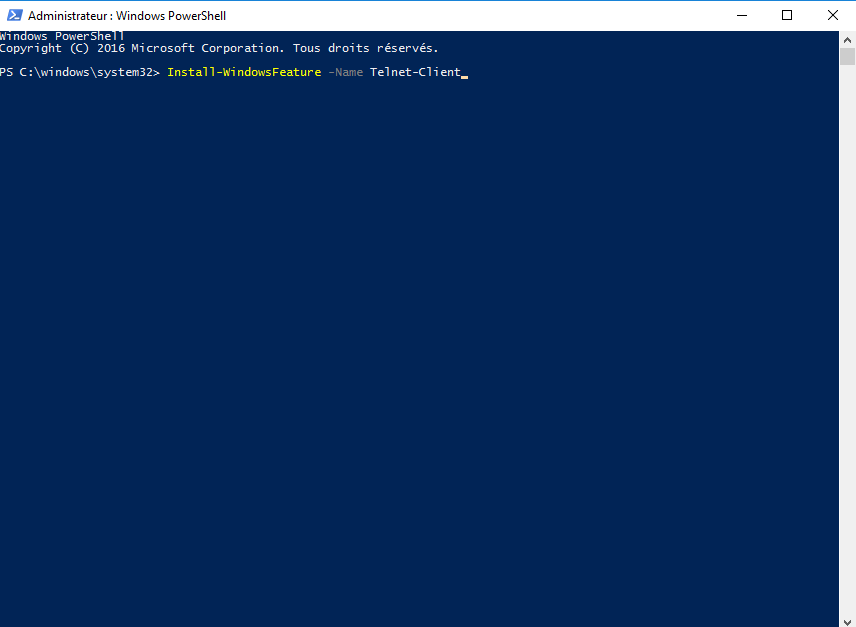
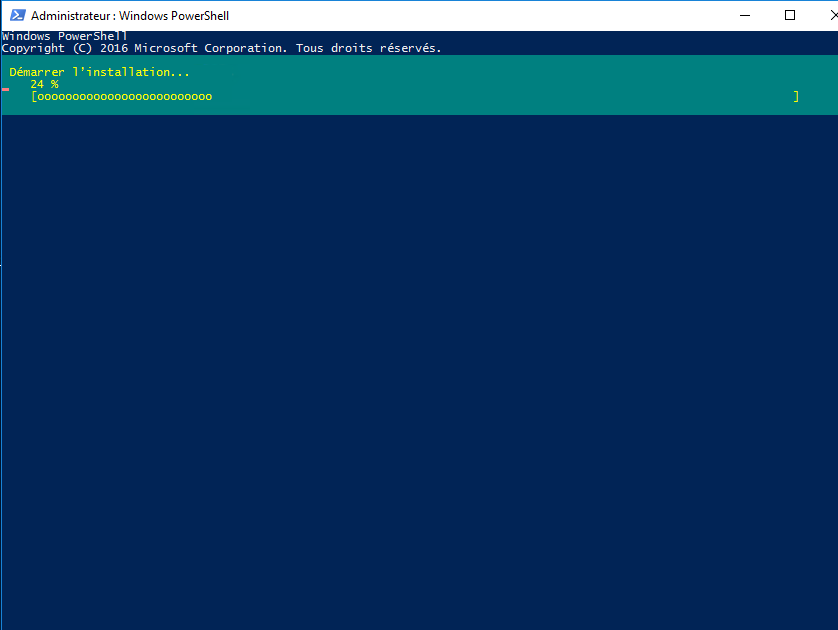
Patienter pendant l’installation
Aguarde enquanto o cliente Telnet é instalado.
O cliente Telnet está instalado
Verifique se a instalação ocorreu corretamente.
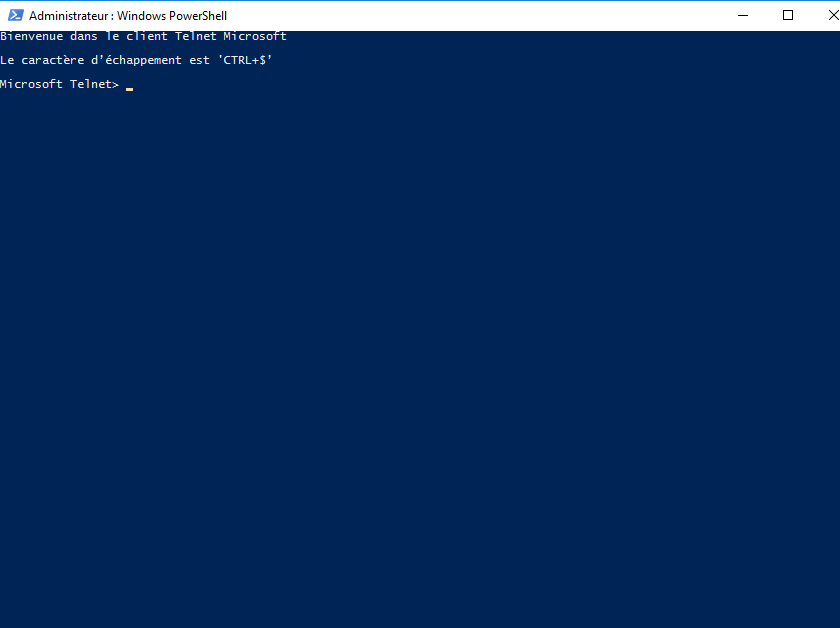
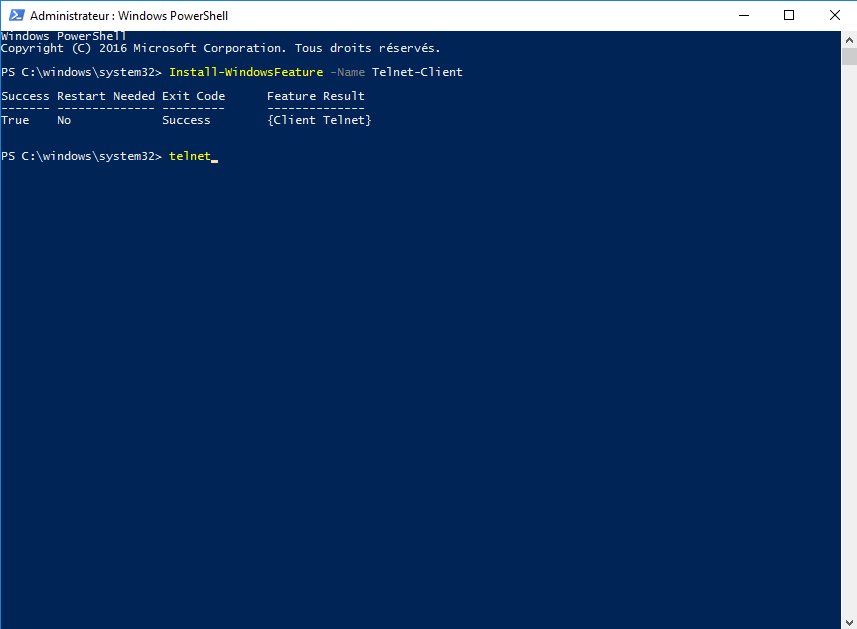
Inicie o cliente Telnet
O cliente Telnet pode ser usado durante a instalação na janela do PowerShell digitando o comando telnet.
Use o cliente Telnet
Resta apenas usar comandos Telnet.