


Presentation
The Work Folders feature allows you to set up a personal folder synchronized with a file server in HTTP (s) using a client available on Windows, Android and Apple.
If web access is published on the Internet, this solution can synchronize files even from outside the company for mobile users.
Work Folders are similar to using the OneDrive client, but do not offer direct Web access or the ability to share a folder or file with a URL.
To use OneDrive on a local infrastructure, it is necessary to have SharePoint.
Preparation of the environment
Location of work folders
On the server where the feature will be installed, create a folder that will receive the user folders.
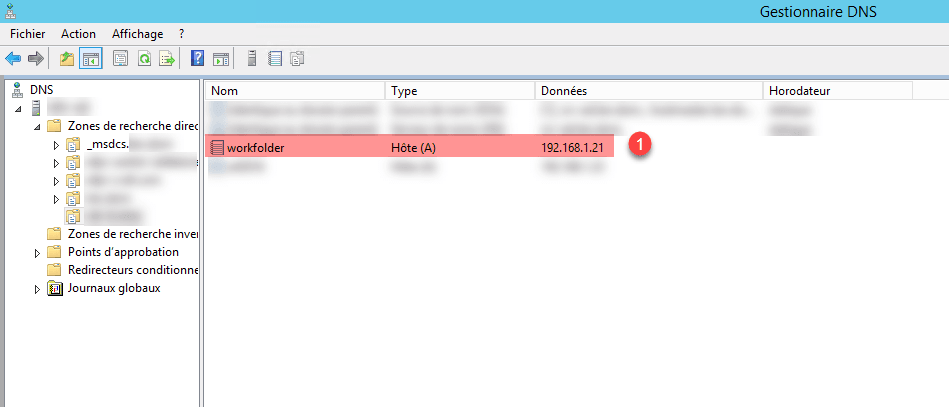
DNS registration
Create a DNS record of the type workfolder.domain.tld that will point to the server.
Installing the Work Folders feature on the server
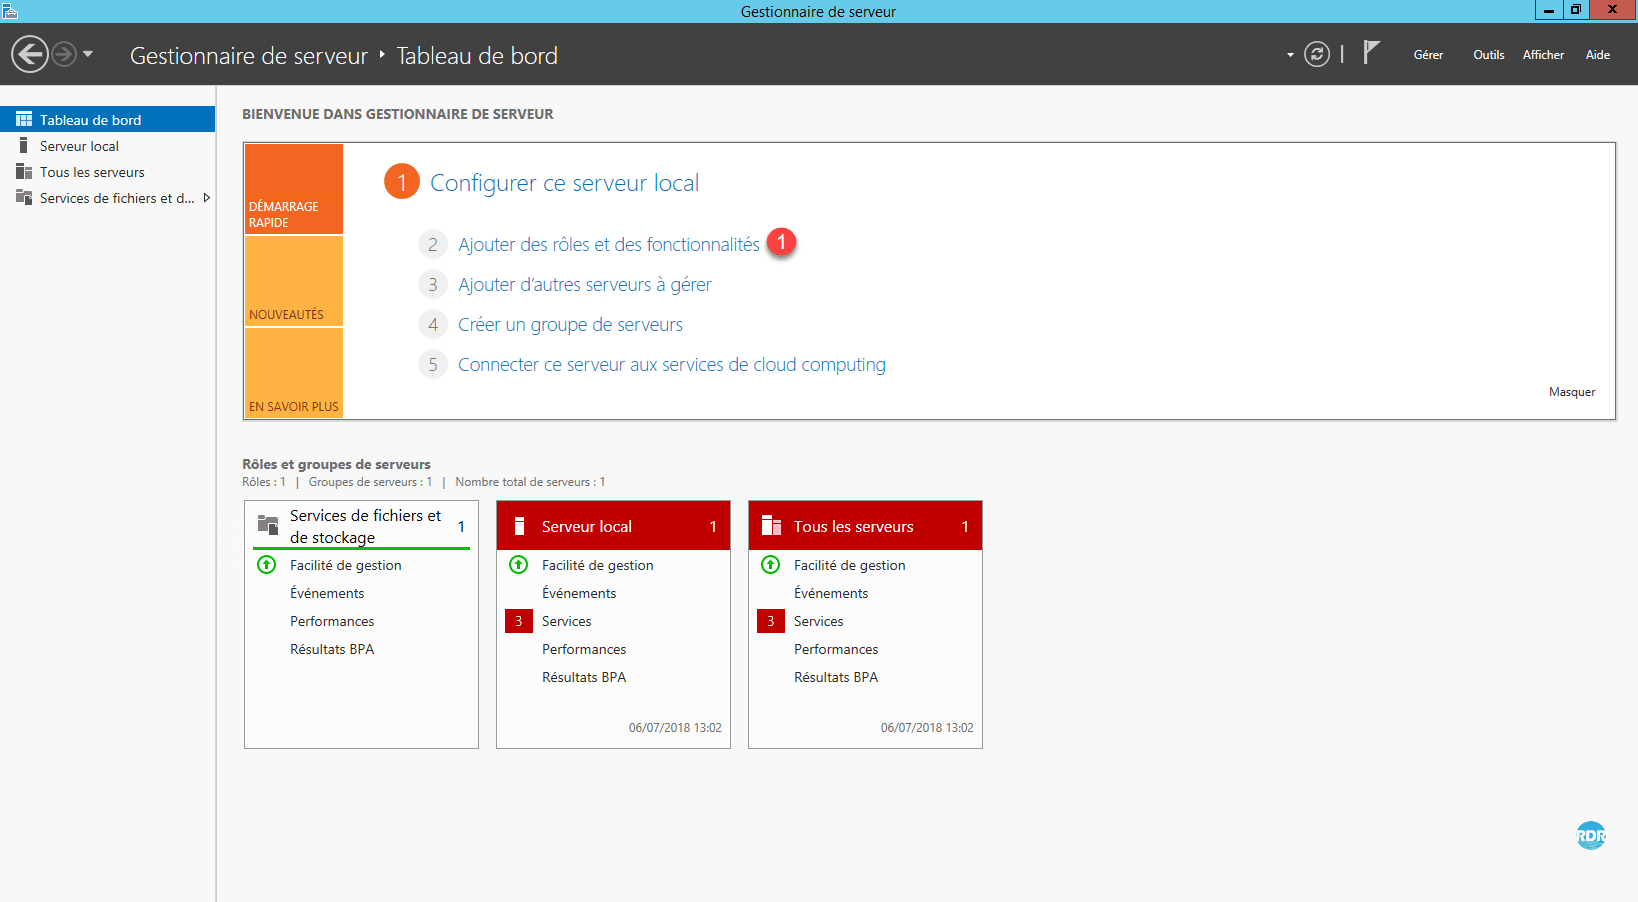
From the server manager, click Add Roles and Features 1 .
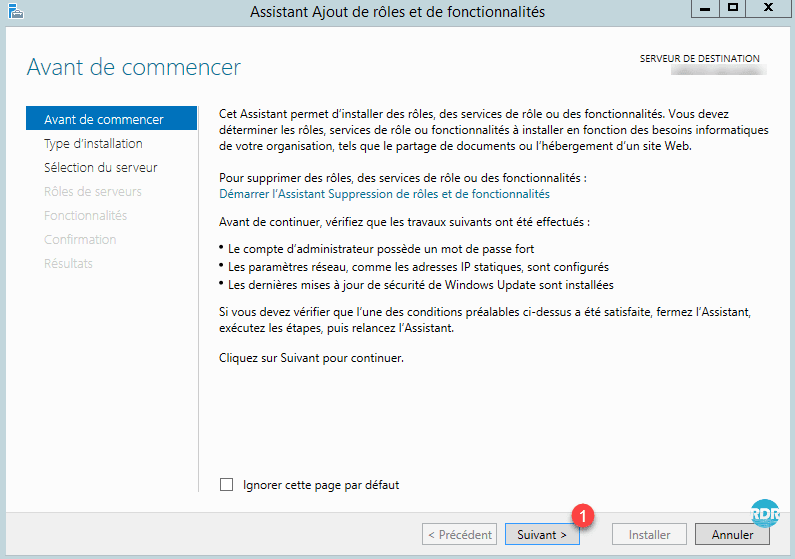
When launching the wizard, click Next 1 .
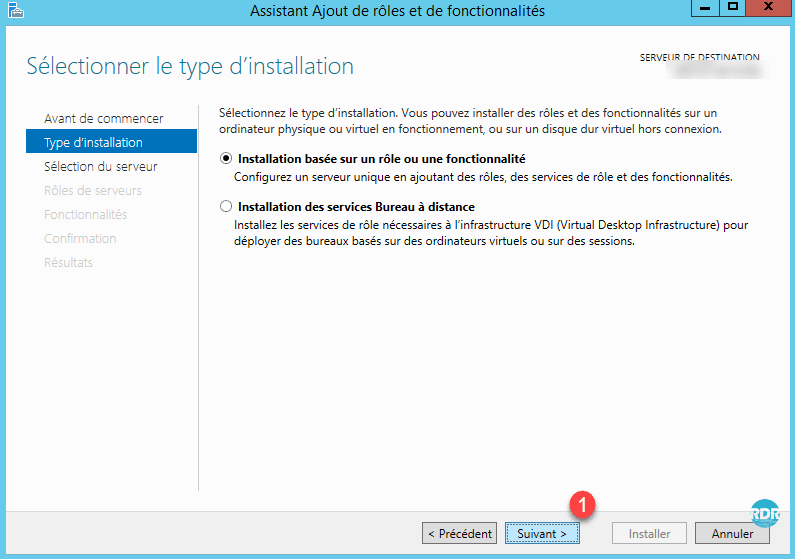
Click Next 1 and check that you have selected Role Based or Feature Based Installation.
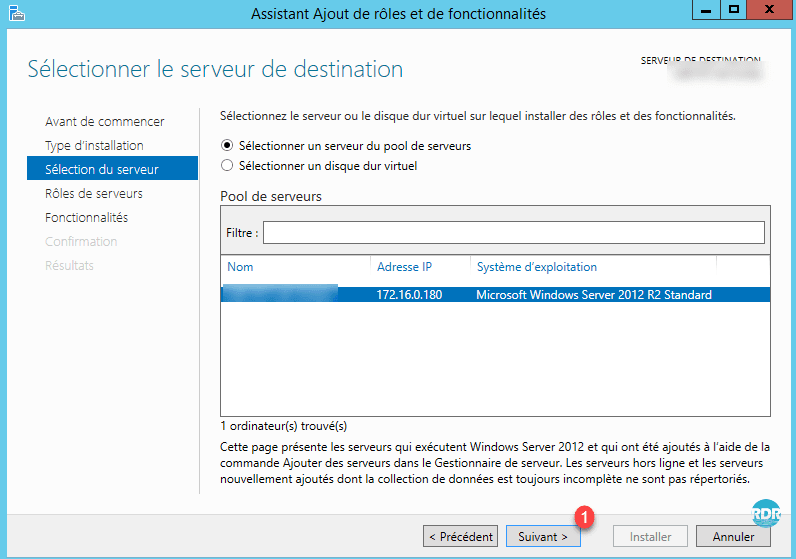
Select the server and click the Next 1 button.
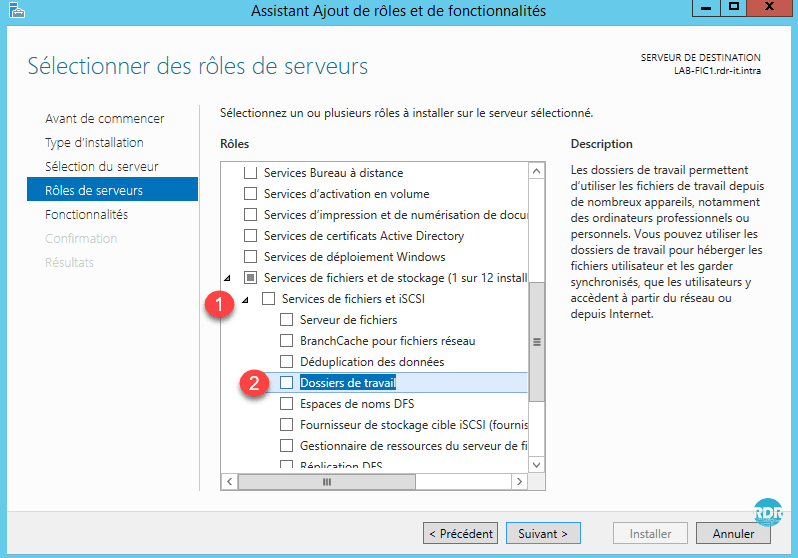
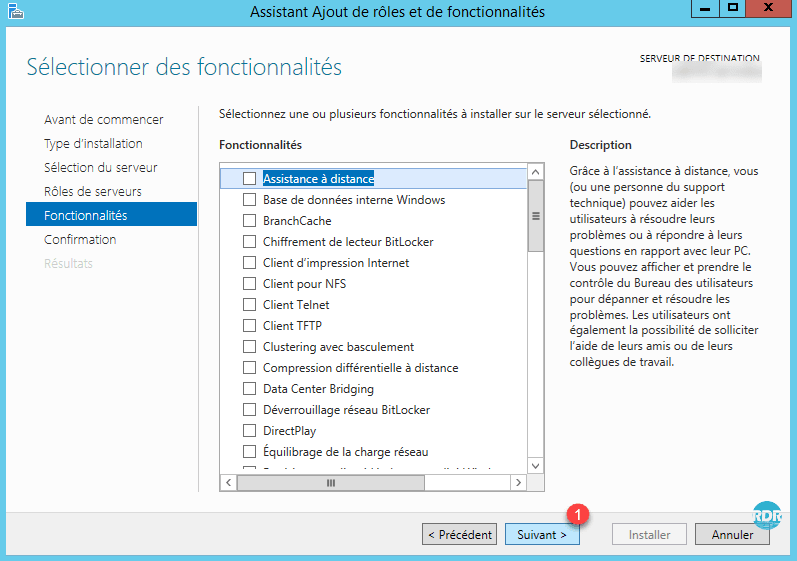
Go to the File and Storage Services role 1 then check Working Folder 2 .
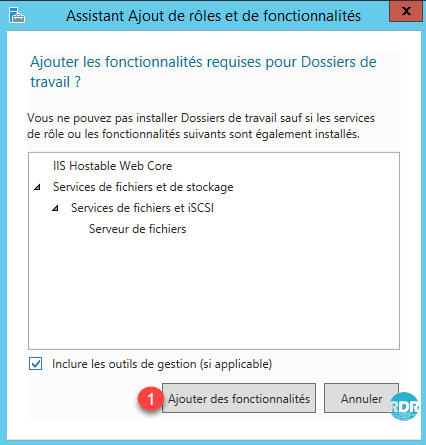
Click Add Features 1 .
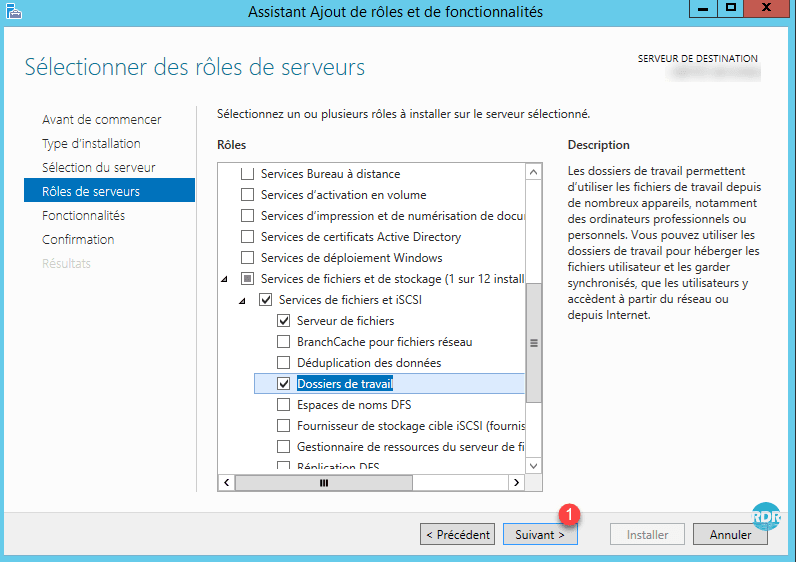
Click the Next button 1 .
Click the Next button 1 .
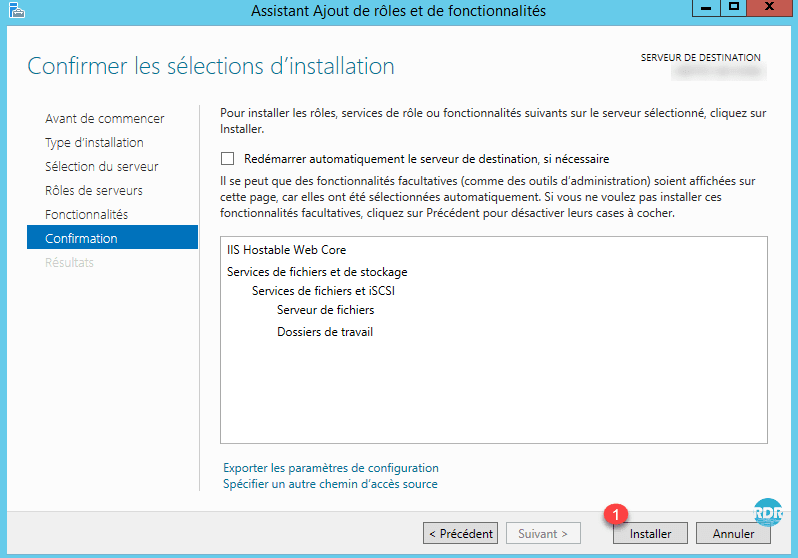
Click on Install 1 .
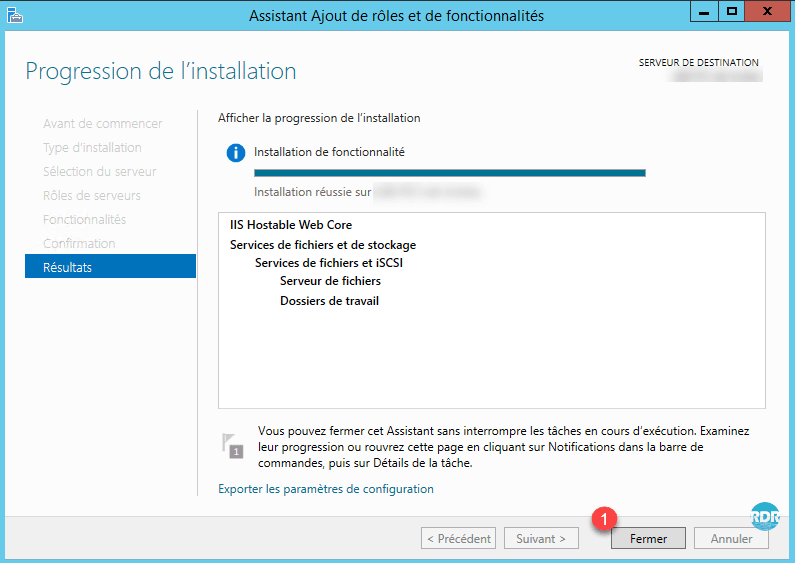
Once the installation is complete click on Close 1 .
Server configuration
The administration is done by the server manager.
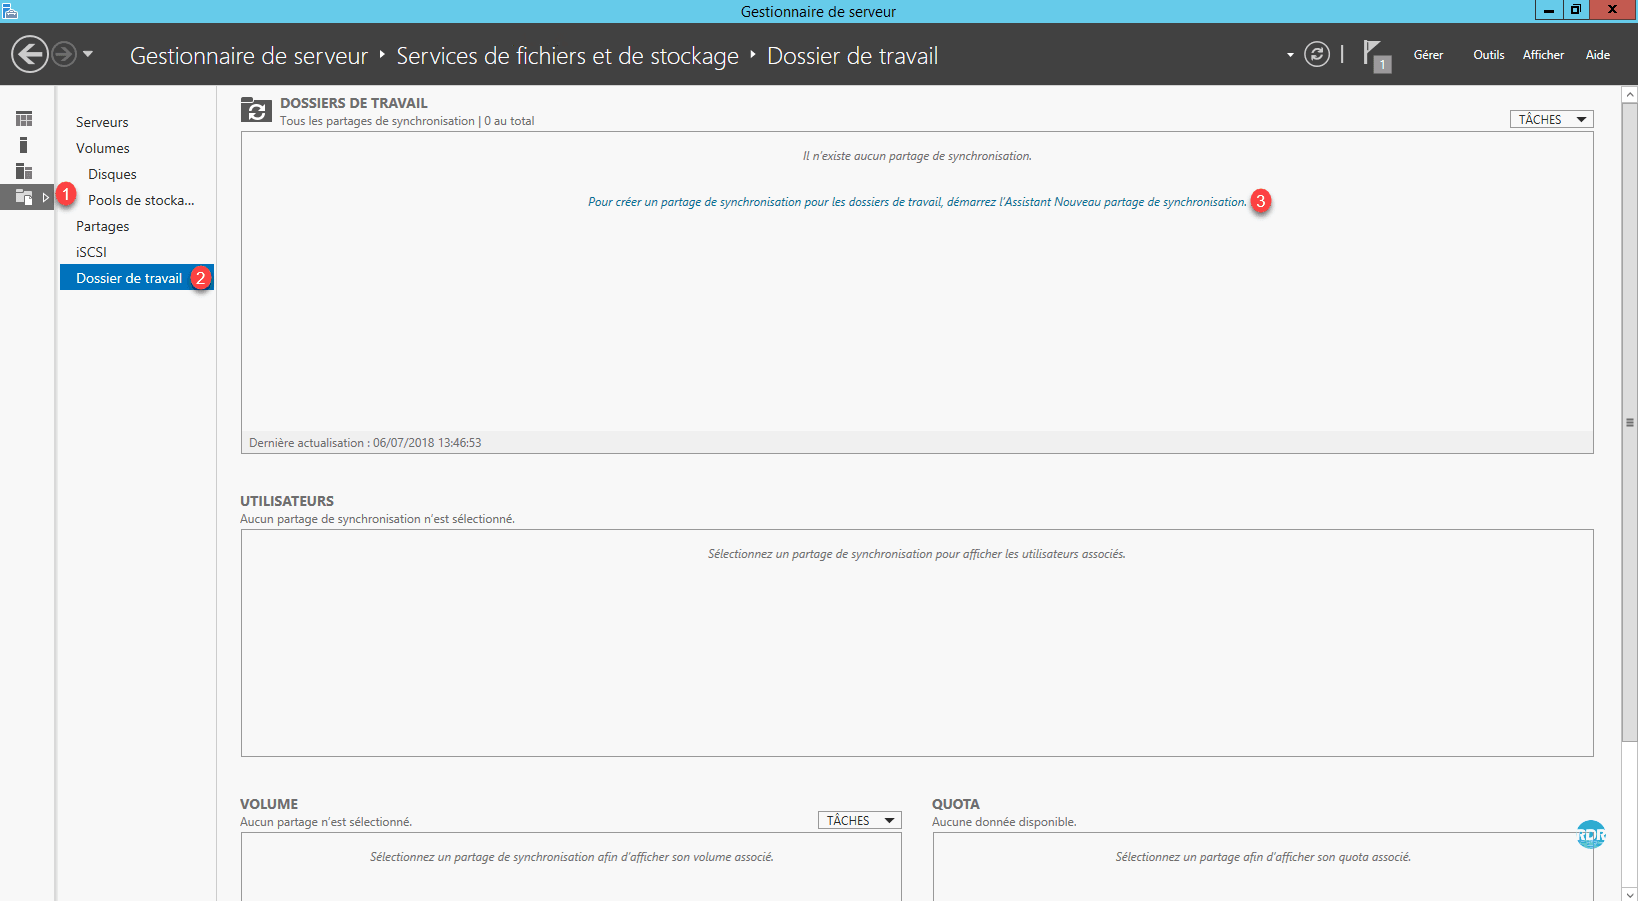
From the Server Manager, go to Storage File Services 1 , Work Folder 2 and click To create a synchronization share for Work Folders, start the New Sharing Wizard synchronization 3 .
At the launch of the wizard click Next 1 .
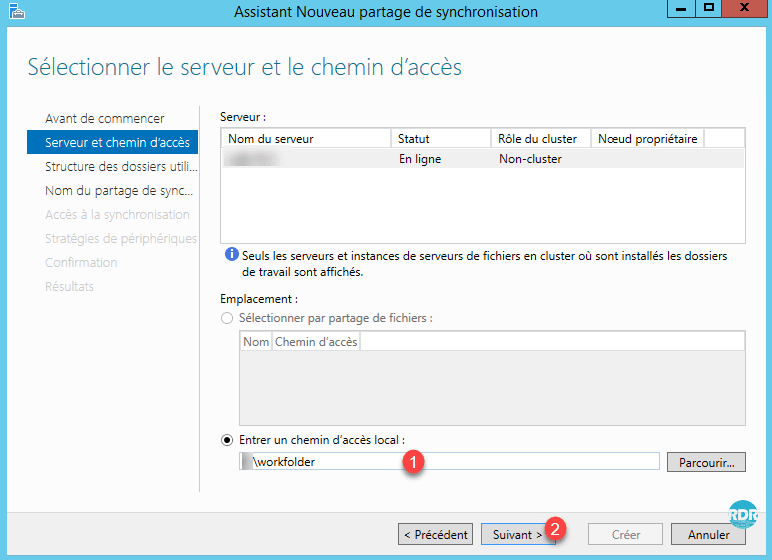
Enter the path of the folder 1 and click Next 2 .
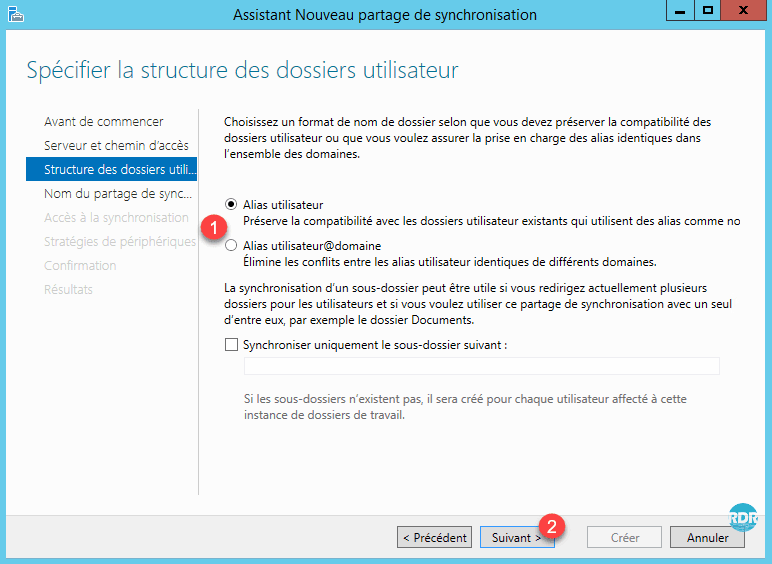
Choose a format for folder names 1 and click Next 2 .
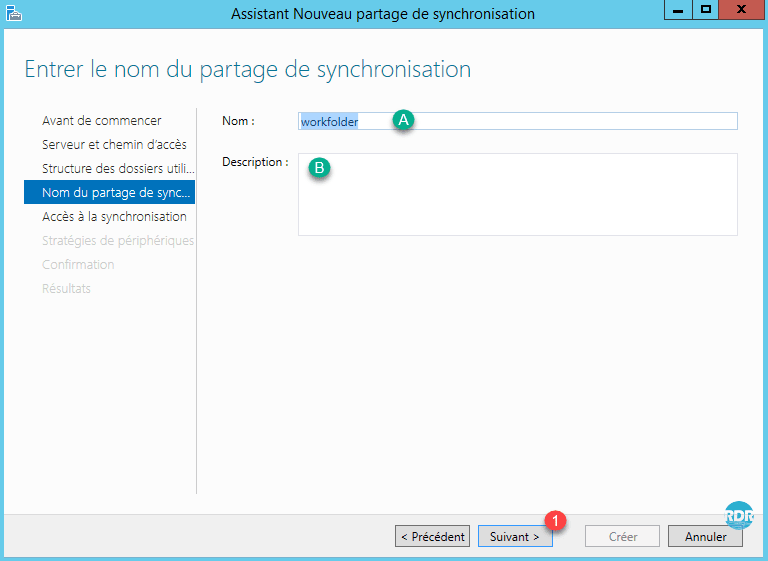
Enter a name A and a description B then click on the button Next 1 .
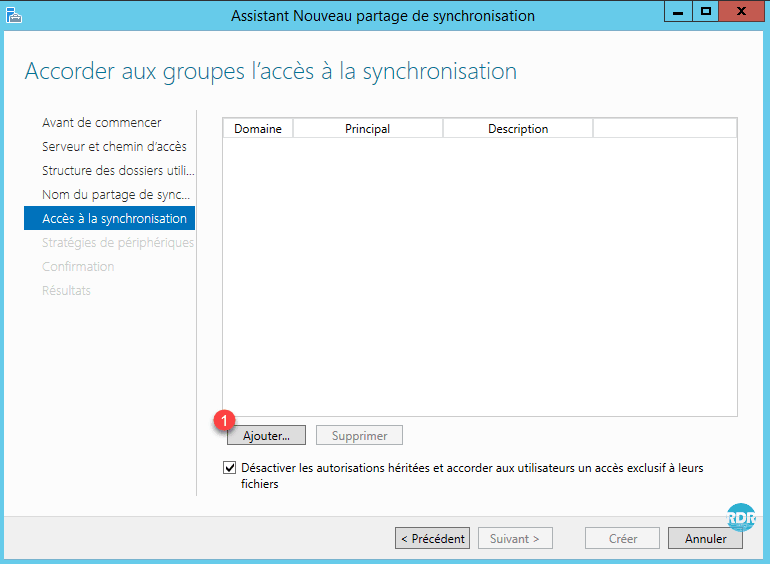
Click Add … 1 to allow groups to be selected.
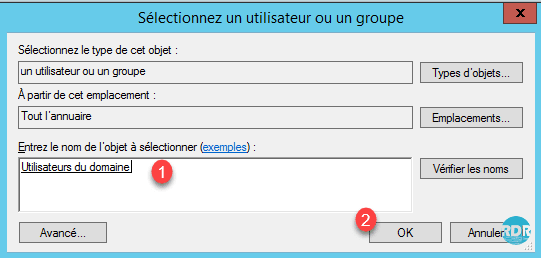
Enter the name of a group 1 and click OK 2 .
Check the box to restrict access to folder A and click Next 1 .

Check the boxes according to the desired strategy 1 and click Next 2 .

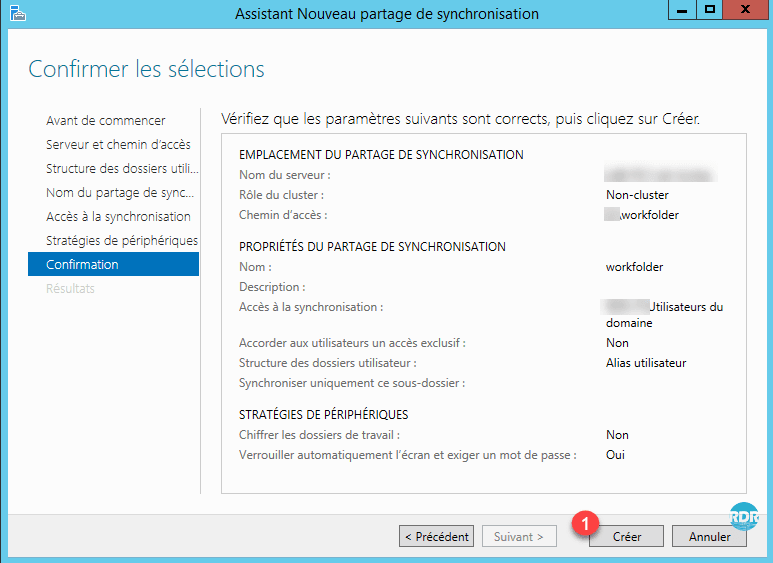
Click on Create 1 .
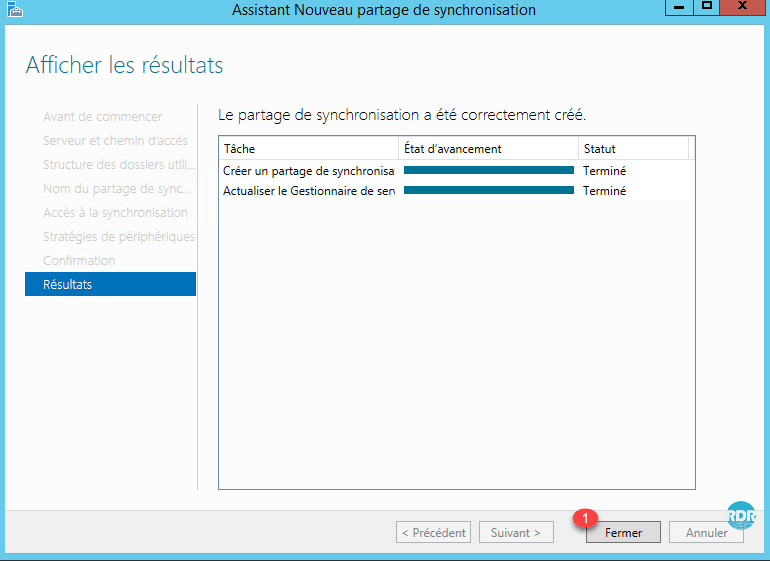
Close the wizard by clicking the 1 button.
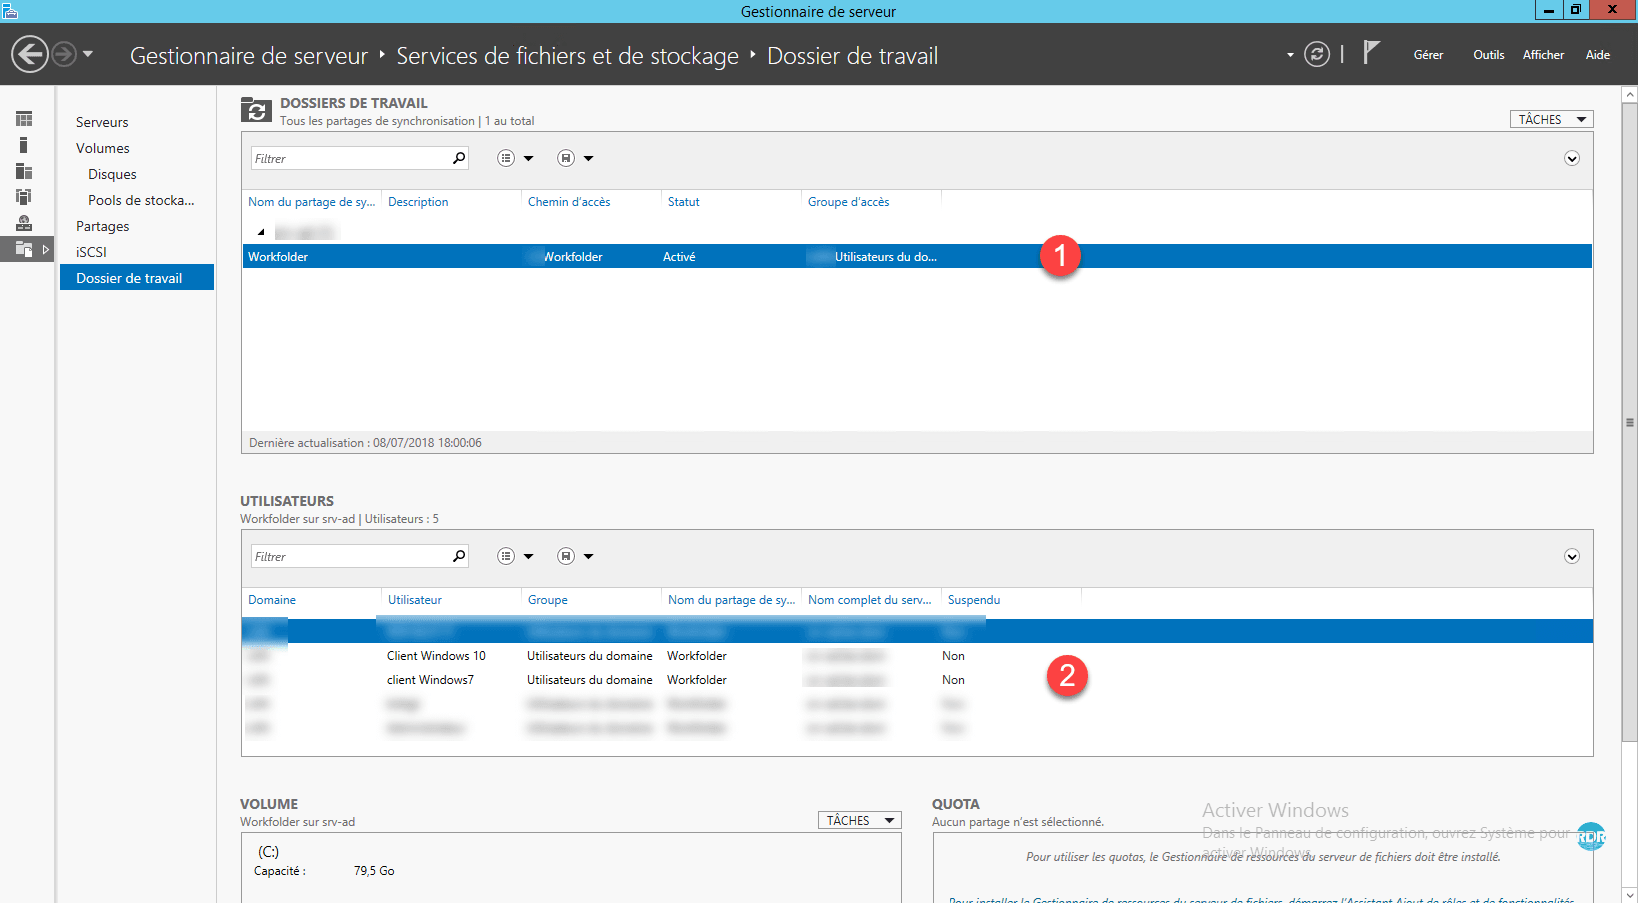
On the server manager, we can see the synchronization share 1 and the users who have a 2 access.
Configuration of the client computers
The work folder feature is installed by default on Windows 8 / 8.1 / 10 with the ability to configure the feature with an off-domain extension.
For Windows 7, the feature must be installed. Click here to download the components.
Windows 7 must be a member of the domain.

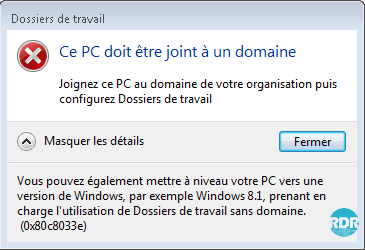
Allow HTTP access for the working folder
By default, the URL the client only supports the HTTPS, to use the HTTP, you must add a registry key on the client computer.
Open a command prompt (cmd) as Administrator.
Enter the following command:
Reg add HKLMSOFTWAREMicrosoftWindowsCurrentVersionWorkFolders /v AllowUnsecureConnection /t REG_DWORD /d 1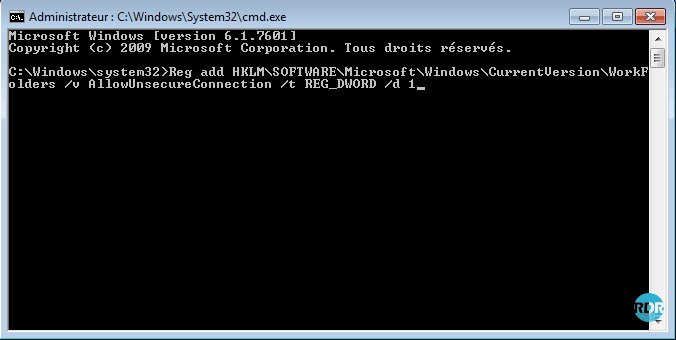
Restart the computer for changes to take effect.
Configuring the working folder on a client workstation
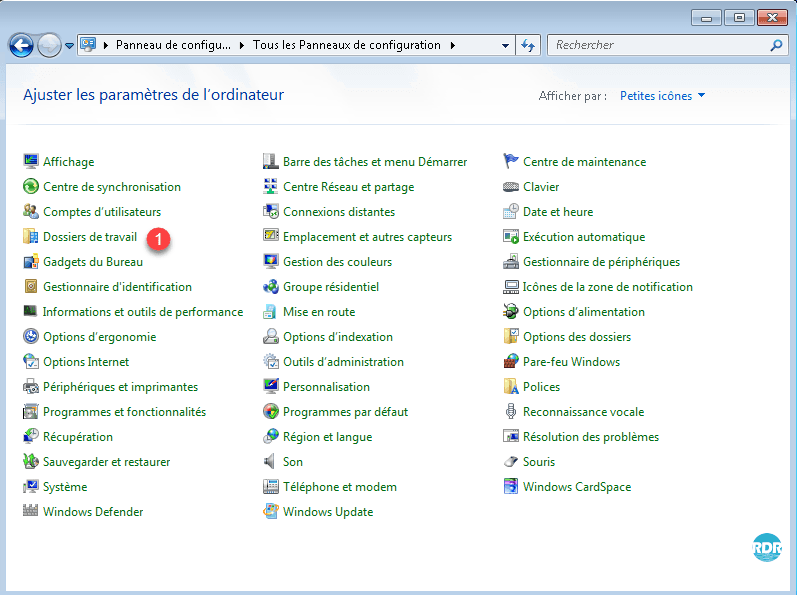
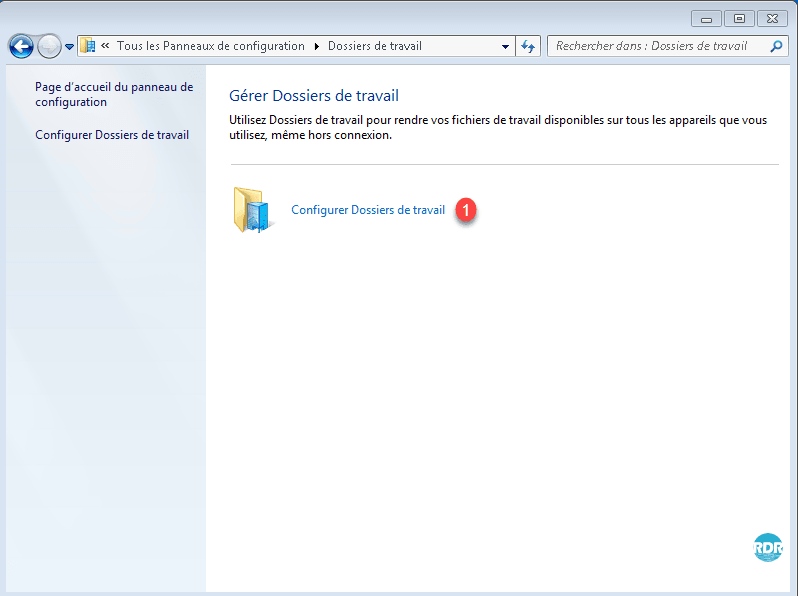
Open the control panel and click on Work Folders 1 .
Click Configure Work Folder 1 .
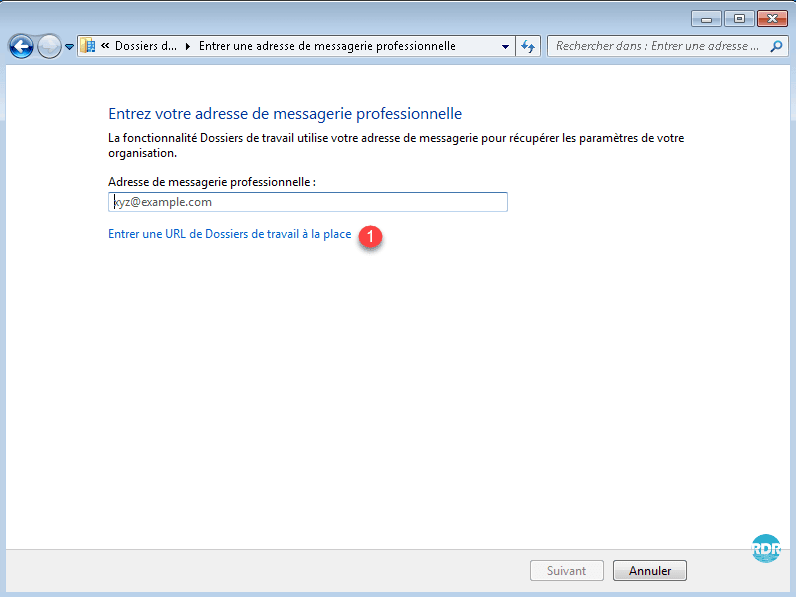
Click on Enter Work Folder URL instead 1 .
Enter the configure URL in DNS 1 and click Next 2 .
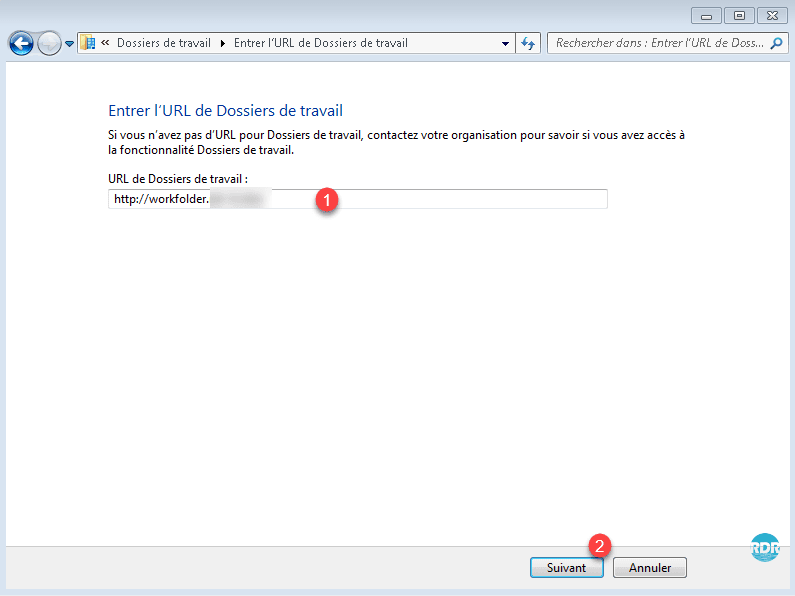
If you are using an HTTPS link, the URL must be valid at the certificate level.
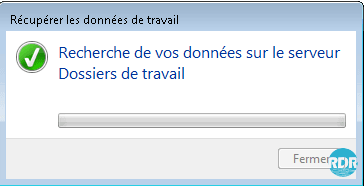
Wait while connecting to the server.
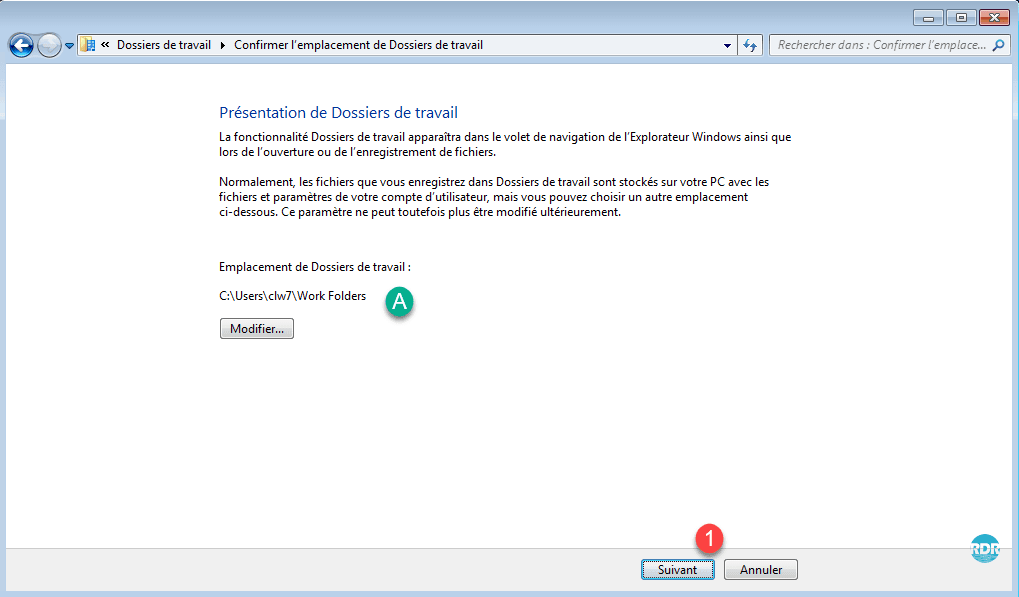
It is possible to change the location of the A folder. Click on the Next button 1 .
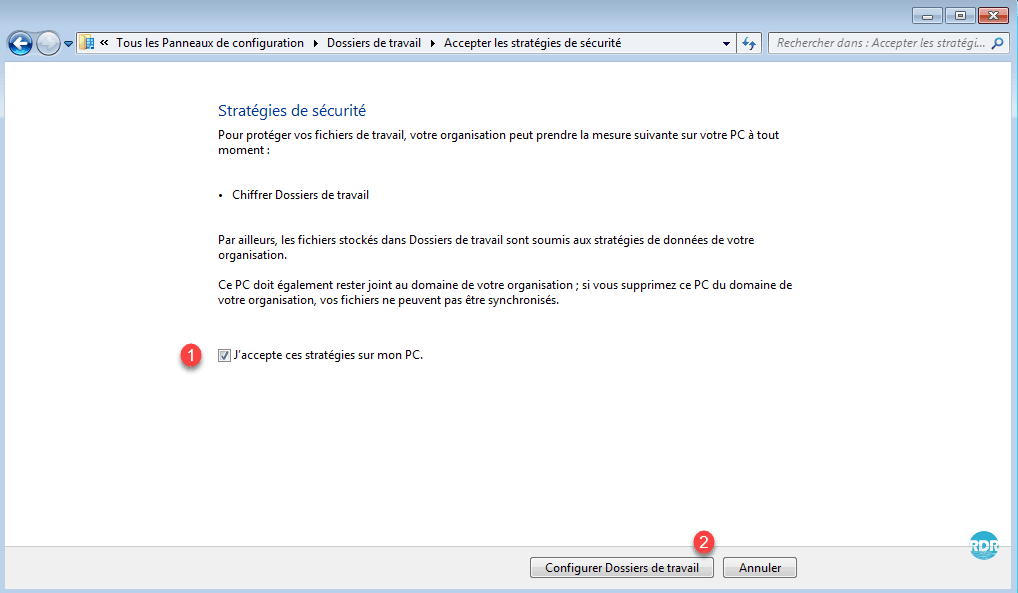
Check the box 1 to accept the strategies and click on Configure Work Folder 2 .
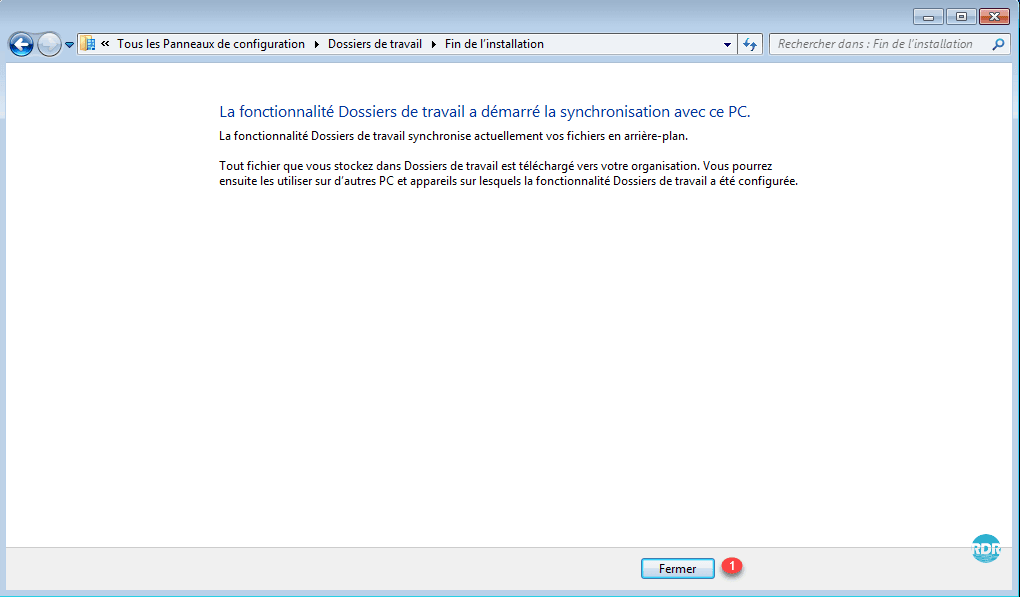
Close the wizard by clicking the 1 button.
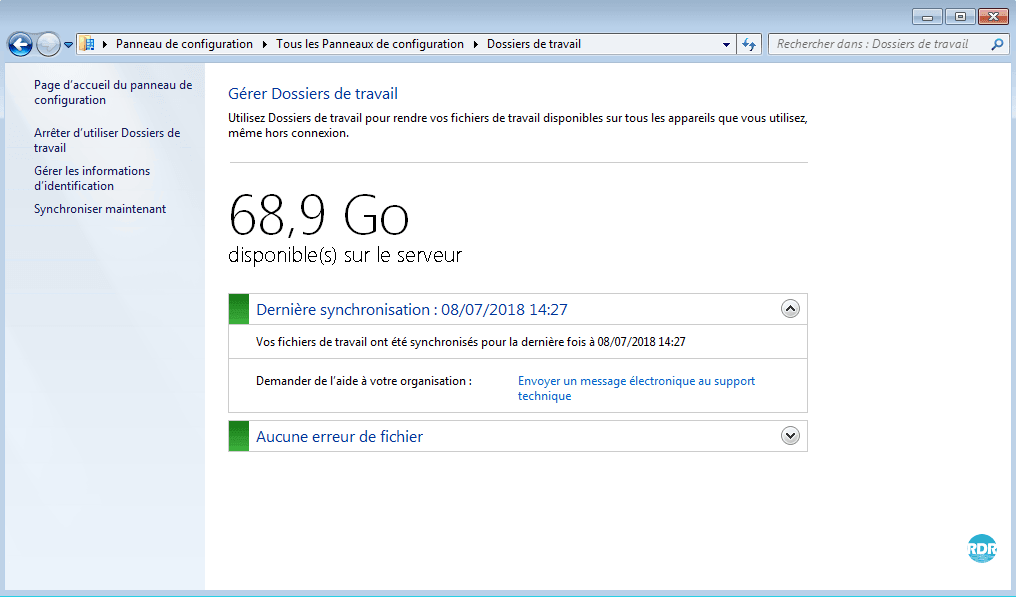
The working folder is configured on the workstation, it is possible to see the available space on the server as well as the access url and check the status of the synchronization.
Use Work Folder
Open Windows Explorer and at the Favorites go to Work Folders 1 . All folders and files in this folder will be synchronized to the server.
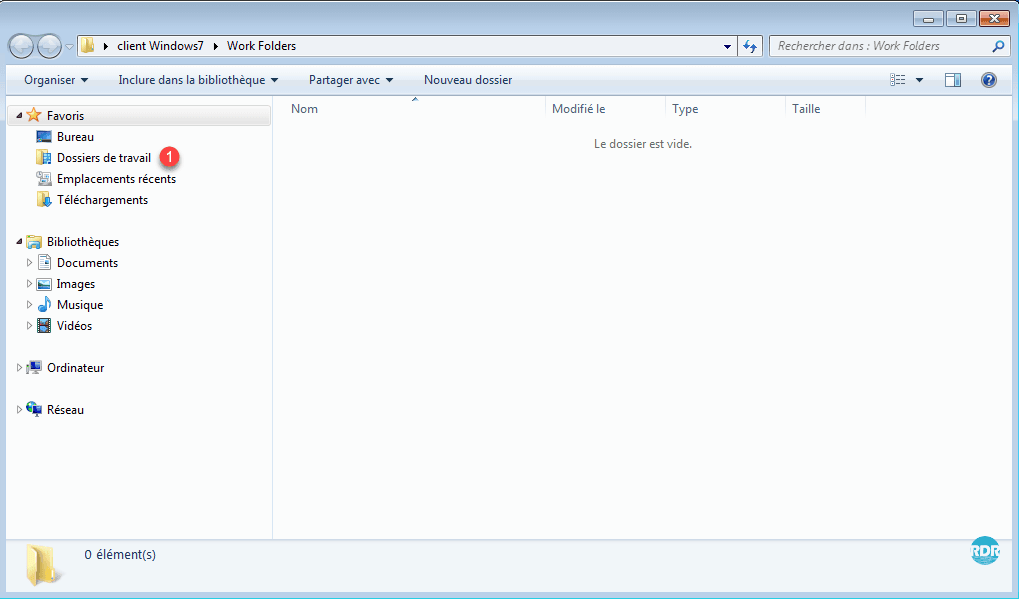
Create a new folder 1 .

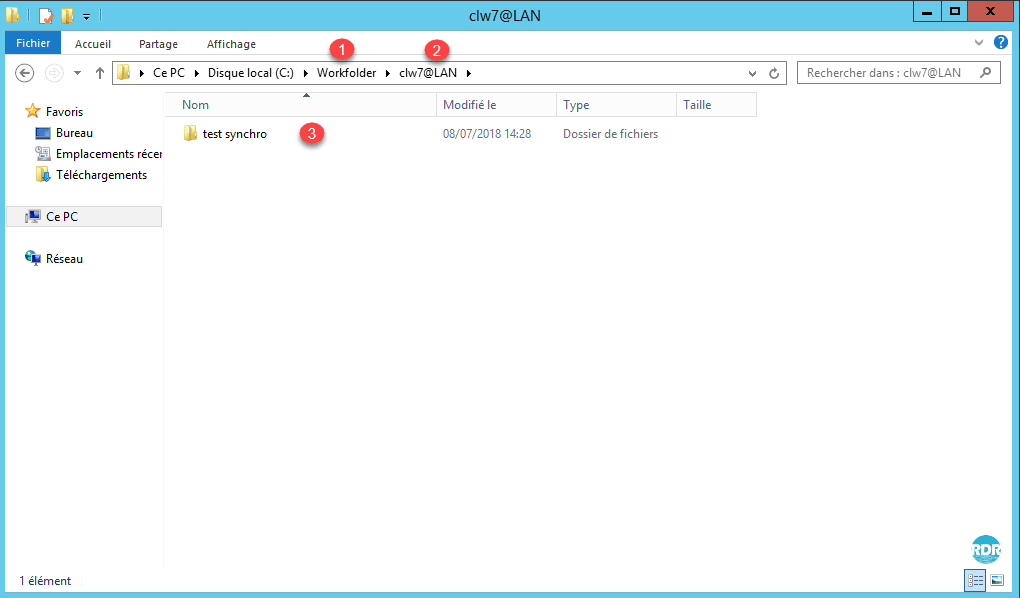
On the server, open the server’s file explorer, go to the location where the working folders are stored 1 then go to the folder of the user 2 . Check that the folder created from the client computer is synchronized 3 .
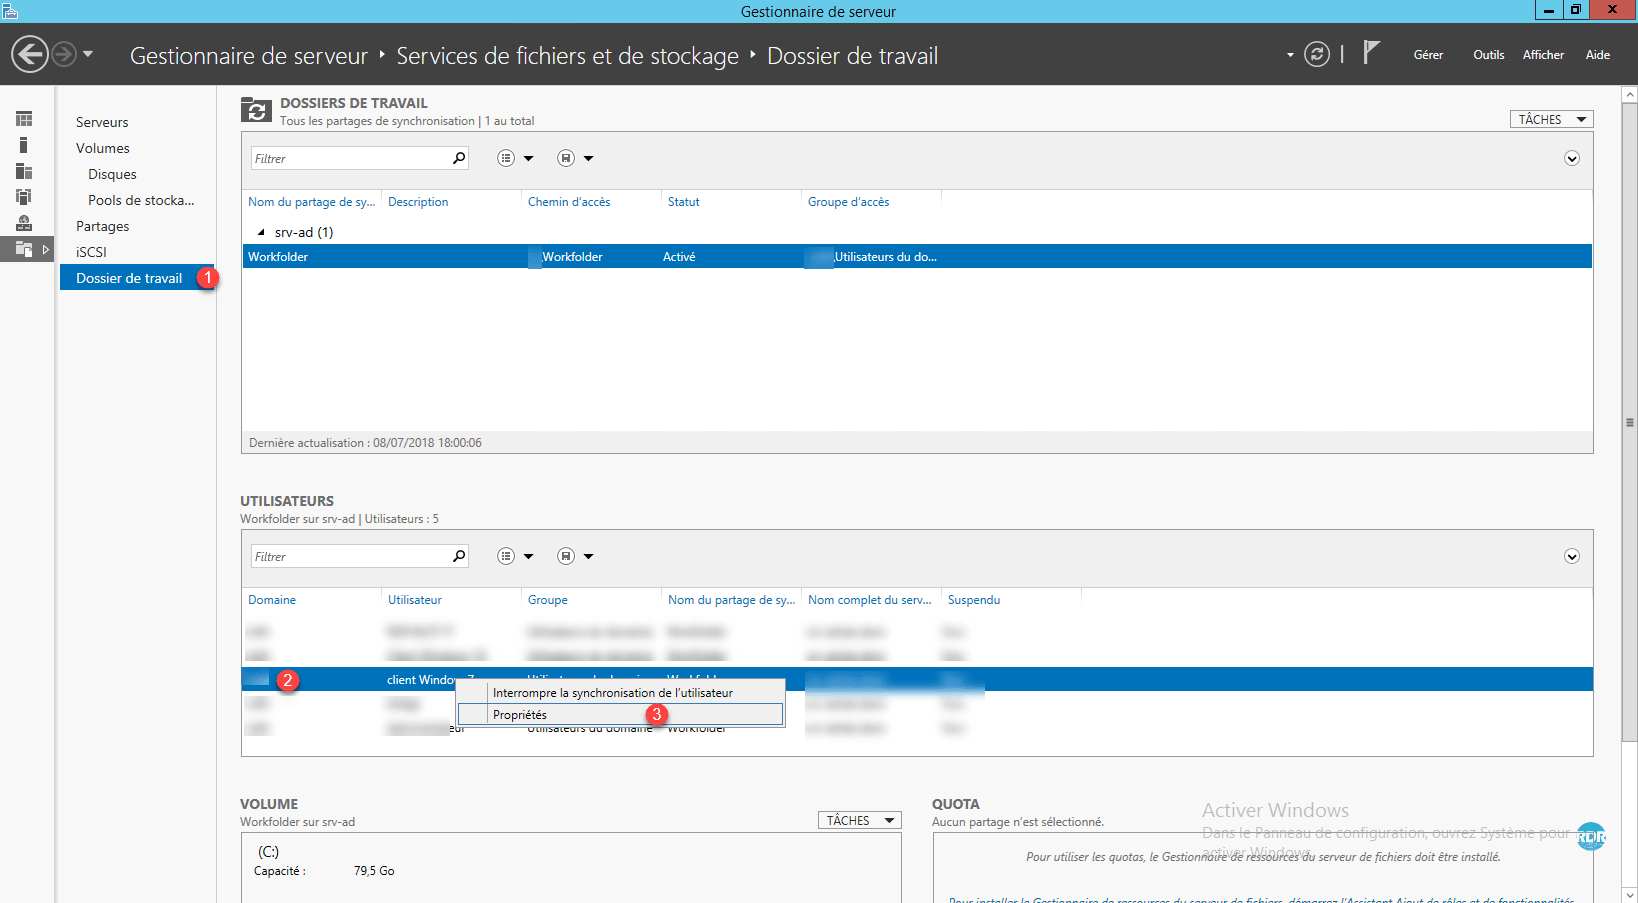
Open the server manager and go to the administration of the working folders 1 . Right click on the user 2 and click on Properties 3 .
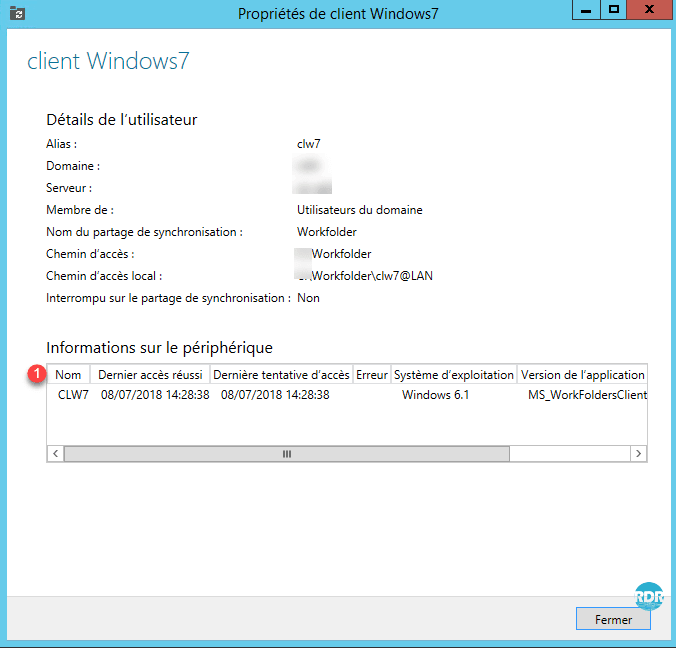
From the properties, it is possible to see the different devices 1 used by the user.
Automatic configuration of clients by GPO
It is possible to automate the configuration of Work Folders by using Group Policy (GPO).
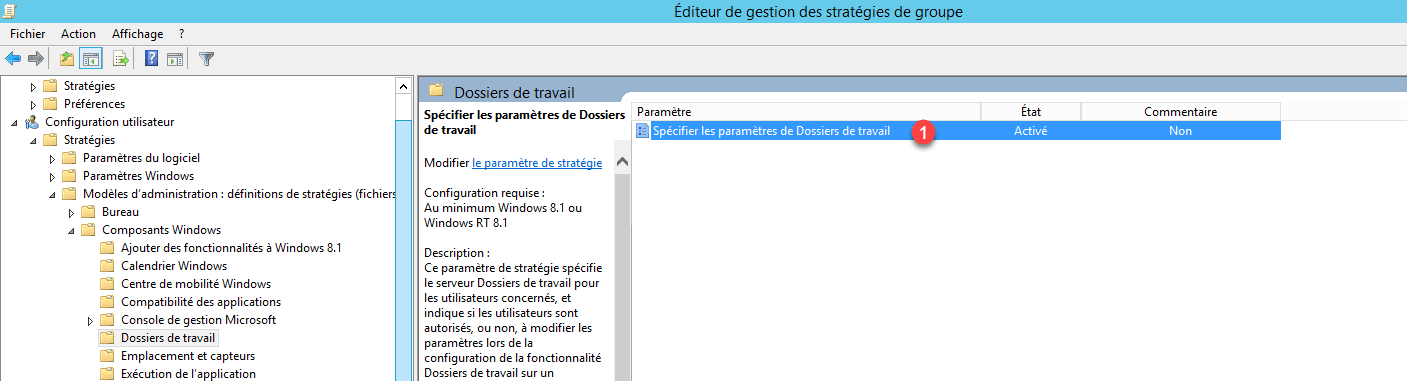
The option to configure is: Specify the settings for Work Folders 1 located in User Configuration> Policies> Administrative Templates> Windows Components> Work Folders.
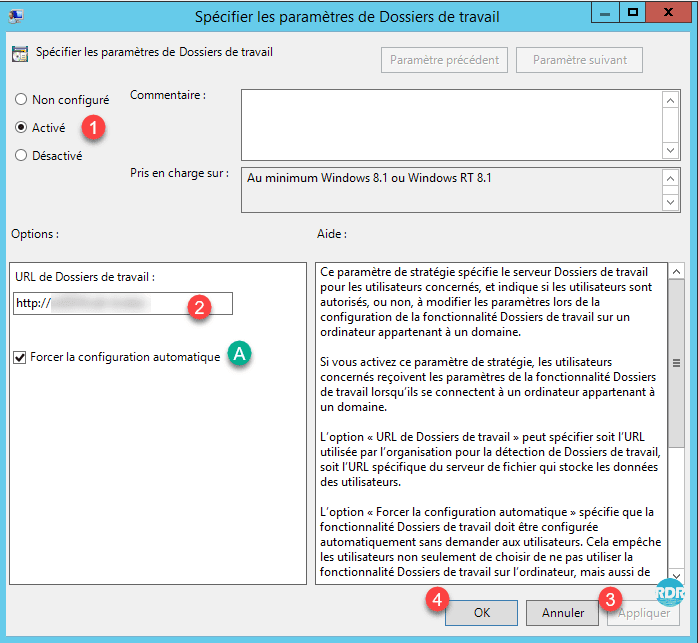
Enable the 1 setting and specify the 2 URL of the server that hosts the folders. If the Force automatic configuration A box is checked, the user will be unable to manually configure the working folders. Click on Apply 3 and OK 4 .
Use HTTPS for Work Folders
Two possibilities for switching to HTTPS.
- Go through a reverse proxy solution using SSL discharge (ARR or WAF).
- Install a certificate on the server. The Web server is an IIS Core installation must be done on the command line. (link)
Vidéo
