Presentation
IPP (Internet Printing Protocol) is a protocol that allows printing using HTTP, which theoretically allows printing from anywhere.
On Windows Server IPP is implemented on print services and relies on the IIS web server.
The installation of Internet Printing on Windows Server sets up a self service web portal that allows the user to connect a printer to their workstation (Internet Explorer only) and manage print queues.
Prerequisites
To set up IPP several prerequisites are needed:
- A print server running Windows Server in graphical mode.
- IPP compatible printers and copiers.
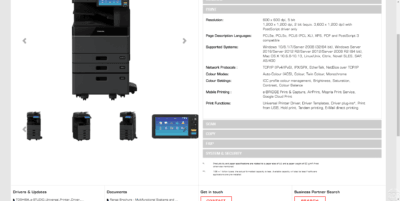
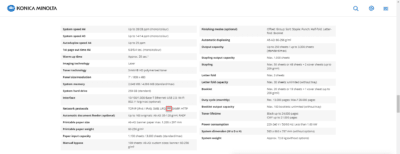
Below the characteristics of two copiers, the one on the left does not support the IPP protocol unlike the left copier.
IPP installation
When installing the print server, check the Internet Printing 1 box.
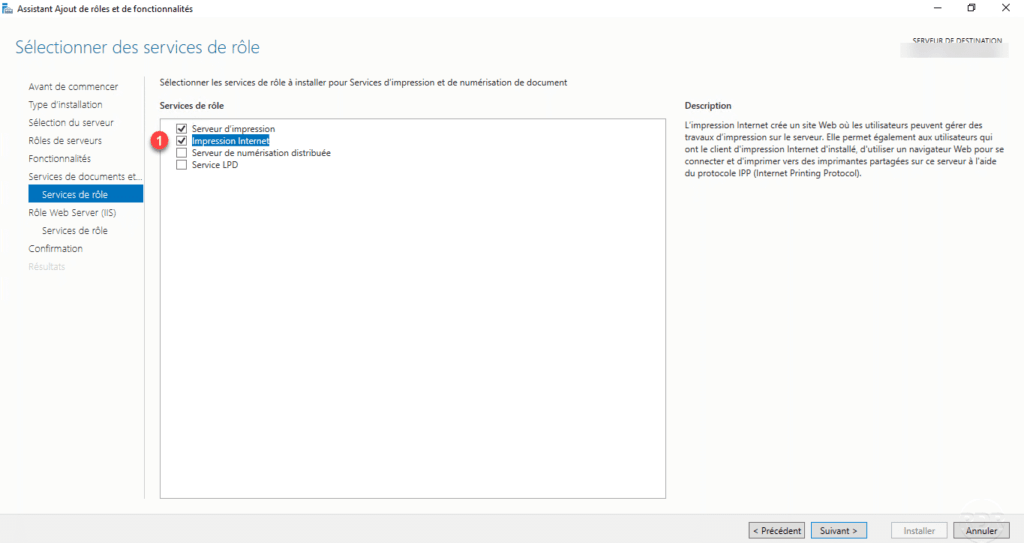
The IPP installation will install the IIS role on the print server.
IPP can be installed on an existing print server by launching the Roles and Features Installation Wizard.
Once the installation is complete, launch an Internet browser, in the address bar enter http://server-name/printers/ or http://server-ip/printers/.
Using Internet Printing
The web portal
With Internet explorer, go to the web portal by entering the name or IP address of the server. The first page displays the list of printers installed on the server.
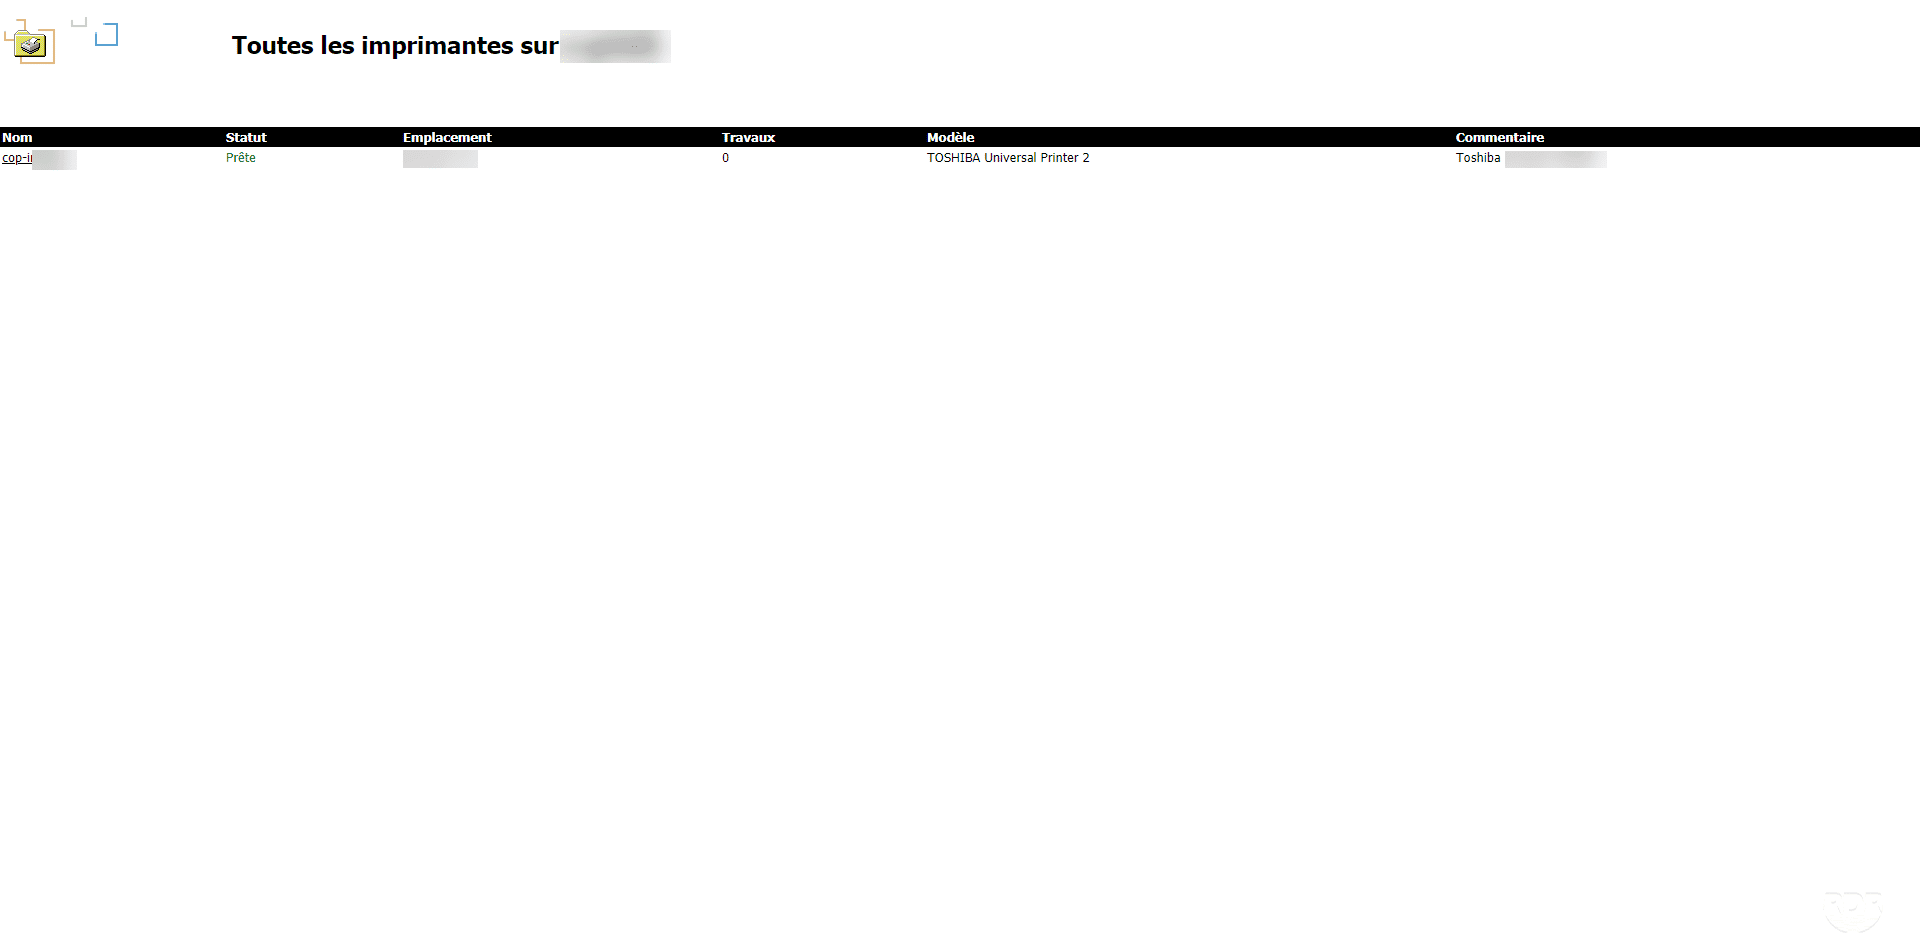
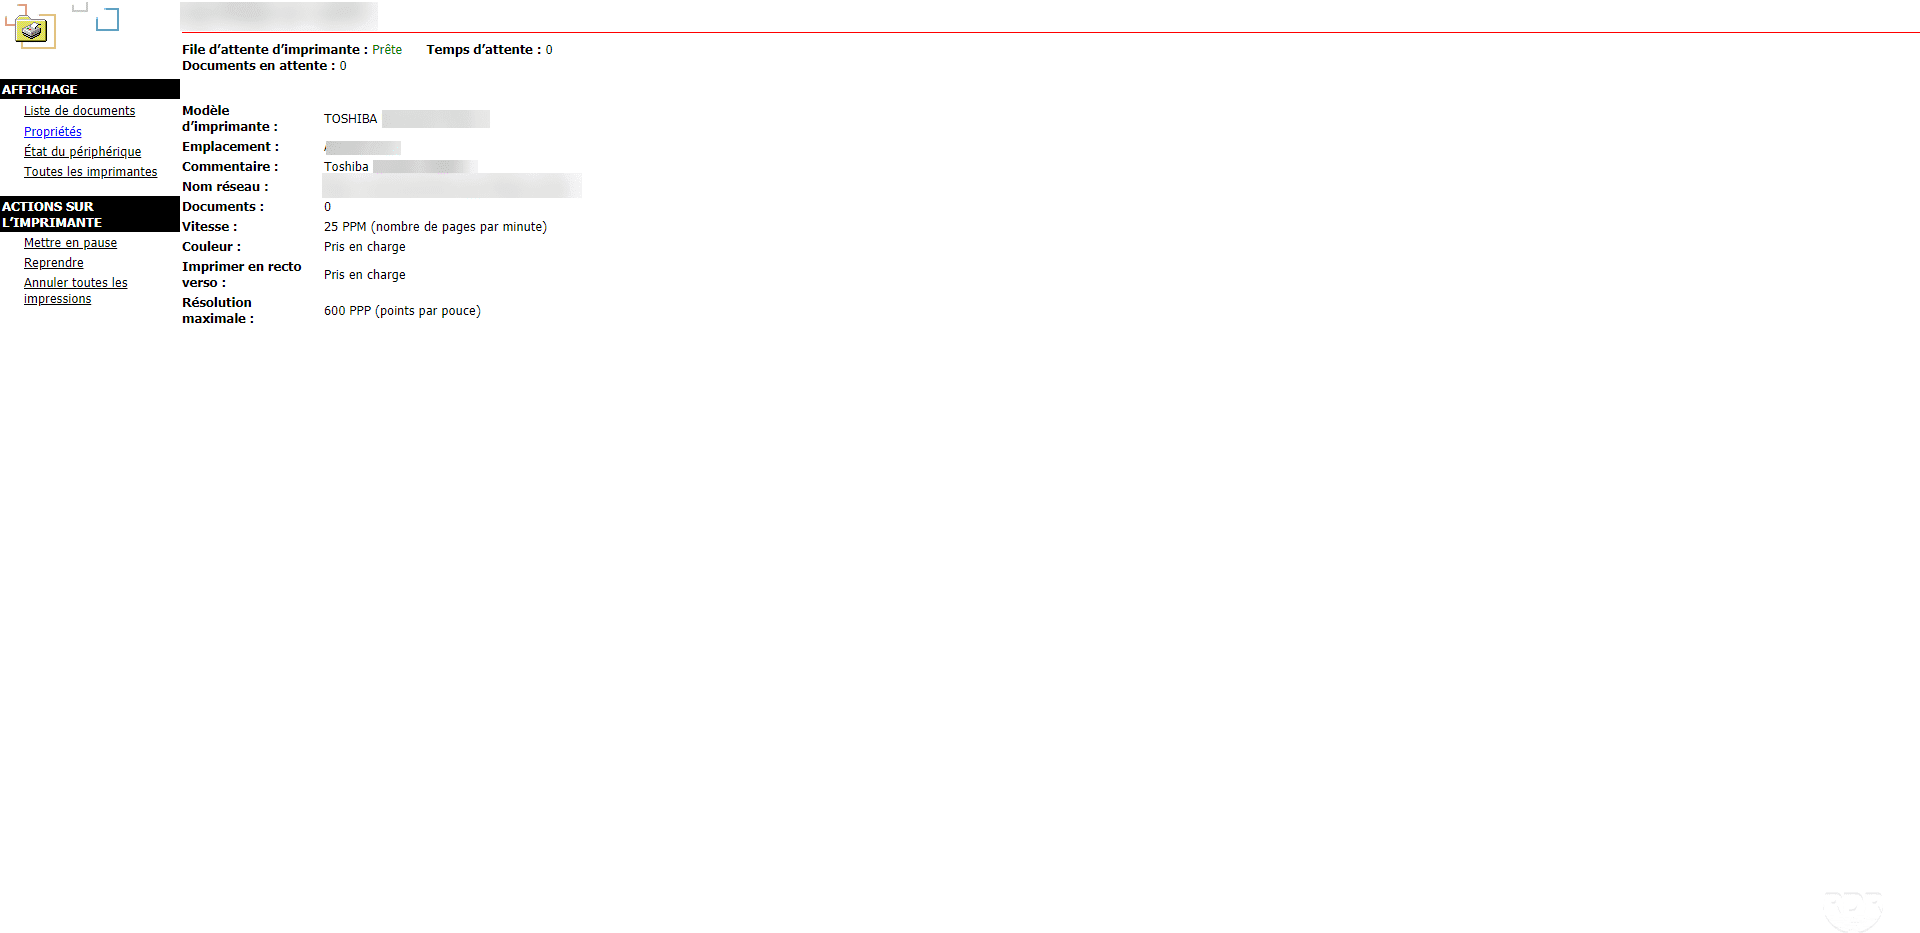
Clicking on a printer available, we arrive on page that displays the queue with a menu on the left that allows you to perform various actions.
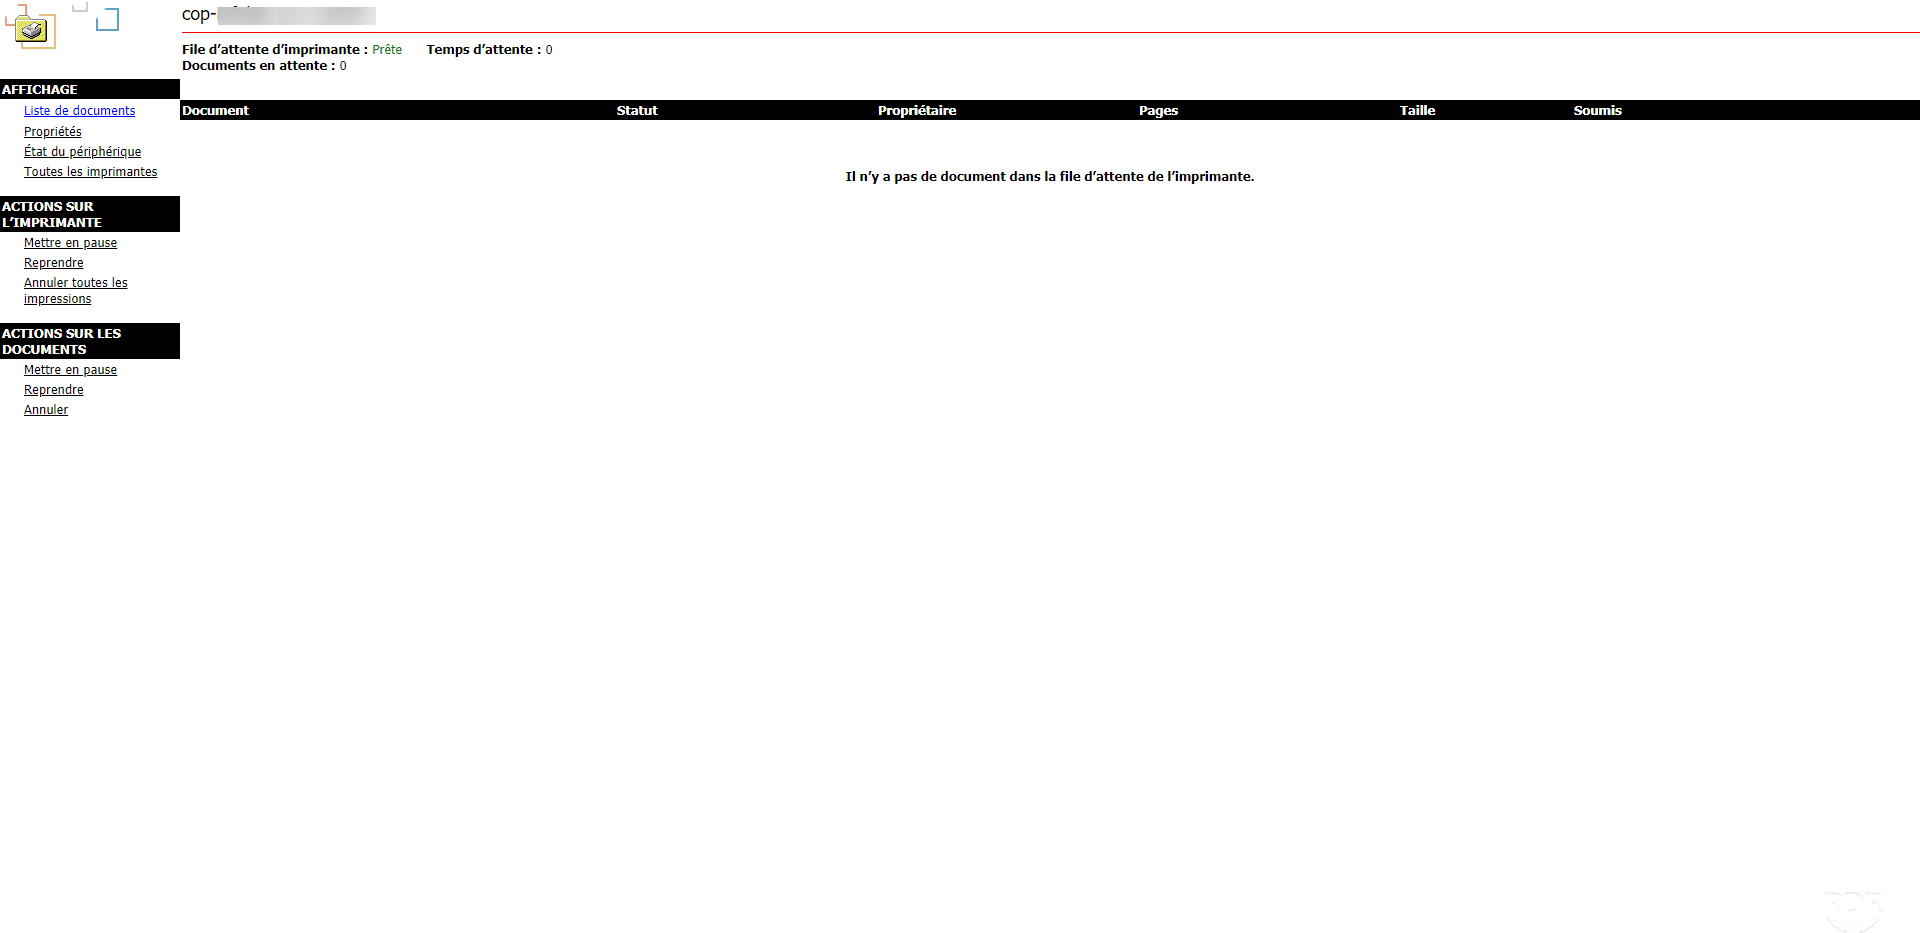
Below an overview of the different pages:

Connect a printer from the web interface
Works only with Internet Explorer
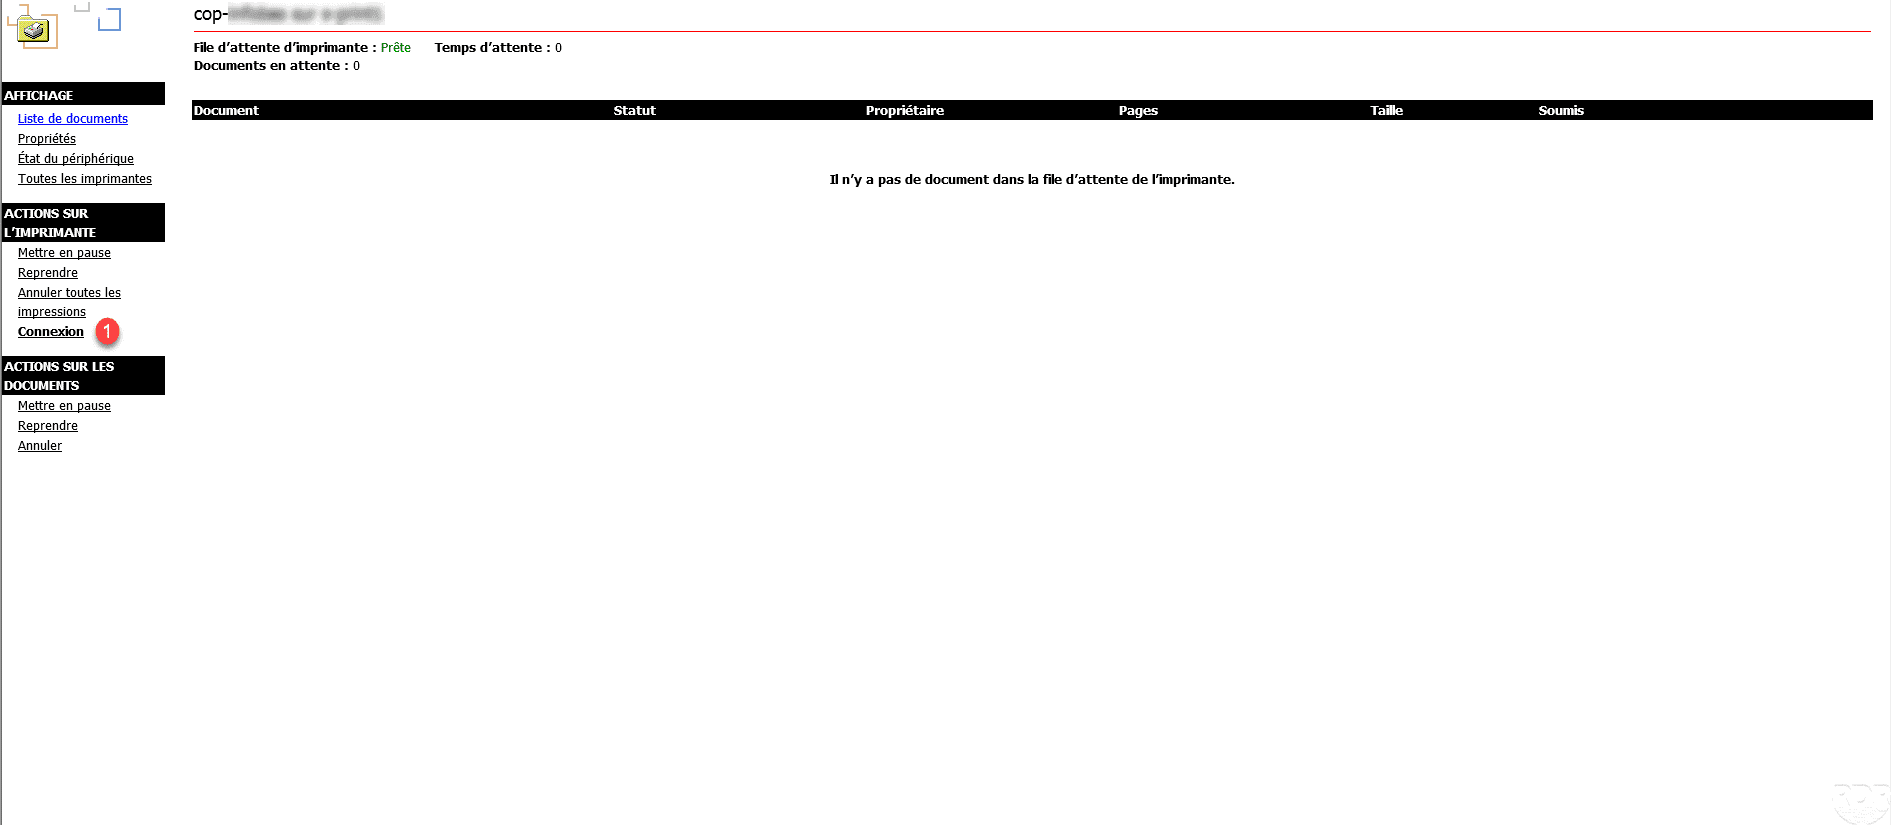
In the ACTIONS ON PRINTER section, click on the Connection link 1 .
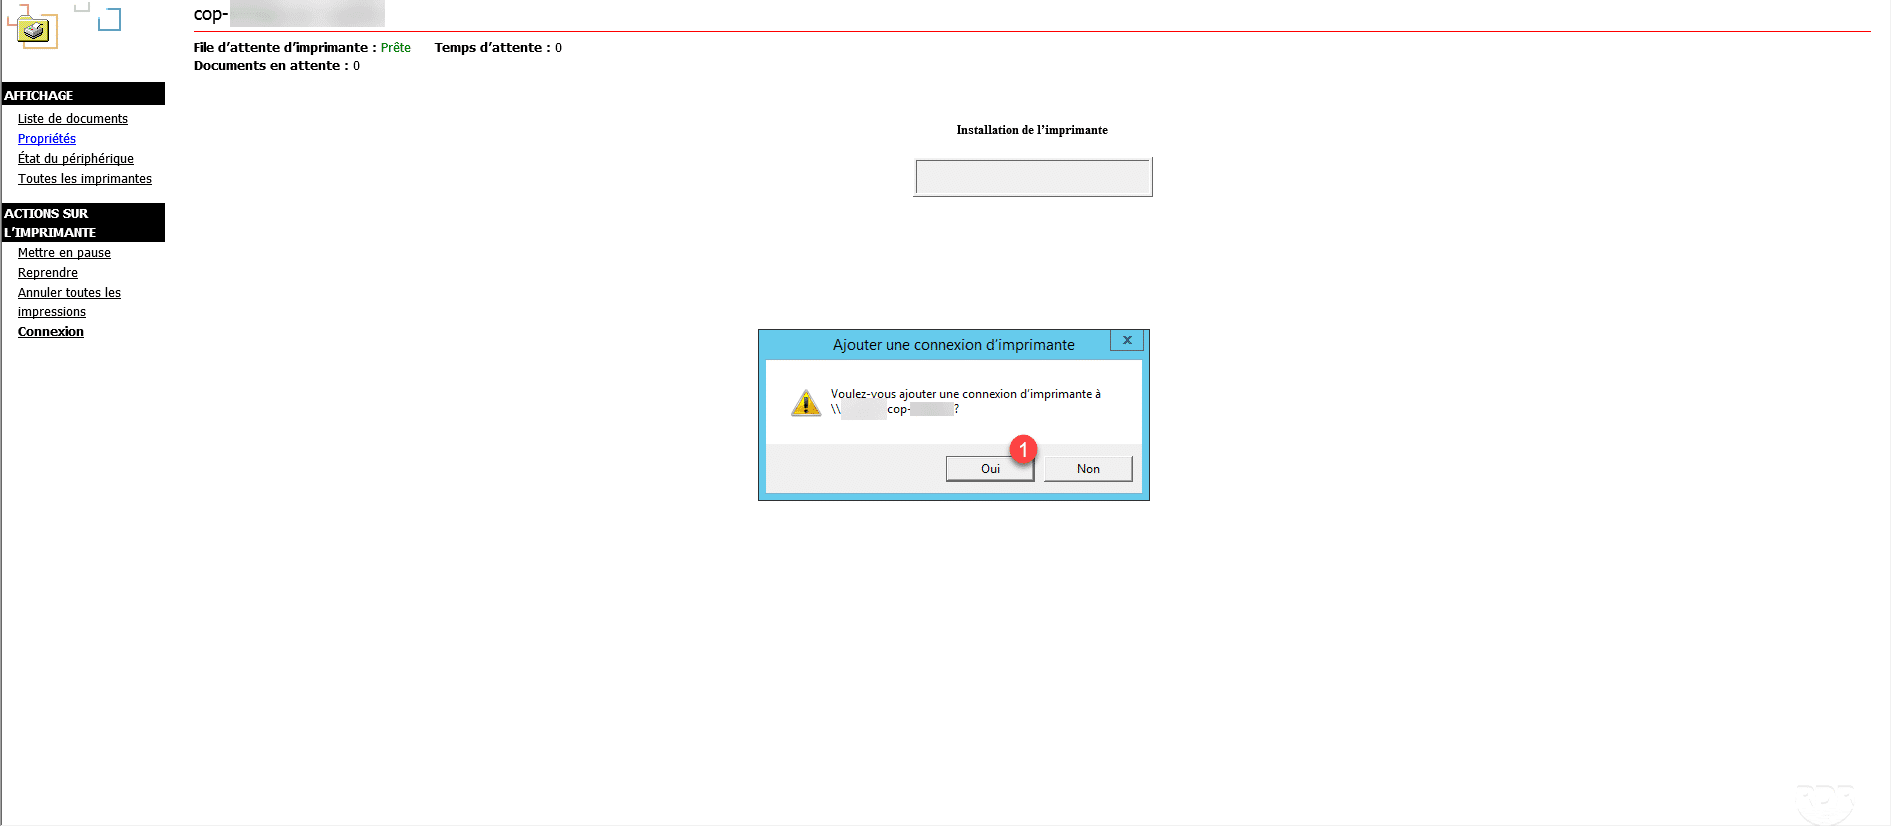
Click Yes 1 to confirm the printer connection.
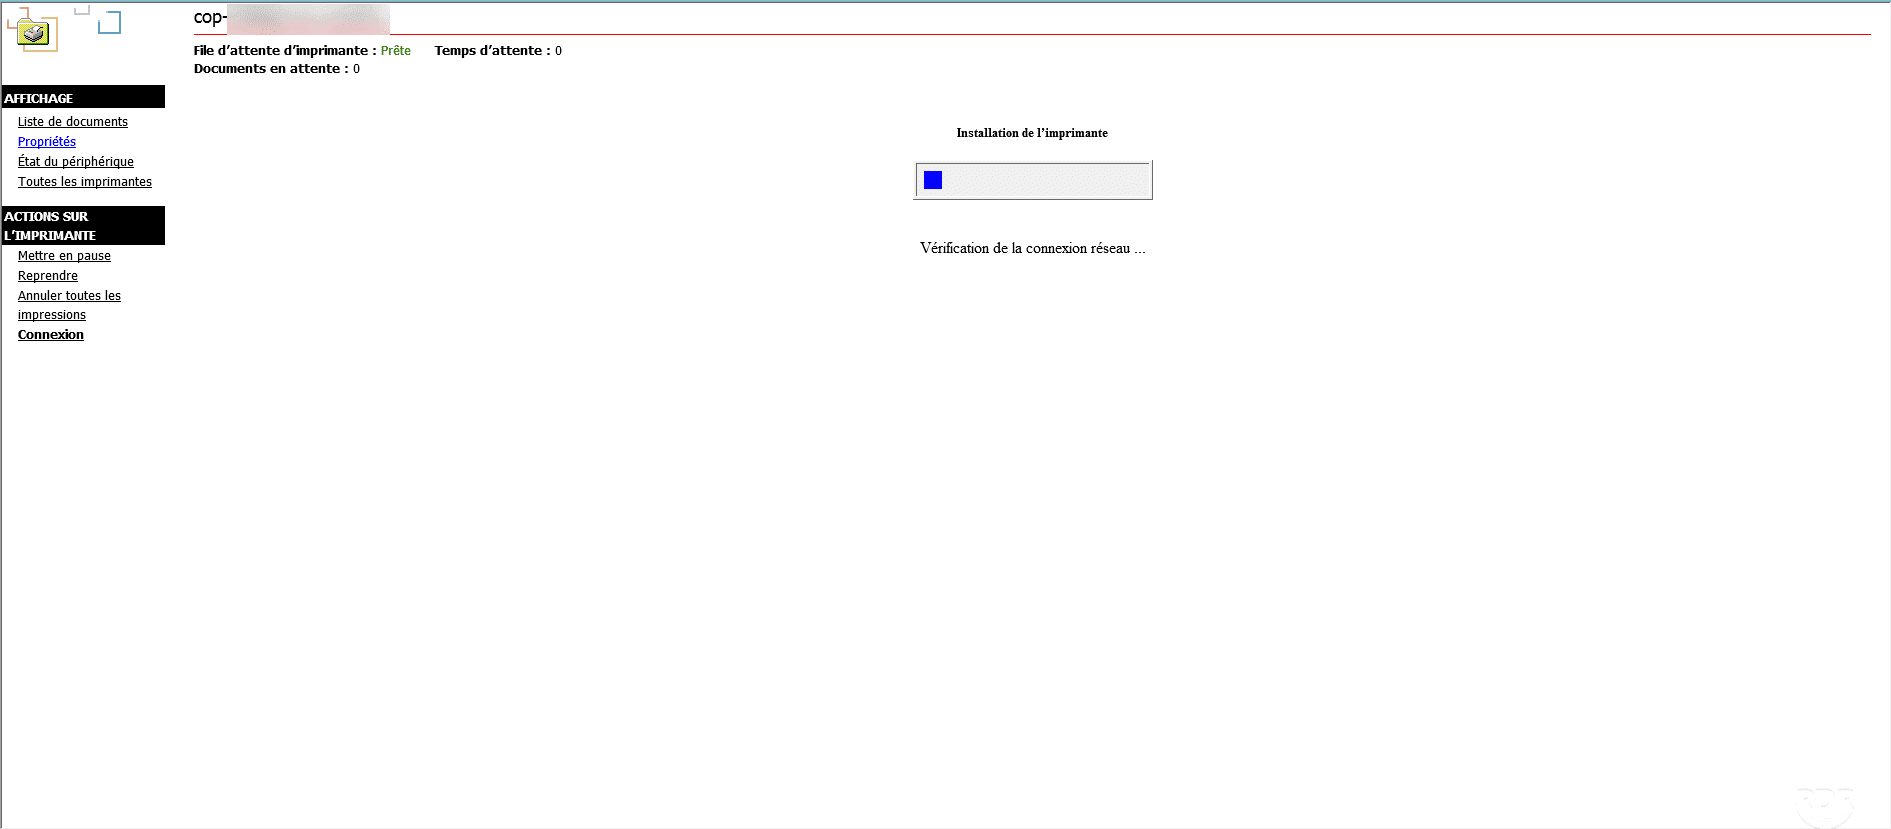
Wait while installing the printer …
The printer is installed, a confirmation message appears.
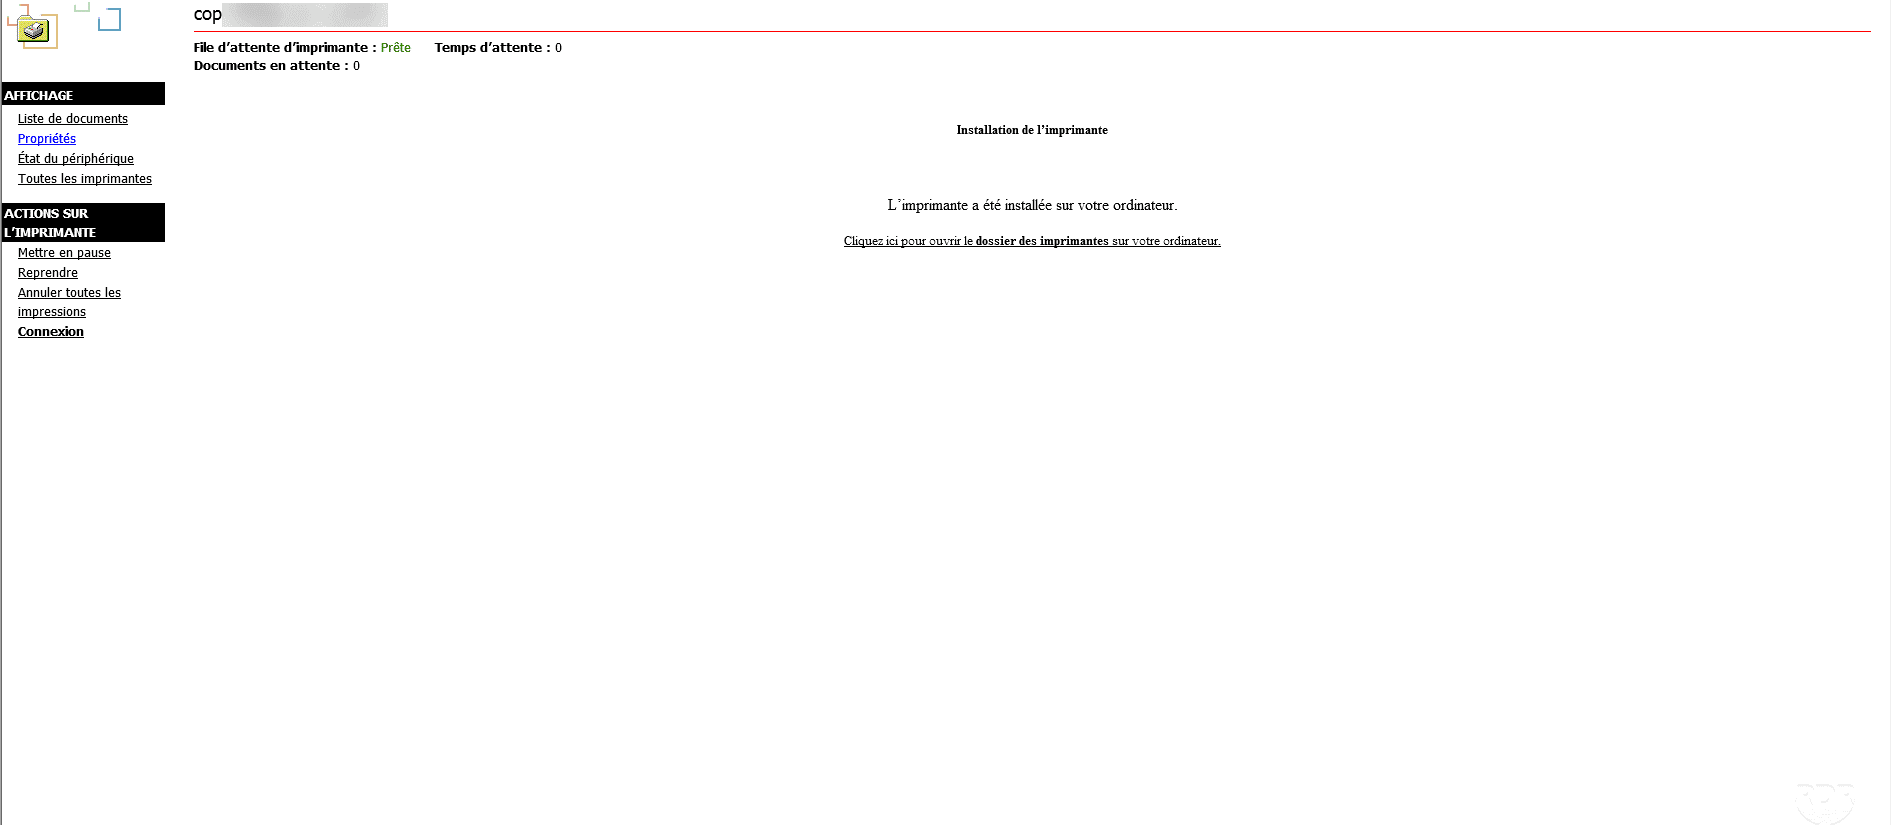
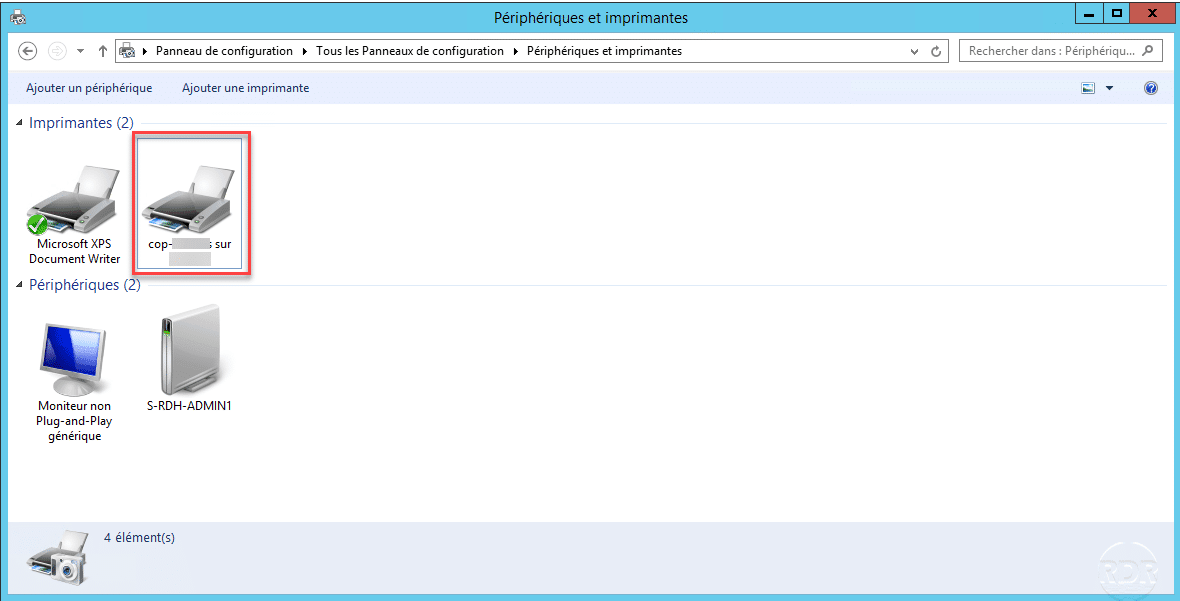
The printer is also found in the control panel on the station.
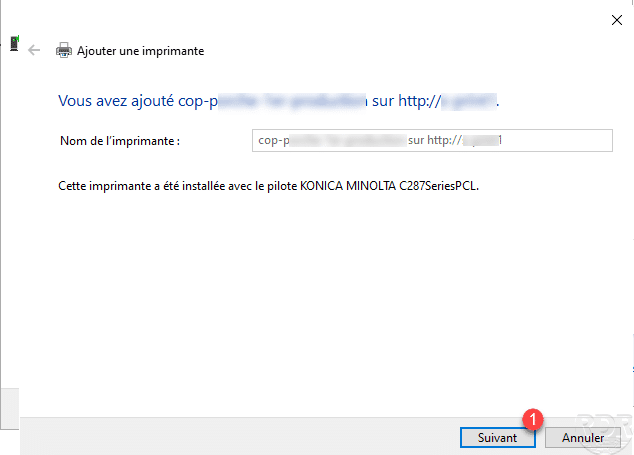
Install an Internet Printing Compatible Printer (IPP)
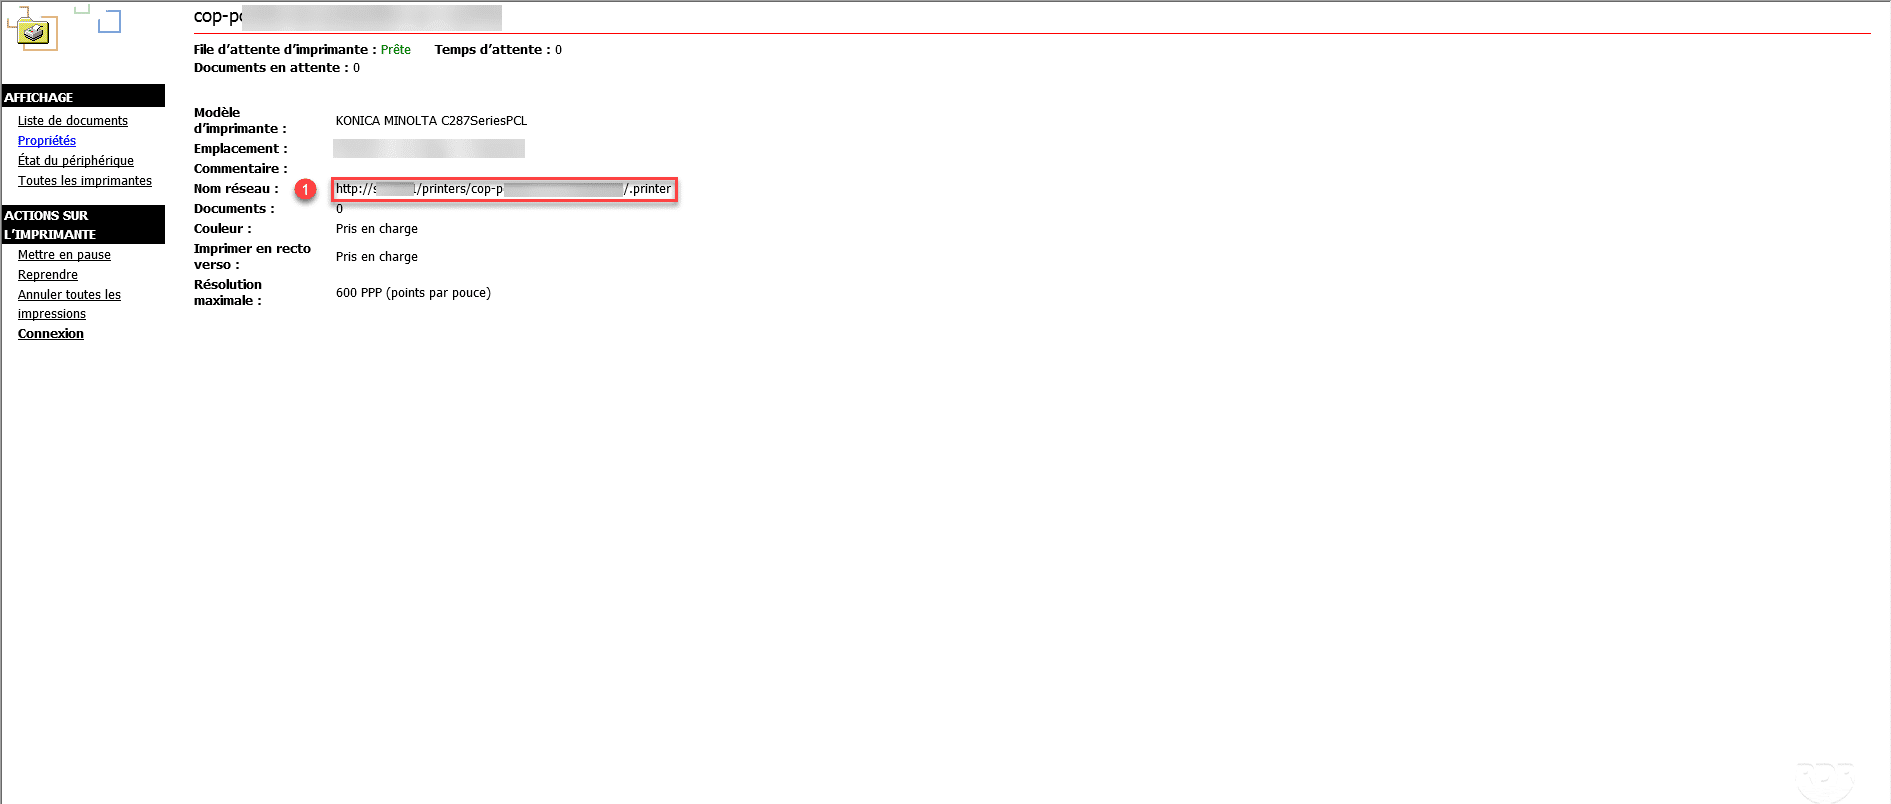
From the printer properties page, copy the network name 1 which is in the form of an url.
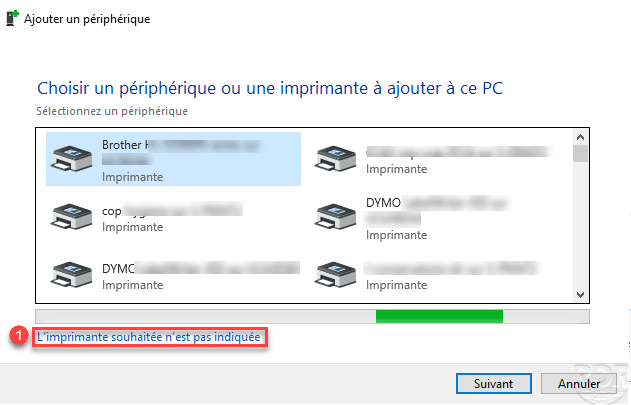
On the station where the printer is to be installed, start the Add Printer Wizard, and click on The desired printer is not indicated 1 .
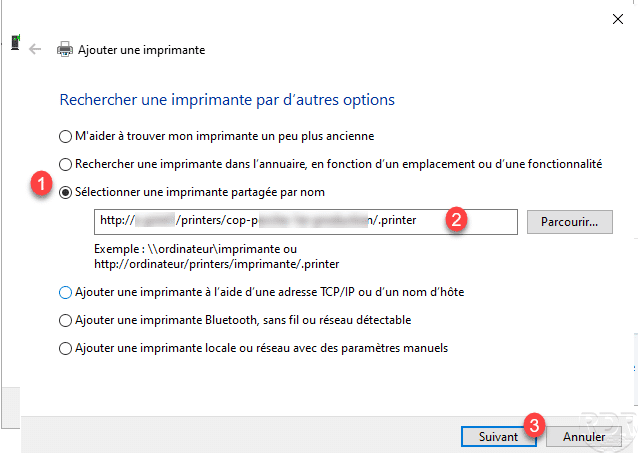
Choose the option to select a shared printer by name 1 then enter the printer URL and click Next 3 .
Once the printer is installed, click Next 1 .
Close the wizard by clicking on Finish 1 .
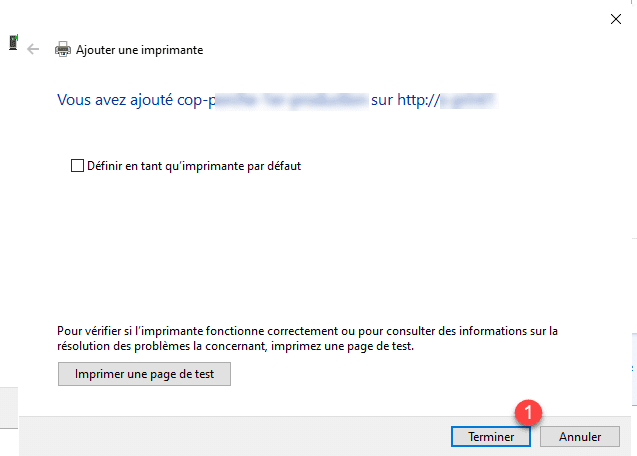
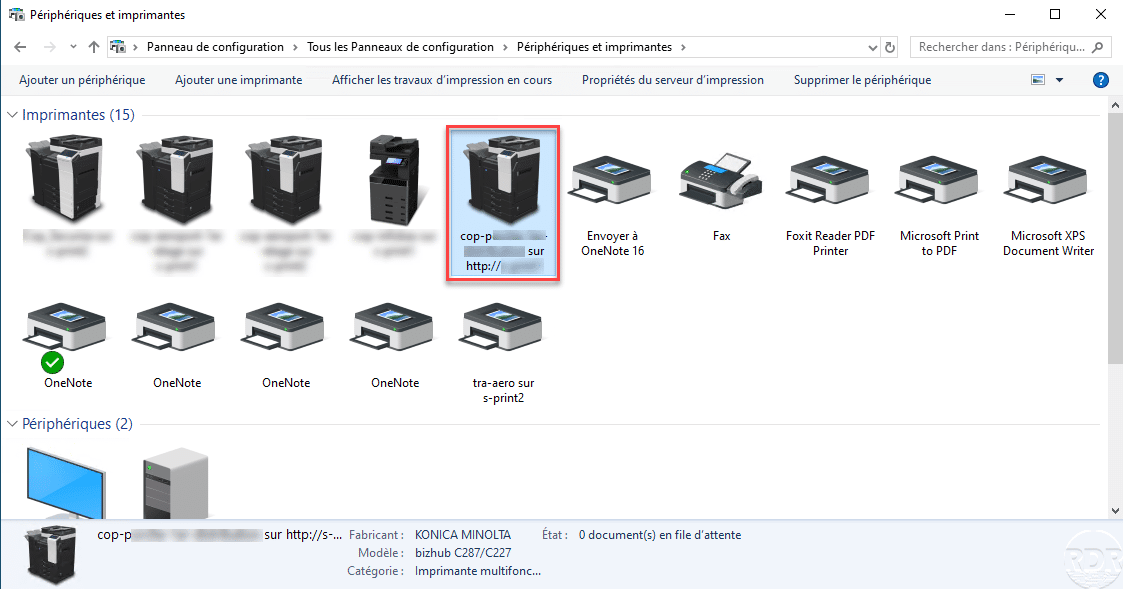
The printer is installed on the machine and visible in the device list.