

Presentation
Windows Server includes a feature (Windows Backup) that allows you to perform full system backups or a portion of it.
It can be used to back up virtual machines, SQL Server databases, file server …
It is recommended to use a hard disk dedicated to backups to have incremental backups, in case of user of a network share a full backup will be made every day.
It is not possible to centralize backups from a dedicated server, the role must be installed on all the servers to be backed up.
On the virtual machine, a vhd has been introduced to simulate a USB disk.
Installing the Windows Backup Feature
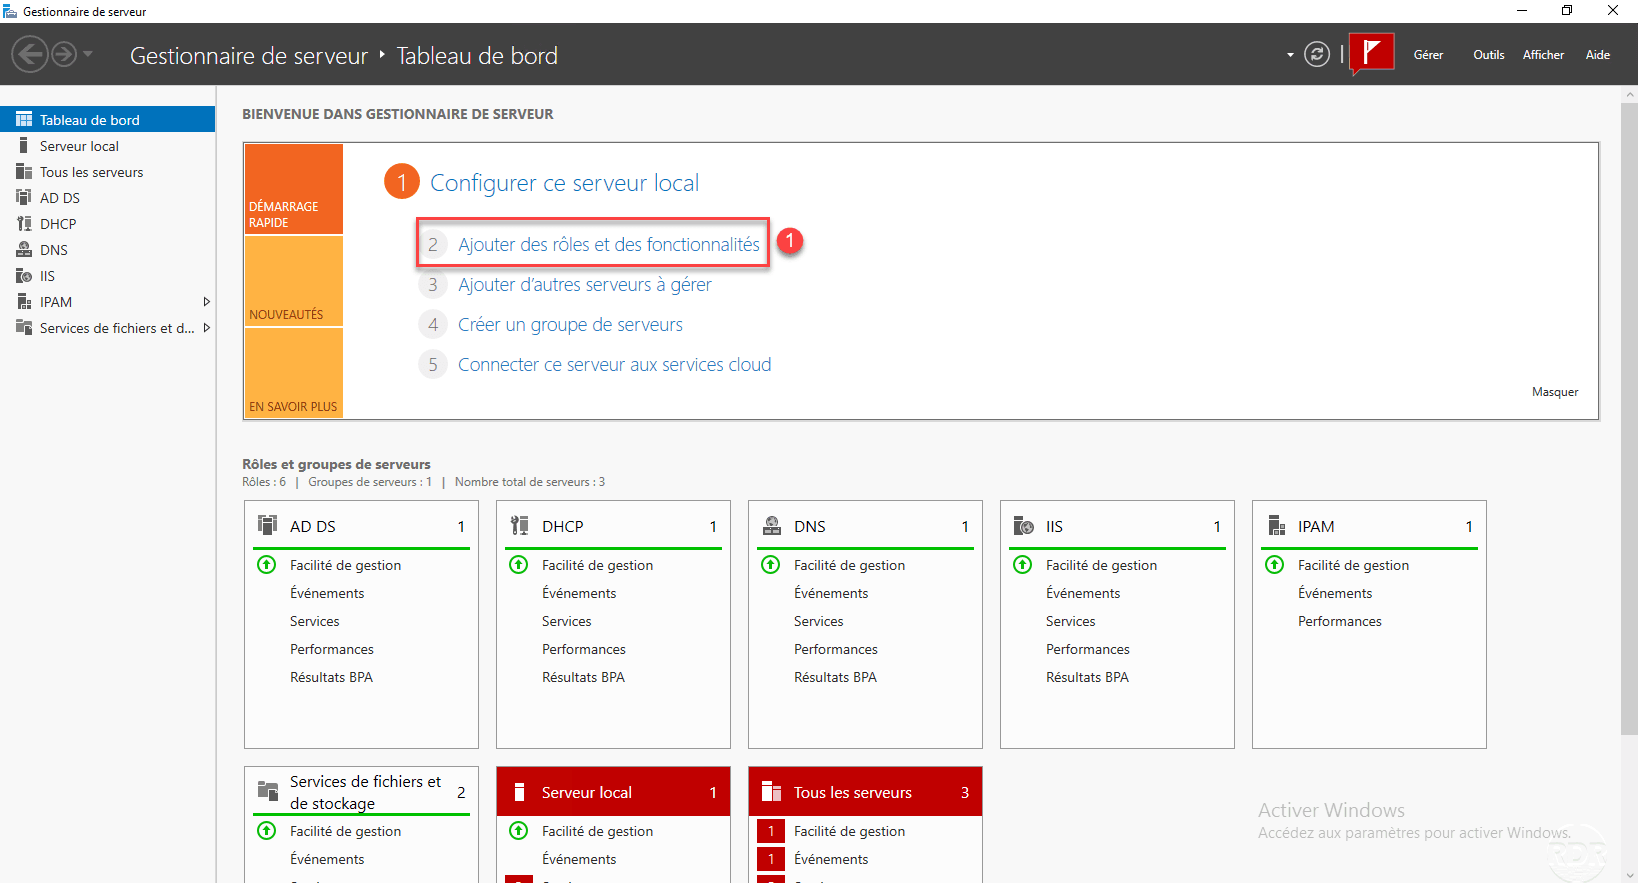
From the server manager, click Add Roles and Features 1 to launch the wizard.
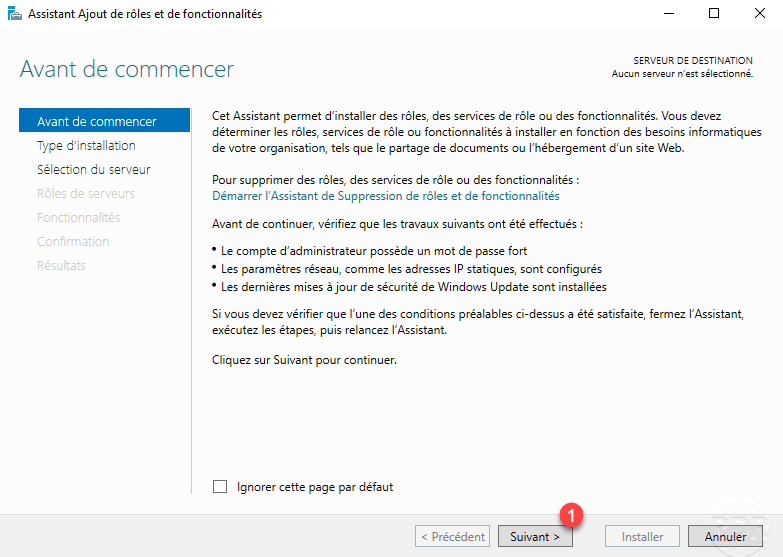
When launching the wizard, click Next 1 .
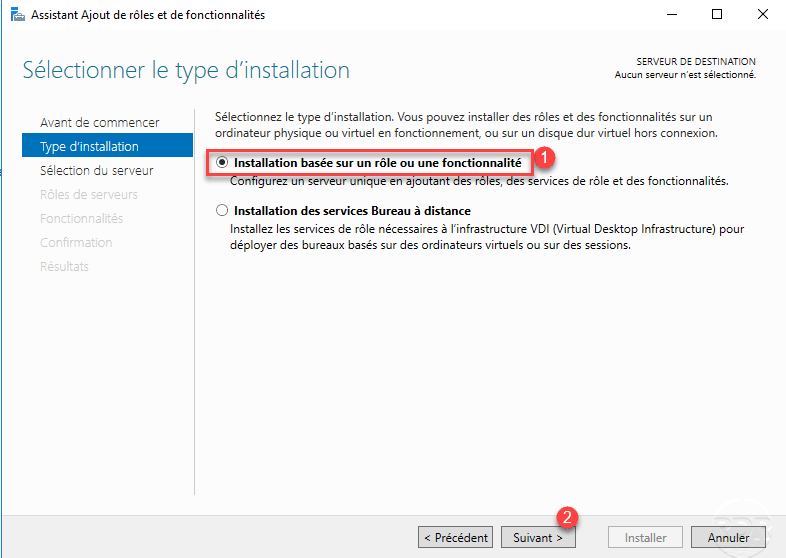
Type of installation, choose Role Based Installation or 1 Functionality and click Next 2 .
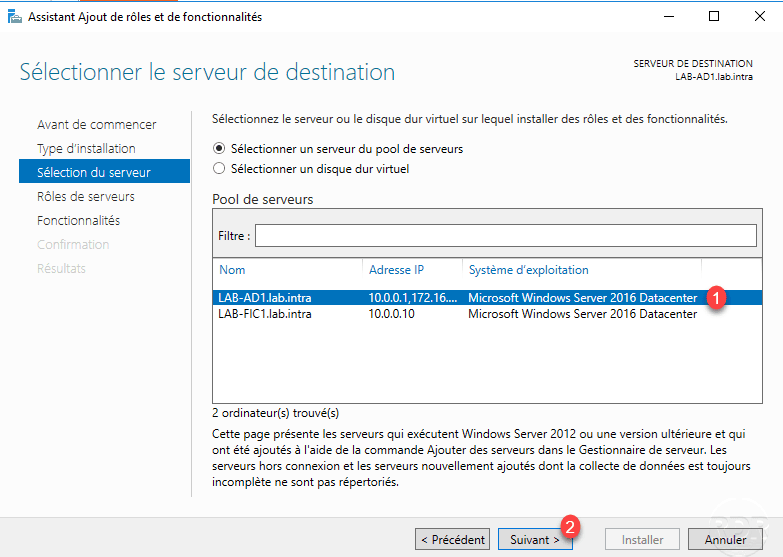
Choose server 1 where the Windows Backup feature must be installed then click Next 2 .
Skip the list of roles by clicking Next 1 .
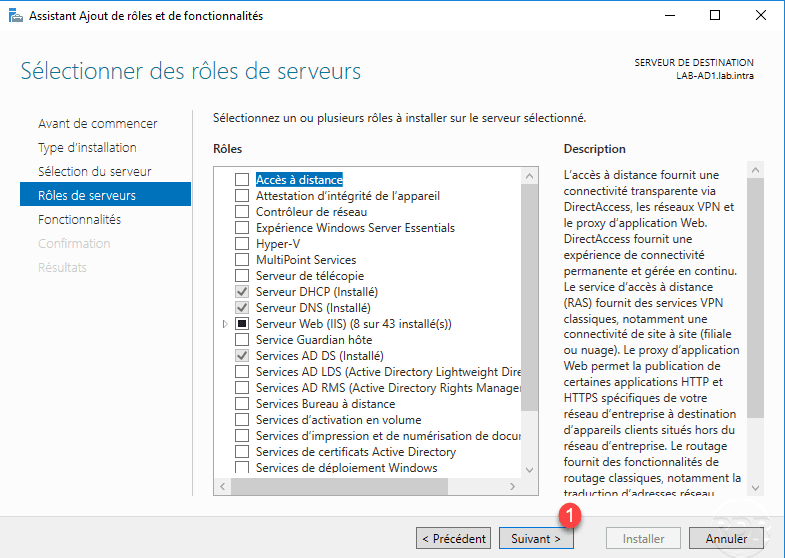
In the list of features, check Windows Server Backup 1 and click Next 2 .

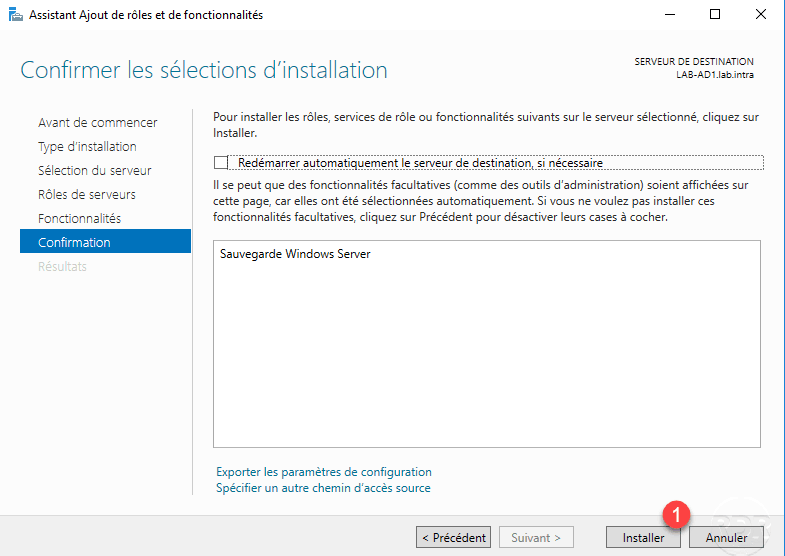
Click Install 1 to confirm the installation of the Windows Backup feature.
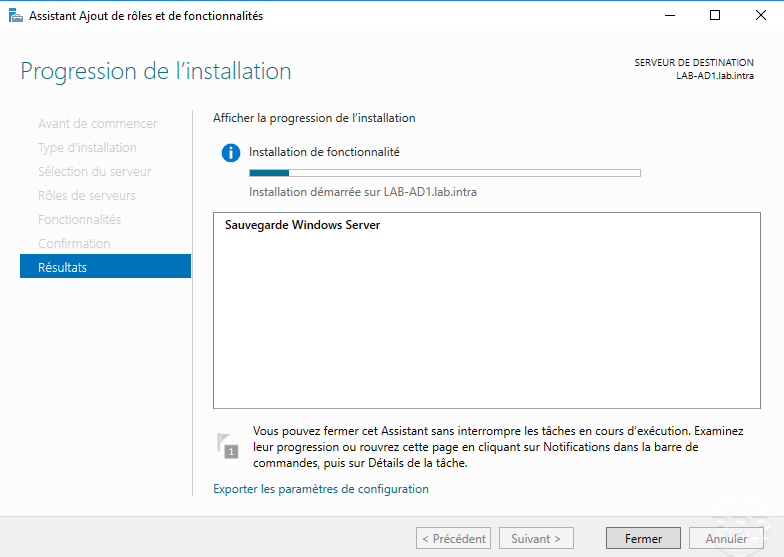
Wait during the installation …
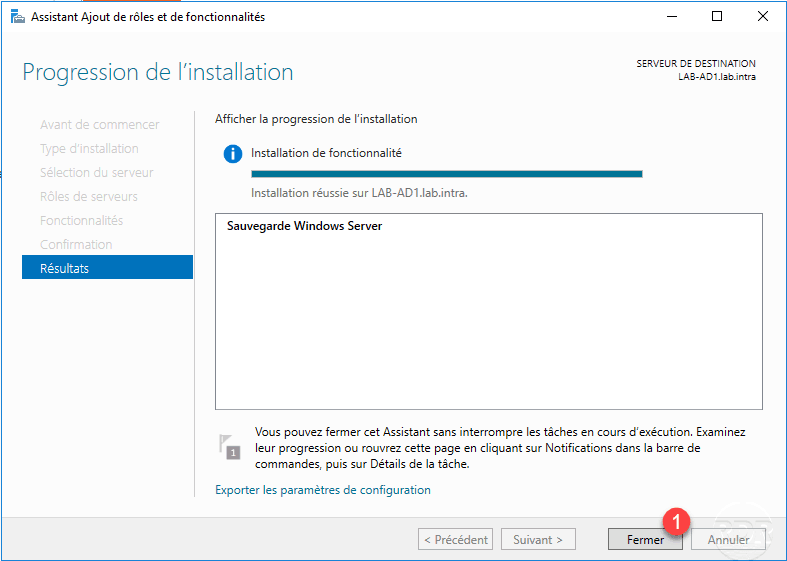
When the installation is complete, exit the wizard by clicking Close 1 .
Setting up a backup with Windows Backup
Launch the wbadmin console that manages the Windows backup feature.

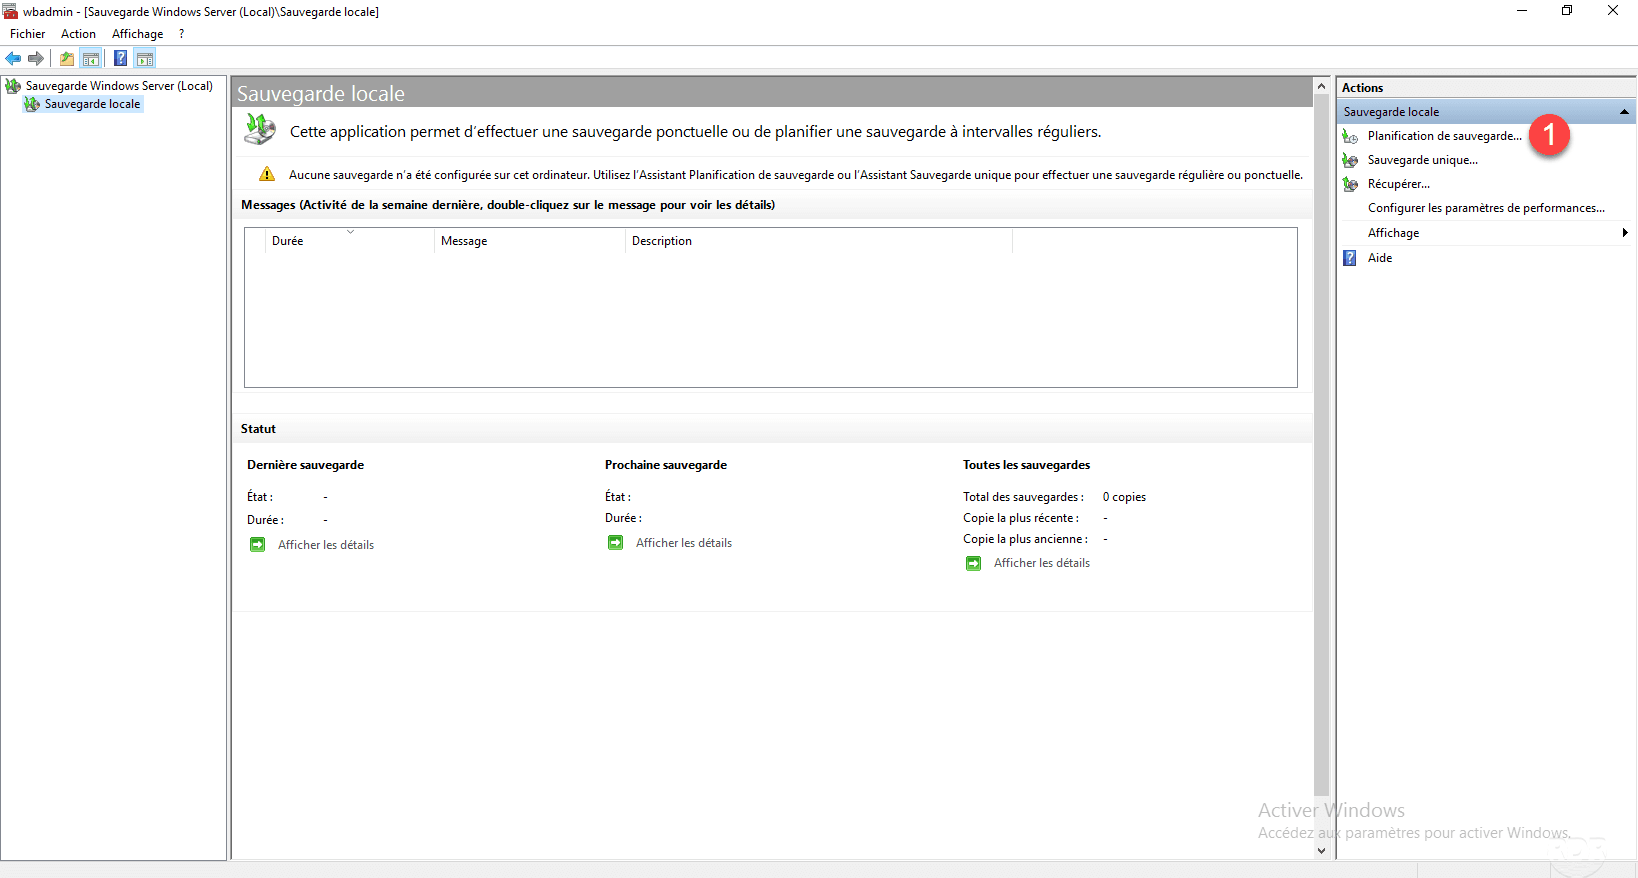
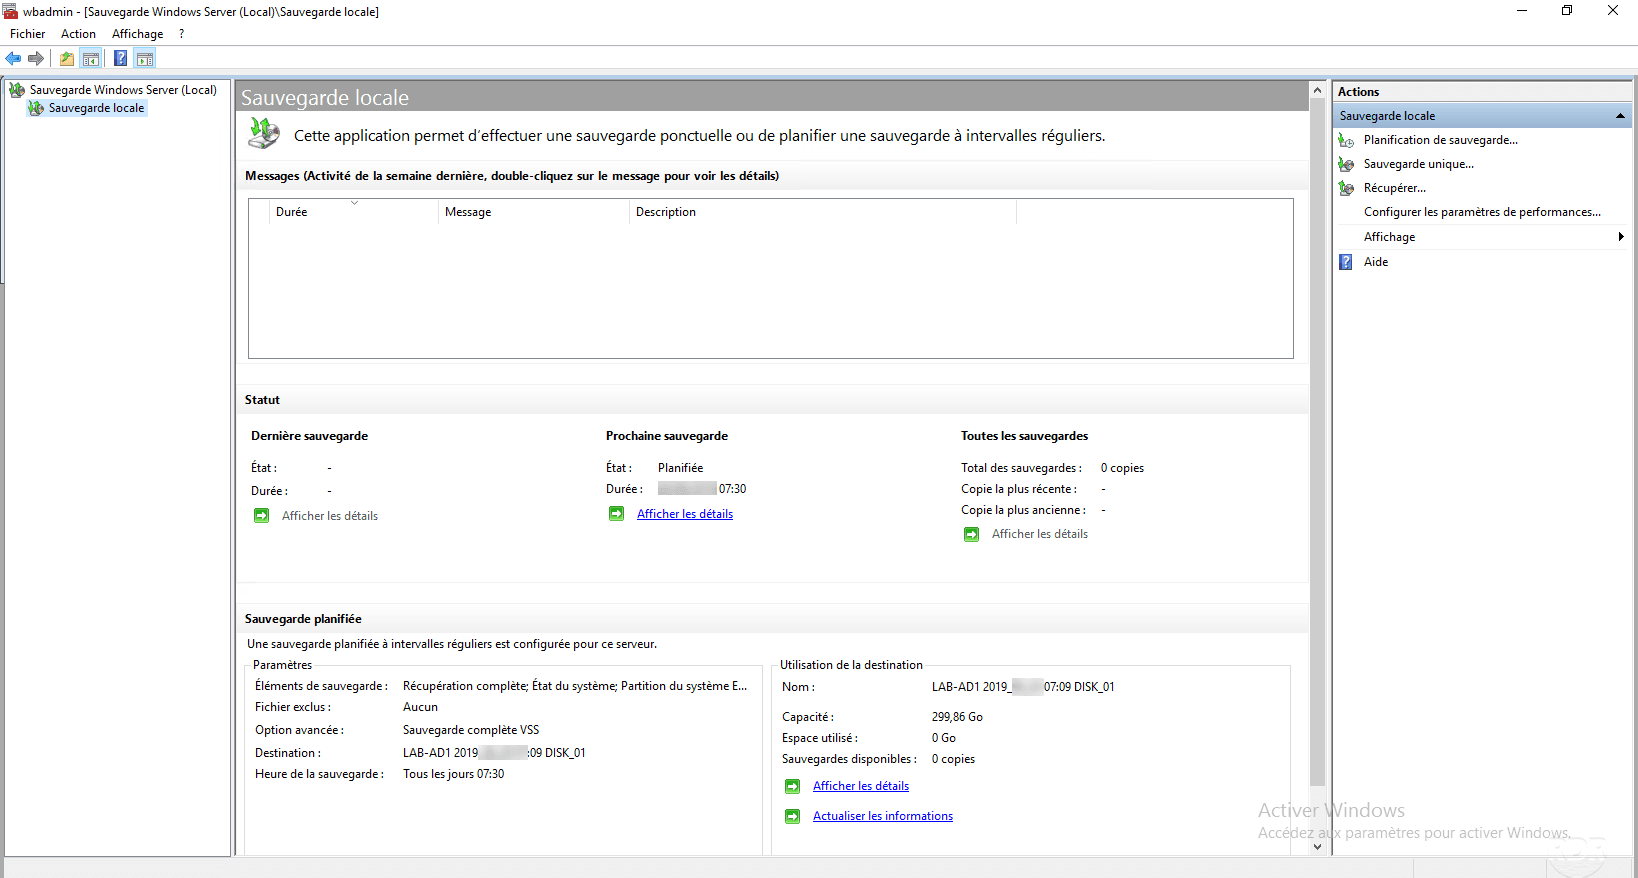
At the launch of the console is displayed a summary of backups, for the moment no information is available in the absence of job. It is also possible to perform external backups on Azure. Click on the Local Backup node 1 .

Click Backup Schedule 1 to configure one.
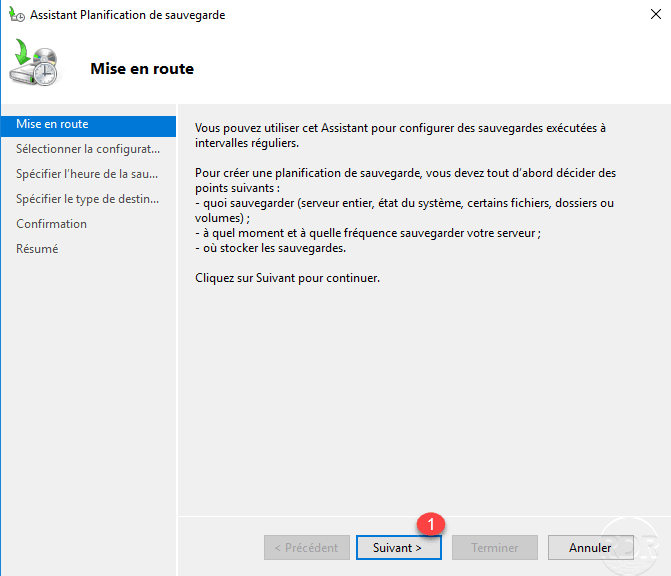
When launching the setup wizard, click Next 1 .
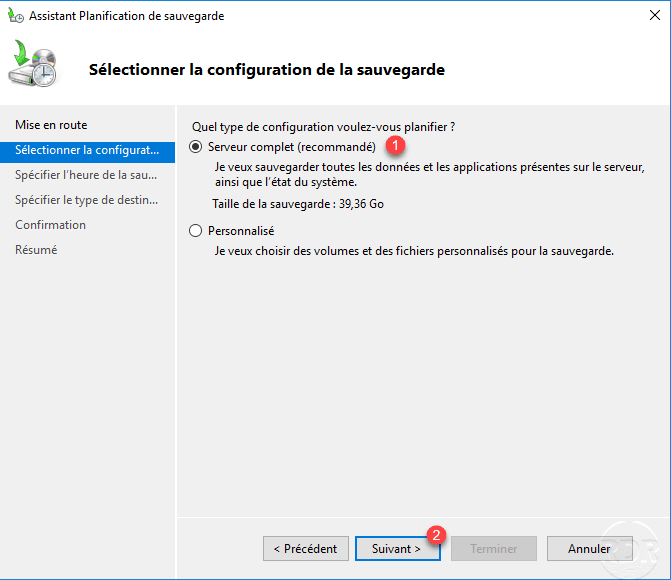
Choose the desired type of backup, here Complete server 1 and click Next 2 .
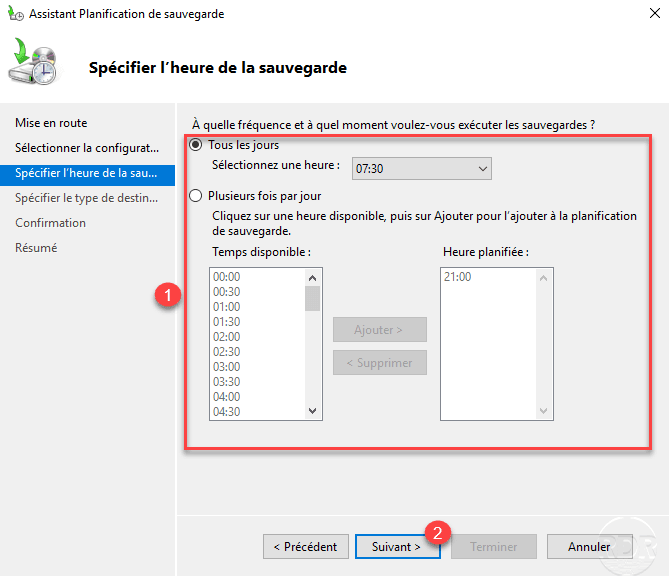
Configure the backup schedule 1 and click Next 2 .
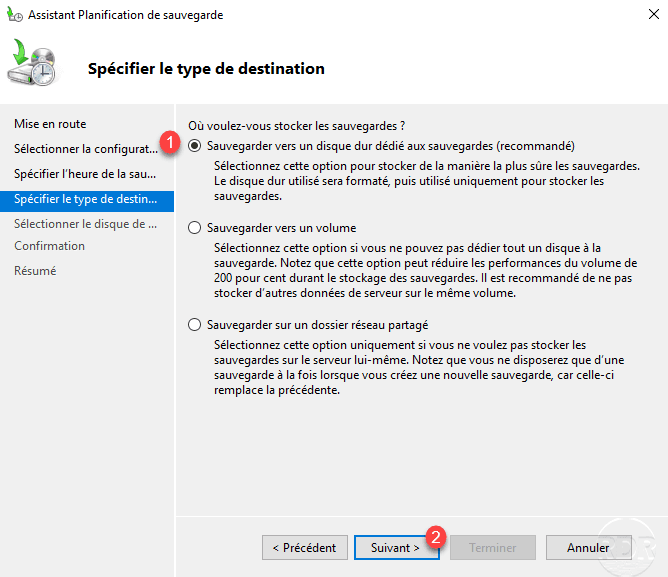
Choose the backup medium, in the example we will dedicate a disk so select Backups to a hard drive dedicated to backup 1 then click Next 2 .
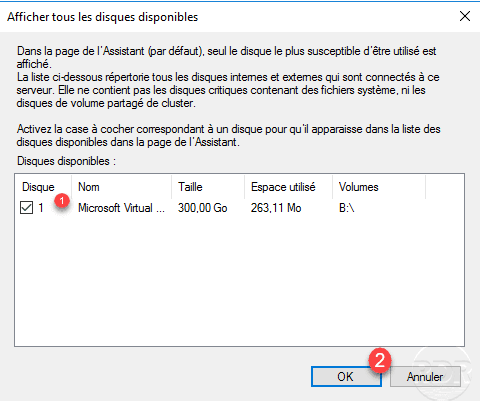
If the disk dedicated to the backup is not displayed, click Show all available disks 1 .

Select disk 1 and click on OK 2 .
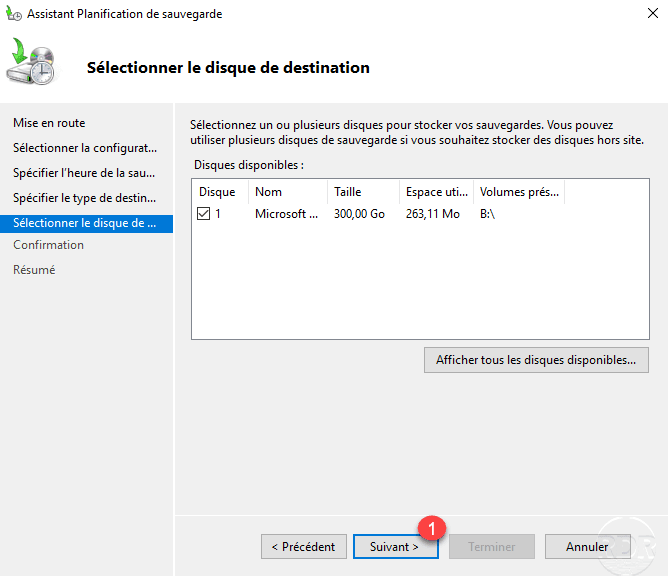
Once the disk dedicated to backing up Windows Backup, click Next 1 .
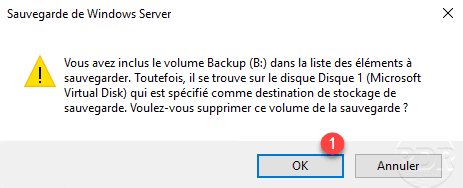
A warning message appears indicating that the selected disk is included in the backup, click OK 1 to remove it from the saved volumes.
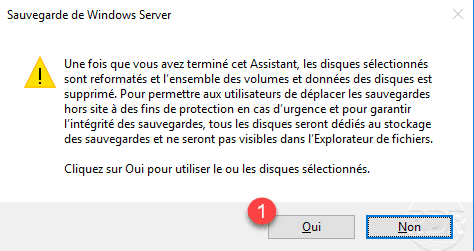
Another message appears indicating that the disk will be reformatted and that it will no longer be available in the explorer. Click Yes 1 to confirm.
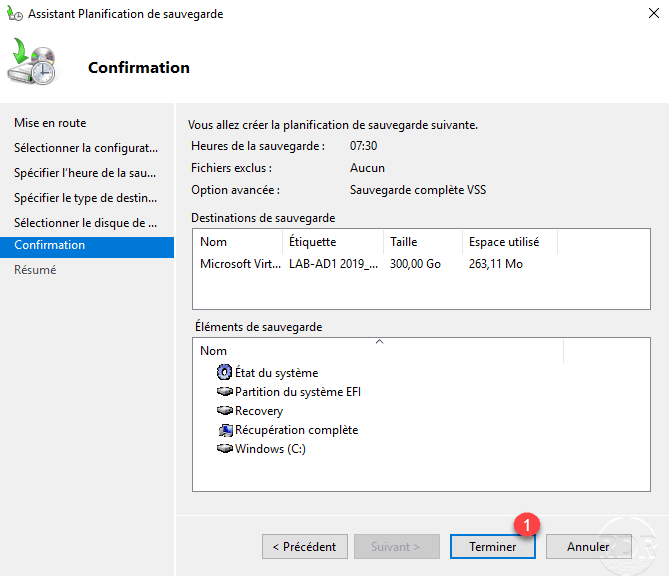
A summary of the backup is displayed, click Finish 1 to confirm the creation of the backup.
Wait while creating …
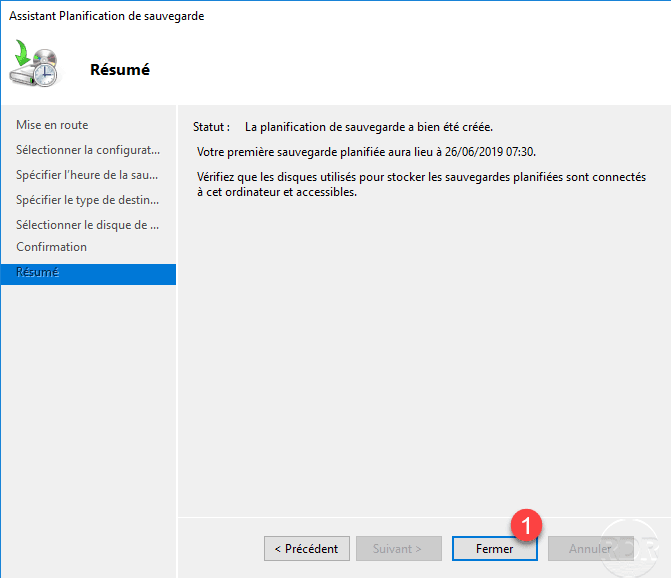
Once the backup is created, exit the wizard by clicking Close 1 .
On the administration console is a little more information with the status of backups and scheduling information.
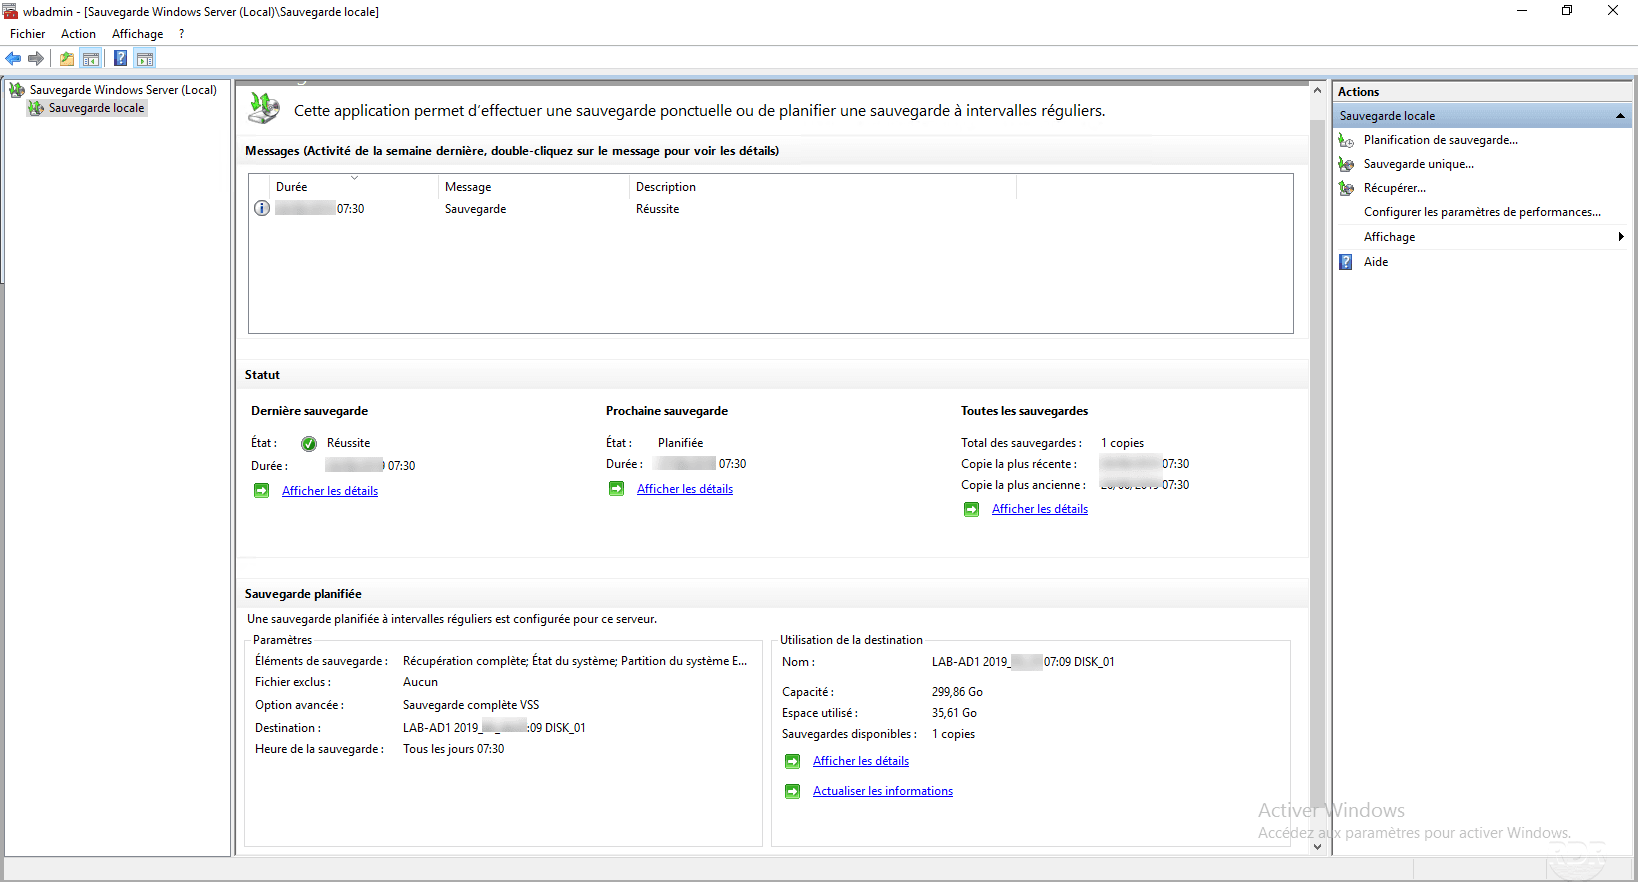
When the backup cycle has started, a summary of each backup will be available in the console, along with the number of copies and the volume used on the disk. For each information given, it is possible to find out more by clicking on Show details.
If necessary, you can start a non-scheduled backup by clicking Single Backup on the Actions menu. An assistant will open, in the first window click Next and then Save.
Restoration
Now that we have backups, we will see how to restore a file, before going further, it is also possible to do a bare metal restore of the machine in the case of a full backup of the server. For this you will need to boot to the Windows ISO corresponding to the backup and choose the Repair option instead of clicking Install. Another method is to reinstall Windows with the Windows Backup feature and then restore the system state.
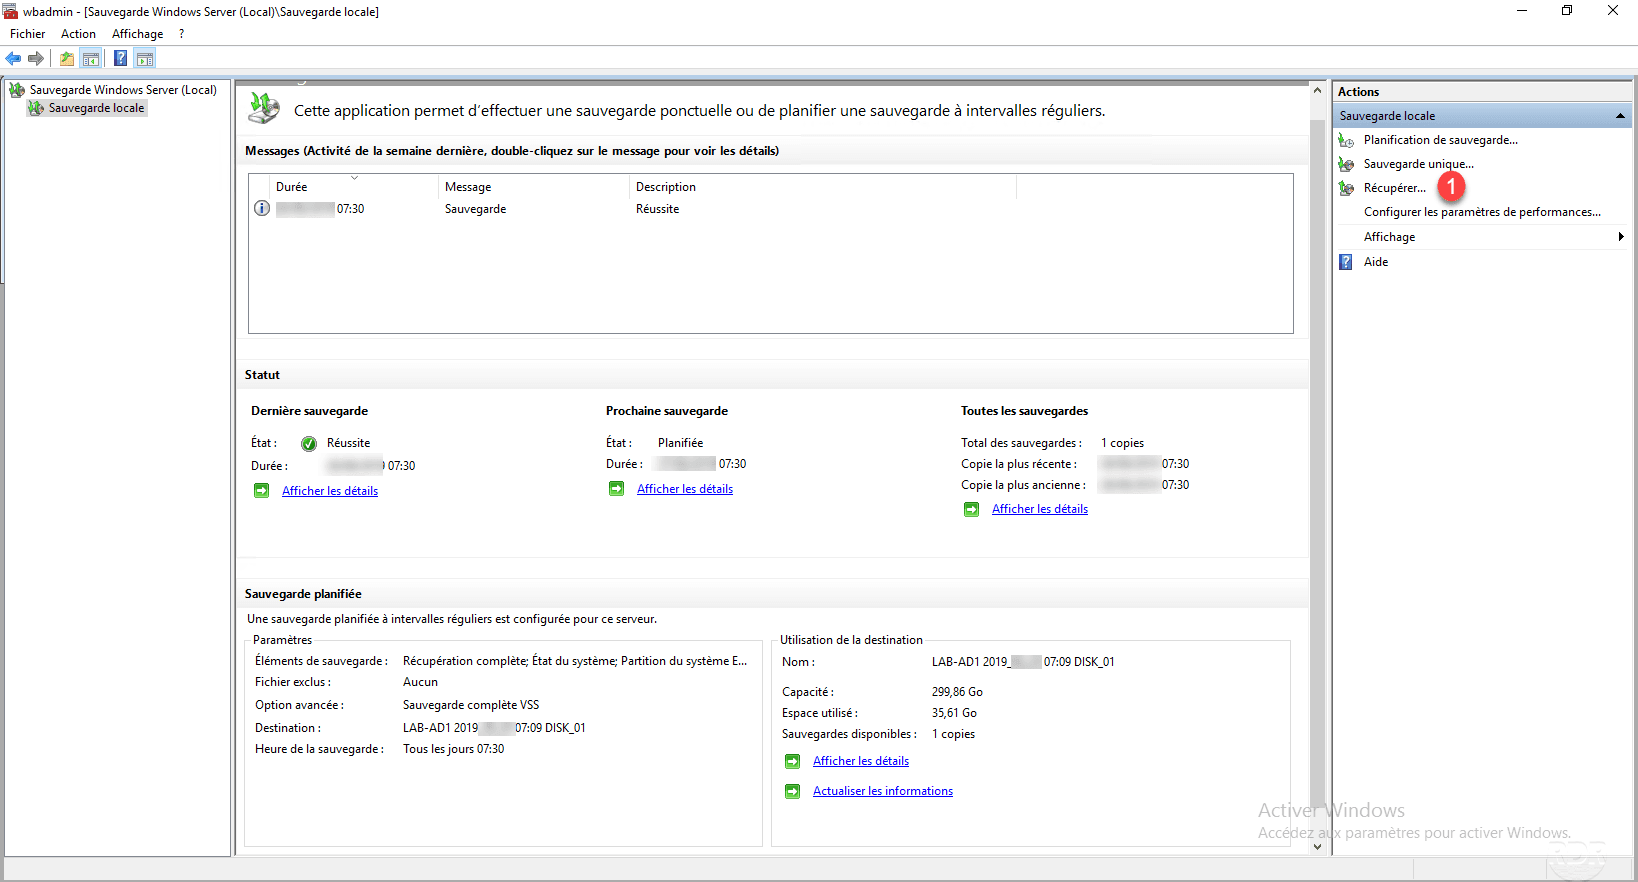
From the console in the Actions menu click on Recover 1 .
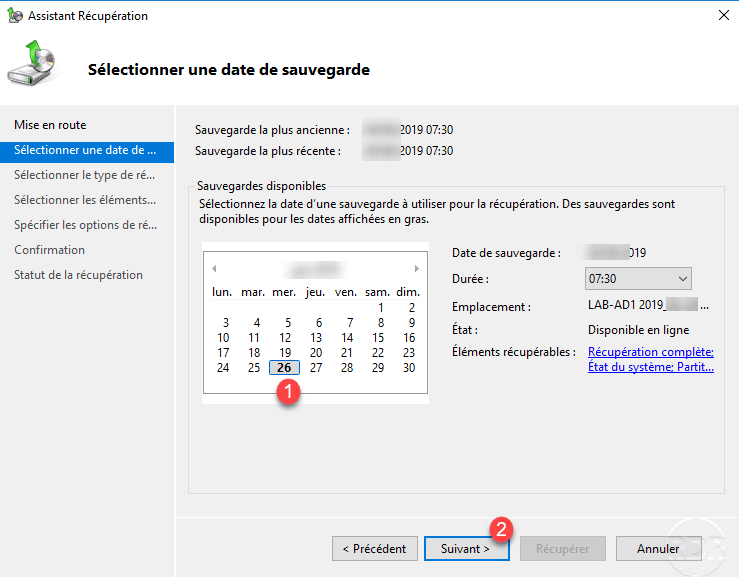
When launching the wizard, select the location of the backup 1 and click Next 2 .

Choose Restore Point 1 and click Next 2 .
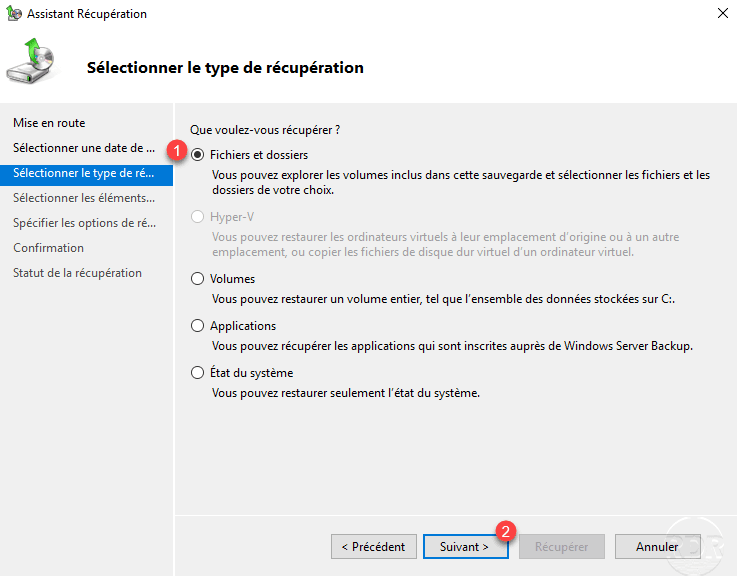
Choose the type of recovery you want, in our Files and Folders 1 example and click Next 2 .
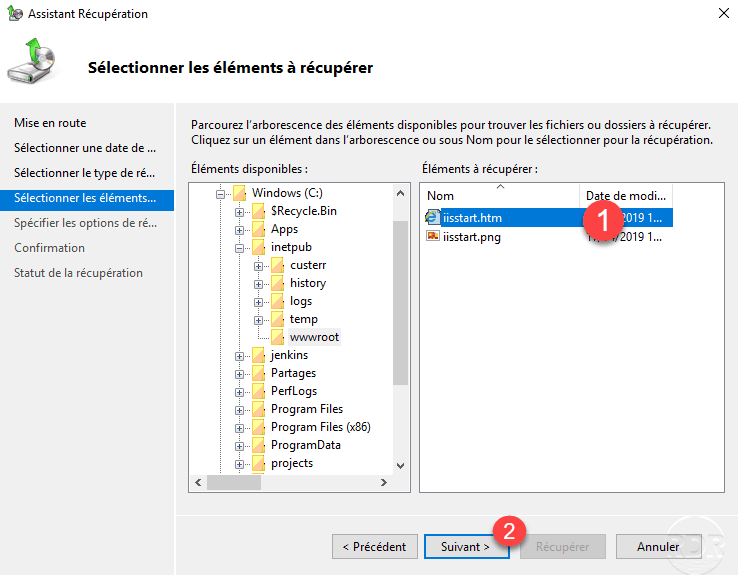
Select items to retrieve 1 and click Next 2 .
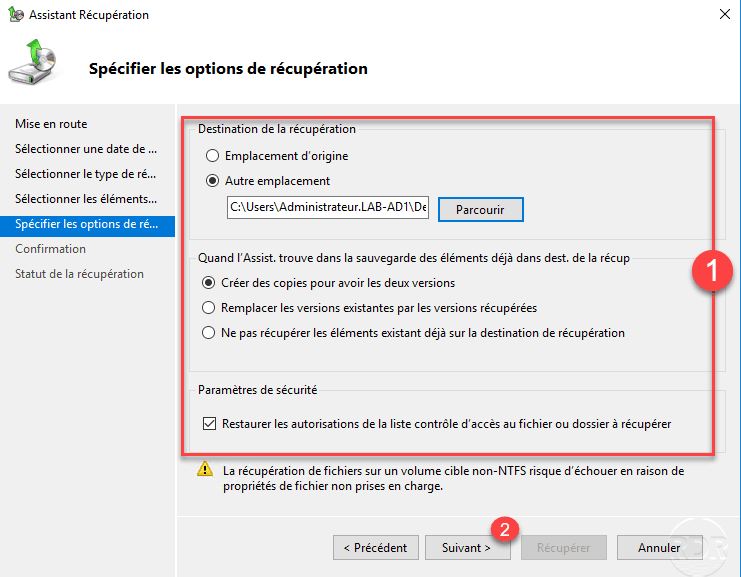
Configure the restore options (locations, rights …) 1 and click Next 2 .
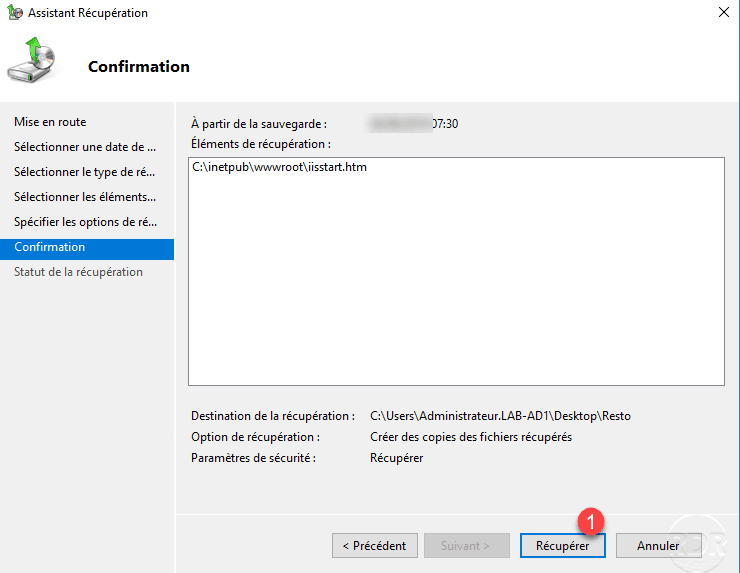
Confirm the restoration of the elements by clicking on Recover 1 .
Wait during the restoration …
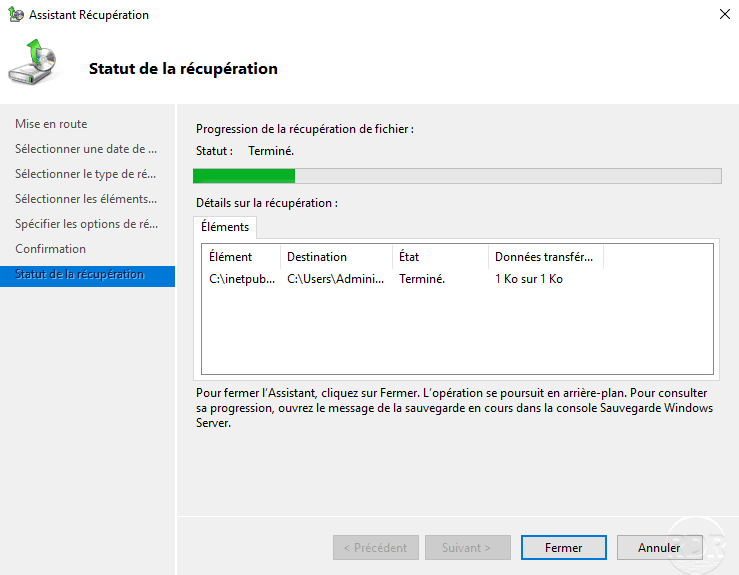
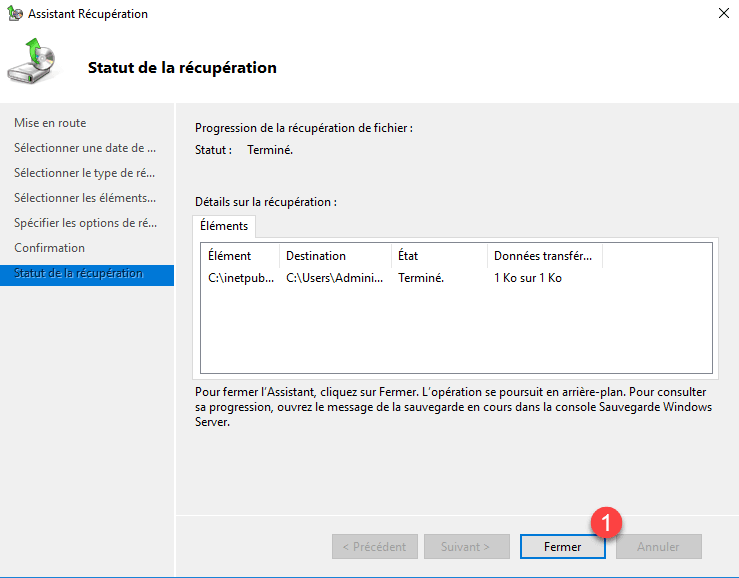
When the restore is complete, exit the wizard on Close 1 .
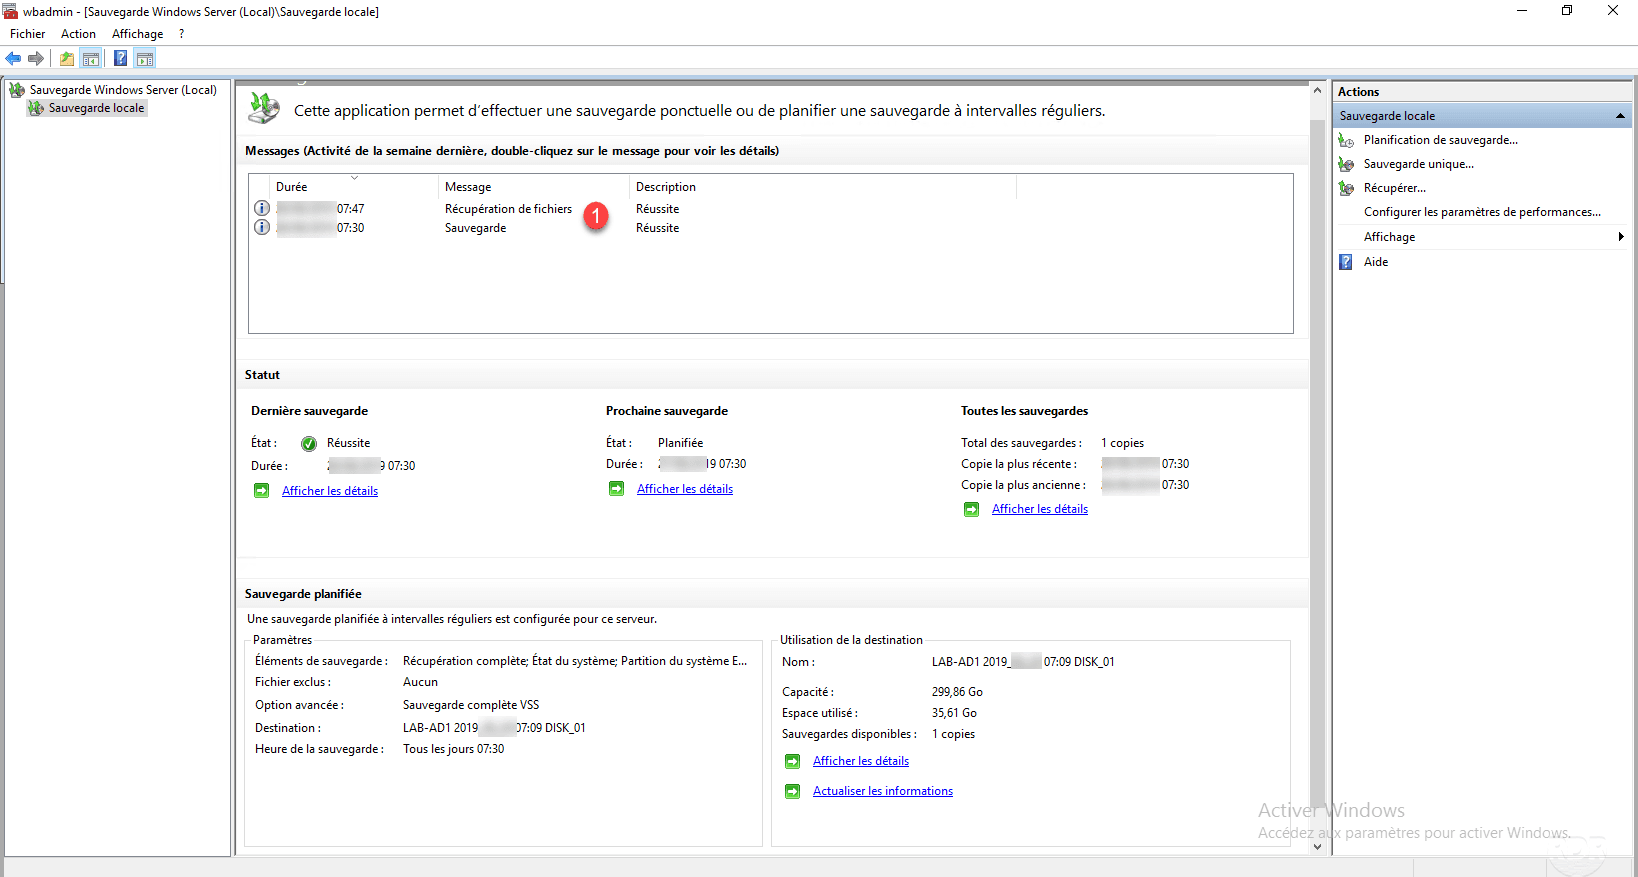
On the console, we can see that a restore event has been performed 1 .
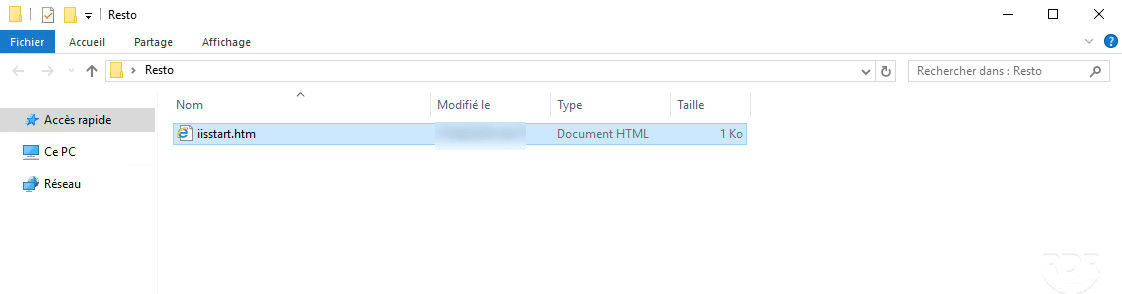
Check where the file (s) and folder (s) are present.
Conclusion
Windows Backup allows you to perform system backups efficiently despite the lack of a configuration option. Too often, small and medium-sized businesses ignore backup software because they “cost” too much and they think that dual power and RAID disks are sufficient security.
It’s like believing that a spare wheel helps prevent engine failures on a car
Other free alternatives are also available:
- Veeam Agent
- Altaro Backup for free hypervisor backup for 2 VMs.