Veeam’s Instant Recovery feature lets you restart a virtual machine instantly without having to restore the entire storage. Access to the VM file is redirected from the backup files.
This feature is available with virtual machine backups and with agents.
It is possible to use backups made with Veeam agents to make P2V or V2V.
The screenshots of the tutorial have been made since a backup of a computer with an agent, the restore from a backup of a VM is almost identical.
Perform an instant restore under Hyper-V
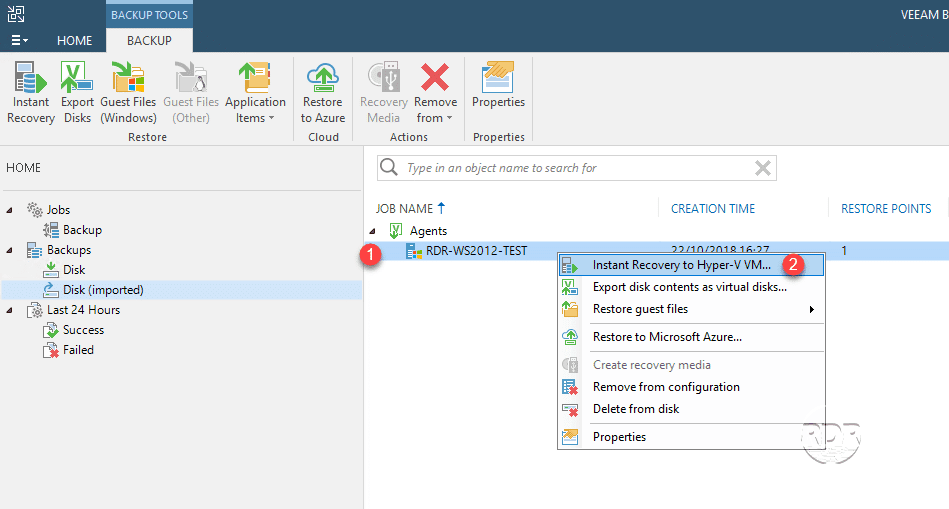
1. Right-click on the 1 machine to restore and click on Instant Recovery to Hyper-V VM … 2 .
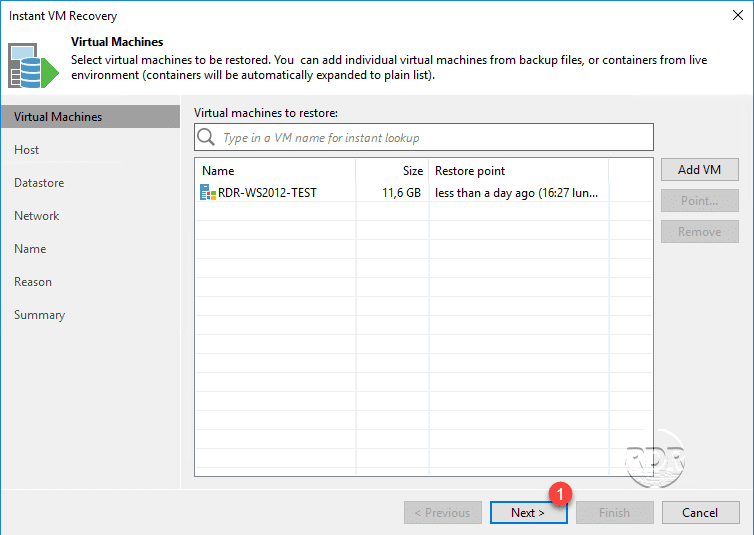
2. When launching the wizard, click Next 1 .
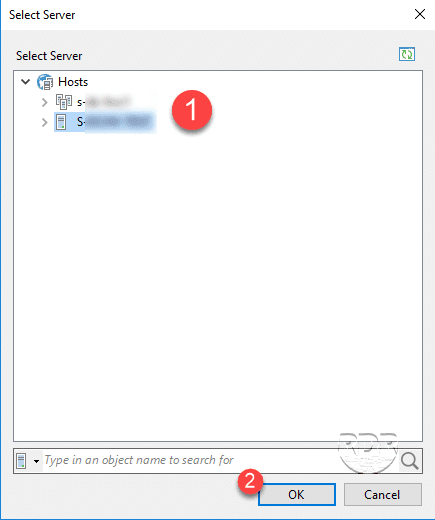
3. Click Host … 1 to specify the restore server.
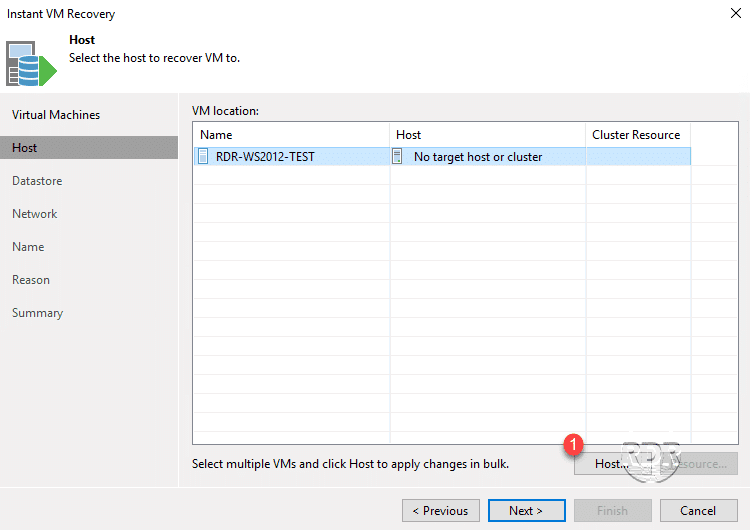
4. Select the restore server 1 and click the OK 2 button.
5. Once the server is selected, click Next 1 .
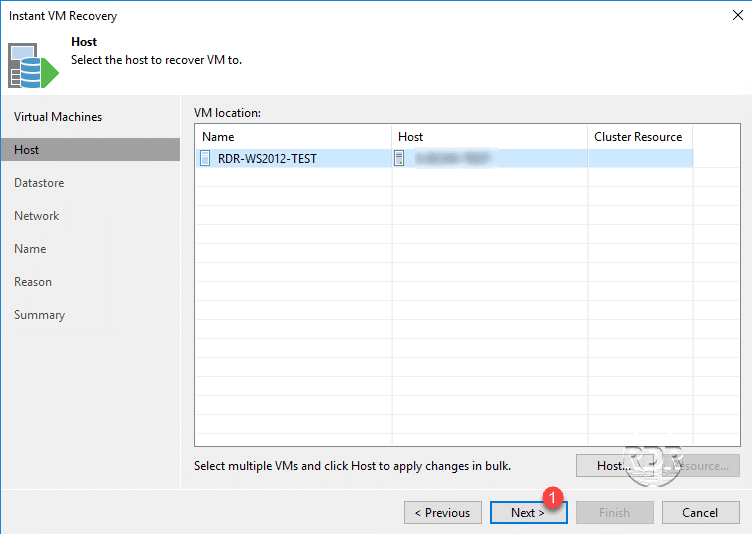
6. If necessary, change the location of the virtual machine files on the Hyper-V host and click Next 1 .

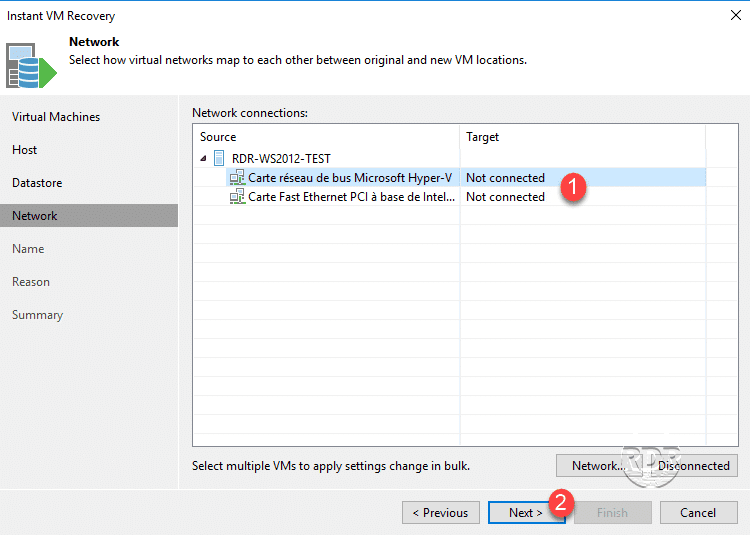
7. Configure the network cards 1 then click Next 2 .
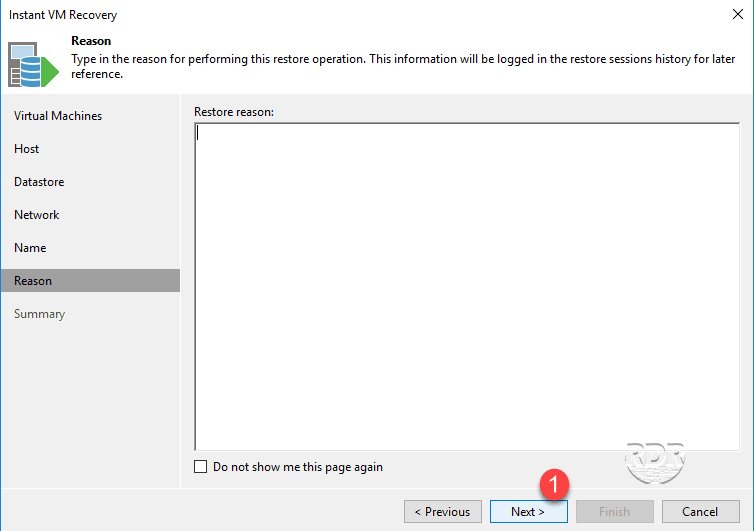
8. Click Next 1 .
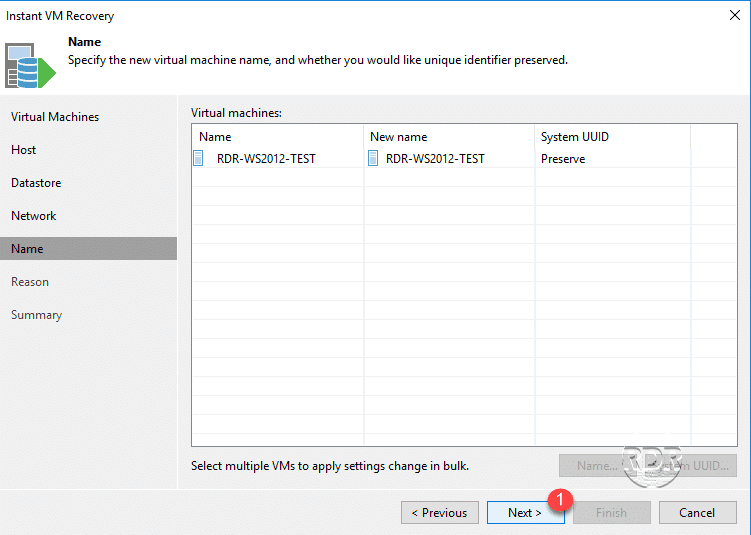
At this stage, it is possible to change the name and system UUID of the machine to avoid duplicates on the network.
9. Click Next 1 .
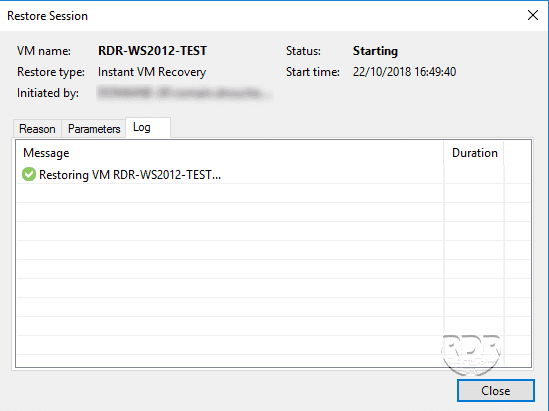
10. Click Finish 1 to start the restoration.

11. Wait while restoring …
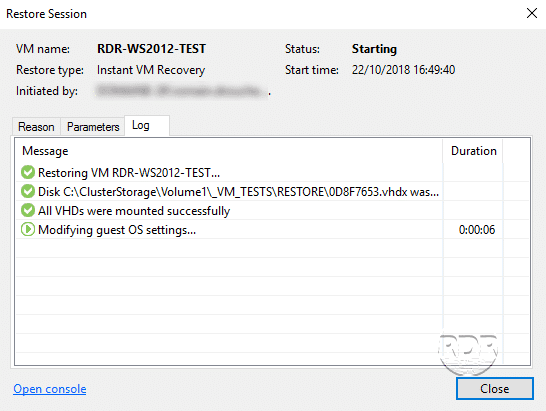
12. Waiting for user action … Click Close 1 to exit the window.

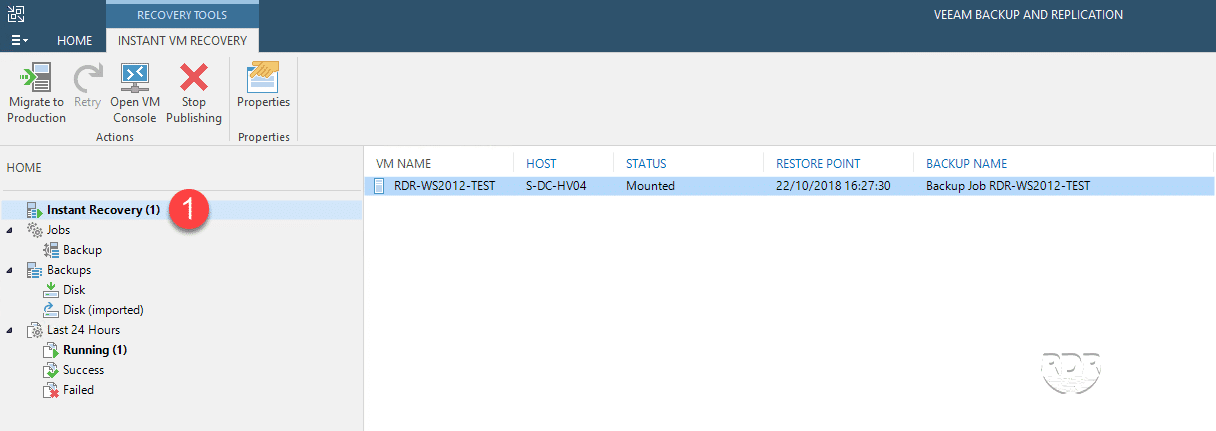
13. In the menu on the left, you can see the status of the Instant Recovery VM 1 .
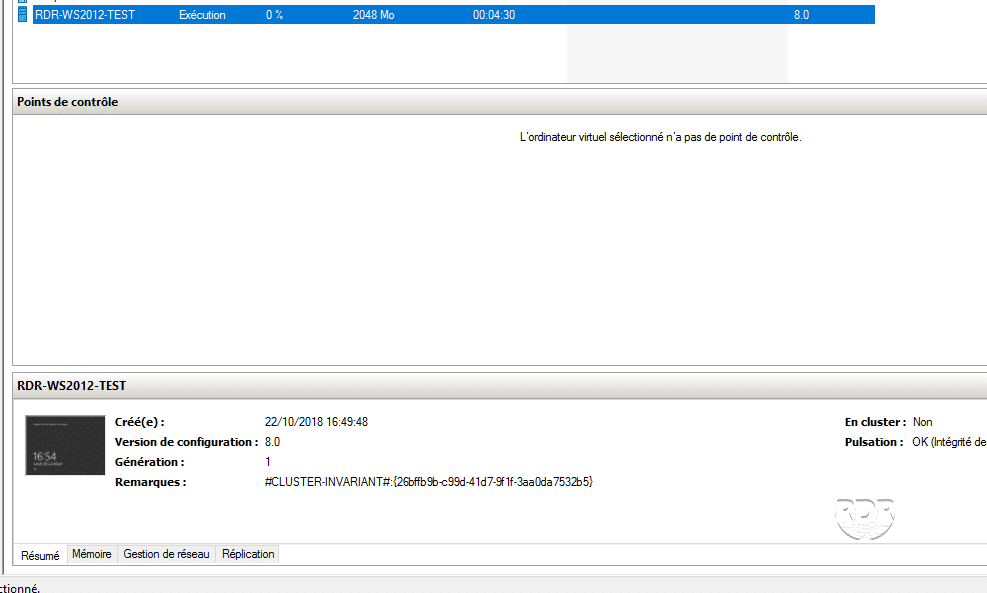
14. Go to the Hyper-V console and check that the virtual machine 1 is functioning properly.
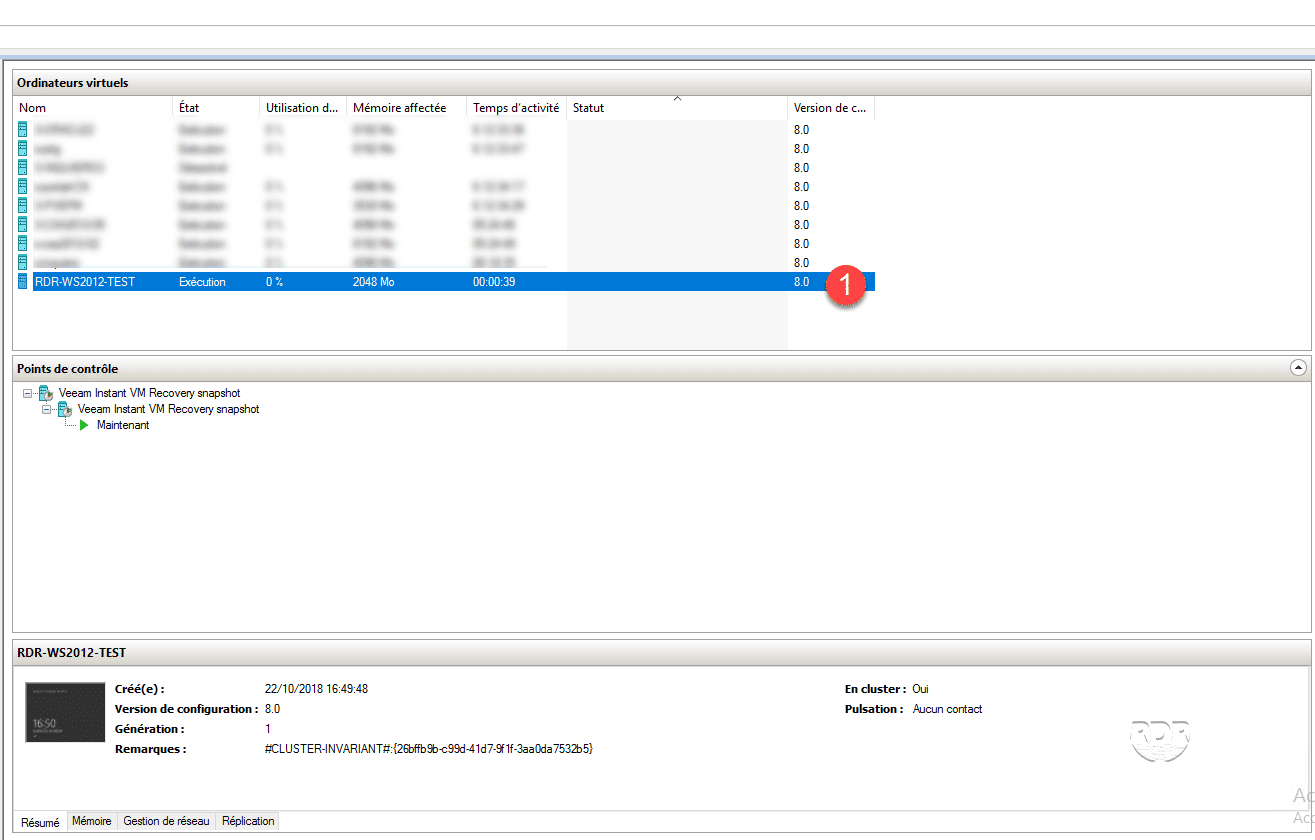
You can see that Veeam has created several snapshots.
15. Once the validated operation of your virtual machine has been validated, it is possible to put it back into production, return the Veeam console, right click on the virtual machine in Instant Recovery 1 and click on Migrate to production 2 .

16. Wait during the restoration, it is possible to follow the progress in the current tasks from the Veeam console.
17. Returning to the Hyper-V console, the snapshots of the VM should be removed.