


Introduction
In this tutorial, I will explain how to install and configure a VDI (Virtual Desktop Infrastructure) environment.
Before getting to the heart of the matter, I will quickly present to you what a virtual office infrastructure is and especially the difference with an RDS environment.
The main difference between VDI and an RDS farm is the isolation from the environment made available to the user. As a reminder, on an RDS environment, a remote desktop host server will provide a shared environment to several users who will connect to the same server and therefore share resources (CPU, RAM, etc.).
In a VDI infrastructure, for each user a virtual machine is started and dedicated to the user, therefore the environment is no longer shared and the resources are “dedicated” to the user and uses a Desktop version of Windows like Windows 10. Virtualization is based on Hyper-V and as for an RDS server, the connection is made through the Windows RDP client.
As you can see I put in dedicated quotation marks at the resource level, the virtual machines will share the Hypervisor resources, they will be careful of the CPU over-allocation which could impact the overall performance of the virtual machines.
Now that I have “introduced” the VDI, we will see the prerequisites.
Prerequisite
Before talking about servers, you must be in an Active Directory environment and have a DHCP service in place.
A VDI environment requires at least 2 servers, but I advise you to do it on 3.
- A physical or virtual server for the broker role, it will manage the connections.
- A physical or virtual server for the Web access role, it is possible to install it on the broker server, personally in production I prefer to separate the roles.
- A physical server for the Hyper-V role. (For tests, it is possible to use nested virtualization from Windows Server 2016)
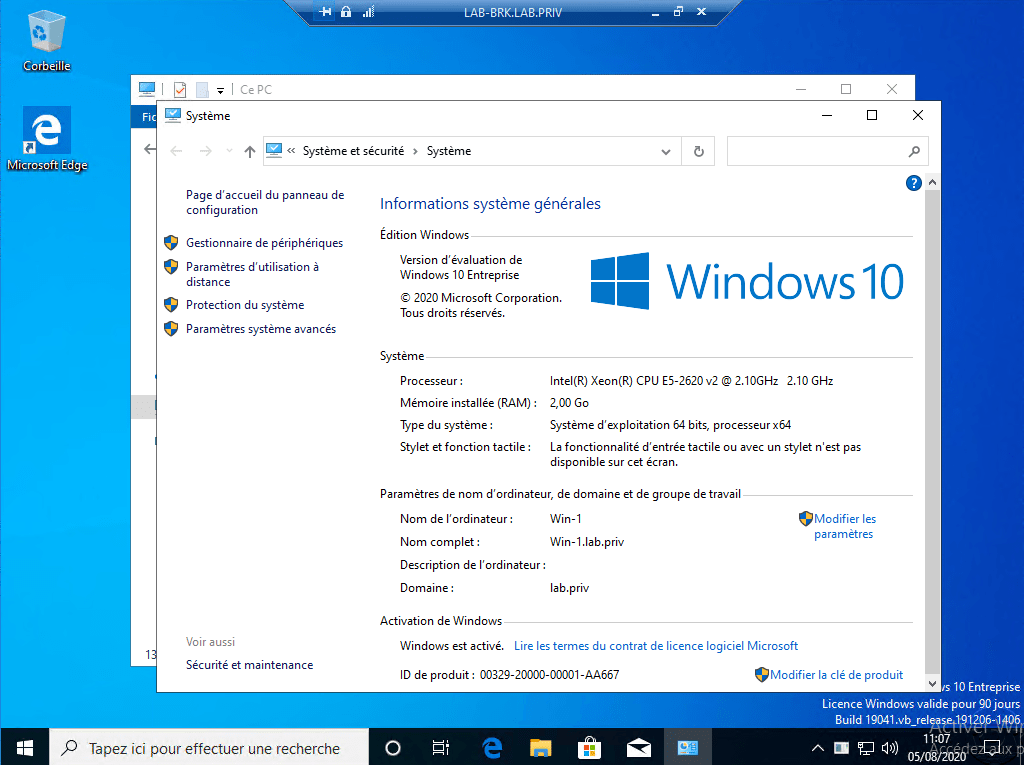
For virtual machines, you need an Enterprise version of Windows.
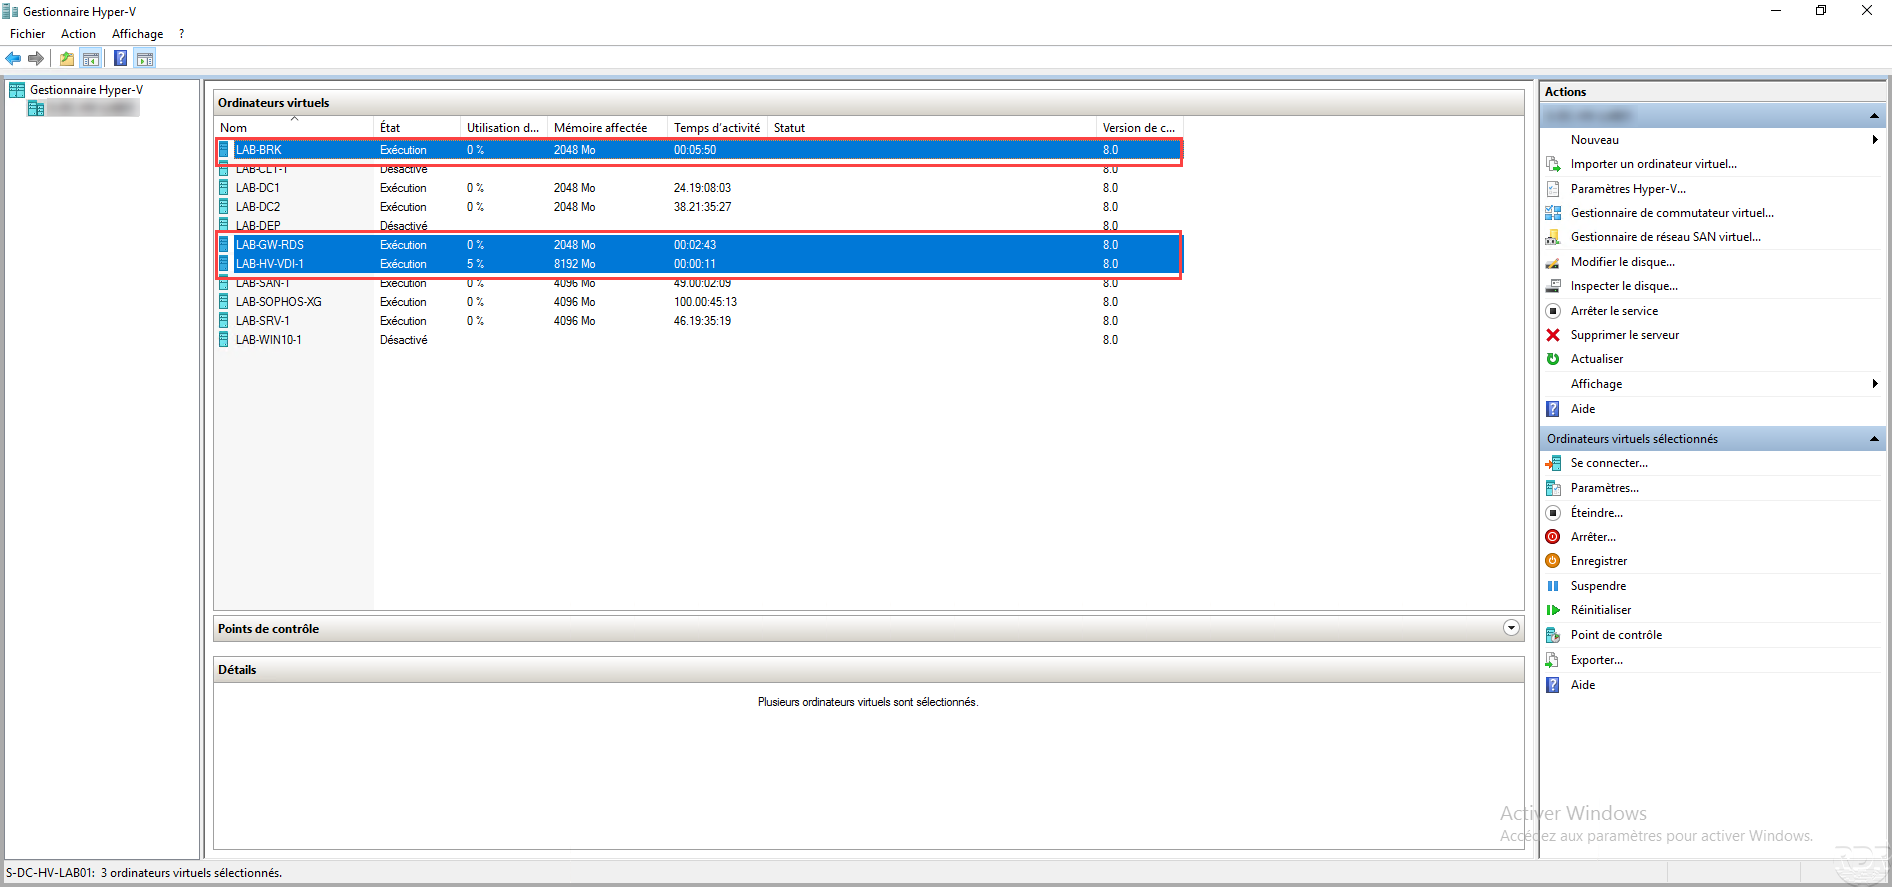
The capture below shows the 3 virtual machines for the server part that I used.
Preparation
Before starting to install roles on the different servers, we will prepare the environment.
Create an OU in the Active Directory for the computer objects.
We will see in the collection configuration later, it is necessary to create an OU for virtual machines. I recommend a dedicated OU, as it will be easier if you want to apply specific policies to these computers.
On a domain controller, create an OU dedicated to VDI 1.
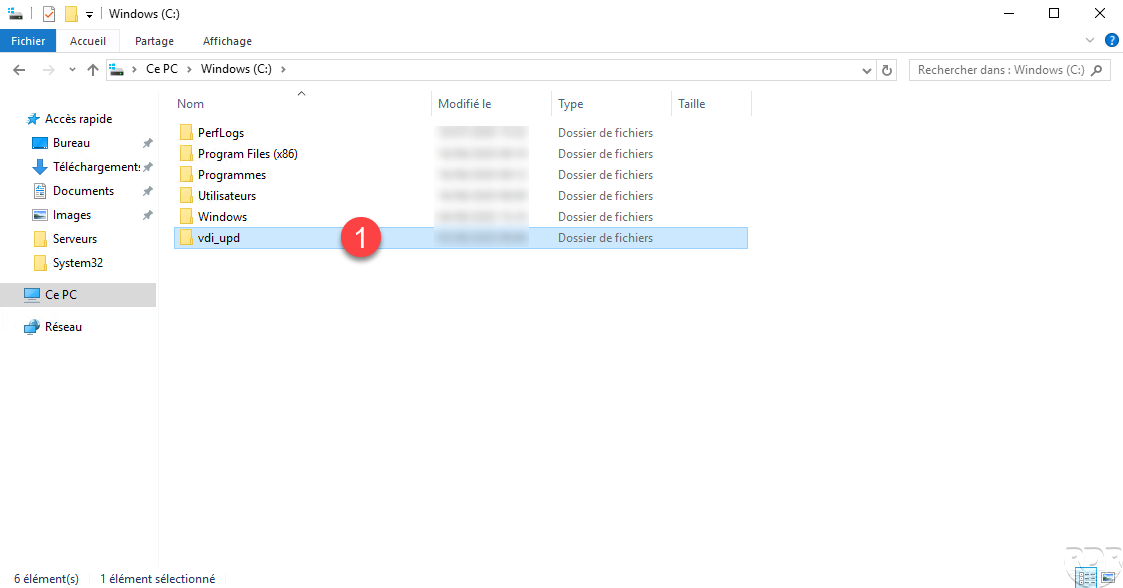
Create a share for storing user profile disks – UPD
So that the user profile data is not lost, as for an RDS farm, it is possible to use the user profile disks. A user profile disk is a virtual disk (vhdx) that stores profile data (Desktop, Documents, AppData …).
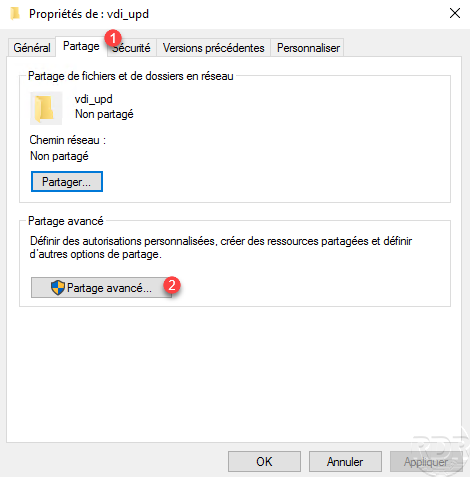
On a server, create a folder 1 dedicated to the storage of UPDs.
Access the properties of the folder, go to the Sharing 1 tab and click on Advanced Sharing 2.
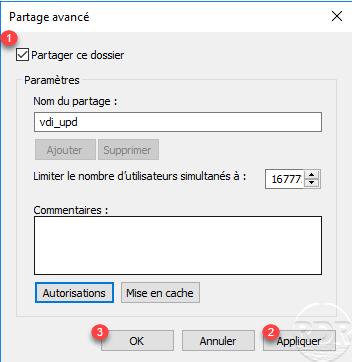
Check the Share this folder 1 box and click on the Apply 2 and OK 3 buttons.
The folder is shared, note the UNC path of the 1 share, you will need to enter it when configuring the collection.
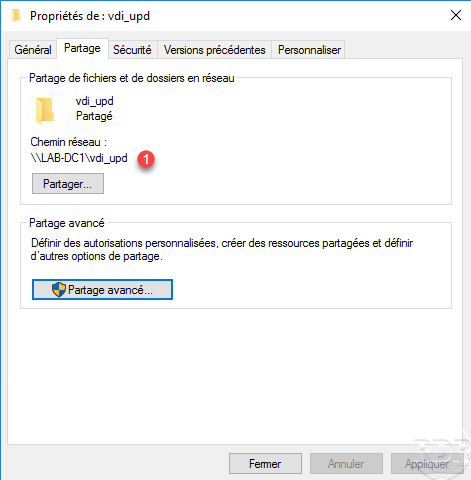
The rights for the Hyper-V servers will be configured automatically when configuring the collection.
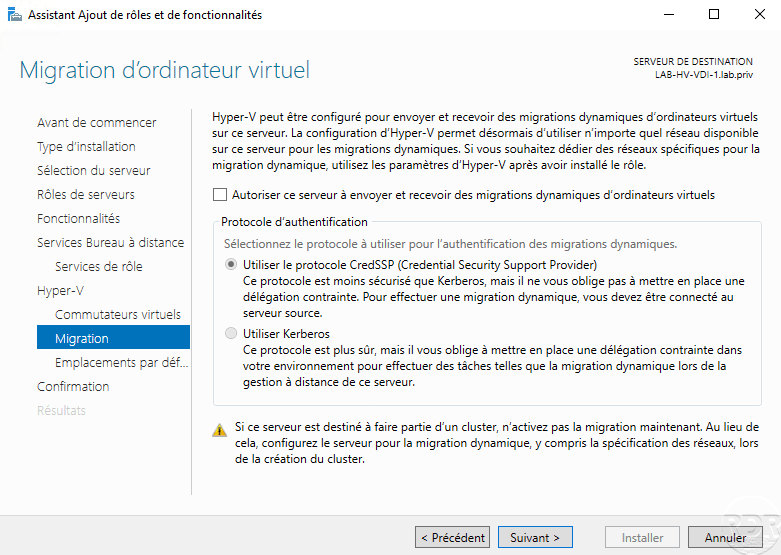
Installing the Remote Desktop Virtualization Host role
This step is optional and can be done at the same time as the VDI deployment, I advise you to do it separately so that you can configure after installing the virtual switch.
This step is not as detailed. On the Hyper-V server, launch the role setup wizard, in the list of server roles, check the Remote Desktop Services role 1 and click Next 2.
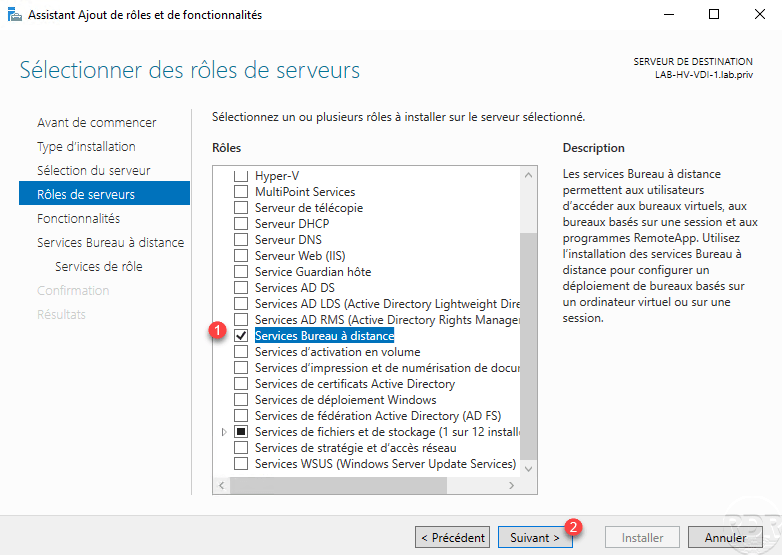
Optionally, select the Remote Desktop Virtualization Host 1 check box.
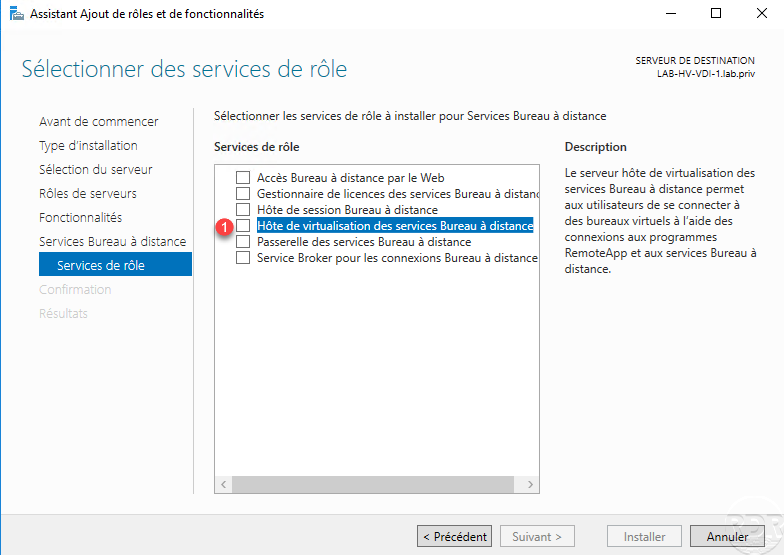
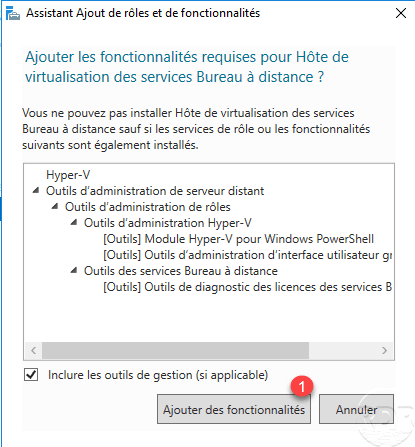
Validate the addition of dependencies such as the Hyper-V role by clicking on Add features 1.
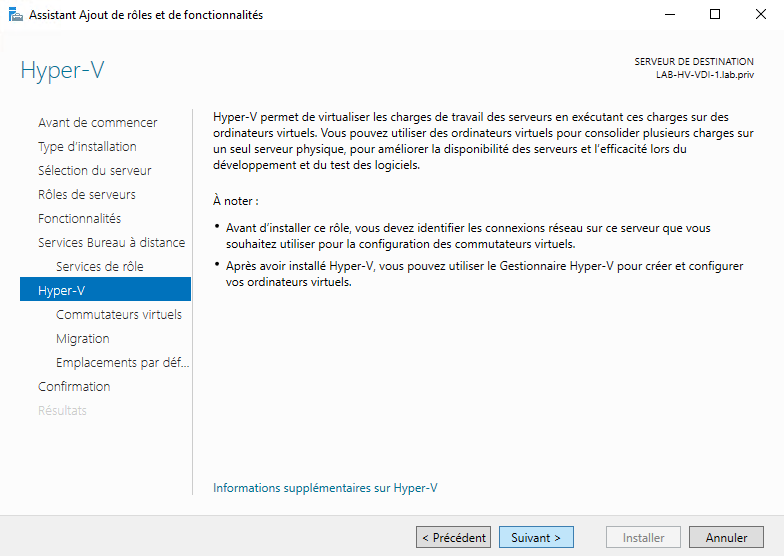
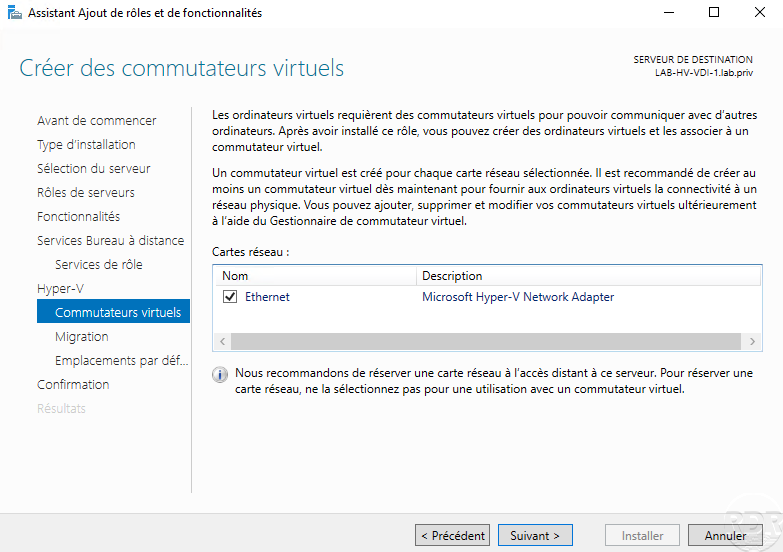
Validate the role service then configure the Hyper-V role.

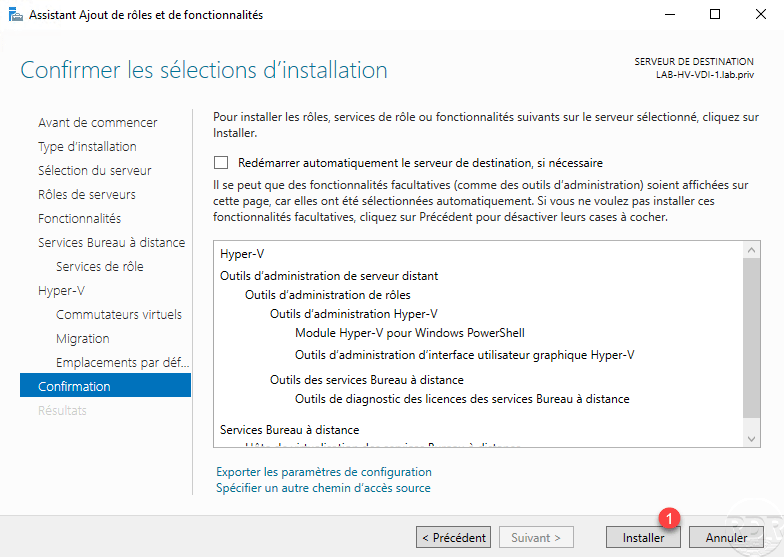
Validate the installation by clicking on the Install 1 button.
Once the installation is complete, close the wizard and restart the server. The server started, check the IP configuration, for my case, the virtual card was in DHCP.
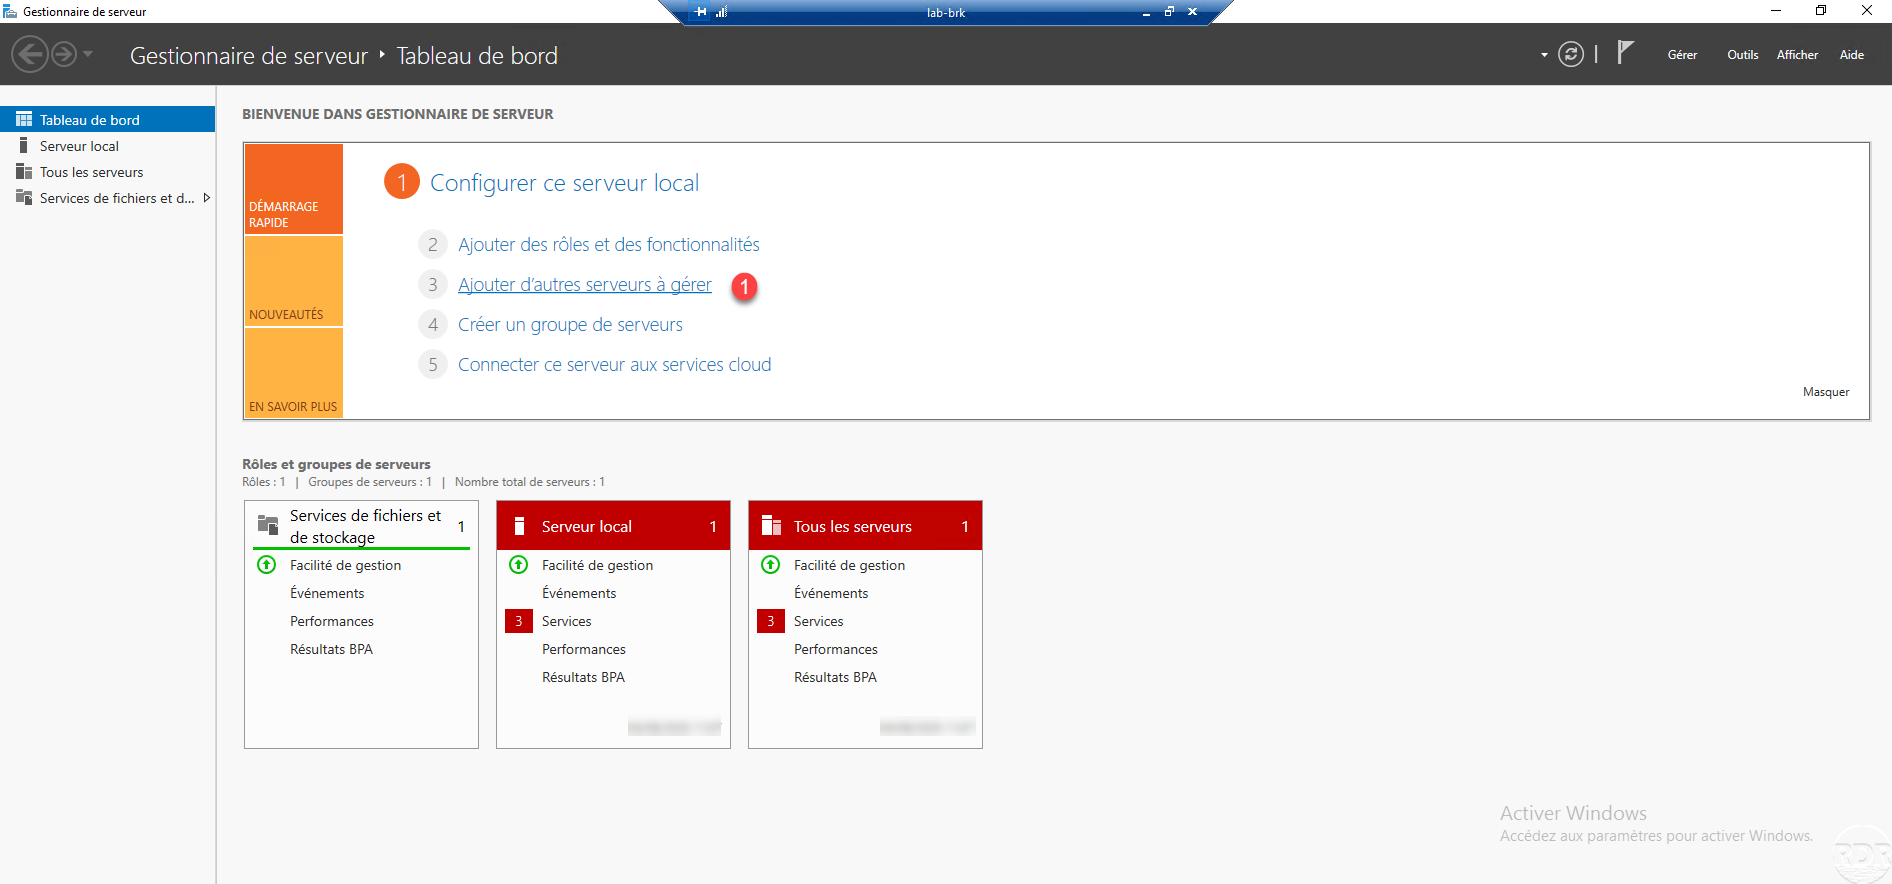
Add the servers that make up the VDI environment in the server manager
As to install an RDS farm, it is necessary to add all the servers that make up the VDI environment on the same server.
For my part, I used the broker server (LAB-BRK) to manage the VDI infra, so I added the LAB-GW-RDS and LAB-HV-VDI server).
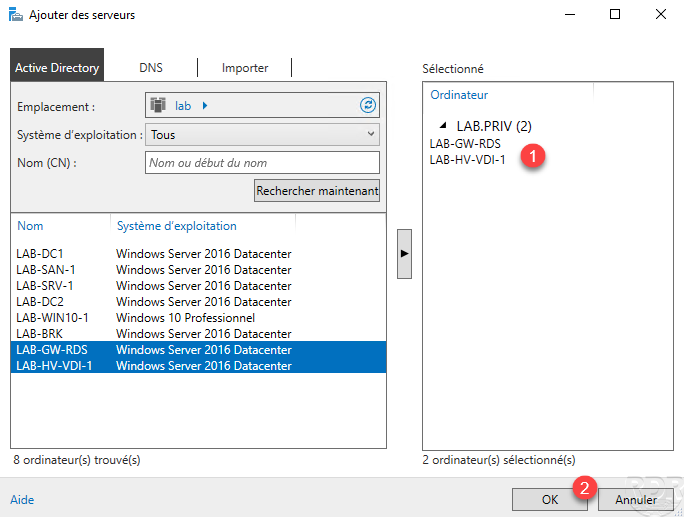
On the broker server, open the server manager and click on Add other servers to manage 1.
In the add servers window, click on Find now 1 to display the computers in the Active Directory, select the servers to add 2 and click on the arrow 3 for them. add.
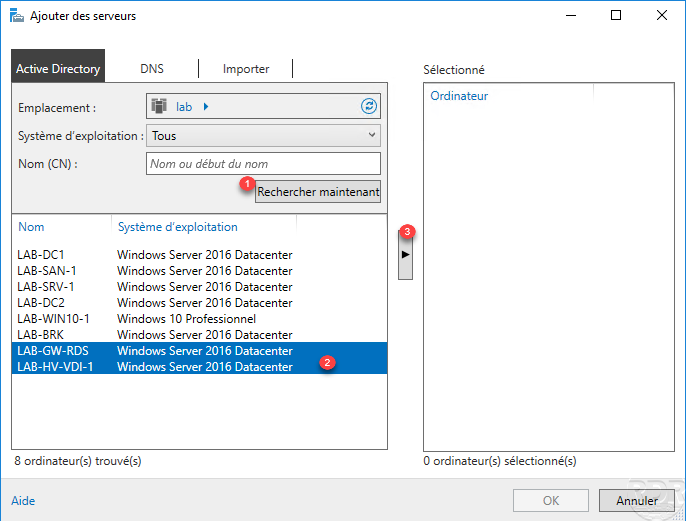
In a production environment with a lot of computer objects in the Active Directory, it will be easier to search by name and add them one by one.
Once the servers have been selected 1 click on OK 2 to validate the addition in the server manager.
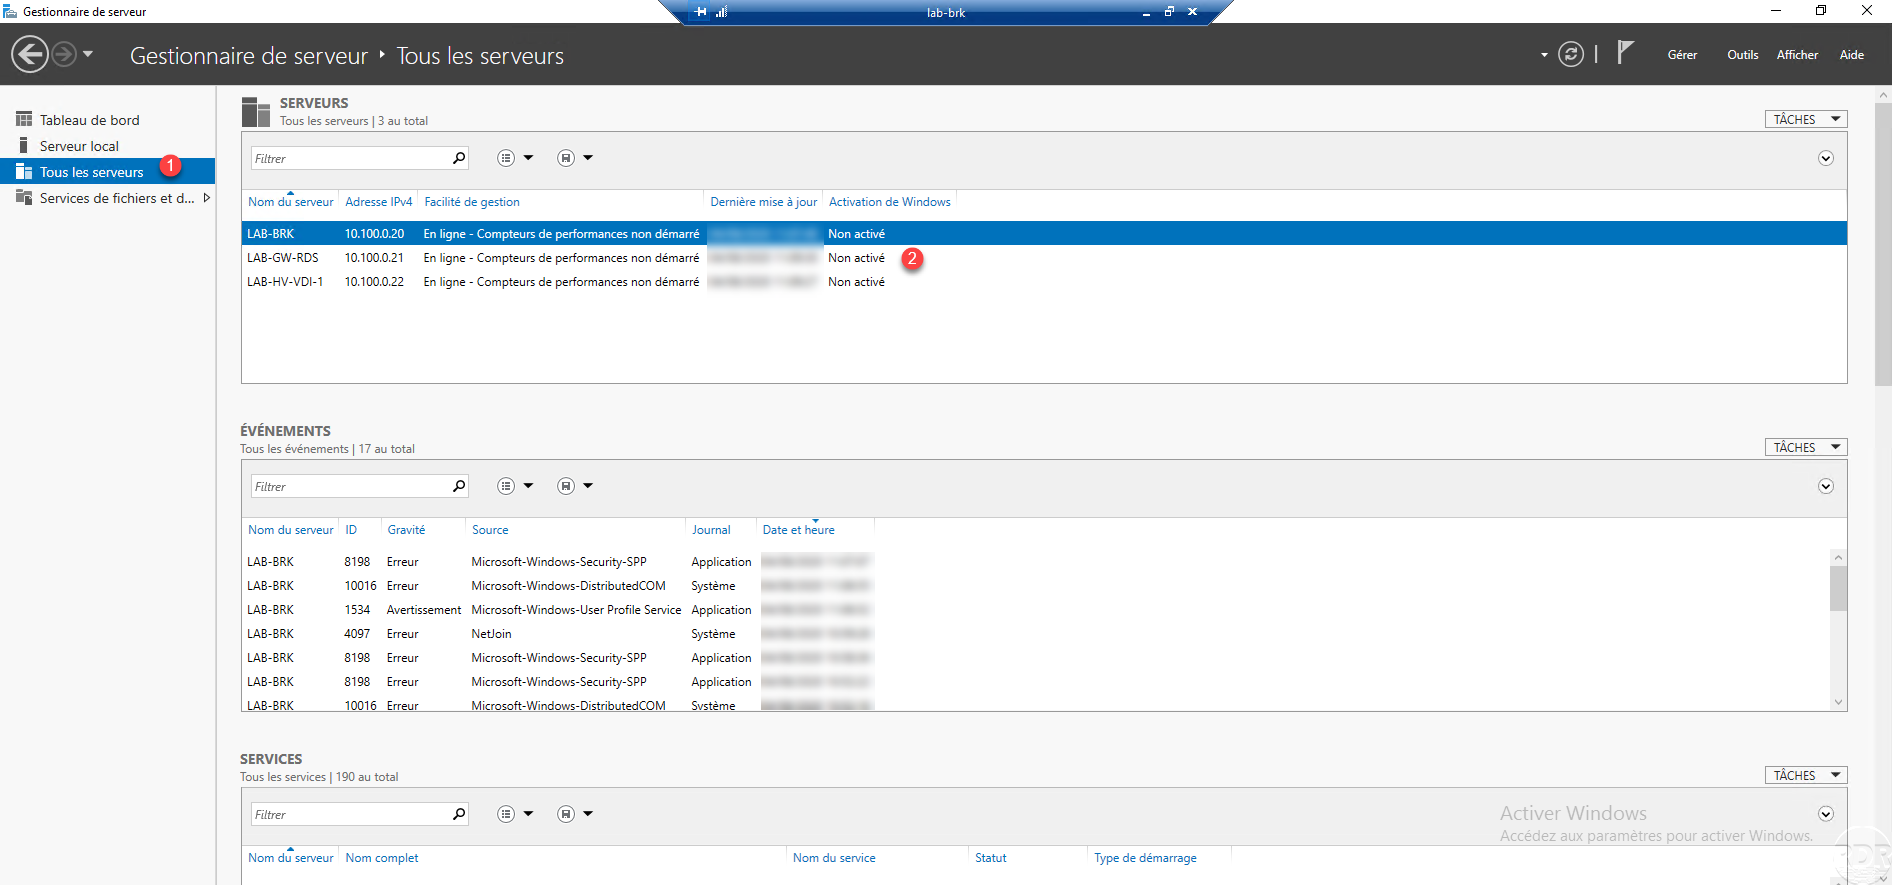
Wait while the manager refreshes then click on All servers 1 and check that the servers are present 2.
The environment is ready, we will now move on to the deployment of the virtual office infrastructure.
Deployment of the VDI environment
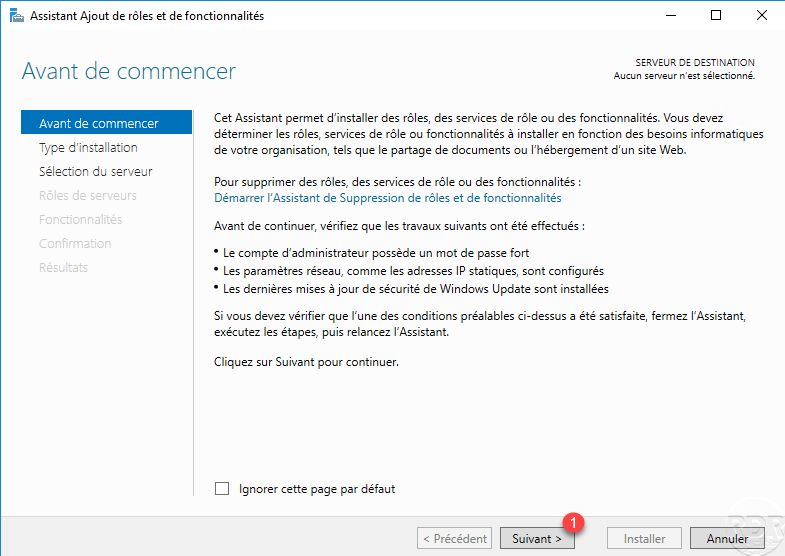
On the broker server where all the servers have been added, launch the roles and features installation wizard by clicking on Add roles and features 1.

When the wizard starts, click on Next 1.
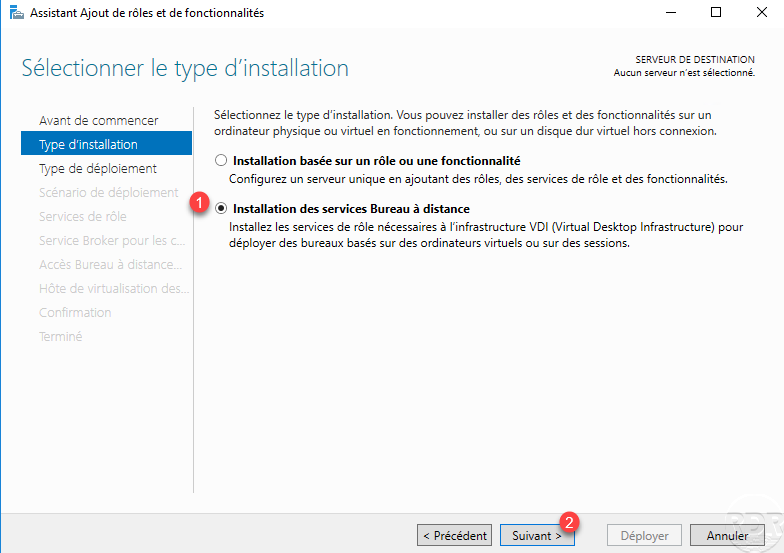
Choose the type of installation: Install Remote Desktop Services 1 and click Next 2.
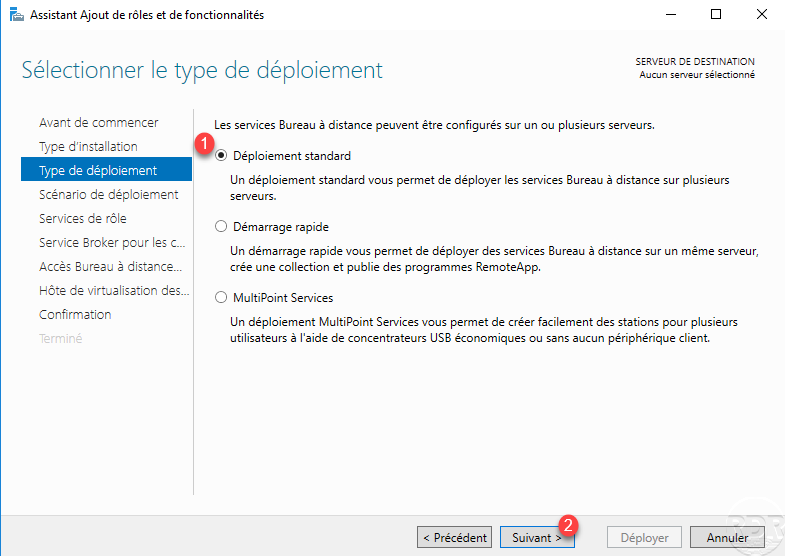
Choose the type of deployment: Standard deployment 1 and click Next 2.
Choose the Deployment of desktops based on a virtual machine scenario 1 and click Next 2.

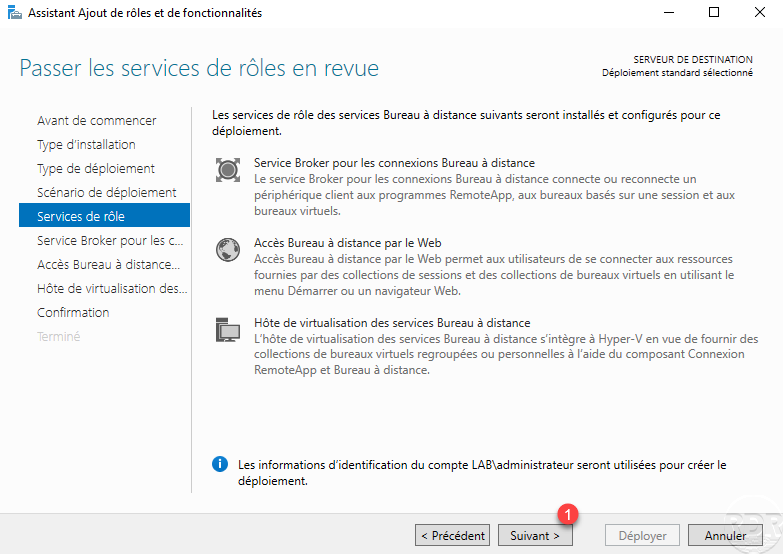
A summary of the deployment is displayed, click Next 1.
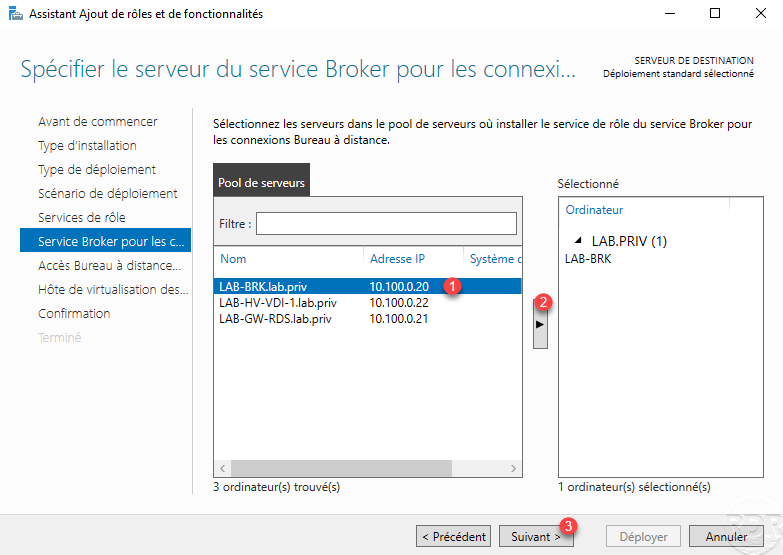
The first step is to choose the server that will have the connection broker service, select the server 1, click on the arrow button 2 to add it to the selection and click on Next 3> >.
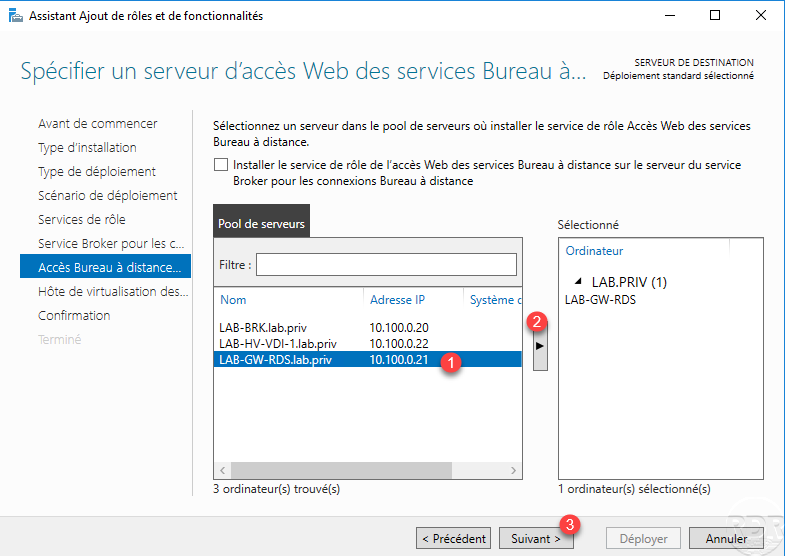
The second step is to specify the Web access server, it is possible to use the broker server but I do not recommend it in production. As for the broker service, select the server 1, click on the arrow 2 and click on Next 3 to validate.
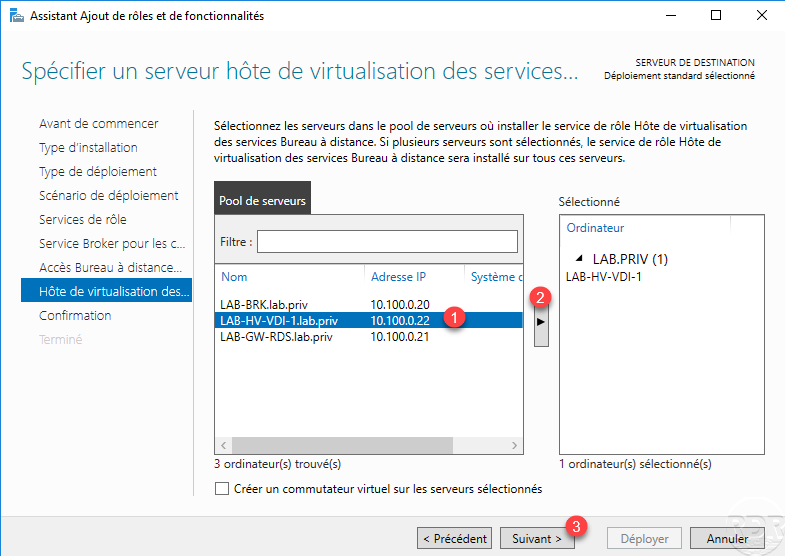
Third and last step, you must specify the remote desktop services virtualization host server, select the Hyper-V server 1, click on the 2 button to add it to the selection and click on Next 3.
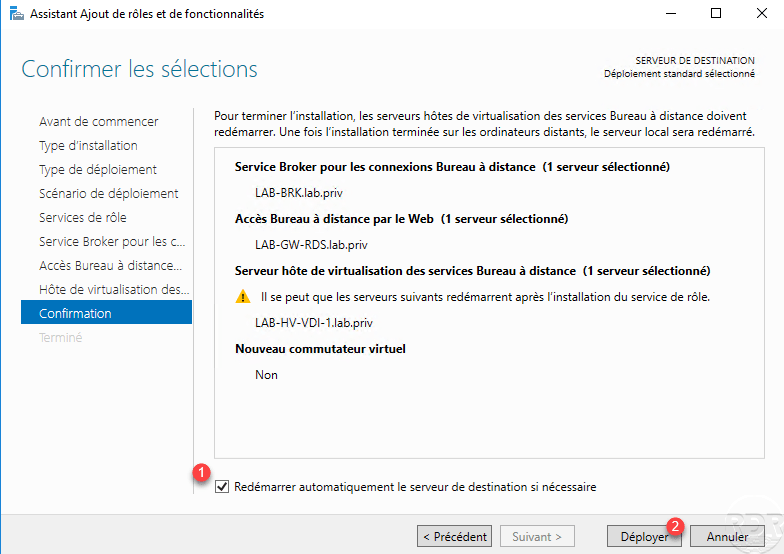
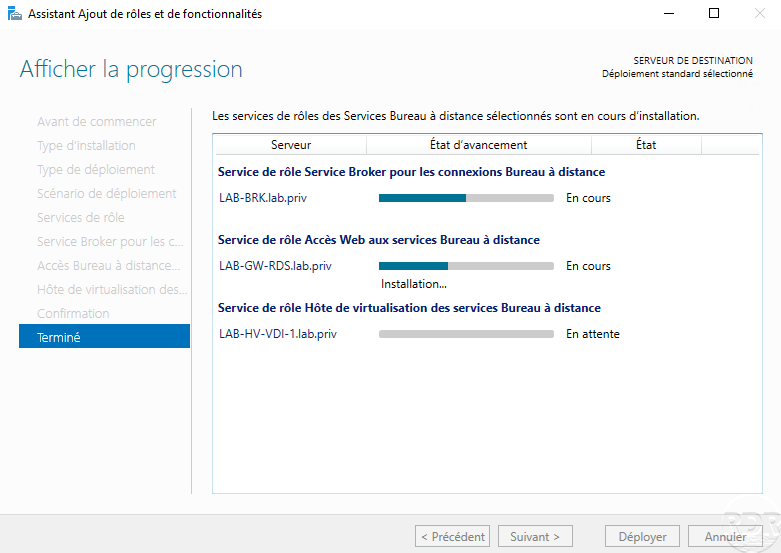
A summary of the configuration is displayed, check the Automatically restart the destination server if necessary 1 box and click on Deploy 2.
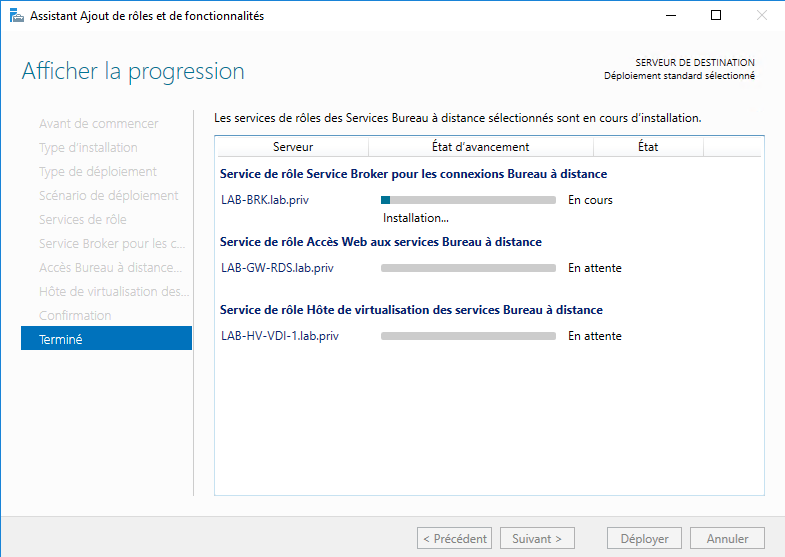
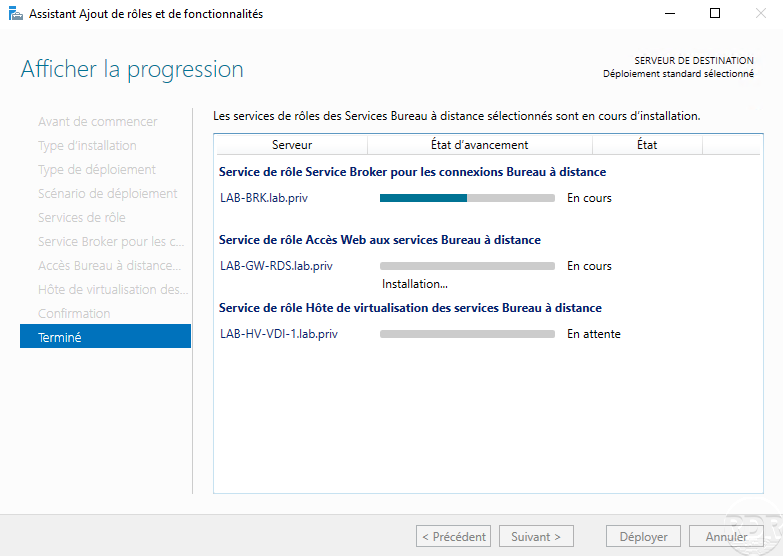
Wait while the different roles are installed …
Once the installation is complete, click on Close 1.
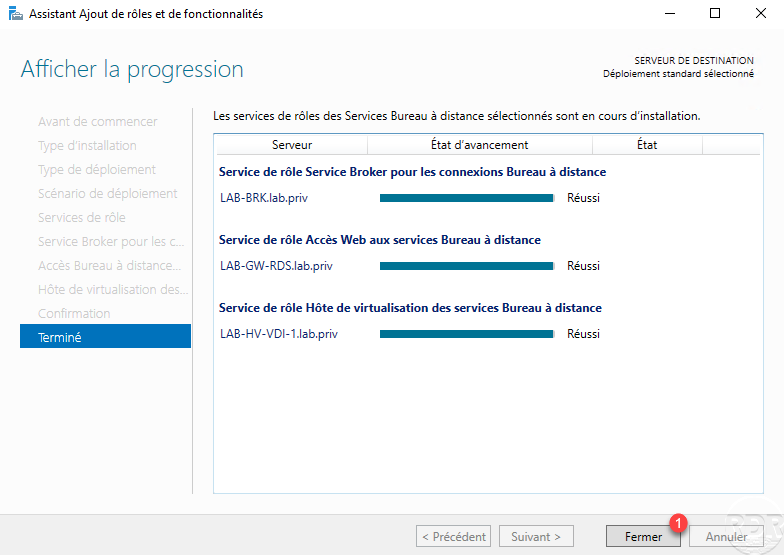
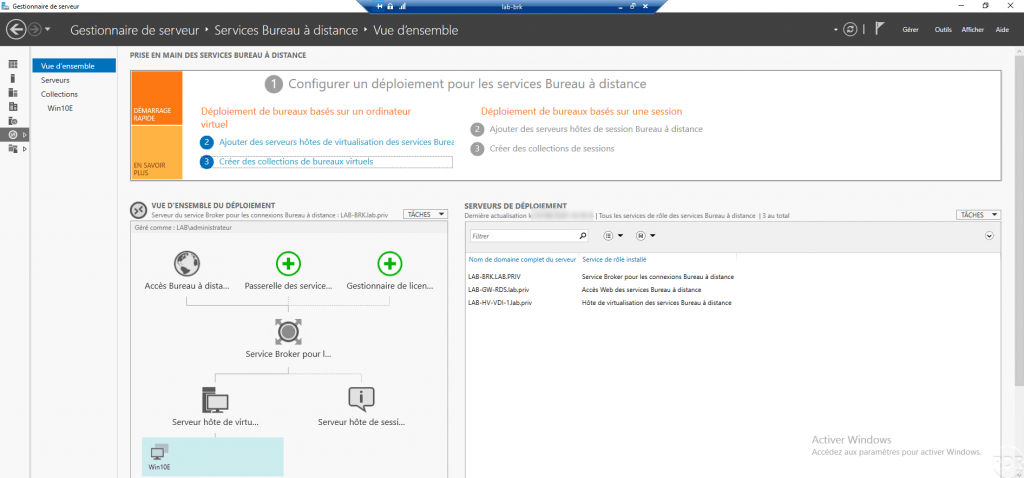
To validate the installation, refresh the server manager, in the navigation pane should display Remote Desktop Services 1 which is the administration interface.
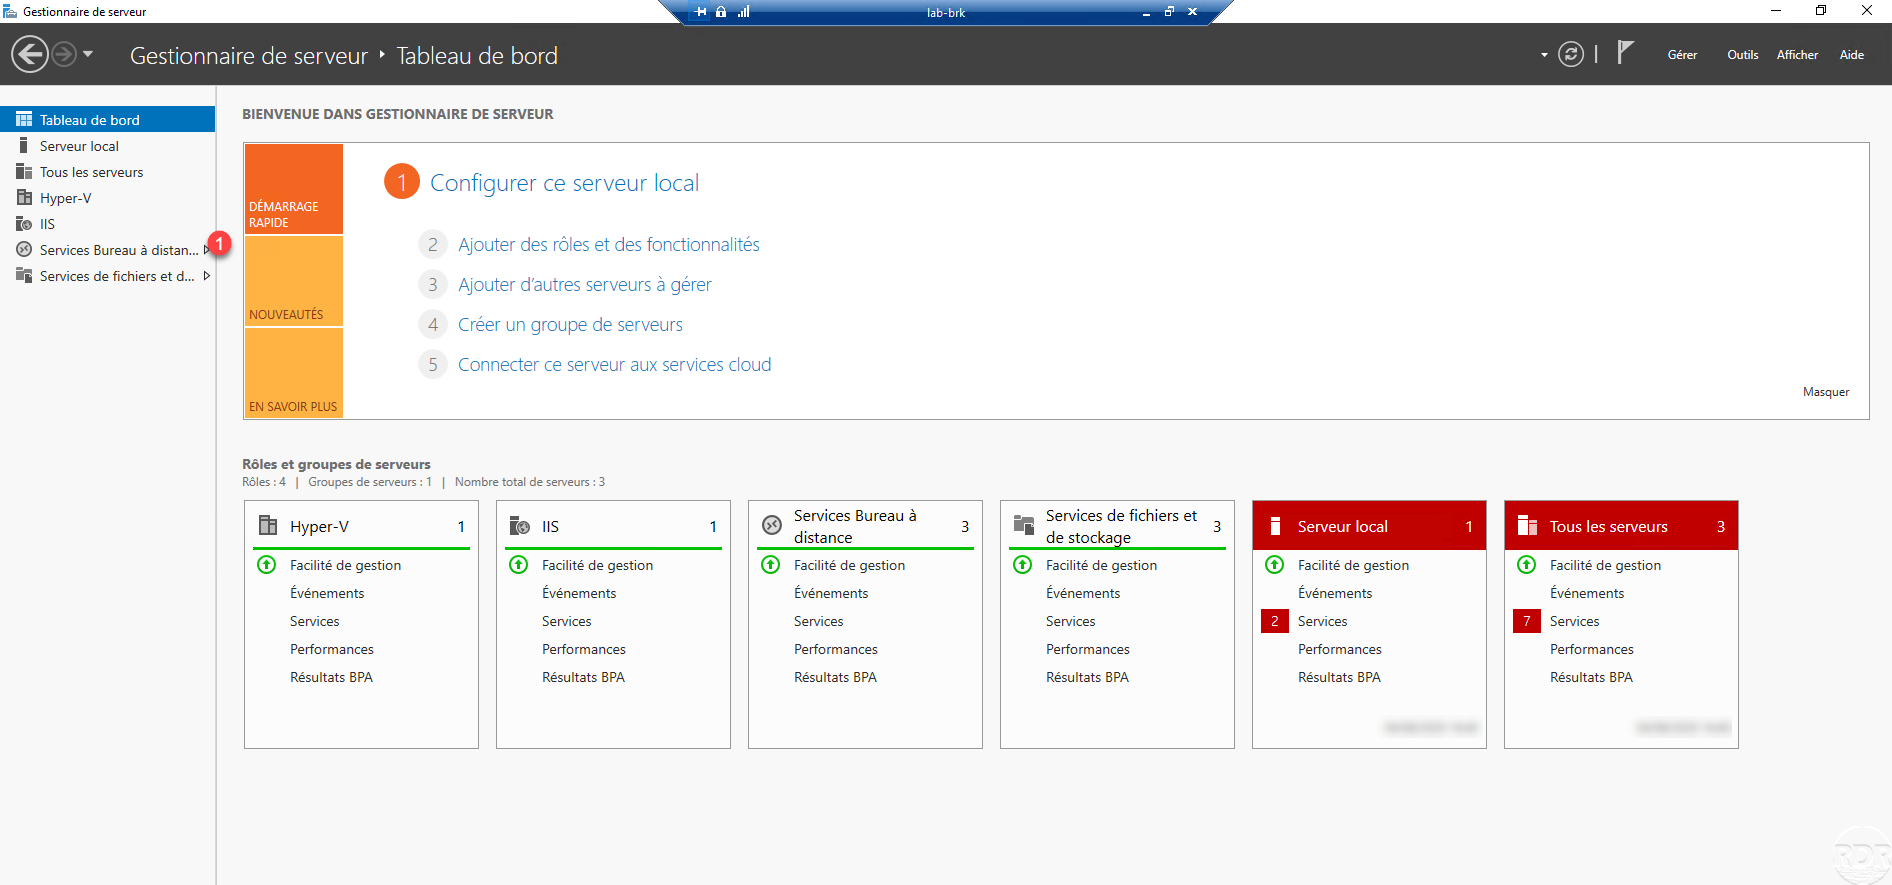
This is the Remote Desktop Services administration interface.
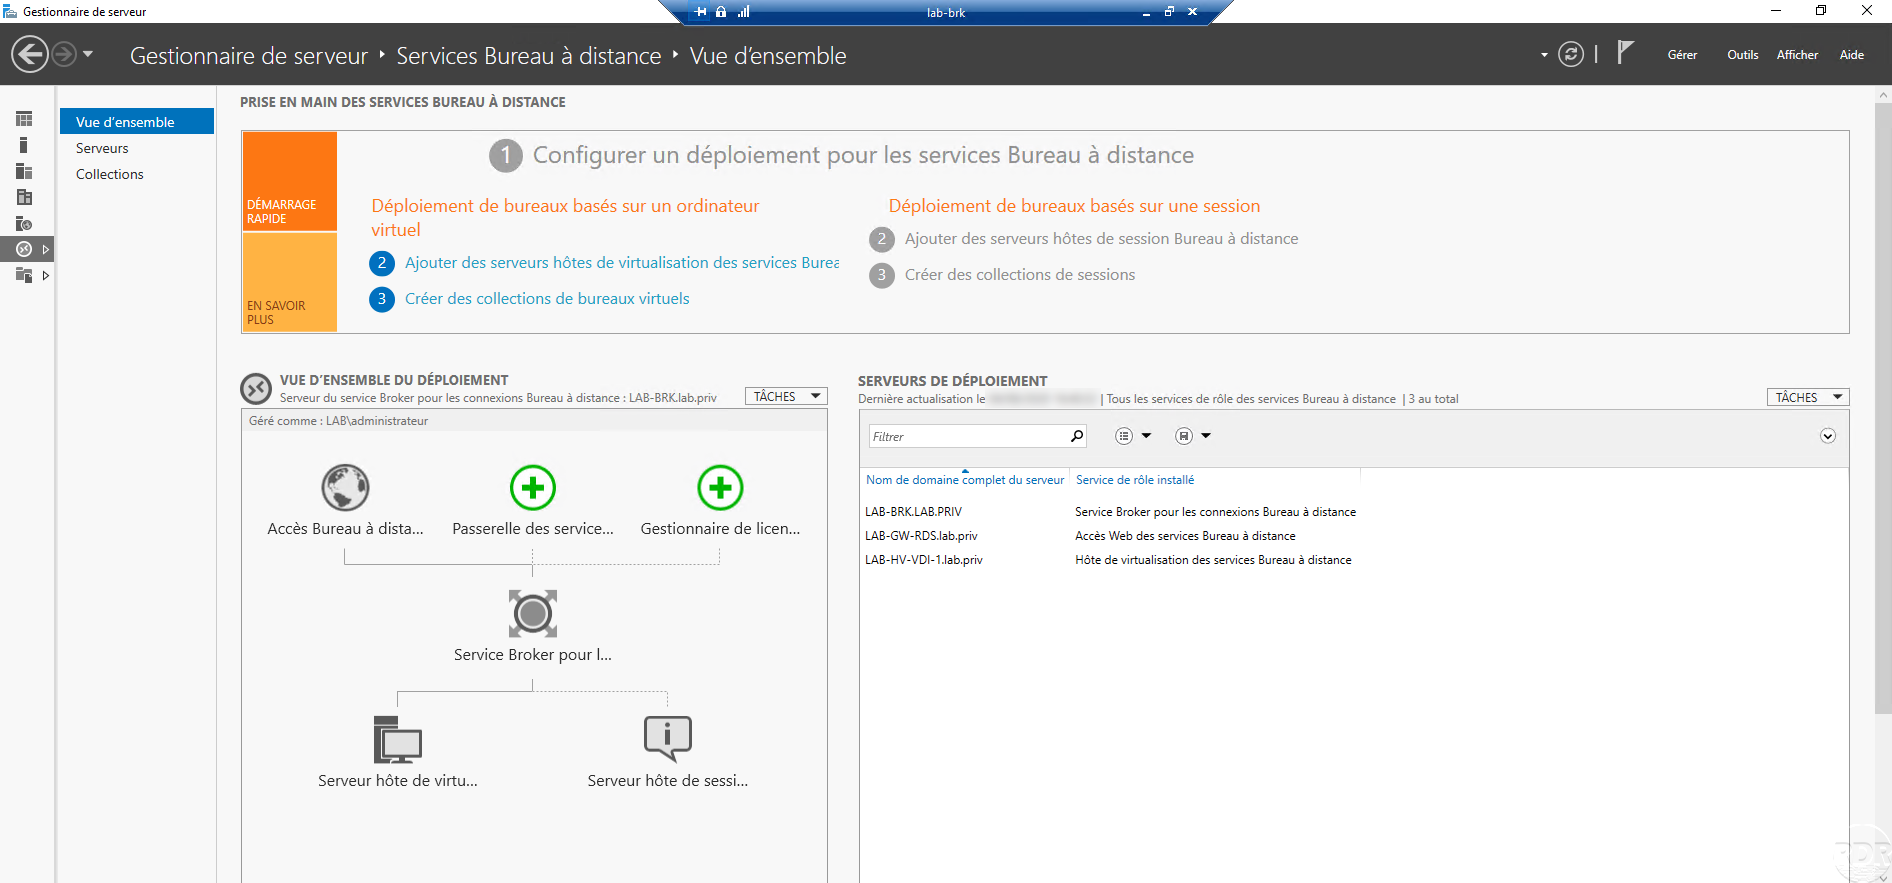
The services are ready and you have been able to see the administration interface, before using it, you must now create a template virtual machine which will be used to provide a desktop to the user.
Creating the template virtual machine
Before configuring a collection for the deployment of virtual desktops, it is necessary to create a template virtual machine that will be used to generate the other machines.
Only Enterprise versions of Windows are supported
In this part, I will not go into detail on the creation of virtual machines with Hyper-V, I will assume that you have a minimum mastery of the technology. If necessary, several tutorials are available on the site and available here.
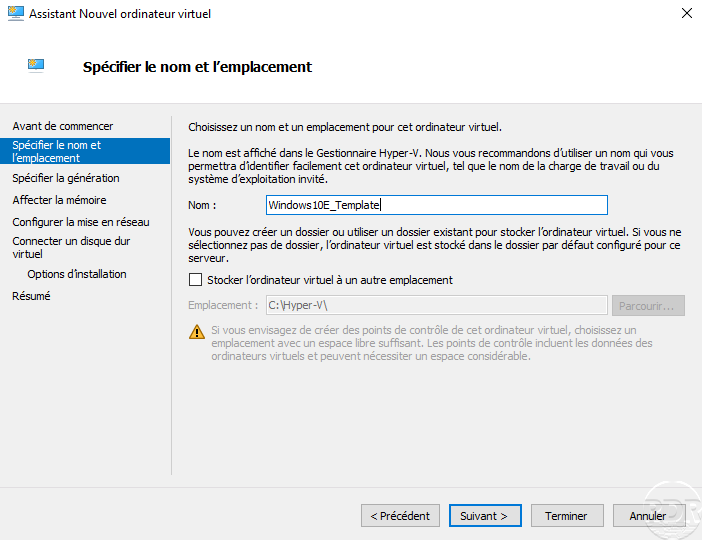
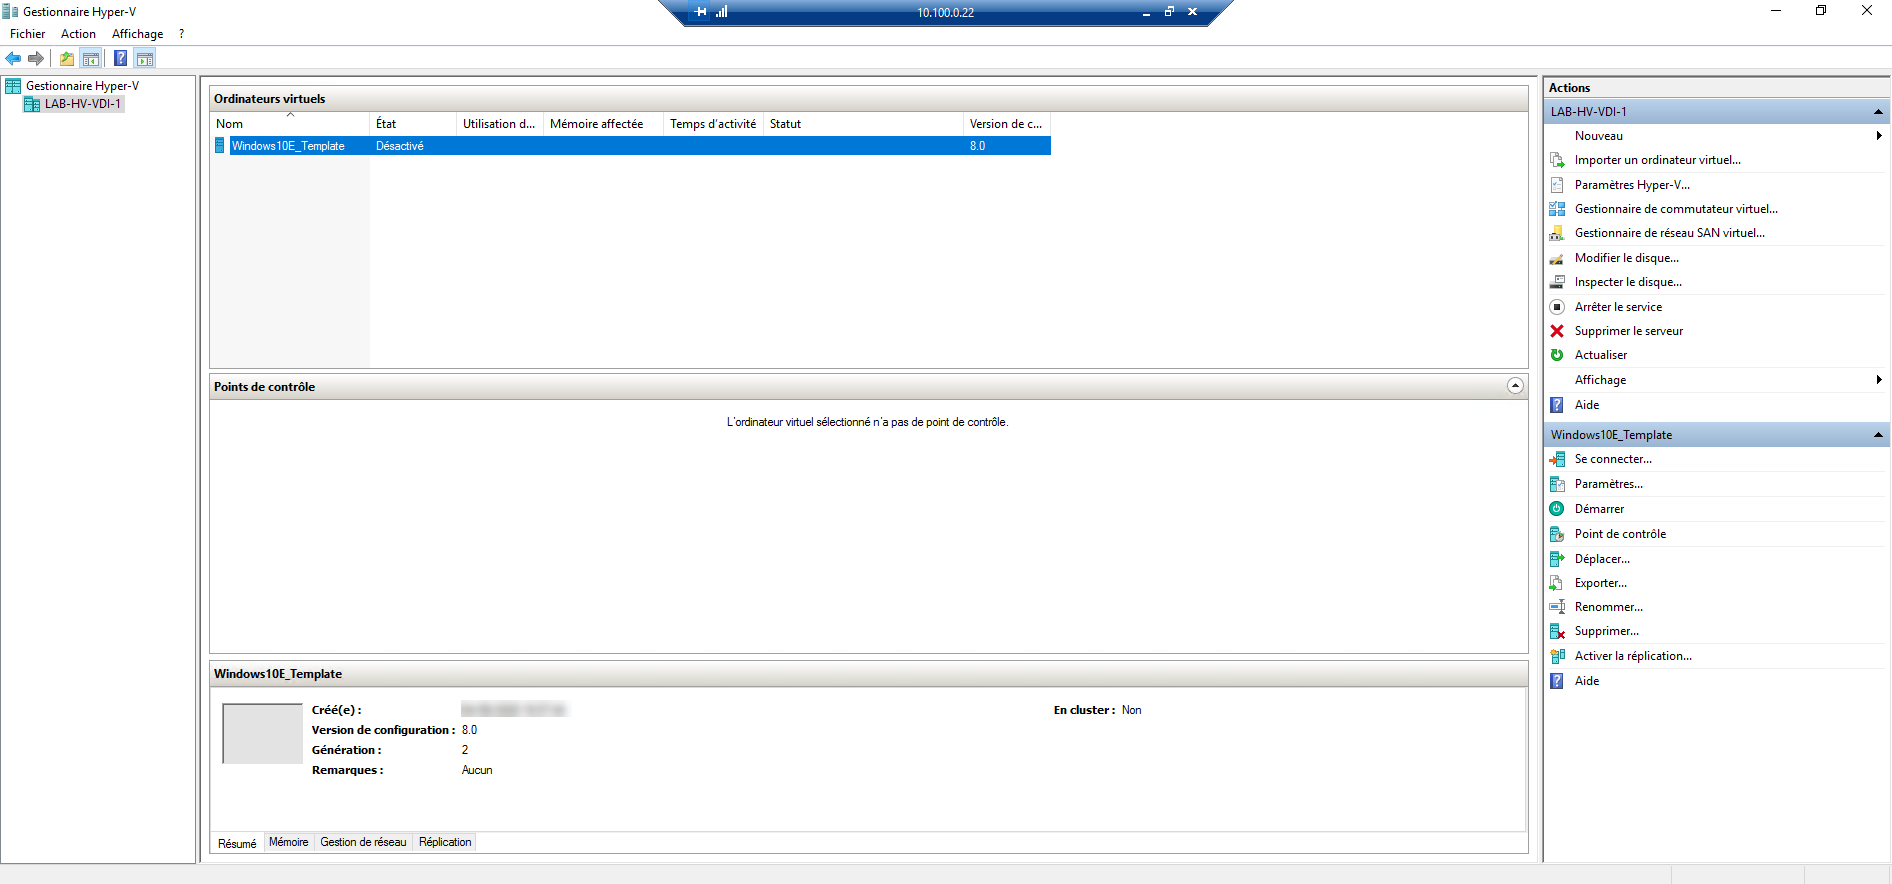
On the Hyper-V host, create a virtual machine that will serve as a template by configuring the resources you want to allocate (CPU, RAM, DISK …).
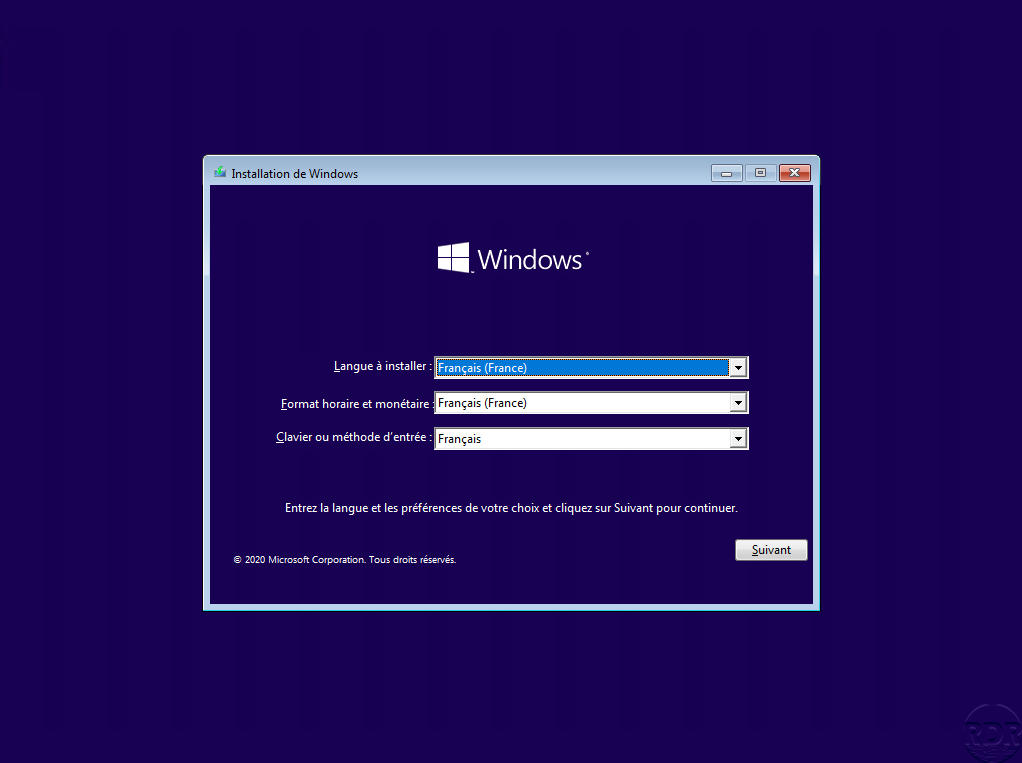
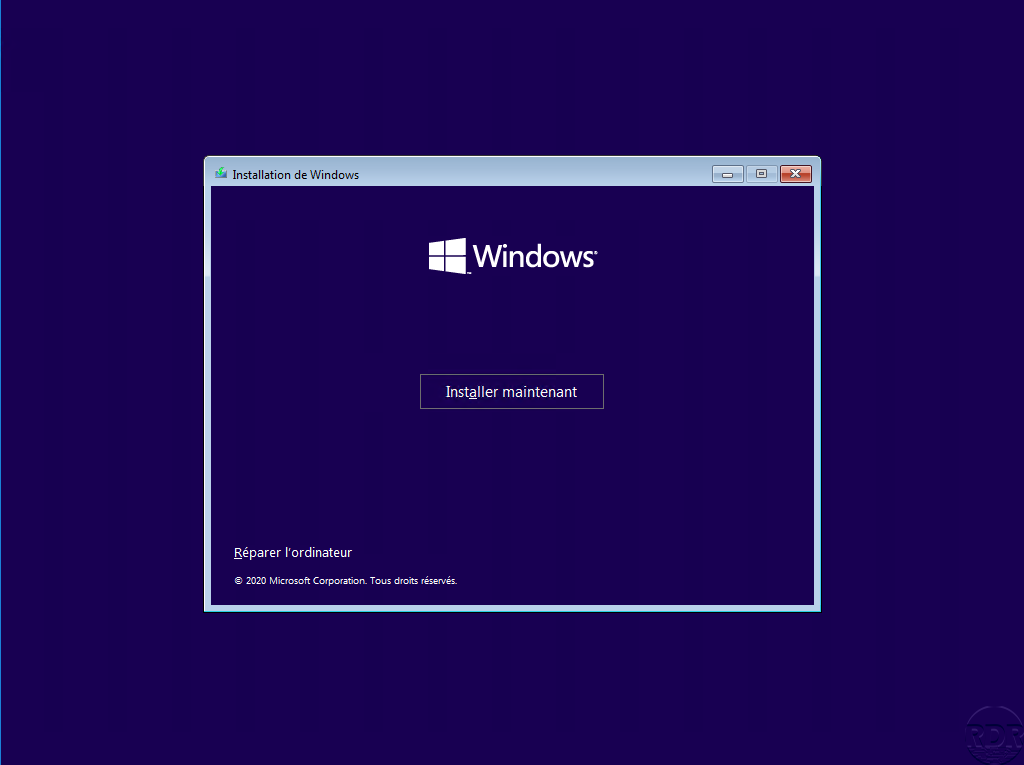
Start the virtual machine and start the Windows installation.
Once the installation is complete, install and configure the programs you want to make available. On the screenshot below we can see that I have installed notepad ++.
It is not necessary to enable remote desktop on the VDI model.
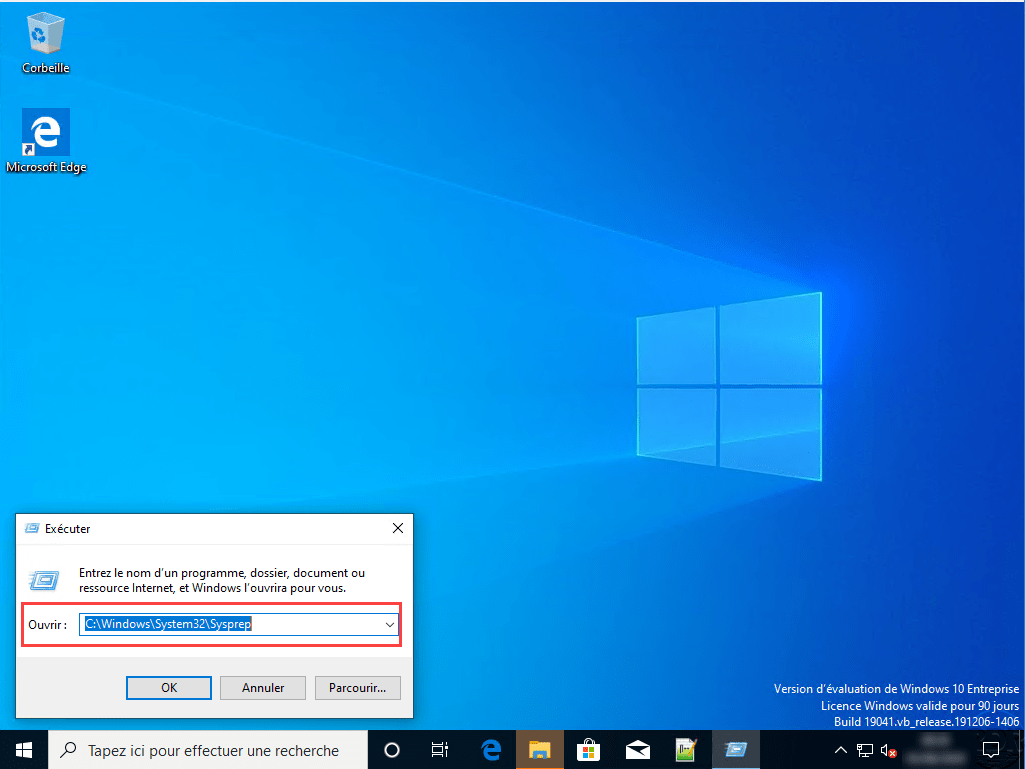
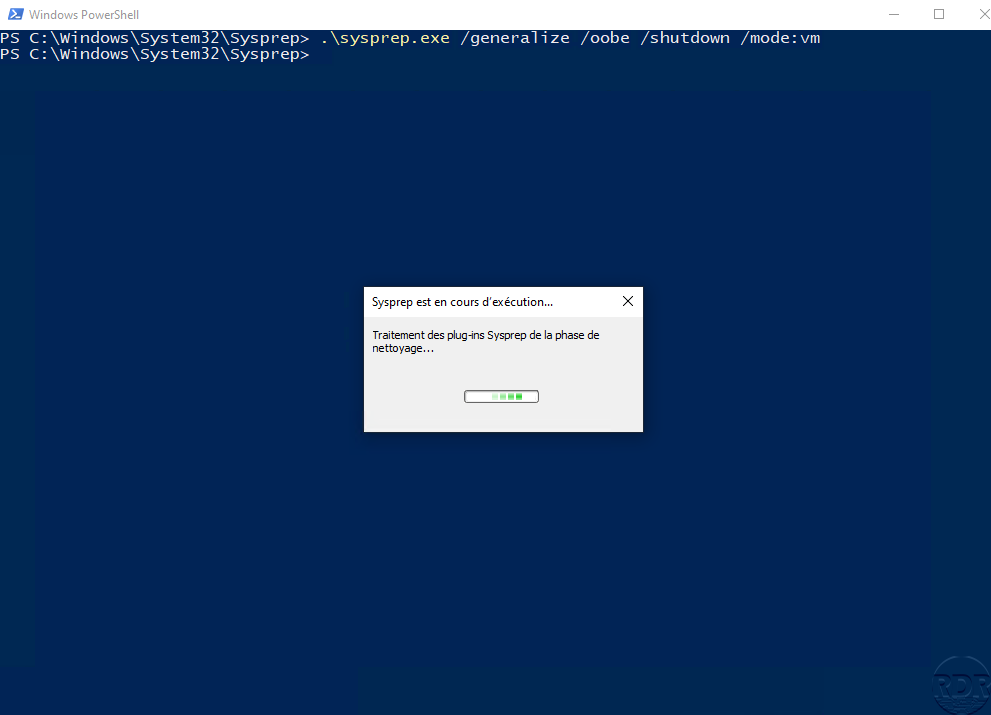
Now that the virtual machine is ready, you have to do a sysprep, go to the C: \ WIndows \ System32 \ Sysprep folder.
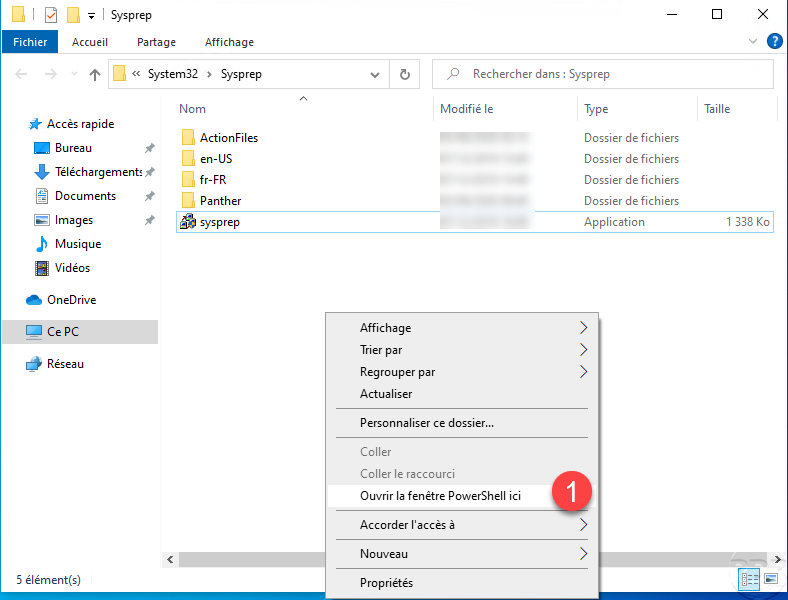
In the explorer press the shift key on the keyboard and right click and click on Open the PowerShell window here 1.
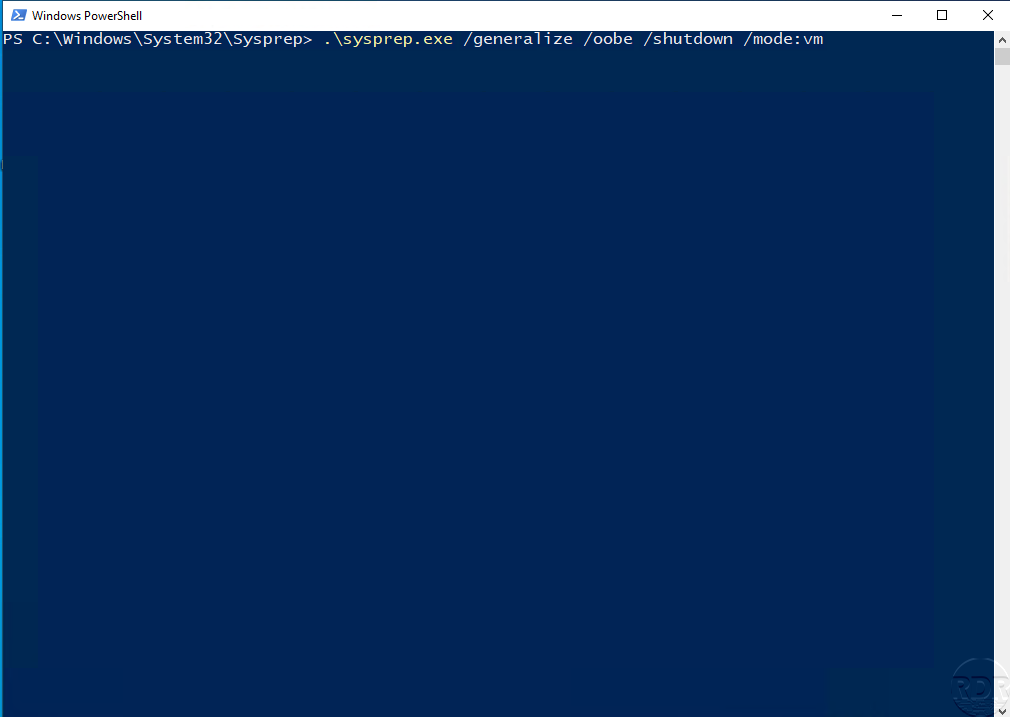
The sysprep must be carried out on the command line because you must pass the mode: vm option which is not available with the graphical interface.
In the window enter the command below to do the sysprep :
.\sysprep.exe /generalize /oobe /shutdown /mode:vm
Wait while sysprep is running.
If the sysprep is successful, the computer turns off.
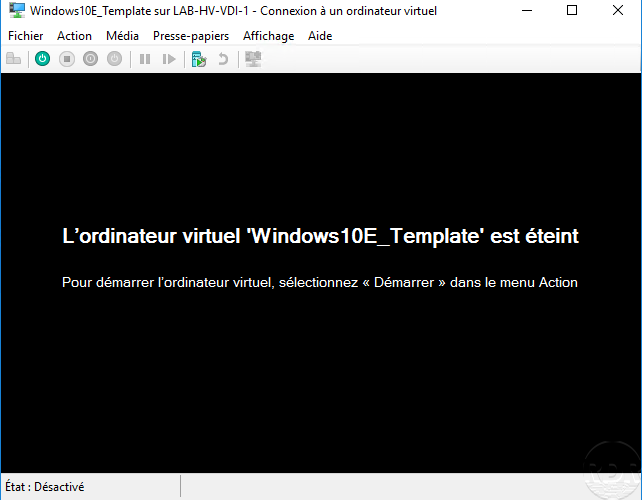
From now on, the model computer should not be started any more.
If you used an ISO to create the virtual machine, remove it from the virtual machine configuration.
Now that we have the loan model, we will move on to publishing Virtual Offices.
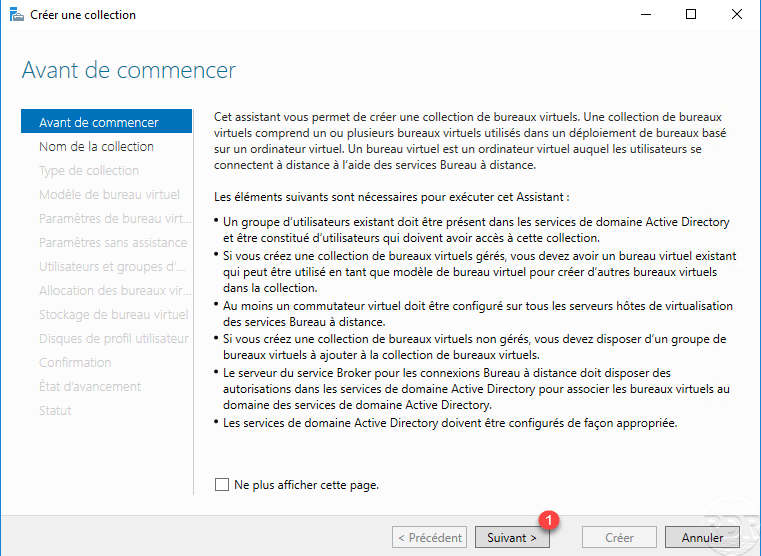
Creating a collection of virtual desktops
As with remote desktop host servers, you must create a collection to provision virtual desktops (VDI).
On the broker server, go to the administration of remote desktop services, in the quick start zone, click on Create virtual desktop collections 1.

When the wizard is launched, a list of necessary items is displayed, I invite you to read this part in order to better understand the rest. Click on Next 1 to go to the next step.
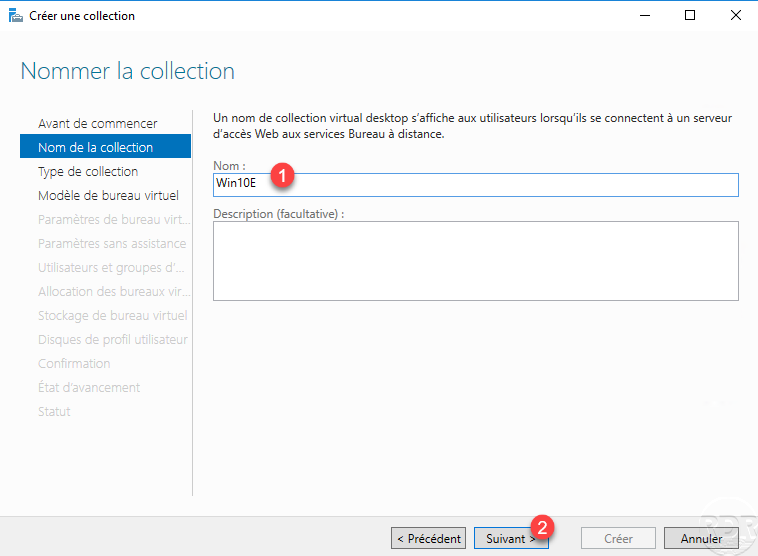
Name 1 the VDI collection then click on the Next 2 button.
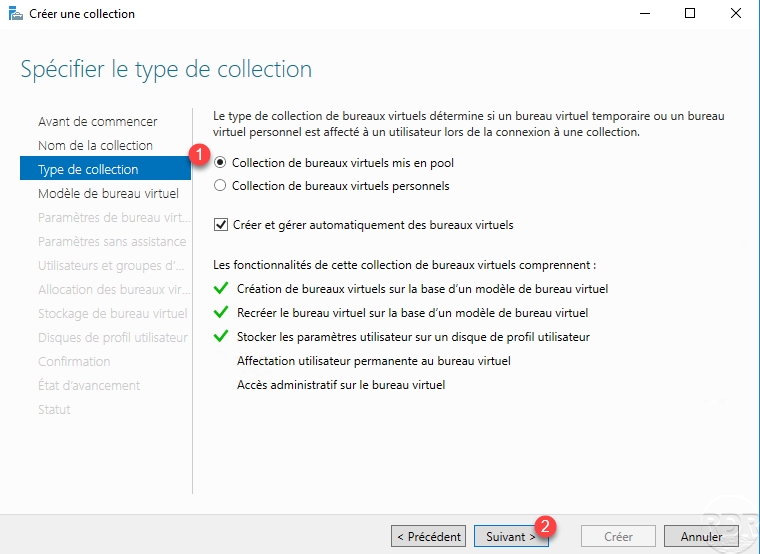
It is now necessary to configure the type of collection, there are two types, a type which allows to have a pool with a random allocation whatever the user and a persistent type which will allow the user to always have the same virtual machine and “customize” it. In the tutorial, select Pooled Virtual Desktops Collection 1 and click Next 2.
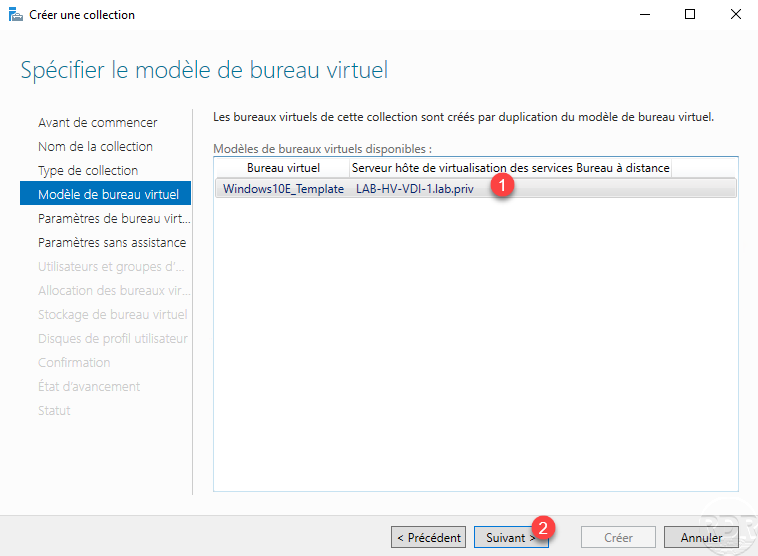
Select the template 1 which corresponds to the virtual machine created previously and click on Next 2.
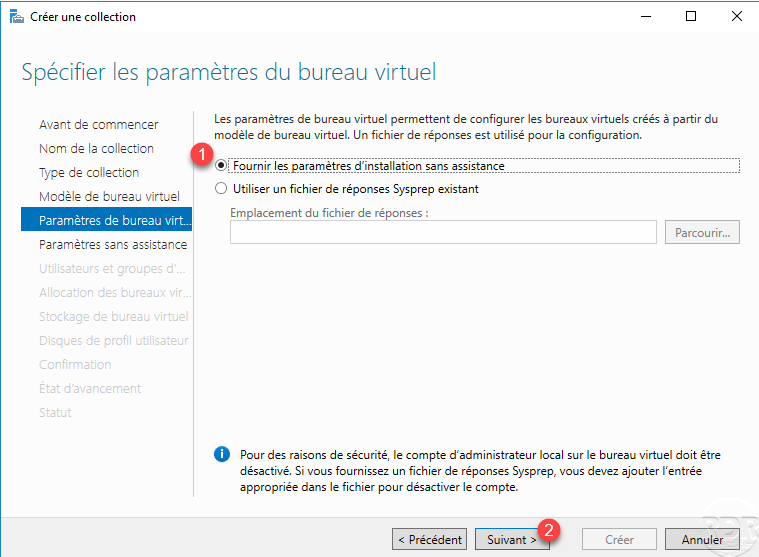
Choose the Provide unattended installation parameters option 1 and click Next 2.
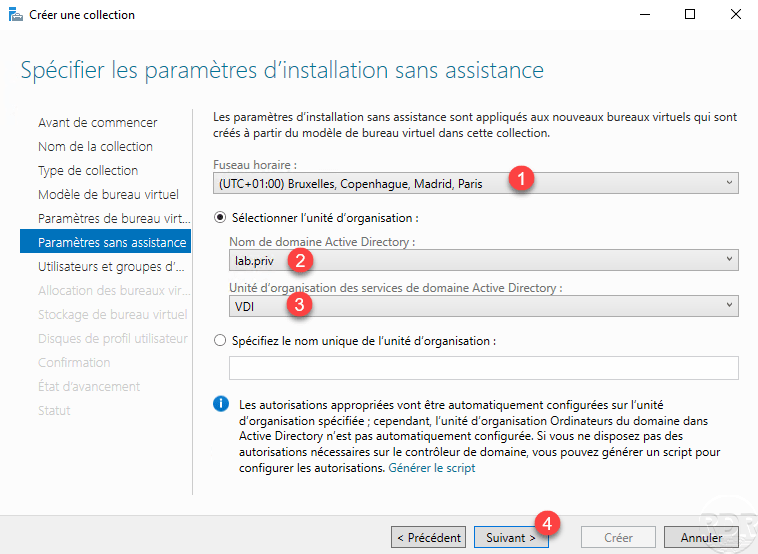
Choose the correct time zone 1 then select the domain 2 and the organizational unit 3 where the computer objects will be stored. Click on Next 4.
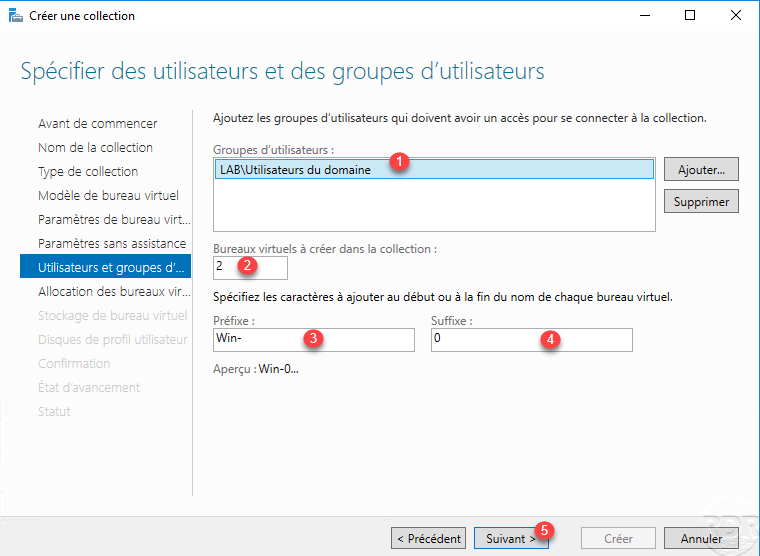
Configure a user group 1 authorized to use VDI. Indicate the number of virtual machines available in the 2 collection and configure how the name of the machines is formed with the prefix 3 and the suffix 4. Validate by clicking on Next 5.
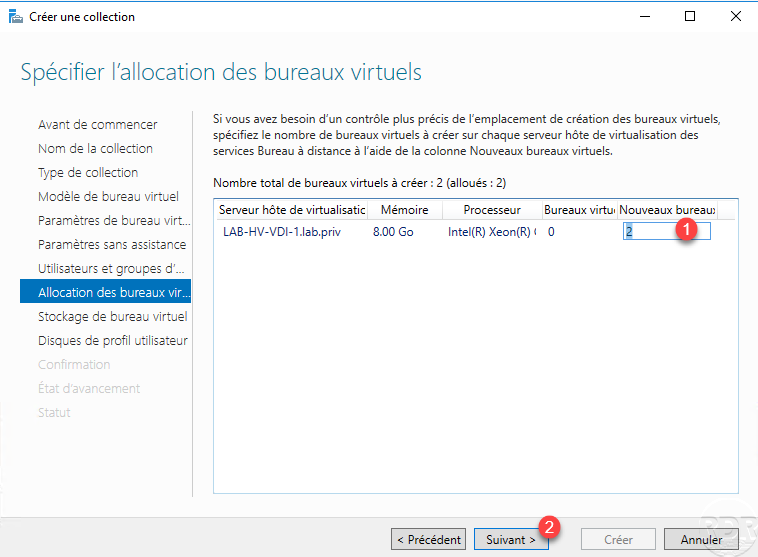
Configure the distribution of virtual machines on Hyper-V hosts, here we allocate the 2 1 virtual desktops to the host and click on Next 2.
Indicate the storage location of the virtual machines on the Hyper-V host 1 and click Next 2.
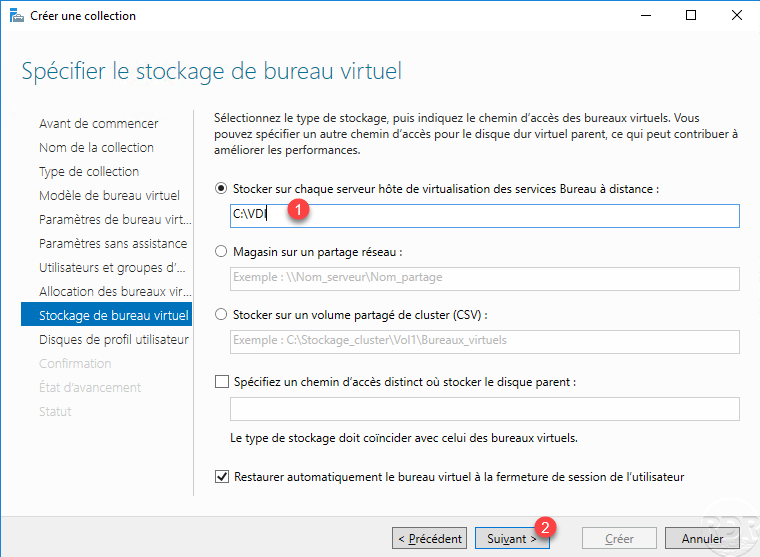
The folder must be created beforehand.
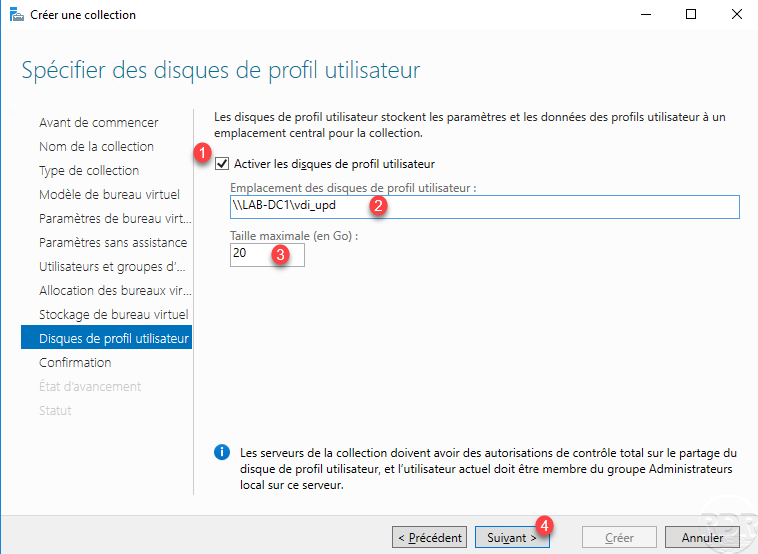
Check the box for Enable user profile disks 1, indicate the UNC path 2 then adjust the size if necessary 3 and click Next 4.
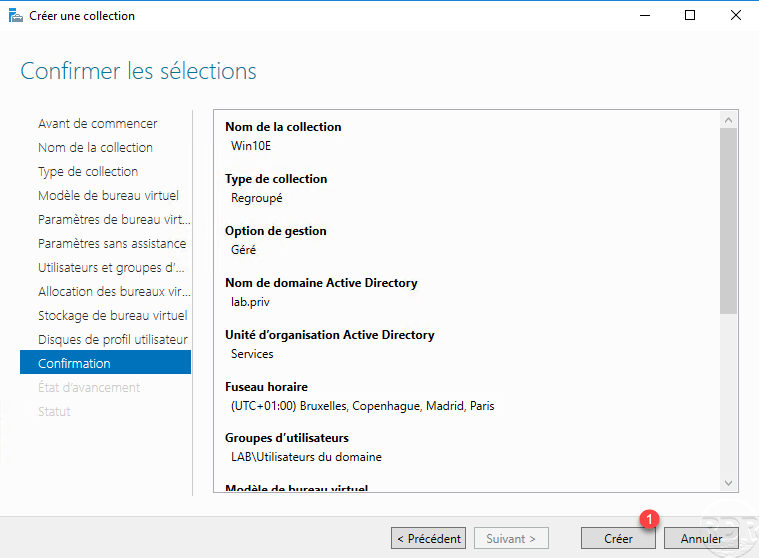
A summary of the collection configuration is displayed, click on Create 1.
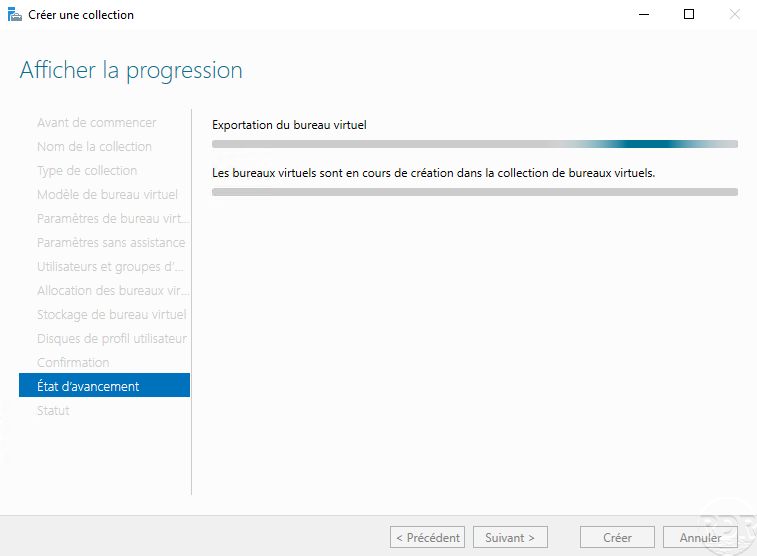
Wait while the collection and virtual machines are created, the duration will depend on the number of virtual machines to be created.
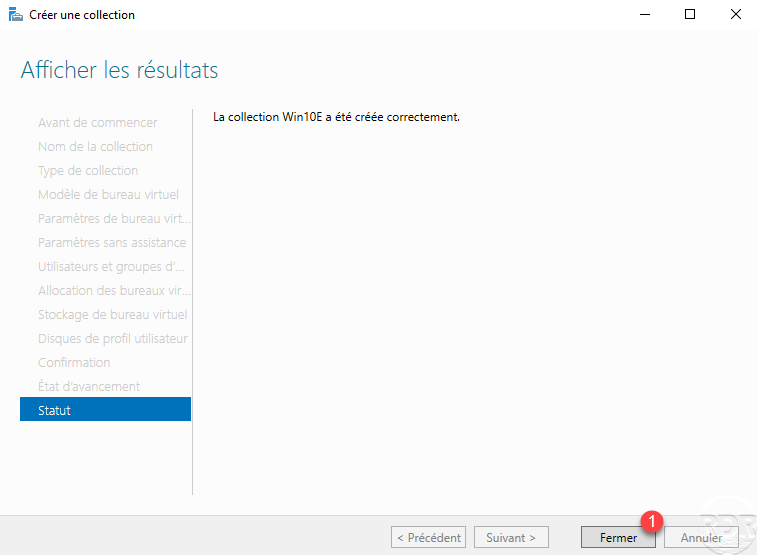
Once the collection has been created, exit the wizard by clicking on Close 1.
Now that we have a collection available, let’s take a tour to see what has been created.
Checking the elements of the new VDI collection
In this part, we will see what has been done when creating the collection.
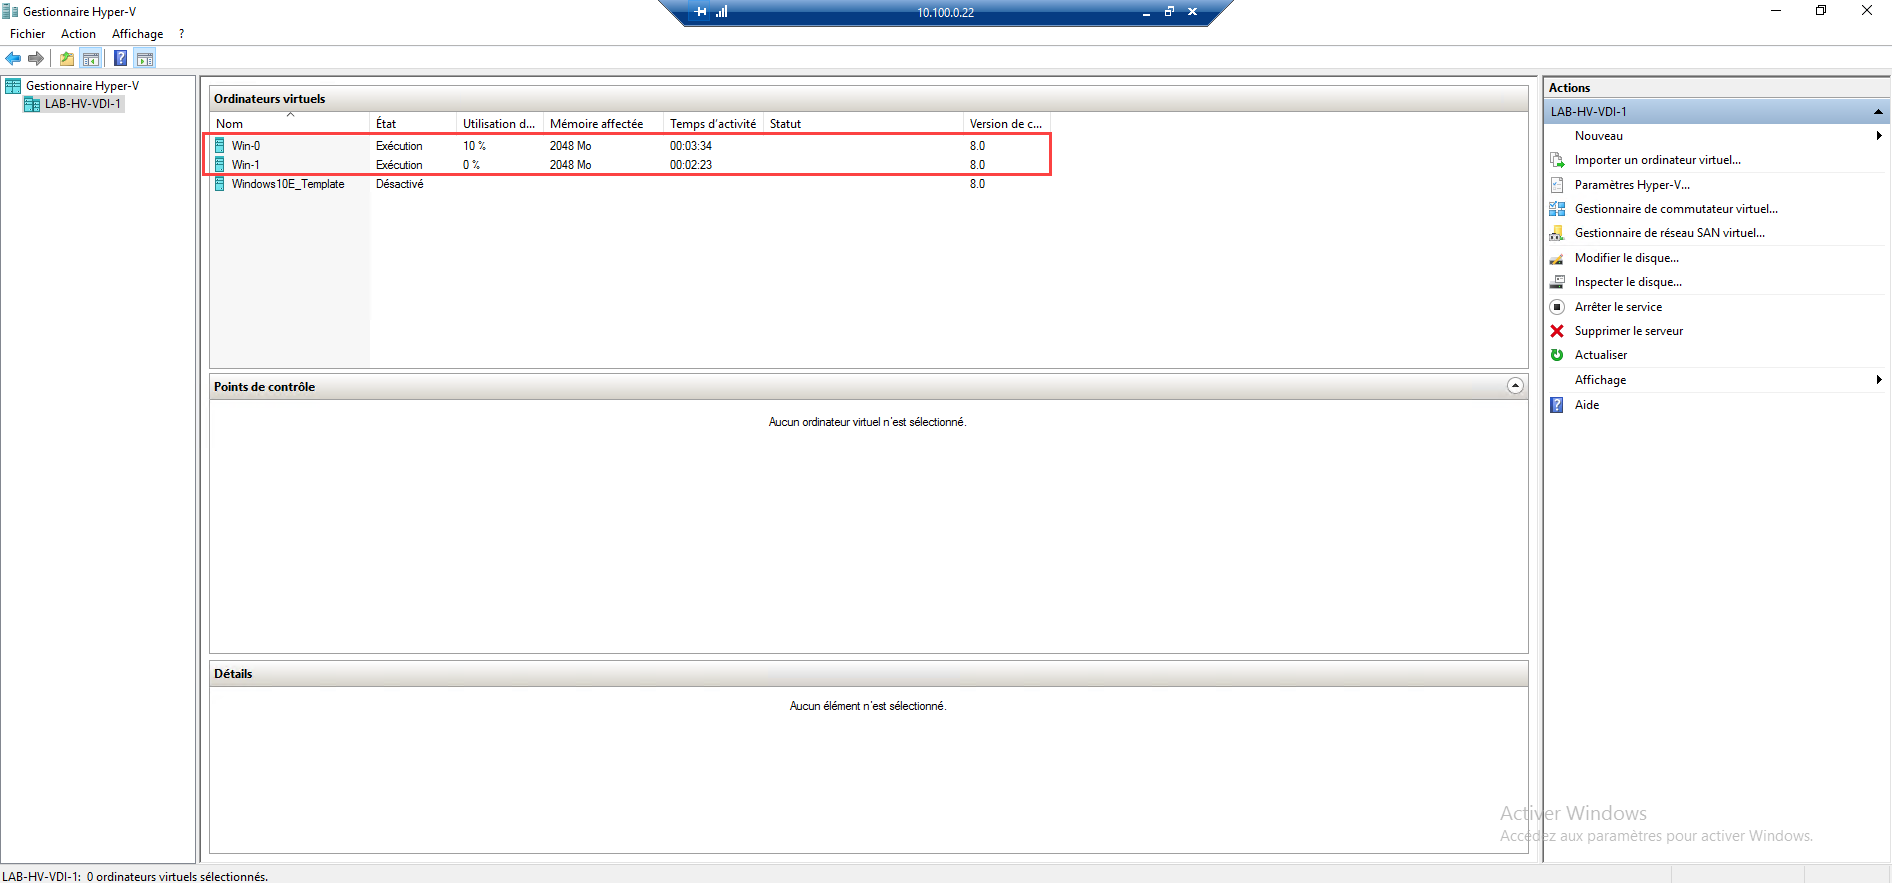
Hyper-V server
On the Hyper-V console, we can see that we have 2 new virtual machines, we also contact that they are started and that the name is built on the elements given during the configuration of the collection.
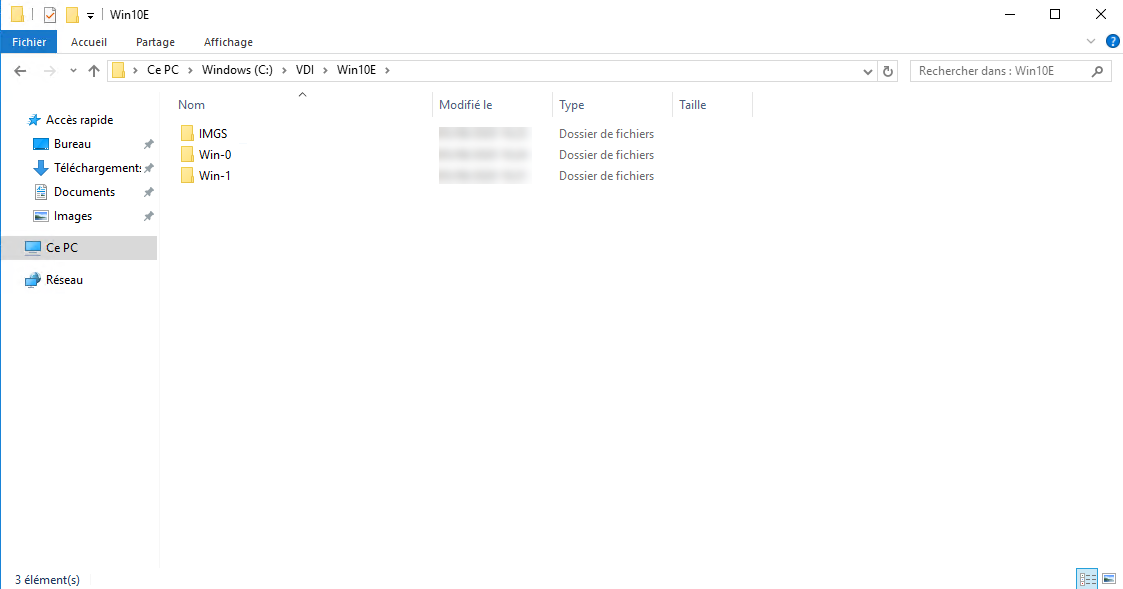
In the folder indicated in the configuration, we find the files of the virtual machines.
If you select a computer in Hyper-V, you will see that this is based on a snapshot. Looking at the snapshot settings and inspecting the virtual hard disk we see that it is a differencing type disk based on the template virtual machine.
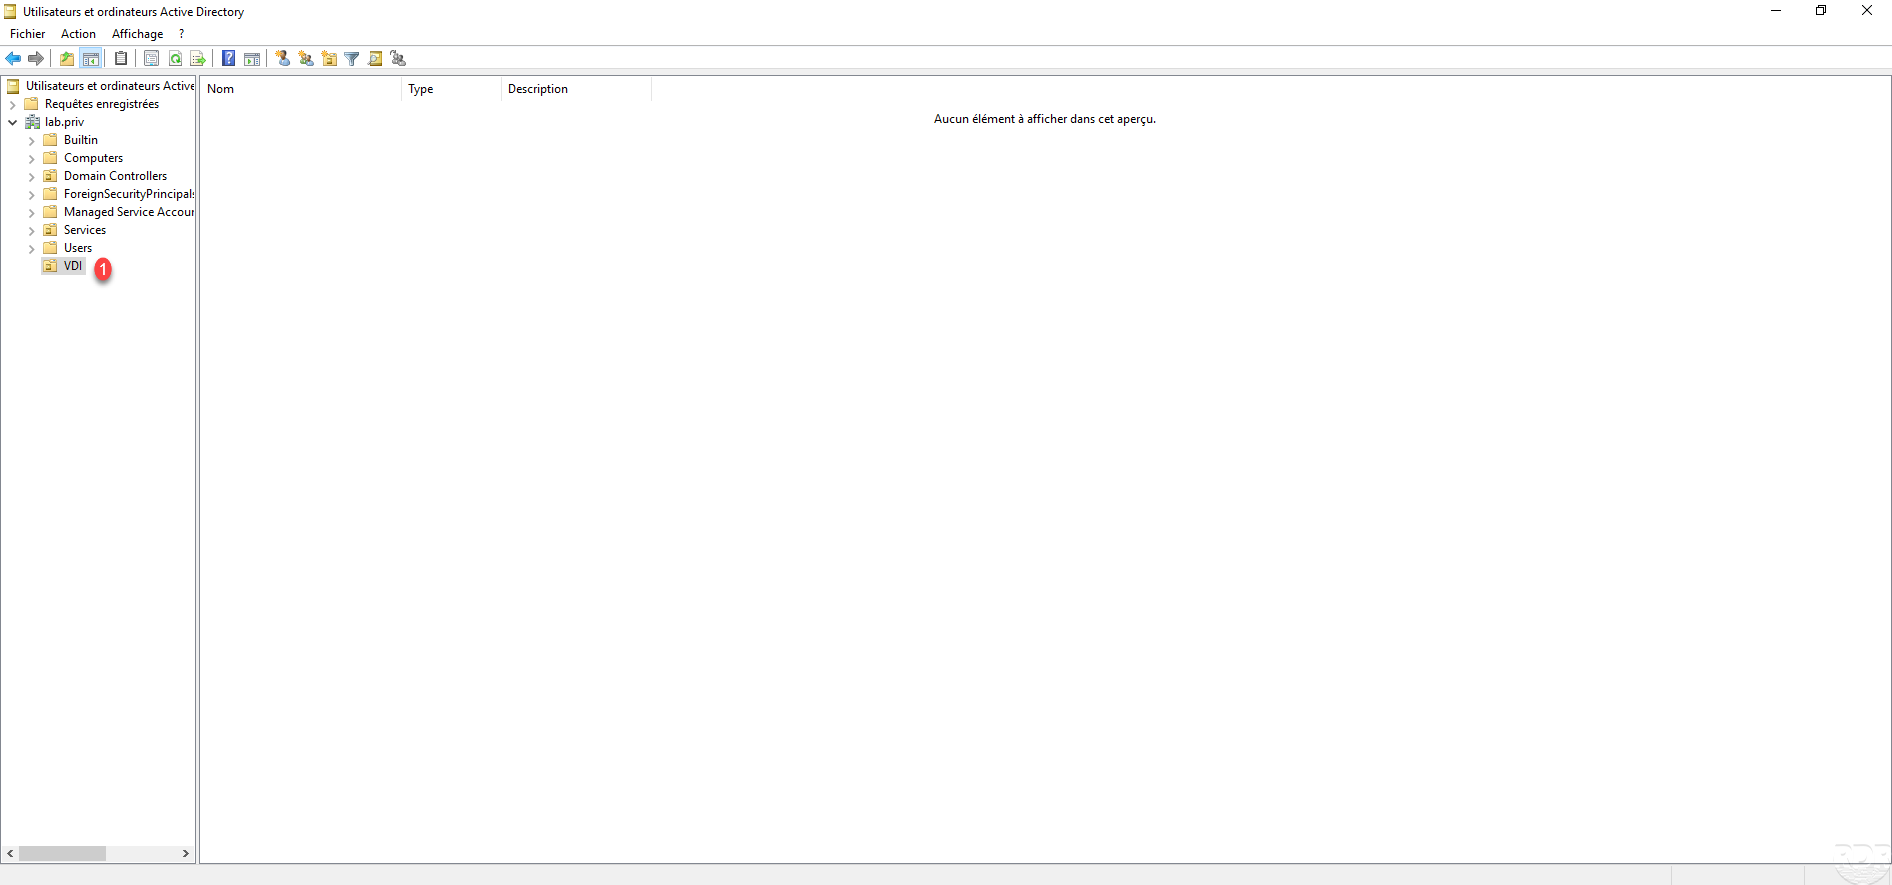
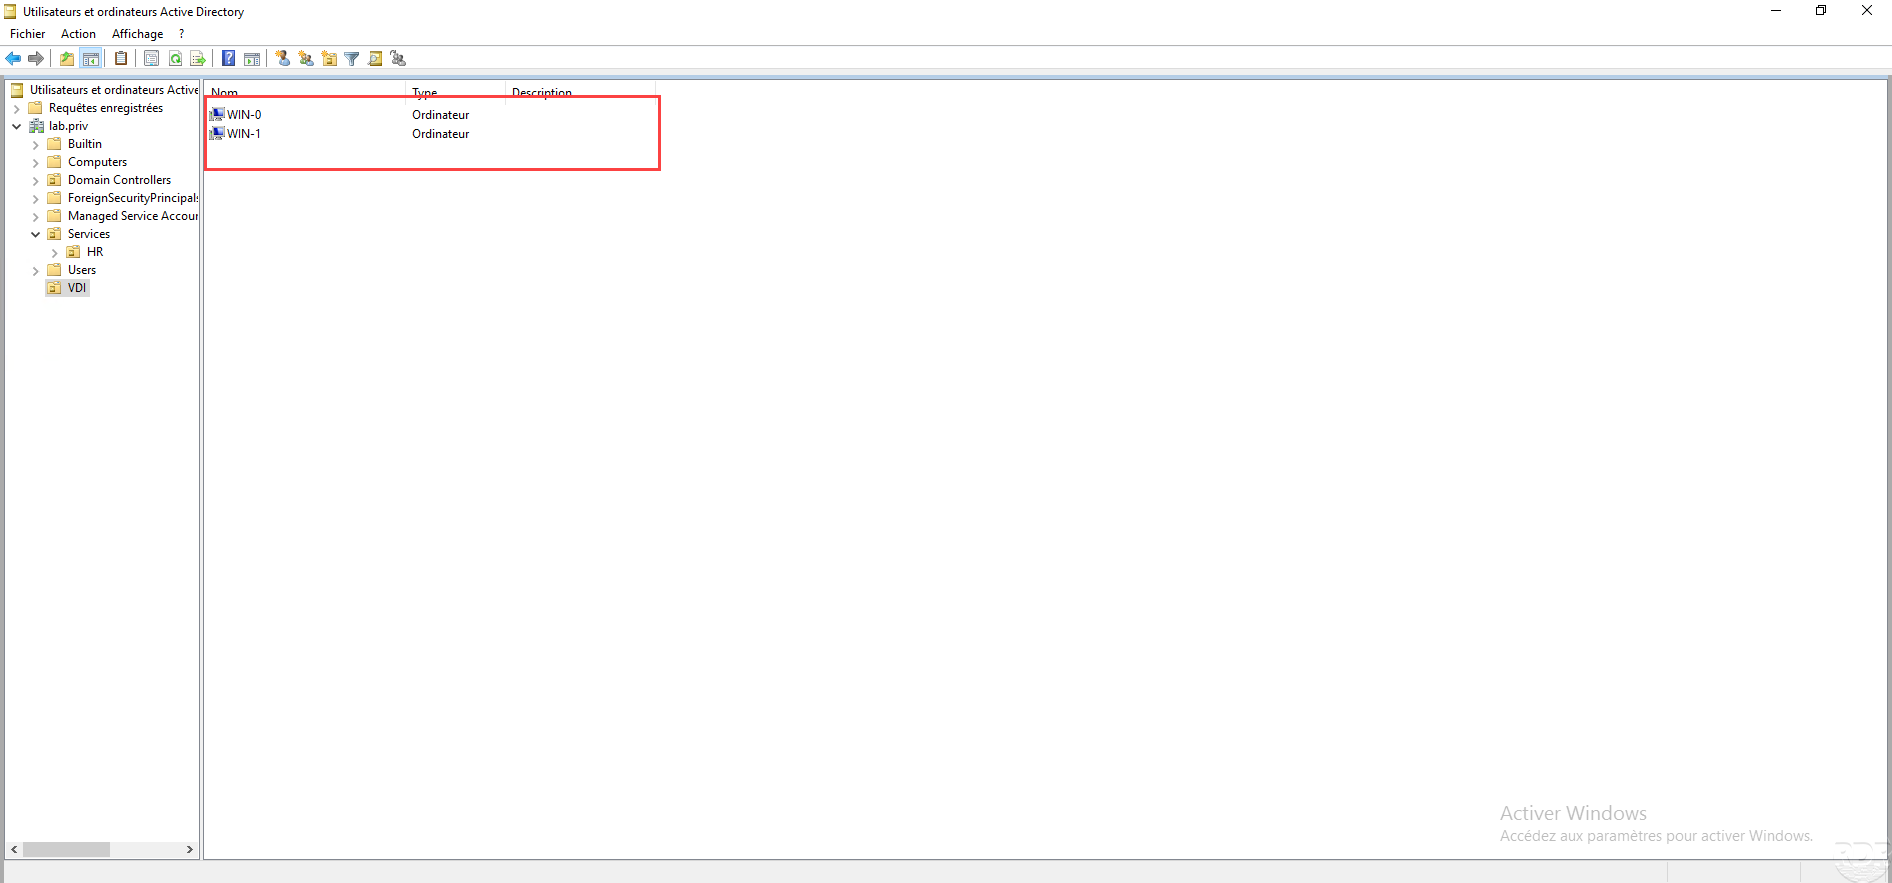
Active Directory
In the OU VDI, you can see the two computer objects that have been created.
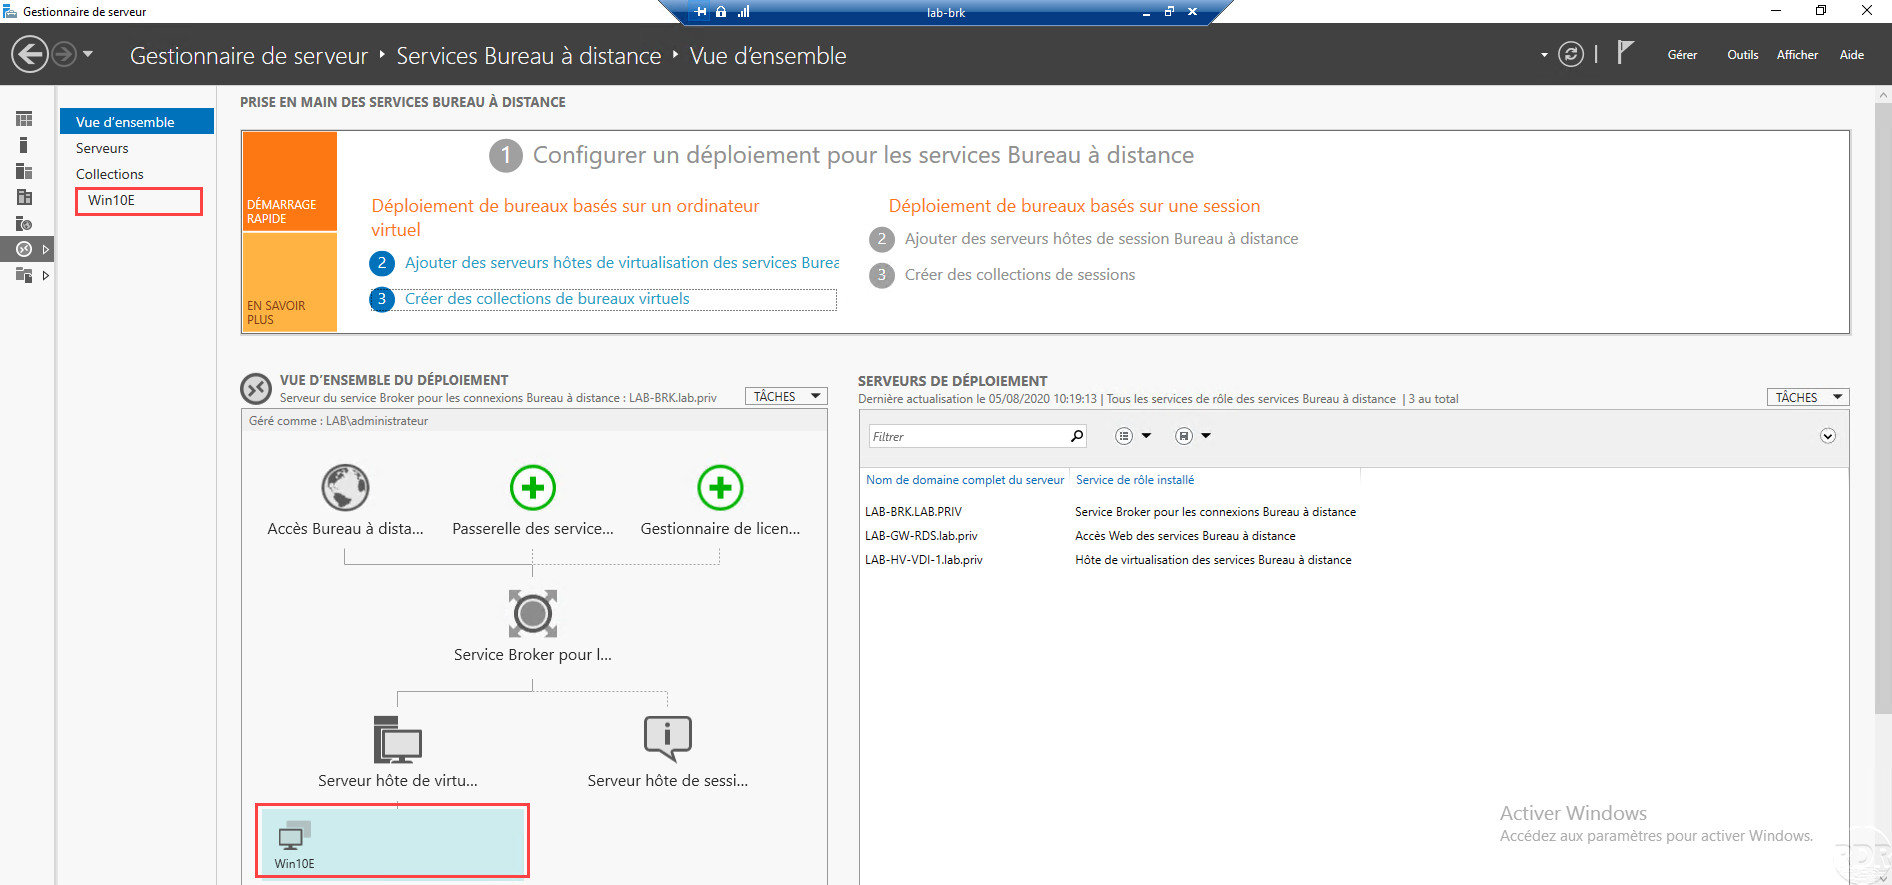
Broker server server manager
In the Remote Desktop Services deployment overview, the collection is displayed under the Remote Desktop Virtualization Host Server part and administration access is available through the navigation panel on the right by clicking on the name of the collection.
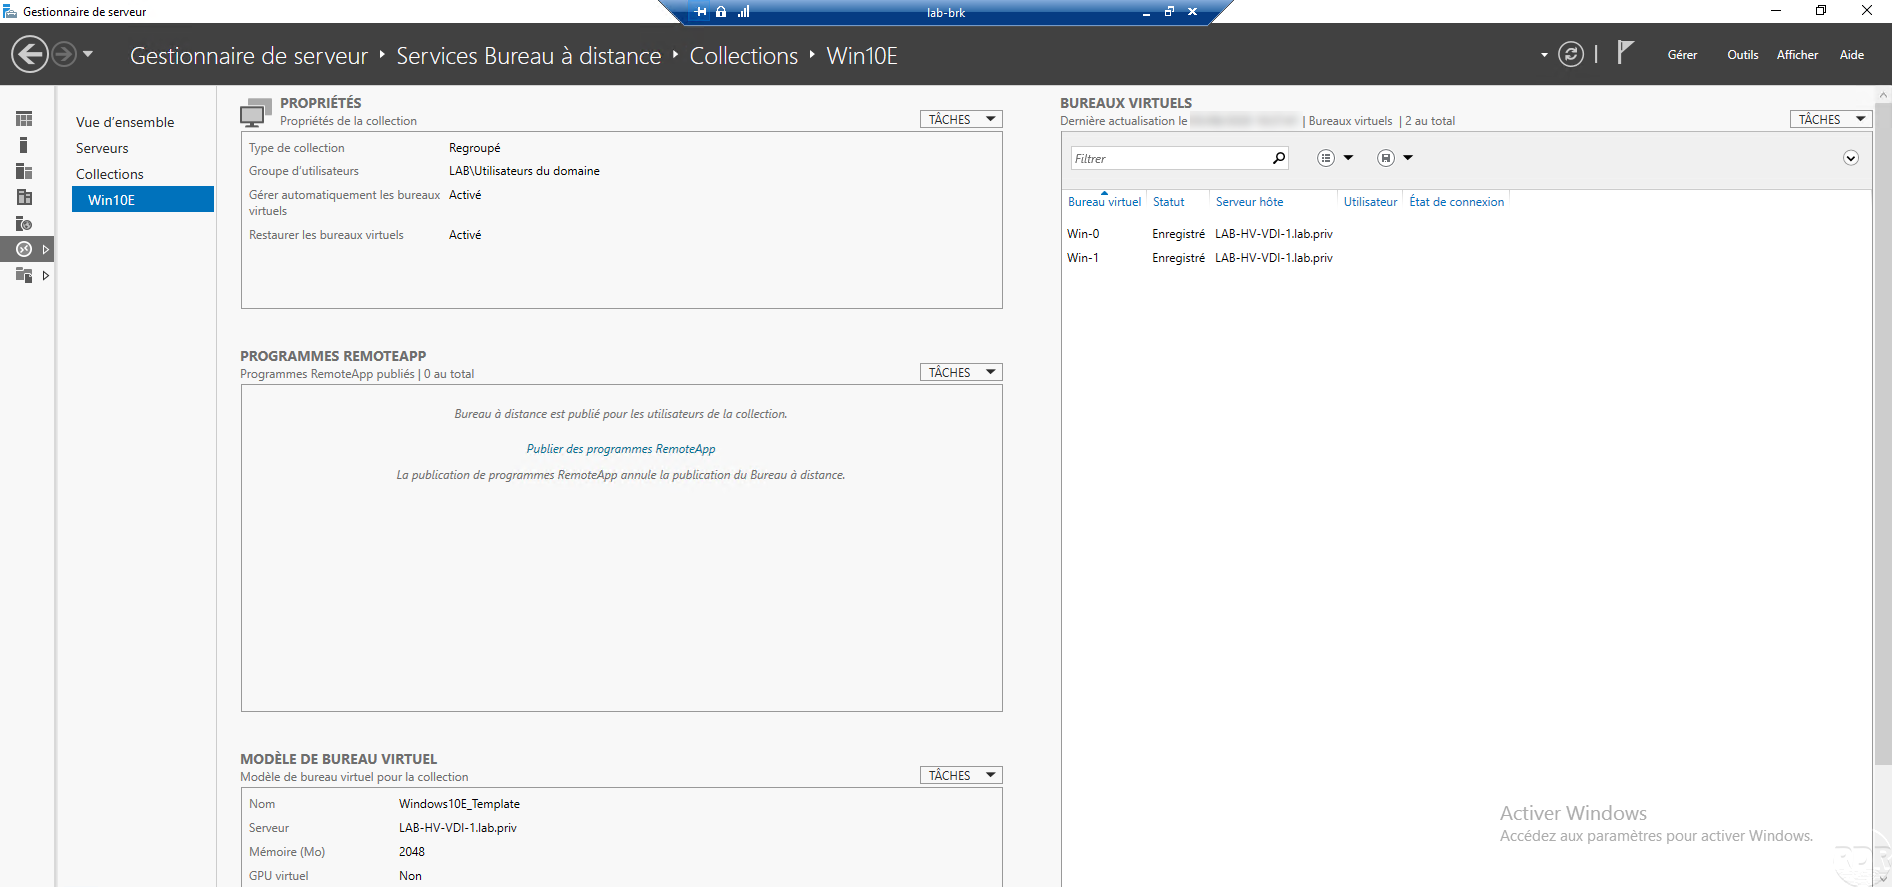
By clicking on the name of the collection, you get to its administration:
Connect to a VDI Virtual Desktop
In this last part of the VDI tutorial, we will see how to connect to a virtual machine in a VDI deployment.
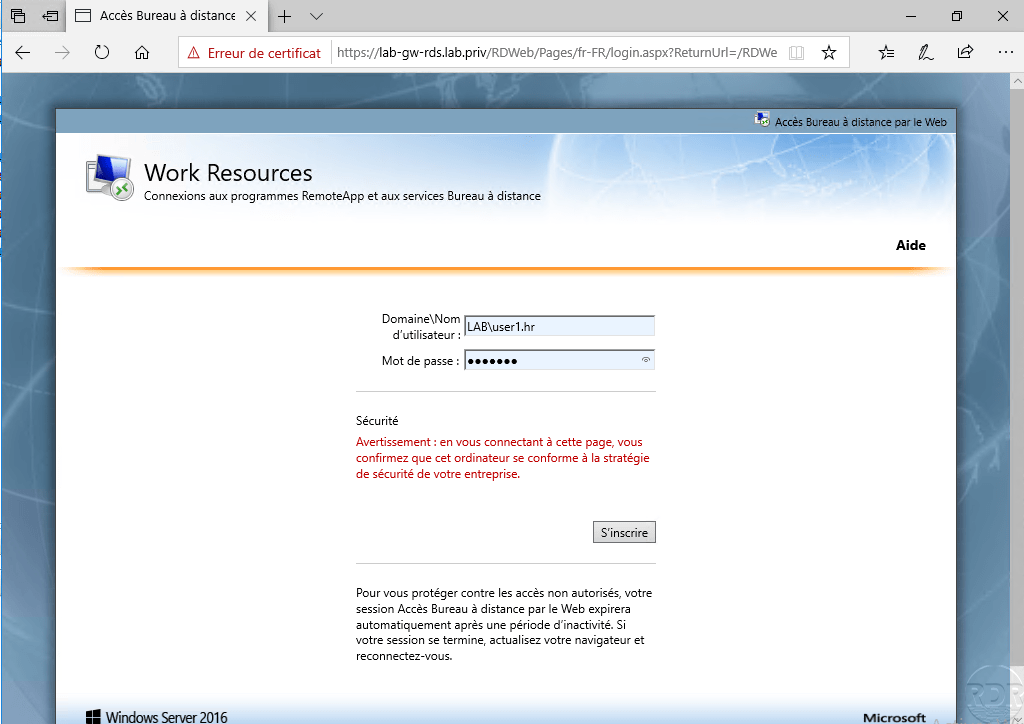
Open an Internet browser (preferably IE) and enter the address (fqdn name) of the web access server: https: //lab-gw-rds.lab.priv/rdweb and identify on the portal using ‘an account authorized to connect to a virtual machine.
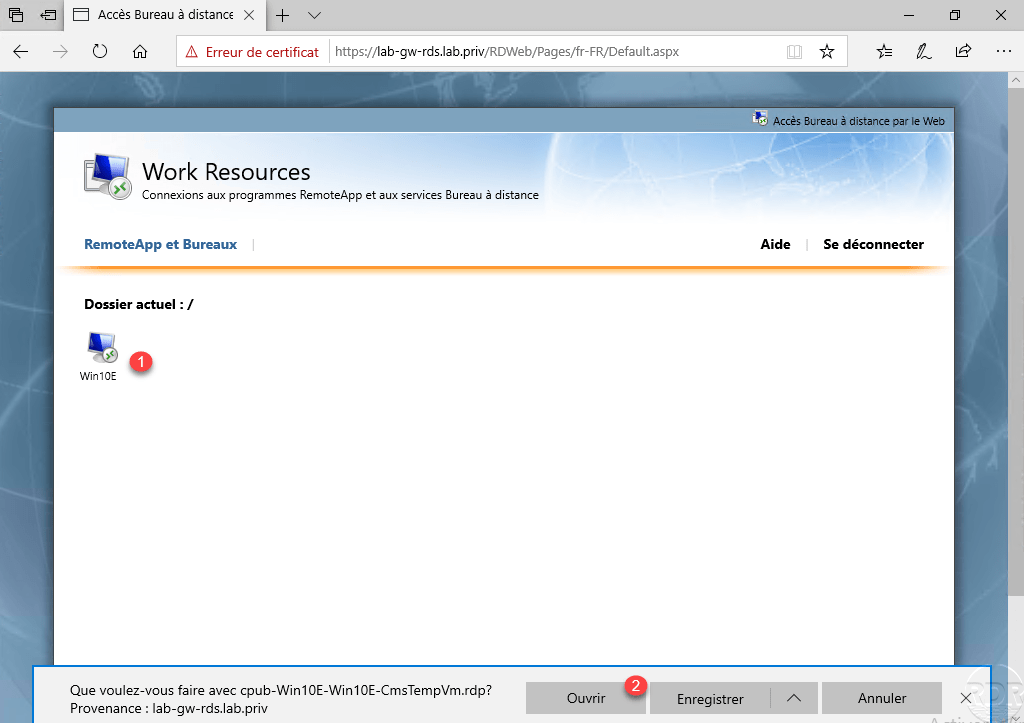
Click on the RDP icon of collection 1 and run the RDP file 2.
When launching the RDP client, click on the Connection 1 button.
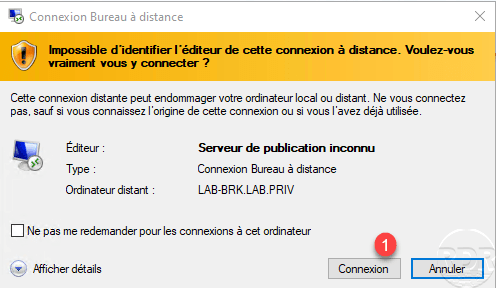
As we can see on the screenshot above, the RDP connection is made on the Broker server
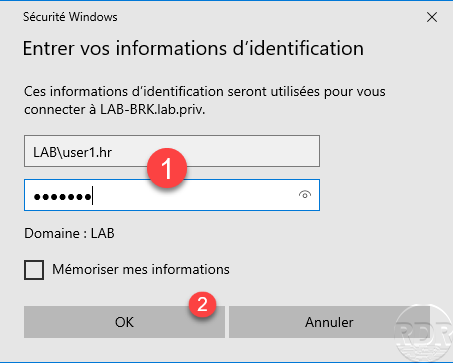
Enter the credentials of a user account 1 and click OK 2.
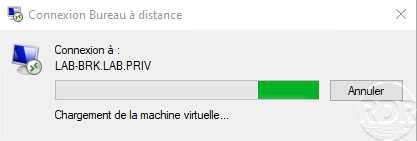
Wait during connection, it takes longer compared to an RDS farm.
The connection is established on a virtual machine, wait while opening the session.
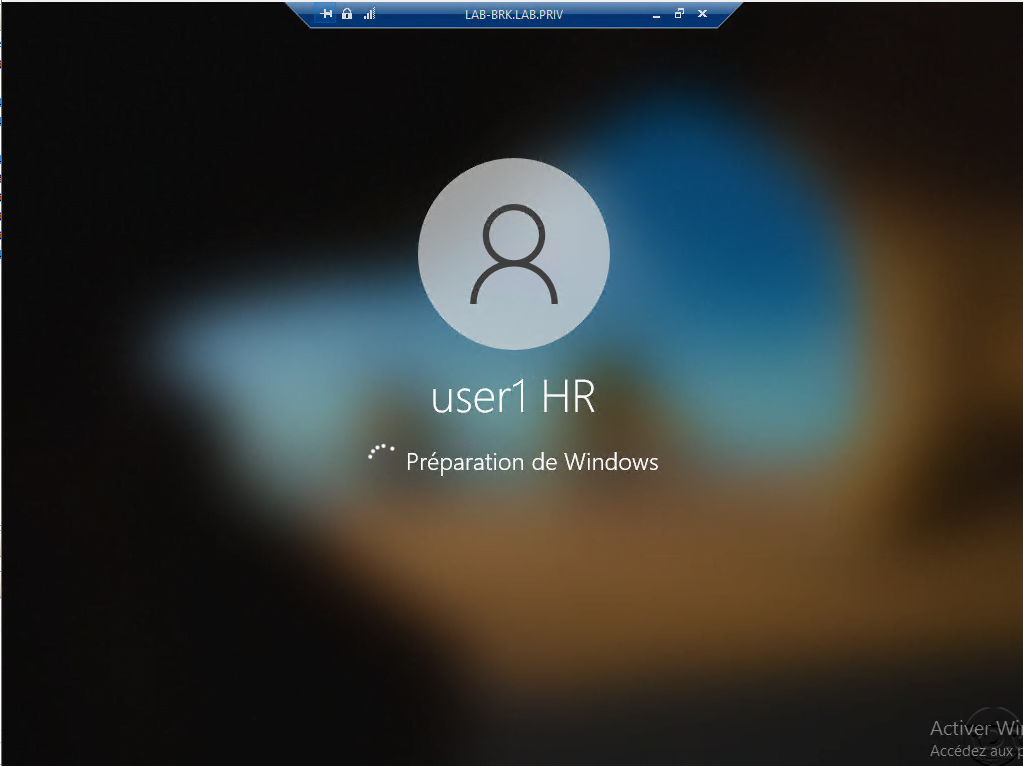
The user is logged in to the virtual office.

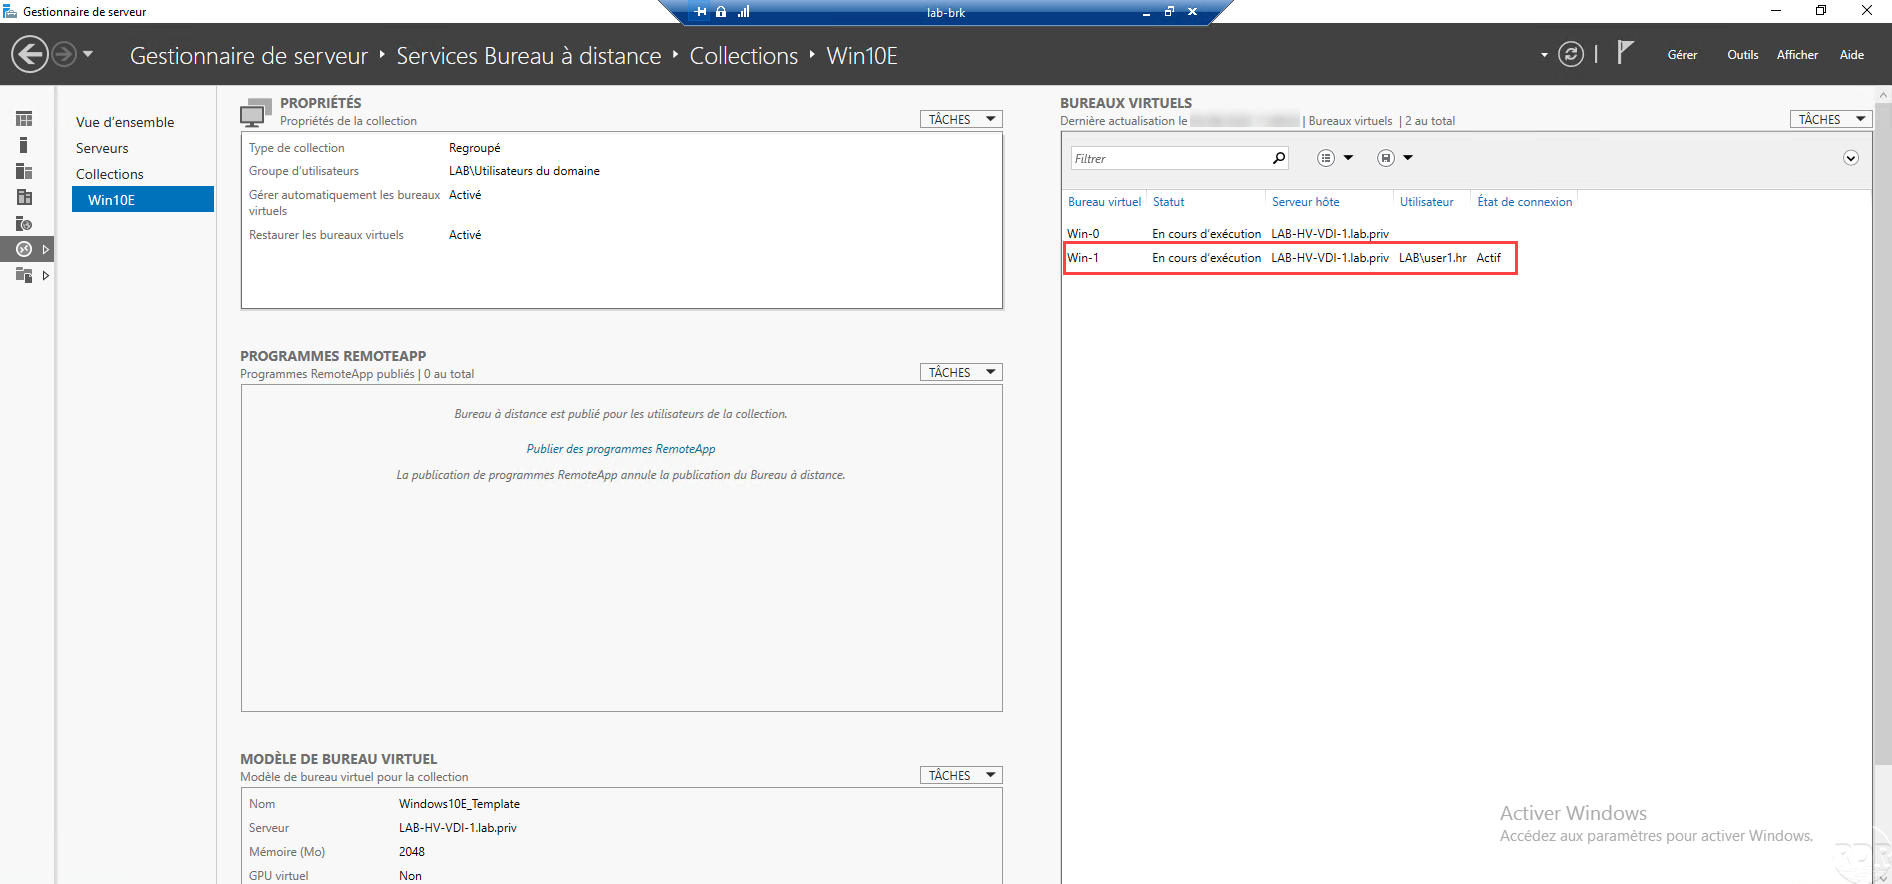
Go to the broker server, in the management of virtual desktops you can see the user connected to the machine.
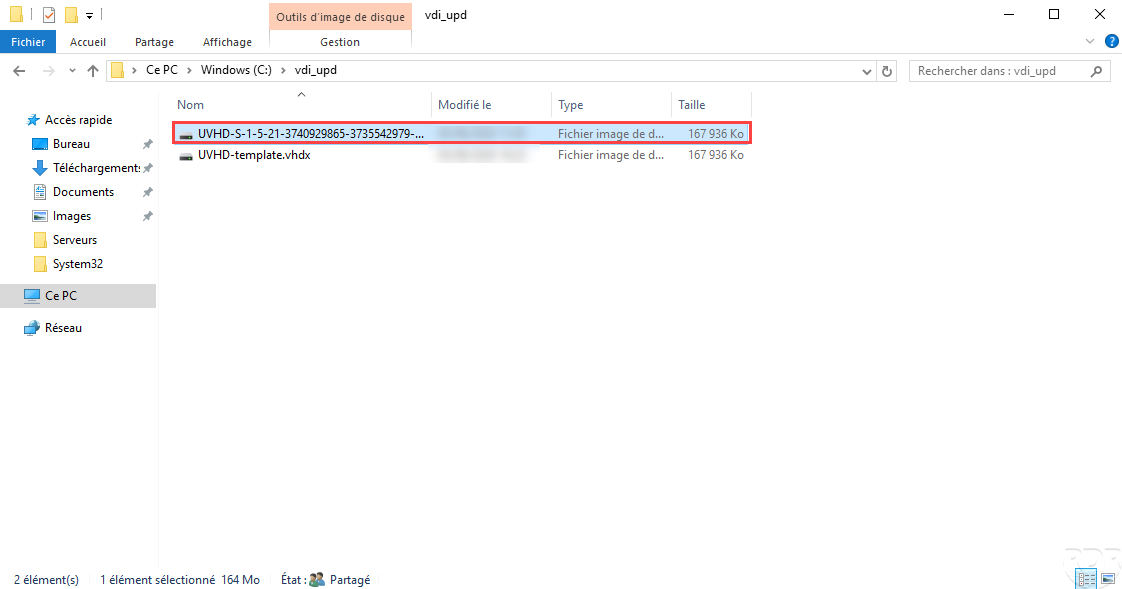
In the shared folder for the user profile disks, we see that a vhdx file has been created, this one contains the user’s profile.
Conclusion
This tutorial ends here. You now know how to set up an infra VDI on Windows Server 2016/2019.
If you are familiar with RDS environments, setting up VDI is similar, you just need to have Hyper-V knowledge.
The use of virtual desktops makes it possible to isolate user environments and guarantee equal performance and heavy processing that is launched from a virtual machine does not impact all users, unlike a classic RDP environment.
As I already said the administration being similar to an RDS farm, for the installation of RemoteApp and an RDS gateway, I will refer you to the tutorial: Deploy a Windows RDS farm 2012R2 / 2016/2019.