In this tutorial, I will explain how to install the FusionInventory agent on Ubuntu in order to bring it up in your GLPI inventory.
Installation is done from the command line.
Installation of prerequisites
To function correctly, it is necessary to install several packages first.
Enter the command line below to install all dependencies :
sudo apt install dmidecode hwdata ucf hdparm perl libuniversal-require-perl libwww-perl libparse-edid-perl libproc-daemon-perl libfile-which-perl libhttp-daemon-perl libxml-treepp-perl libyaml-perl libnet-cups-perl libnet-ip-perl libdigest-sha-perl libsocket-getaddrinfo-perl libtext-template-perl libxml-xpath-perl libyaml-tiny-perlOnce the command line has been validated, confirm the installation of the packages by entering the letter Y.

Wait during the installation …

Now that the prerequisites are installed, we will move on to installing the FusionIntory Agent.
Installing the FusionInventory agent on Ubuntu
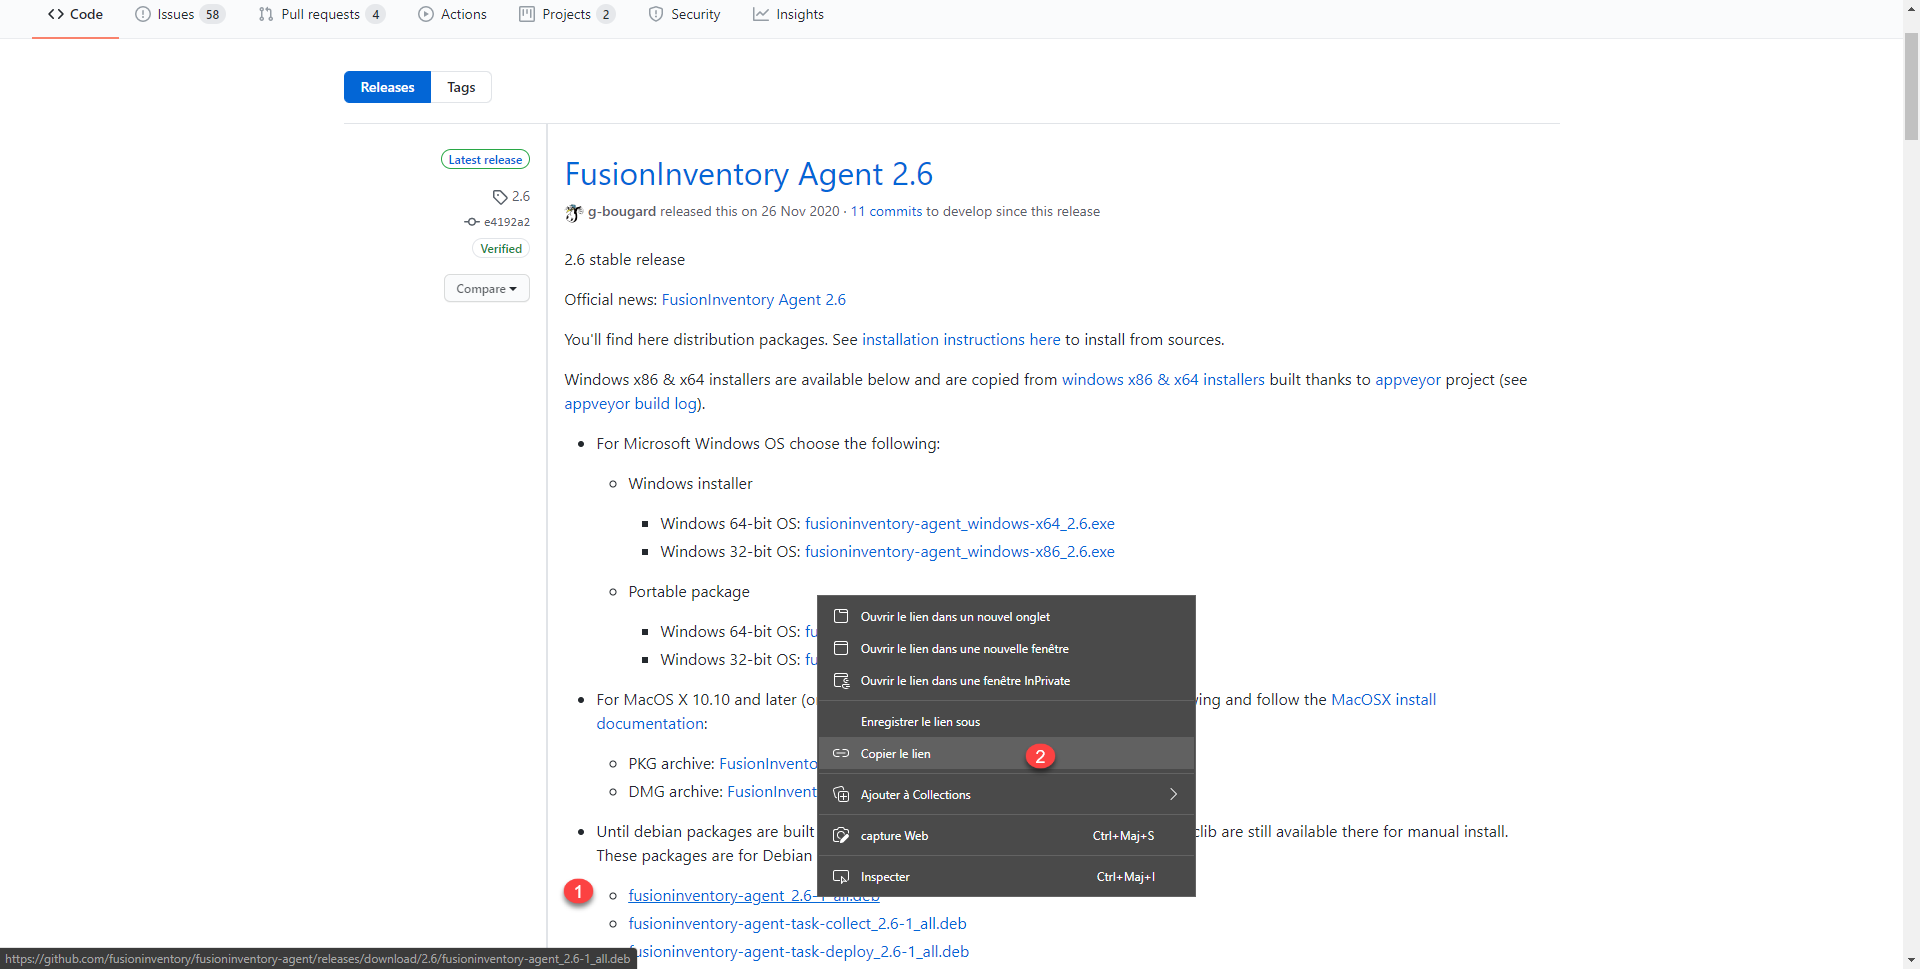
First, you have to go and get the agent installation .deb URL from the GitHub repository. Releases · fusioninventory/fusioninventory-agent · GitHub
The link of the file fusioninventory-agent-X.Y-all.deb 1, right click and click on Copy link 2.
Go back to Ubuntu’s SSH connection, we’ll use wget … to upload the file to the server. To facilitate handling, enter wget and then right click in the console to paste the url of the .deb file.
wget https://github.com/fusioninventory/fusioninventory-agent/releases/download/2.6/fusioninventory-agent_2.6-1_all.deb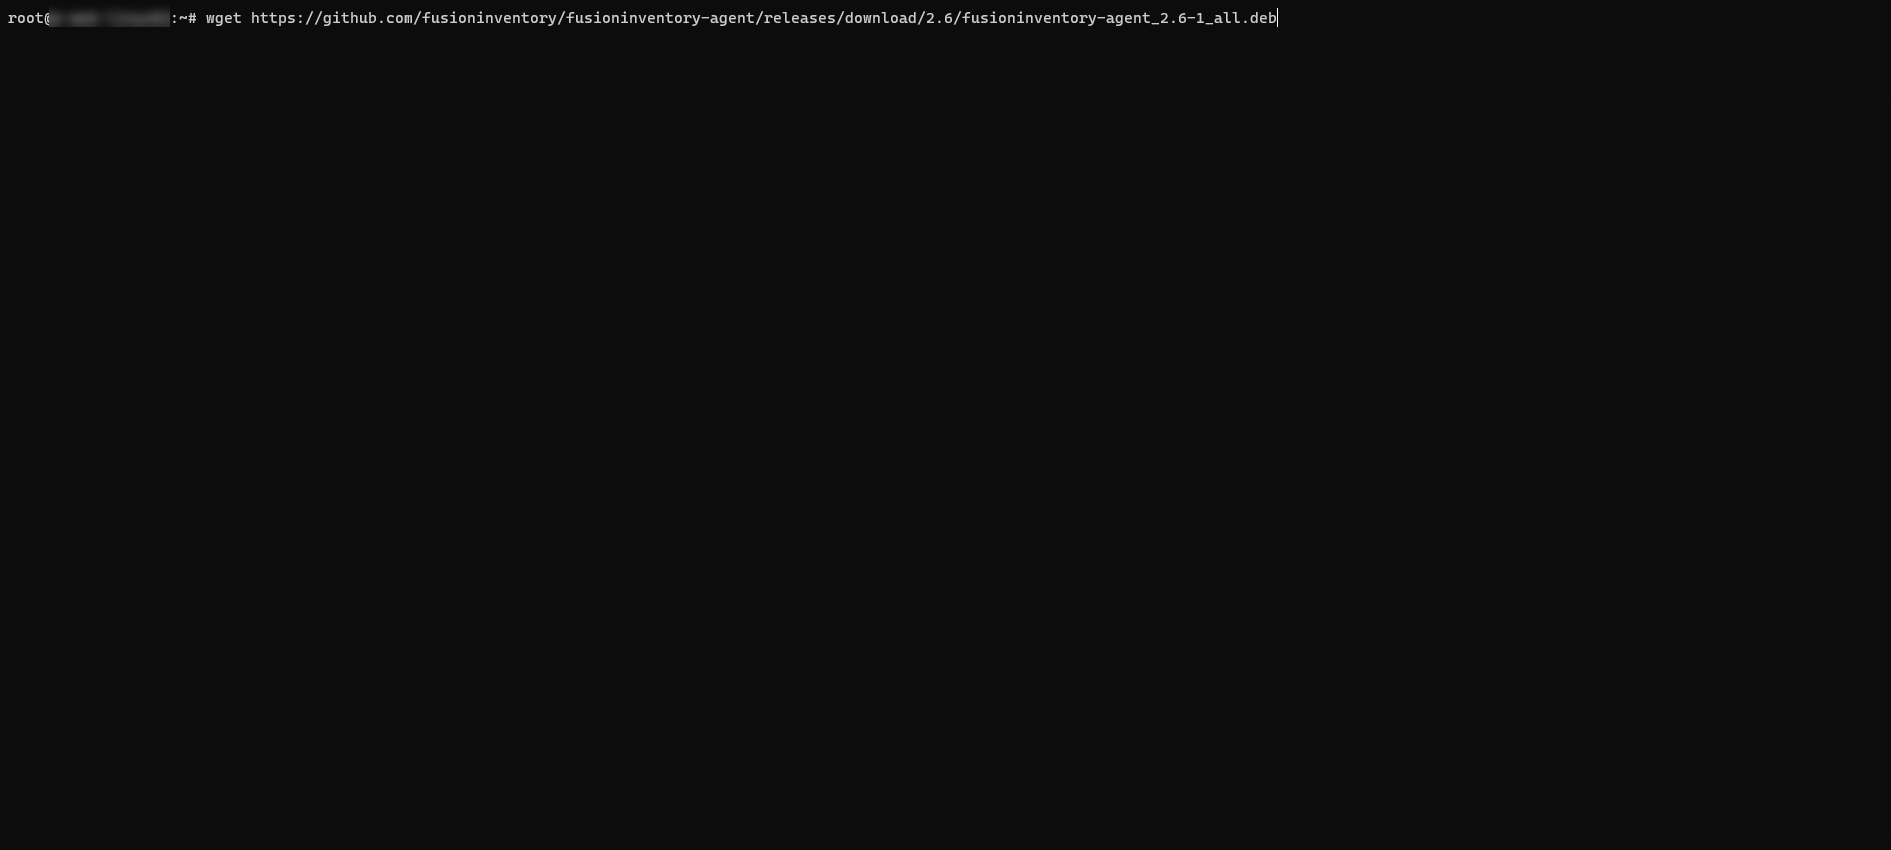
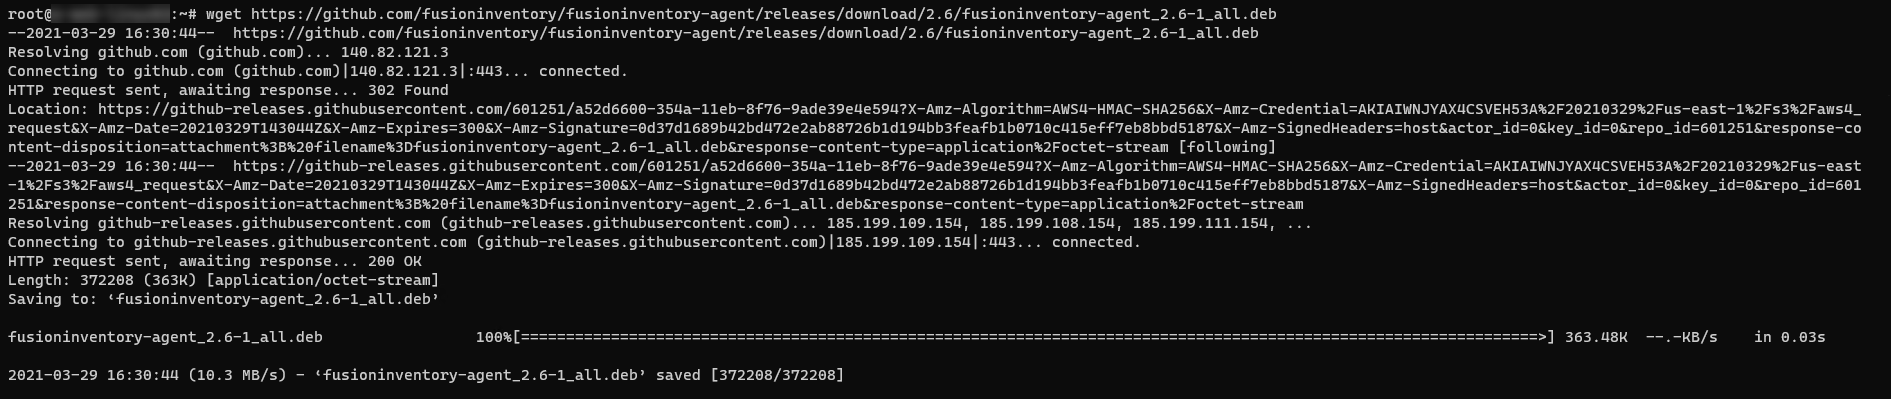
Wait while downloading …
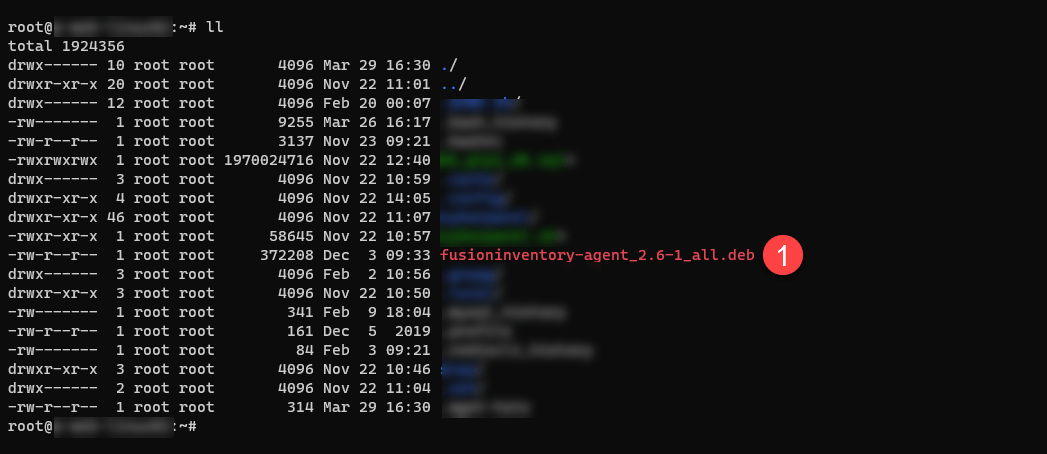
Once downloaded, check that the file is present 1 by using the ll command.
To install the FusionInventory Agent, use the command below (adapting to the downloaded file):
sudo dpkg -i paquet_agent_fi.deb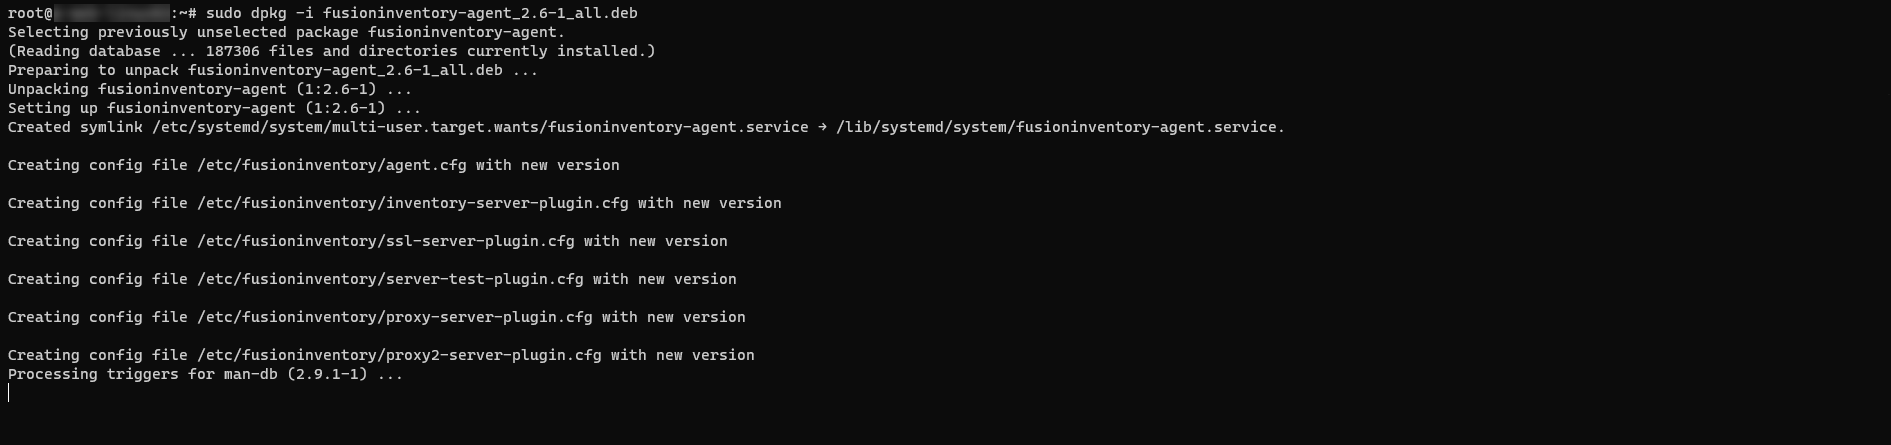
The FusionInventory agent is now installed, if you are used to installing on Windows, you have noticed that we have not indicated any configuration, which we will see now.
Configuring the FusionInventory agent
The configuration of the FusionInventory agent on Ubuntu can be found in the /etc/fusioninventory/agent.cfg file.
Open the agent.cfg file
sudo nano /etc/fusioninventory/agent.cfg
To work, you need to add at least the server parameter with the URL of the FusionInventory plugin 1.
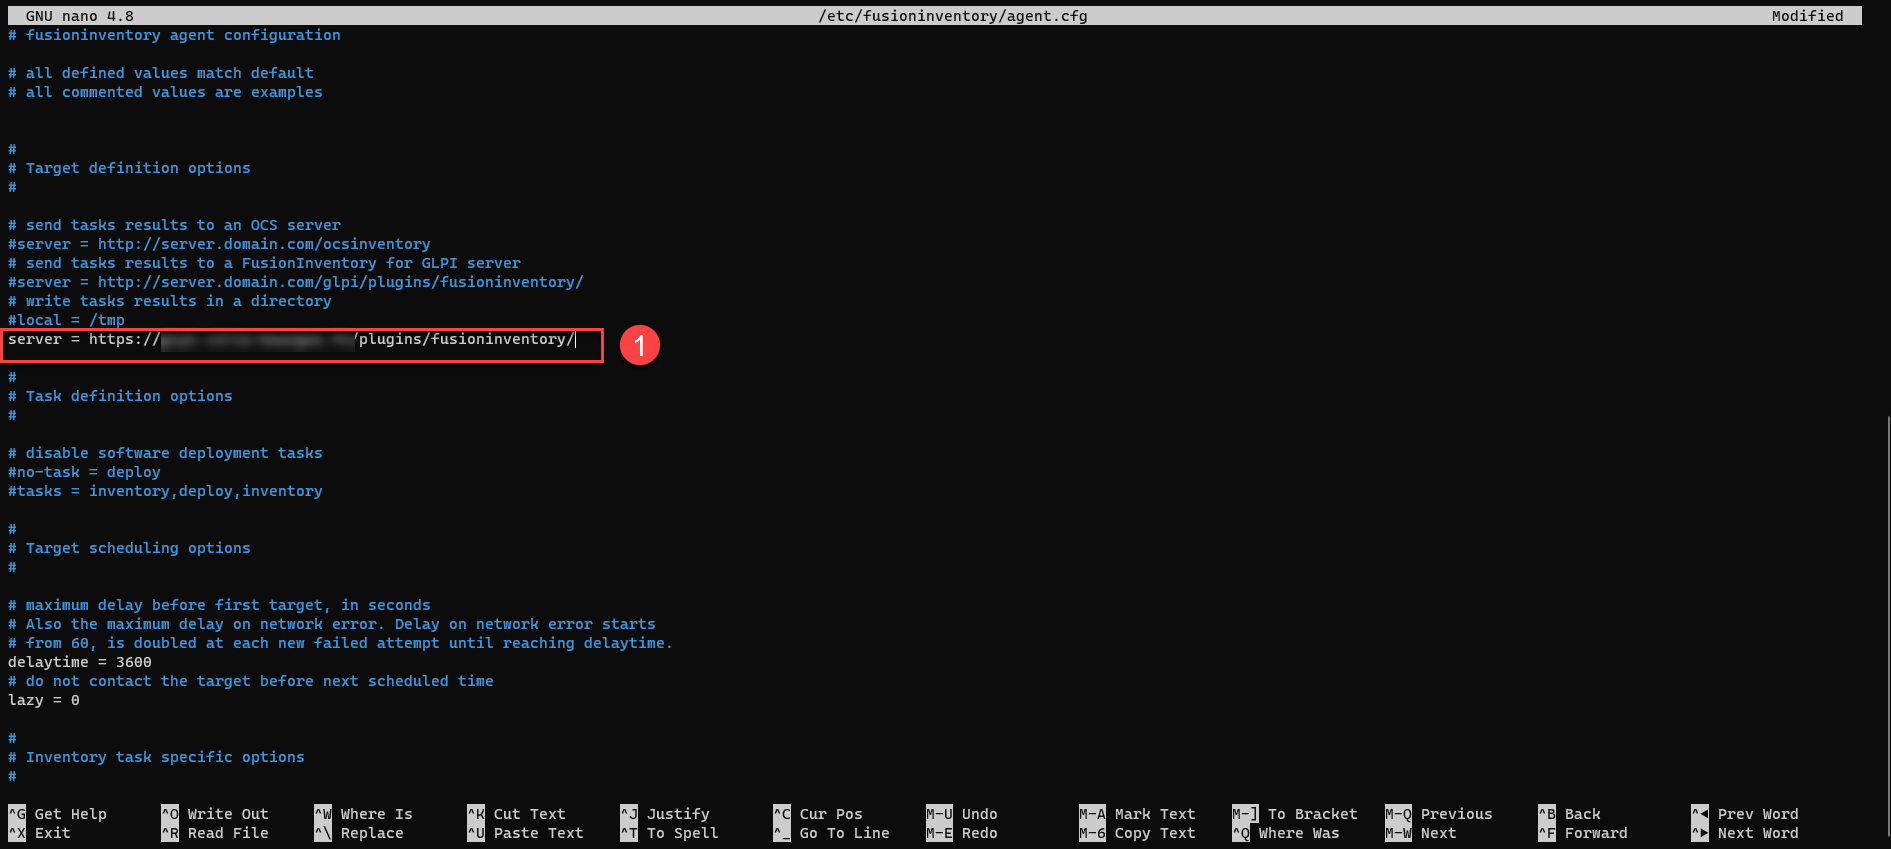
Once the server parameter has been configured, save and exit (Ctrl + X).
Restart the agent service:
sudo systemctl restart fusioninventory-agentIf you want to force an inventory immediately enter the command below
sudo pkill -USR1 -f -P 1 fusioninventory-agentThe last step: check that our Ubuntu computer is on GLPI.
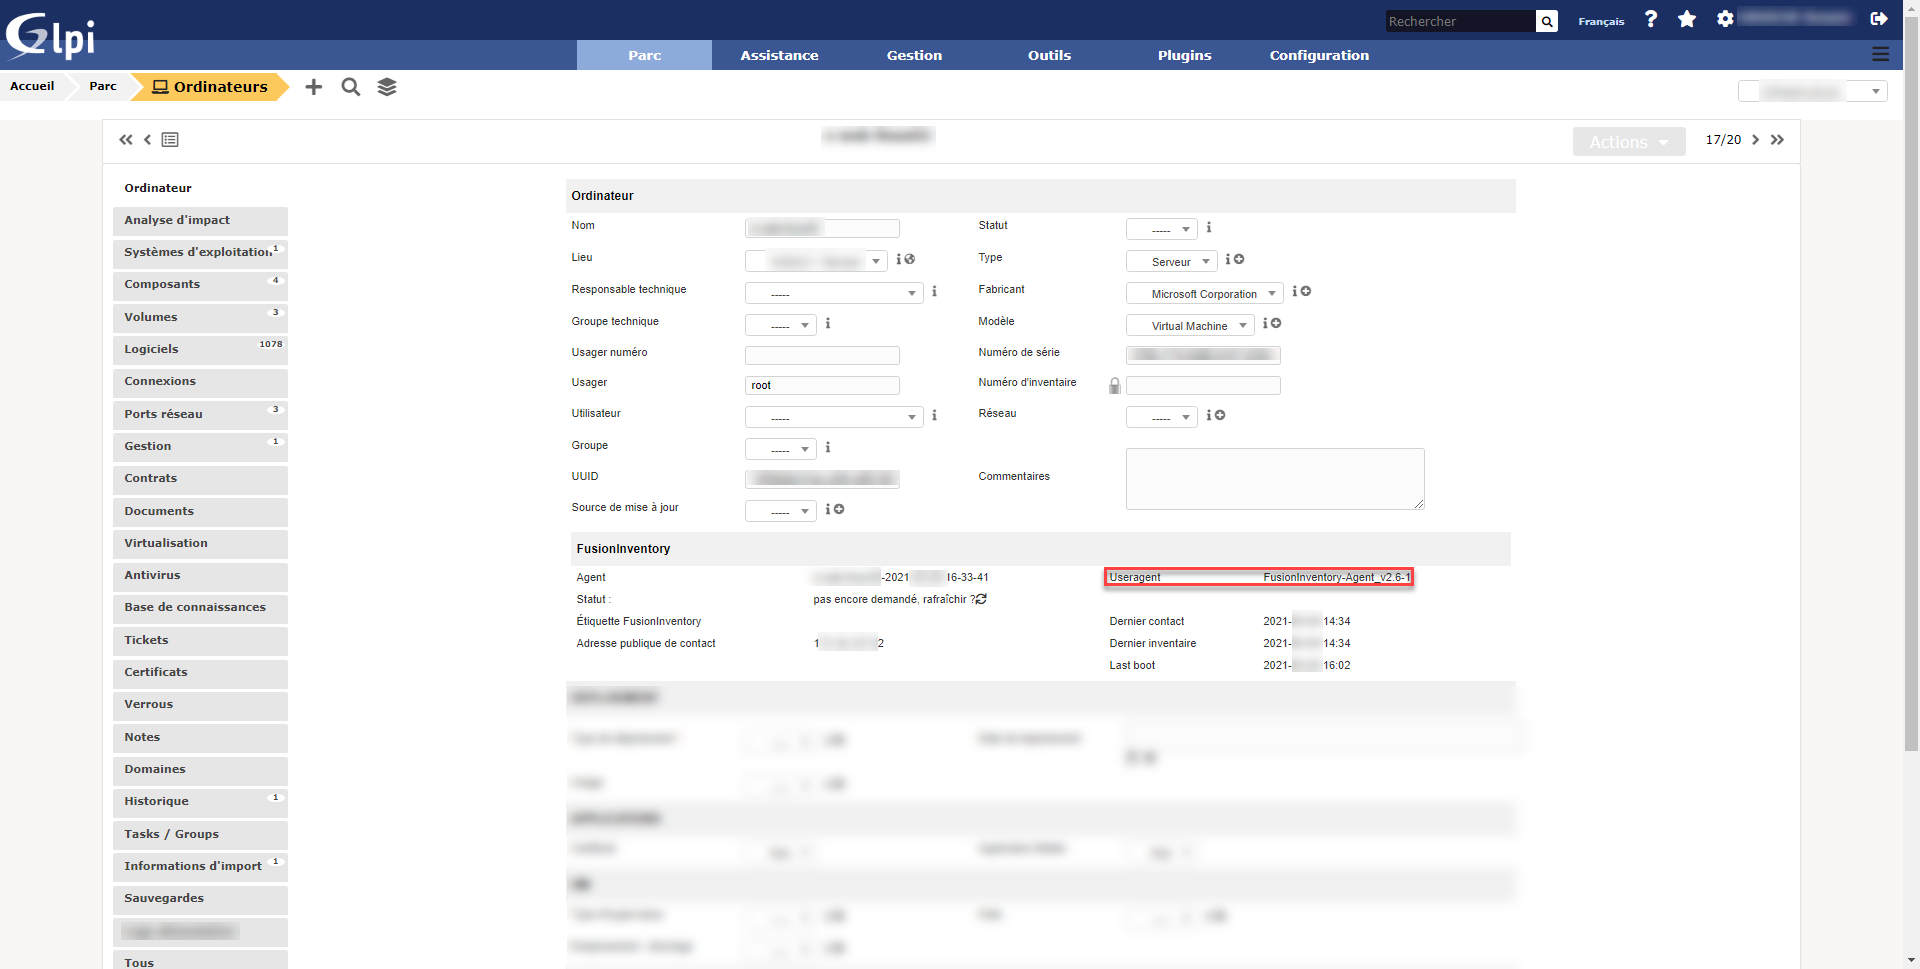
Validate the operation of the FusionInventory agent
Go to GLPI and check that the computer is present in the inventory.
You now know how to install and configure the FusionInventory agent on Ubuntu.
Installation on Debian is similar.