In this tutorial, we will see how to install and configure a server in Ubuntu with the following components:
- Nginx
- PHP
- MariaDB
I’ll also explain how to put phpmyadmin to administer the MariaDB server and how to configure vhosts.
In this tutorial, we will not use the official repositories of the distribution, but the repositories of the various components in order to install the latest versions.
Prerequisite
Have a freshly installed and up to date Ubuntu server with root or sudo access and Internet access.
Installation of the various components
In this part, we are going to install the various components of the Web server and check their correct functioning.
Install Nginx
Before installing it, we will add the Nginx office repository.
Enter the following command to create a list file where we will fill in the urls.
sudo nano /etc/apt/sources.list.d/nginx.list
In the nano editor, enter the lines below which are the configuration of the repository:
deb [arch=amd64] http://nginx.org/packages/mainline/ubuntu/ bionic nginx
deb-src http://nginx.org/packages/mainline/ubuntu/ bionic nginx

Press the Crtl + X keyboard keys and save the changes.
You have to adapt the sources of the repository to the version of Ubuntu, in the tutorial I’m on version 18.04.X, so I’m using bionic.
Add the signatures of the deposit using the following commands:
wget http://nginx.org/keys/nginx_signing.key
sudo apt-key add nginx_signing.key

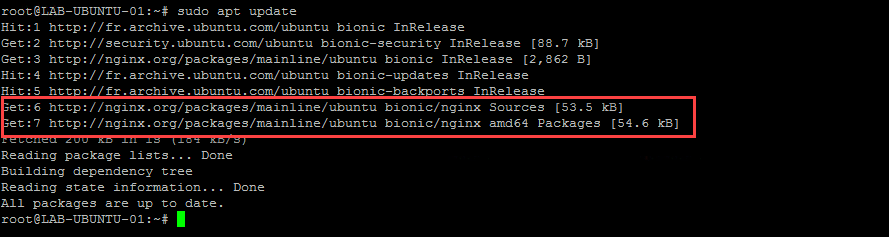
Update packages with the command:
sudo apt update
On the screenshot below, we can see that the nginx repository has been queried:
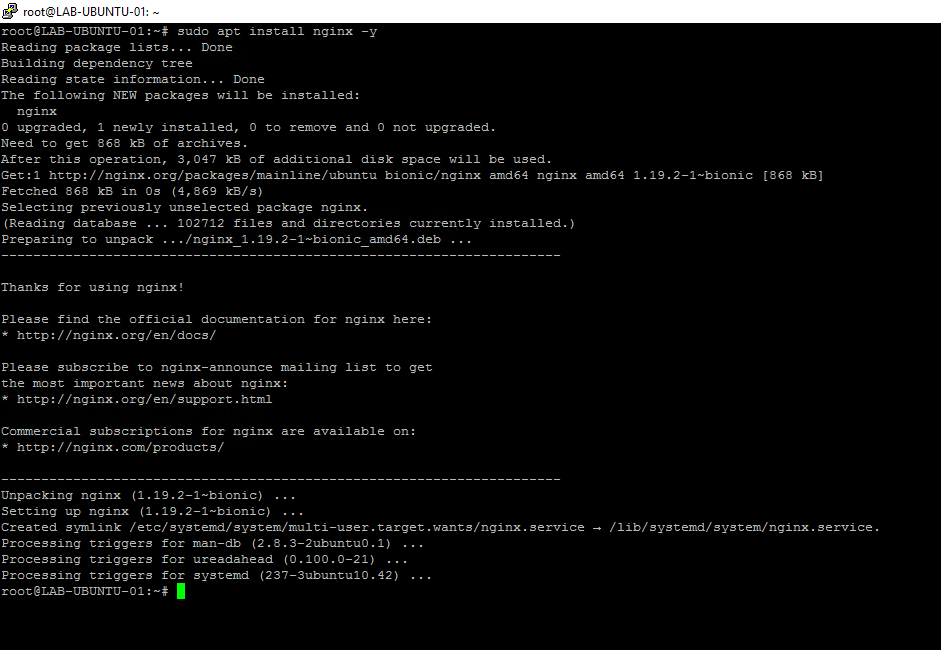
Install nginx with the following command:
sudo apt install nginx -y
The -y option allows you to not have a confirmation request for the installation
Nginx is now installed, we will now do some checks, configuration and see some commands before moving on to installing PHP.
Check the configuration of nginx:
sudo nginx -t
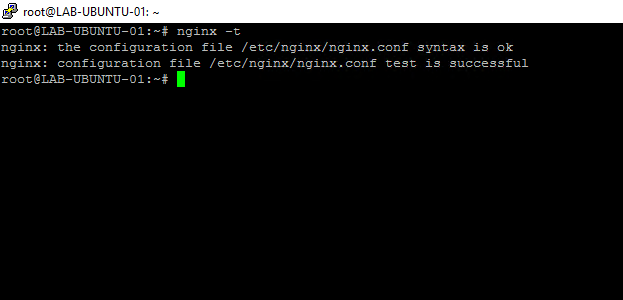
This command is very useful, especially when making a configuration change, it allows you to check that it is correct before reloading it.
Start the nginx service:
sudo systemctl start nginx
If all goes well the command returns nothing
Configure the automatic start of the service:
sudo systemctl enable nginx

Check the nginx service:
systemctl status nginx
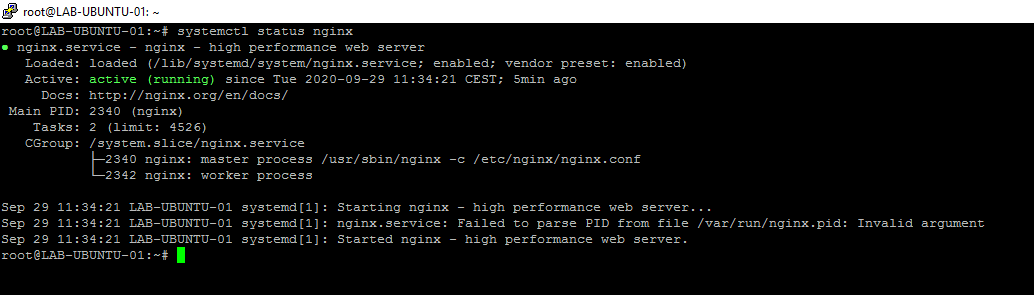
This command allows you to check the status of the service and since when it has been running.
Show version of nginx
nginx -v

Configure the nginx user
This configuration step is important, especially if you want to use php (php-fpm) on the web server.
When installing nginx from the official repository, the service is configured to run with the nginx user and php the www-data user. It is necessary to modify the nginx configuration to use the same user as php.
Edit the /etc/nginx/nginx.conf file:
sudo nano /etc/nginx/nginx.conf
Search:
user nginx;
Replace with :
user www-data;
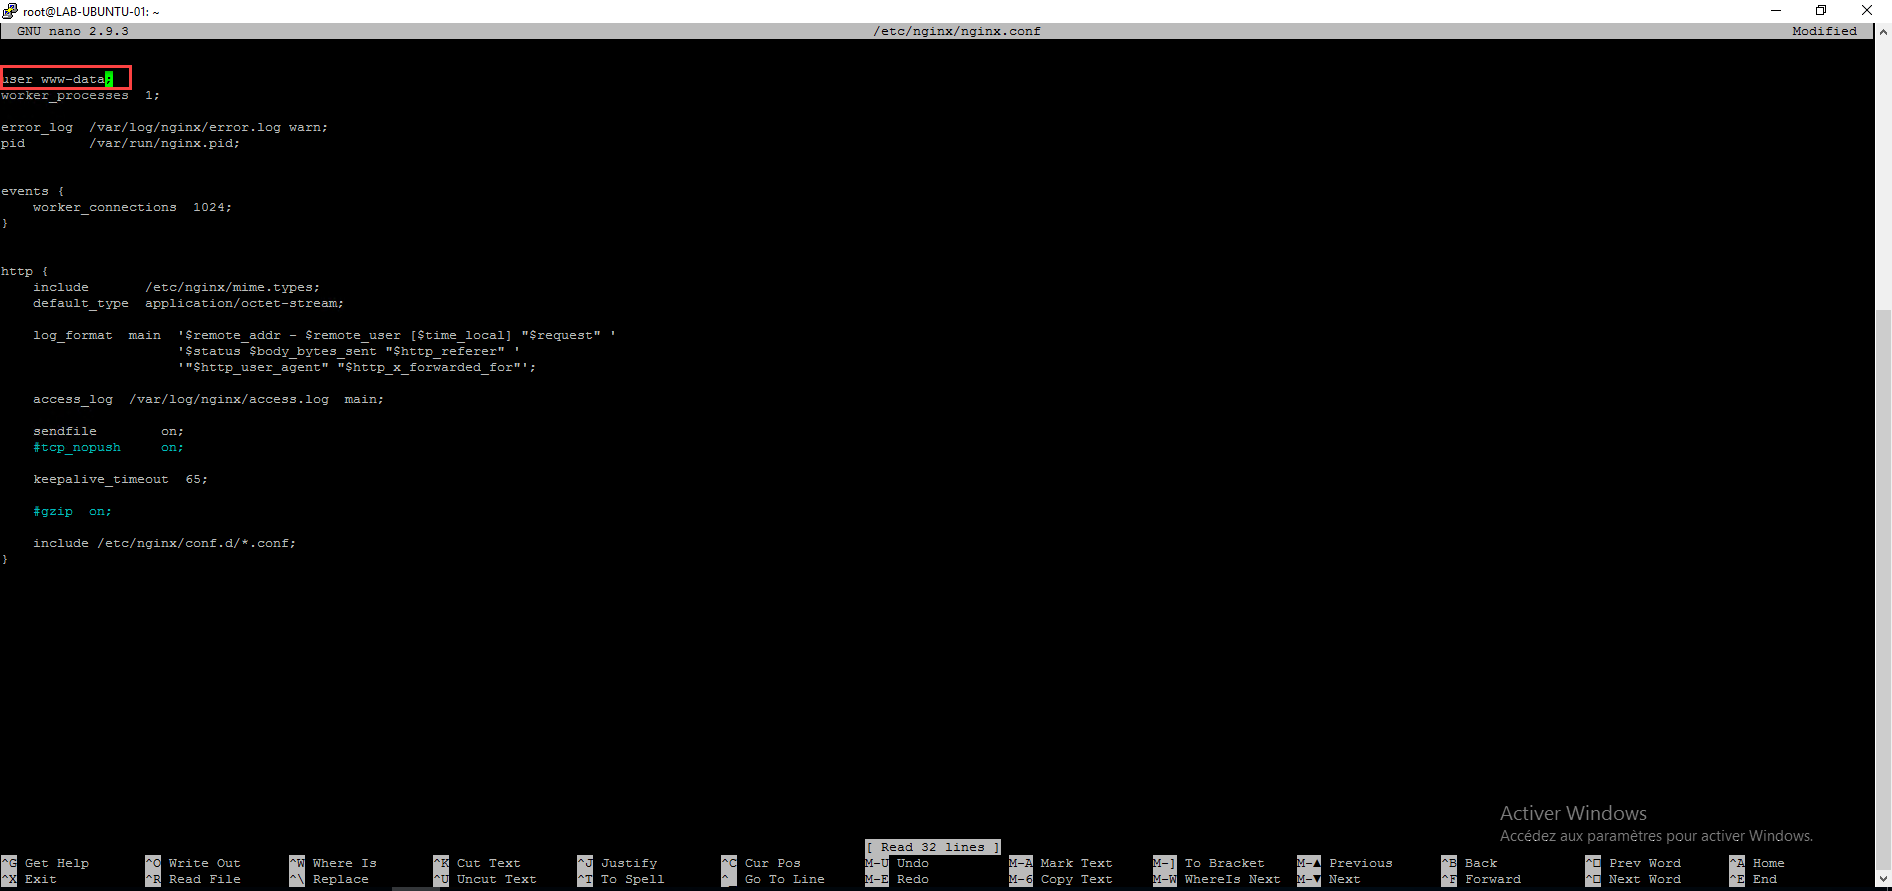
Save the config file.
Reload the configuration:
sudo systemctl reload nginx
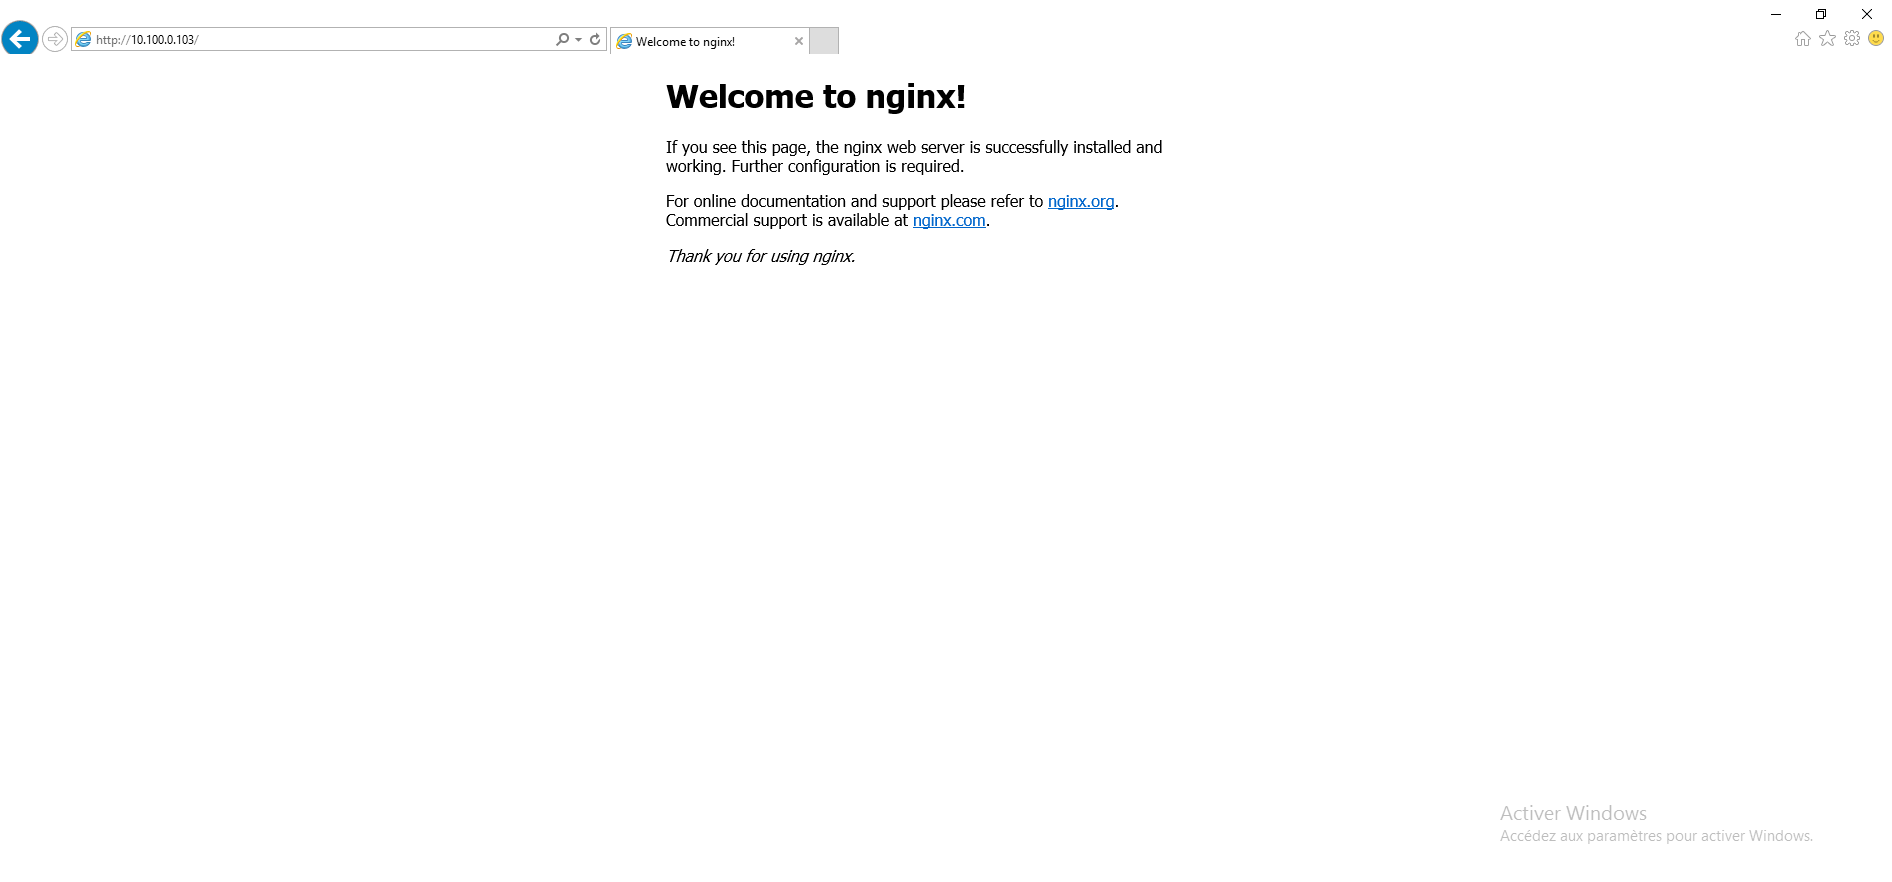
Test the Nginx server
From a computer, open an Internet browser and enter the IP address or the name of the machine and verify that the Welcome to nginx! is displayed.
Install PHP
Now that the web server is in place, we will move on to installing PHP, as for nginx, we will add the ppa: ondrej / php repository which allows to have the latest versions of PHP and to have several versions simultaneously .
In this tutorial, we will install version 7.3 and 7.4 of PHP and we will see how subsequently to configure a vhost to use a specific version of PHP.
Add the repository
Enter the following commands:
sudo apt install software-properties-common-ysudo add-apt-repository ppa:ondrej/php
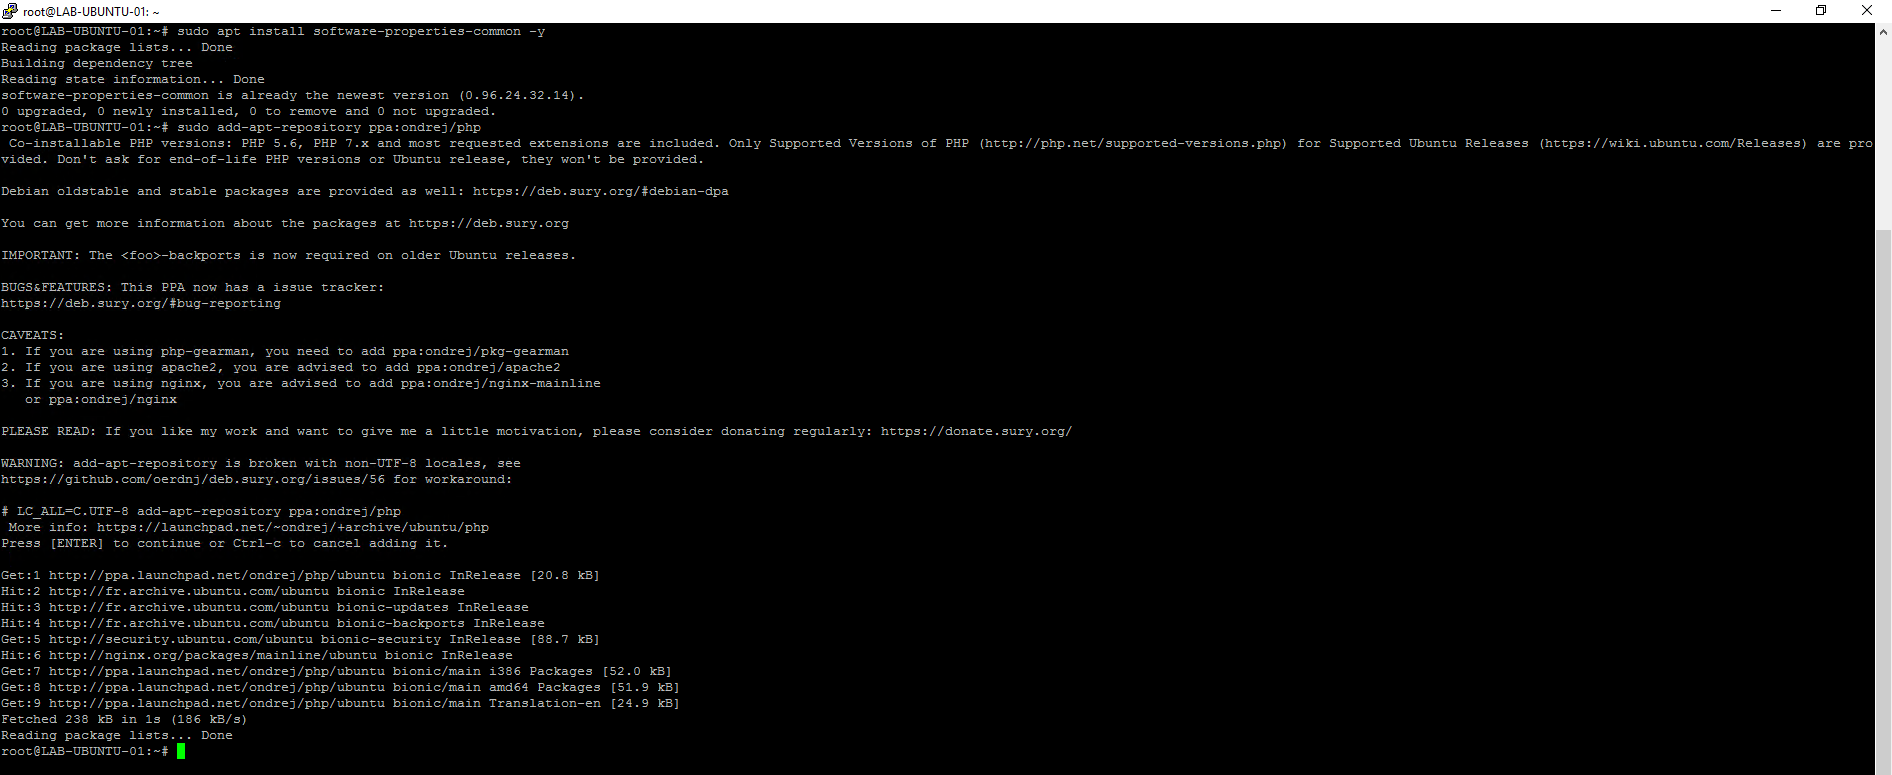
Confirmation is required when executing the command: sudo add-apt-repository ppa: ondrej / php
Refresh the packages using the command:
sudo apt update
View available PHP versions
Enter the command apt install php7. and do a tab.

You can see all the PHP packages available on the repository.
Install a version of PHP
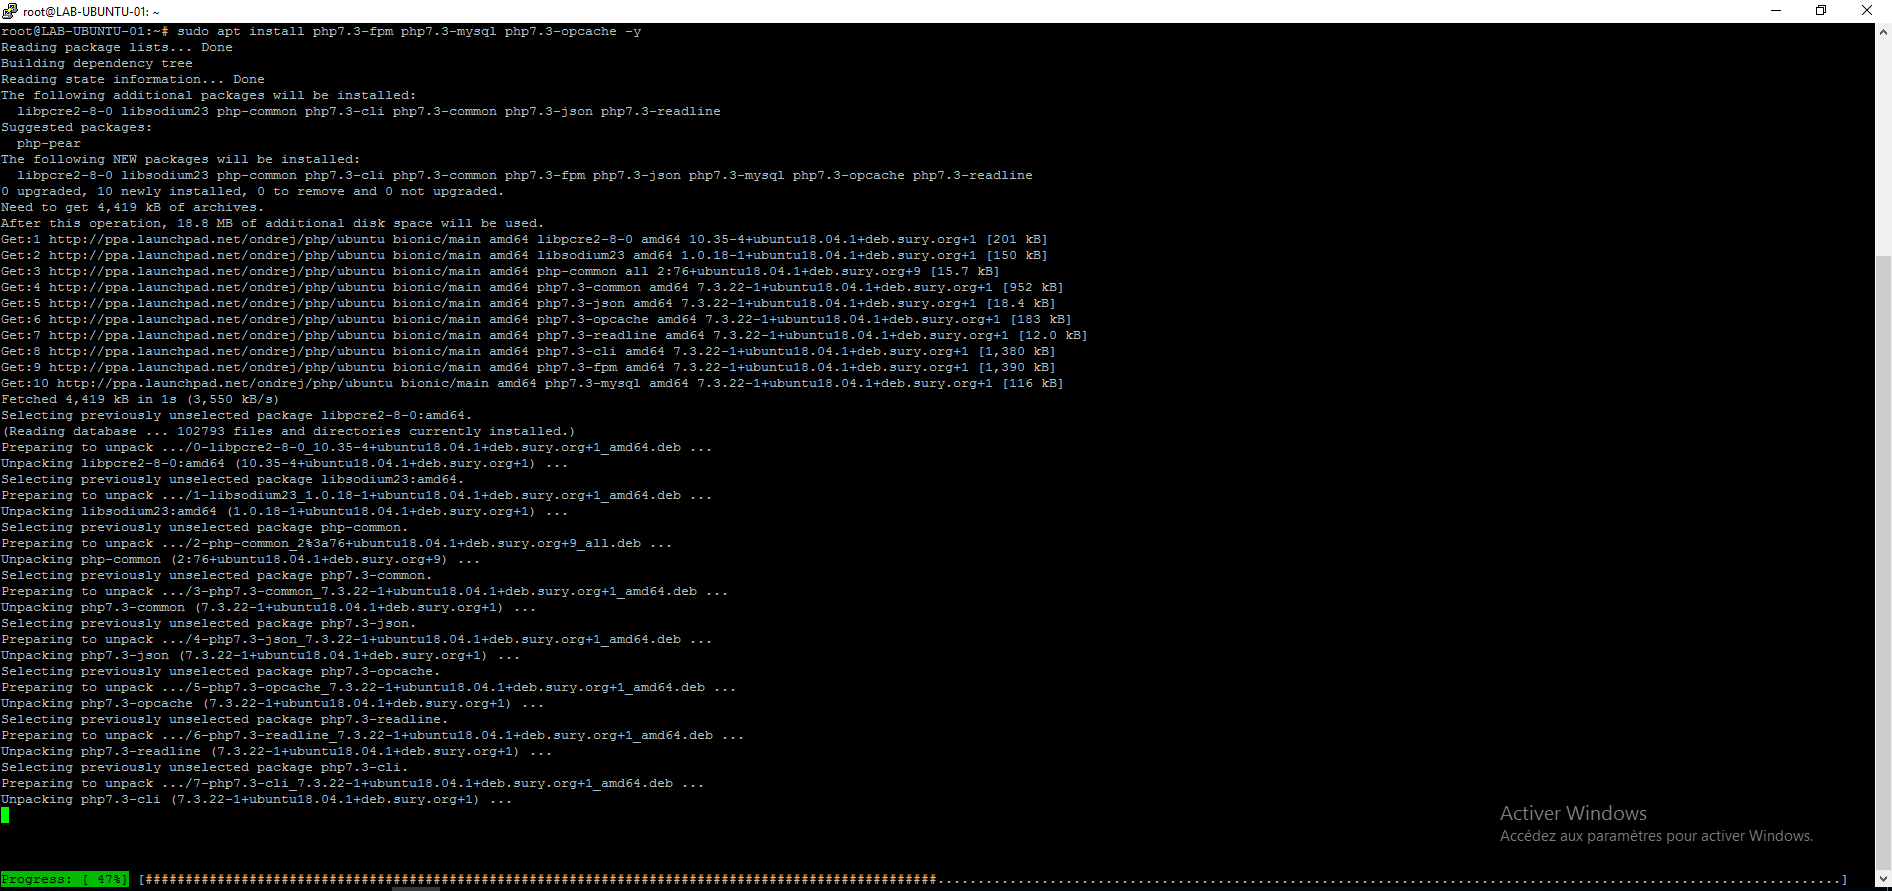
For an installation on nginx, it is important not to enter the command sudo apt install php7.X because this command will install dependencies including apache2.
To use PHP with NGINX, you must install PHP in FPM mode.
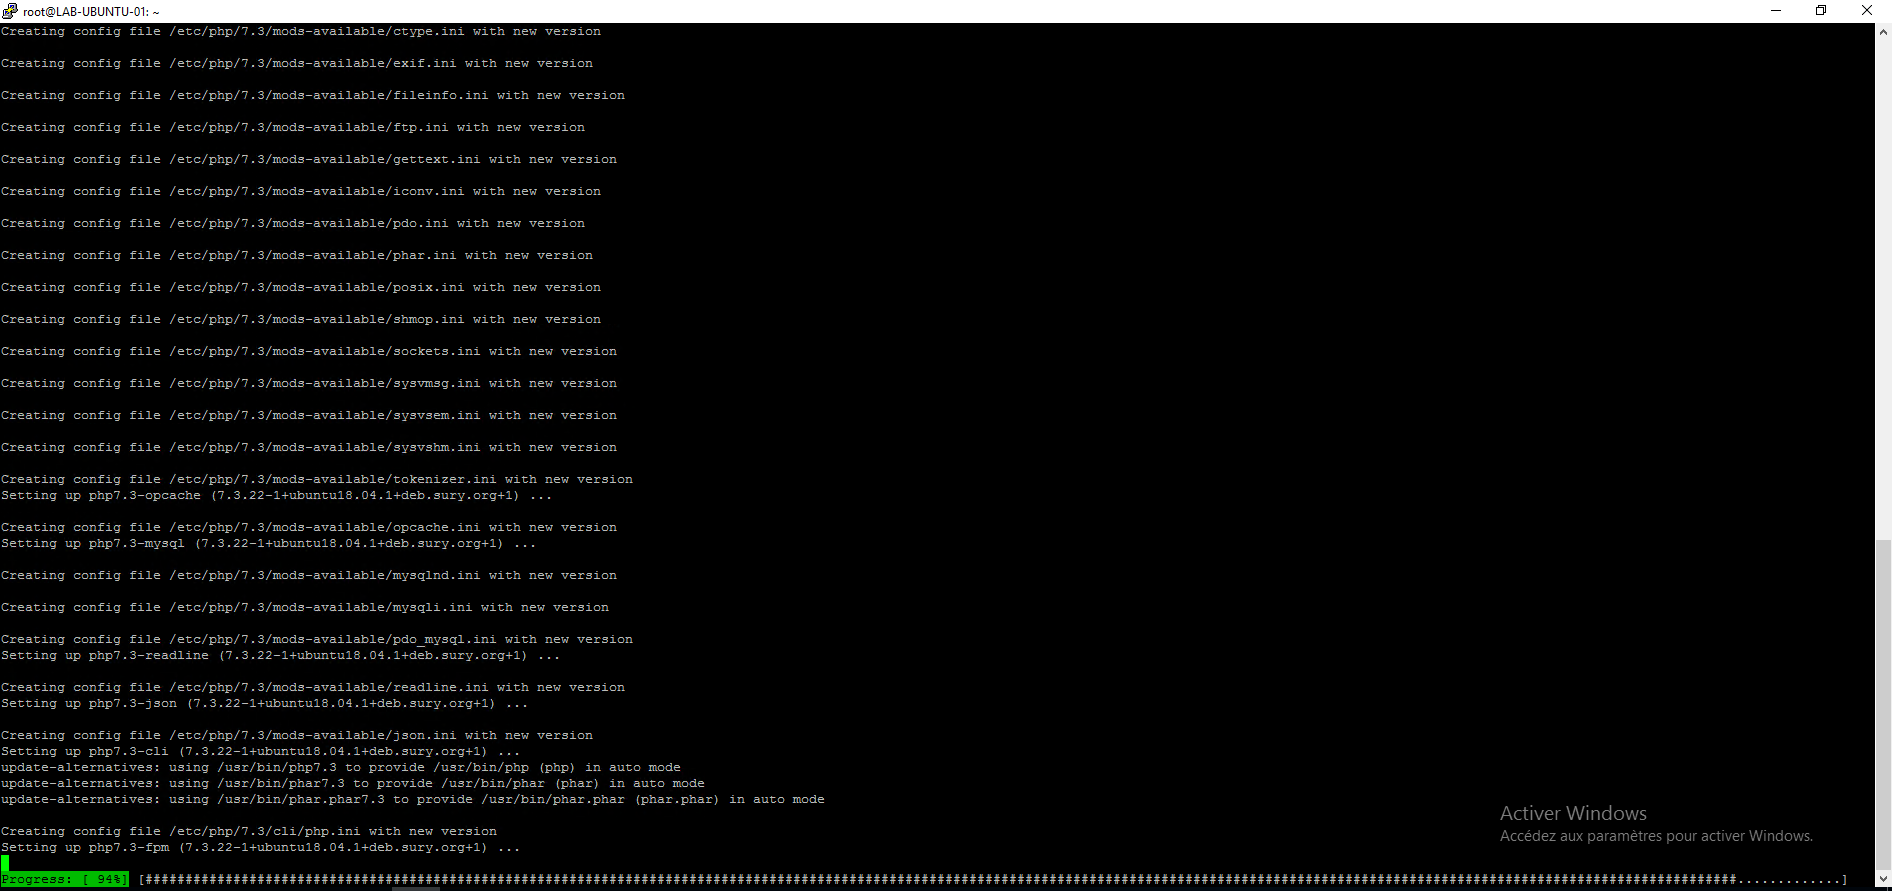
To install PHP enter the following command (adapt according to the desired version):
sudo apt install php7.x-fpm php7.x-mysql php7.x-opcache -y
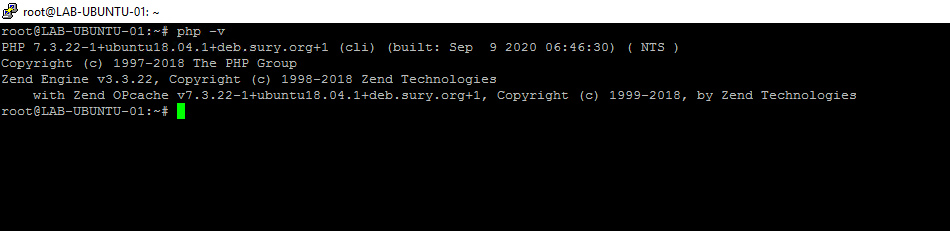
Once the installation is complete enter the following command to test the correct operation:
php -v
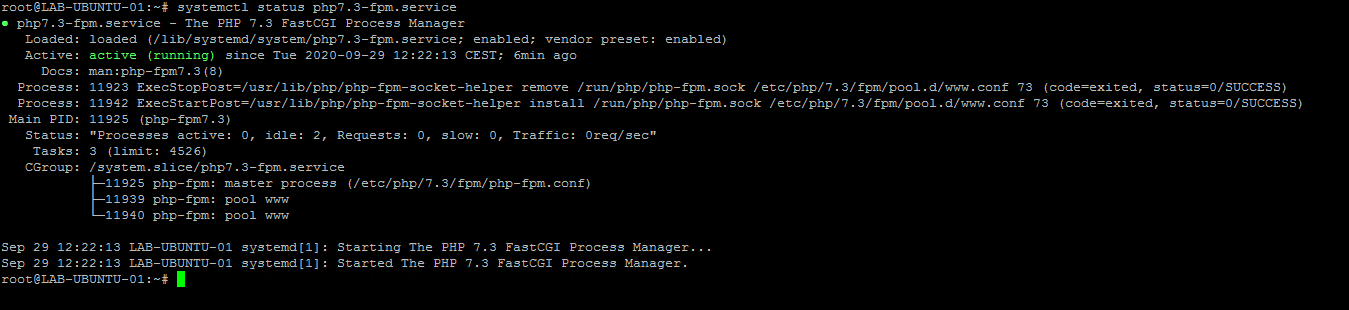
PHP in FPM mode, works as a service, it is possible to check its status using the command below by adapting the version of php installed:
systemclt status php7.x-fpm
To install another version of PHP simultaneously, just repeat the operation by changing the command with the desired version.
Configure NGINX and PHP
Now we will configure nginx to use PHP and test that it works.
Edit the default vhost file:
sudo nano /etc/nginx/conf.d/default.conf
Add before final} the following lines adapting to the version of PHP available:
location ~ \.php$ {root /usr/share/nginx/html;fastcgi_index index.php;fastcgi_pass unix:/run/php/php7.3-fpm.sock;fastcgi_param SCRIPT_FILENAME $document_root$fastcgi_script_name;include fastcgi_params;}
Check the config using the command: sudo nginx -t
Reload the config: sudo systemctl reload nginx
To test how php works, we will create a phpinfo.php file:
sudo nano /usr/share/nginx/html/phpinfo.php
Enter the PHP code below:
<?php
phpinfo();
?>
Save file.
From an Internet browser, call the page http: //ip_server/phpinfo.php

If the phpinfo.php page is all good.
Install MariaDB
Our Web server is almost complete, we now have to install MariaDB to have a database.
Add the repository
Once again, we need to add the repository in order to have the latest version. Go to the following url: Download MariaDB Server – MariaDB.org and select the distribution and the version of MariaDB in order to have the url of the sources.

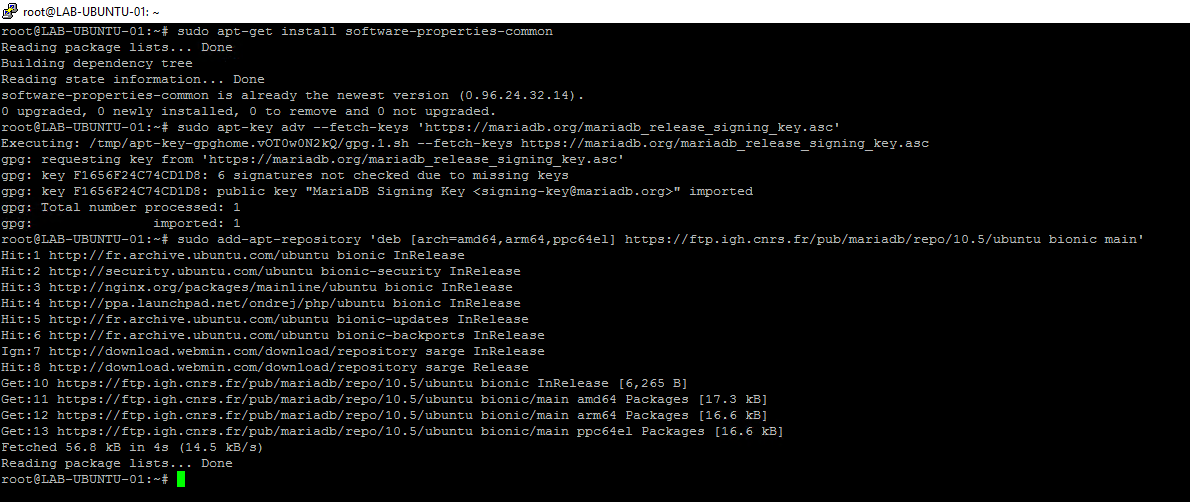
Enter the following commands to add the repository:
sudo apt-get install software-properties-common
sudo apt-key adv --fetch-keys 'https://mariadb.org/mariadb_release_signing_key.asc'
sudo add-apt-repository 'deb [arch=amd64,arm64,ppc64el] https://ftp.igh.cnrs.fr/pub/mariadb/repo/10.5/ubuntu bionic main'
Update the list of packages with the command:
sudo apt update
MariaDB installation
As for PHP enter the command apt install mariadb- + tab to display the available packages.

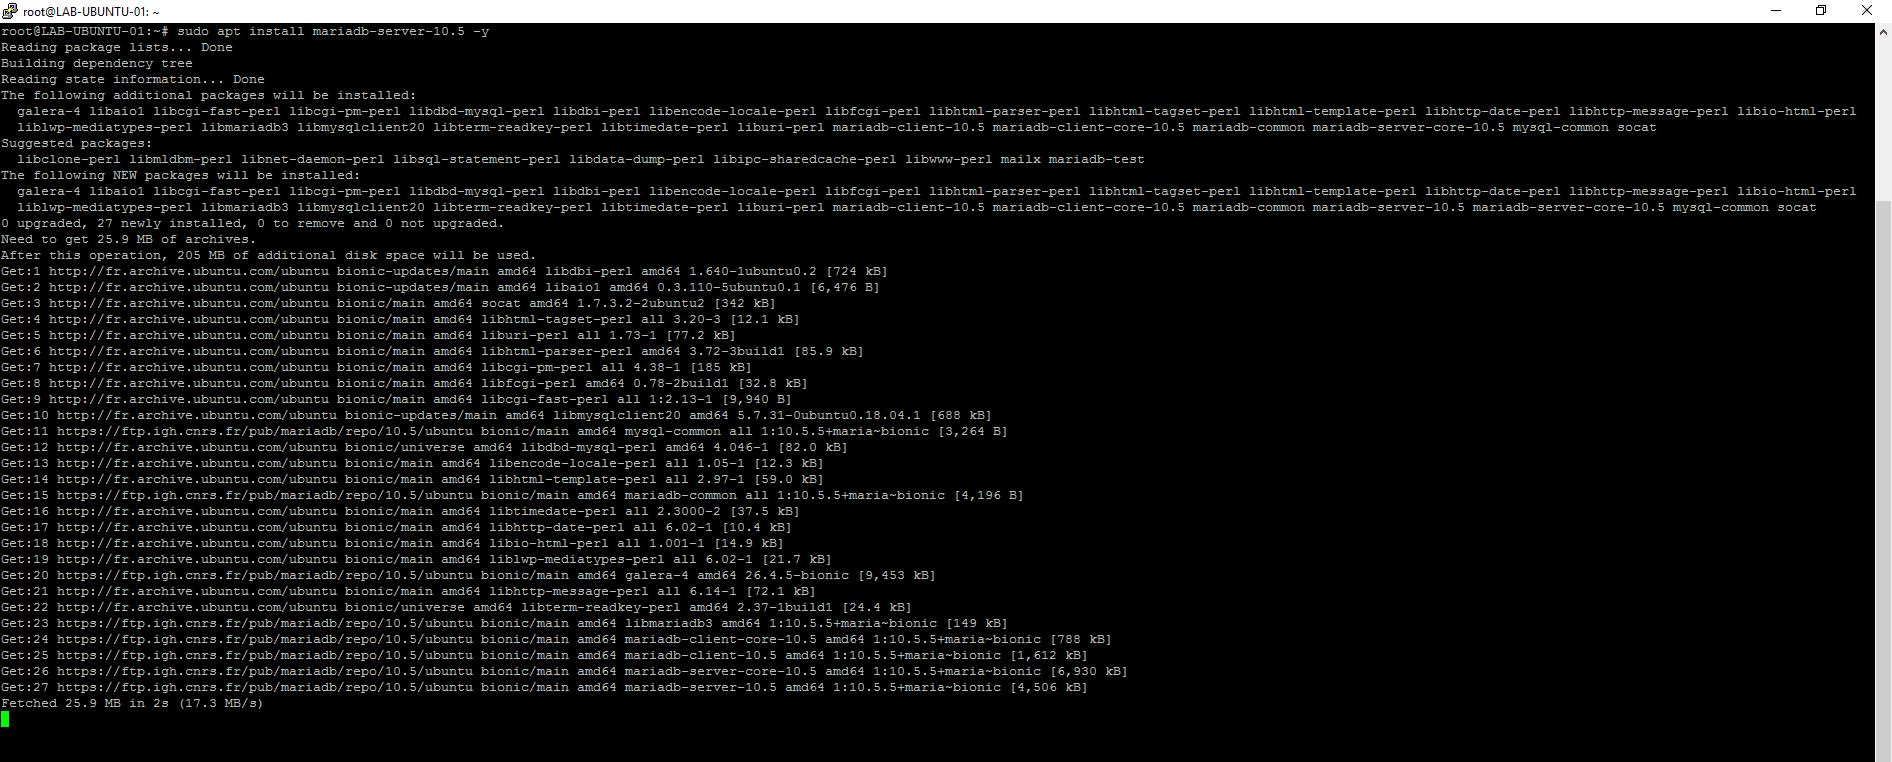
For the example, we will install version 10.5, enter the command below to perform the installation:
sudo apt install mariadb-server-10.5 -y
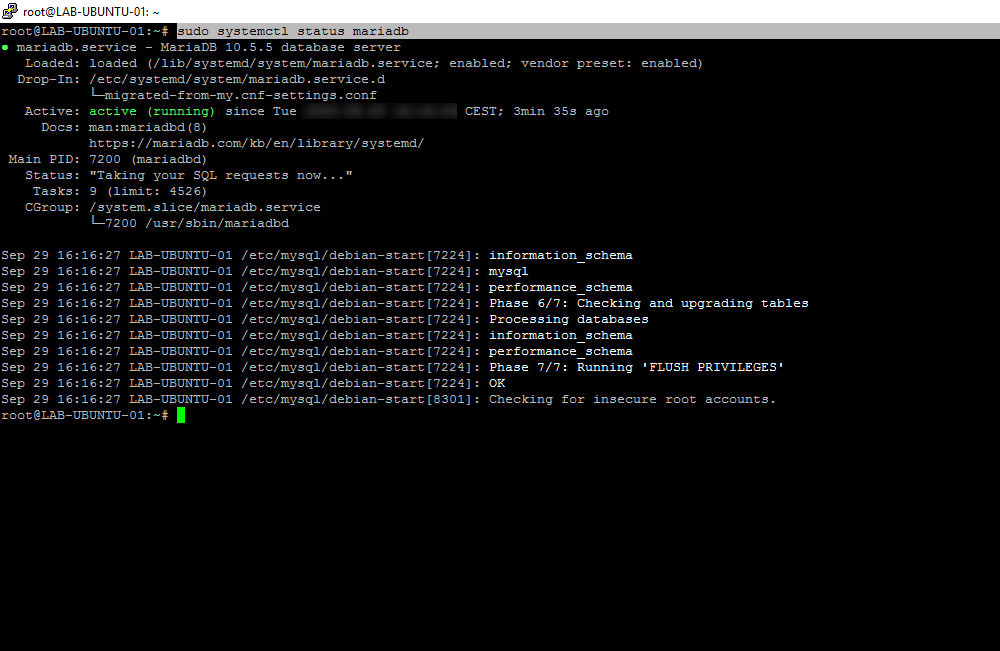
Once the installation is complete, enter the following command to check the correct functioning of the MariaDB server:
sudo systemctl status mariadb
Creation of an administration account
By default, the root account has no password and is only accessible by the console, to avoid modifying this account, we will create an administration account that we can use with another tool like phpmyadmin.
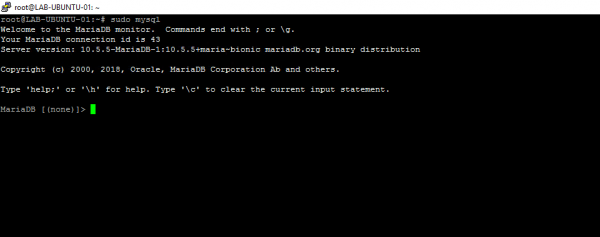
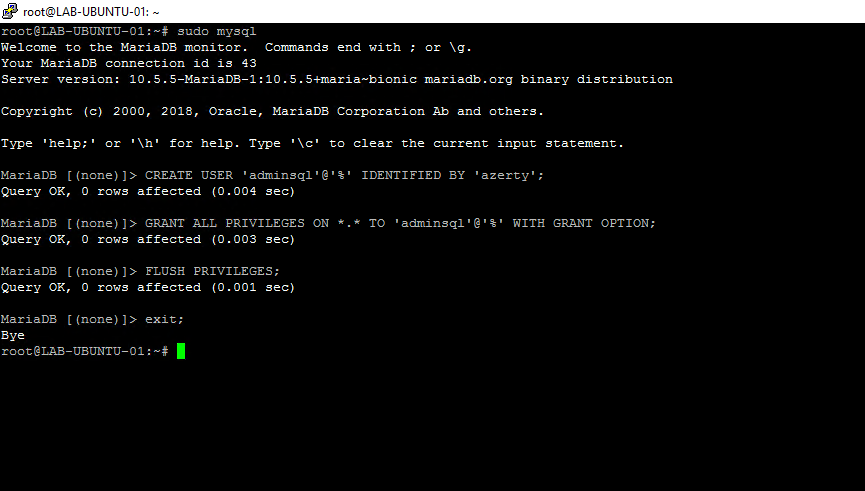
Enter the following command to switch to mysql mode
sudo mysql
Enter the following lines (requests) to create an adminsql account, change the password before placing orders.
CREATE USER 'adminsql'@'%' IDENTIFIED BY 'azerty';
GRANT ALL PRIVILEGES ON *.* TO 'adminsql'@'%' WITH GRANT OPTION;
FLUSH PRIVILEGES;
exit;
Install PHPMYADMIN
This step is optional, the phpmyadmin installation allows you to administer MariaDB.
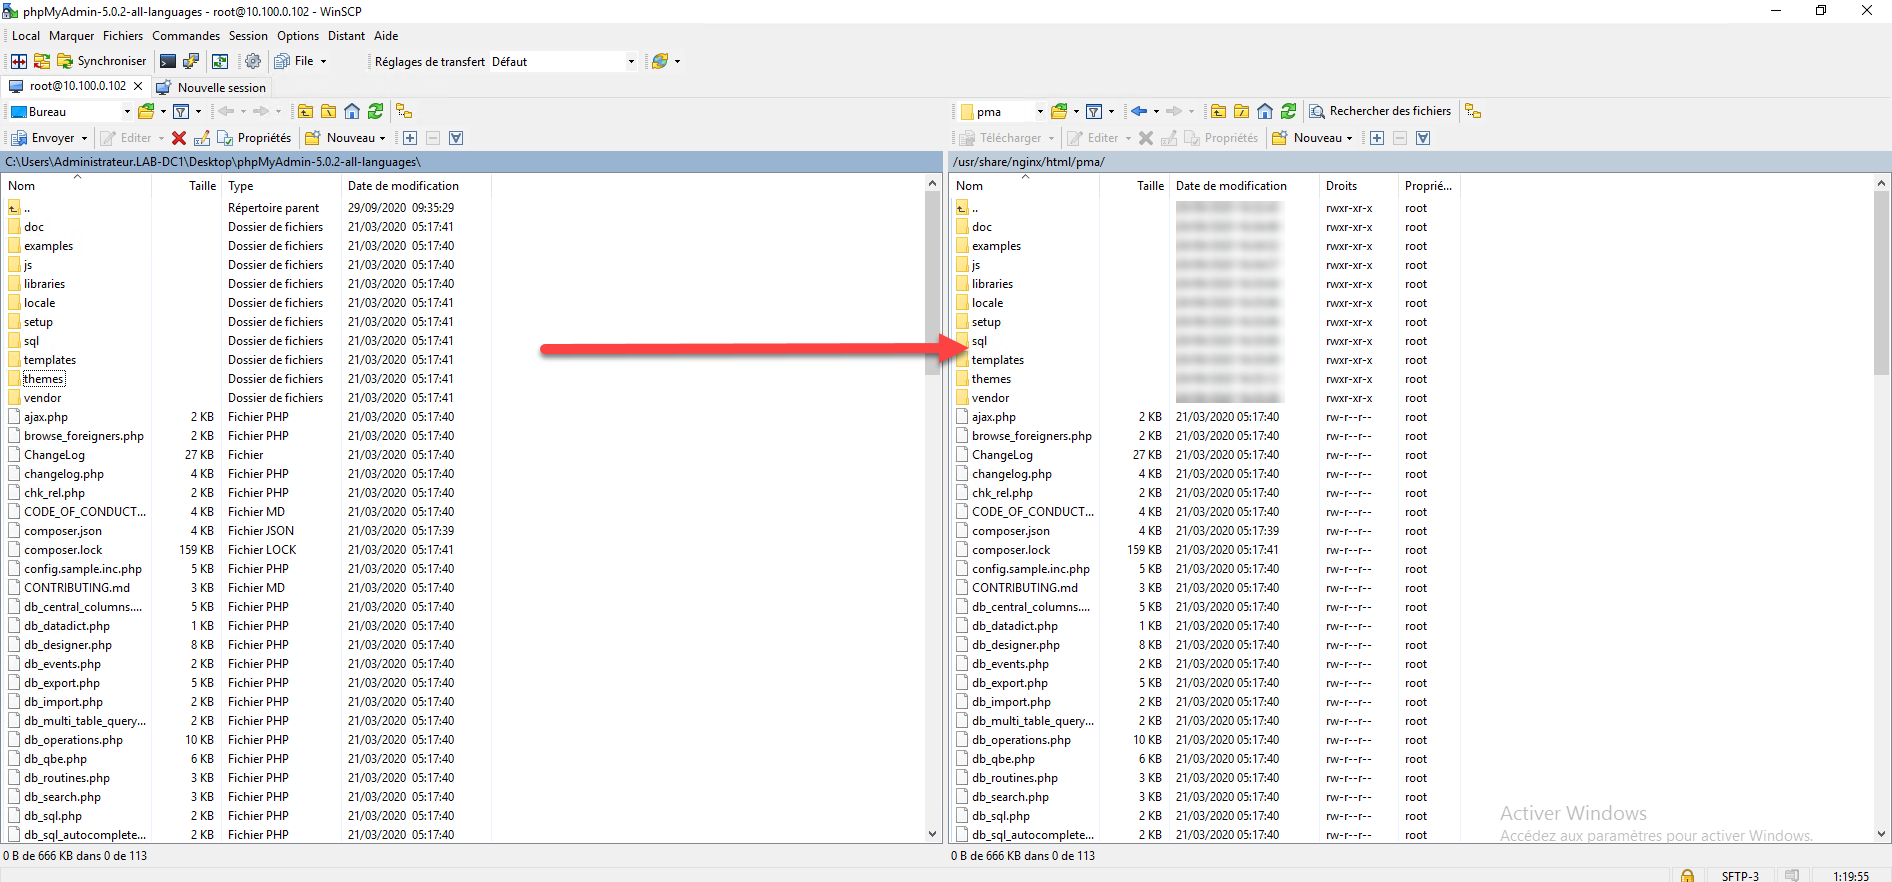
To make my work easier, I used WinSCP for the transfer to the server in SSH.
Download the latest version of phpmyadmin.
Unzip the archive.
On the web server create a pma folder at the location of the vhost by default: / usr / share / nginx / html
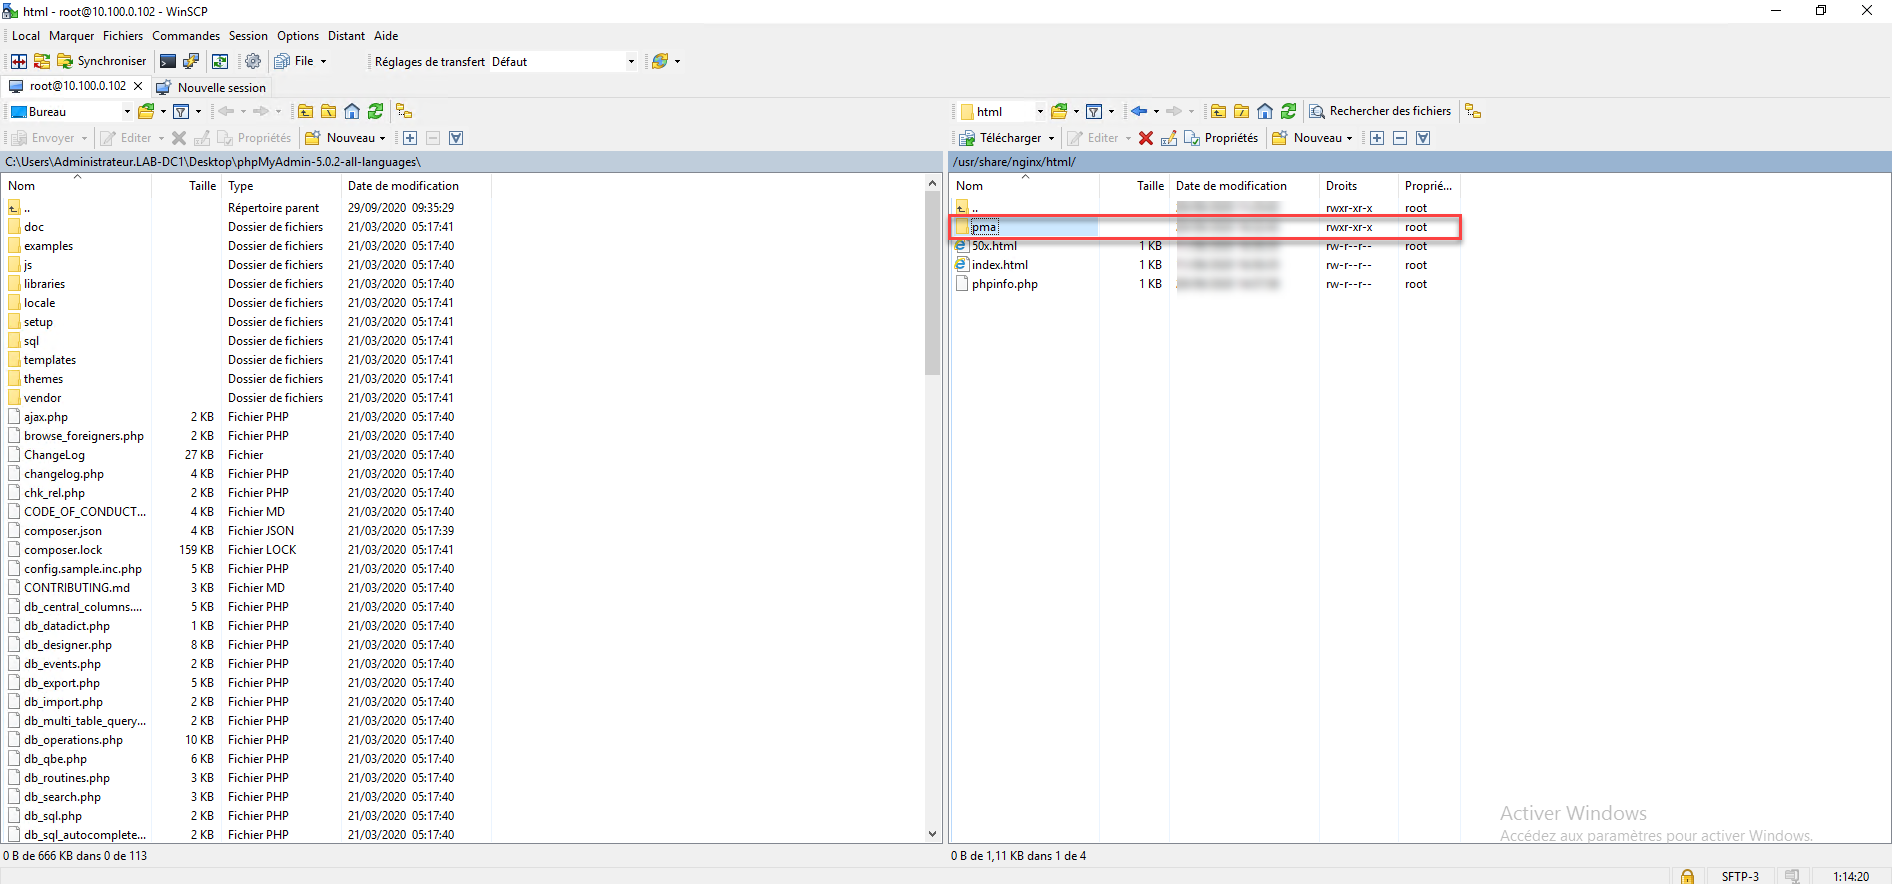
Send the contents of the archive to the pma folder:
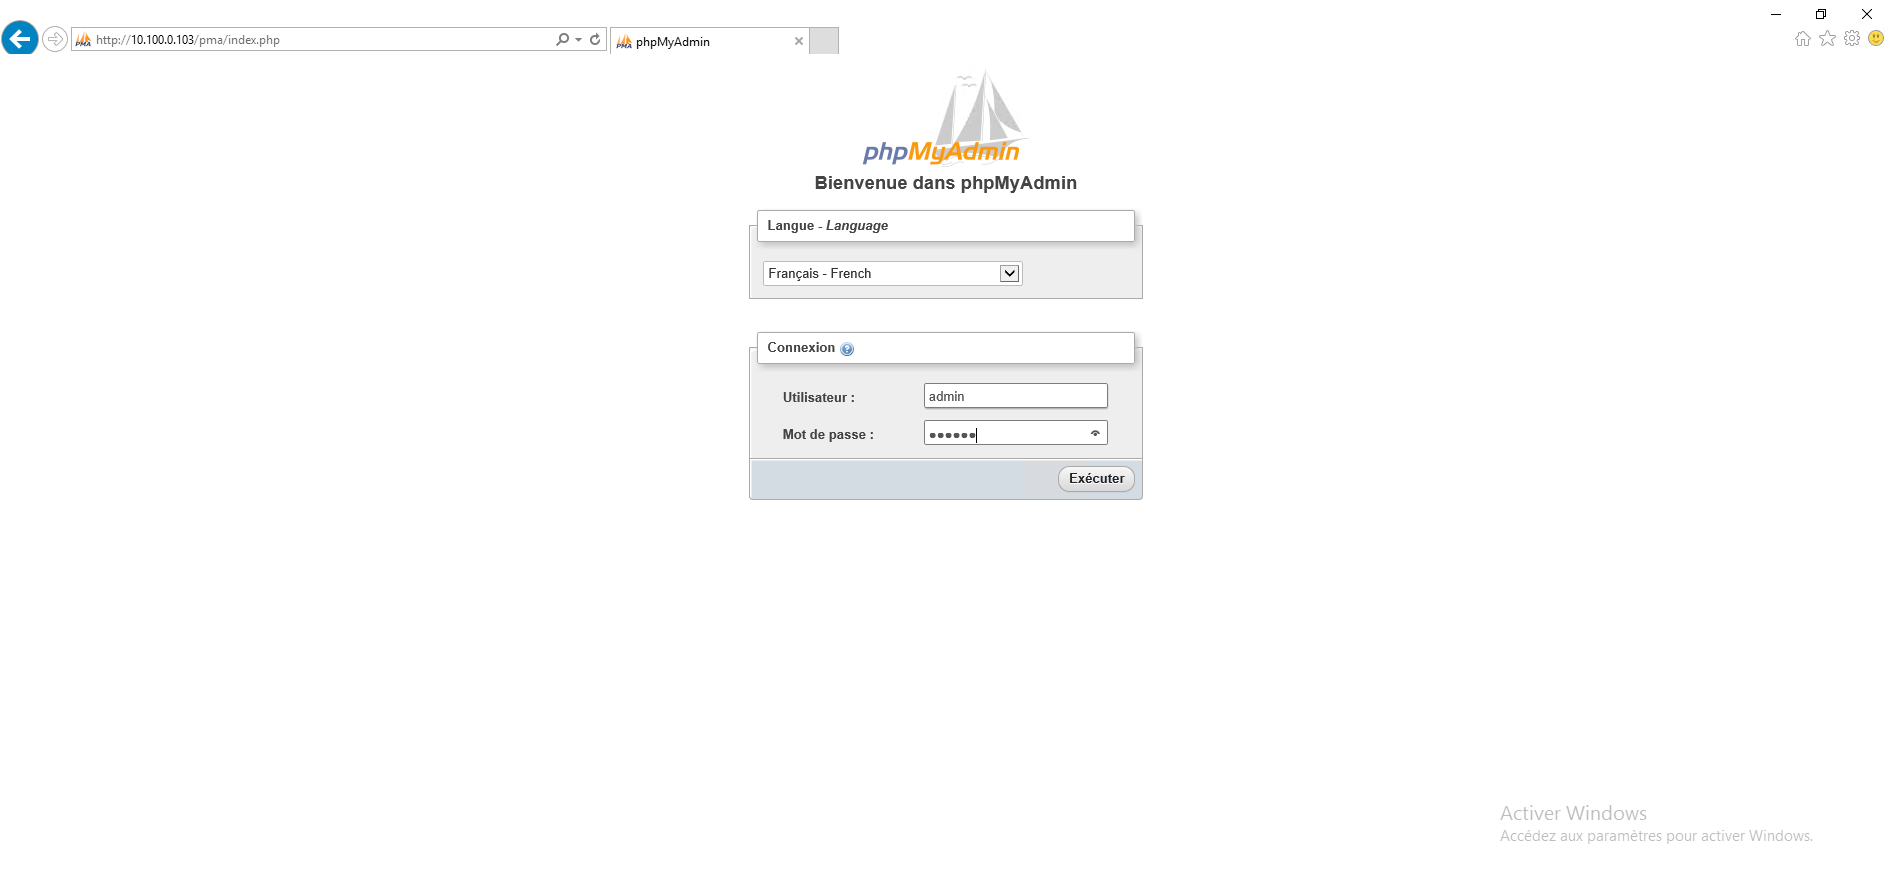
From a browser go to the address: http: //ip_server/pma/index.php
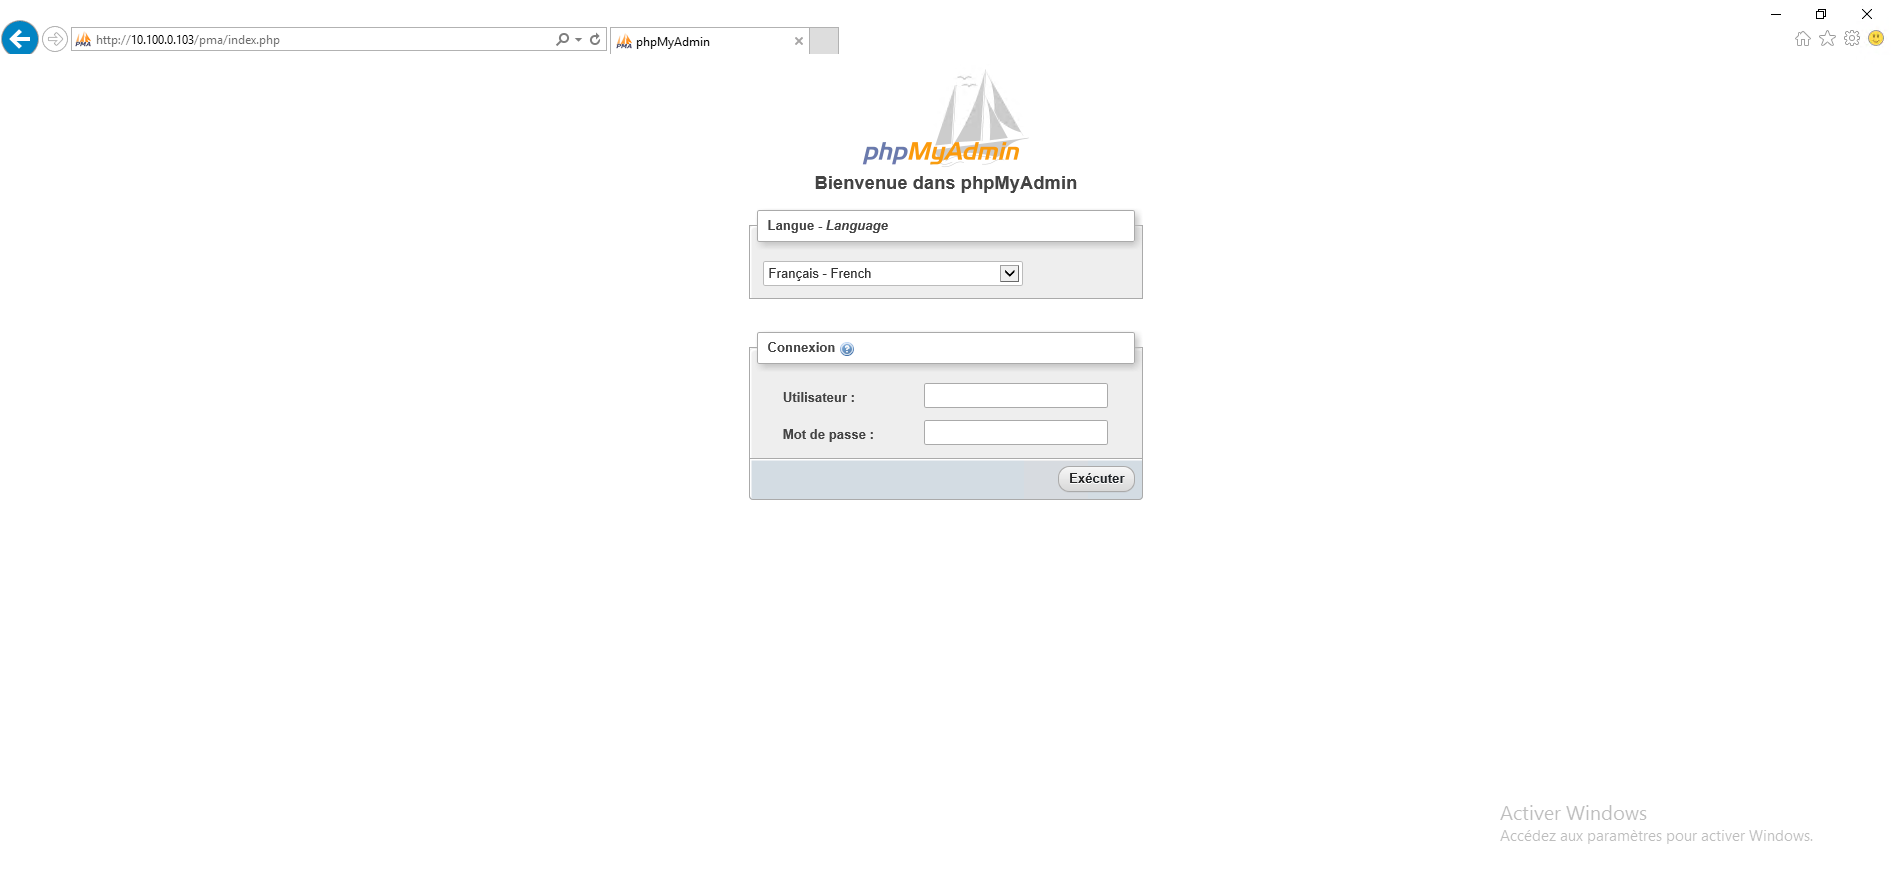
Enter the information of the account created previously (adminsql / password) and click on Execute to connect.
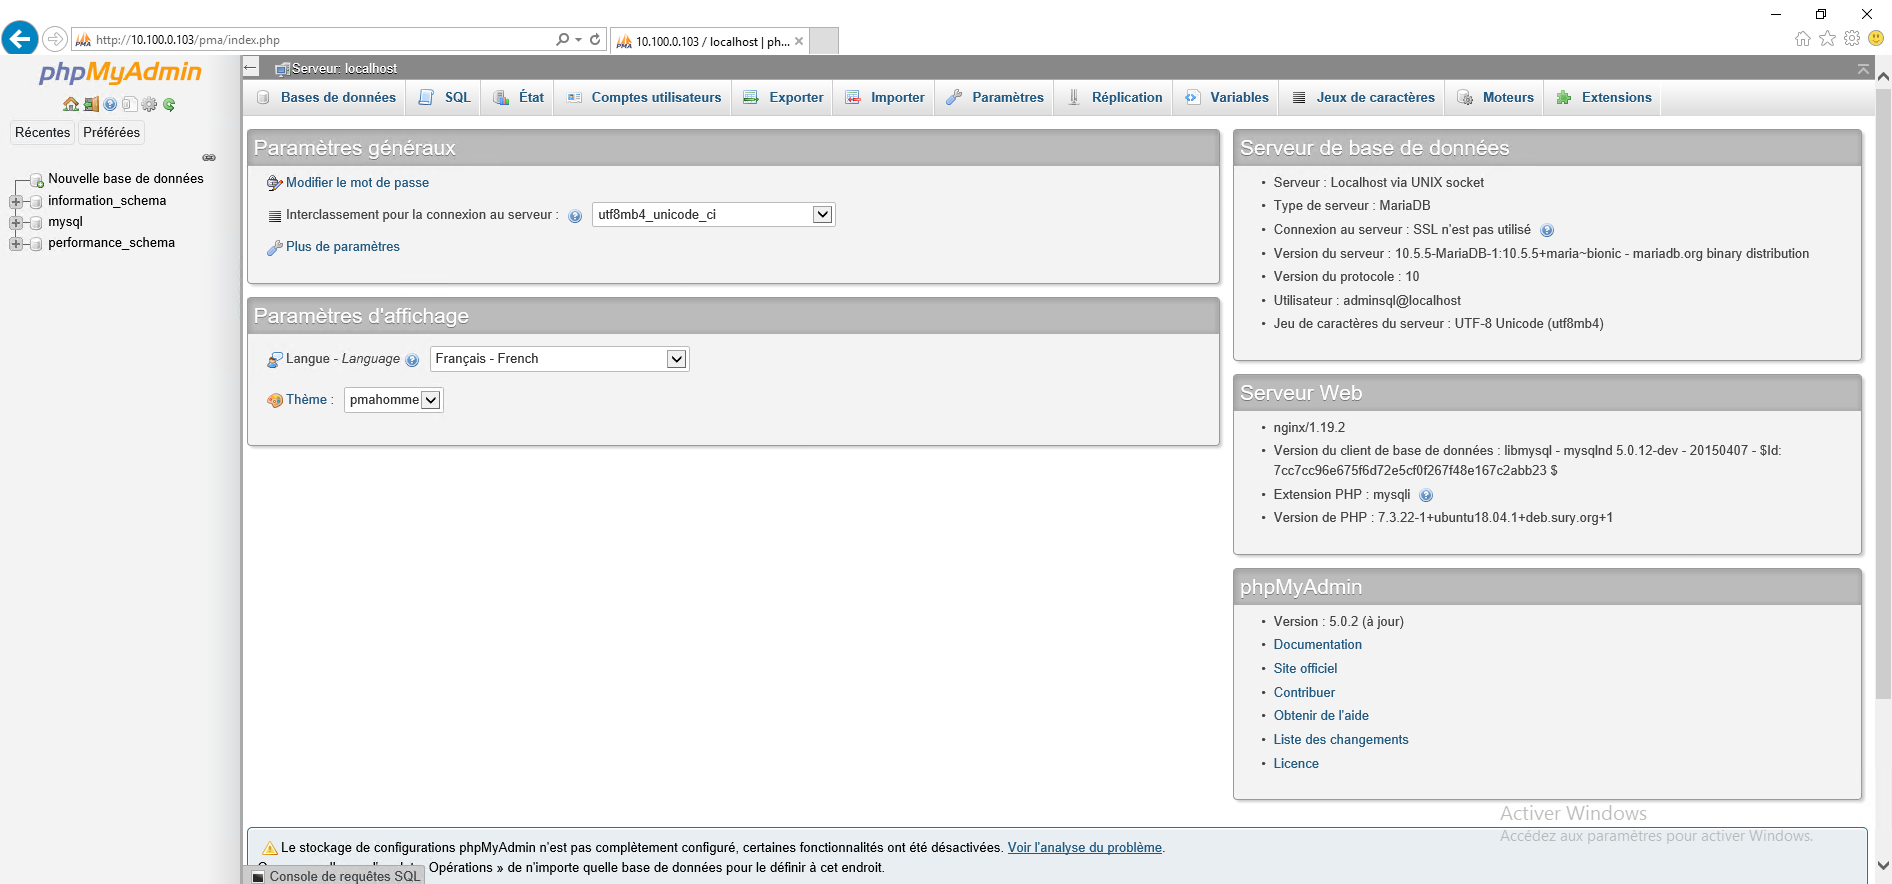
You can administer the MariaDB server with a web interface.
Configure vhosts
Now that the Web server is ready, we will see how to configure vhost also called virtual host which allows you to host several sites on the same server.
For the tutorial, I will create two vhost (site-a.lab.priv and site-b.lab.priv) which will both use a different version of php, site-a will be under php7.3 and site -b will be with php7.4
Beforehand I created the two DNS records and it points to the server
Before starting, you have to create the different folders, in the / home folder I will create a www-data folder and then in this folder I will create the sites, site-a and site-b subfolders which will each have two subfolders -log and public_html folders.
sudo mkdir /home/www-data
sudo mkdir /home/www-data/site-a
sudo mkdir /home/www-data/site-a/log
sudo mkdir /home/www-data/site-a/public_html
sudo mkdir /home/www-data/site-b
sudo mkdir /home/www-data/site-b/log
sudo mkdir /home/www-data/site-b/public_html
sudo chown www-data /home/www-data -R
Now that the files are ready, we will move on to the configuration files. In order to have an operation similar to Apache, we will create two folders in the / etc / nginx folder.
- sites-available : which will contain the virtual host config files
- sites-enabled : which will contain symbolic links to the virtual host configuration files which will be active.
Create the folders with the following commands:
sudo mkdir /etc/nginx/sites-available
sudo mkdir /etc/nginx/sites-enabled
You must now modify the nginx configuration file to tell it to load the configuration files that will be in the site-enabled folder.
sudo nano /etc/nginx/nginx.conf
Search :
include /etc/nginx/conf.d/*.conf;
Add after:
include /etc/nginx/sites-enabled/*;
Save the configuration file.
Test the nginx config:
sudo nginx -t
Reload the configuration:
sudo systemctl reload nginx
We go to the configuration of the virtual host for site-a, we will use the default file as a base, we will copy the default.conf file in the site-available folder by renaming it site-a.conf
sudo cp /etc/nginx/conf.d/default.conf /etc/nginx/sites-available/site-a.conf
You must now modify the file to make it correspond to the site configuration.
nano /etc/nginx/sites-available/site-a.conf
Here is the config file:
server {
    listen       80;
    server_name  site-a.lab.priv;

    #charset koi8-r;
    access_log  /home/www-data/site-a/log/access.log  main;

    location / {
        root   /home/www-data/site-a/public_html;
        index  index.php index.html index.htm;
    }

    #error_page  404              /404.html;

    # redirect server error pages to the static page /50x.html
    #
    error_page   500 502 503 504  /50x.html;
    location = /50x.html {
        root   /usr/share/nginx/html;
    }

    # proxy the PHP scripts to Apache listening on 127.0.0.1:80
    #
    #location ~ \.php$ {
    #    proxy_pass   http://127.0.0.1;
    #}

    # pass the PHP scripts to FastCGI server listening on 127.0.0.1:9000
    #
    #location ~ \.php$ {
    #    root           html;
    #    fastcgi_pass   127.0.0.1:9000;
    #    fastcgi_index  index.php;
    #    fastcgi_param  SCRIPT_FILENAME  /scripts$fastcgi_script_name;
    #    include        fastcgi_params;
    #}

    # deny access to .htaccess files, if Apache's document root
    # concurs with nginx's one
    #
    #location ~ /\.ht {
    #    deny  all;
    #}

    location ~ \.php$ {
        root           /home/www-data/site-a/public_html;
        #try_files      $uri =404;
        fastcgi_index  index.php;
        fastcgi_pass   unix:/run/php/php7.3-fpm.sock;
        fastcgi_param  SCRIPT_FILENAME $document_root$fastcgi_script_name;
        include        fastcgi_params;
   }
}
Changed lines:
Ligne 3 (server_name) : enter url
Ligne 6 : lLogs folder
Ligne 9 : site root directory
Ligne 10 : add index.php
Ligne 46 : site root directory
You must now activate the site with symbolic link:
sudo ln -s /etc/nginx/sites-available/site-a.conf /etc/nginx/sites-enabled/
Test the nginx config
sudo nginx -t
Reload the config
sudo systemctl reload nginx
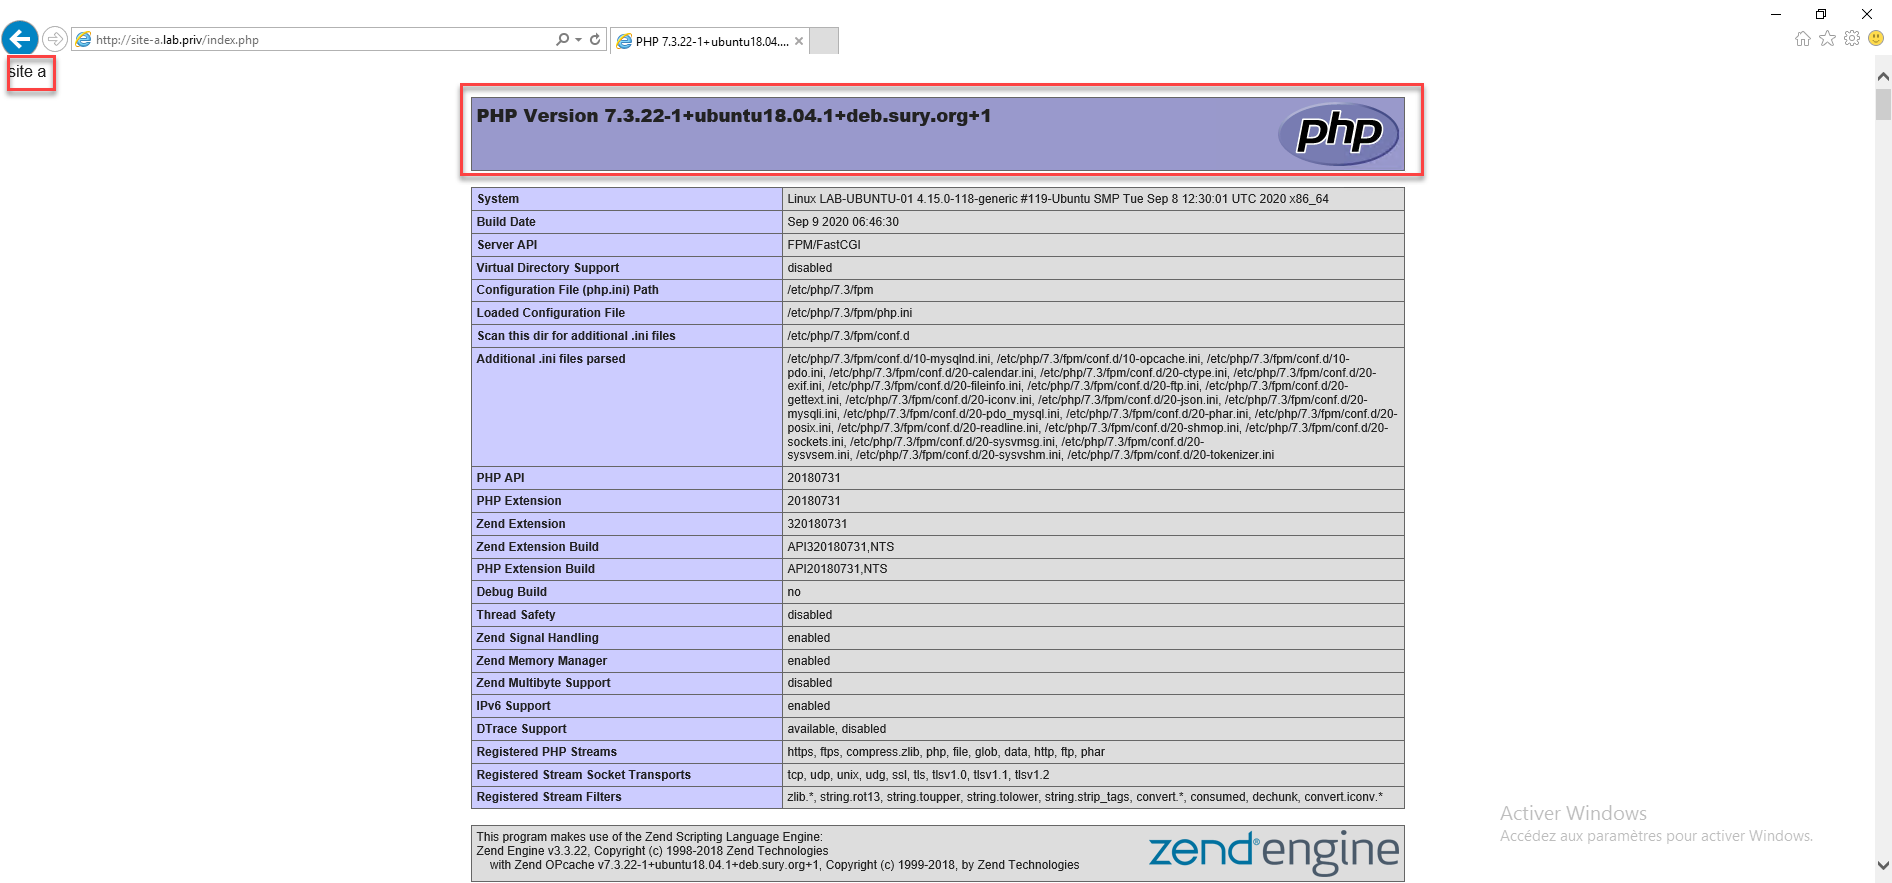
To test the correct operation I added an index.php file in the site’s public_html folder with the following code:
<?php
echo "site a";
phpinfo();
?>
From a browser enter the site url:
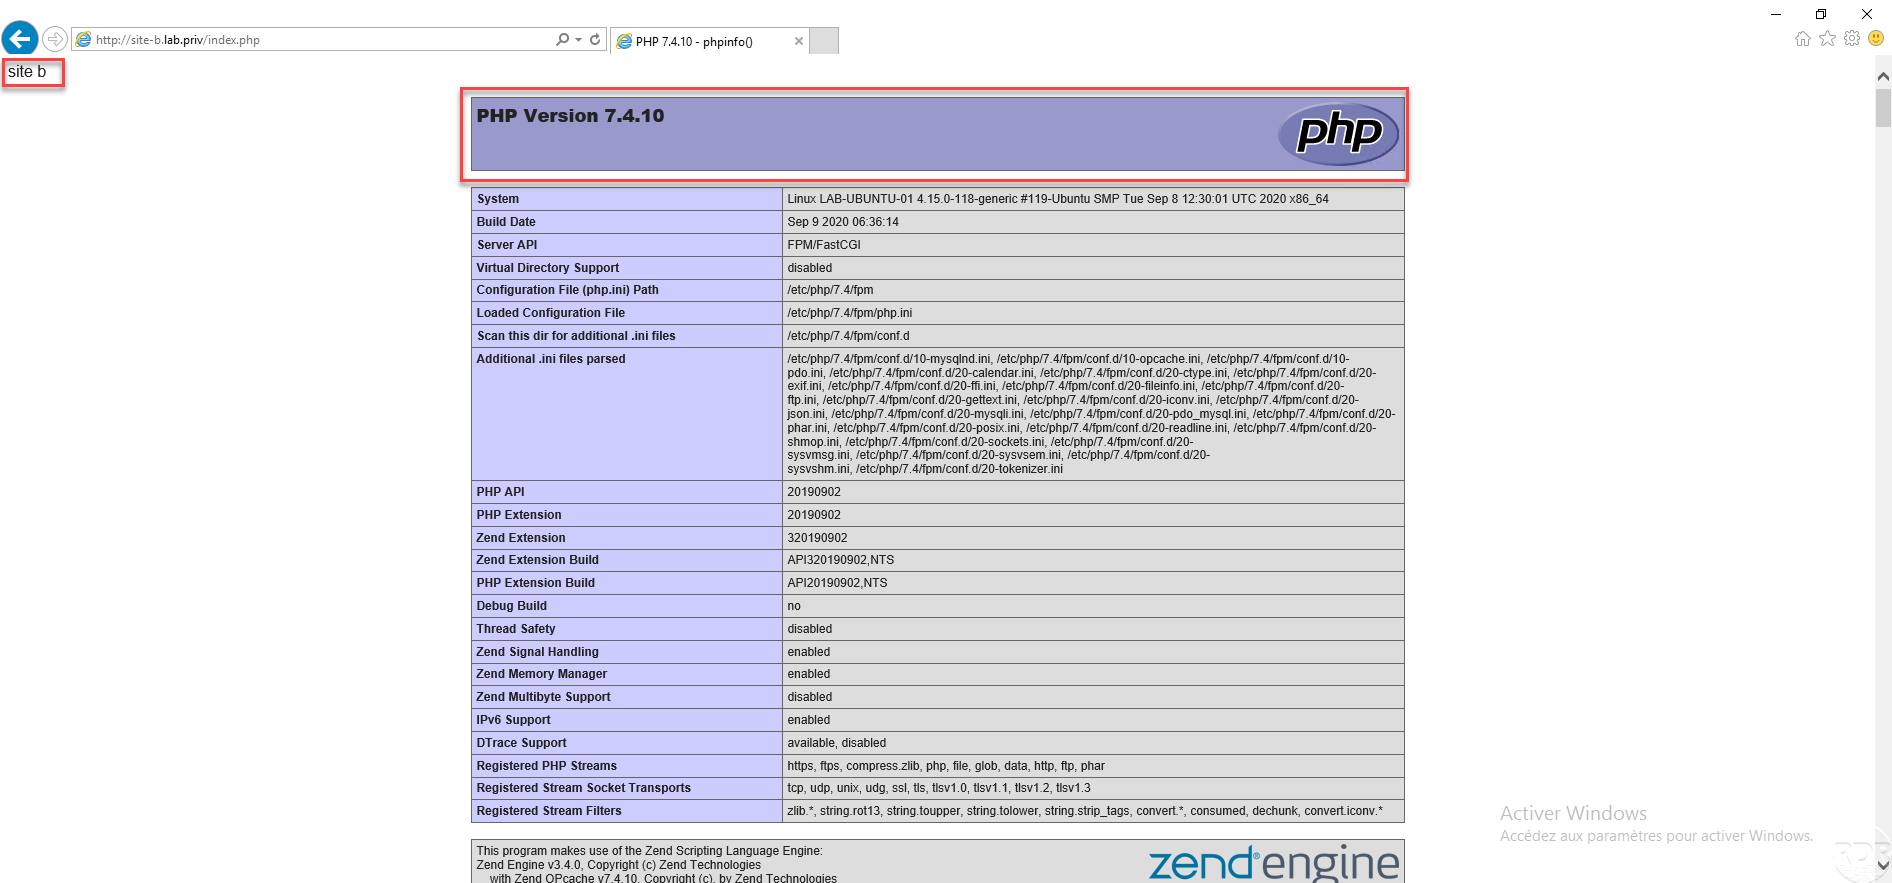
For site-b, I reproduced the same configuration by changing the server_name, locations and configuration of php to use php7.4.
the config file:
server {
    listen       80;
    server_name  site-b.lab.priv;

    #charset koi8-r;
    access_log  /home/www-data/site-b/log/access.log  main;

    location / {
        root   /home/www-data/site-b/public_html;
        index  index.php index.html index.htm;
    }

    #error_page  404              /404.html;

    # redirect server error pages to the static page /50x.html
    #
    error_page   500 502 503 504  /50x.html;
    location = /50x.html {
        root   /usr/share/nginx/html;
    }

    # proxy the PHP scripts to Apache listening on 127.0.0.1:80
    #
    #location ~ \.php$ {
    #    proxy_pass   http://127.0.0.1;
    #}

    # pass the PHP scripts to FastCGI server listening on 127.0.0.1:9000
    #
    #location ~ \.php$ {
    #    root           html;
    #    fastcgi_pass   127.0.0.1:9000;
    #    fastcgi_index  index.php;
    #    fastcgi_param  SCRIPT_FILENAME  /scripts$fastcgi_script_name;
    #    include        fastcgi_params;
    #}

    # deny access to .htaccess files, if Apache's document root
    # concurs with nginx's one
    #
    #location ~ /\.ht {
    #    deny  all;
    #}

    location ~ \.php$ {
        root           /home/www-data/site-b/public_html;
        #try_files      $uri =404;
        fastcgi_index  index.php;
        fastcgi_pass   unix:/run/php/php7.4-fpm.sock;
        fastcgi_param  SCRIPT_FILENAME $document_root$fastcgi_script_name;
        include        fastcgi_params;
   }
}
Here is the result :
Conclusion
The tutorial ends here, now you know how to install and configure a web server with Nginx / PHP / MariaDB with Ubuntu using different PHP versions and virtual hosts.
Other tutorials will come like installing WordPress and GLPI on an NGINX web server.