LAMP Overview
In this tutorial, I will explain how to install a LAMP server on Ubuntu 22.04.
LAMP stands for Linux Apache MariaDB PHP, it is a set of software that we very often find when we want to run a Web server.
With LAMP you can operate:
- The most famous CMS like WordPress
- GLPI
- Nextcloud
- Applications using Symfony, CakePHP
- …
For the Linux part, I will use the Ubuntu 22.04 distribution.
In addition to installing the components, I will give you some explanations in this tutorial as well as some configuration elements.
I am not going to talk about installing Ubuntu in this tutorial and we will go directly to the AMP software part.
Apache2 – Web Server
Apache2 will be the web service, it will be in charge of processing HTTP and HTTPS requests.
Installing Apache2 on Ubuntu 22.04
To install Apache2 enter the following command:
sudo apt install apache2
Confirm the installation of packages, you can add -y to the installation command to not have confirmation
Wait while installing Apache2…
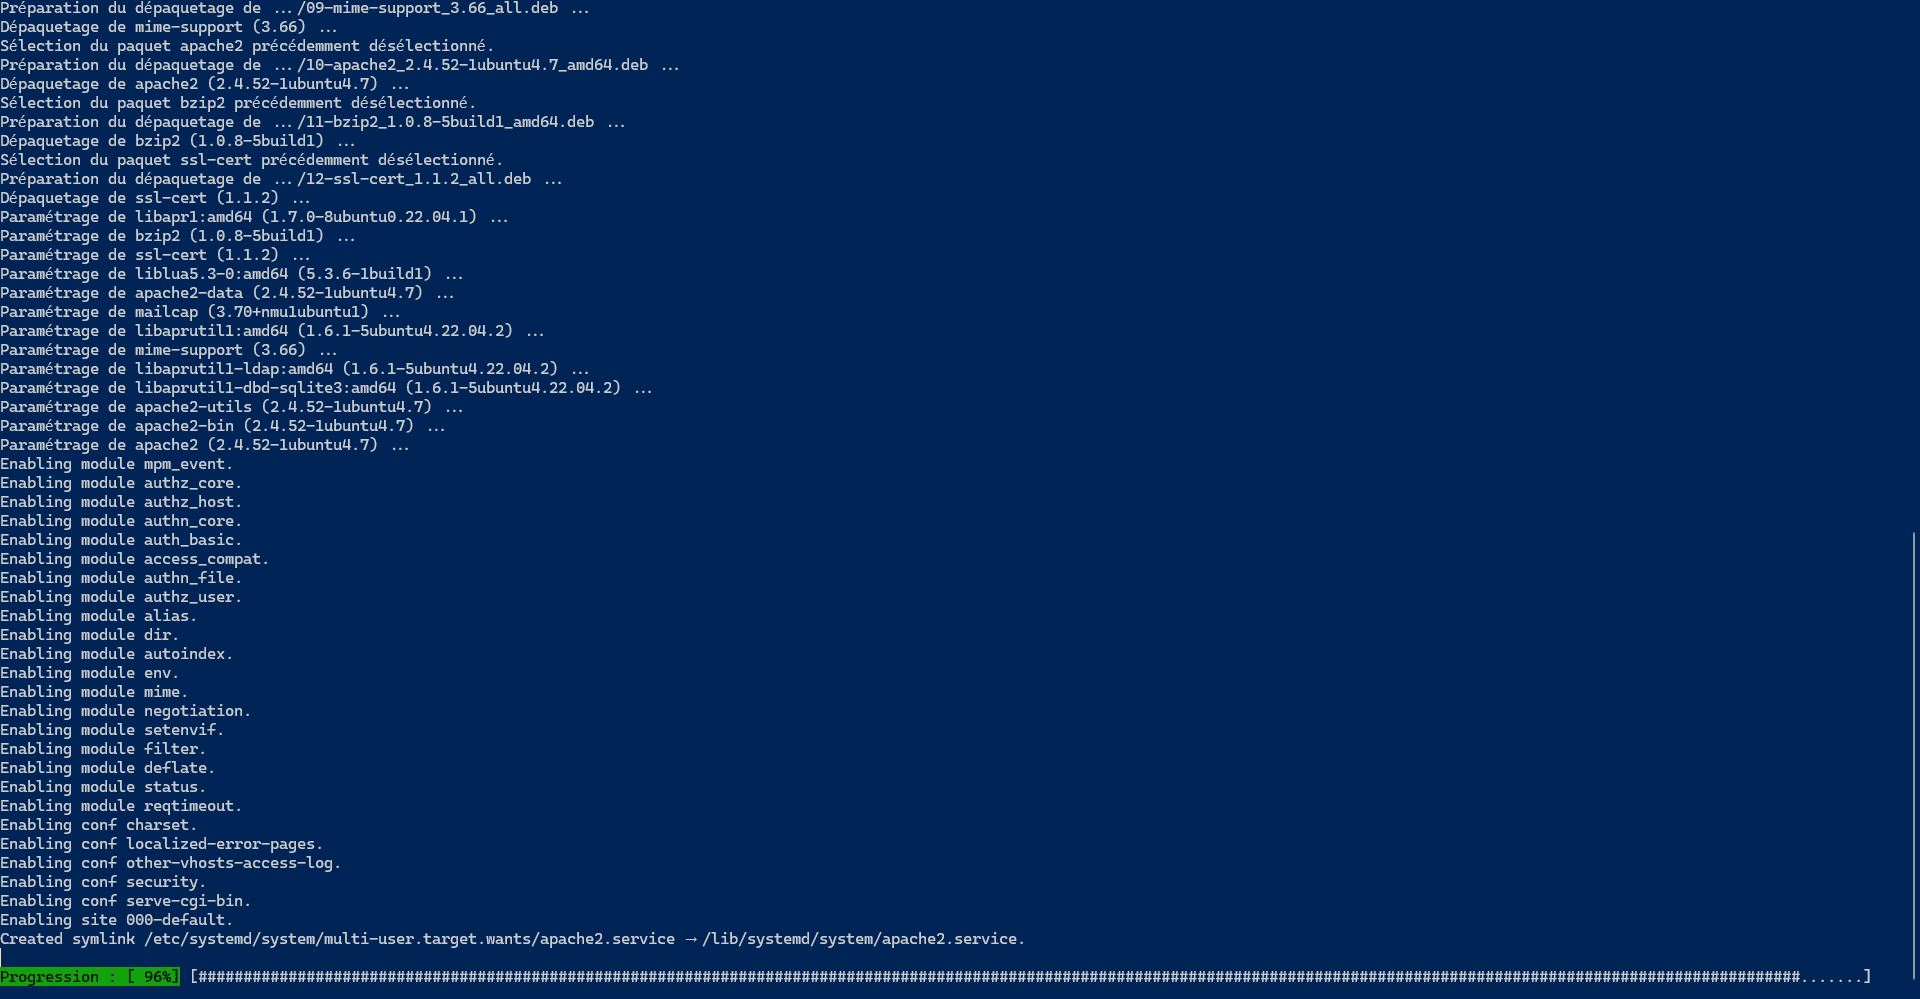
The Apache2 server is installed.
Test how Apache 2 works
The easiest way to test operation is to access the server.
Launch a browser and enter the server’s IP address as the urlhttp://w.x.y.z
You should arrive on the following page:

The index page is located in the following folder : /var/www/html
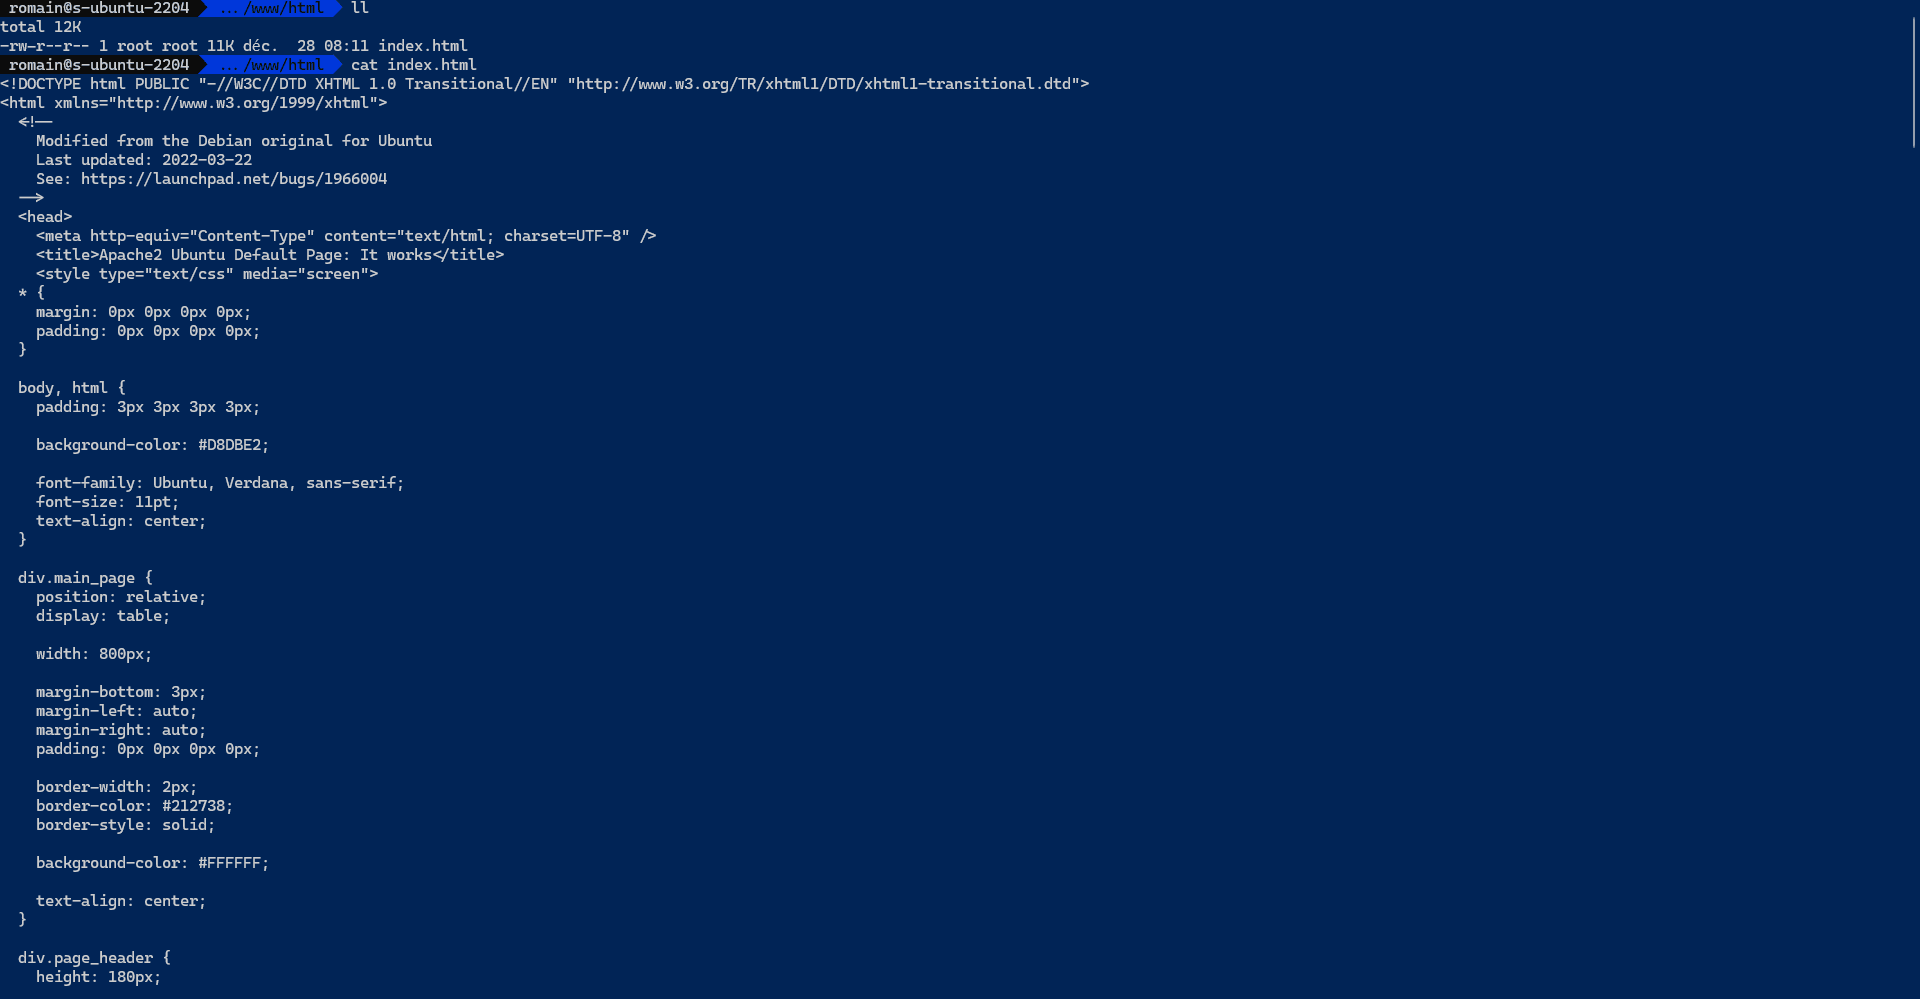
This folder contains the default site content.
Apache2 configuration files
Apache configuration files are located in the following location on Ubuntu 22.04 : /etc/apache2
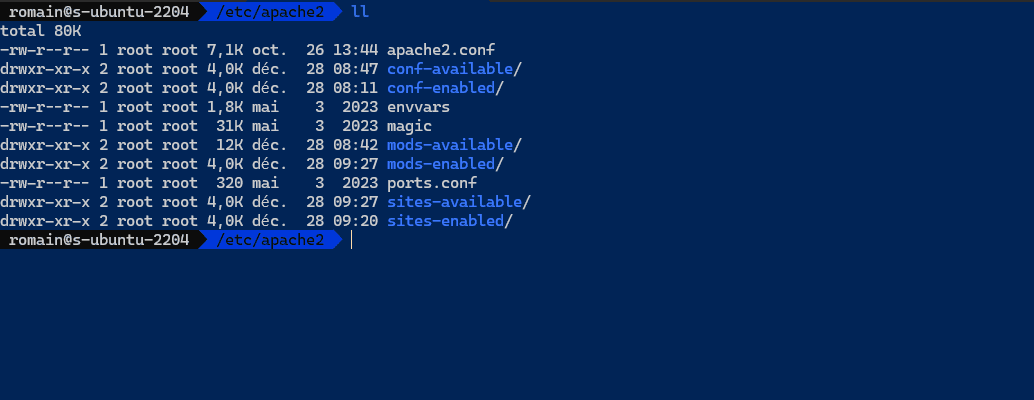
The main Apache2 configuration file is apache2.conf.
On Ubuntu and Debian we find several folders like this:
- xxxxx-available
- xxxxx-enabled
In the xxxxx-available folders we will find available configuration elements not applied to Apache2 and in the xxxxx-enabled folder we will find the configurations which are loaded.
Generally to apply a configuration, we make a symbolic link of the file located in xxxxx-available in the xxxxx-enabled folder.
Some useful commands for Apache2
Here is a list of commands for Apache2:
View service status:
sudo systemctl status apache2Reload Apache2 configuration
sudo systemctl reload apache2Stop the Apache2 service:
sudo systemctl stop apache2Start the Apache2 service:
sudo systemctl start apache2Restart the Apache2 service:
sudo systemctl restart apache2Enable the Apache2 service when starting Ubuntu:
sudo systemctl enable apache2Test the Apache2 file configuration:
sudo apachectl configtestApache2: create a virtualhost based on name
Adding a virtualhost allows you to run several websites on the same Apache2 web server.
The fact that this is name (URL) based allows multiple virtualhosts to use the same IP address and ports 80 and 443. Apache2 will use the url (domain name) to process requests and deliver the correct content.
To illustrate this tutorial, I will create a virtualhost based on the name which will have the url lamp.rdr-it.com
Start by creating a folder that will receive the files:
sudo mkdir /var/www/lampIn the /etc/apache2/sites-available folder, we will create a file which will contain the configuration of the website.
sudo nano /etc/apache2/sites-available/lamp.rdr-it.com.confHere is the content of the file:
<VirtualHost *:80>
        ServerName lamp.247-it.io

        ServerAdmin webmaster@localhost
        DocumentRoot /var/www/lamp

        ErrorLog ${APACHE_LOG_DIR}/lamp_error.log
        CustomLog ${APACHE_LOG_DIR}/lamp_access.log combined


        <FilesMatch \.php$>
          SetHandler "proxy:unix:/run/php/php8.1-fpm.sock|fcgi://localhost/"
        </FilesMatch>

</VirtualHost>
Items to edit:
- Line 2: ServerName is the domain name of the website
- Line 5: DocumentRoot indicates the path where the site files are stored on the server (corresponds to the folder created previously).
- Line 7 and 8: Name of Apache2 log files
We will now create a symbolic link of the file in the /etc/apache2/sites-enables folder to activate the virtualhost configuration.
sudo ln -s /etc/apache2/sites-available/lamp.rdr-it.com.conf /etc/apache2/sites-enabled/Test Apache 2 configuration:
sudo apachectl configtestIf no blocking error is returned, restart the Apache2 service:
sudo systemctl restart apache2You now have a site that can respond to the URL http://lamp.rdr-it.com.
For the virtualhost to work, you must point the domain name to the IP of the Apache2 server and create at least an index.html file.
Add UFW rules for Apache2
If you have enabled the firewall on Ubuntu 22.04 with UFW, you need to add rules to allow traffic to Apache port 80 and 443.
There are several solutions for this:
Use the apps:
sudo ufw allow Apache FullBy ports to allow traffic on port 80 and 443:
sudo ufw allow 80
sudo ufw allow 443
MariaDB – Database Server
We will now move on to the Database server which will store the data, in this tutorial, I will use MariaDB, for MySQL it is almost the same thing.
Install MariaDB on Ubuntu 22.04
To install the MariaDB database server enter the following command:
sudo apt install mariadb-server -y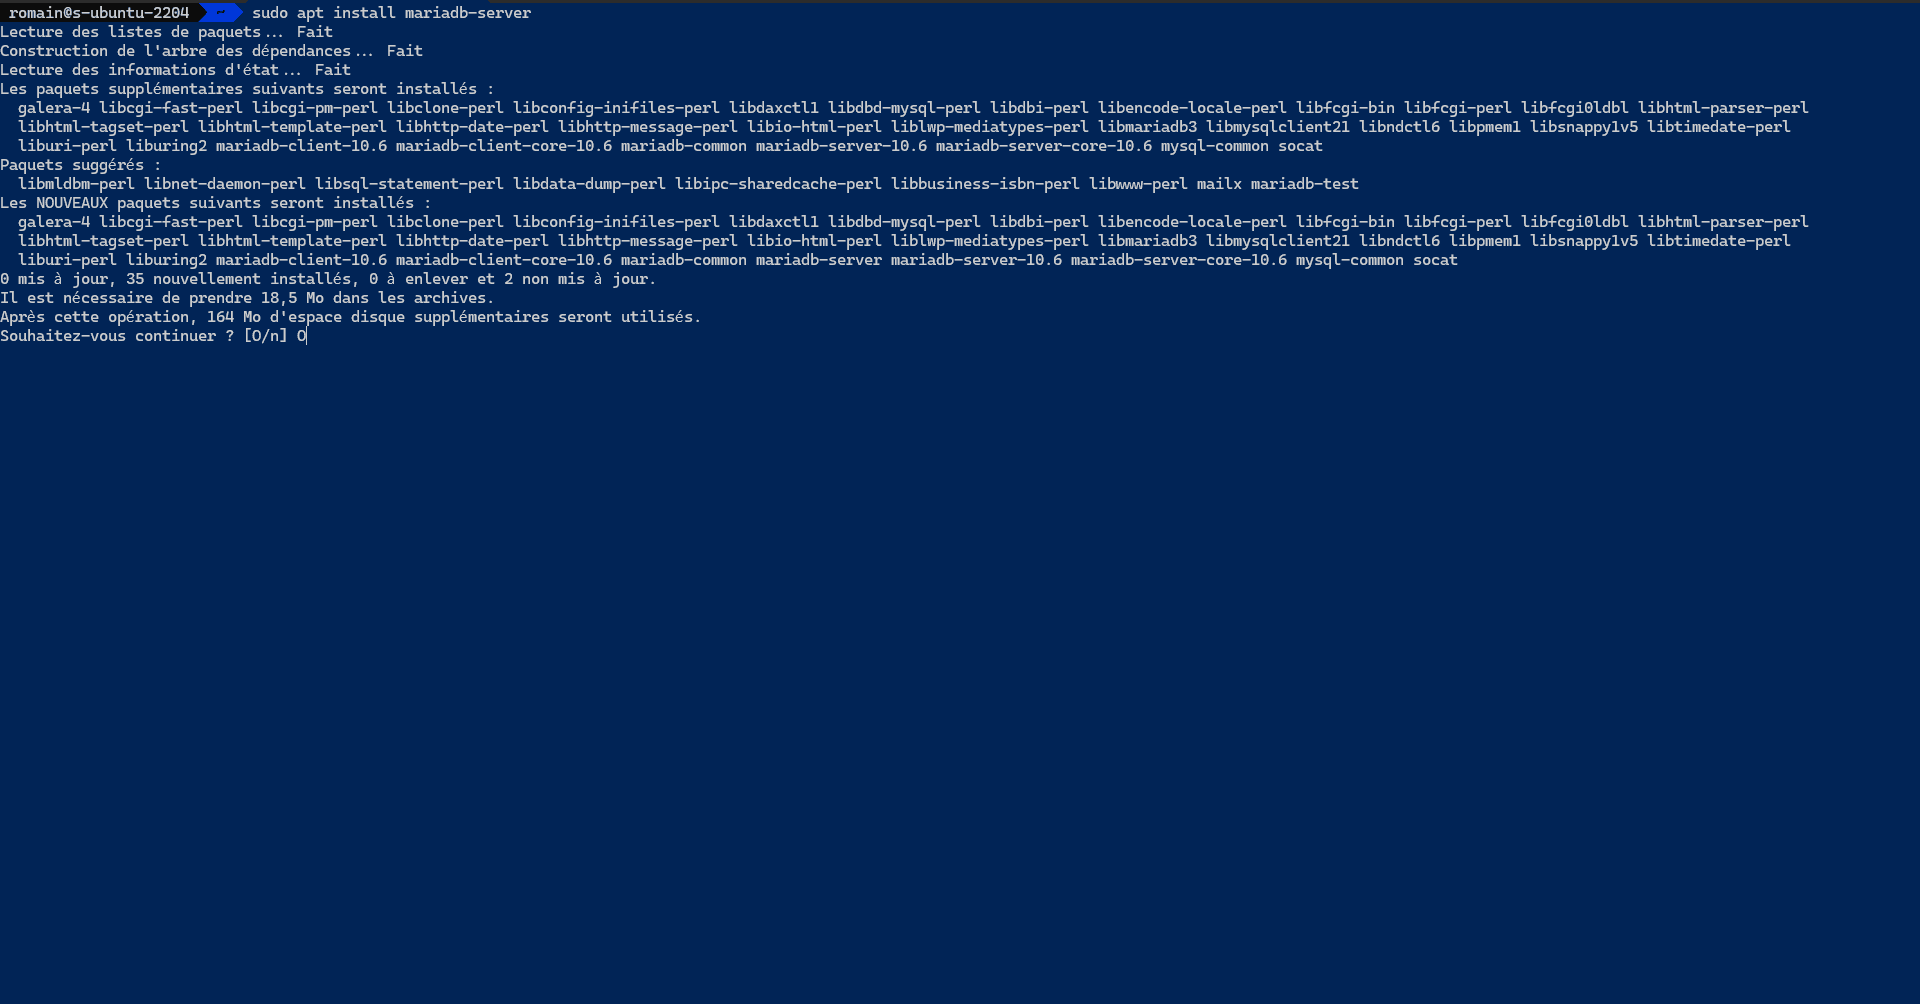
On the capture, I did not put the -y option, I had to confirm the choice.
Once the installation is complete, check the operation of the MariaDB server:
sudo systemctl status mariadb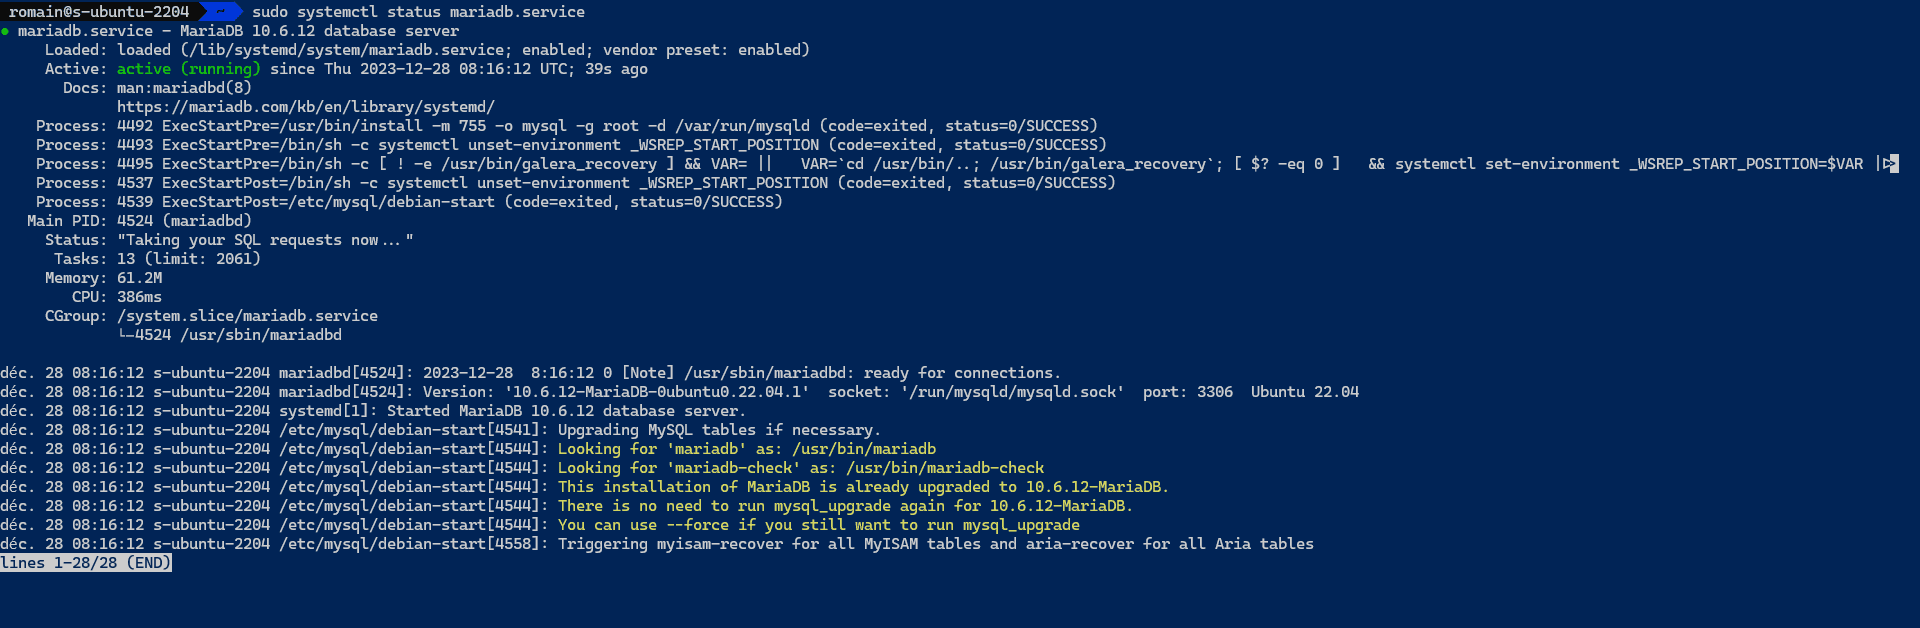
The MariaDB server is installed and functional.
Creating a database and a user
Now, we will create a database (lamp) and a user (lamp) on the MariaDB server.
To begin, you must connect to the MariaDB server with the following command:
sudo mysql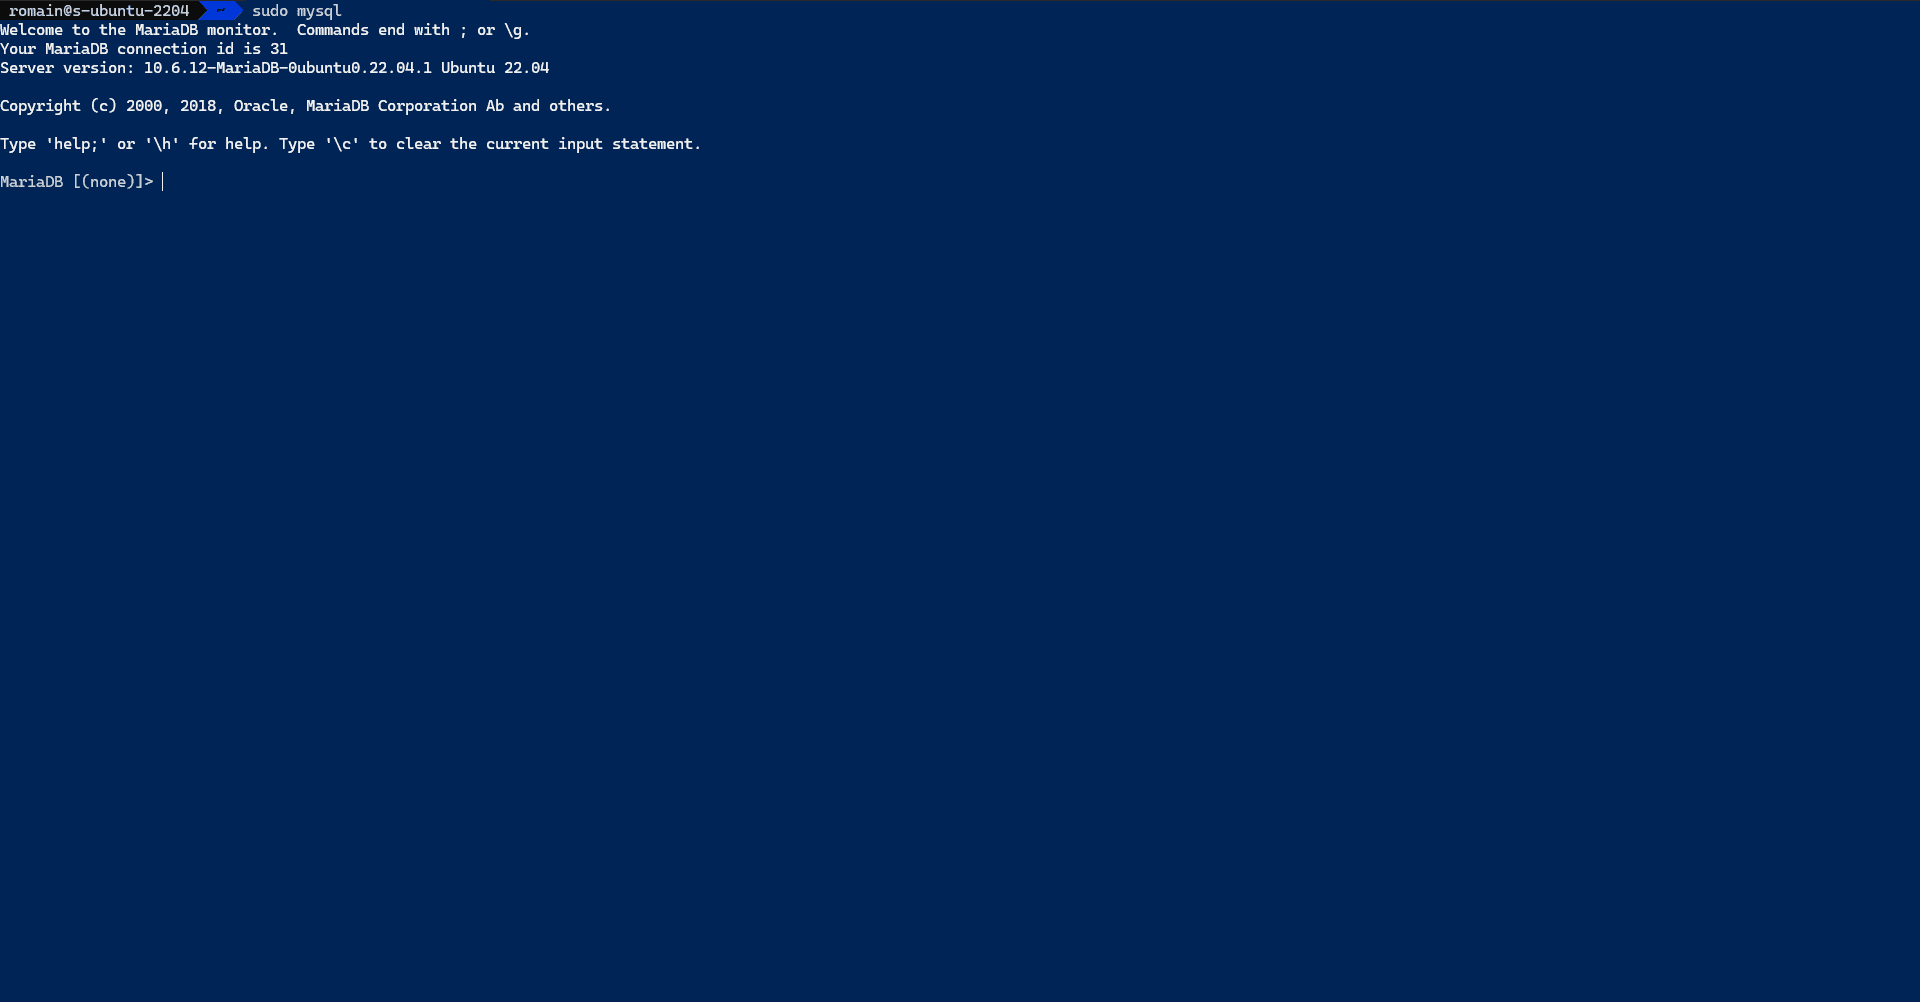
Now, we will use SQL language for the creation of the database, the user and the assignment of rights.
To create the database:
CREATE DATABASE lamp;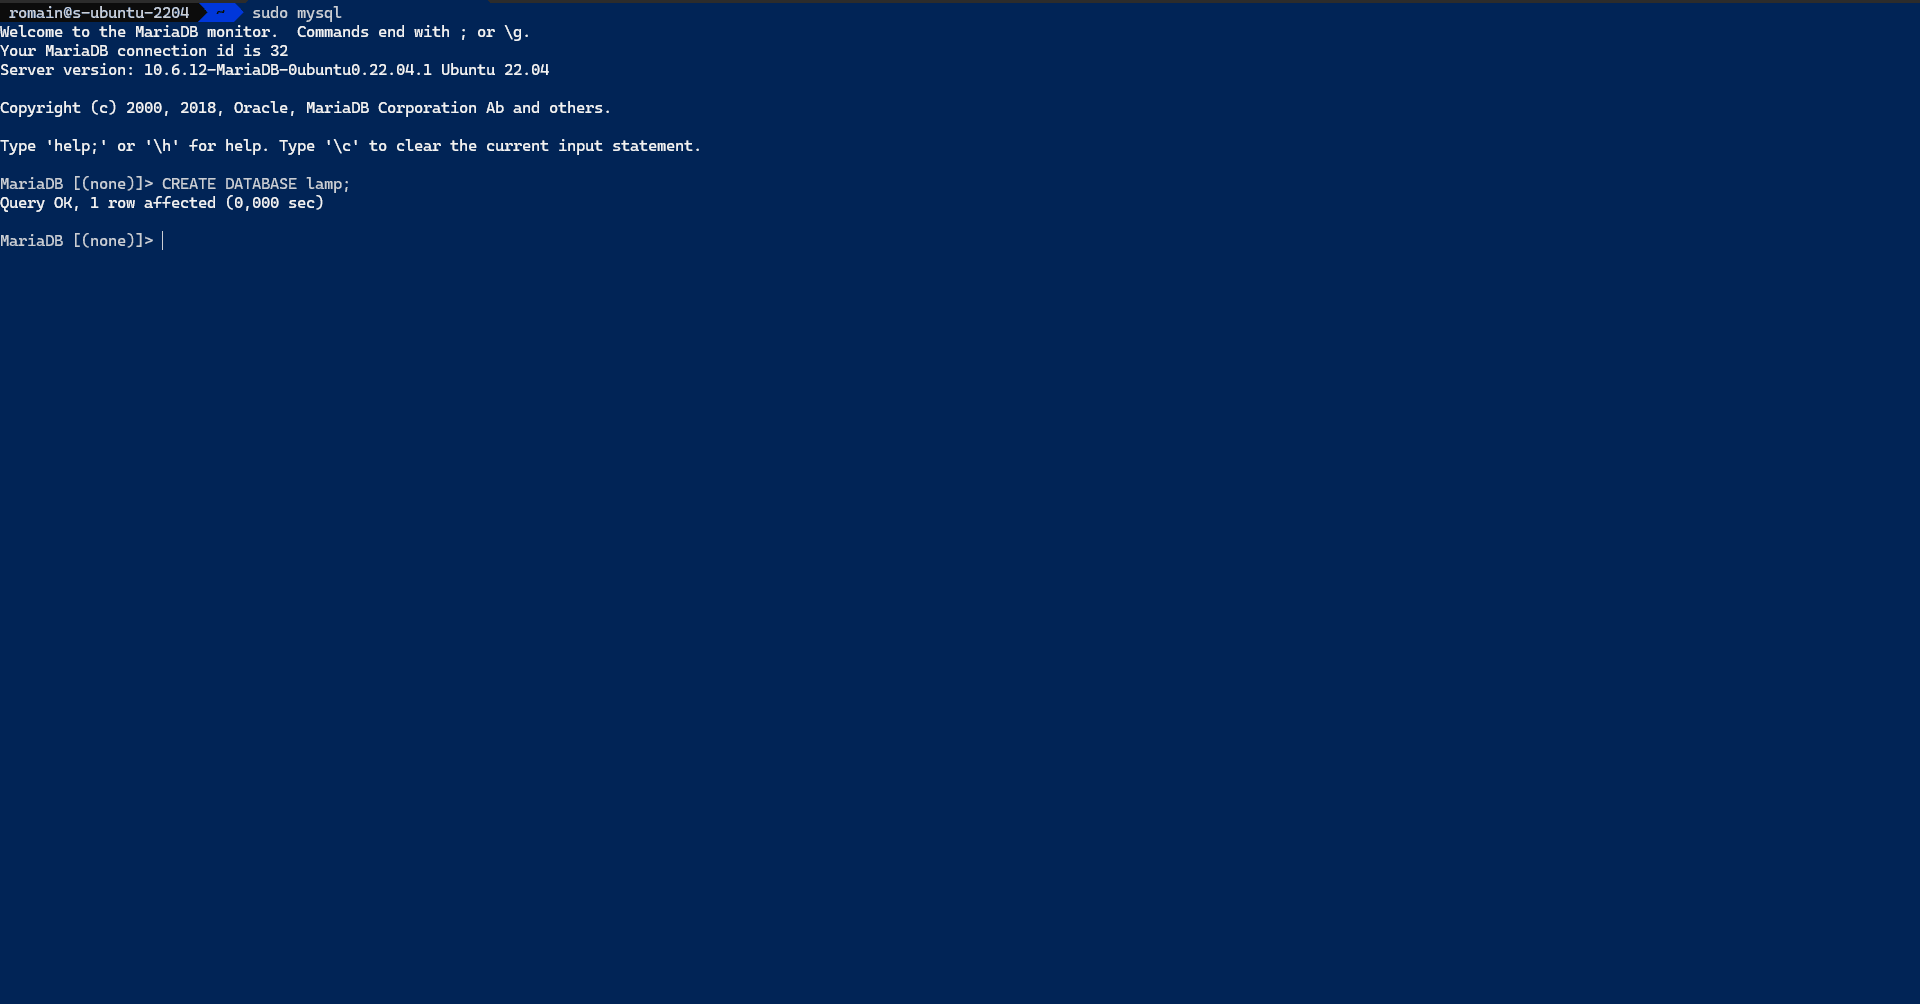
To verify that the database has been created, enter the following query:
SHOW DATABASES;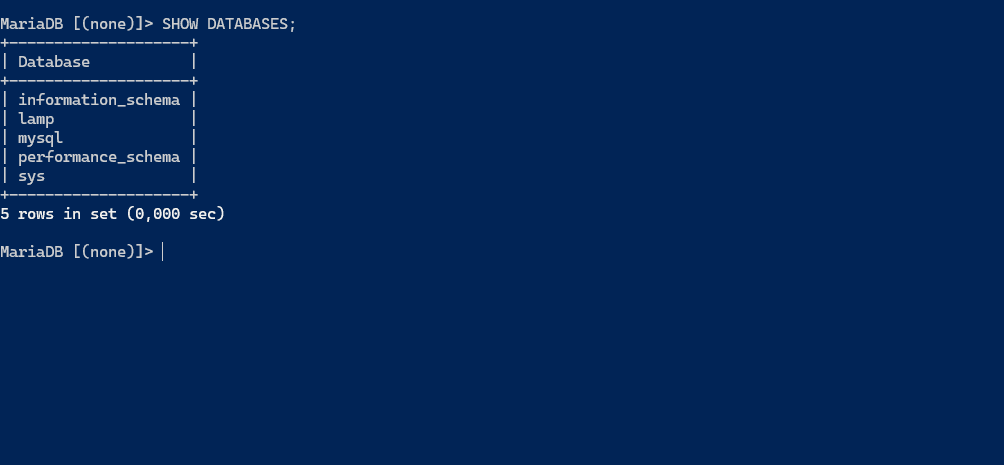
We will now create the lamp user who will have the password lamp-password and who can connect from any IP address:
CREATE USER 'lamp'@'%' IDENTIFIED BY 'lamp-password';The % allows you to connect from any IP address, to limit the connection to local replace with localhost.
You must now give the rights to the database to the user, to do this, make the following requests:
GRANT ALL PRIVILEGES ON lamp.* TO 'lamp'@'%';
FLUSH PRIVILEGES;
The first request gives all rights to tables (.*) in the lamp database to the user ‘lamp’@’%’
The second request allows you to reload the rights.
On MariaDB, a user is identified by his login and where he can connect, this is why the user is xxx@yyy and not just xxx, which allows different rights to be assigned depending on where the user logs in.
To view a user’s permissions:
SHOW GRANTS FOR 'lamp'@'%';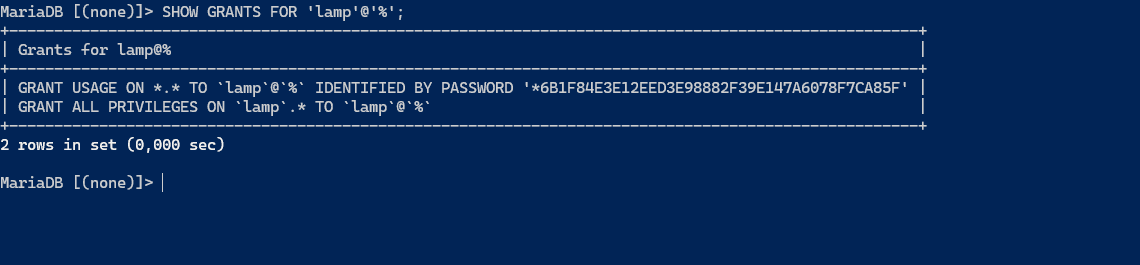
MariaDB add-ons
Here is some additional information about MariaDB.
The configuration files are located in the following folder: /etc/mysql
For compatibility reasons, the folder name is mysql
In the commands, one can either use mysql or mariadb.
The database files are located in : /var/lib/mysql.
The MariaDB logs are located in the folder : /var/log/mysql.
PHP
Last component of the LAMP stack is PHP, which is a programming/scripting language widely used in development.
With Apache, there are two ways to make PHP work:
- PHP module which integrates PHP through an Apache module which requires no configuration
- PHP-FPM which operates as an independent service and allows more flexibility and configuration
In this tutorial, I’ll show you both.
Personally I prefer to use PHP-FPM which uses a separate service which allows you to dissociate Apache from PHP.
In addition, the use of PHP-FPM allows you to run several different versions of PHP simultaneously.
At the time of writing this tutorial, on the Ubuntu 22.04 repositories, the version provided is PHP 8.1
If you want another version of PHP, you must go through the repository ppa:ondrej/php.
Install PHP as Apache module
To install PHP enter the following command:
sudo apt install php libapache2-mod-php php-mysqli -y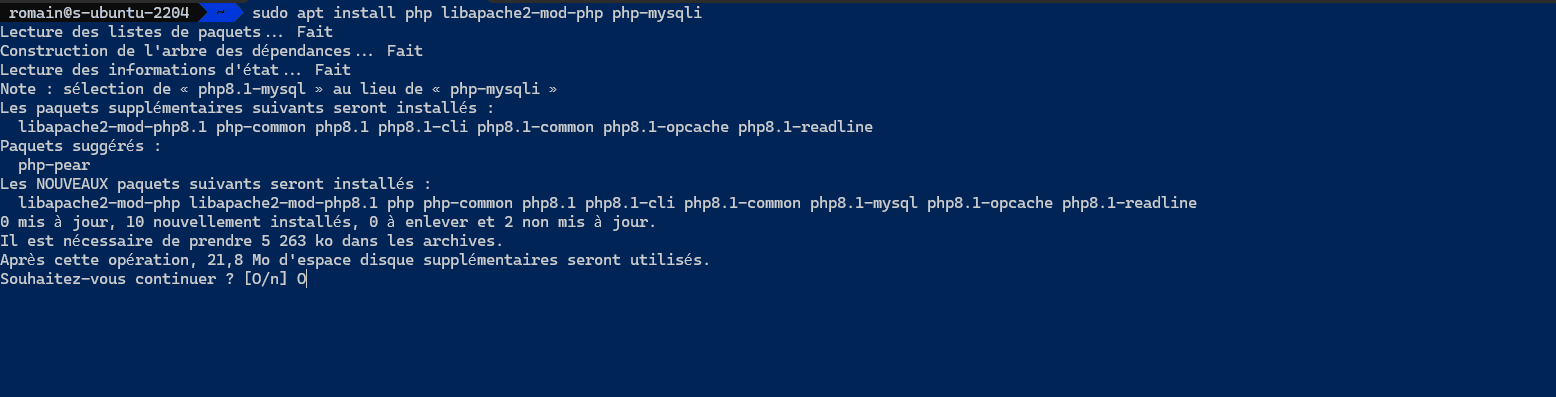
Once the installation is complete, enter the following command to test PHP:
php -v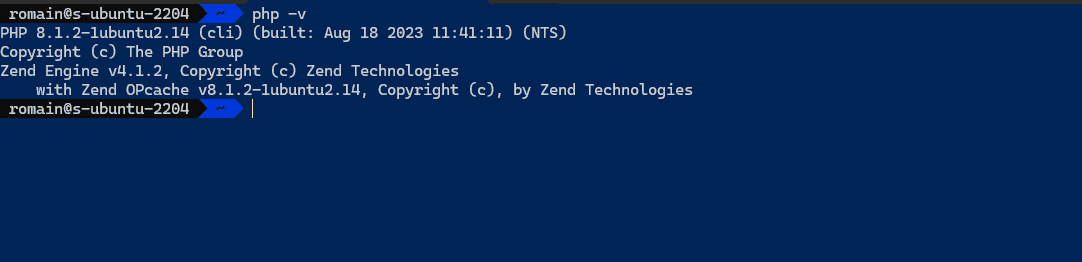
This command displays the PHP version
We will now test PHP through Apache with a php file that we will put in the folder /var/www/html.
Create the phpinfo.php file
sudo nano /var/www/html/phpinfo.phpCopy the following content to the file:
<?

phpinfo();

?>
From a browser go to the following address: http://ip-lamp-server/phpinfo.php
The following page is displayed:
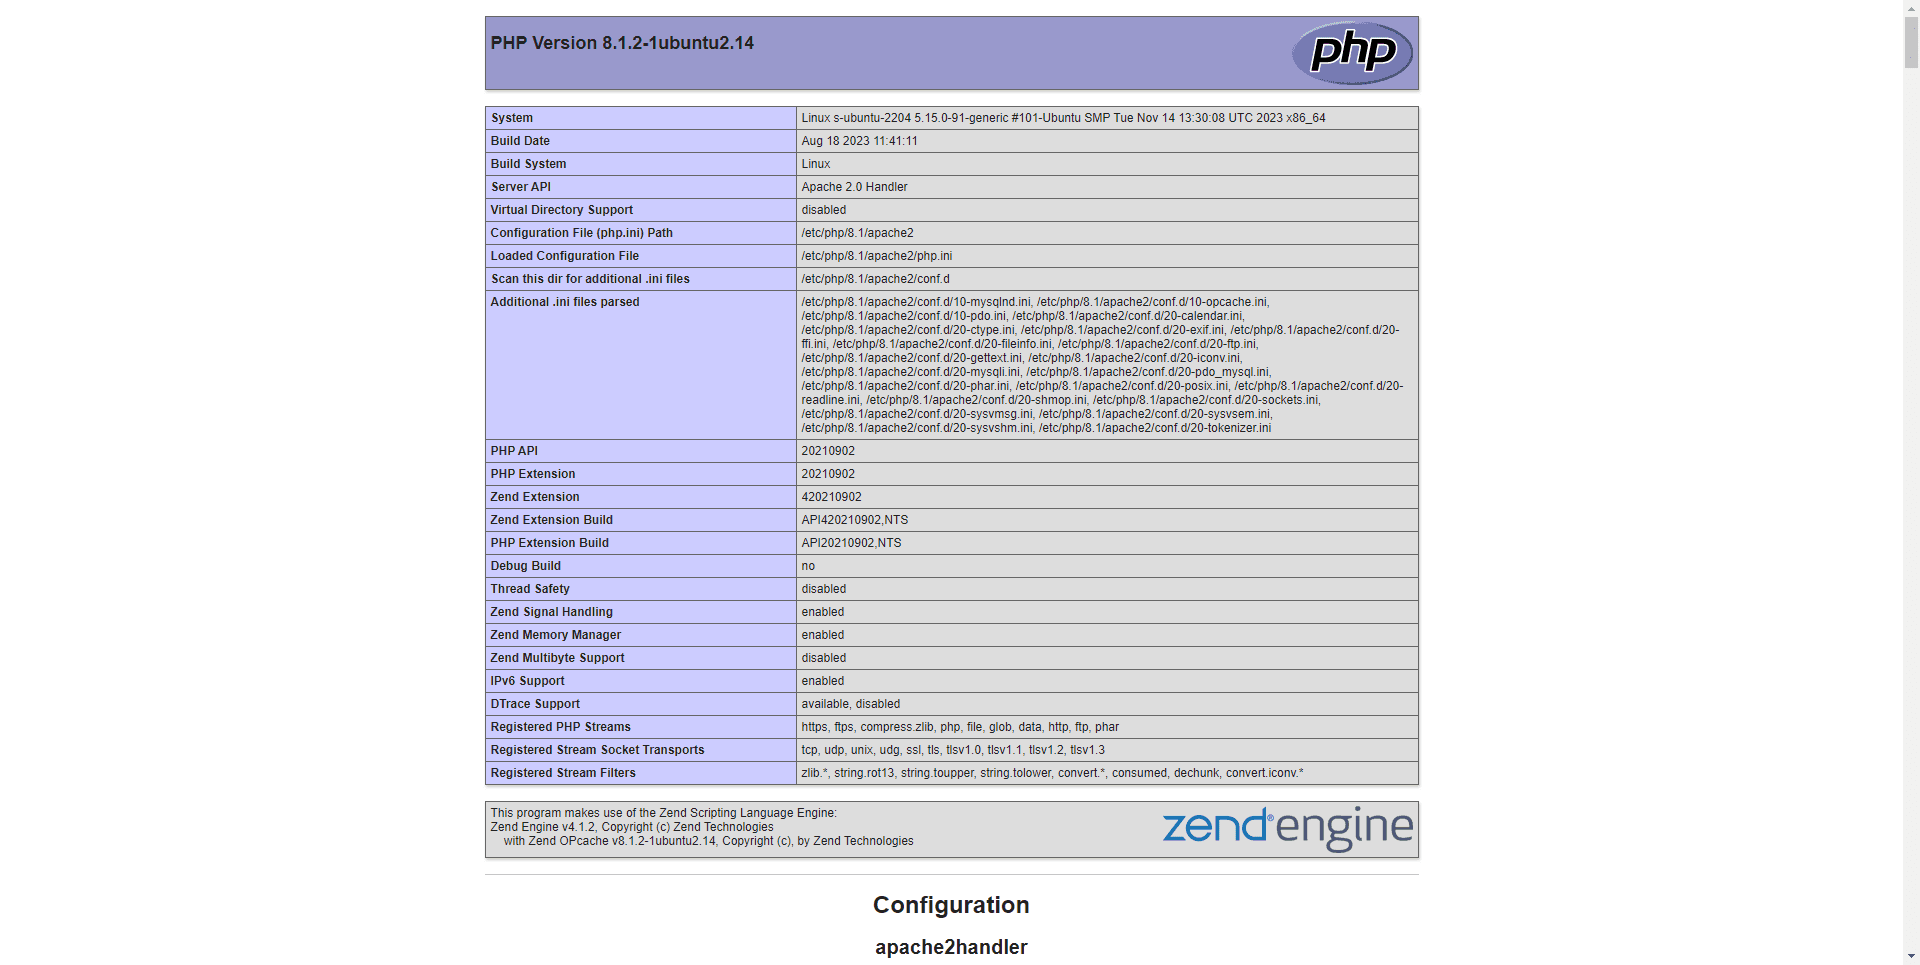
Server API tells us Apache 2.0 Handler, which indicates that the Apache PHP module was used
PHP-FPM with Apache2
Now, we will see how to use PHP-FPM with Apache2.
If you have installed the Apache PHP Module we will first deactivate it:
sudo a2dismod php8.1Restart Apache :
sudo systemctl restart apache2To validate that the PHP Module is disabled displays the phpinfo.php page, you should have the code on the page because the PHP code is no longer interpreted.
Install PHP-FPM:
sudo apt install php php-fpm php-mysqlCheck that the php-fpm service is started:
sudo systemctl status php8.1-fpm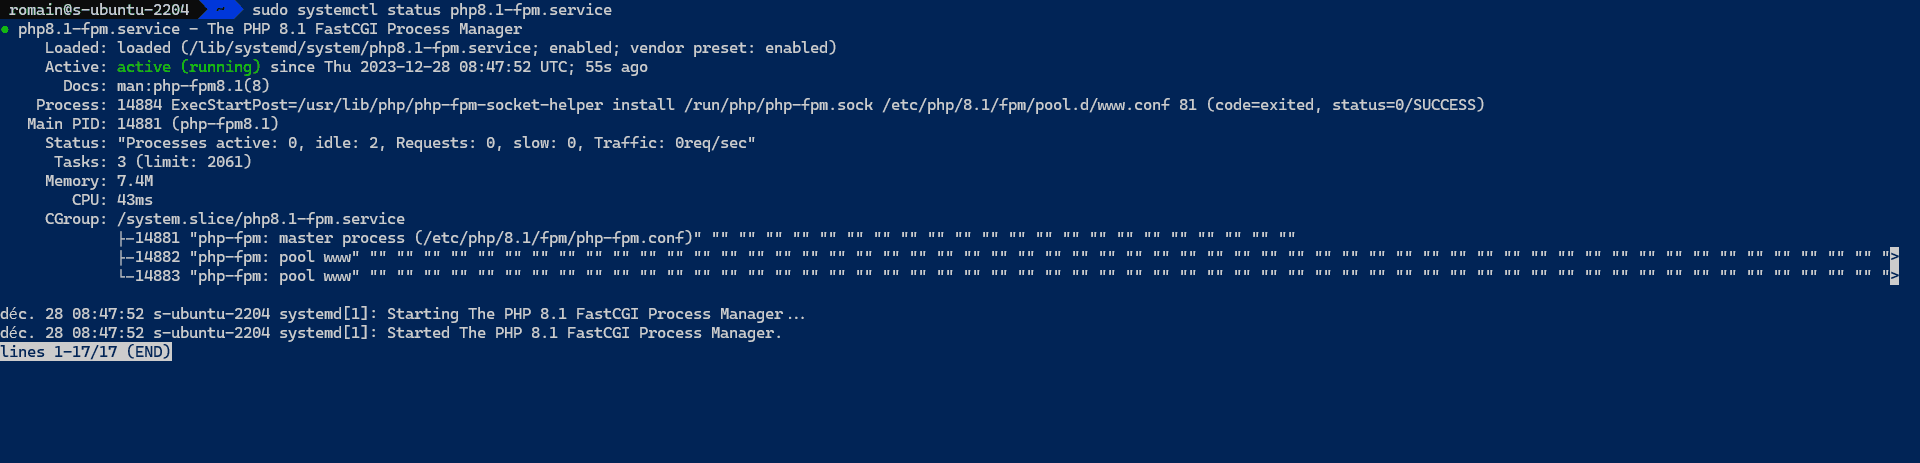
To work, you must activate two modules on Apache:
sudo a2enmod proxy_fcgi proxy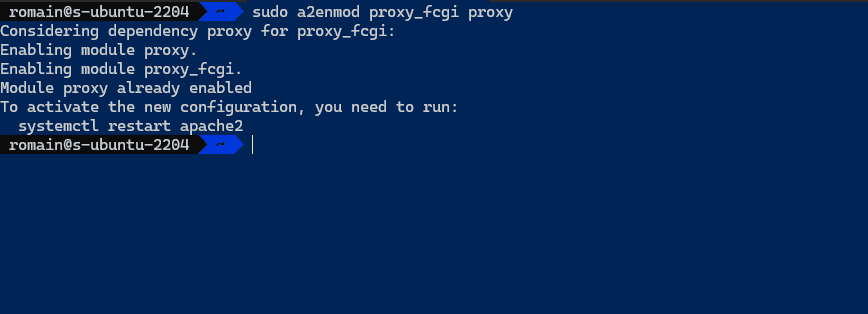
Restart Apache to take into account the new modules:
sudo systemclt restart apache2We will be able to move on to the configuration of the virtualhost, before we will display the PHP processes:
ll /run/php
Here I only have one process for PHP 8.1 in FPM (php8.1-fpm.sock)
Now, you must tell Apache that the .php files must be processed by php-fpm.
This directive is done in the virtualhost files.
Here, we will modify the default virtualhost:
sudo nano /etc/apache2/sites-available/000-default.confIn the VirtualHost part add:
<FilesMatch \.php$>
    SetHandler "proxy:unix:/run/php/php8.1-fpm.sock|fcgi://localhost/"
</FilesMatch>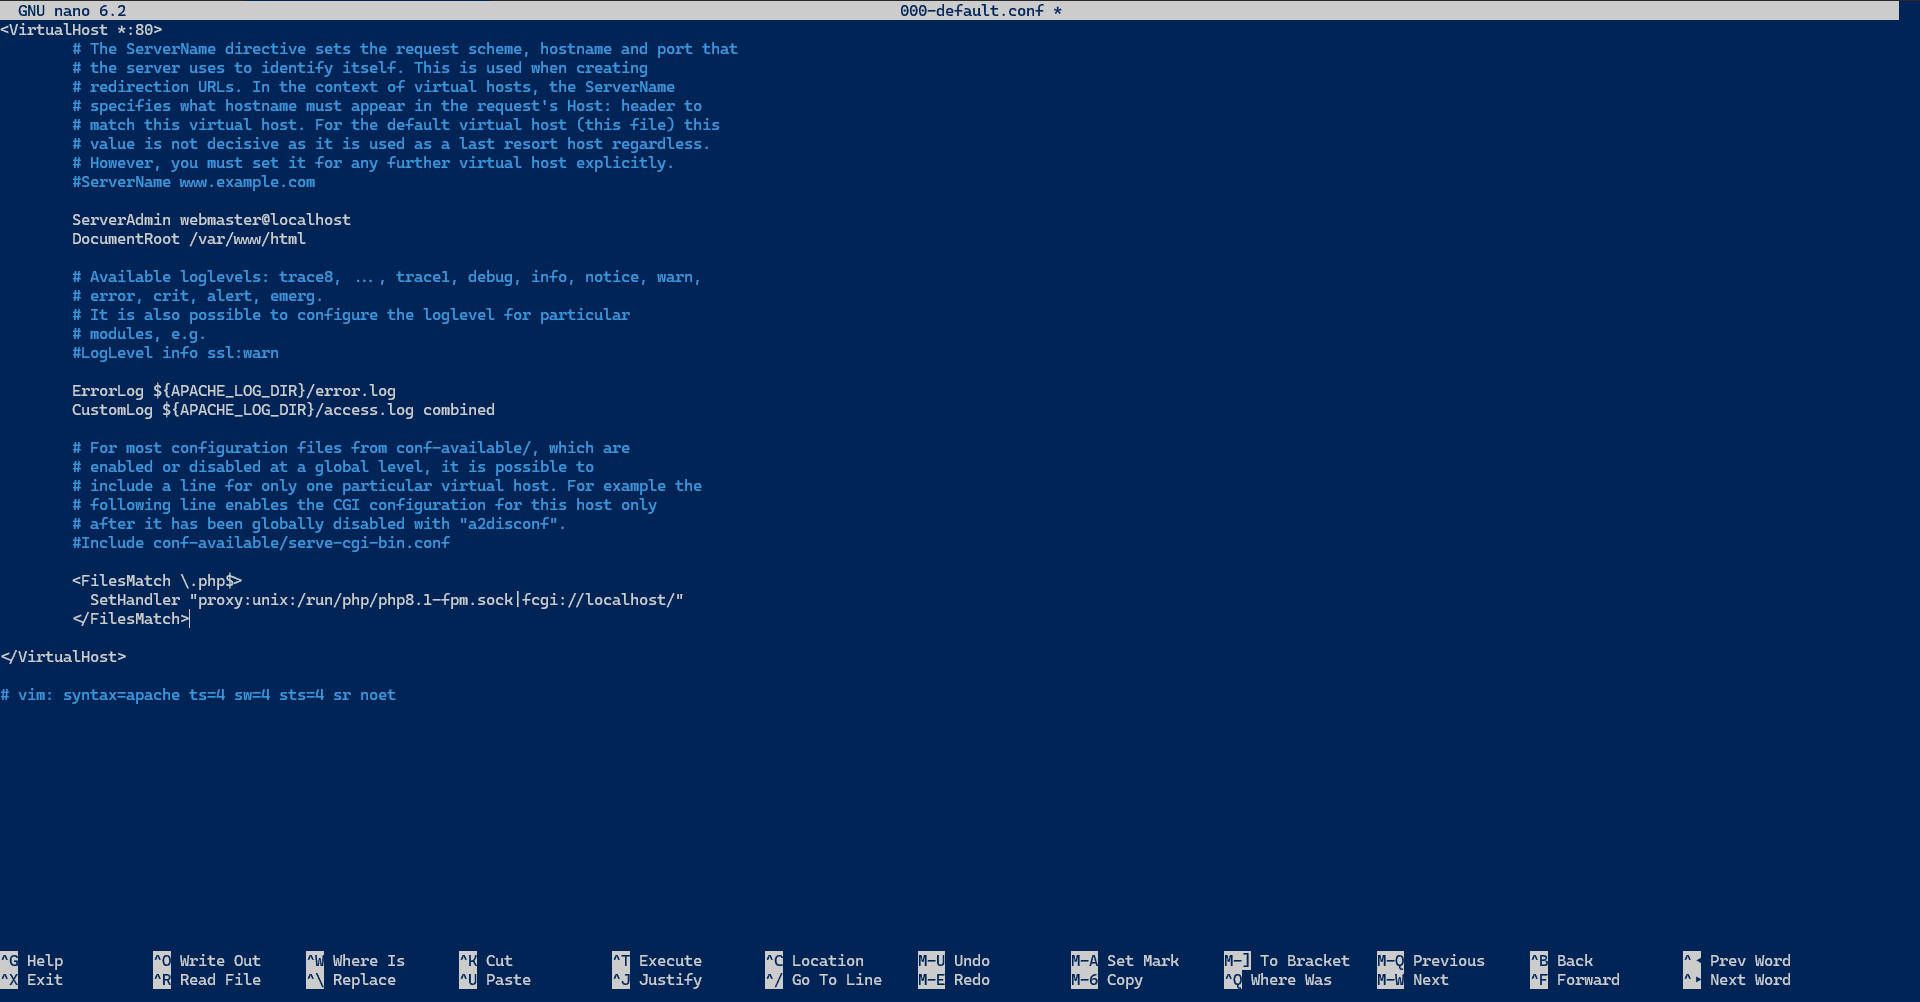
Test Apache configuration:
sudo apachectl configtestRestart Apache:
sudo systemctl restart apache2Show the phpinfo.php page again.
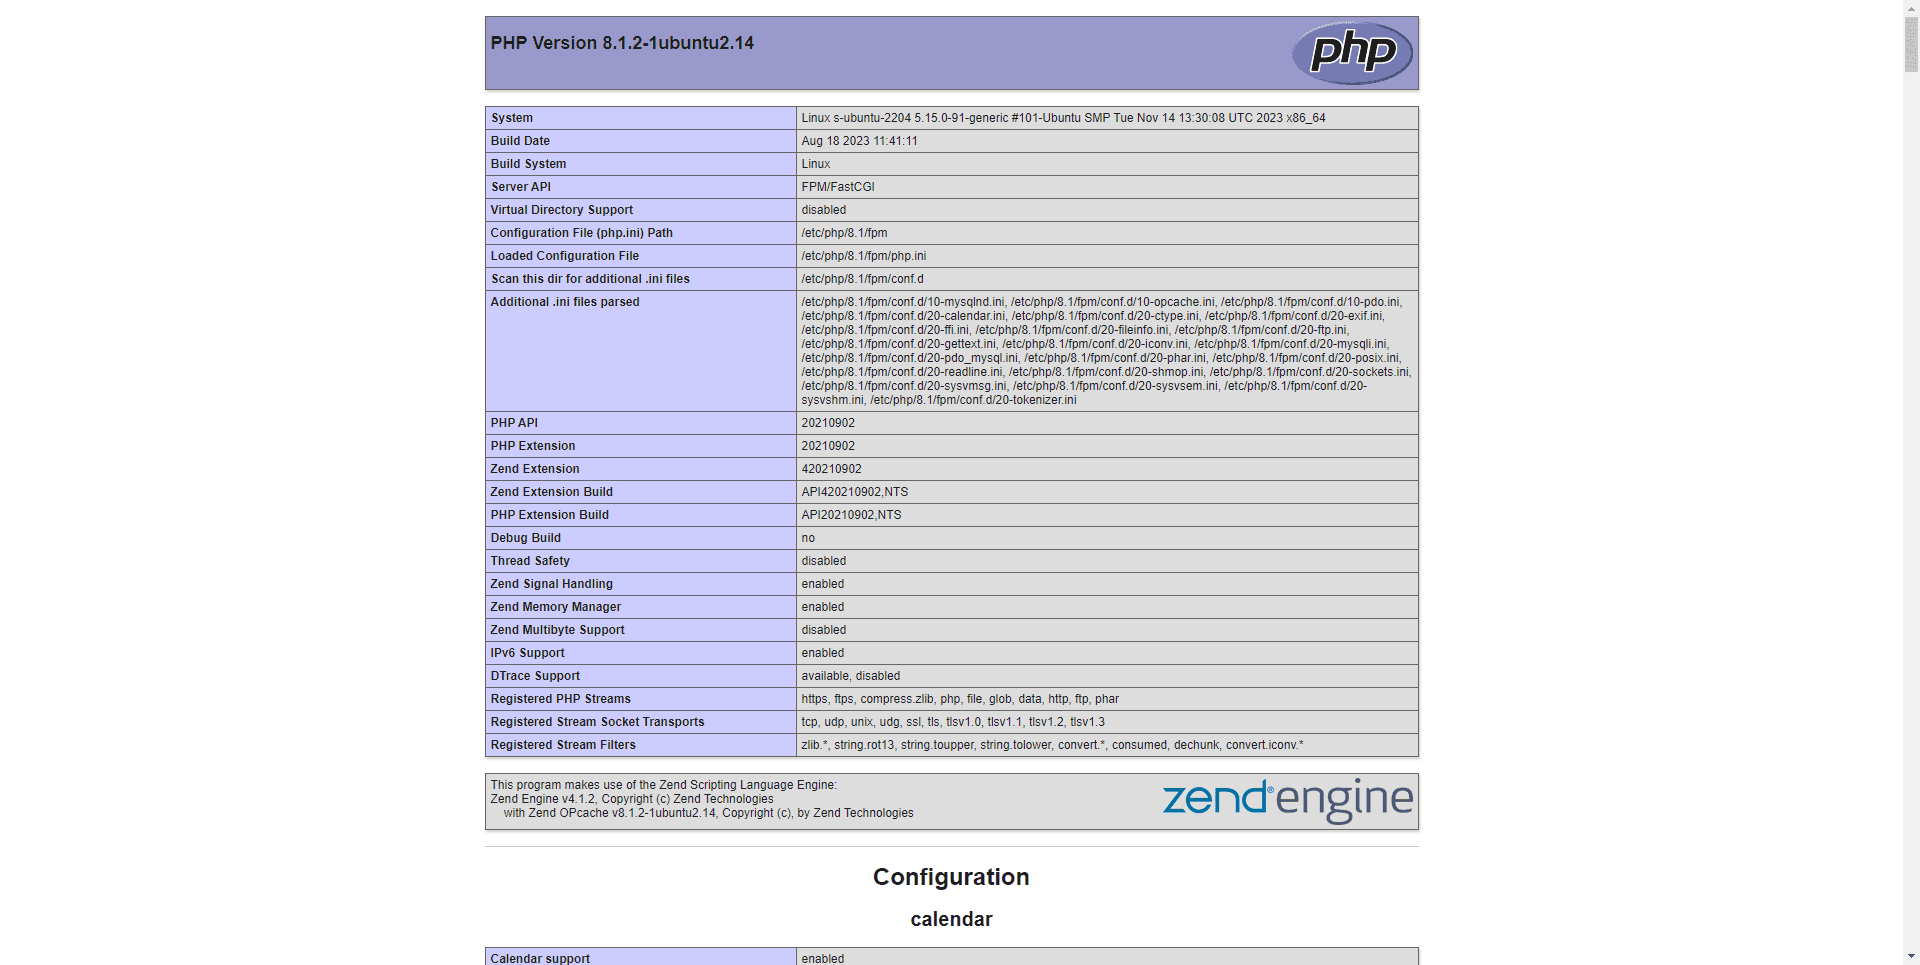
Here we can see at the Server API level that we have FPM/FastCGI
You now know how to install a LAMP server on Ubuntu 22.04.
This tutorial should be able to be applied on Ubuntu 20.04 and Debian.