In this article, we will see how to change a failed physical disk.
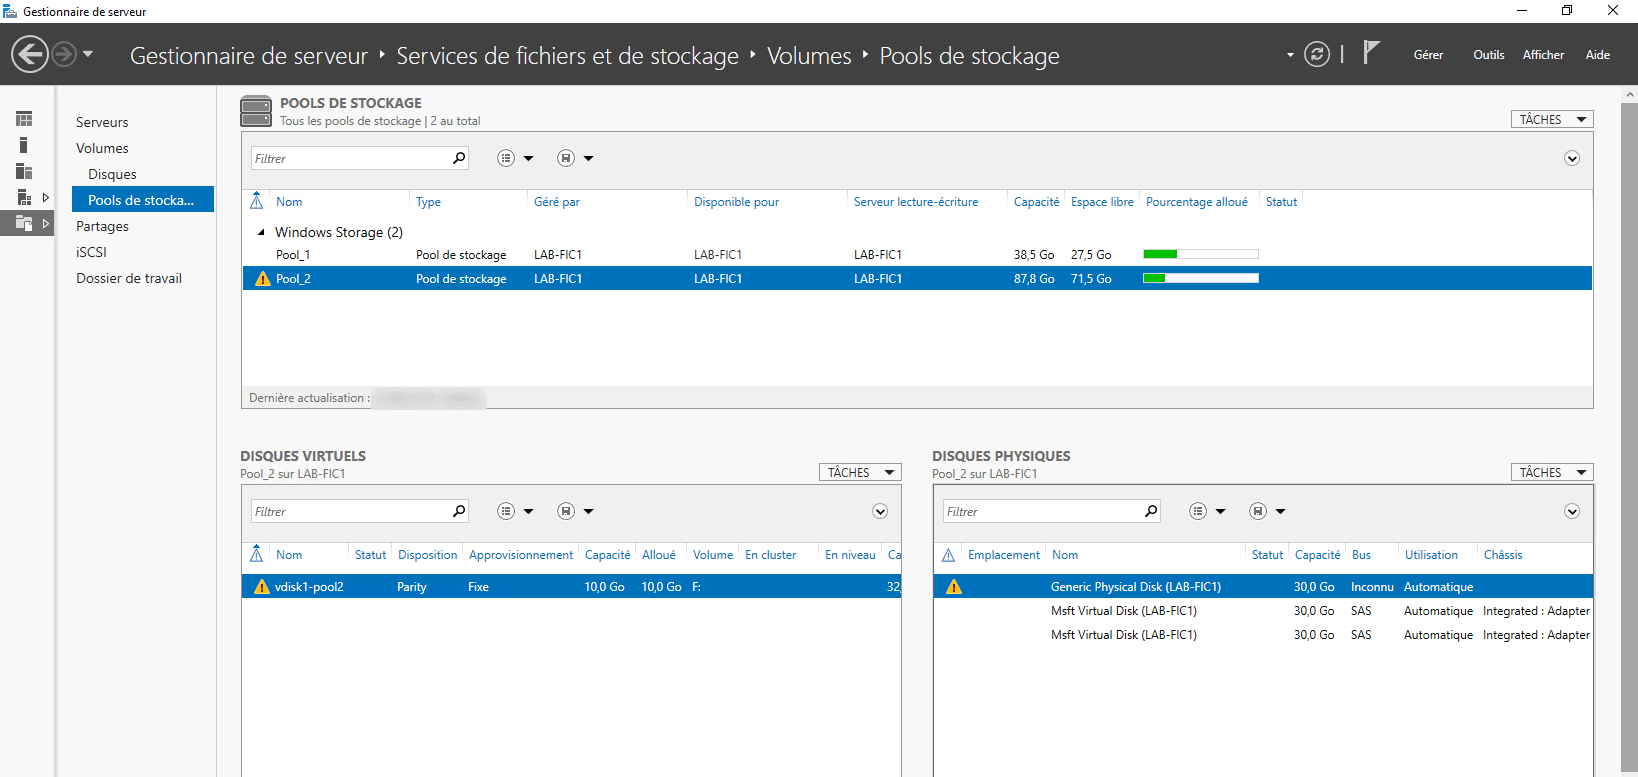
When a disk is in error, an icon appears at the pool and virtual disks.
Change the disk
Open a command prompt and enter the command below to view the physical disks and identify the disk in error.
Get-PhysicalDisk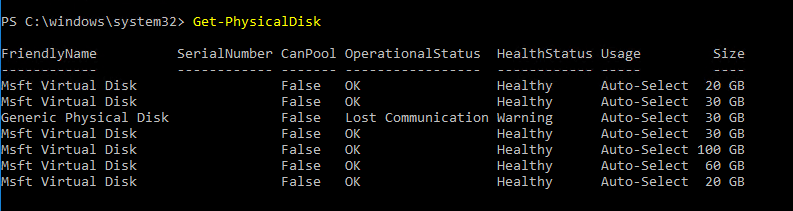
Enter the command below to mark the disc as “removed”.
Set-PhysicalDisk -FriendlyName "DISK-NAME" -Usage Retired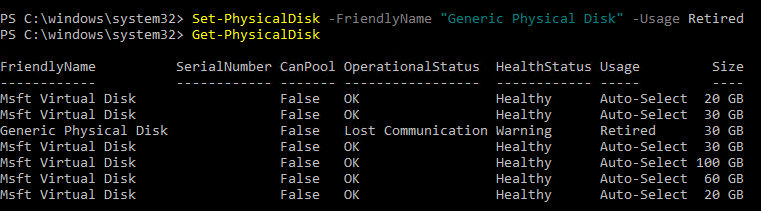
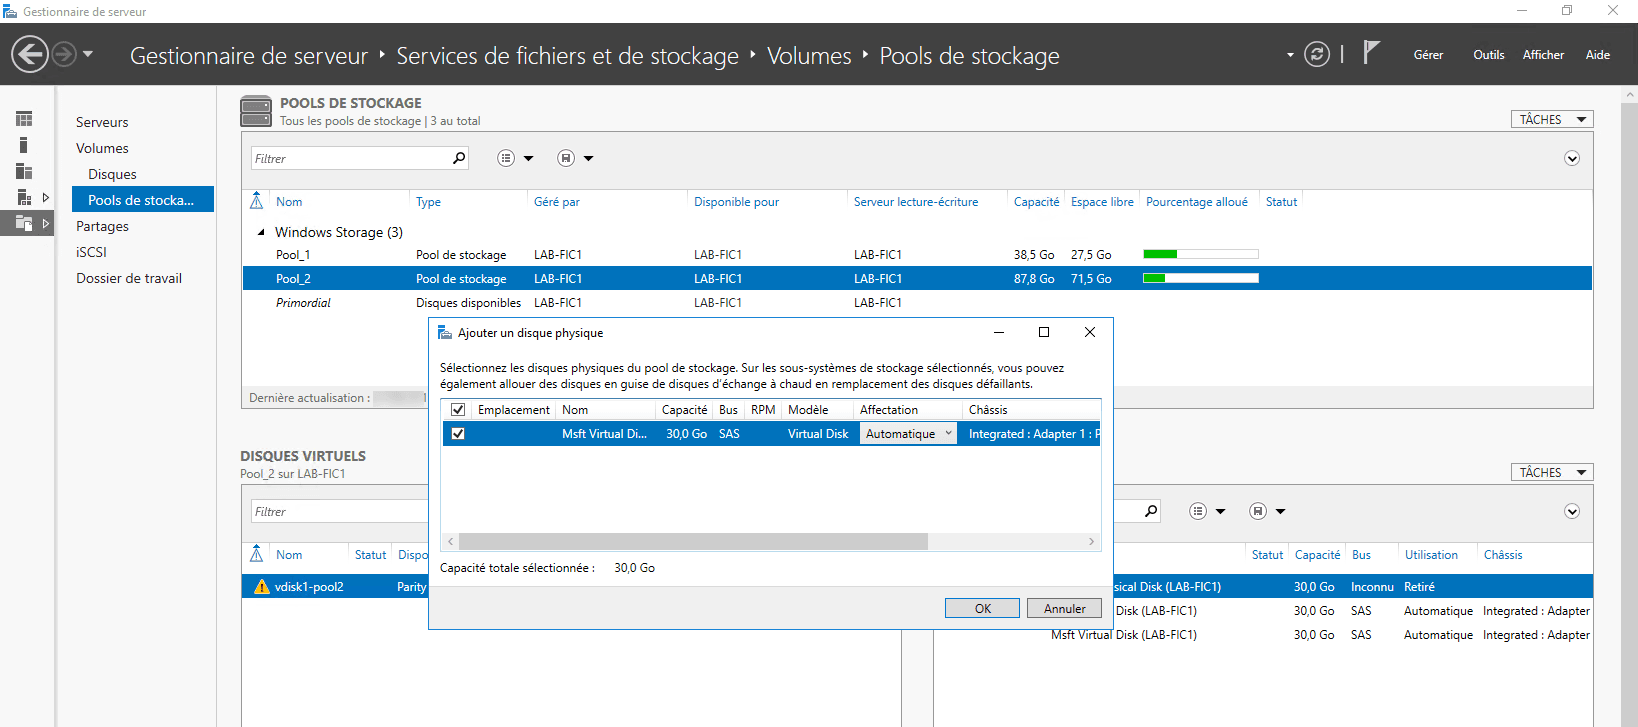
Add a new physical disk to the server and add it to the storage pool.
Start repairing virtual disks:
Repair-VirtualDisk -FiendlyName "VDISK-NAME"Remove the disc from the failed drive:
$DiskRemove = Get-PhysicalDisk -FriendlyName "DISK-NAME"
Remove-PhysicalDisk -PhysicalDisks $DiskRemove -StorePoolFriendlyName "POOL-NAME"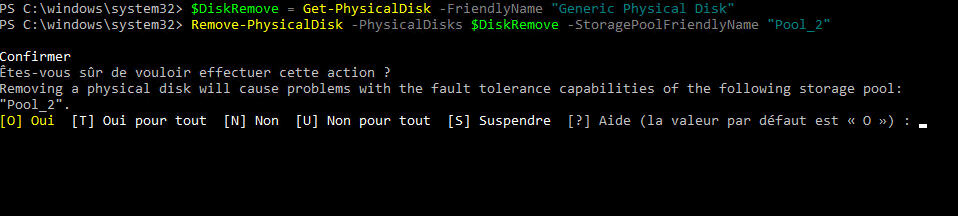
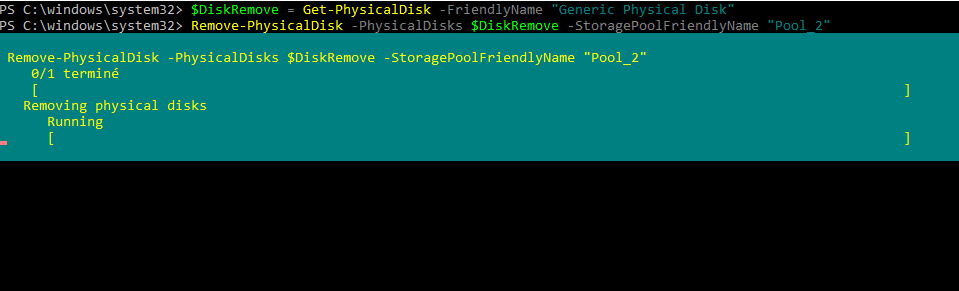
Confirm the action and wait while the command is executed.
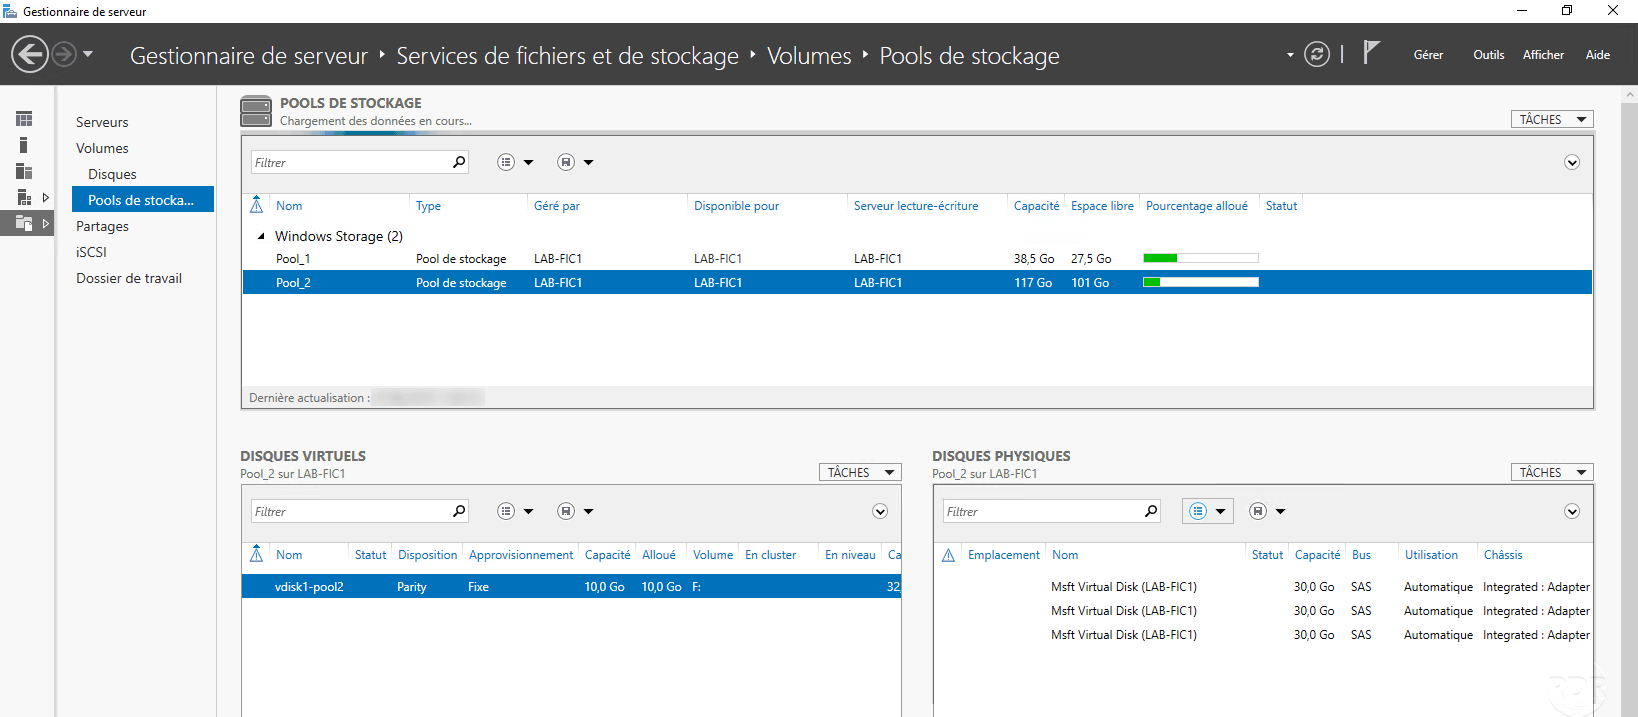
Refresh the storage pools and validate that the pool and virtual disks are no longer in error.