

Storage Pool Overview
A storage pool in Windows Server eliminates the need for a raid configuration at the physical level of the server and manages it directly in Windows. It is possible to manage the tiering and configure a cache with an SSD.
At least two disks must be presented to the server in order to create a pool. Once the pool is created, it is possible to create a virtual disk that according to the number of physical disks will be mirror or parity (Raid 5/6).
To illustrate this tutorial, I used a virtual machine where I configured two virtual disks to create a pool.
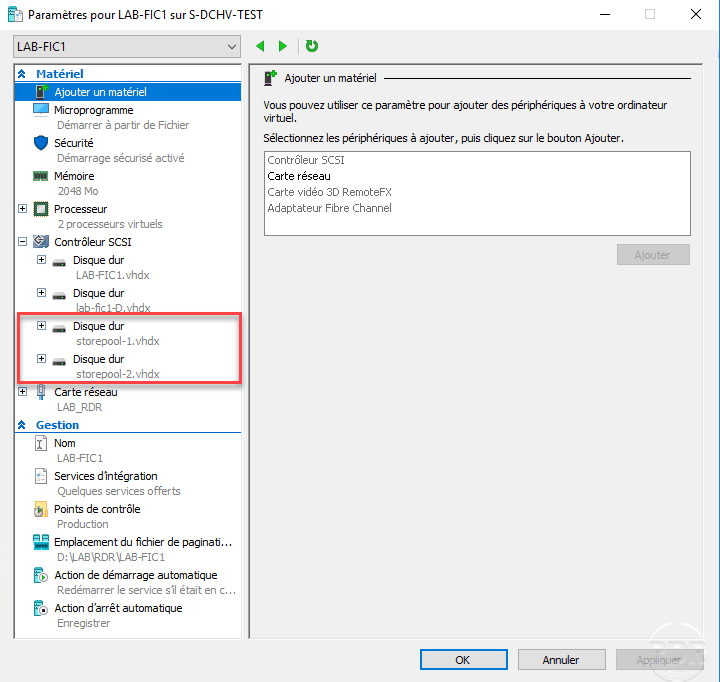
In Windows, the disks must just be online, they must not contain a partition.
To use the Storage Pool feature, no installation is required. The administrative console is the Server Manager.
Creating a storage pool
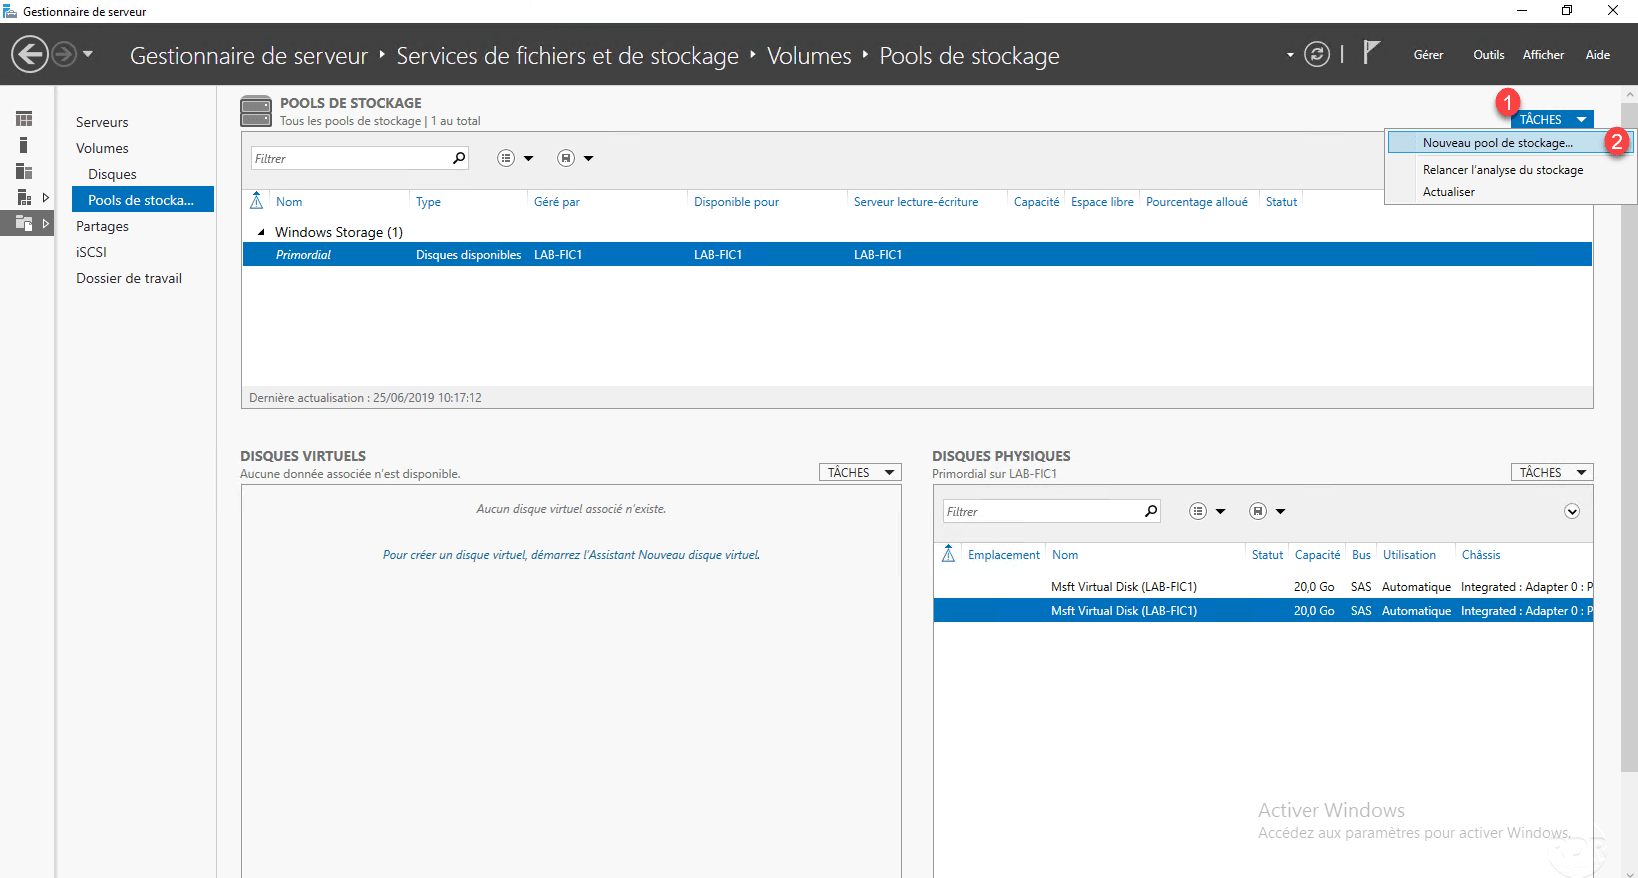
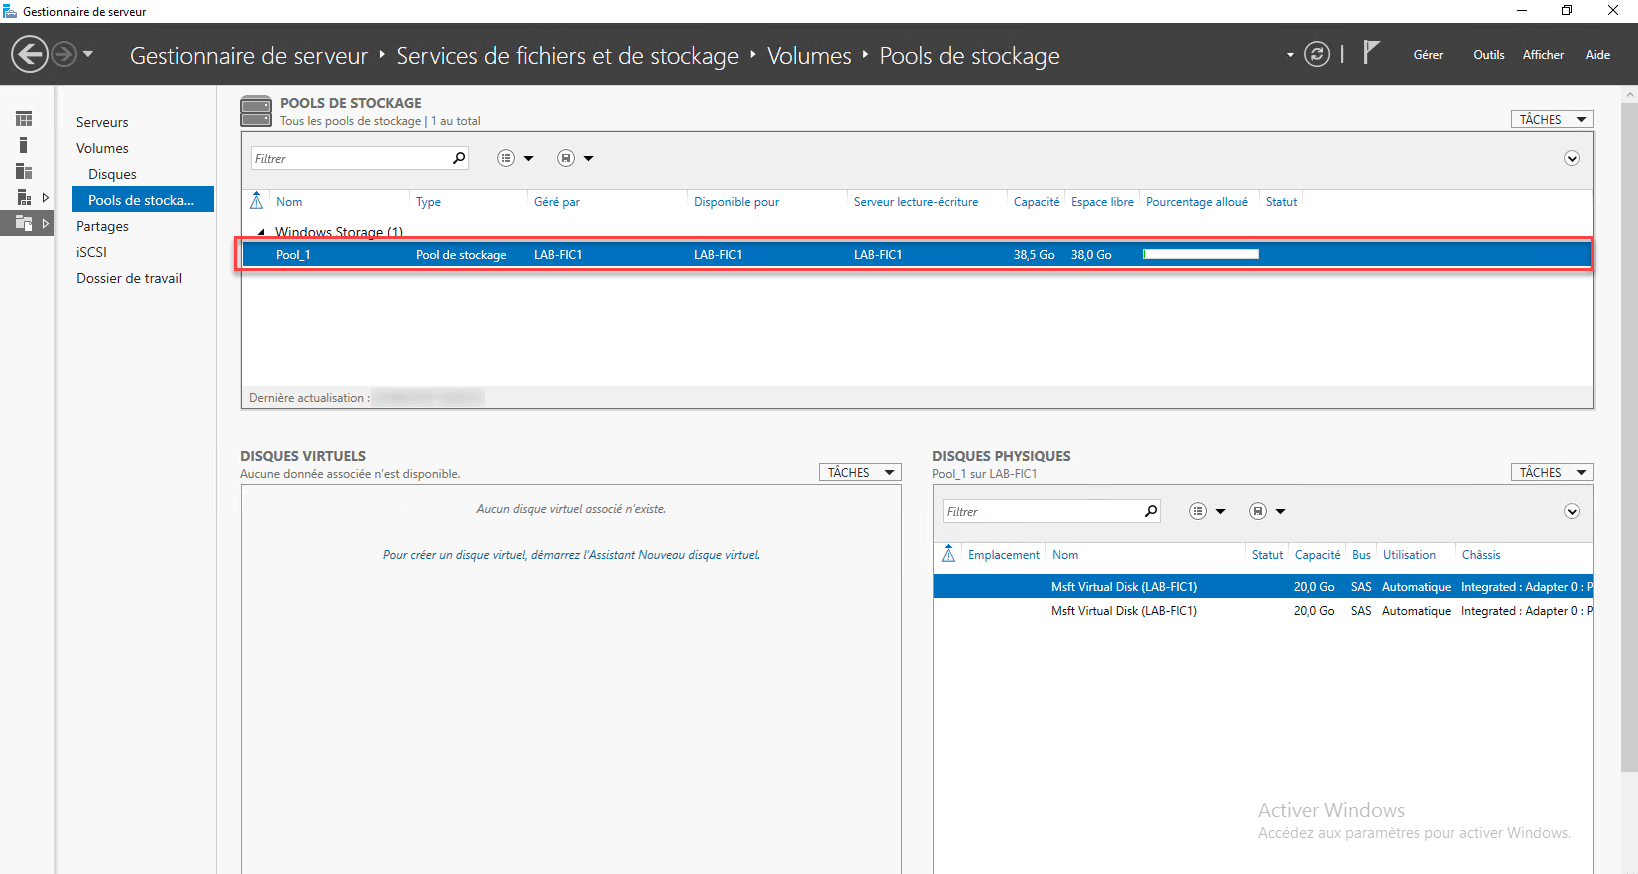
From the server manager, go to the administration part of file server 1 and then to Storage Pools 2 .

From this view, we can see the pools created, the physical disks of the server and the virtual disks that are hosted on the pools. By default there is a pool called Primordial which is made up of physical disks that can be used for storage pools.
Click on TASKS 1 then on New storage pool 2 to launch the creation wizard.
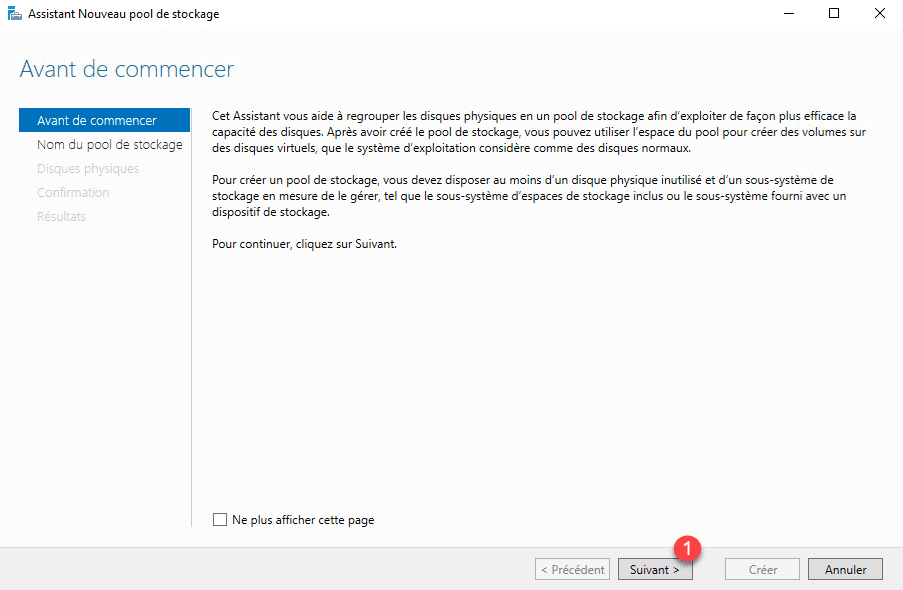
When launching the wizard, click Next 1 .
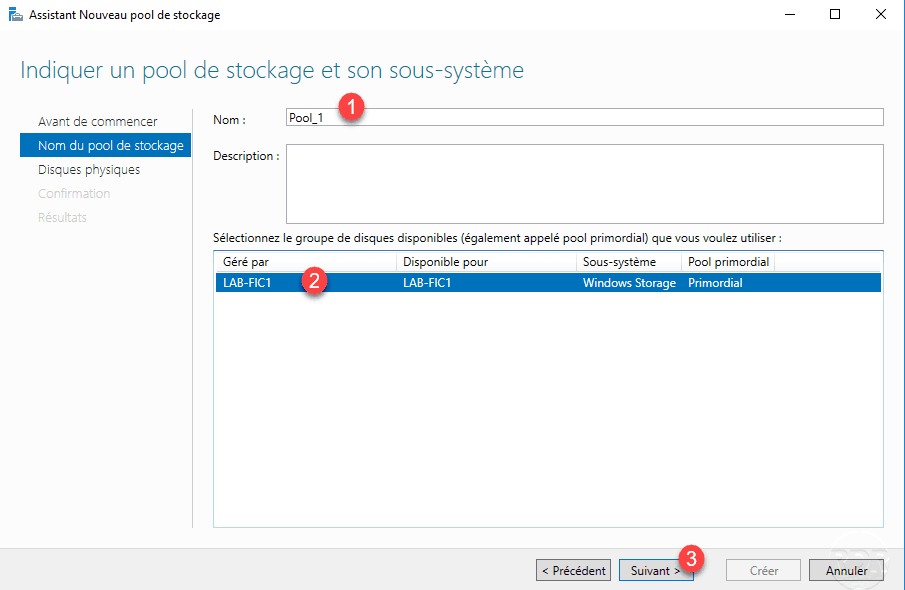
Name pool 1 , select server 2 where it will be created and click Next 3 .
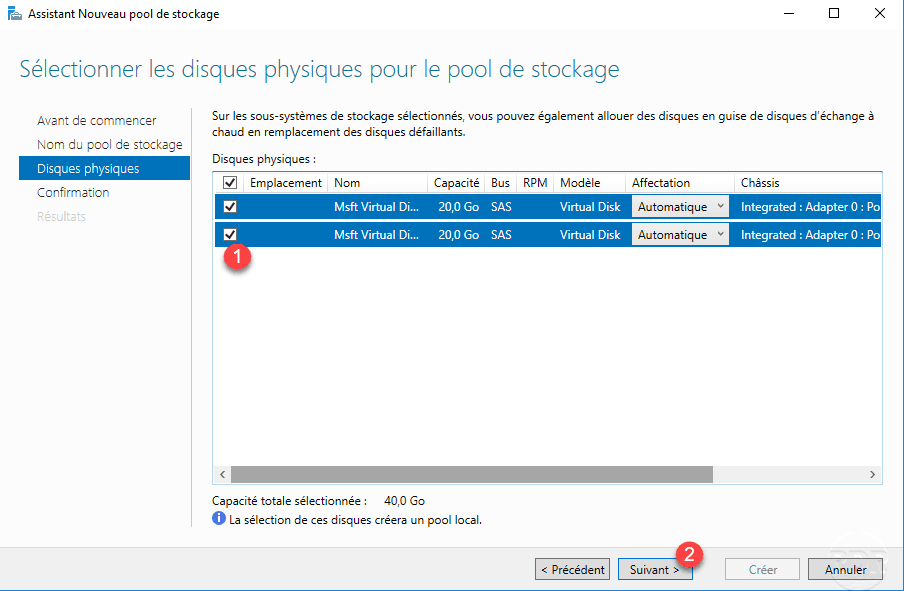
Select the physical disks 1 that will compose the storage pool and click Next 2 .
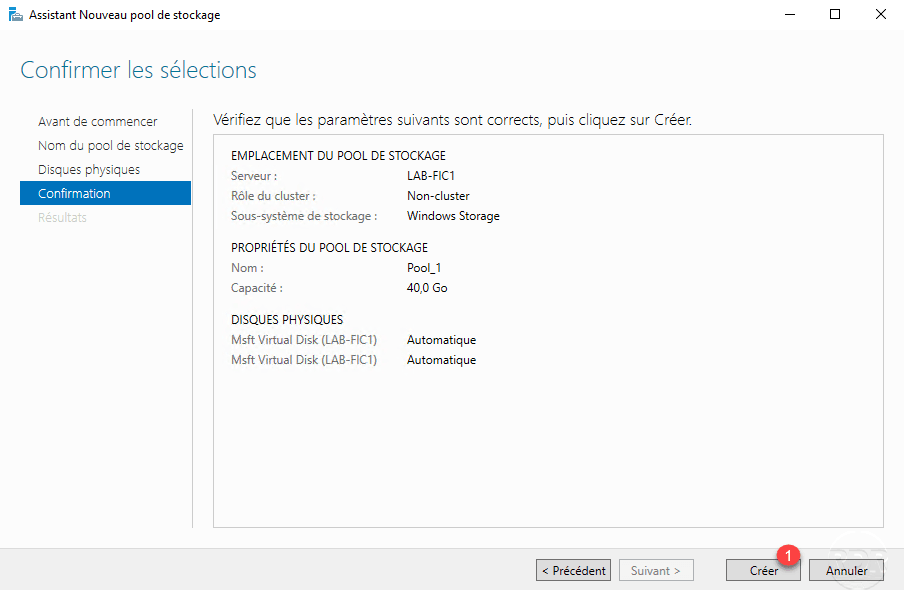
Confirm the creation by clicking on Create 1 .
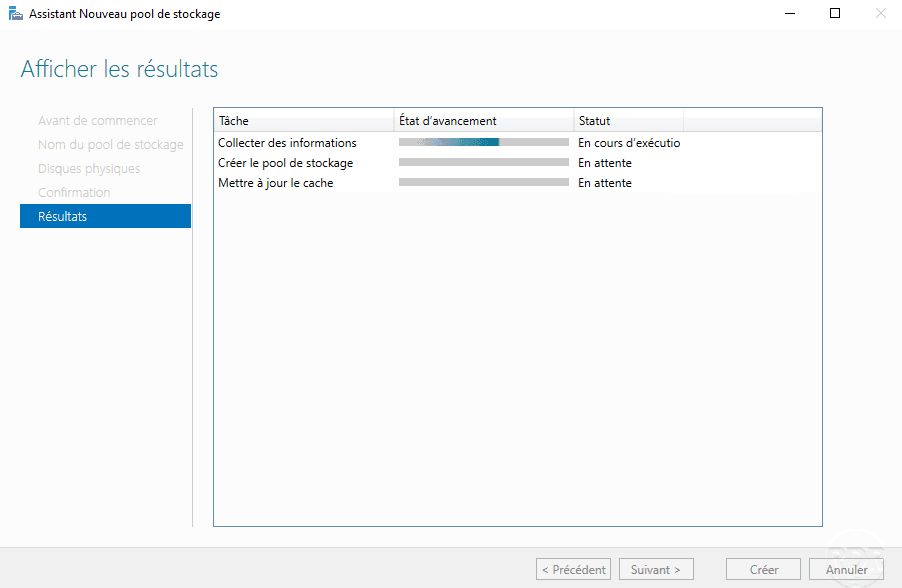
Wait while creating …
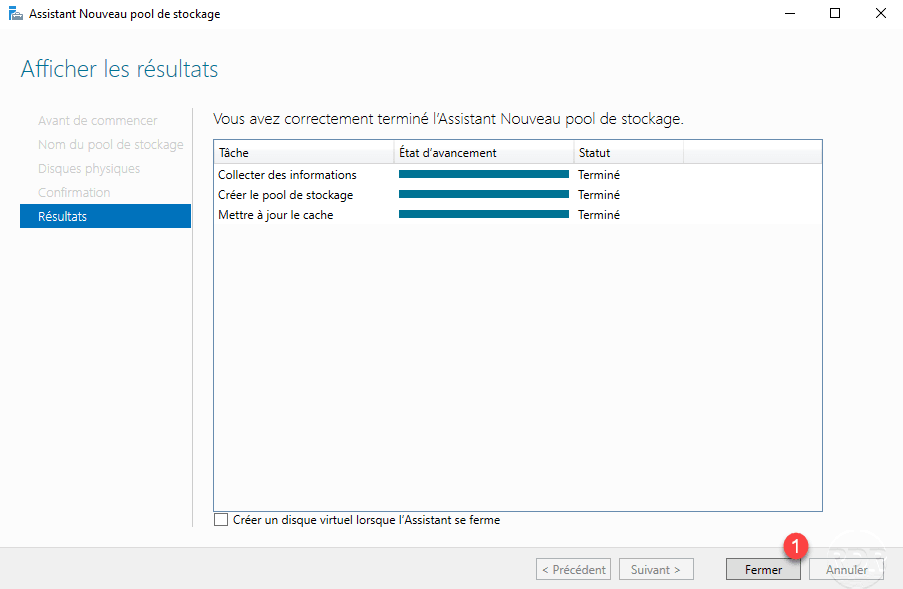
Once created, exit the wizard by clicking Close 1 .
The storage pool is visible in the administration.
Create a virtual disk
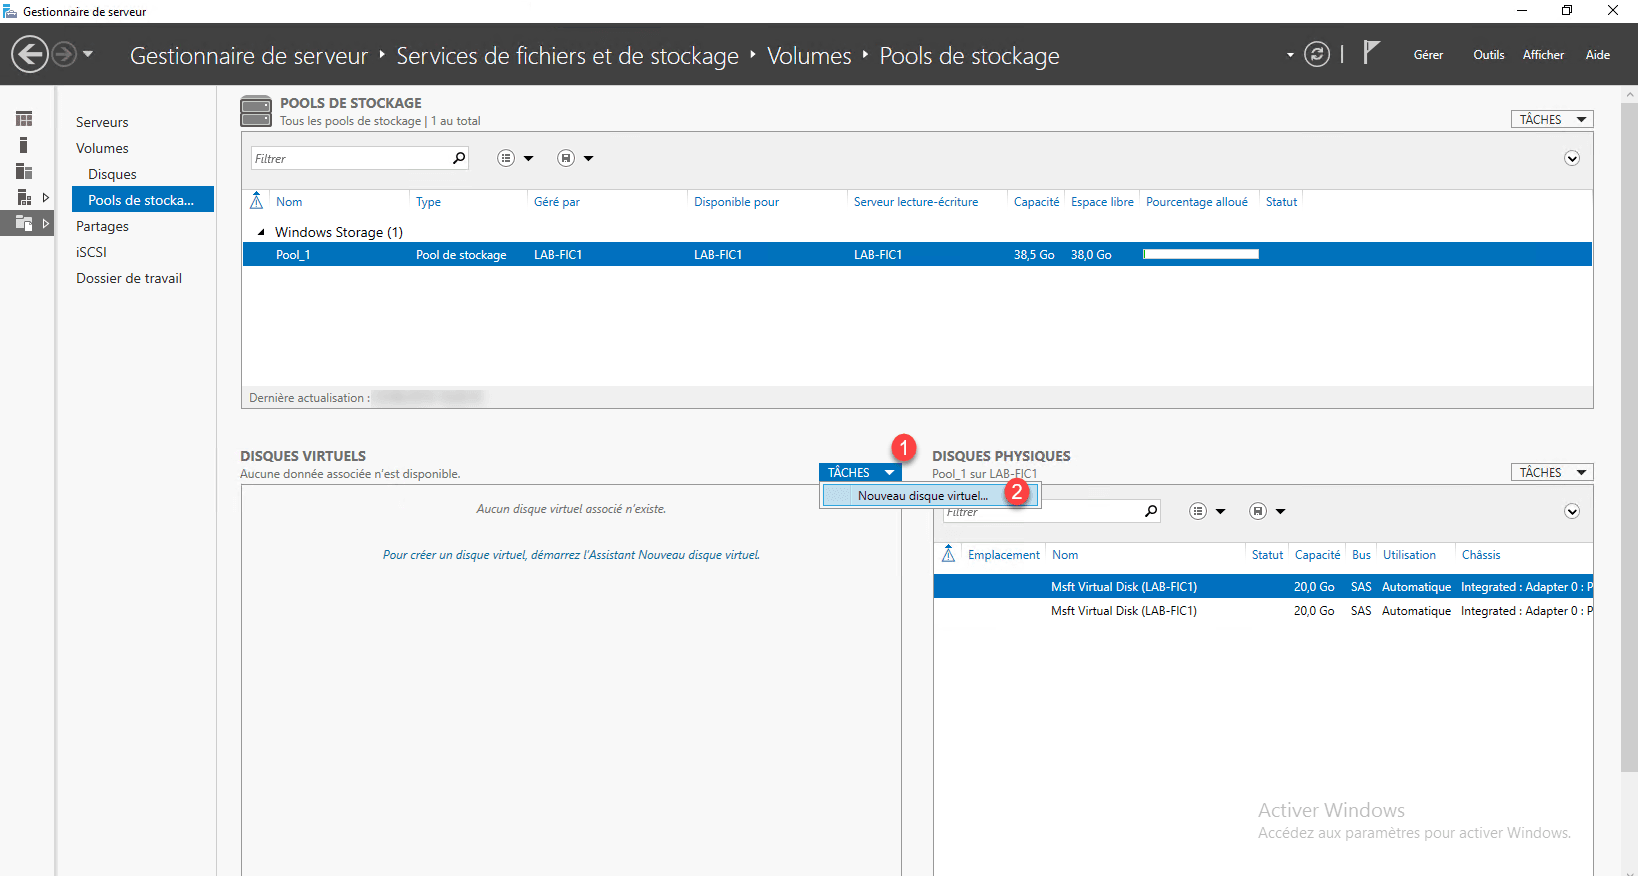
To use the storage pool, you must now create a virtual disk on it that will be raid it 1 or 5/6 based on the number of physical disks in the pool.
From the Server Manager in Storage Pool Management, click TASKS 1 / New Virtual Disk 2 .
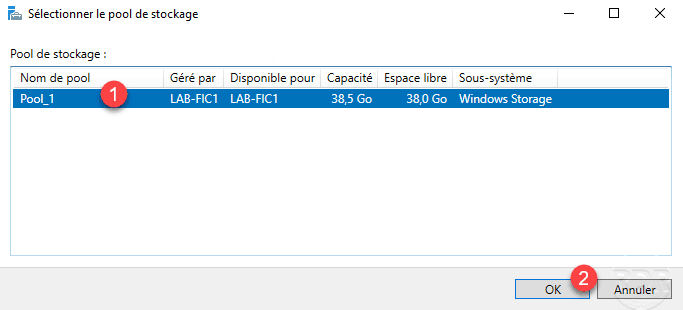
Select the pool 1 and click OK 2 .
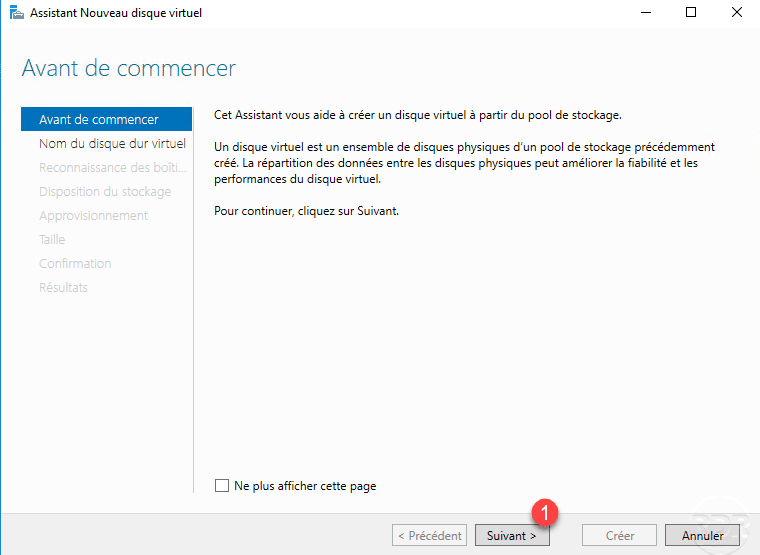
When launching the wizard, click Next 1 .
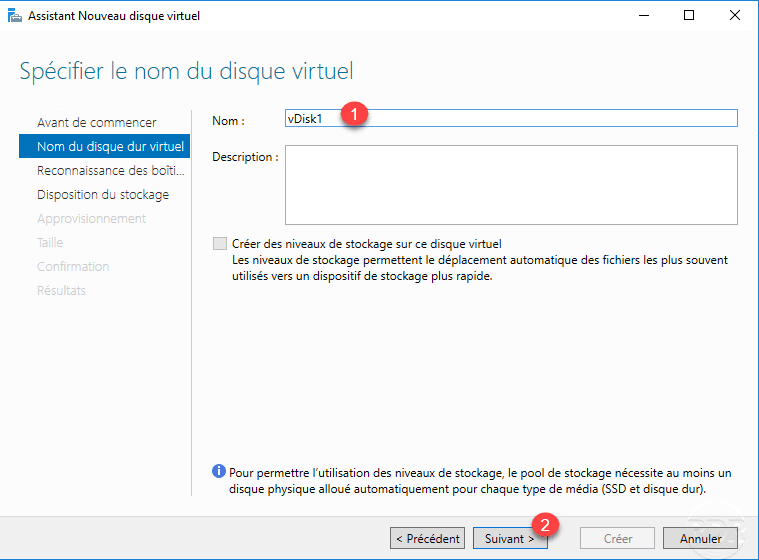
Enter the name of the virtual disk 1 then click Next 2 .
Click Next 1 .
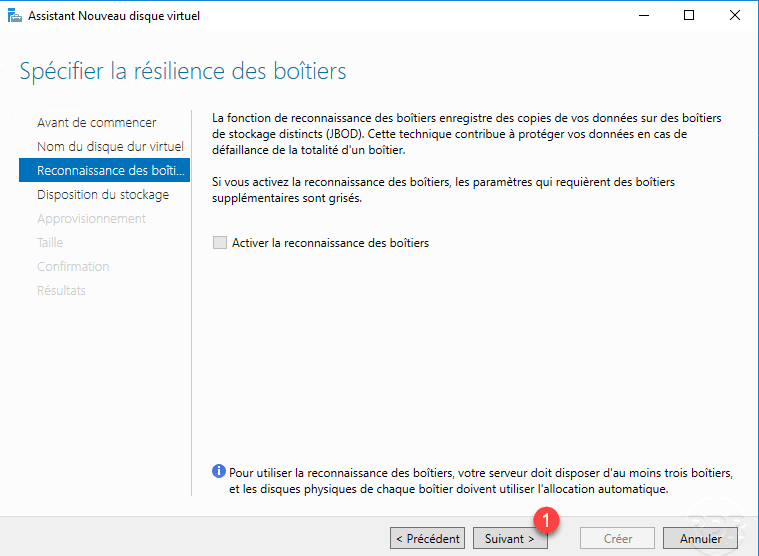
The resilience of the boxes allows on a server equipped with several cages / baskets of disks (3), to restart the virtual disk on all the boxes.
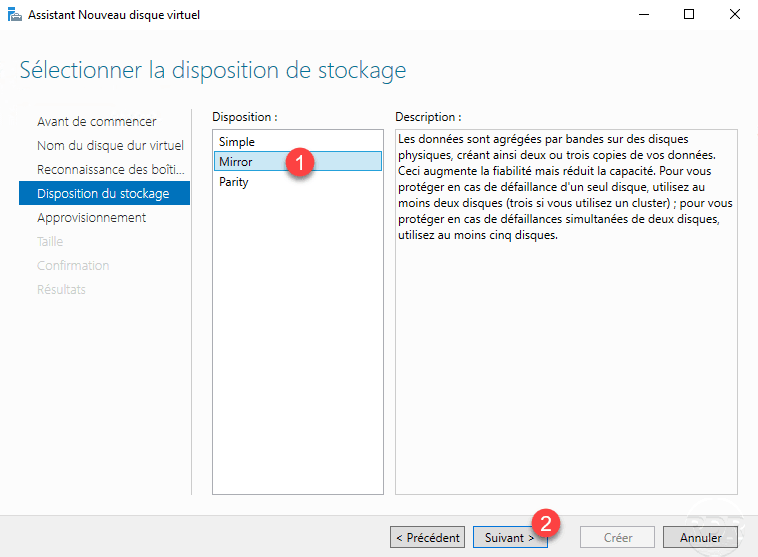
The storage layout corresponds to the Raid level of the disk, choose a 1 layout and click Next 2 .
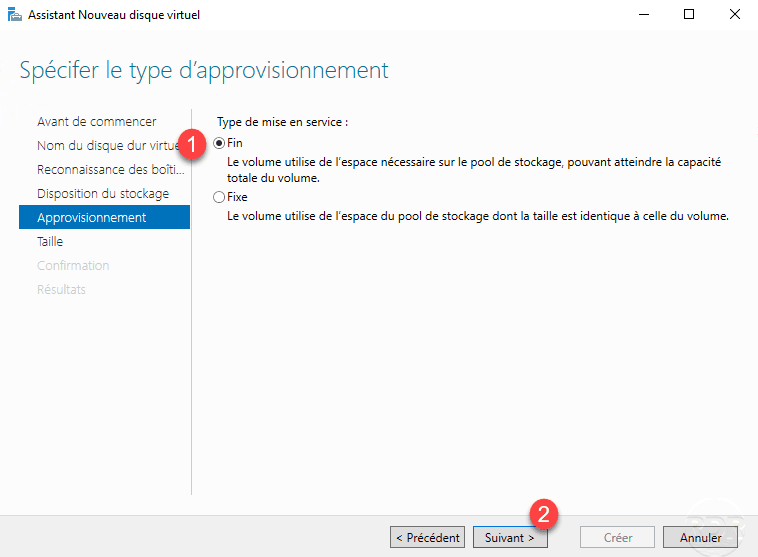
Choose disk supply 1 (Dynamic / Fixed) and click Next 2 .
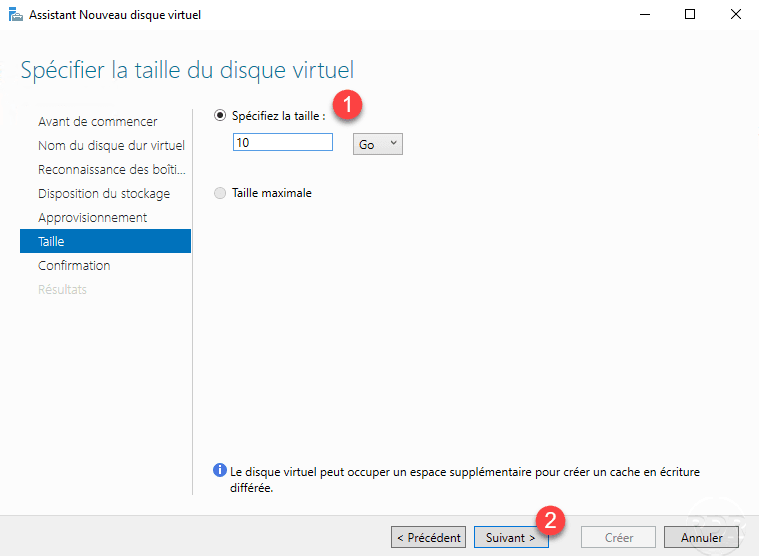
Indicate the size of the virtual disk 1 and click Next 2 .
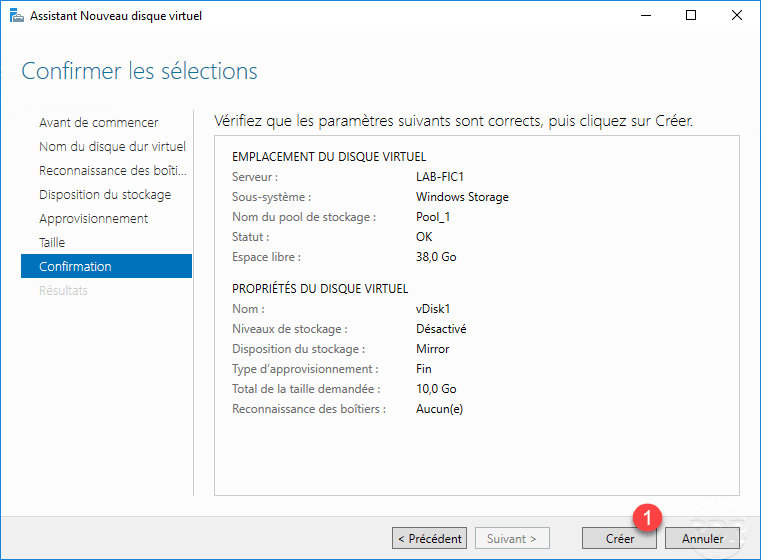
A summary of the virtual disk is displayed, confirm the creation by clicking on Create 1 .
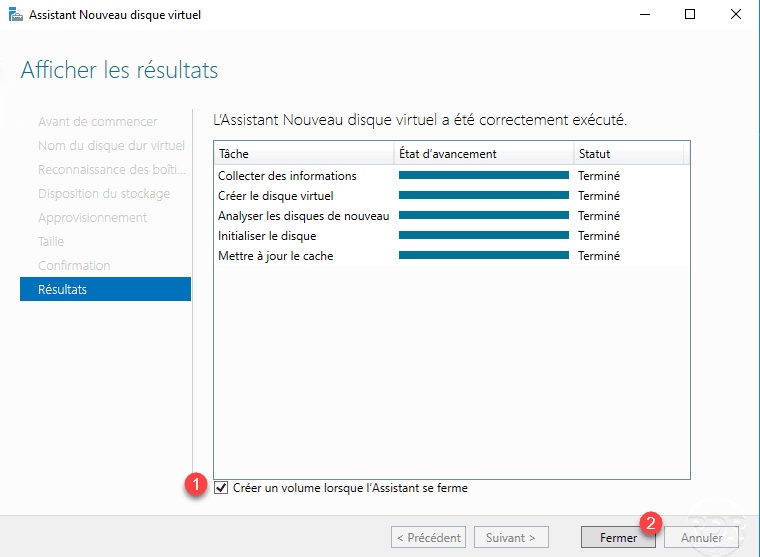
The virtual disk is created, check the Create a volume when the wizard closes 1 and click Close 2 .
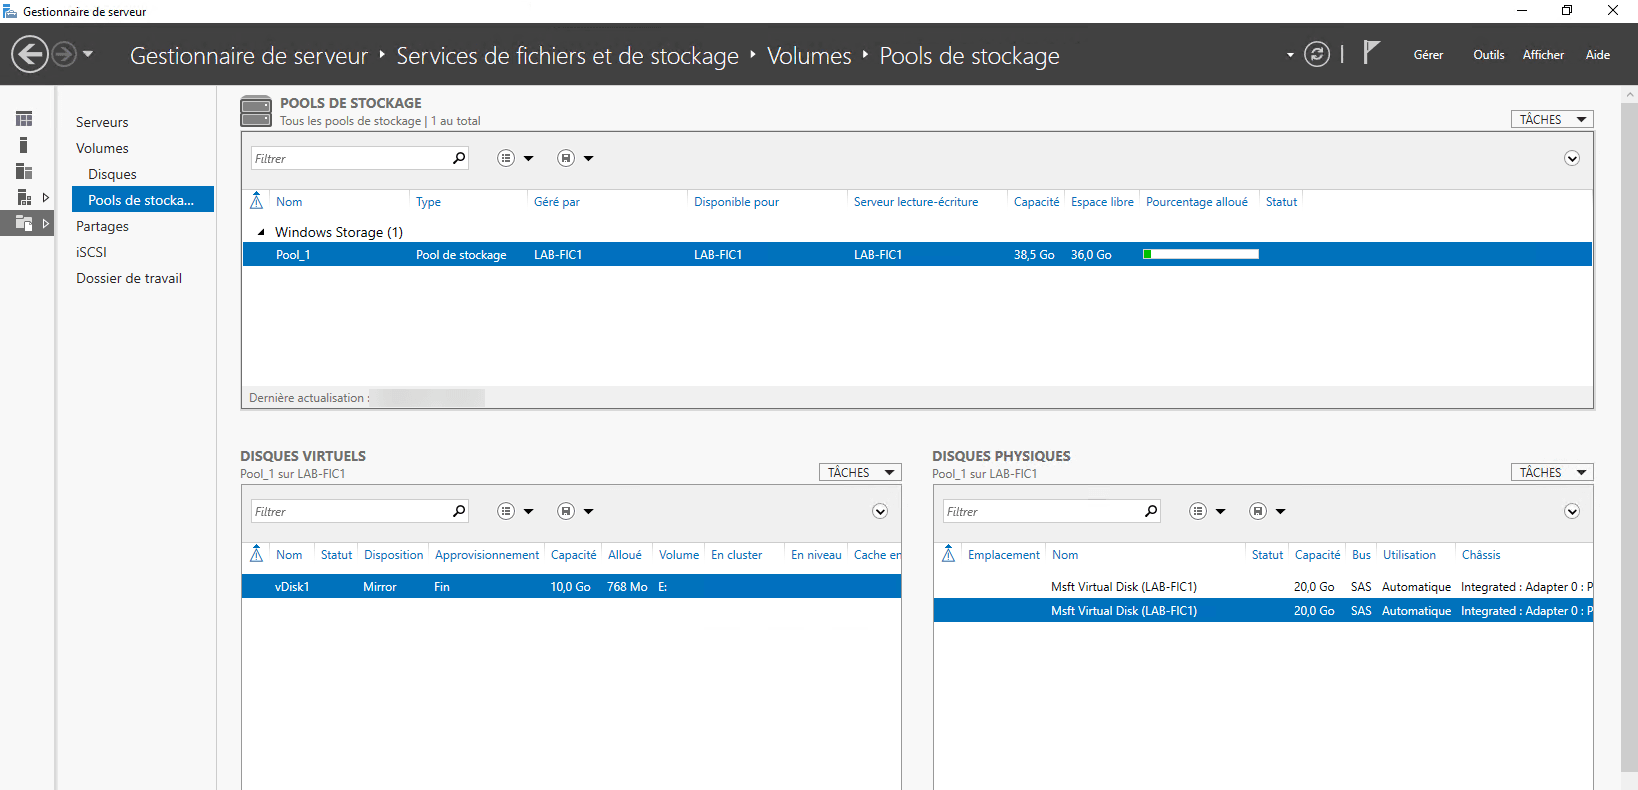
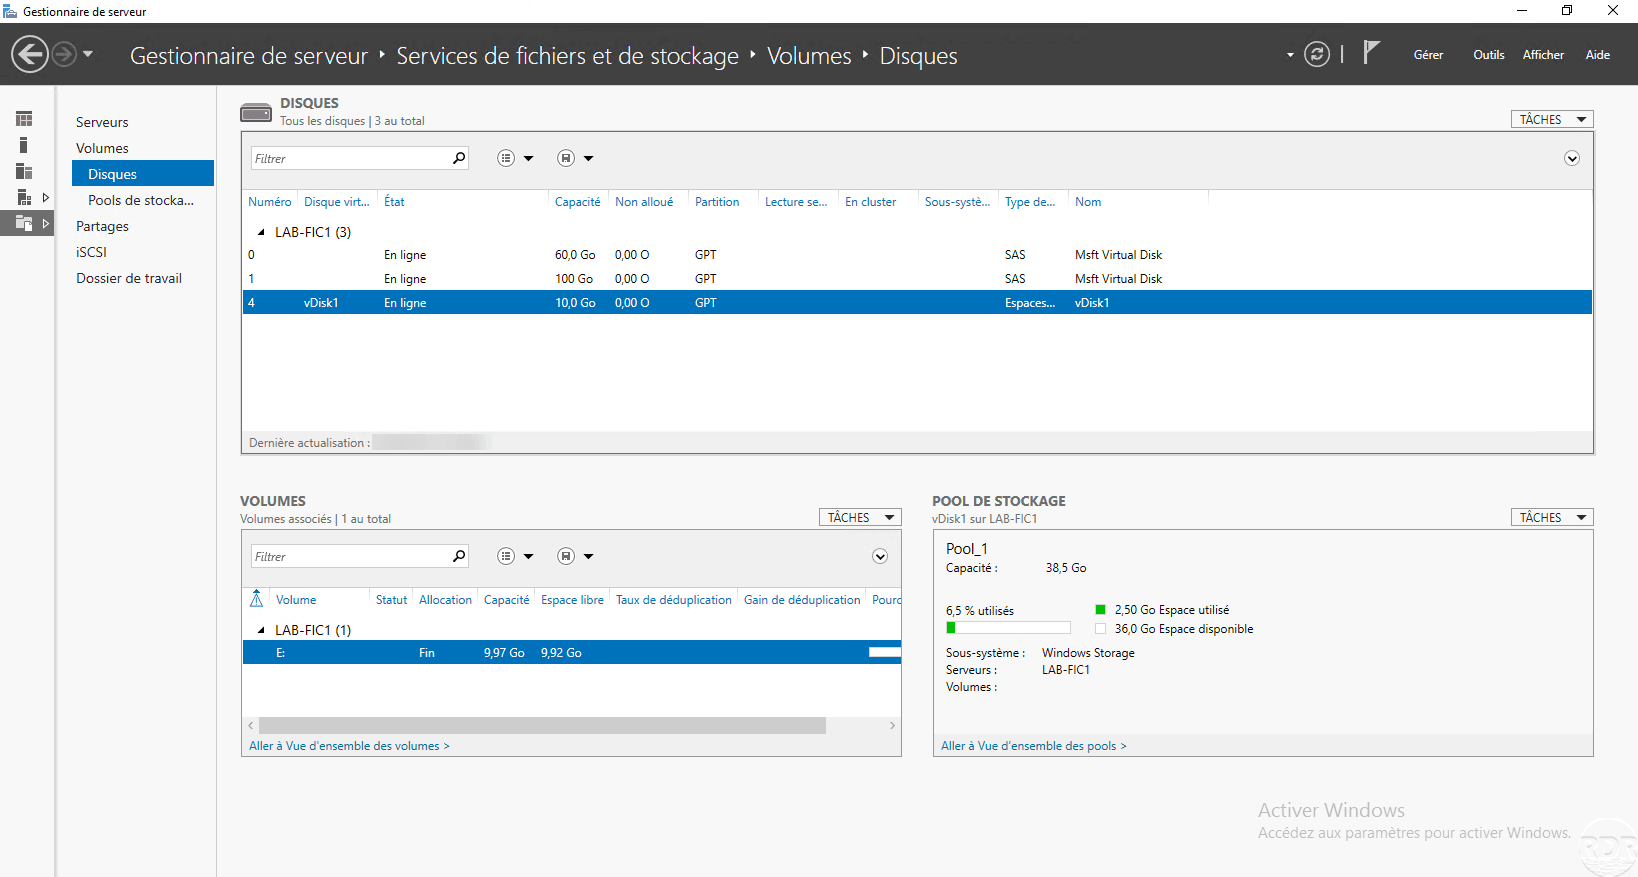
The virtual disk is visible in the management of storage pools.
Creating the volume on the virtual disk
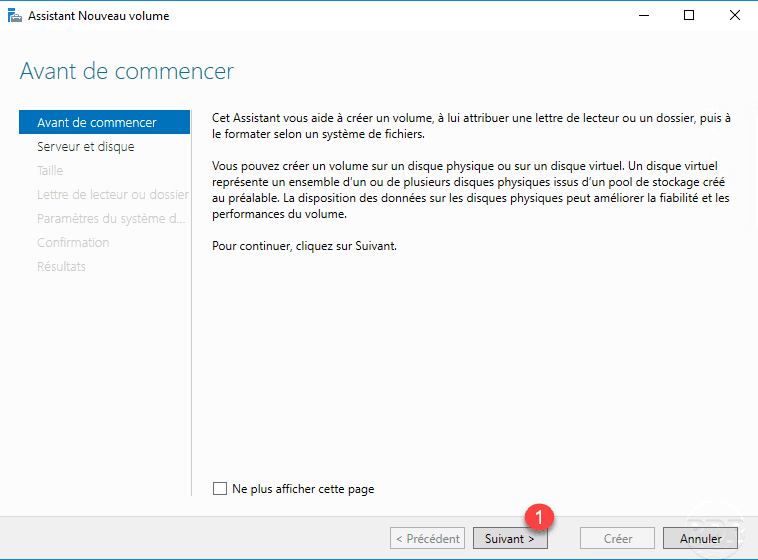
When launching the wizard, click Next 1 .
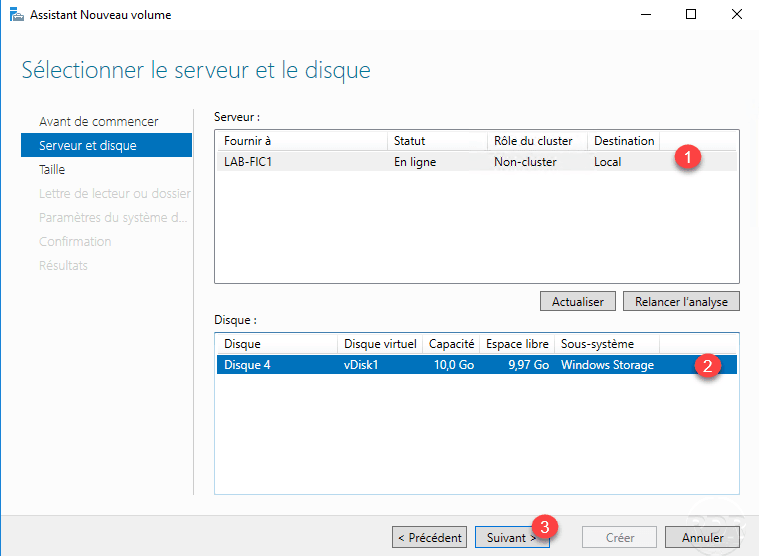
Choose server 1 and disk 2 to create the volume and click Next 3 .
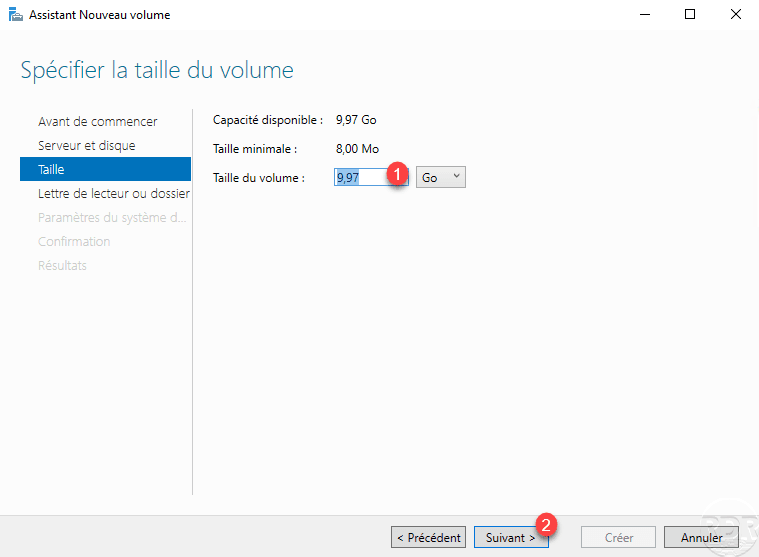
Indicate the volume size 1 and click Next 2 .
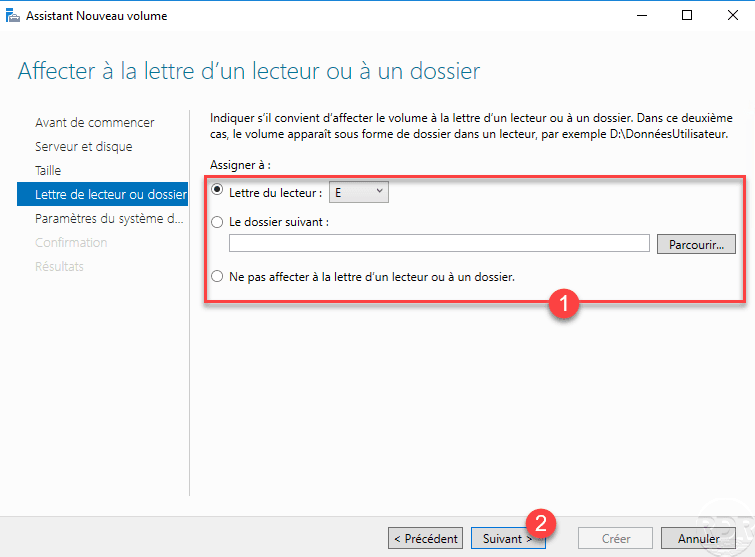
Configure the virtual disk path 1 and click Next 2 .
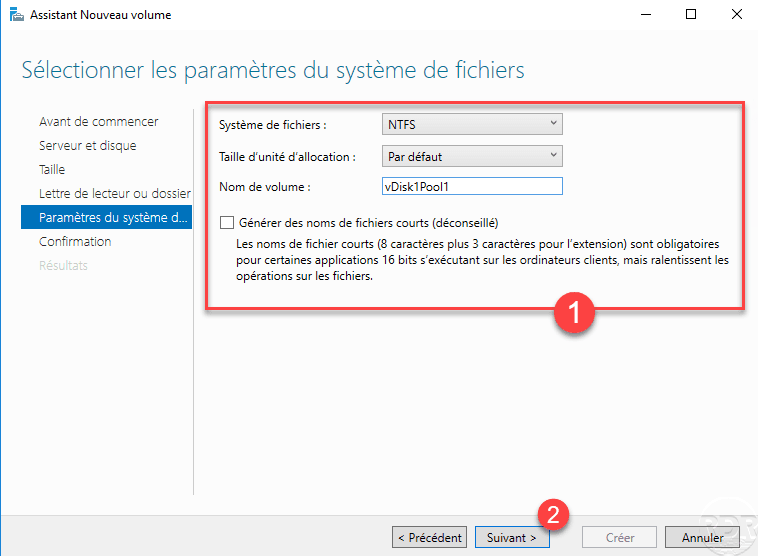
Configure partition 1 and click Next 2 .
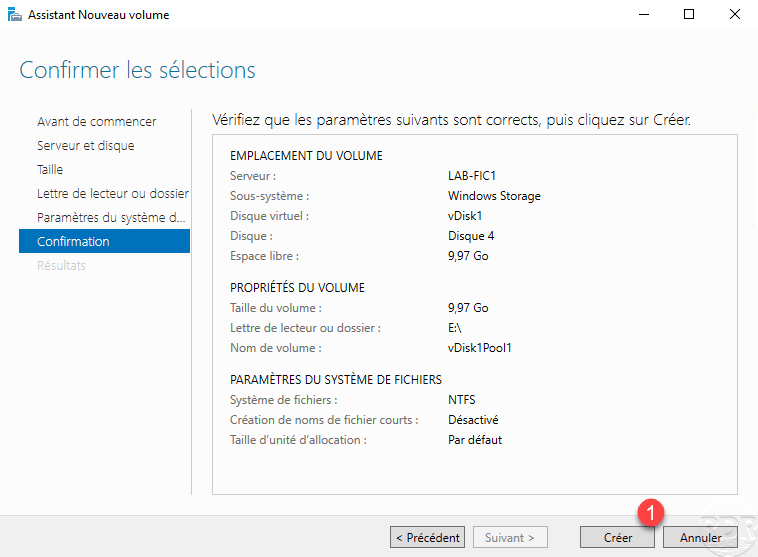
A volume summary is displayed, click Create 1 to start the creation.
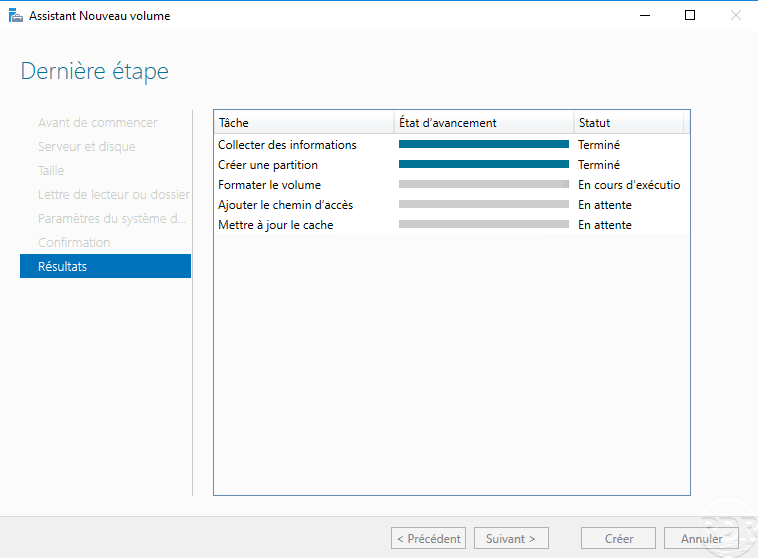
Wait while creating the volume …
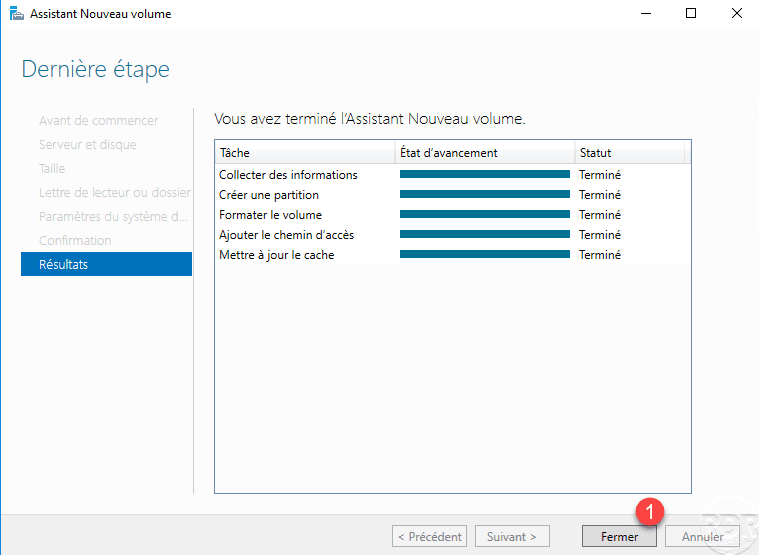
When the creation is complete, exit the wizard by clicking Close 1 .
The volume is visible in the server manager.
Conclusion
The storage pool features make it possible to turn a Windows server into a NAS / SAN and to overcome the need for proprietary hardware.