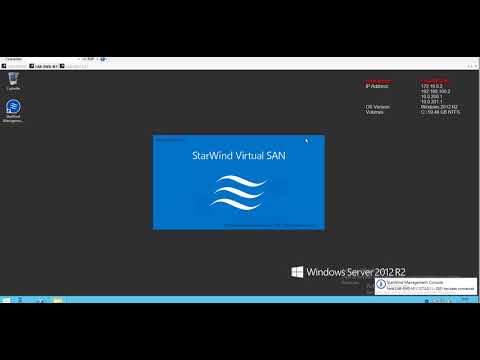
StarWind Virtual SAN is software that turns Windows into an iSCSI target server. The advantage of StarWind is that it can be used to put the storage in high availability by installing two StarWind servers, because this is managed at the software level, it can be used with any type of storage (SAN, DAS) and it is independent of the material used.
It is also possible to install StarWind on Hyper-V servers in order to have a hyperconverged solution, with replication of hypervisor storage. The disadvantage of this solution is that the available space is divided by the number of nodes that make up the cluster.
In this tutorial, we will see how to set up an iSCSI volume with starwind that we will present to a server, then in a second time how to put this volume in high availability.
The goal of this tutorial is to get to the representation below:
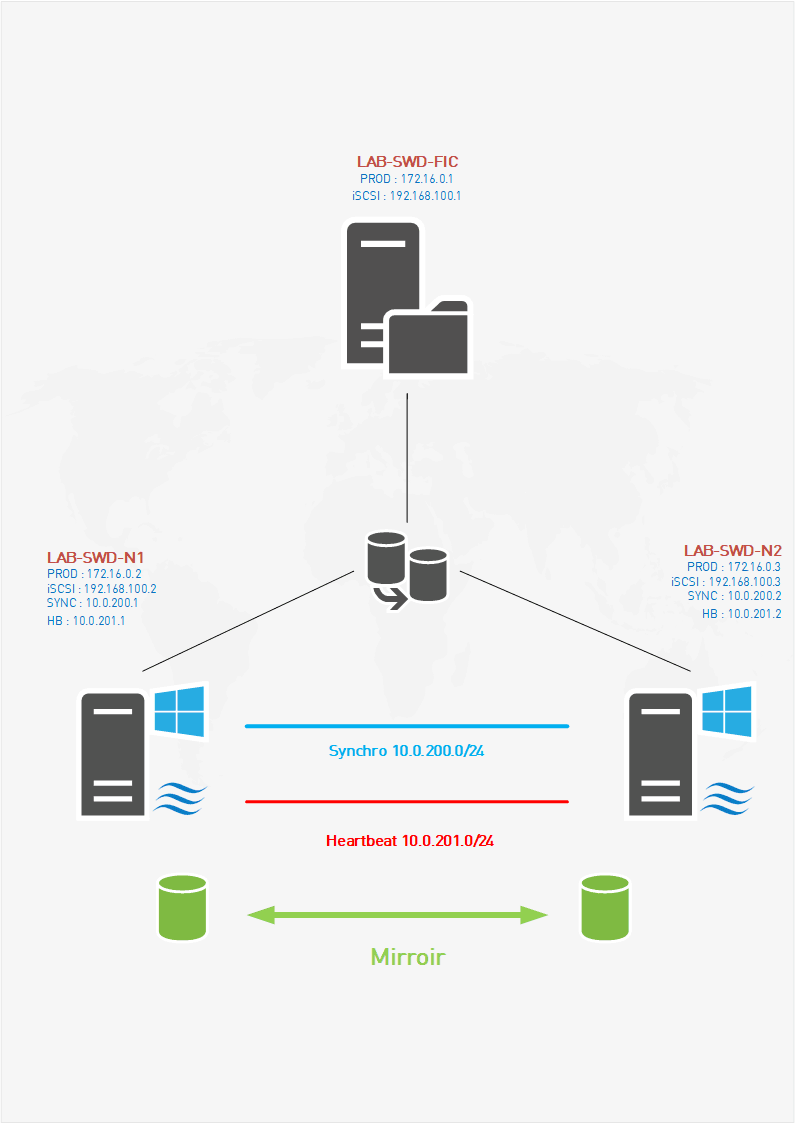
The IP addresses and the names of the servers do not correspond to the LAB written below but to the video available at the end of this tutorial.
Prerequisites
For the realization of lab, it is necessary to have at least 3 servers:
- 2 servers for StarWind with 3 network cards (LAN / iSCSI / HB) / 2 two OS / Storage partitions
- 1 server that will be the initiator with 2 network cards (LAN / iSCSI)
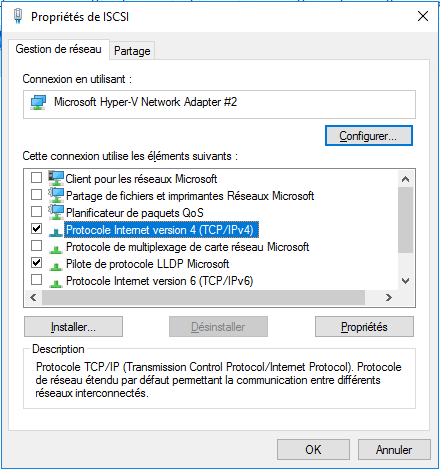
ISCSI and HB network adapters do not require a Windows component and must not register on DNS servers.
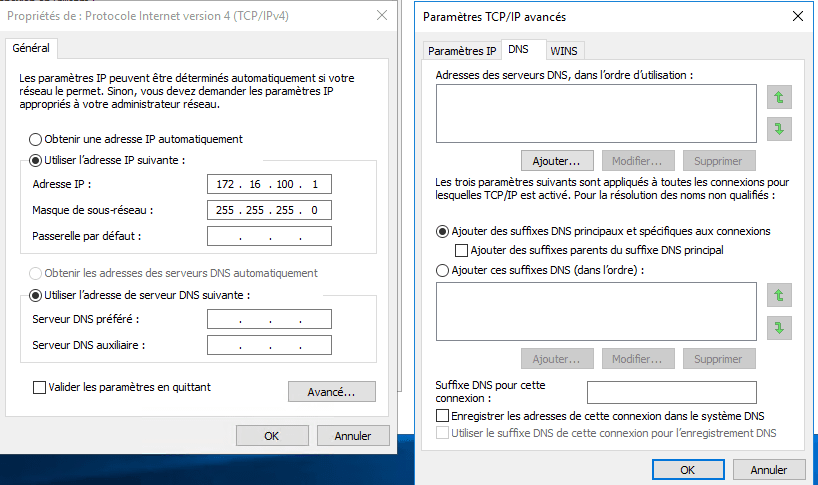
Networks used:
- 10.0.0.0/24 : LAN
- 172.16.100.0/24 : iSCSI
- 192.168.100.0/24 : HB
Before you start you need to download and recover the (free) license key on StardWind.
Starwind installation
On the first StarWind server, launch the downloaded executable.

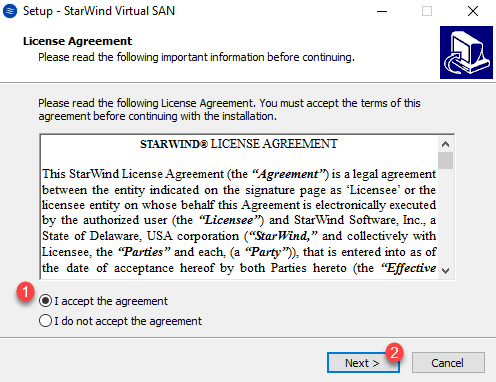
Accept the 1 license agreement and click Next 2 .
Pass the information message by clicking Next 1 .
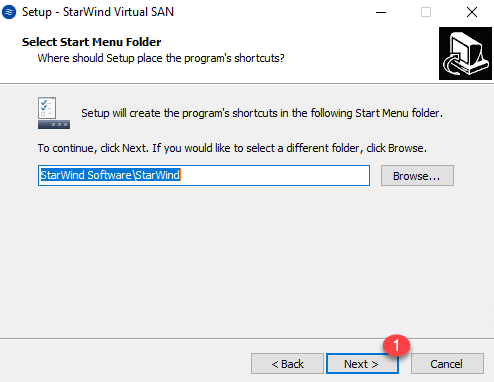
If necessary change the installation path otherwise click Next 1 .
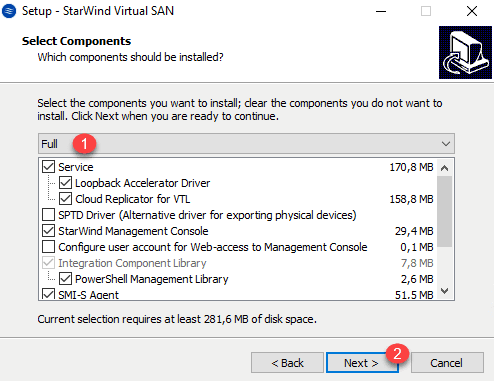
Installation type select Full 1 and click Next 2 .
Click Next 1 for the next two windows.
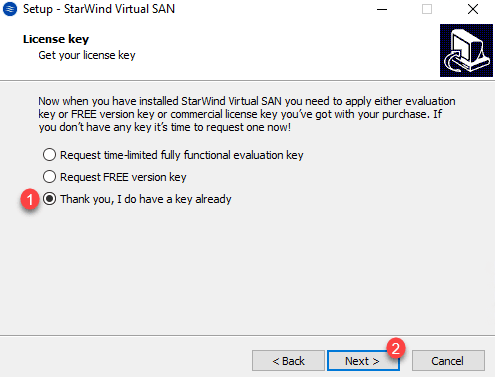
License Key, select the option Thank, I have a key already 1 and click on Next 2 .
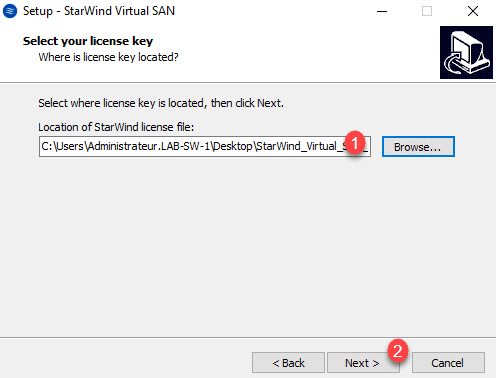
Choose the download license file at the same time as the 1 software and click Next 2 .
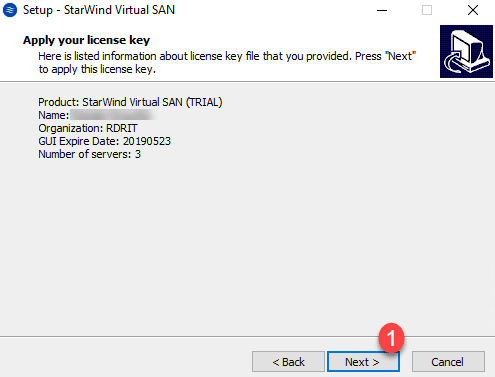
A summary of the license is displayed, confirm by clicking Next 1 .
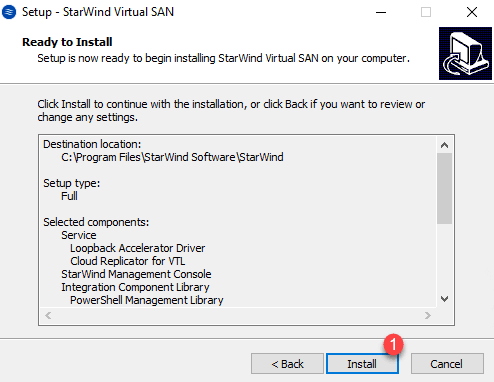
The summary of installation options is displayed, click Install 1 .
Confirm the start of iSCSI services by clicking OK 1 .
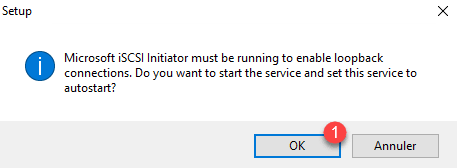
If the installation is an error, click Back, open the Control Panel, and start the iSCSI Initiator service manually. Once the iSCSI configuration window has been launched, return to the installation wizard and click on Install again.
Wait during the installation …
Skip the SMI agent configuration by clicking No 1 .
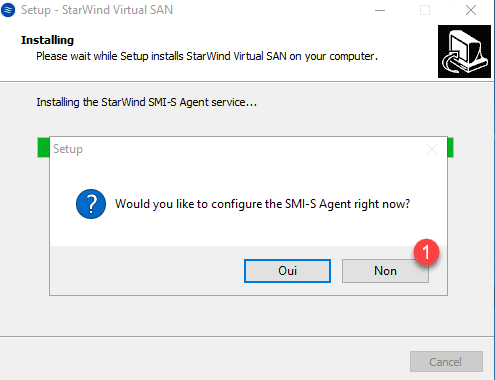
The SMI agent is used to control StarWind from a third-party application such as SCVMM.
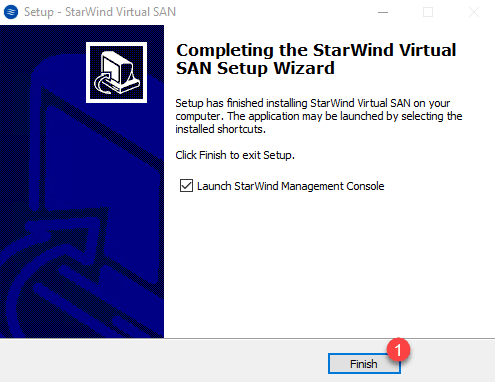
Once the installation is complete, click on Finish 1 to exit the wizard.
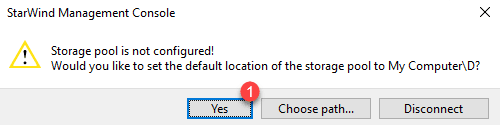
Wait during the opening of the console, a window will open to configure the storage pool. Click Yes 1 , the software should directly choose the second partition of the server.
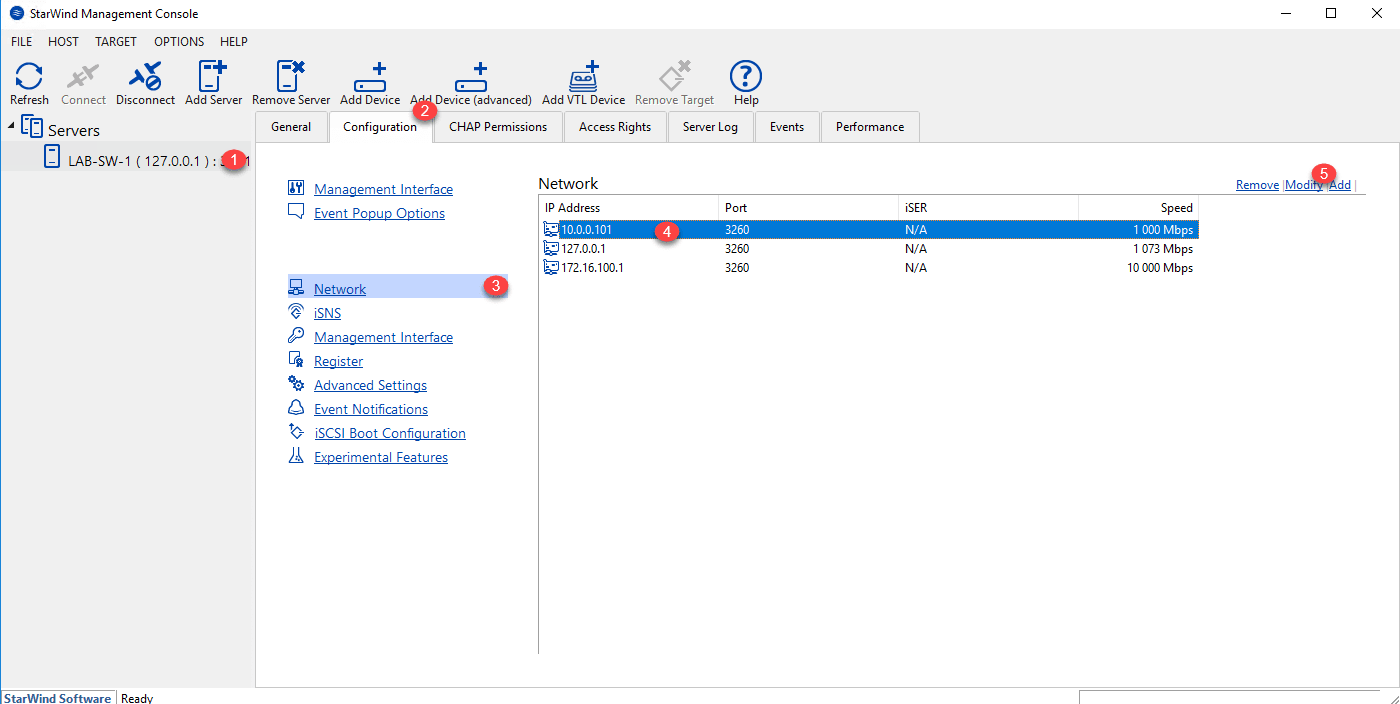
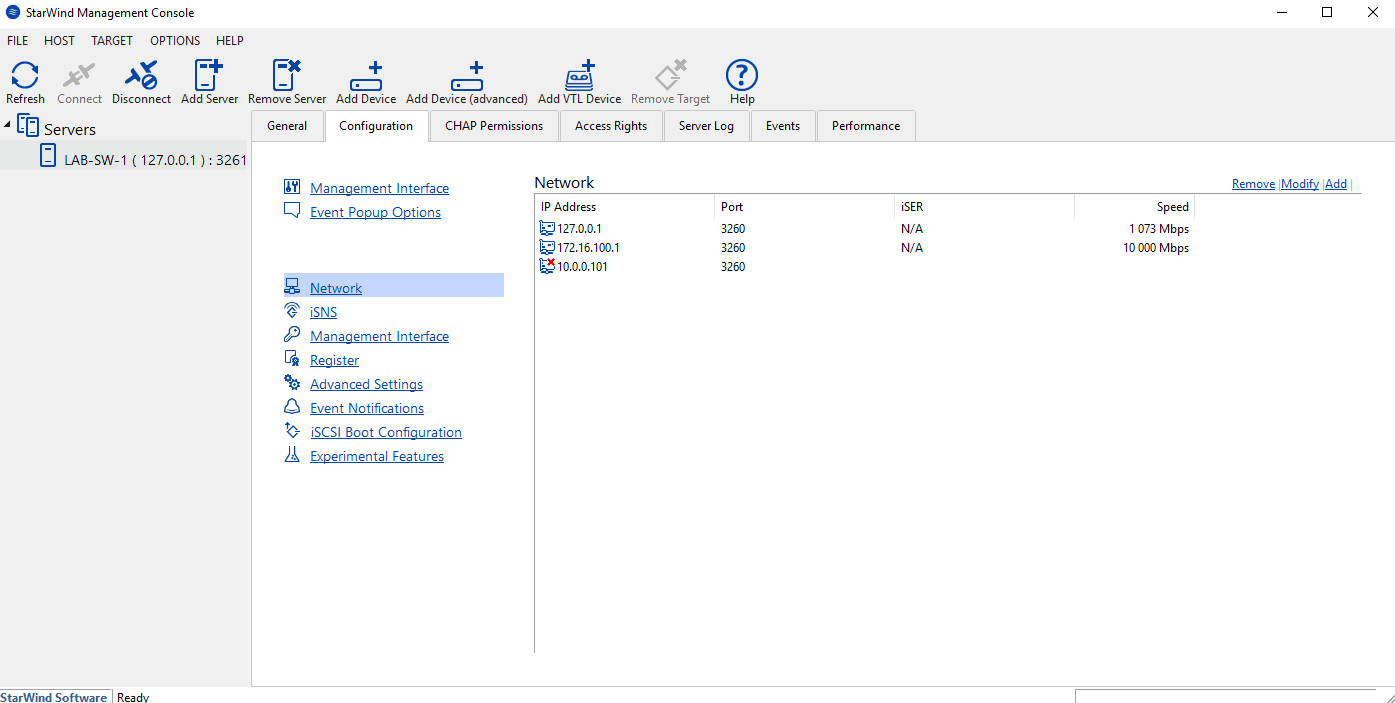
The StarWind console should open automatically. What we will do first is to configure the use of network cards. In the menu on the left, select server 1 , go to the Configuration tab 2 and click on Network 3 . Choose the 4 management network card and click on Modify 5 .
Uncheck Enable Network Interface 1 and click OK 2 .
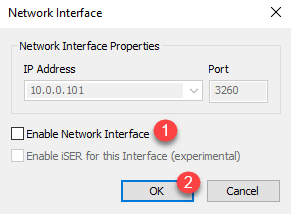
It can be seen in the interface that the map is now disabled from Starwind.
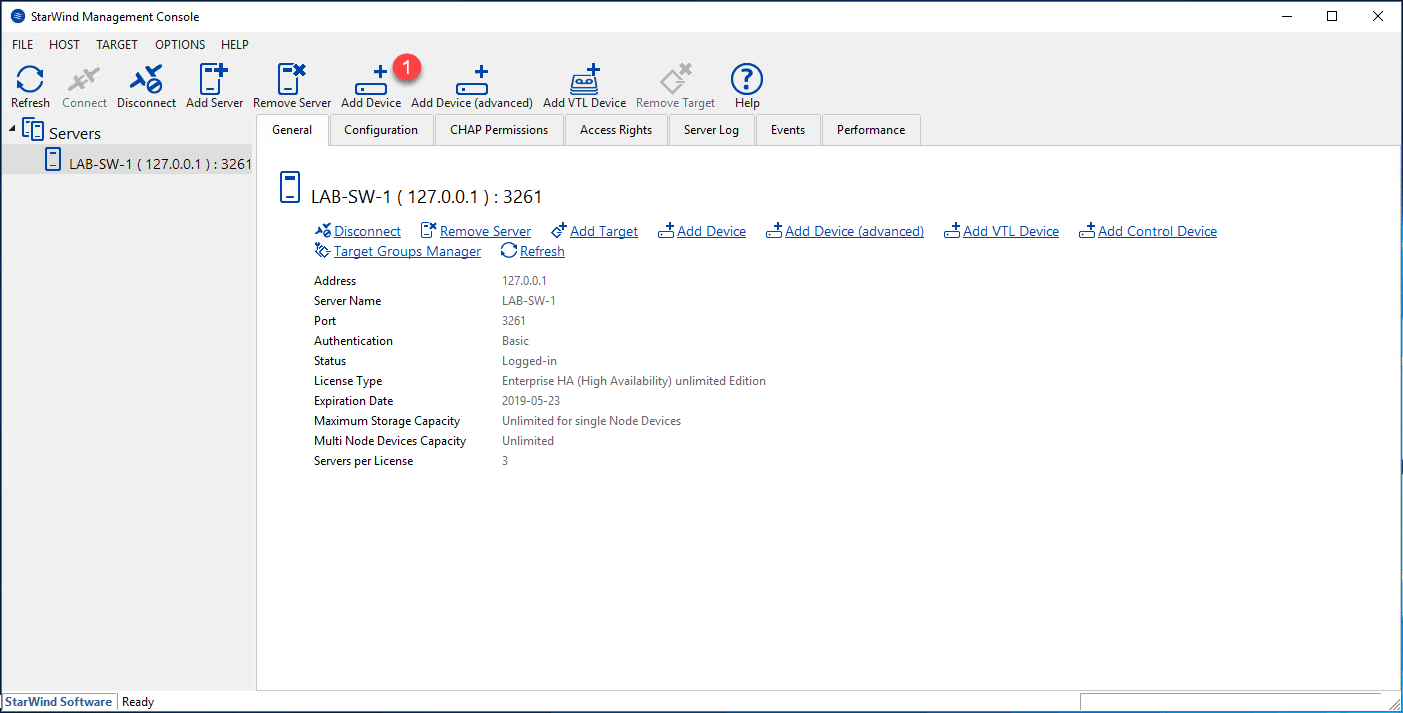
Now that StarWind is set up, we’ll see how to set up an iSCSI target and create a volume.
Storage configuration
From the console, click Add Device 1 to launch the wizard.
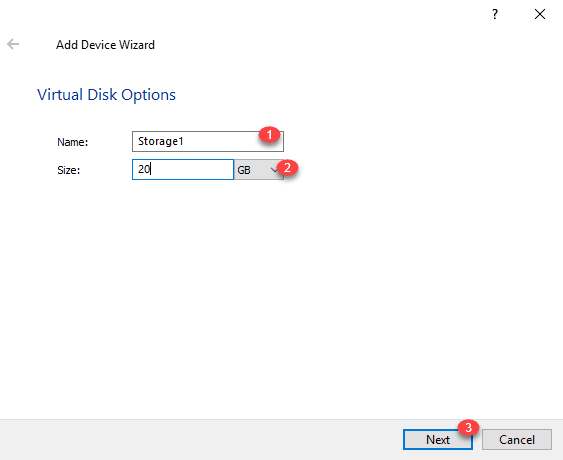
Name storage (target) 1 then indicate the size of the disk 2 and click Next 3 .
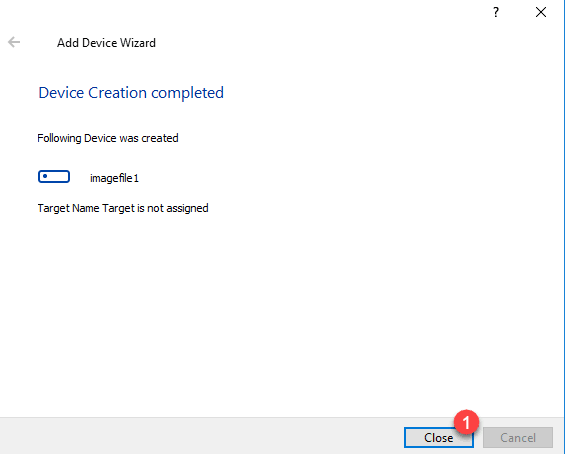
Confirm the action by clicking on Create 1 .
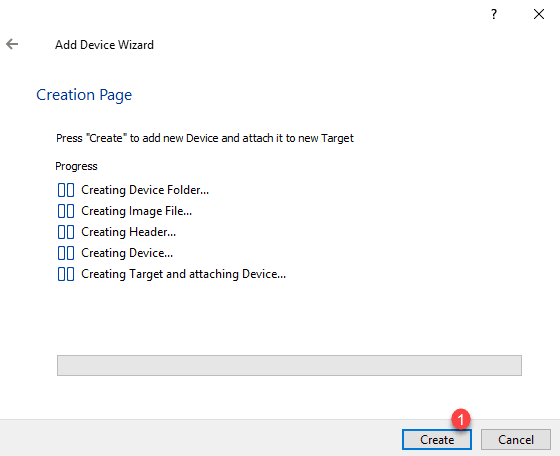
When finished, exit the Starwind wizard by clicking Close 1 .
We see in the console that the target 1 and the disk 2 have been created.
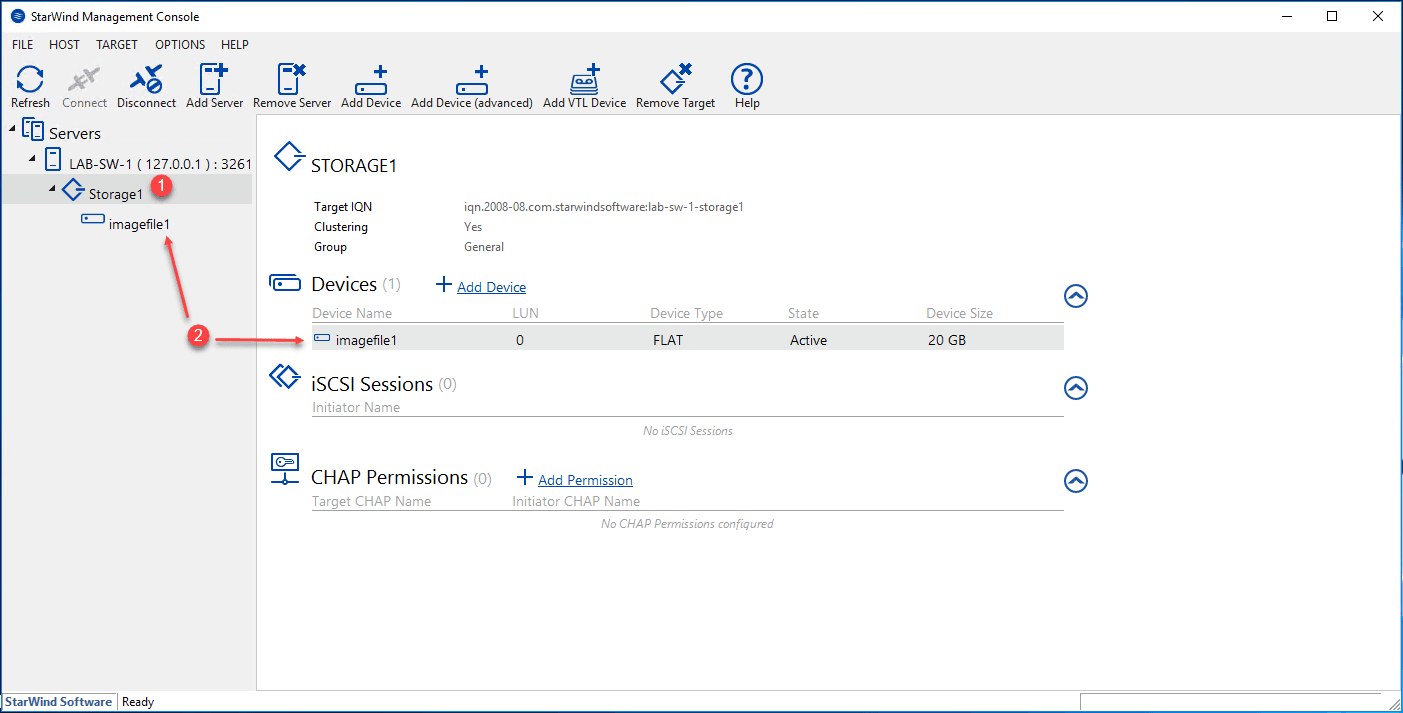
For information, it is possible on the same target (Storage1) to present multiple disks (Device) at the same time.
Now that the target and the disk are created, we will see how to use them from a client (Initiator).
Presentation storage
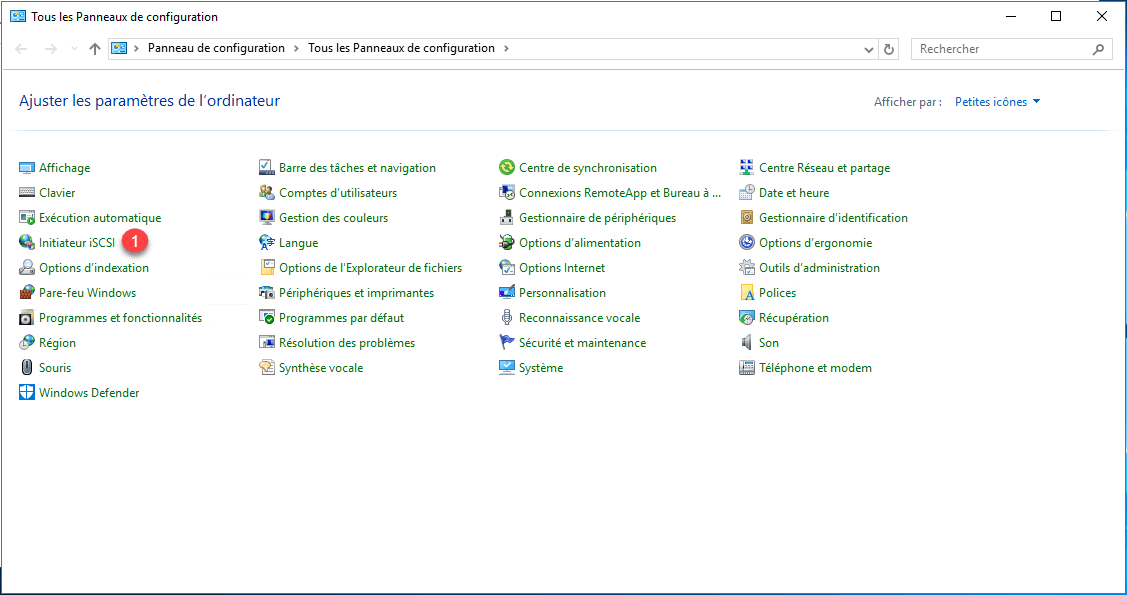
From a client who will become the storage initiator, open the control panel and click on iSCSI Initiator 1 .
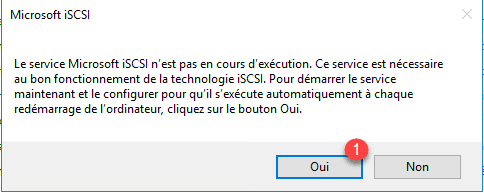
If this is the first time you have started the iSCSI initiator, configure the autostart service by clicking Yes 1 .
On the iSCSI Initiator Properties window, go to the Discovery tab 1 and click on Discover Portal 2 .
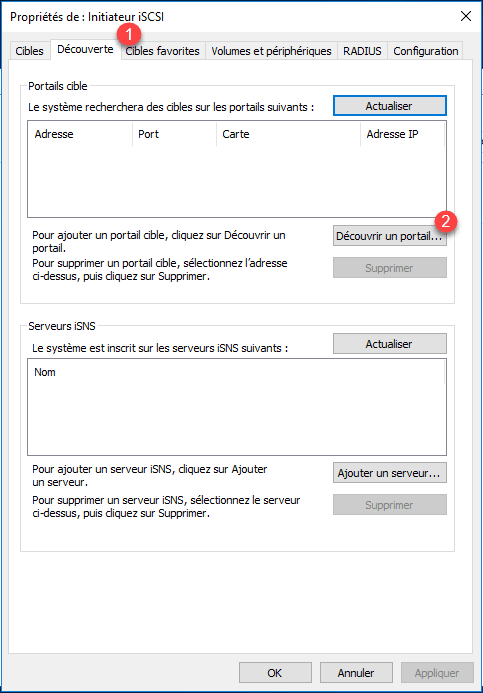
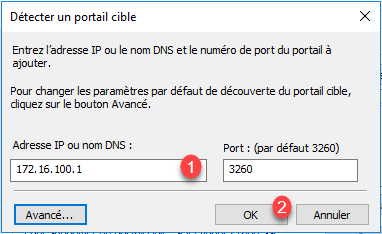
Enter the IP address of the portal (iSCSI interface of the Starwind server) 1 and click on OK 2 .
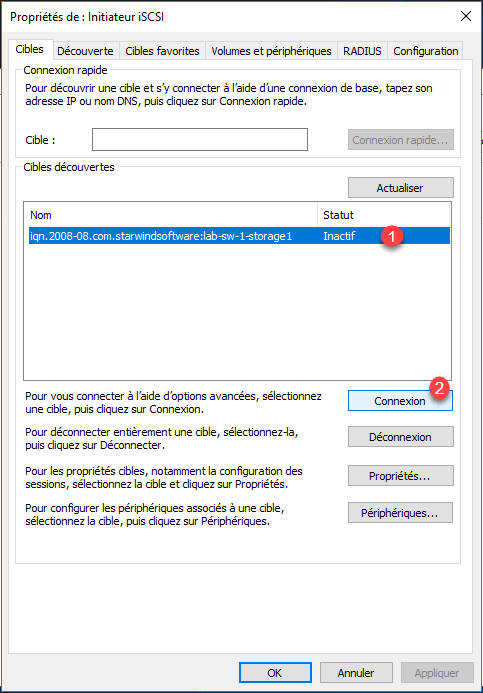
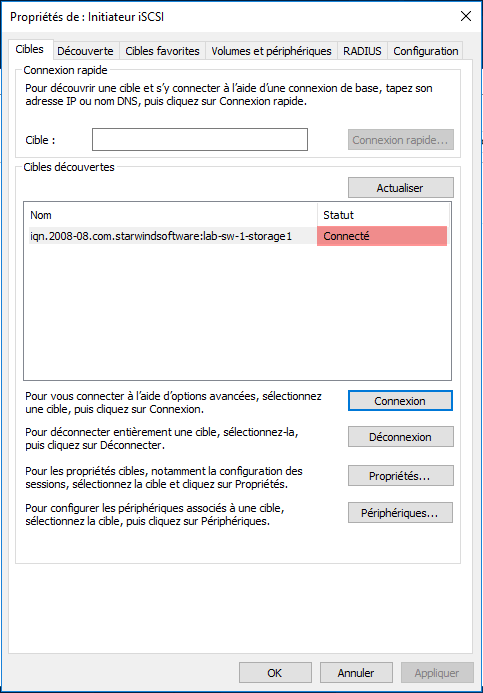
Once the portal has been added, select 1 and click on Connection 2 .
Click OK 1 to confirm the connection.
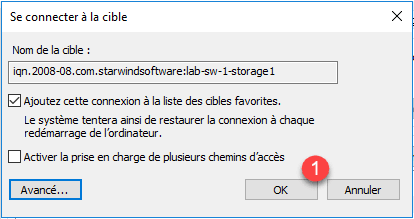
The computer is now connected to the target.
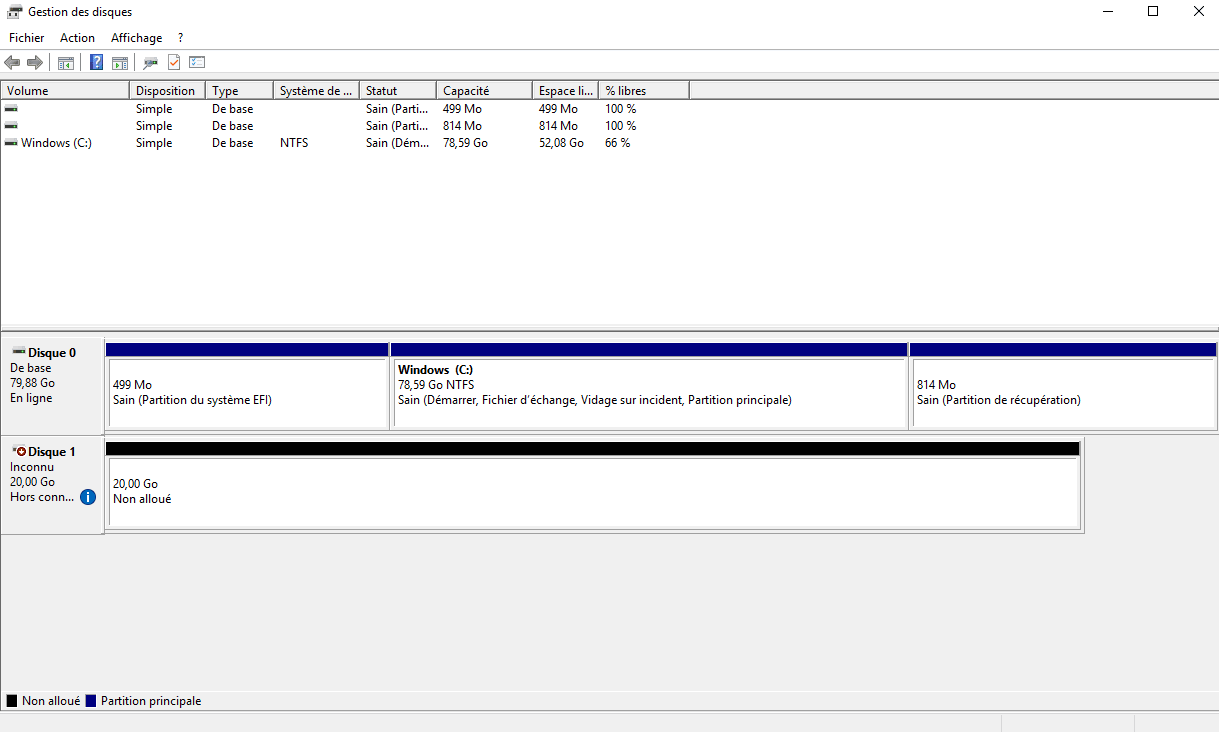
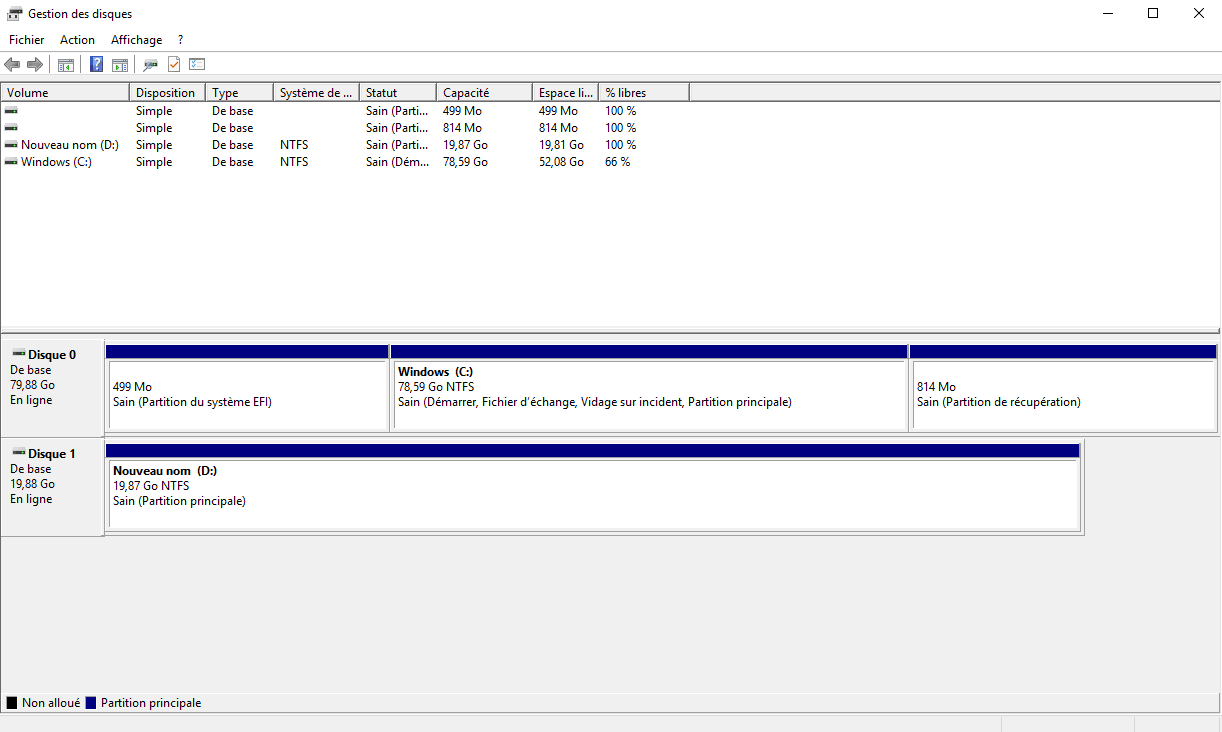
Open the disk manager, check that the previously created disk is well presented. Initialize the disk.
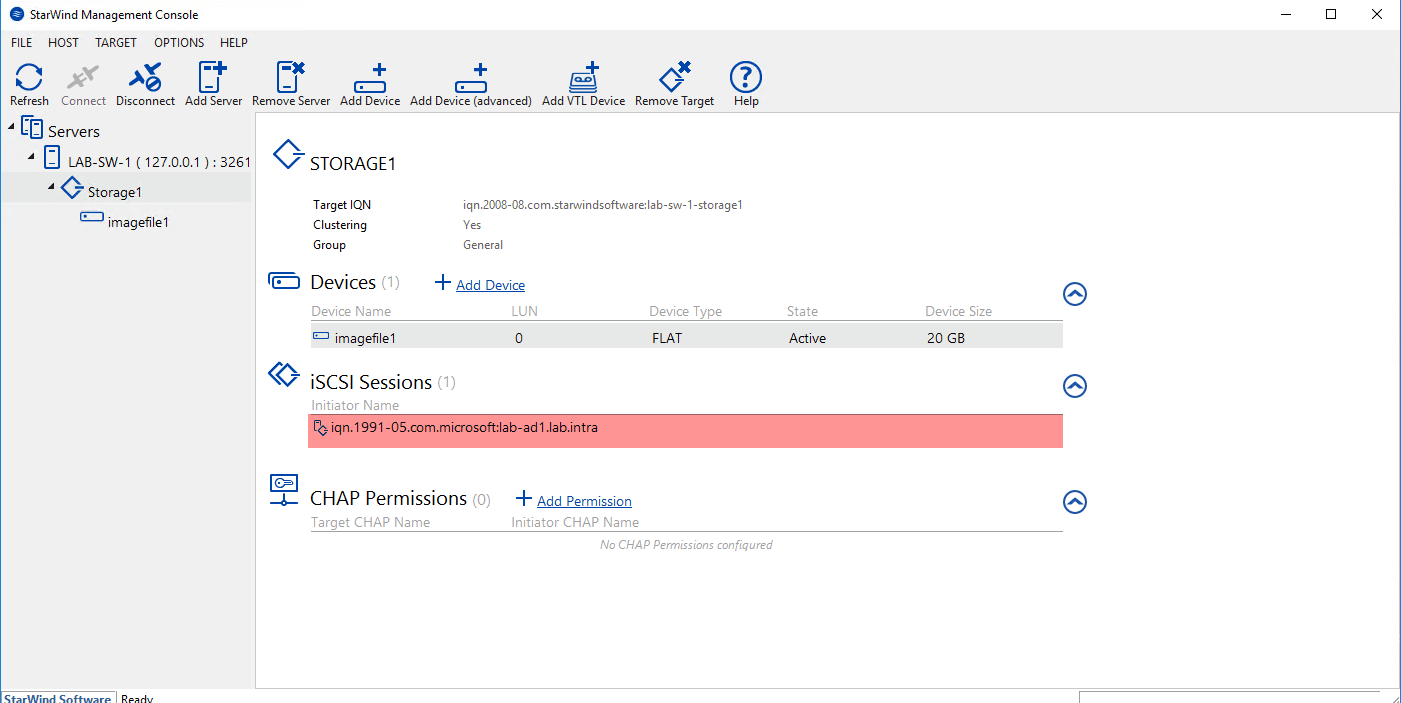
On the Starwind console, you can also see the iSCSI connection.
Now that we have presented the storage and configured it on the initiator, we will see how to put it in high availability.
High availability
On the second server Starwind install the software as on the first and configure it in the same way (network card, disabling the management interface on the portals), configure also on the 2 servers this time the third network card for the HeartBeat (This interface is for communication between Starwind nodes).
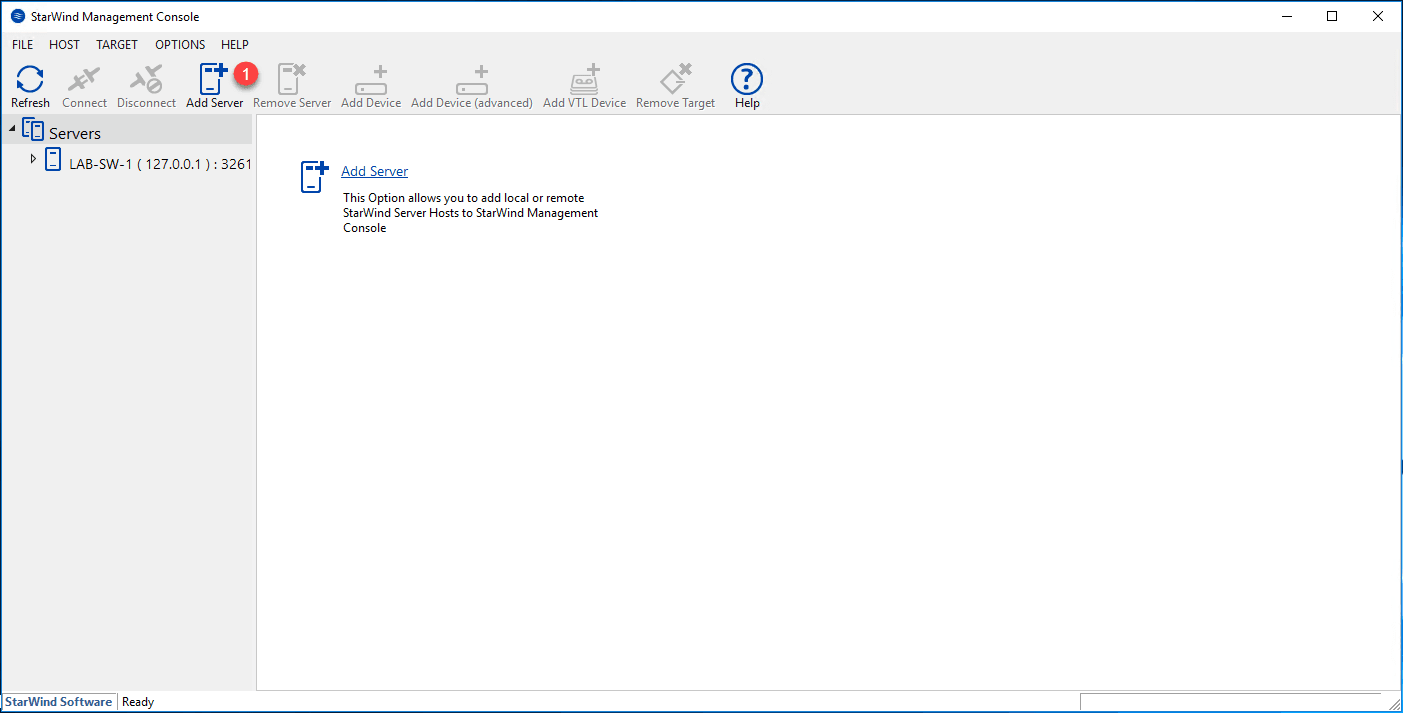
On the first server, from the administration interface click on Add Server 1 .
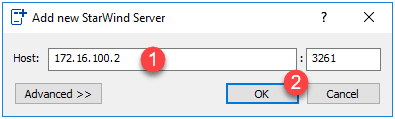
Enter the IP address of the second server 1 (I chose the iSCSI card) and click OK 2 .
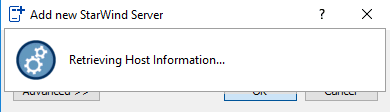
Wait while connecting to the host …
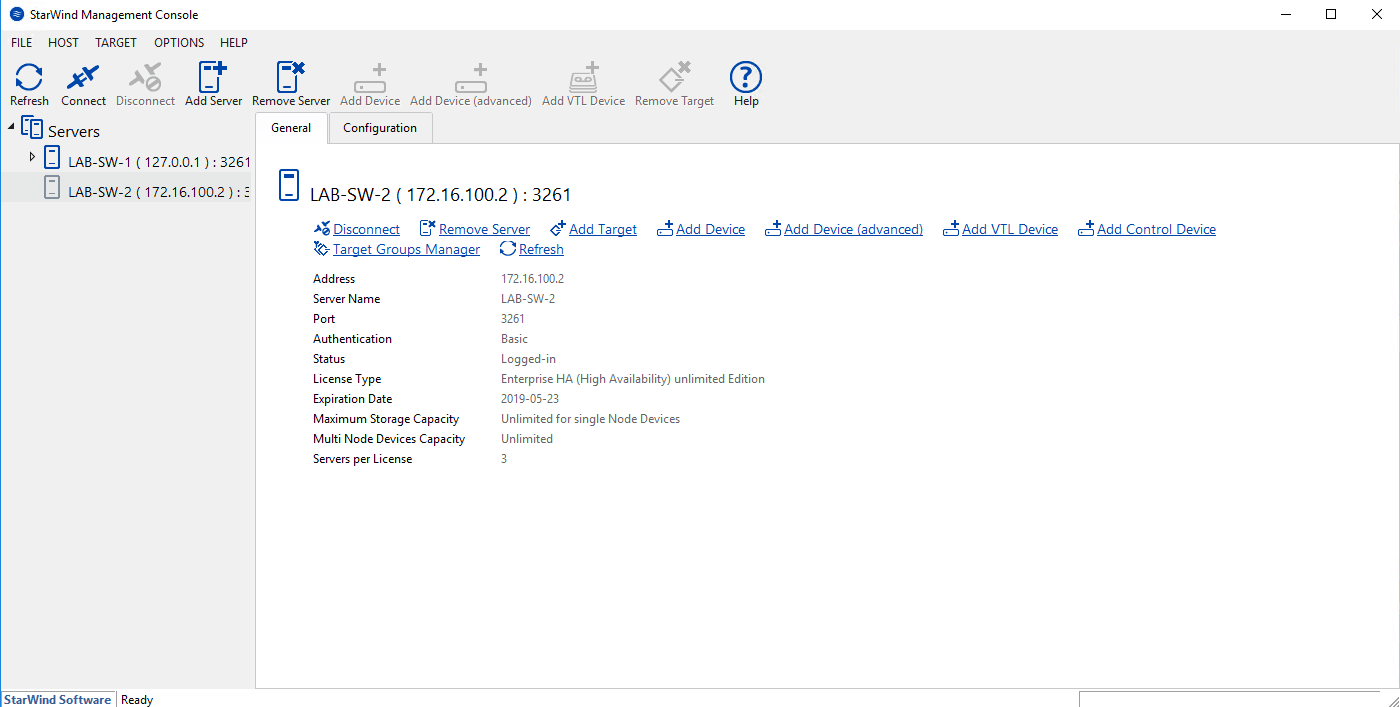
From the same console, you can administer all StarWind servers.
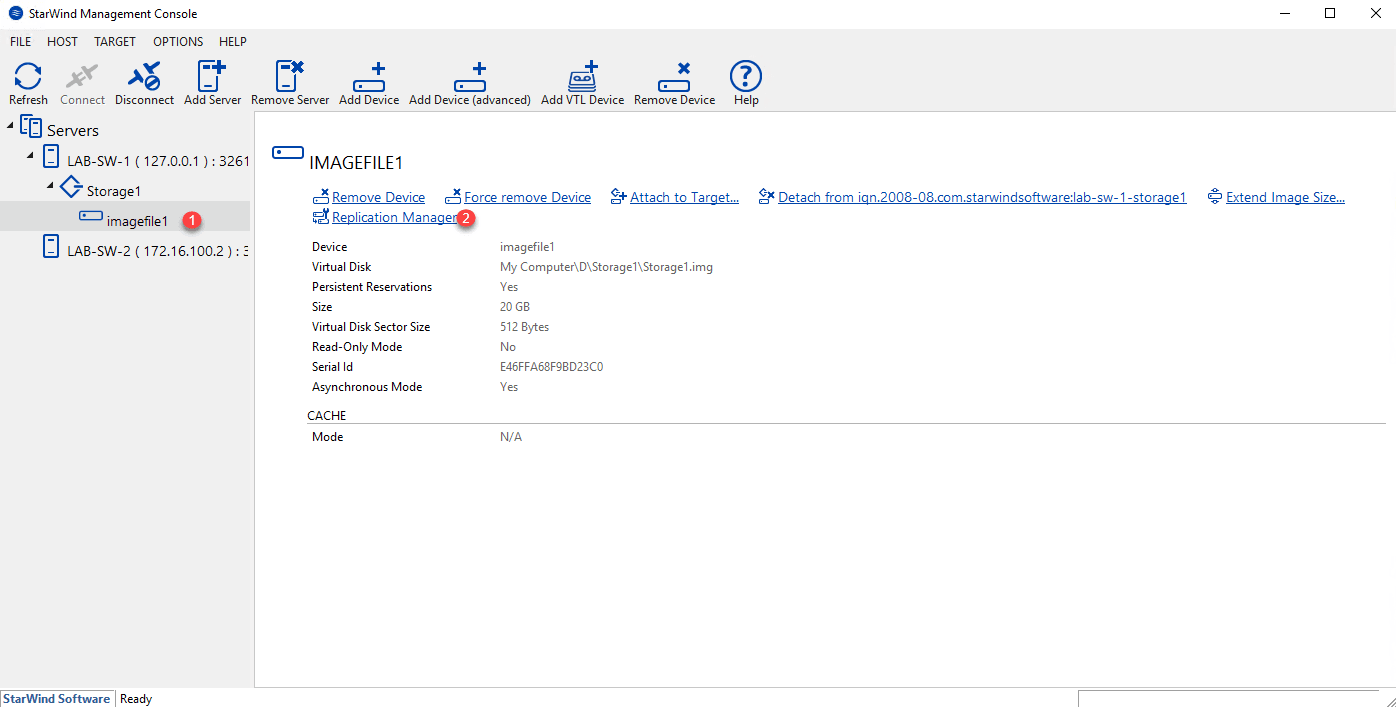
Select the disk previously created 1 and click on Replication Manager 2 .
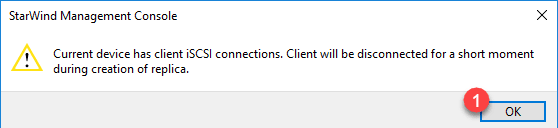
During configuration, the disk will be offline, close the message by clicking OK 1 .
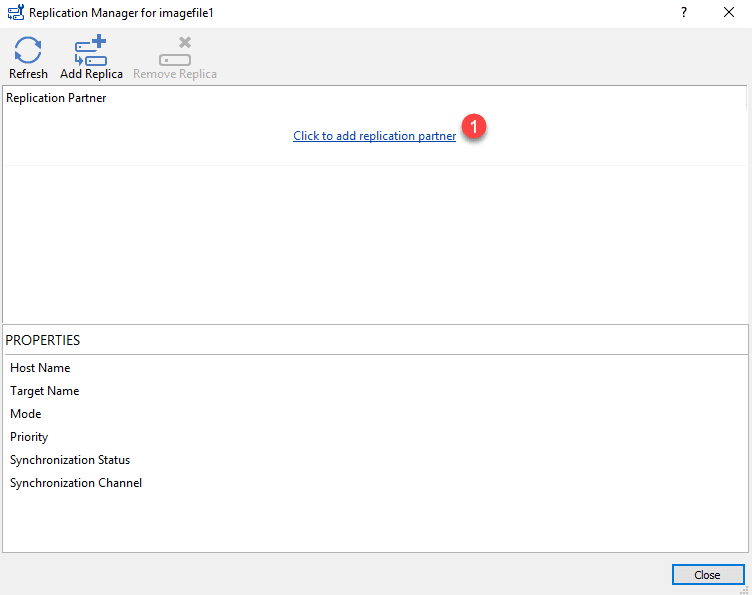
Click on “Click to add replication partner” 1 to open the Replication Configuration Wizard.
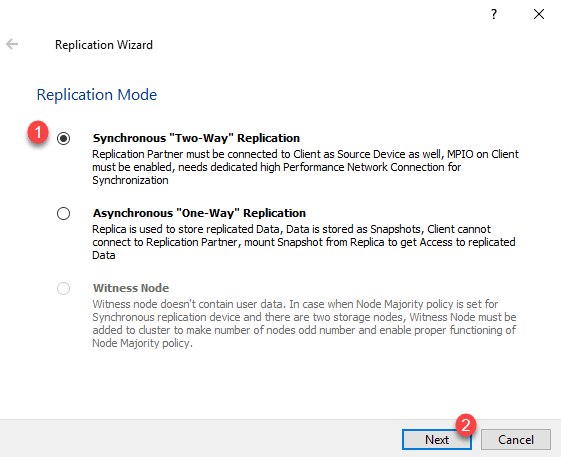
Choose Synchronous Replication by selecting Synchronous “Two-Way” Replication 1 and clicking Next 2 .
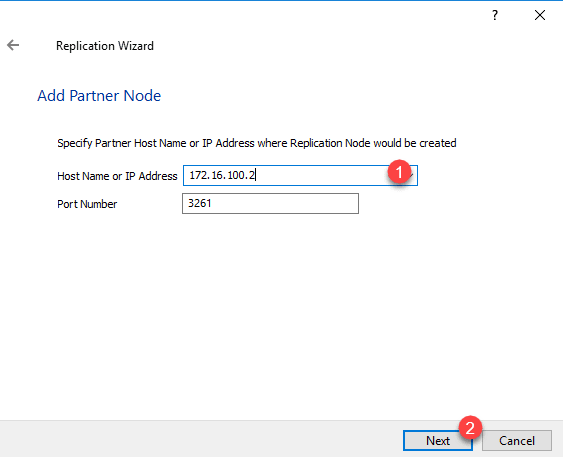
Enter the partner IP address 1 and click Next 2 .
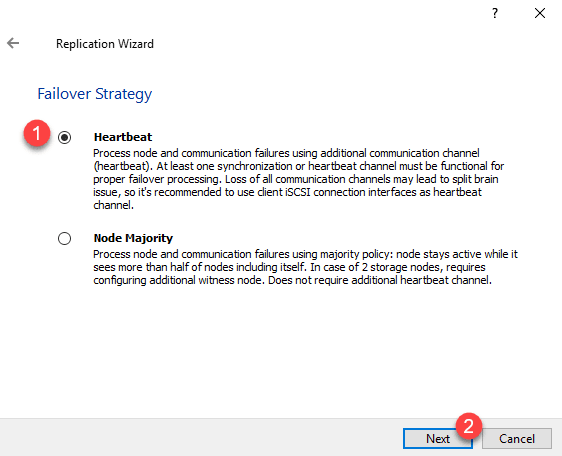
Select Hearbeat 1 for the failover strategy and click Next 2 .
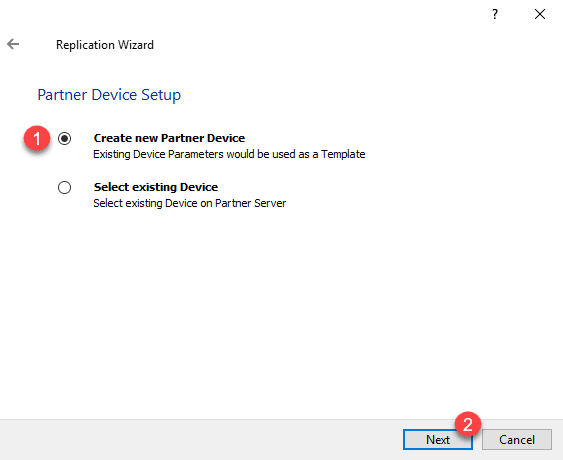
Select Create new Partner Device 1 and click Next 2 .
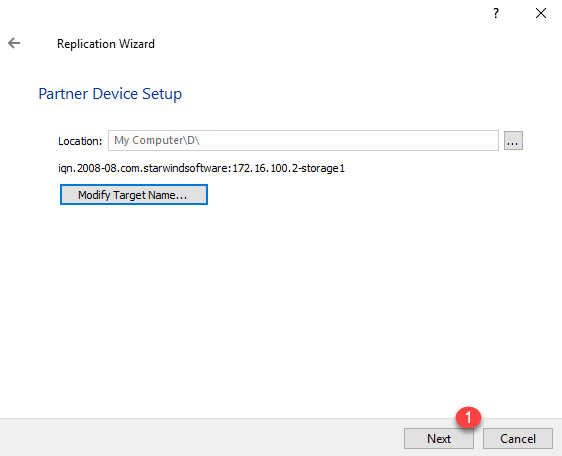
Click on Next 1 . It is possible to modify IQN if necessary.
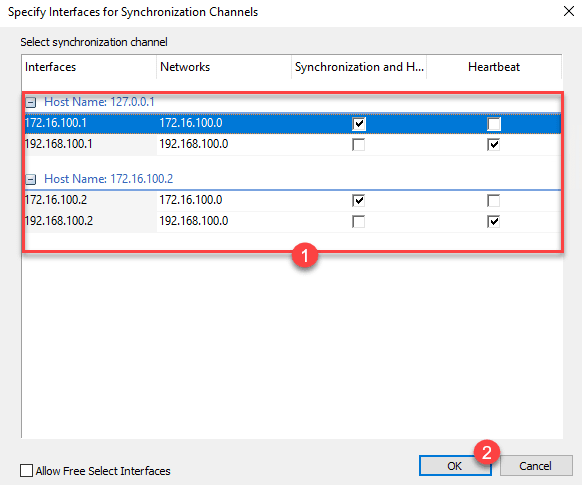
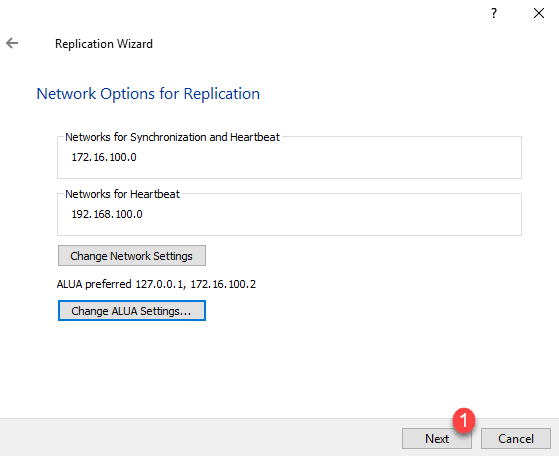
You must now configure the allocation of the different network cards, click on Change Network Settings 1 .
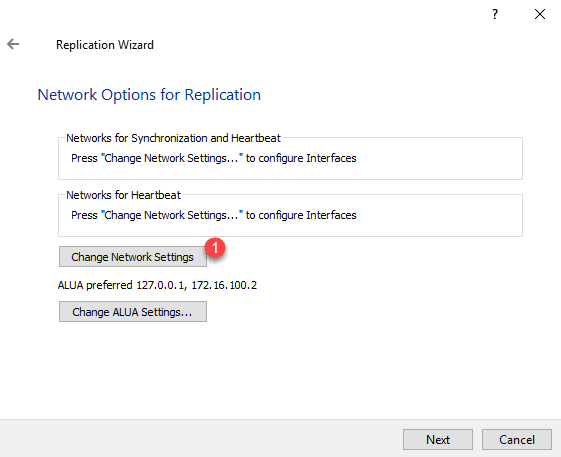
For each interface, configure whether it is dedicated to synchronization or heartbeat 1 and click OK 2 to validate.
Go to the next step by clicking Next 1 .
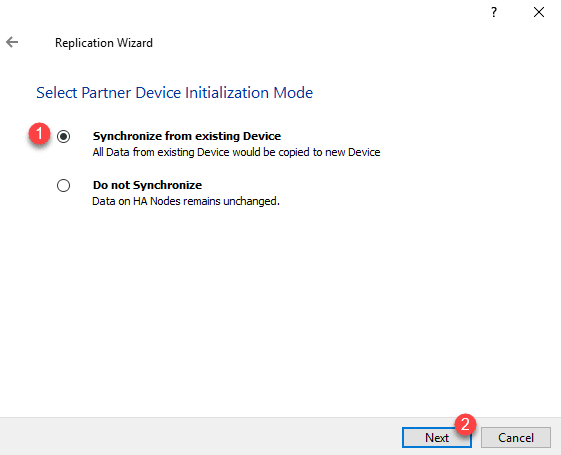
Select the “Synchronize from existing Device” 1 option to copy the data and click Next 2 .
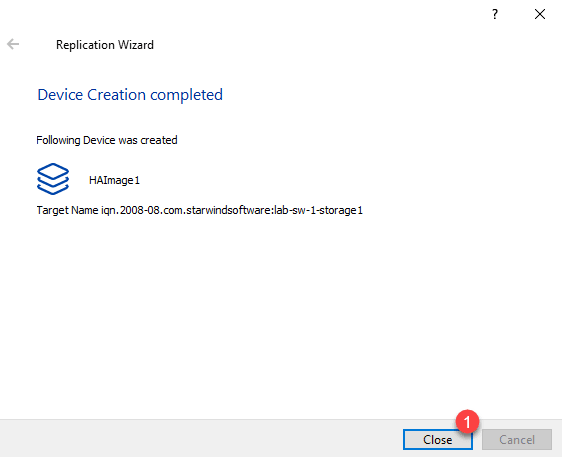
Click on Create Replica 1 .

The disk is created, close the wizard by clicking Close 1 .
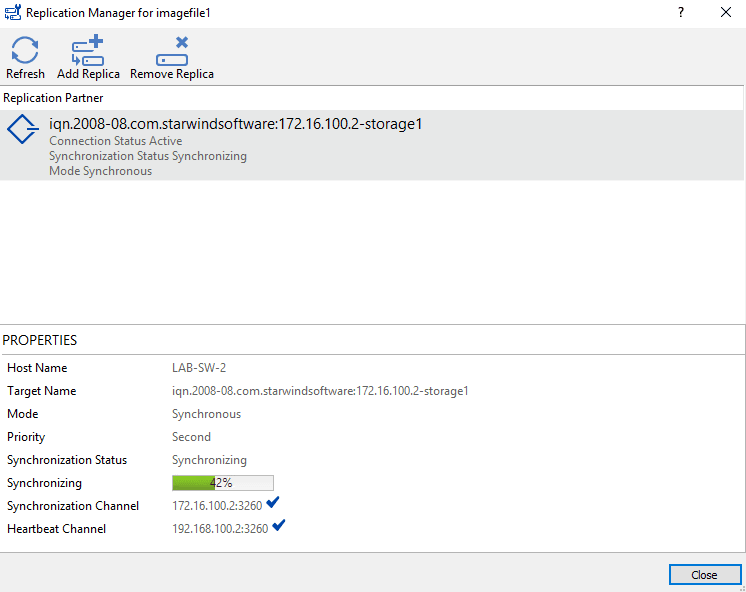
Wait during synchronization …

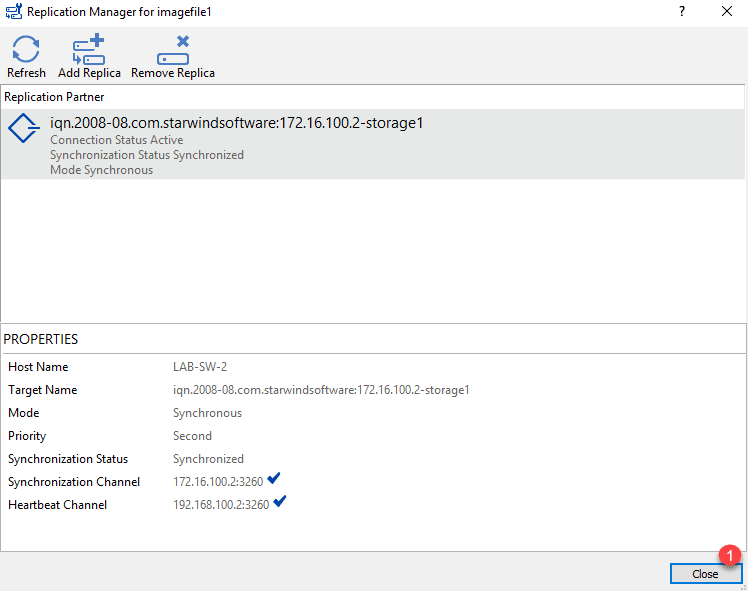
Once synchronization is complete, click on Close 1 to exit the wizard.
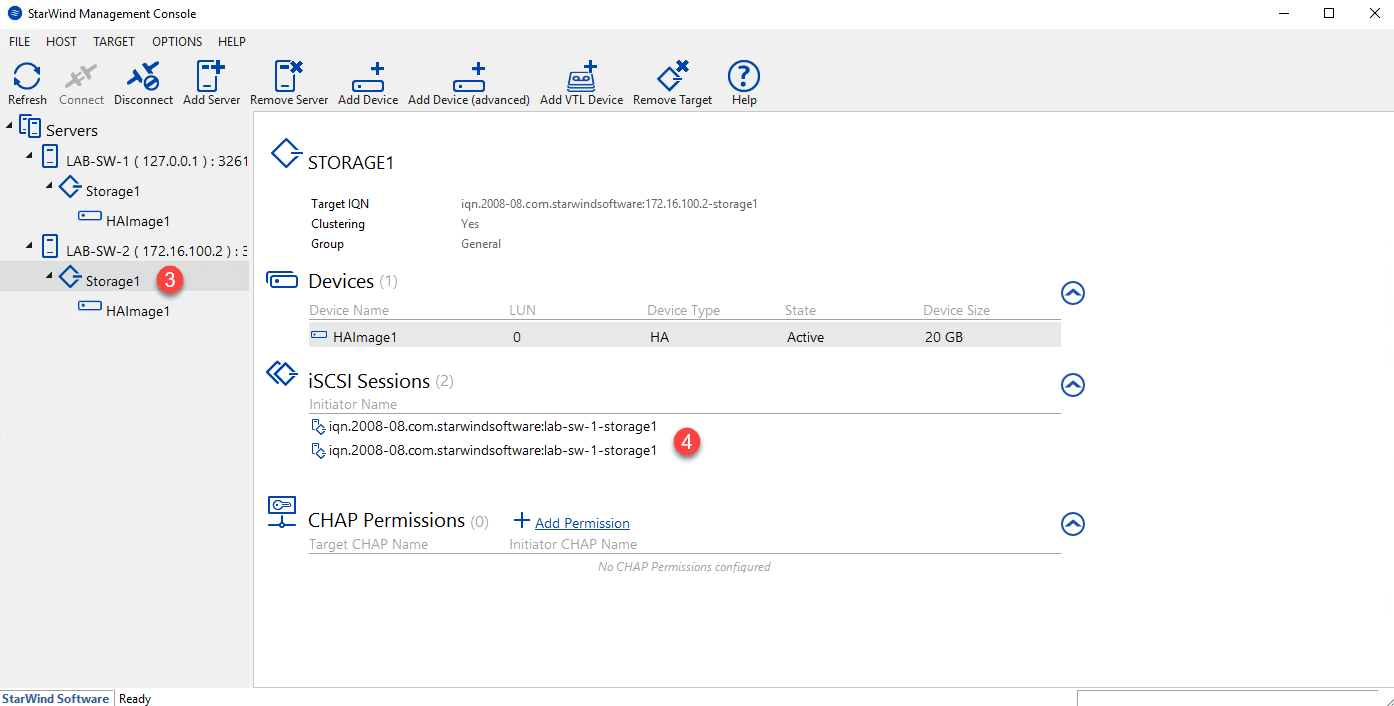
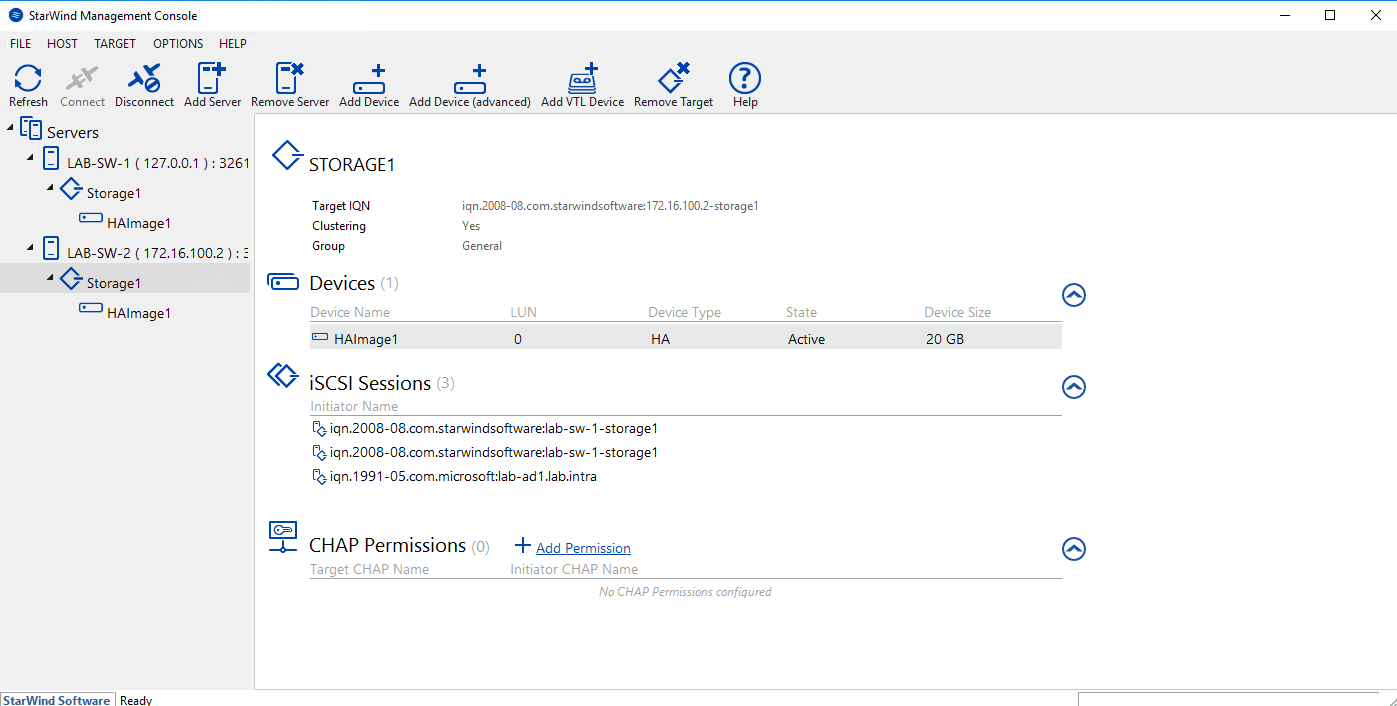
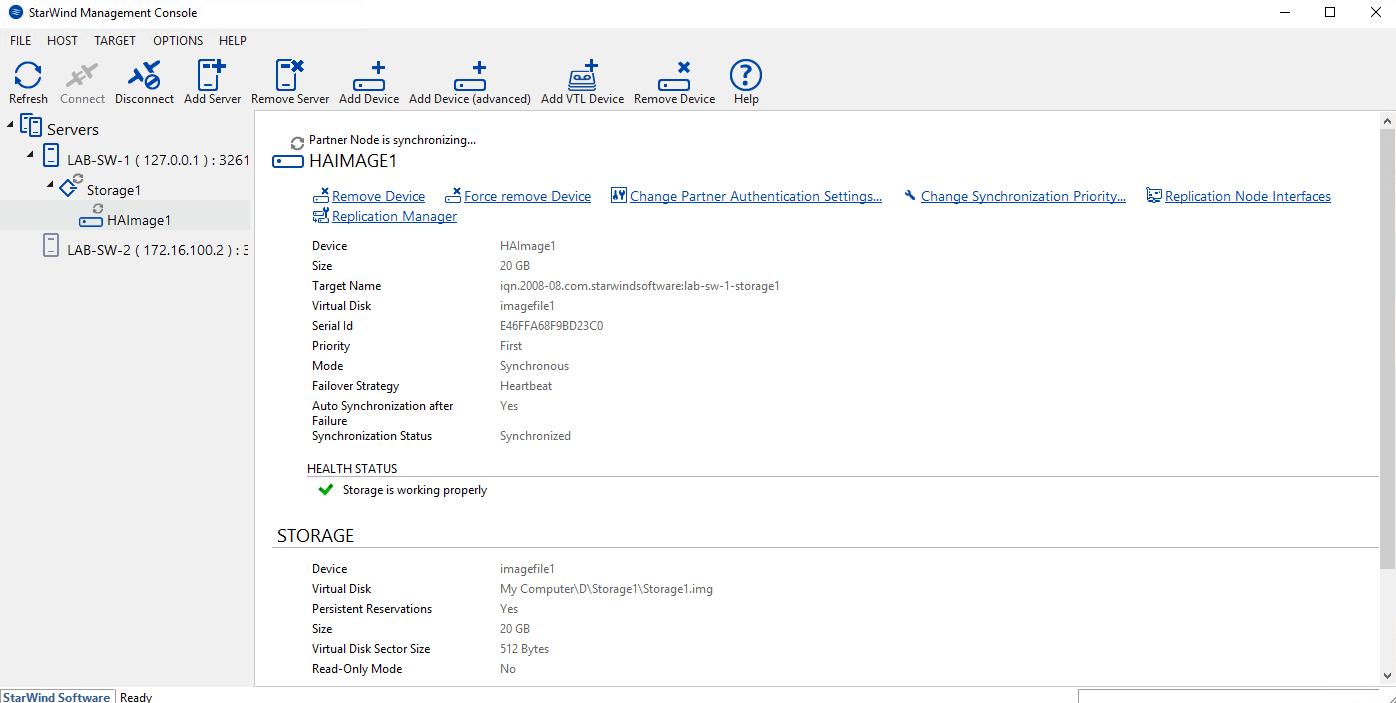
In the interface, we can see the disk on each StarWind node.

By selecting the target on the first server 1 we can see the 3 sessions iSCSI 2 unlike the second server 3 where there are only 2 sessions for the moment 4> >.

Now that we have a high availability disk on both StarWind nodes, we are going to configure the initiator server to exploit the HA.
Configuring the iSCSI Initiator for High Availability
On the server where the storage is presented, install the MPIO feature. Open the MPIO Properties in the Control Panel go to the Discover Multiple Paths 1 tab, select the Add Support for iSCSI Devices 2 check box and click Add 3 .
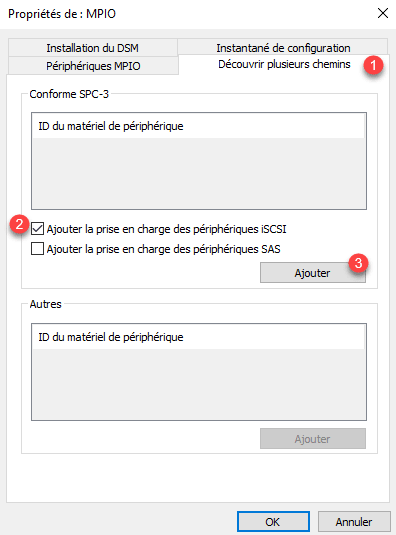
Restart the server by clicking Yes 1 .

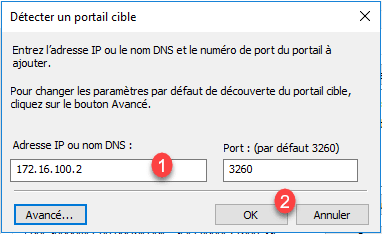
After the computer restarts, open the iSCSI Initiator properties and add the portal of the second StarWind server by clicking Discover Portal 1 .
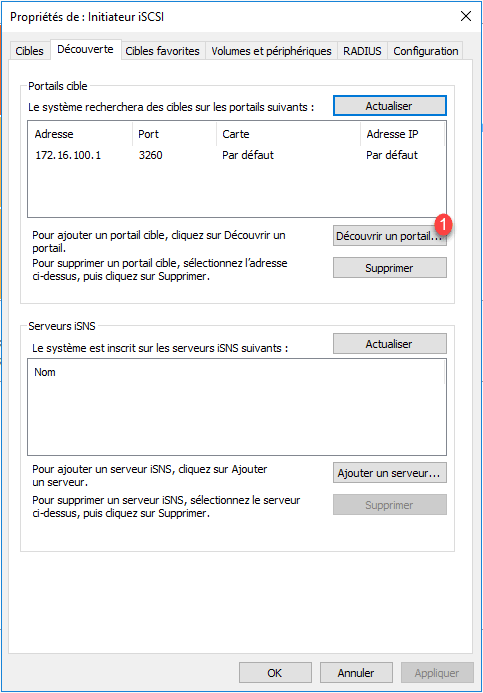
Enter the IP address of portal 1 and click OK 2 .
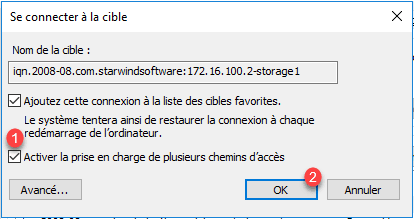
Go to the Targets 1 tab, select the 2 portal that has just been added and click on 3 .
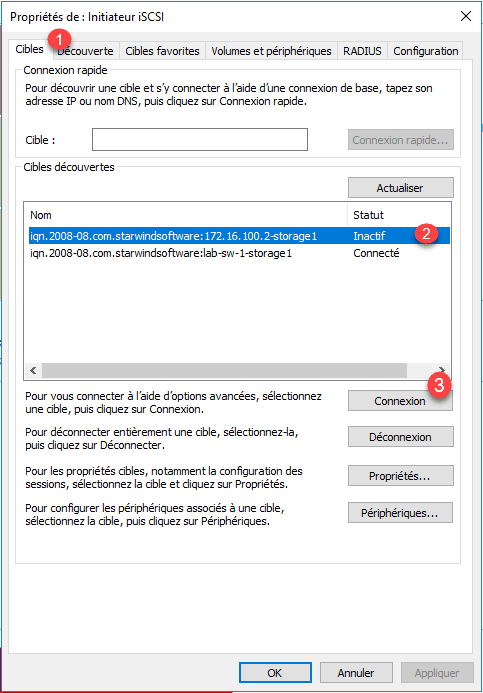
Check the box Enable support for multiple paths and validate 1 by clicking OK 2 .
The computer is now connected to the two portals, we will check the counting of the MPIO, click on Devices 1 .
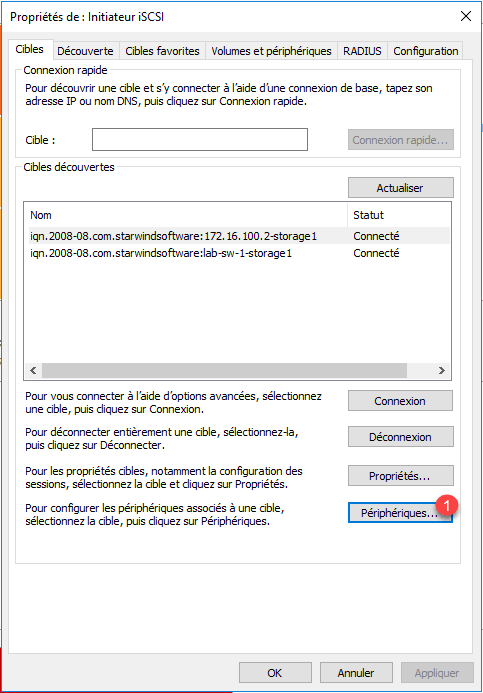
Select the disk 1 and click on MPIO 2 .
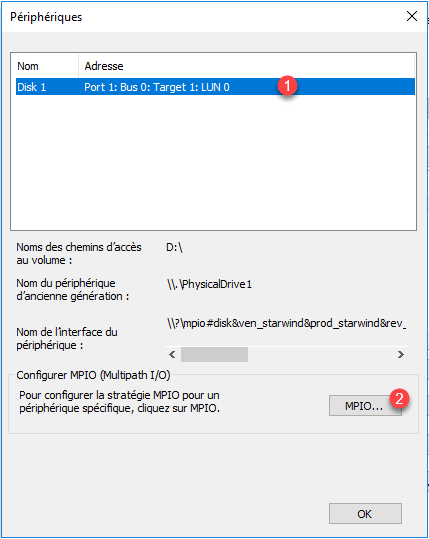
We can see that there are several paths to the disk.
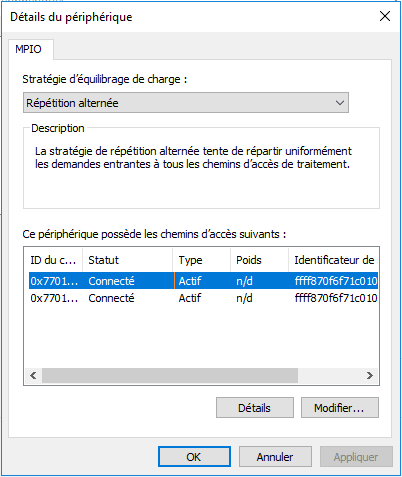
It is also possible to do this check by the disk manager, go to the Properties of the disks 1 and then go to the tab MPIO 2 .
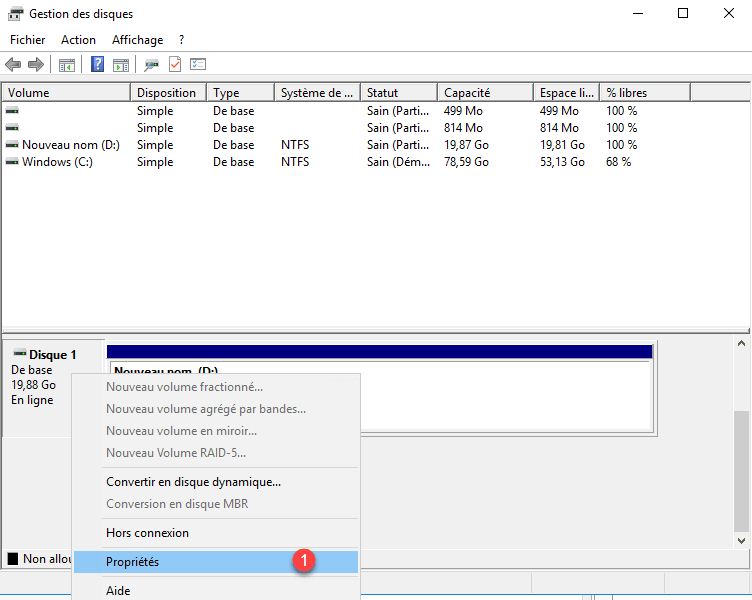
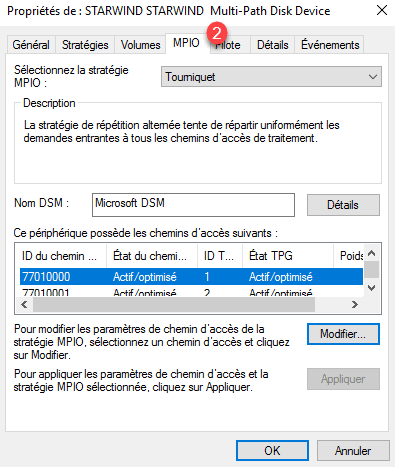
From the properties it is possible to configure the operating mode of the MPIO.
On the Administration Console, it is also possible to see that the computer is connected to the second target.
High availability test
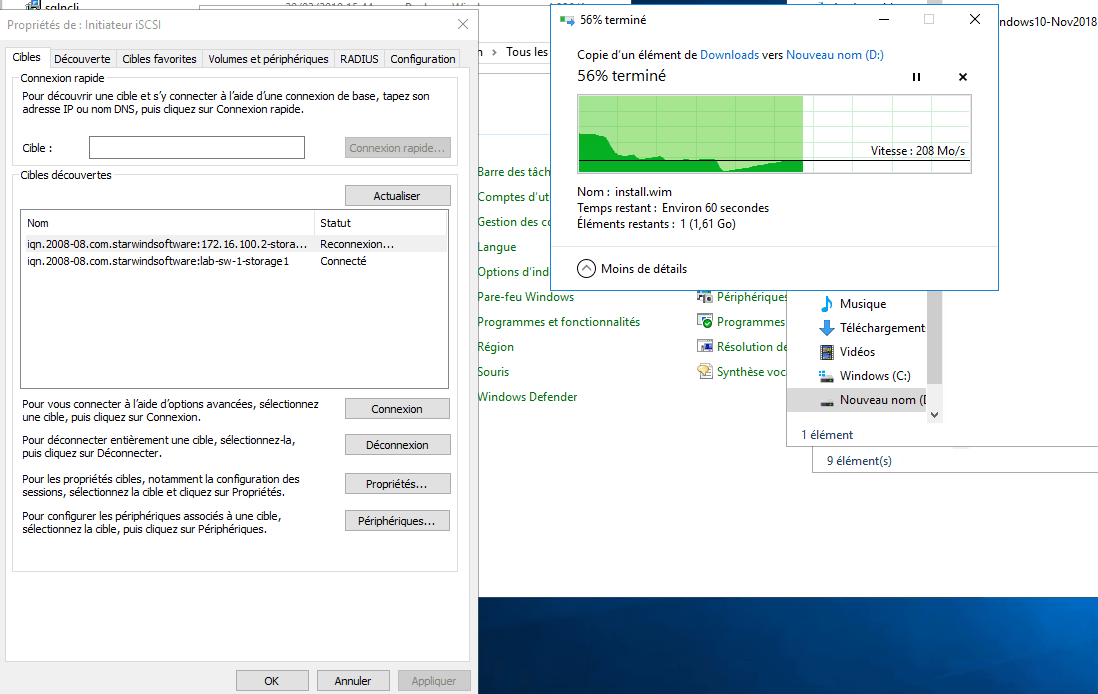
Now to validate the high availability of storage, it is possible to launch a copy on the iSCSI disk and stop one of the Starwind nodes. It can be seen in the screenshot below that the second node is no longer active.
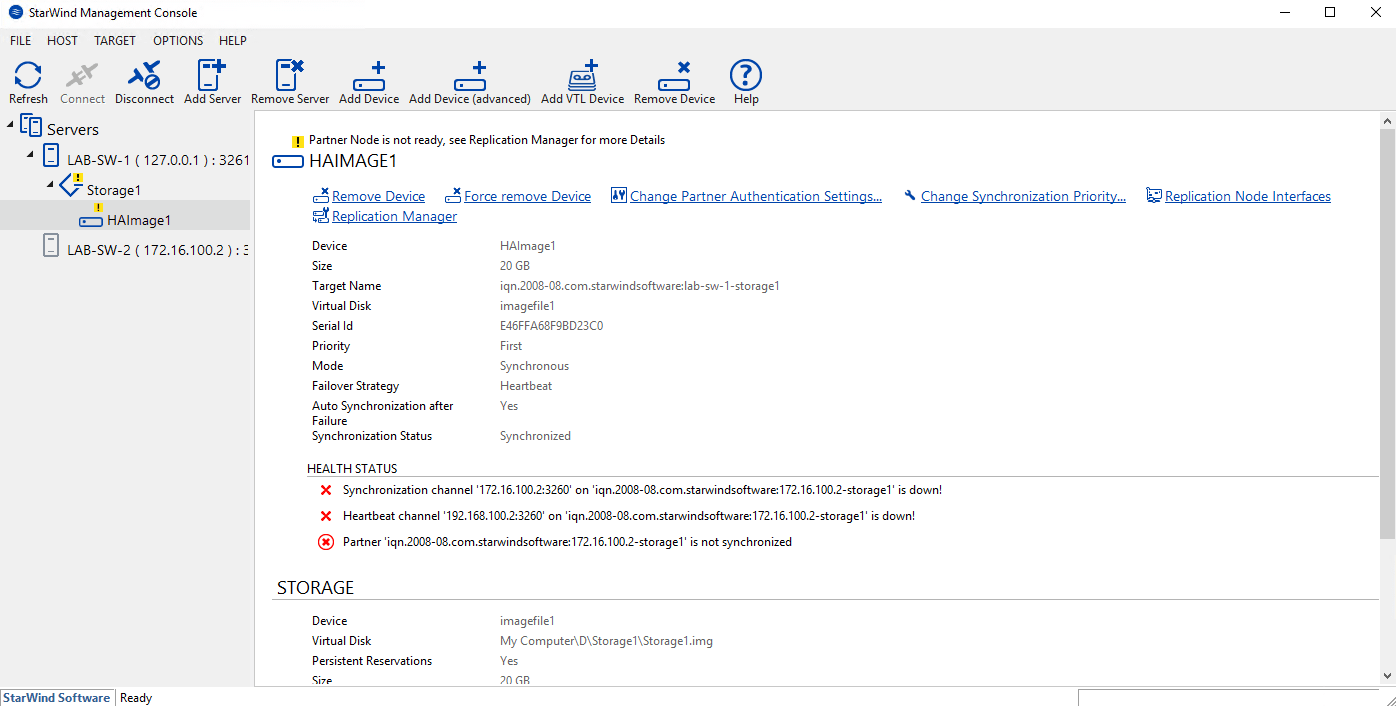
On the server, we see that the copy continues to be done with a small slowdown at the time of the cut.
Once the second node is available, the disk resynchronizes on the starwind servers.
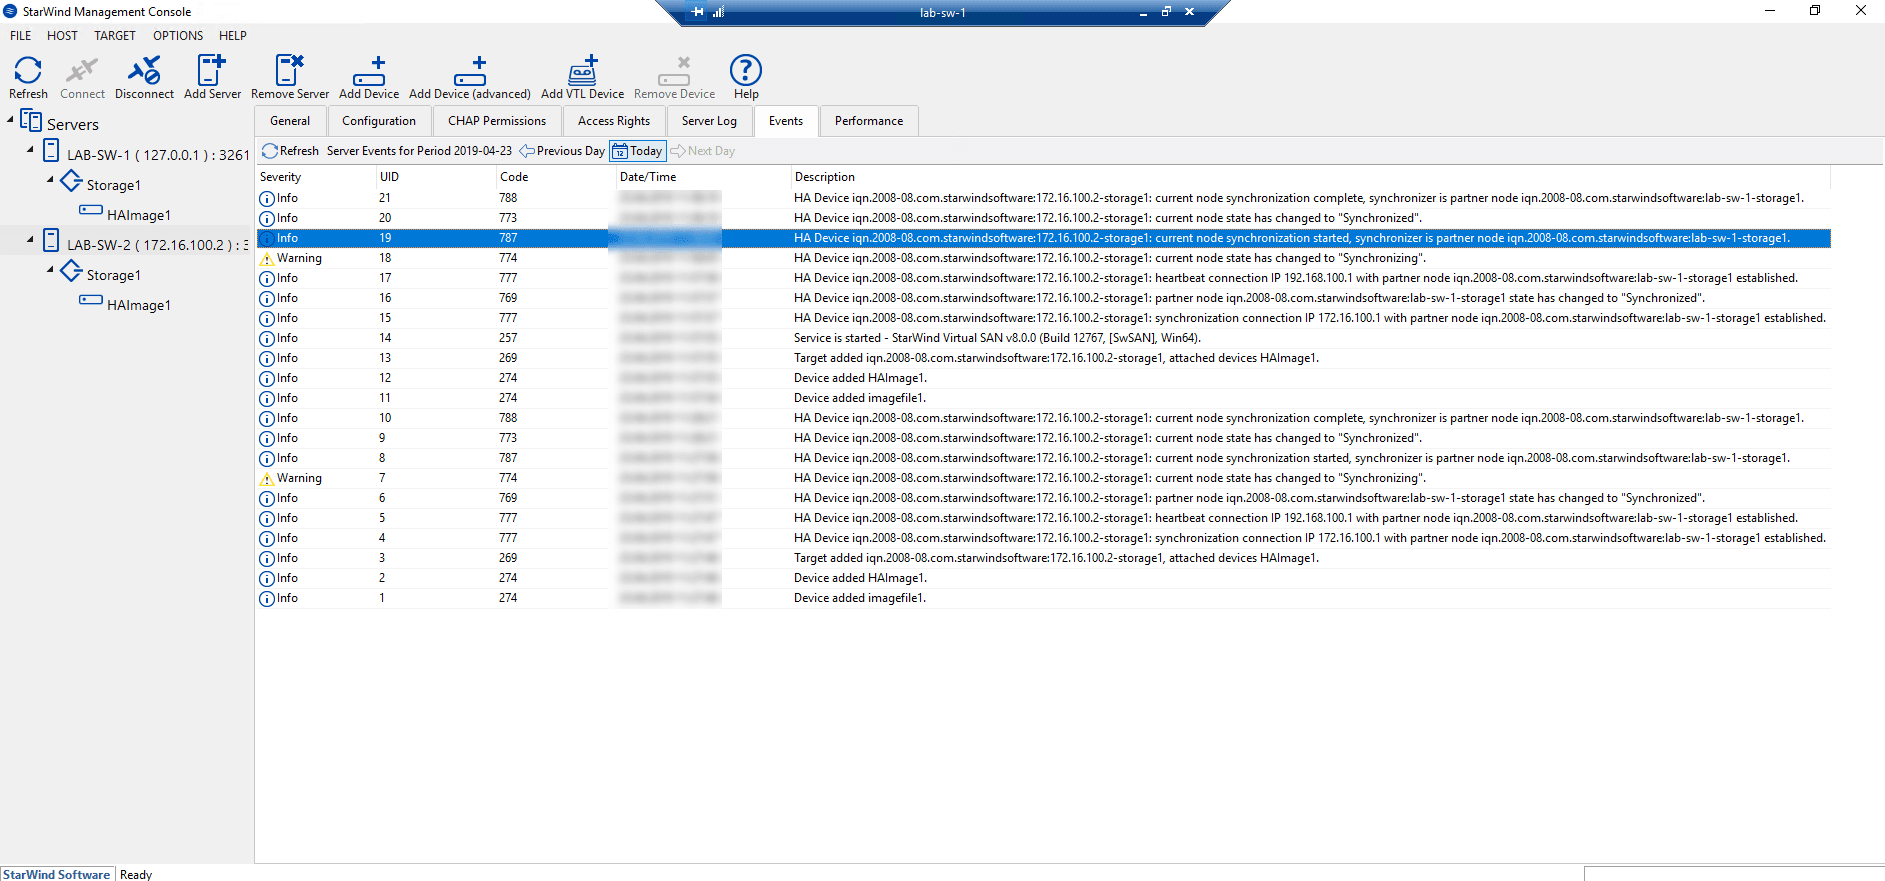
It is possible to see the events in the logs on the console.
Conclusion
Starwind is a product that lies between SANsymfony and the iSCSI target role available in Windows.
I discovered this software a few years ago when I needed to present available storage on a physical server to another server for WSUS deployment that does not support storing updates on a network share .
The HA feature is a real plus for the Windows role.
I also put in LAB, the StarWind and Hyper-V coupling for the clustering of virtual machines in a hyperconverged solution which makes it possible to be free of a storage array and thus to reduce the costs, allowing for small structures to have a real PRA.
Find the video tutorial: