Clientless access presentation
Client-free access to Sophos XG firewalls allows connections to corporate servers without a VPN client by going directly through an internet browser as Citrix does.
Clientless access configure
Firewall configuration
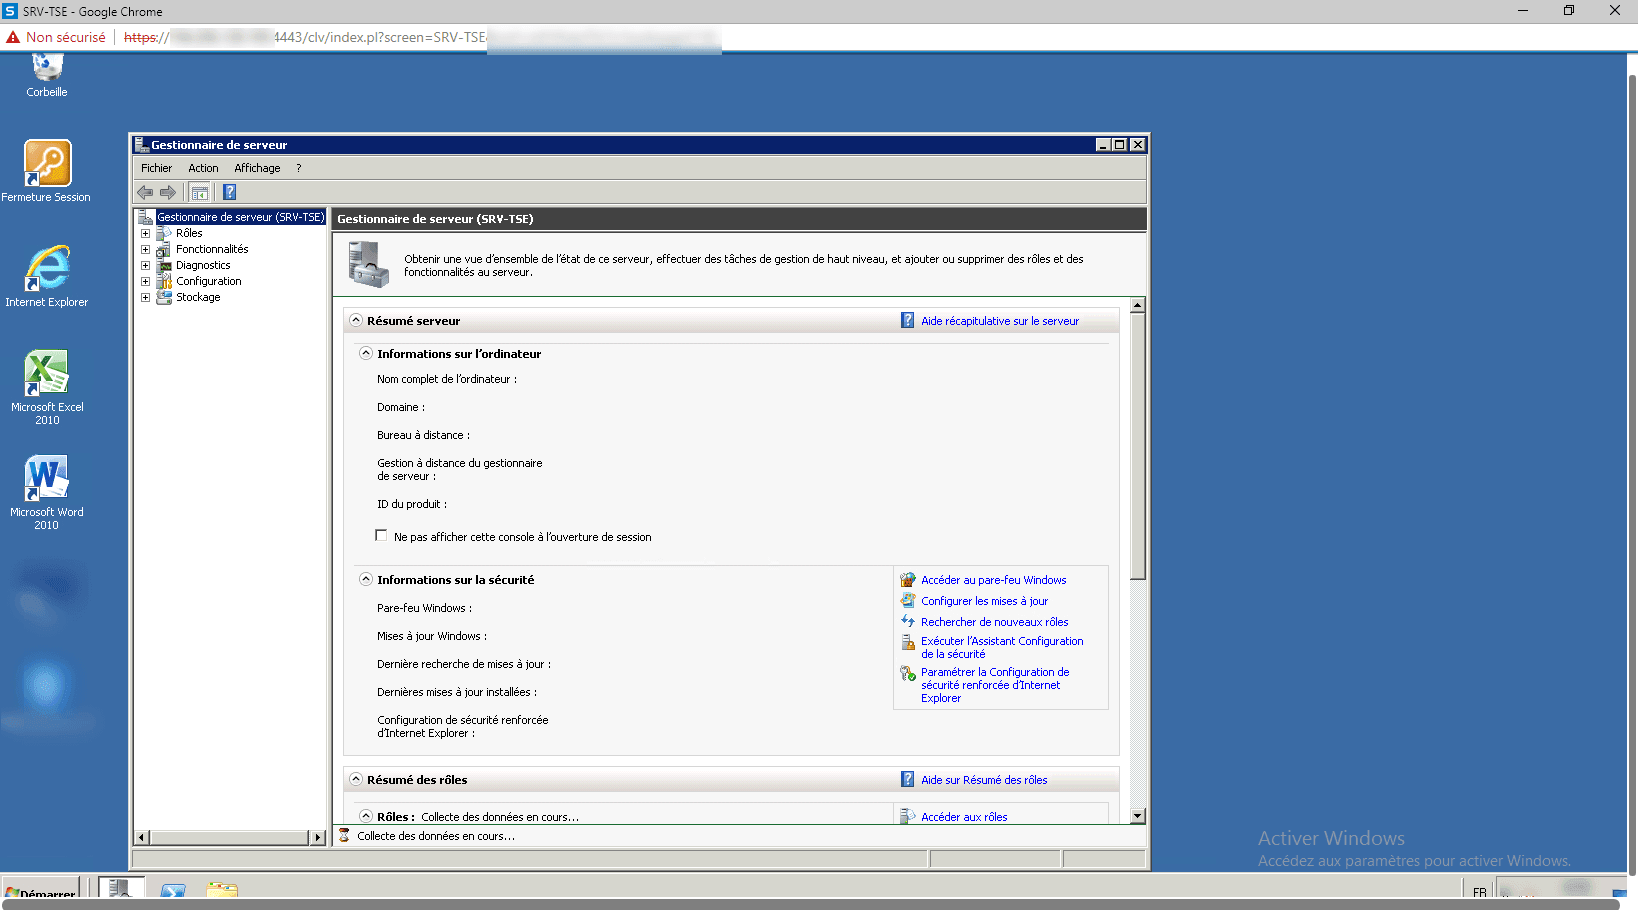
1. Go to the firewall administration interface.
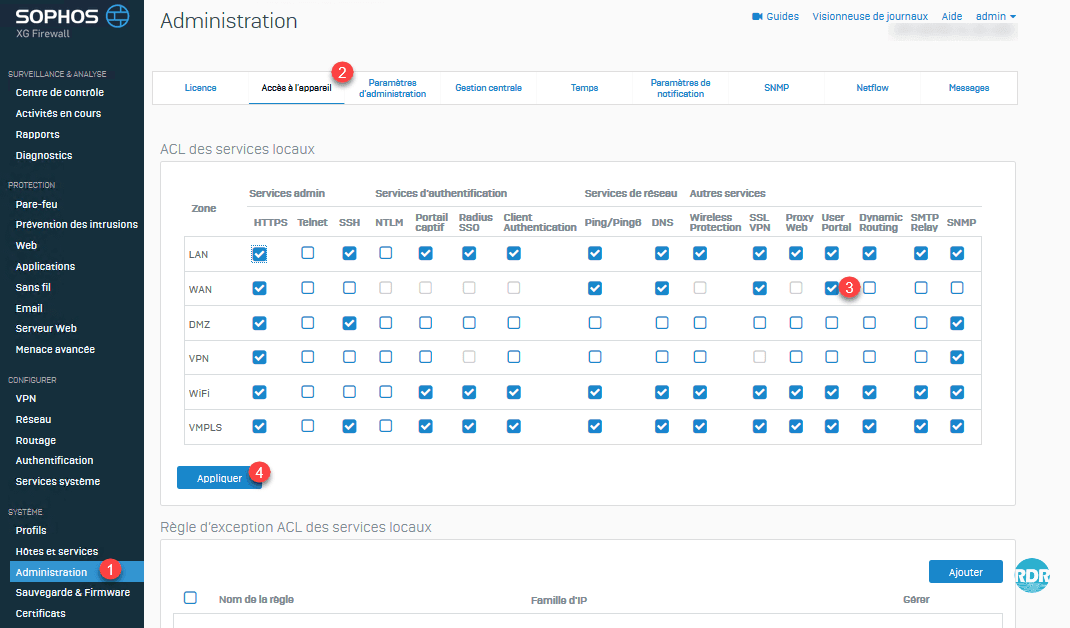
2. From the navigation menu go to Administration 1 / Device Access 2 and verify that the User Portal 3 is available from the WAN interface. If not, check the box and click Apply 4.
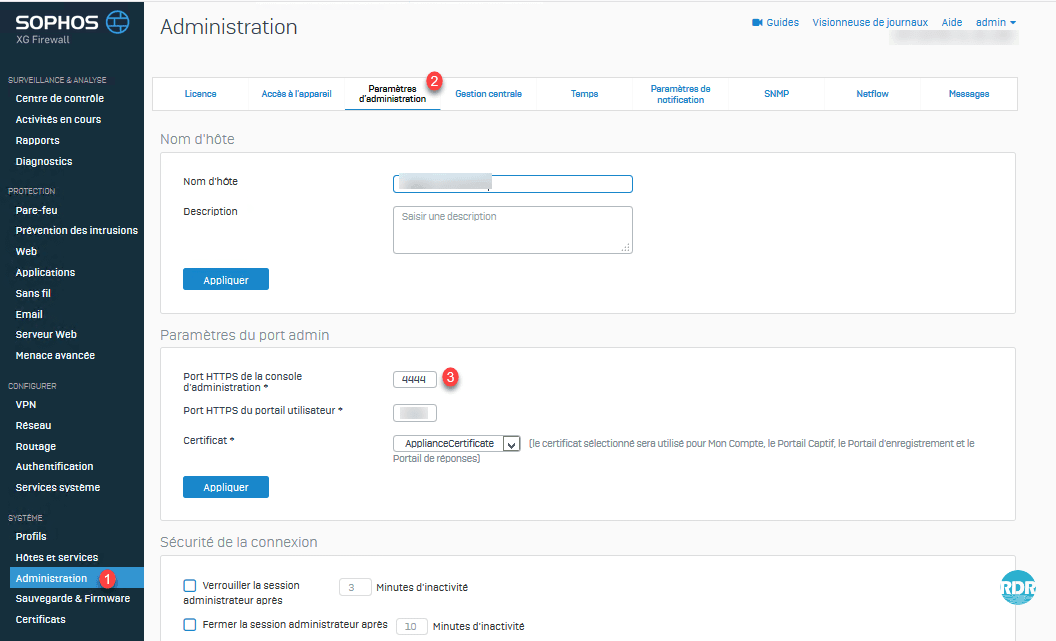
3. From the navigation menu go to Administration 1 / Administration Parameter 2 and note the port of the user portal 3.
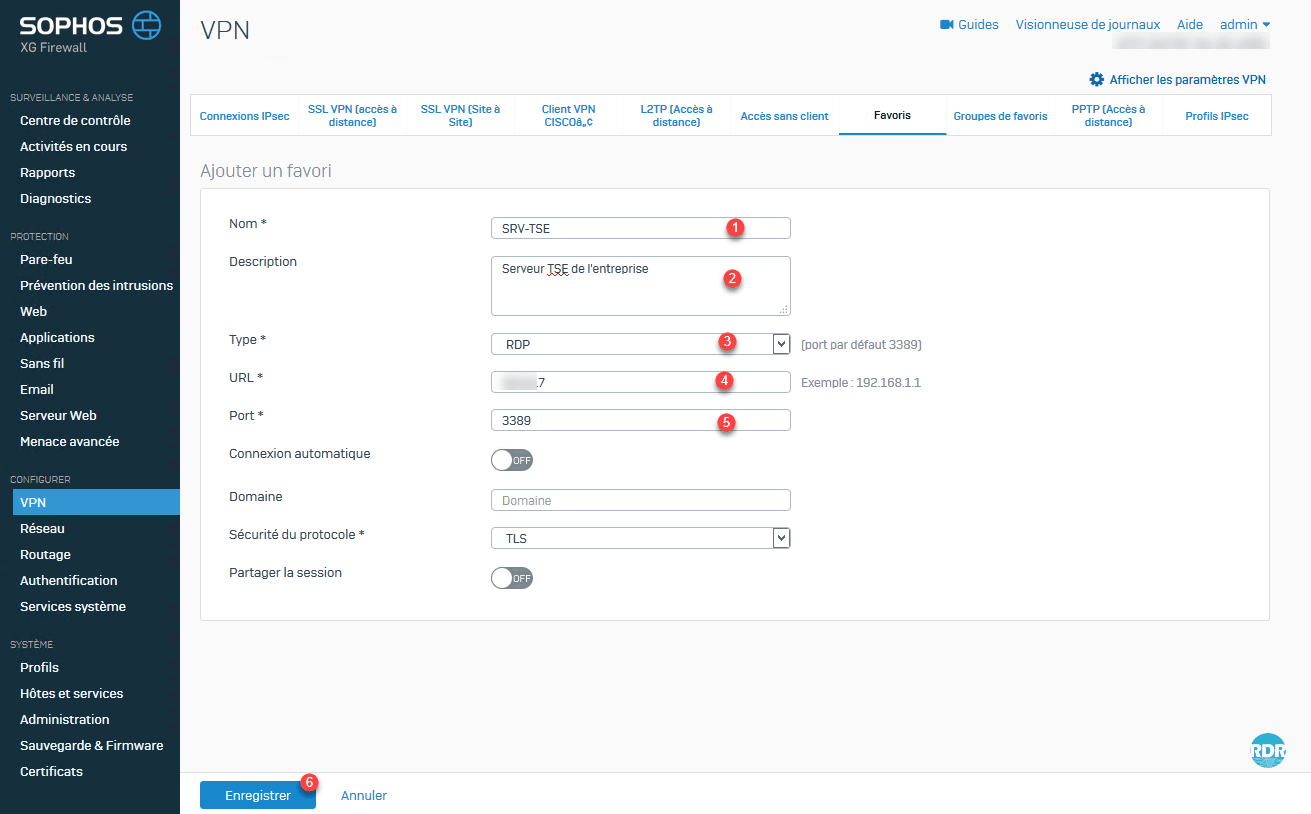
4. Before configuring access to the portal, you must declare a Favorite, here the server that you want to make available via the portal. Go to VPN 1 / Favorites 2 and click the Add button 3.

5. Enter a Name 1 and a description 2 to identify the resource. Choose the type RDP 3, enter the IP address of the server 4, port enter the port RDP 5 (default 3389) and click Save 6.
6. Server 1 is added to favorites.
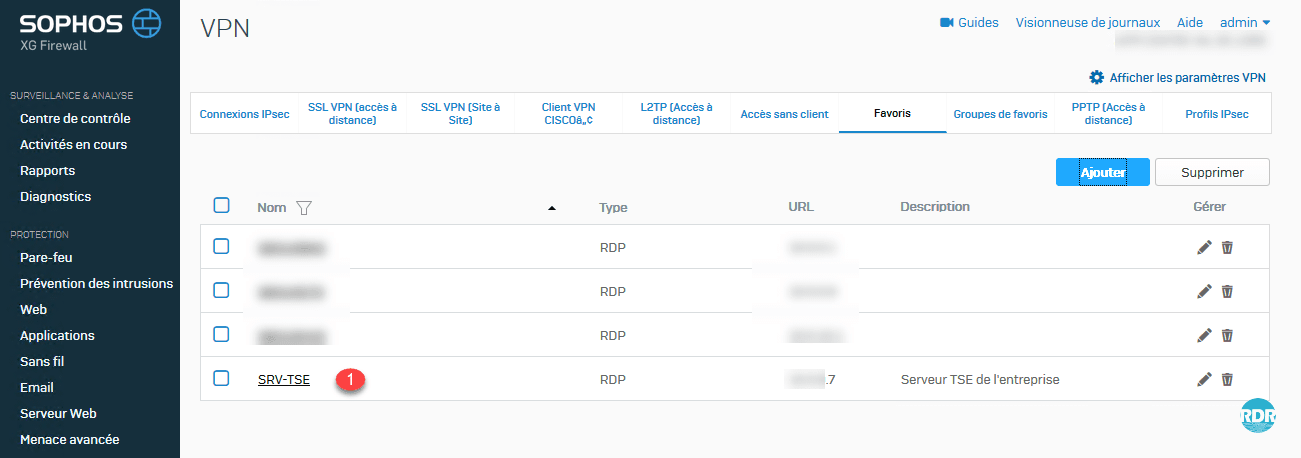
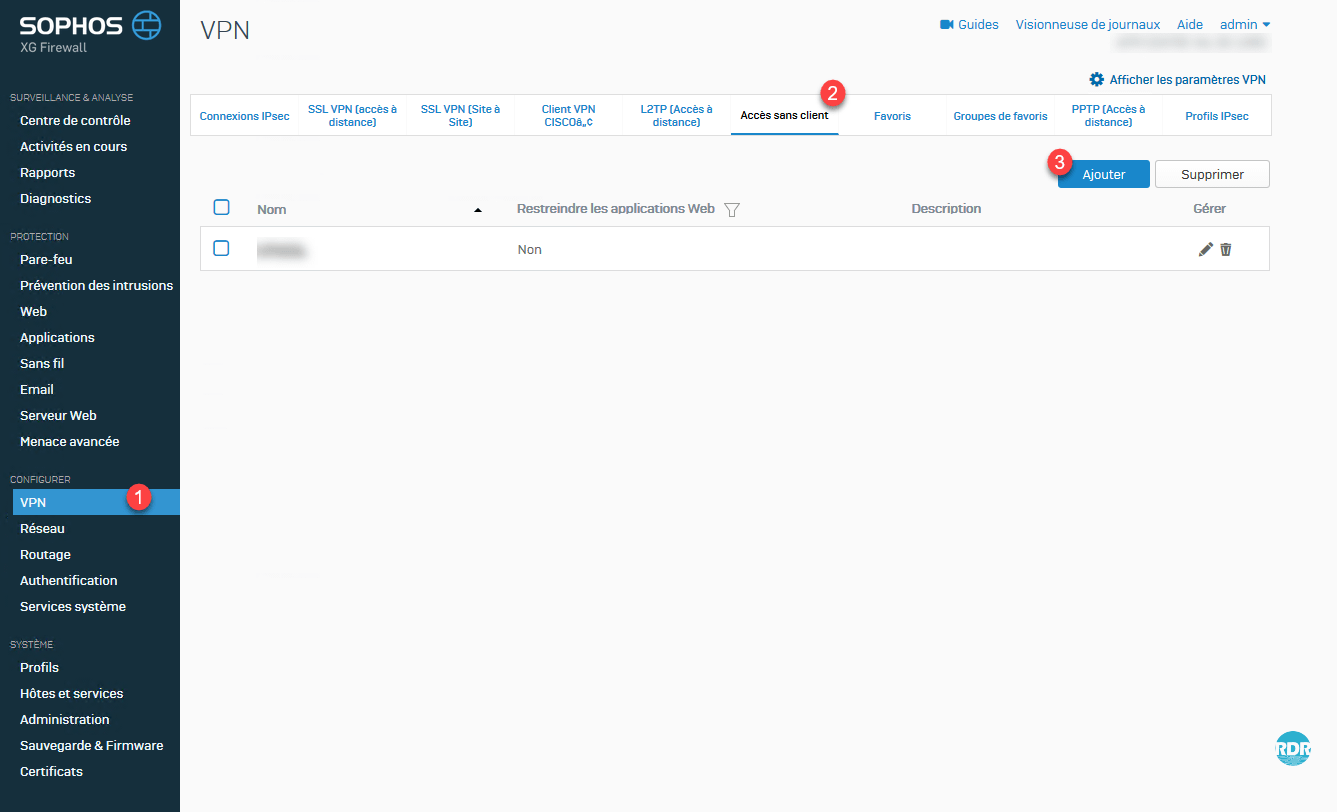
7. Now, you have to configure a clientless access to which we will define the available favorites. Click on VPN 1 / Clientless Access 2 / Add 3.
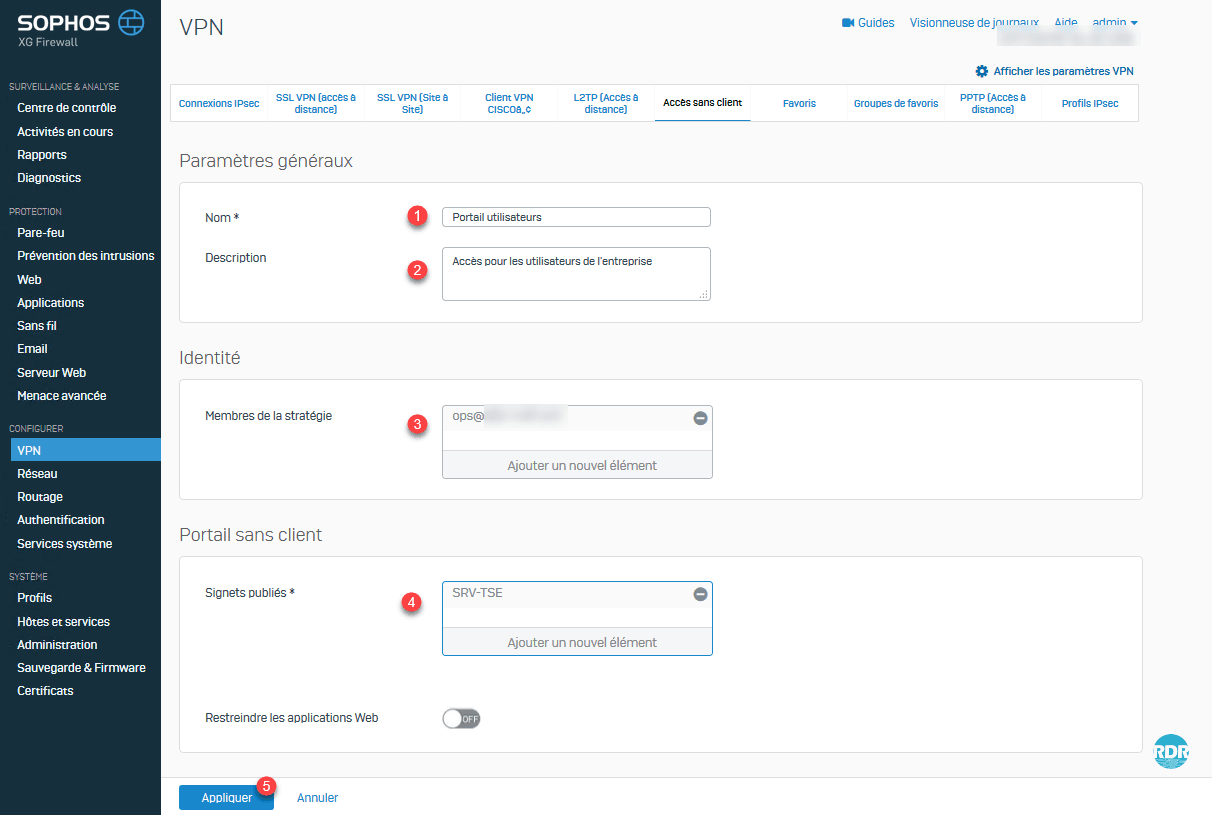
8. Enter a name 1 and description 2. Select in which the strategy should be applied 3 and resources (bookmarks) published 4 (here the server) and click Apply 5.
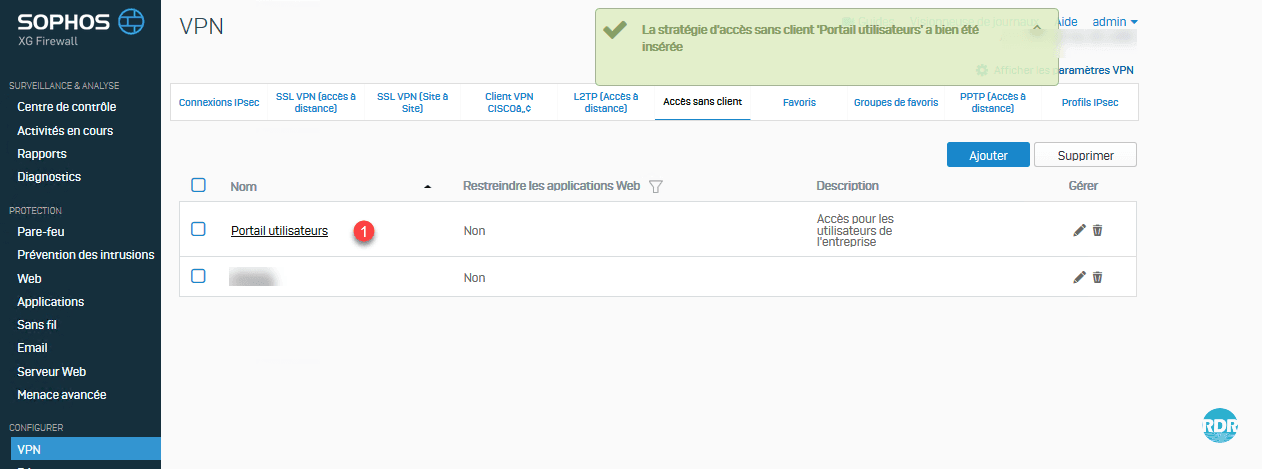
9. Confirm the application of the policy by clicking OK 1.

10. We find the access without client in list 1.
Using clientless access
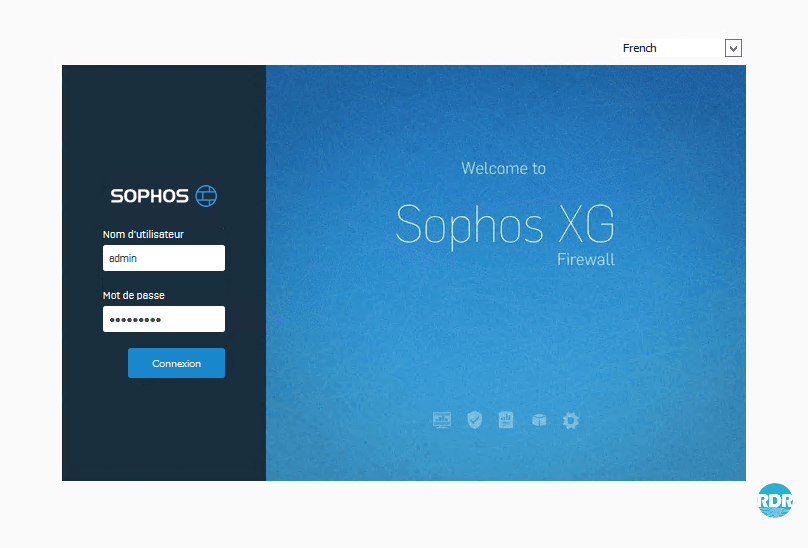
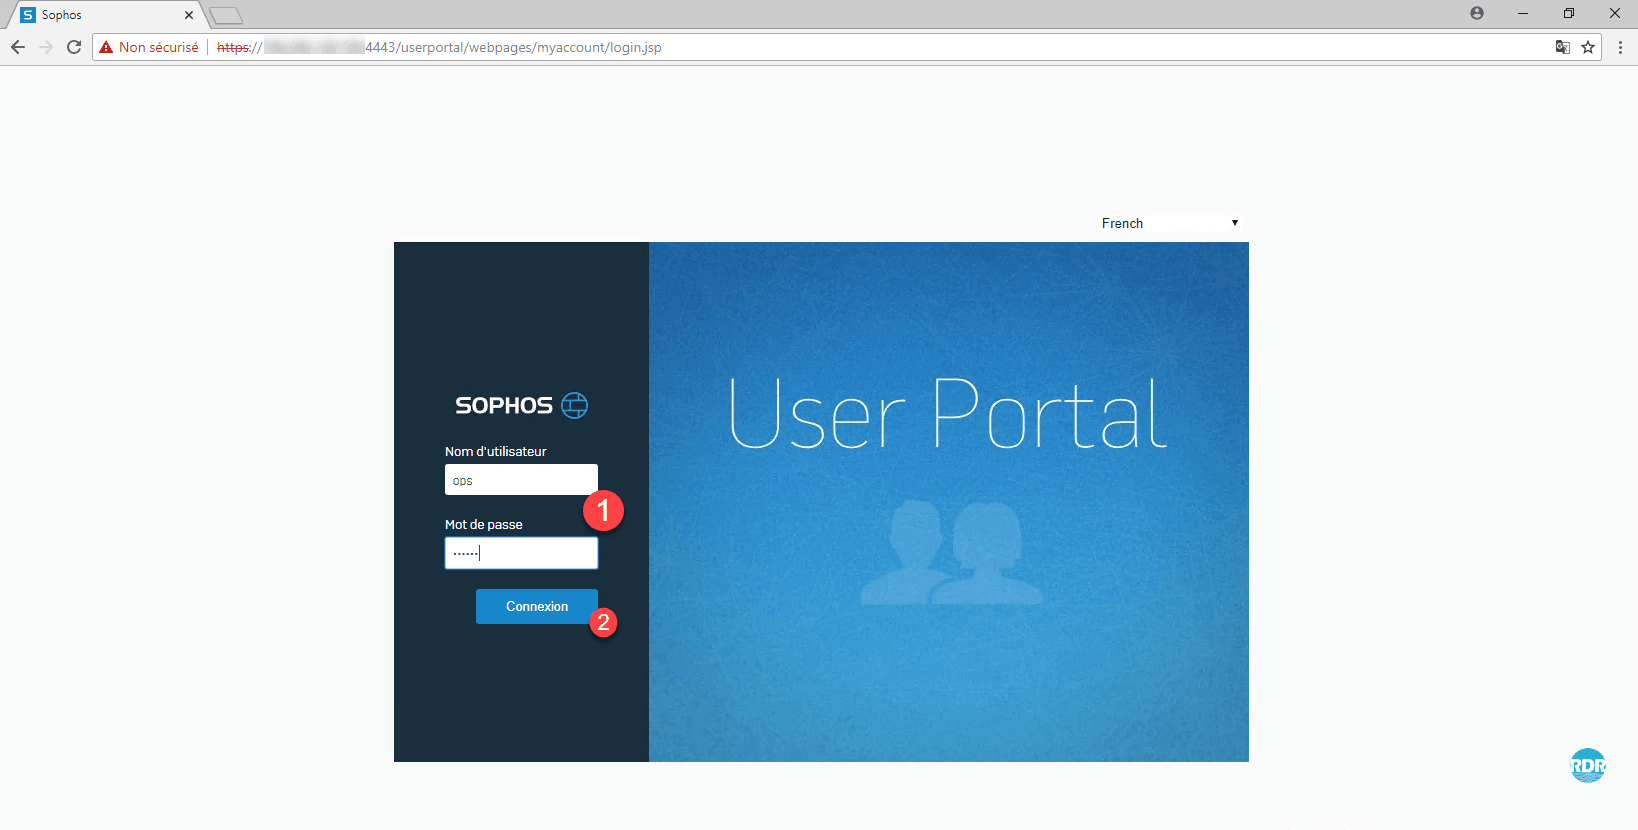
1. From a computer, launch an internet browser (preferably Chrome) and go to the portal https://xxx.xxx.xxx.xxx:4443
2. Enter the identifiers 1 and click on Connection 2.
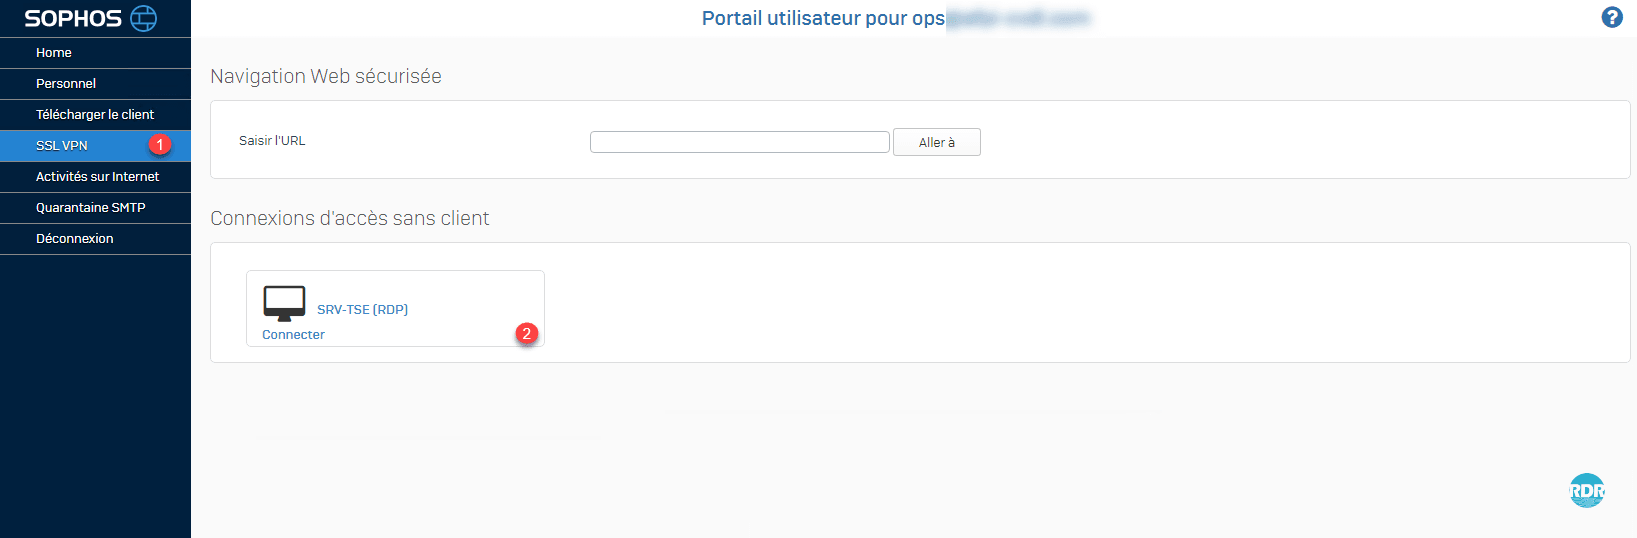
3. On the navigation menu go to SSL VPN 1. The page displays the clientless access configured in the policy. Click on it 2.
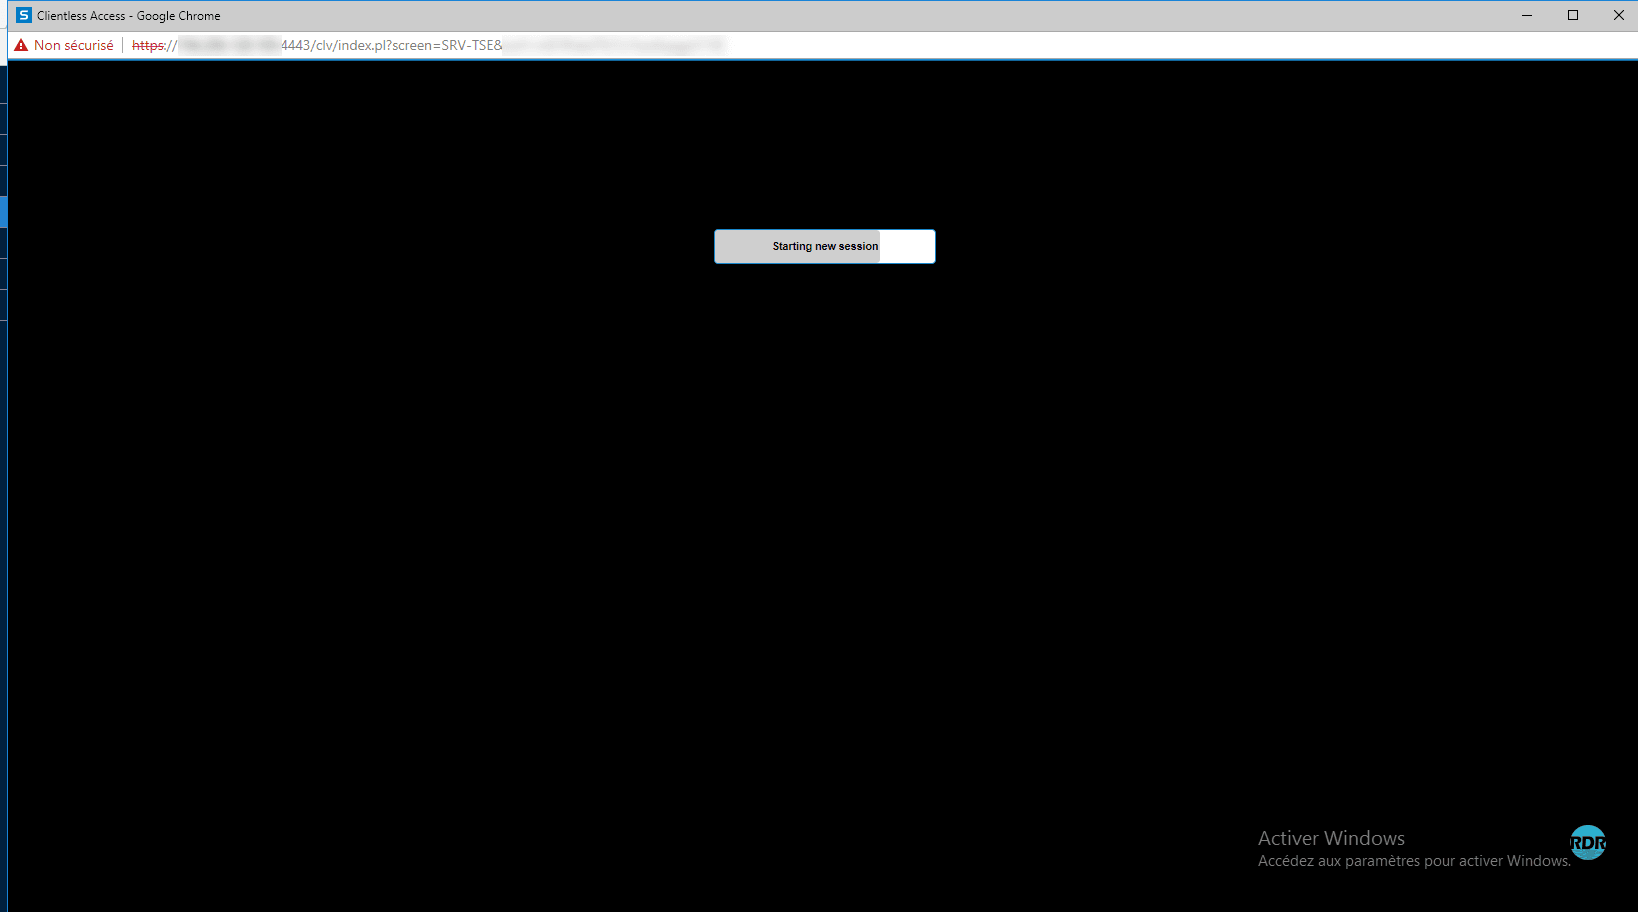
4. A new window opens, wait while connecting.
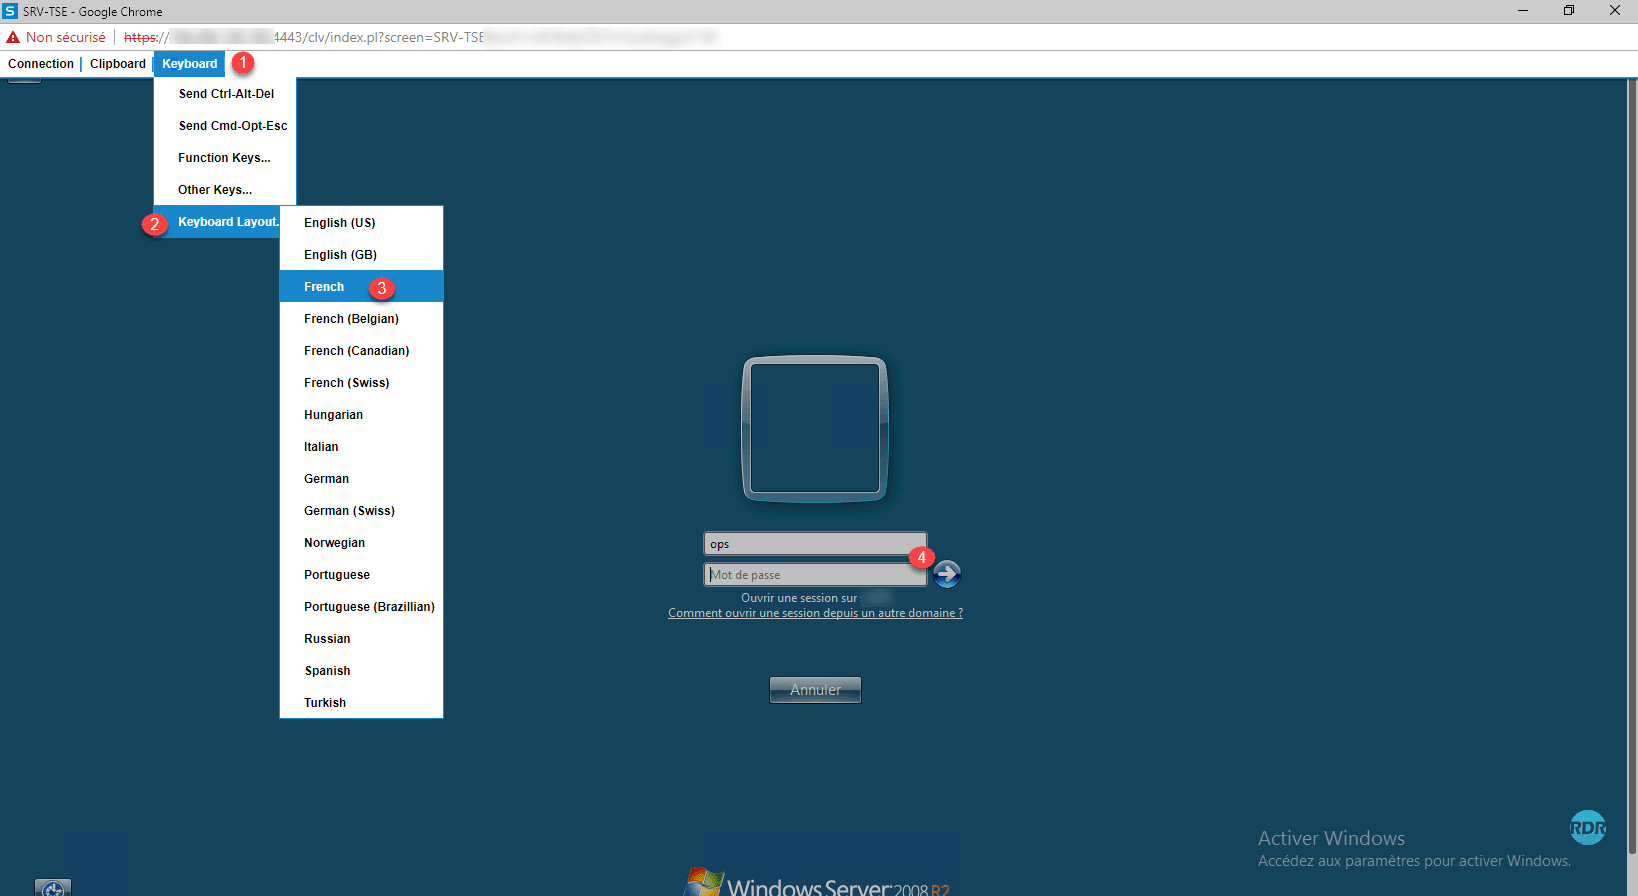
5. Switch the keyboard to AZERTY, click on Keyboard 1 / Keyboard Layout 2 / Frech3. Enter login 4 to login.
6. Connection established to the server.