Post-installation configuration of SharePoint 2013
In this part, we will configure the server farm as well as the SQL Server instance for SharePoint.
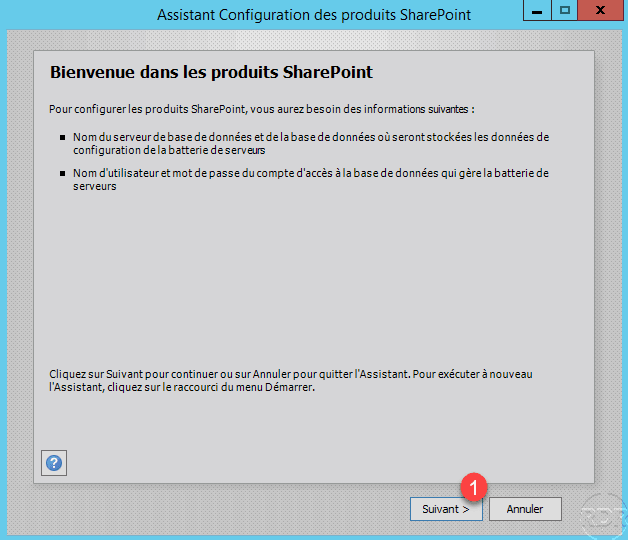
When launching the wizard, click Next 1 .
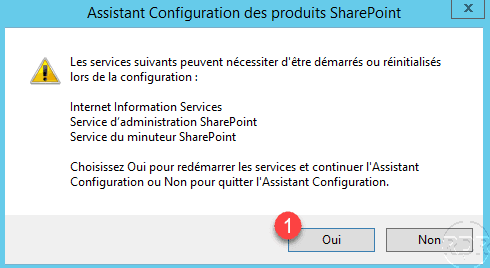
Click Yes 1 to confirm the (re) start of the services needed for Sharepoint 2013.
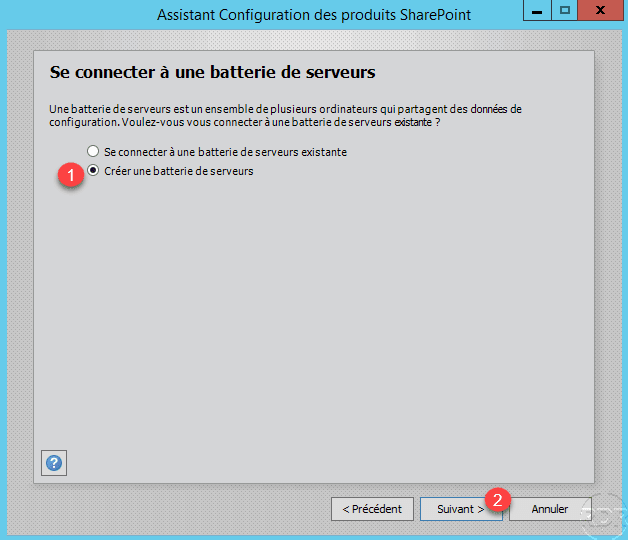
Since this is the first server, select the option Create Server Farm 1 and click Next 2 .
Indicate the 1 SQL server and the identifiers to connect 2 then click Next 3 .
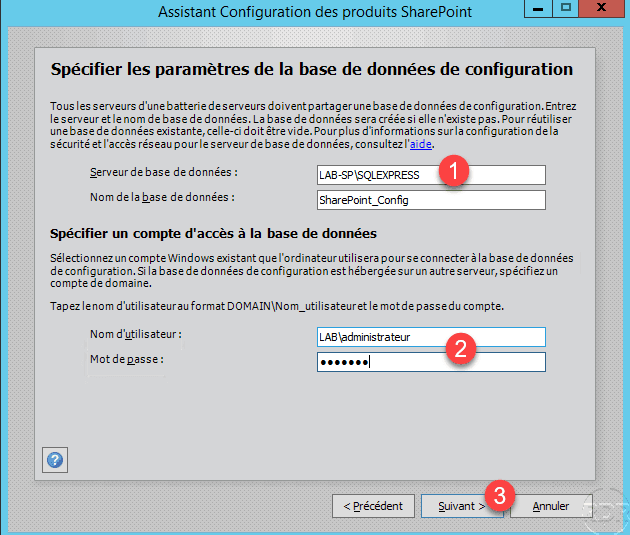
In a production environment, it is recommended to use an account dedicated to SharePoint.
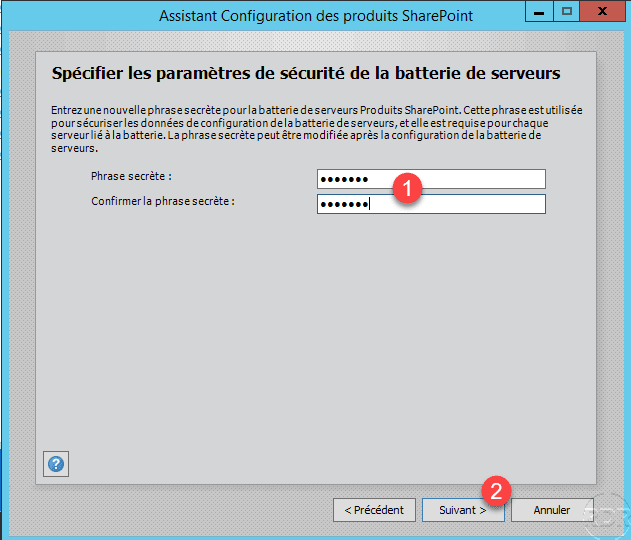
Enter a secret phase 1 then click Next 2 . This sentence will be requested when adding a new server to the farm.
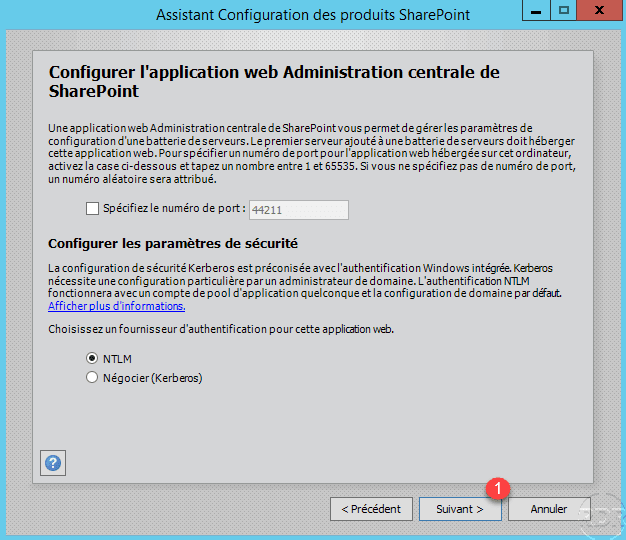
Configure access to the administration interface, if necessary change the proposed port number and the authentication method and click Next 1 .
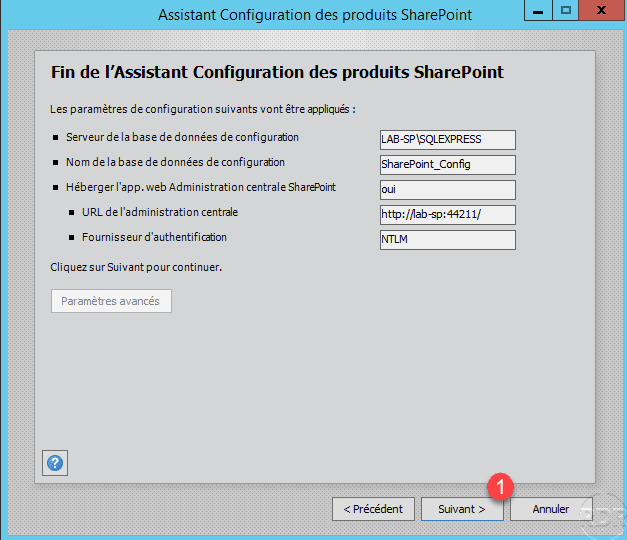
A summary of the configuration is displayed, click Next 1 .
Wait while configuring the SharePoint 2013 server farm …
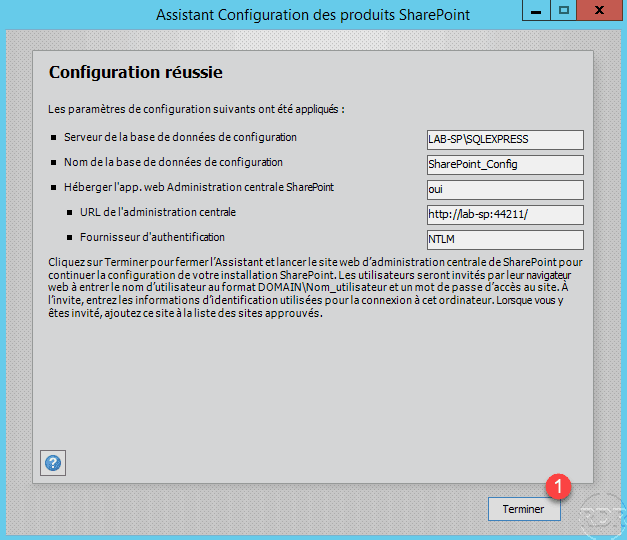
Once the configuration is complete, close the wizard by clicking the Finish 1 button.
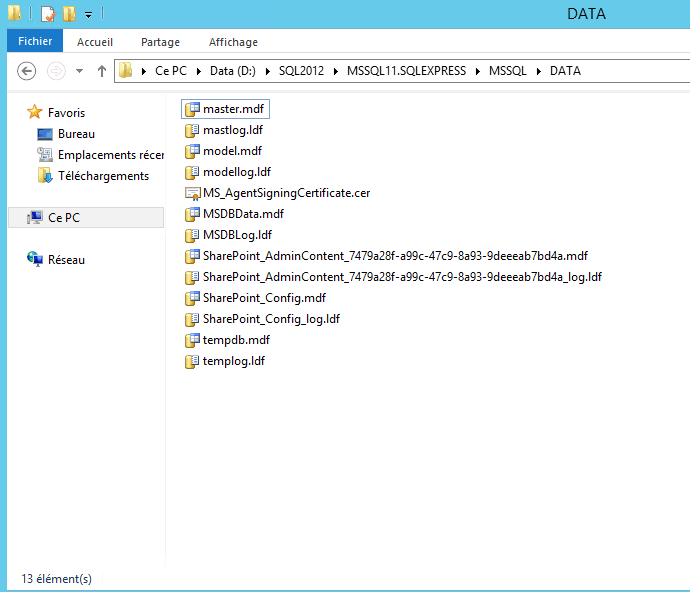
In the DATA folder of SQL Server, we can see that several databases have been created.