
In this tutorial, I will explain how to deploy virtual machines on Ubuntu with Proxmox using Cloud-Init.
At the end of this tutorial, you will be able to deploy a virtual machine under Ubuntu in a few clicks and all in less than 3 minutes with a VM ready.
Cloud-Init Overview
Cloud-Init is an Open Source project from Canonical for its Ubuntu OS which has been available since 2010.
Cloud-Init allows you to configure and execute actions on a virtual machine after starting it using a YAML format file.
Here are some possible actions:
- Naming the machine
- Network setup
- User Management
- SSH key
- Update
- Installing packages
- …
Cloud-Init was quickly adopted by Public Cloud providers which allows the configuration of a virtual machine by the customer by importing a YAML file, we find Cloud-Init with the following providers:
- Azure
- AWS
- IBM
- OVH
- Scaleway
- …
Cloud-Init also supported by Private Cloud solutions:
- VMware
- Proxmox
- OpenStack
- …
Due to its adoption by Public and Private Cloud solutions, Cloud-Init is now available on many Linux distributions.
How Cloud-Init works
I’m not going to go into detail about how Cloud-Init works, but you give the broad outlines.
If you have already installed virtual machines under Ubuntu, you do not have a Cloud-Init option during installation which allows you to configure the virtual computer directly.
To use Cloud-Init, you must go through a specific installation image which we will convert into a template, then we duplicate this template and inject the YAML file which will configure the virtual machine
Cloud-Init integration in Proxmox
To use Cloud-Init in Proxmox, you have two solutions:
- Use the options available in the Proxmox web interface which are limited in terms of configuration
- Use a YAML file
In this first tutorial, we will see how to use Cloud-Init through the Proxmox web interface.
Preparing the Cloud-Init Template in Proxmox
Download image for Ubuntu
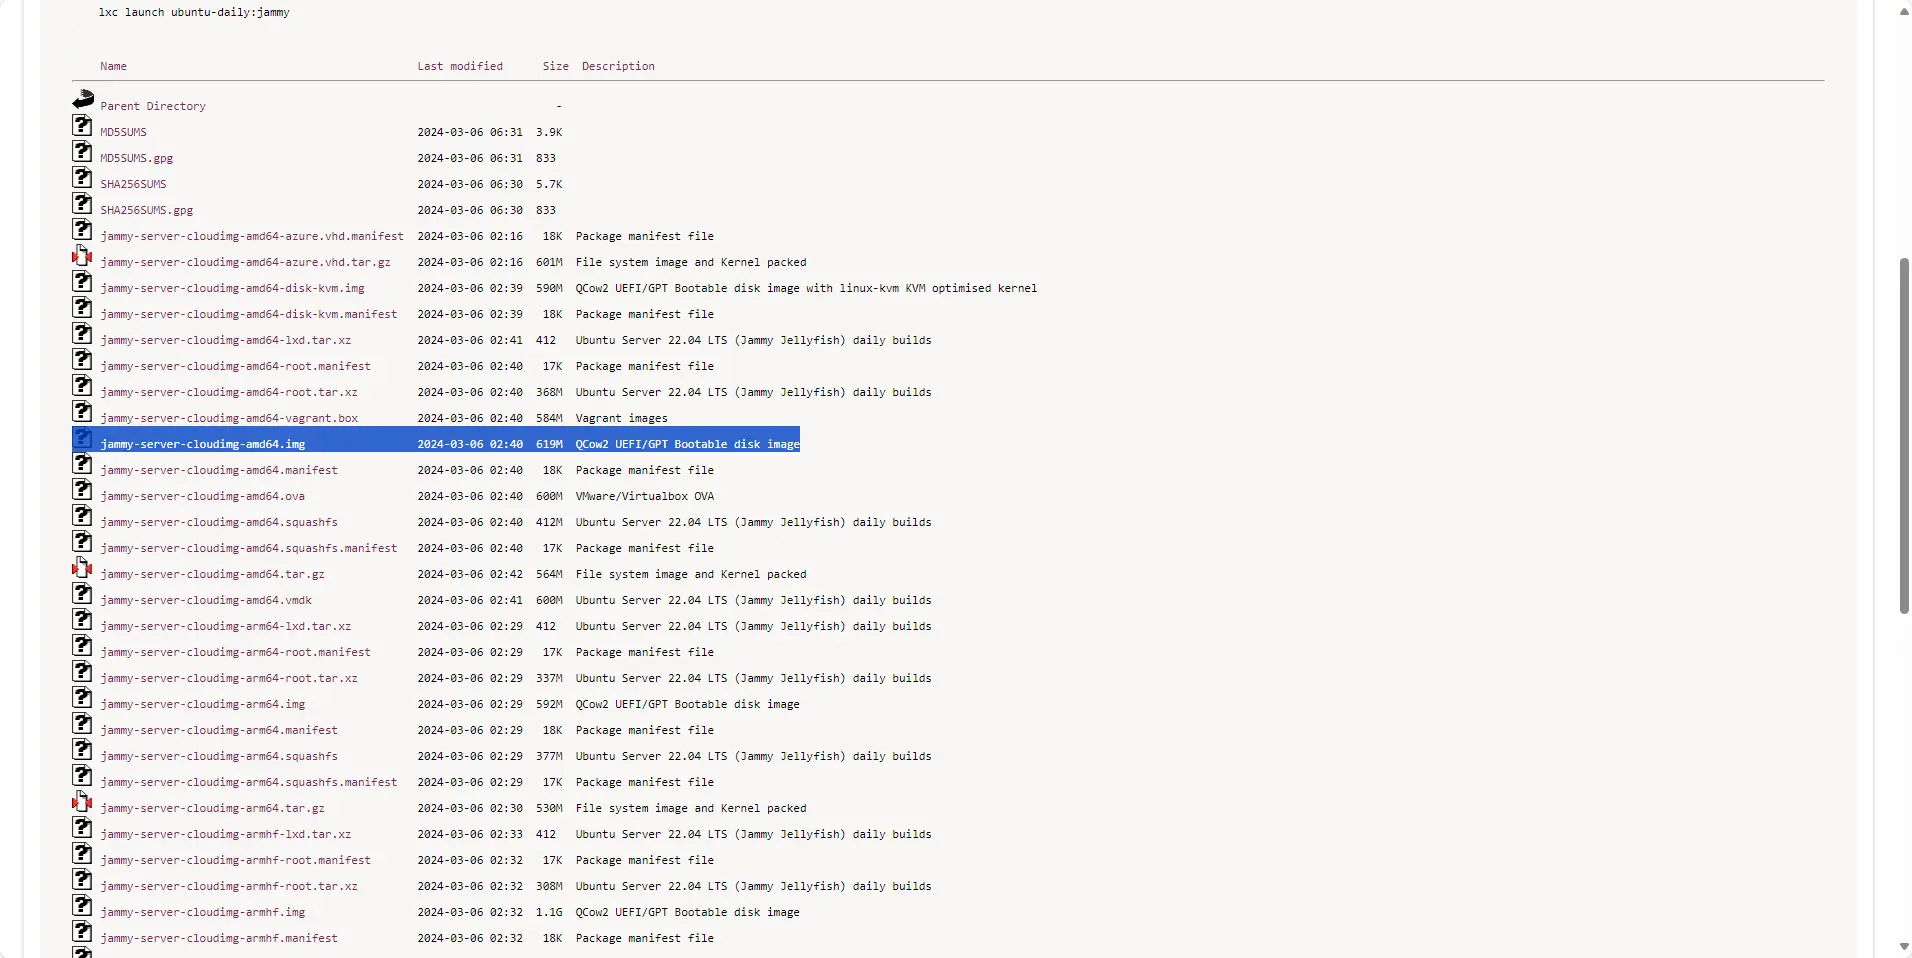
To get started, retrieve the download link for the Ubuntu image which is available here : https://cloud-images.ubuntu.com/
For this tutorial, I chose the image : jammy-server-cloudimg-amd64.img
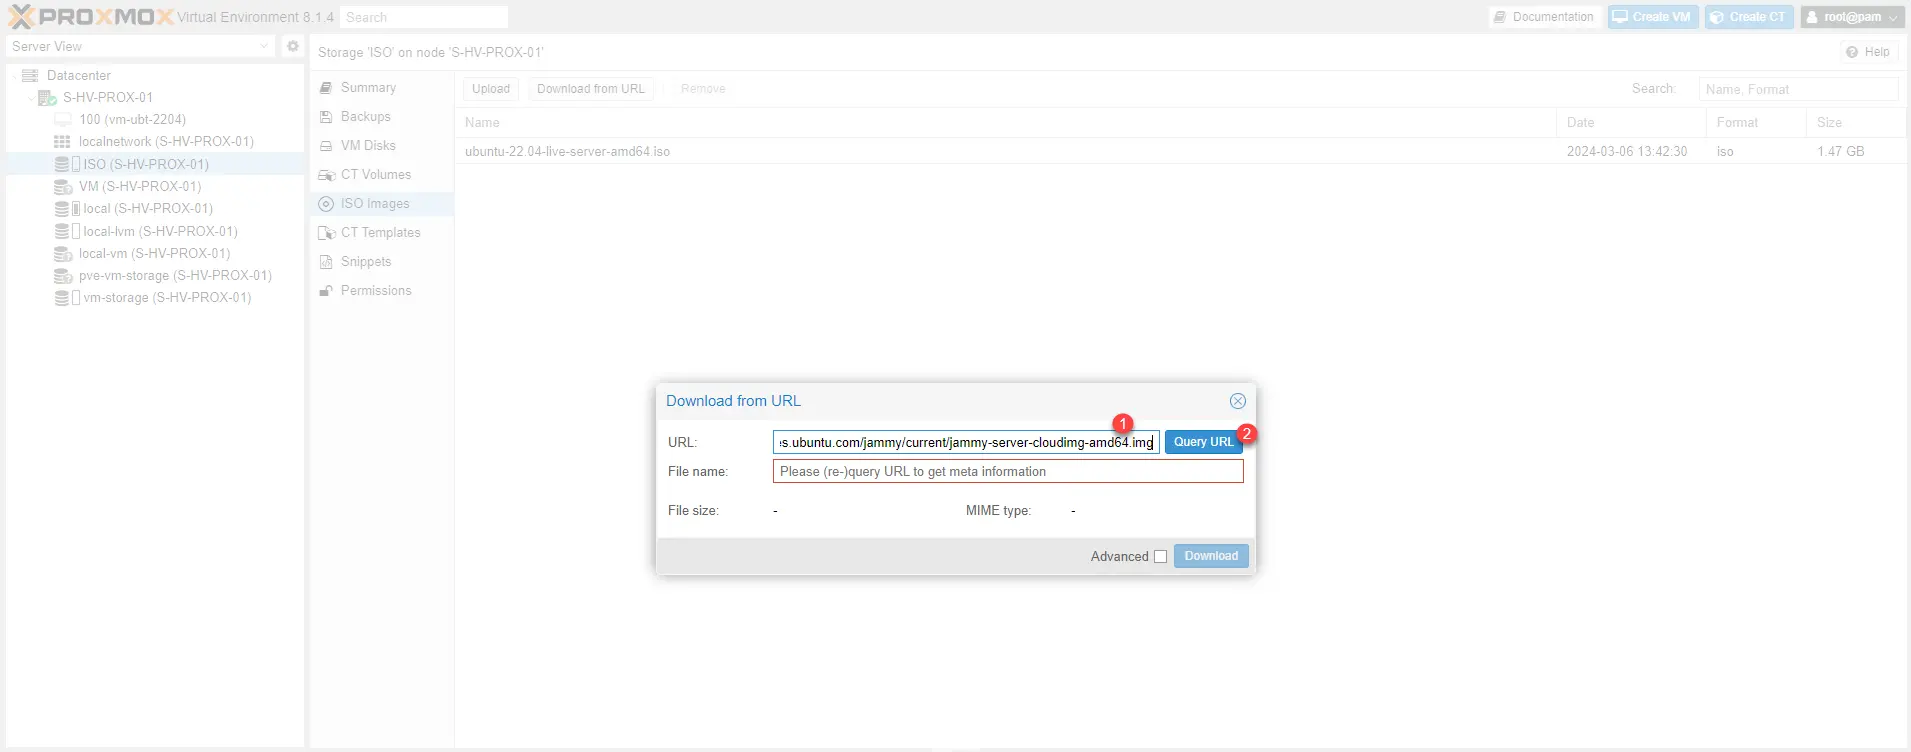
After seeing copy the link go to the Proxmox interface in a storage where you can save ISOs, from this page, click on Download from URL 1.

In the URL 1 field copy the link and click on Query URL 2.
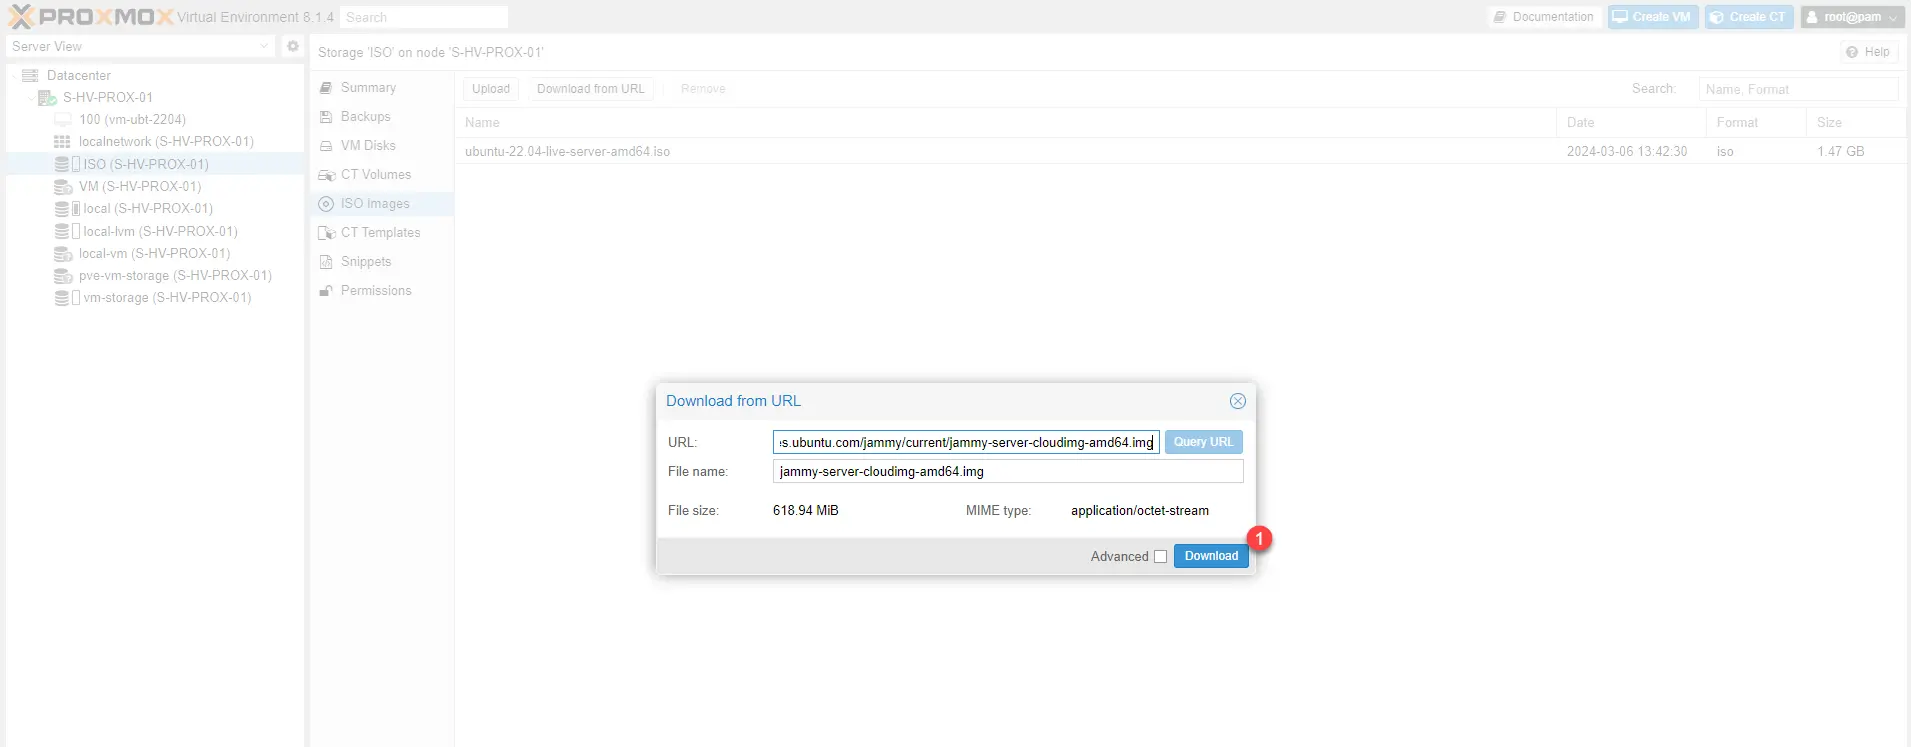
Once the file information has been retrieved, click on the Download 1 button.
Wait while the image downloads…
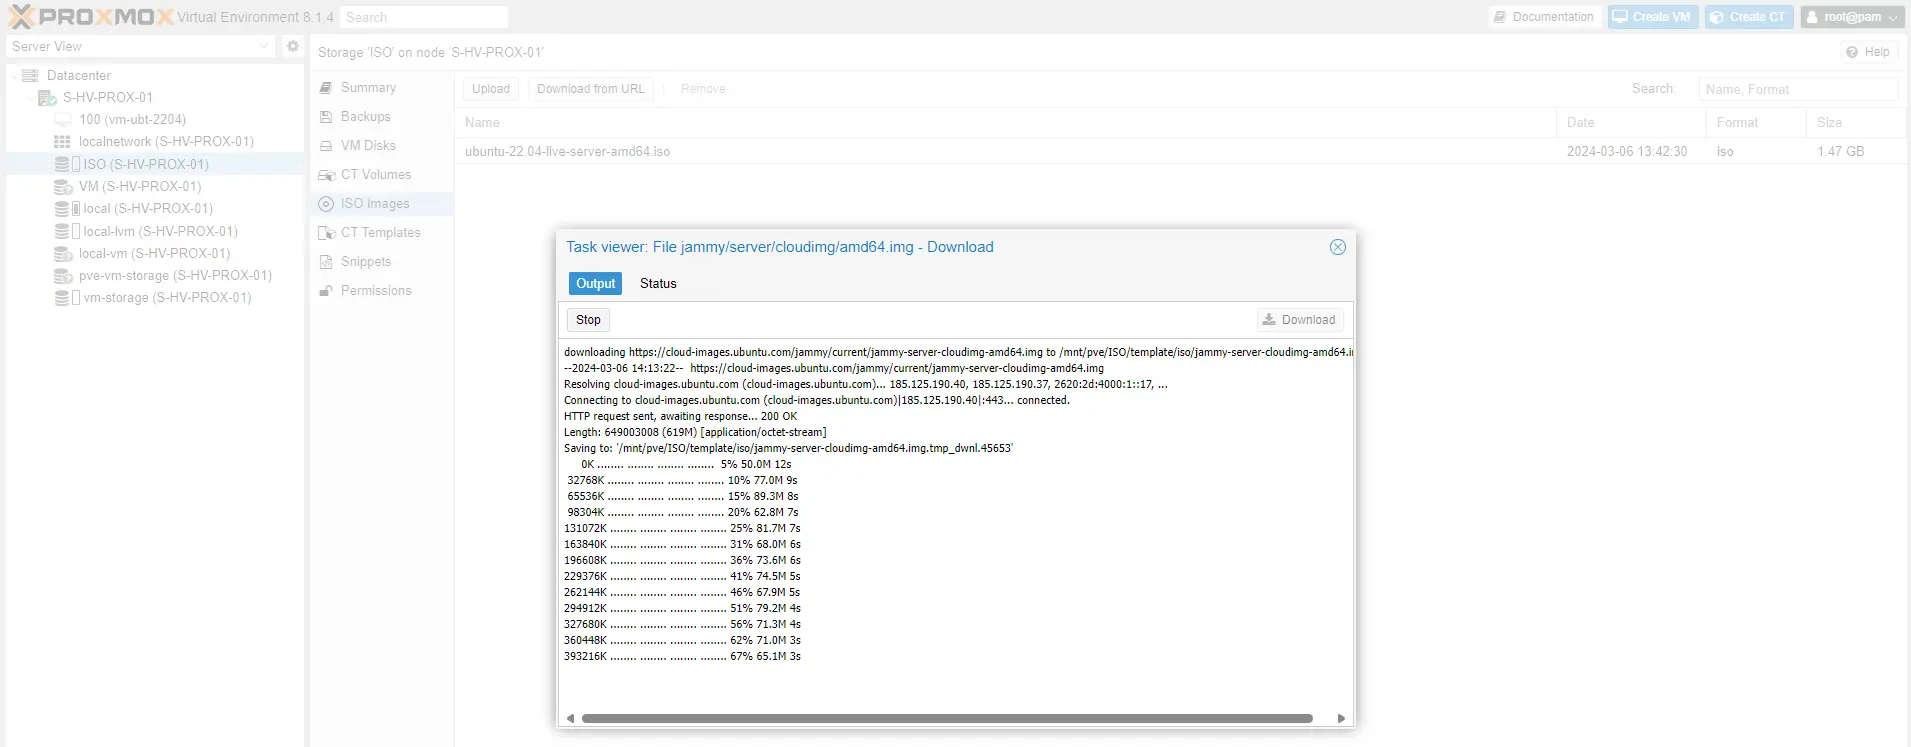
Once the download is complete, close window 1.
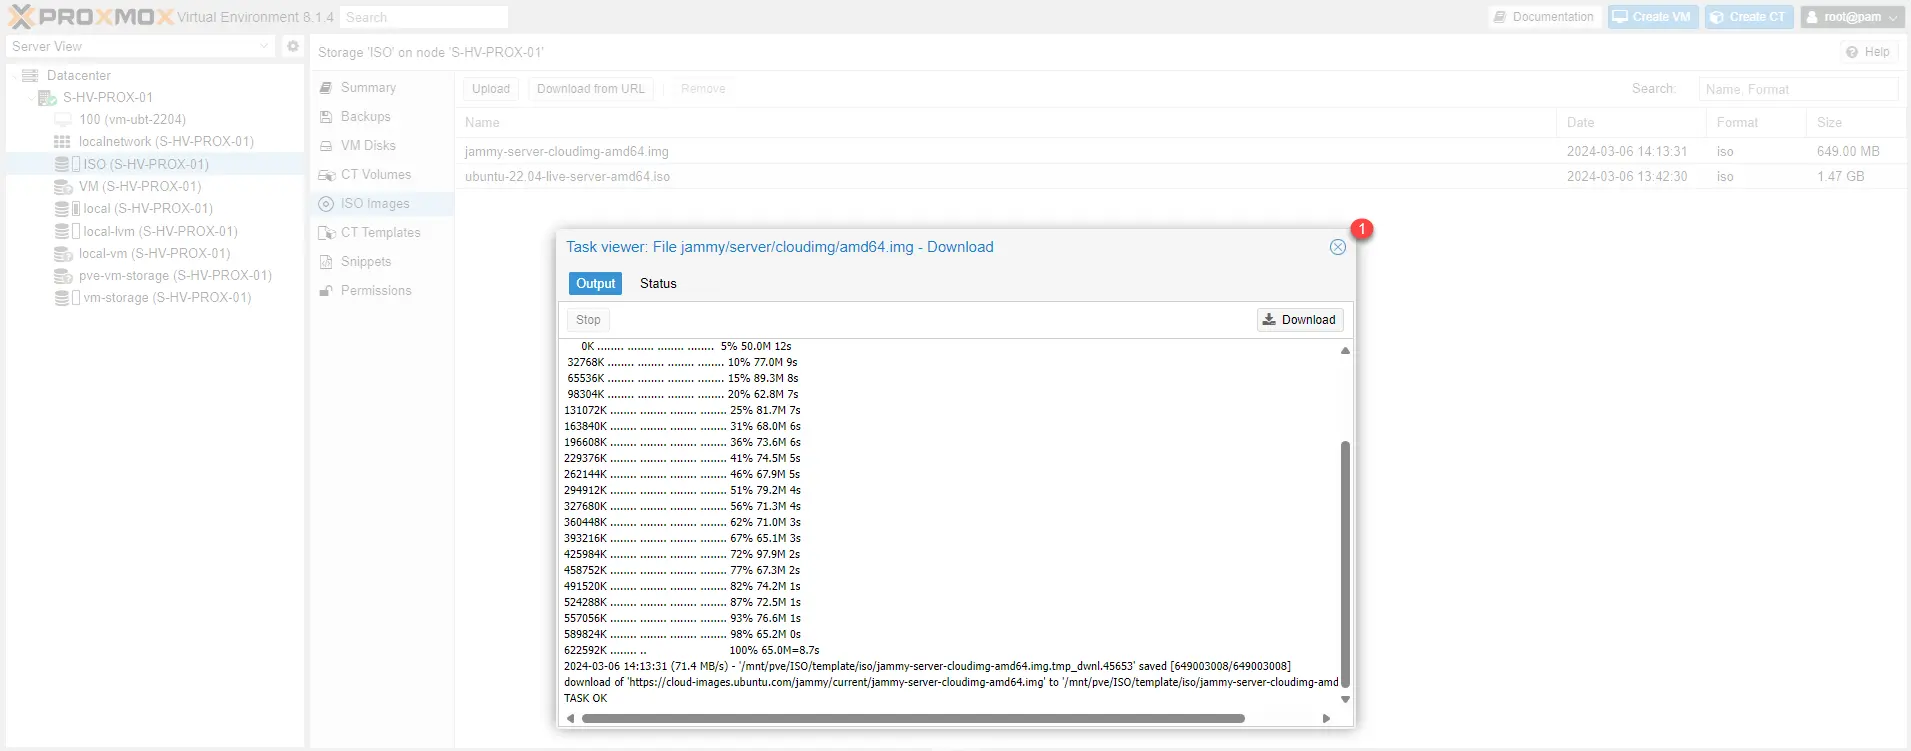
The image is available on the Proxmox server.

Creating the Ubuntu Cloud-Init template
Now that we have the image, we can move on to creating the template to deploy virtual machines on Ubuntu.
The creation of the template will be done on the command line.
Warning
The commands that follow must be adapted to your environment and needs.
We will start by creating a virtual machine named ubuntu-2204-cloudinit-tempalte with 4GB of RAM and a network card and it will have ID 9000.
qm create 9000 --name "ubuntu-2204-cloudinit-template" --memory 4096 --net0 virtio,bridge=vmbr0If we look in the web interface, we can see the virtual machine that was created.
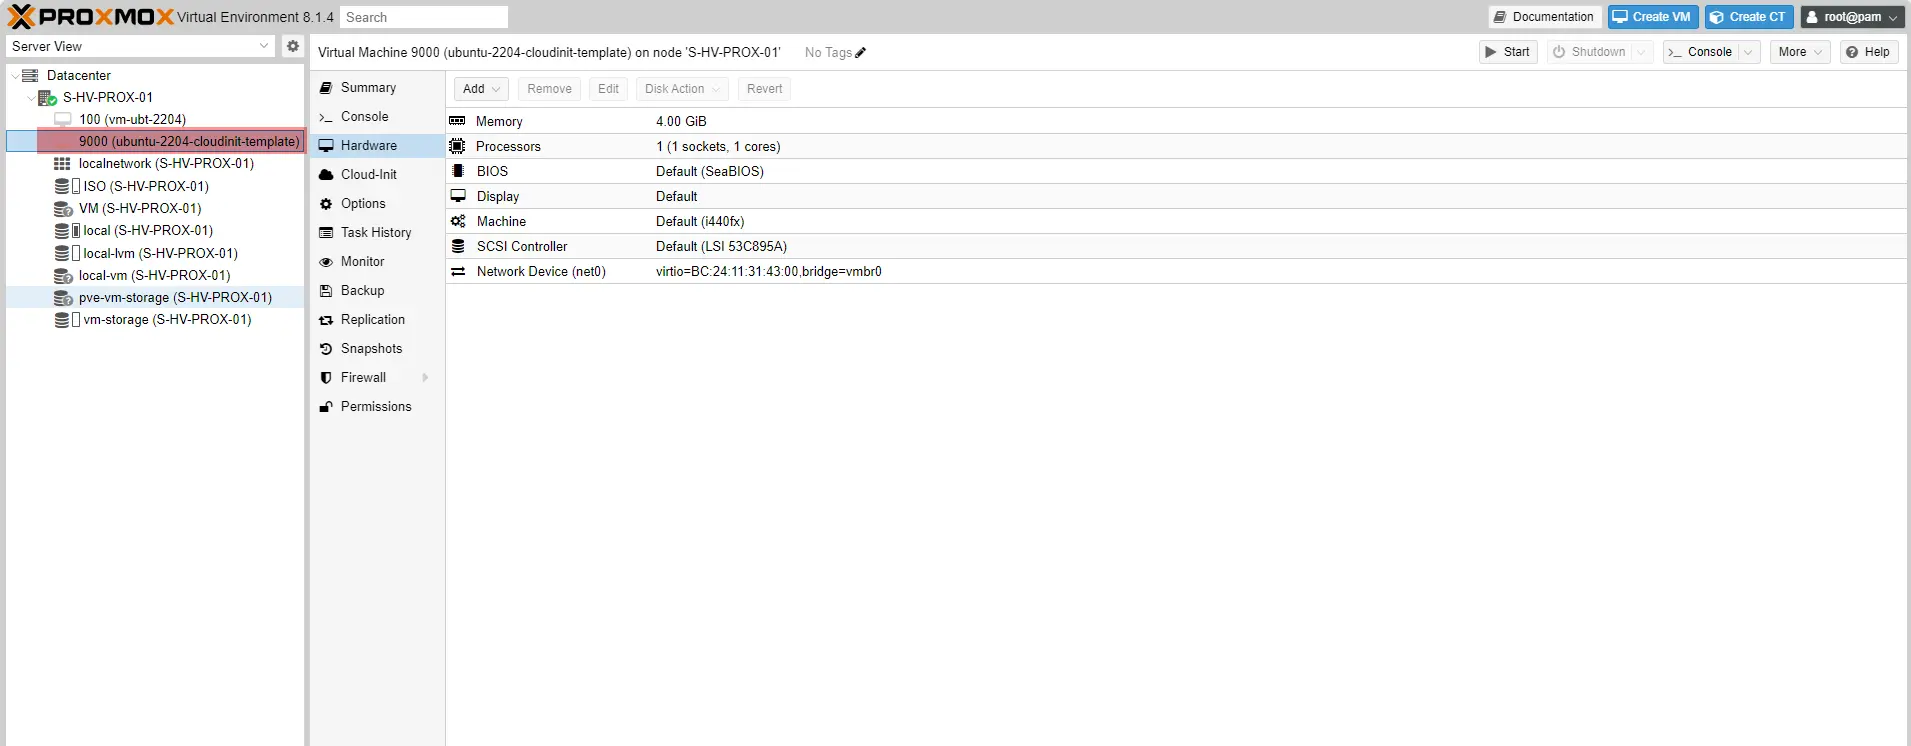
If you wish, you can modify the Hardware part of the VM, such as adjusting the number of CPUs.
We will then import the image to download as a disk for the VM:
qm importdisk 9000 /mnt/pve/ISO/template/iso/jammy-server-cloudimg-amd64.img vm-storage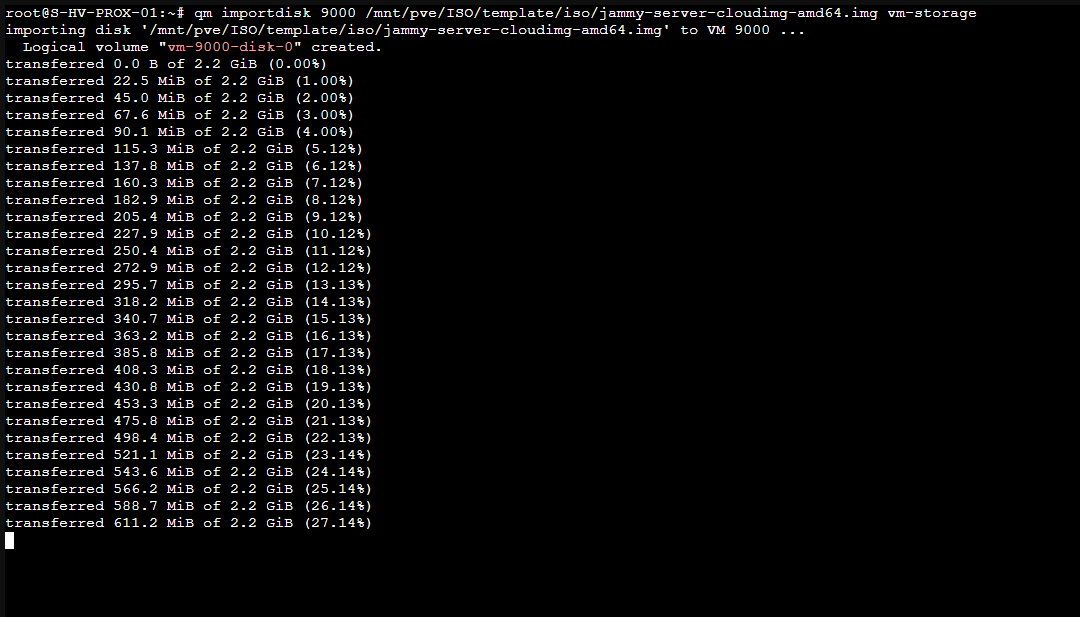
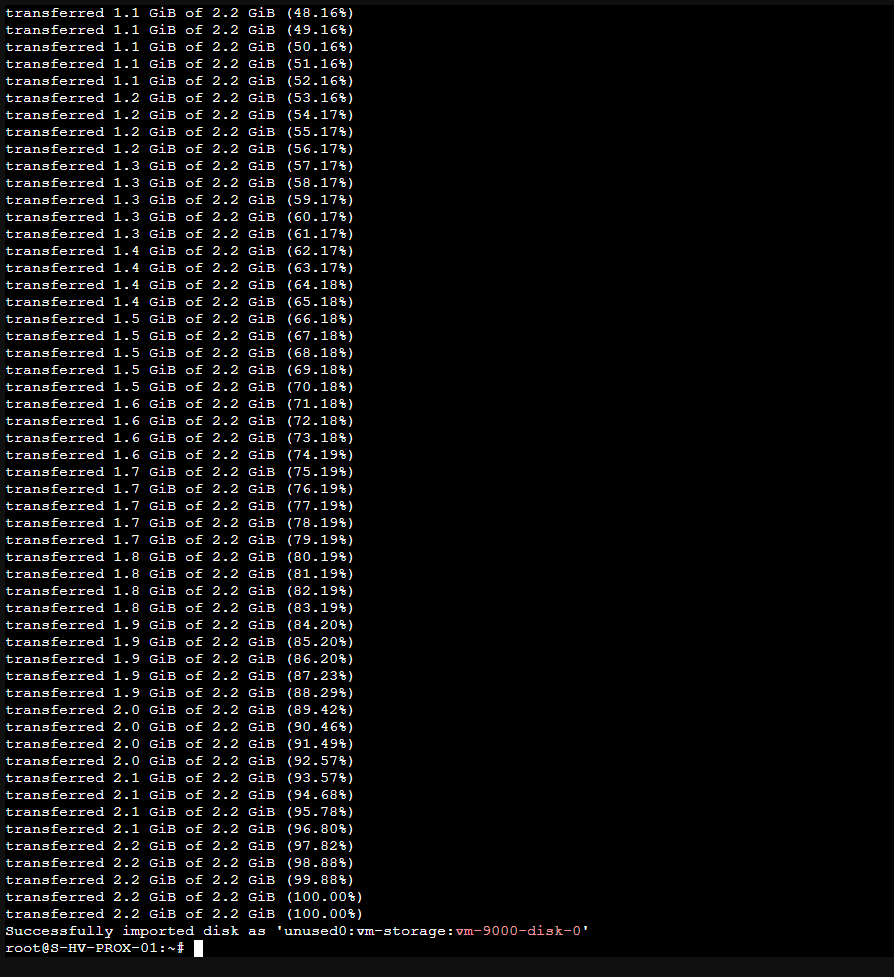
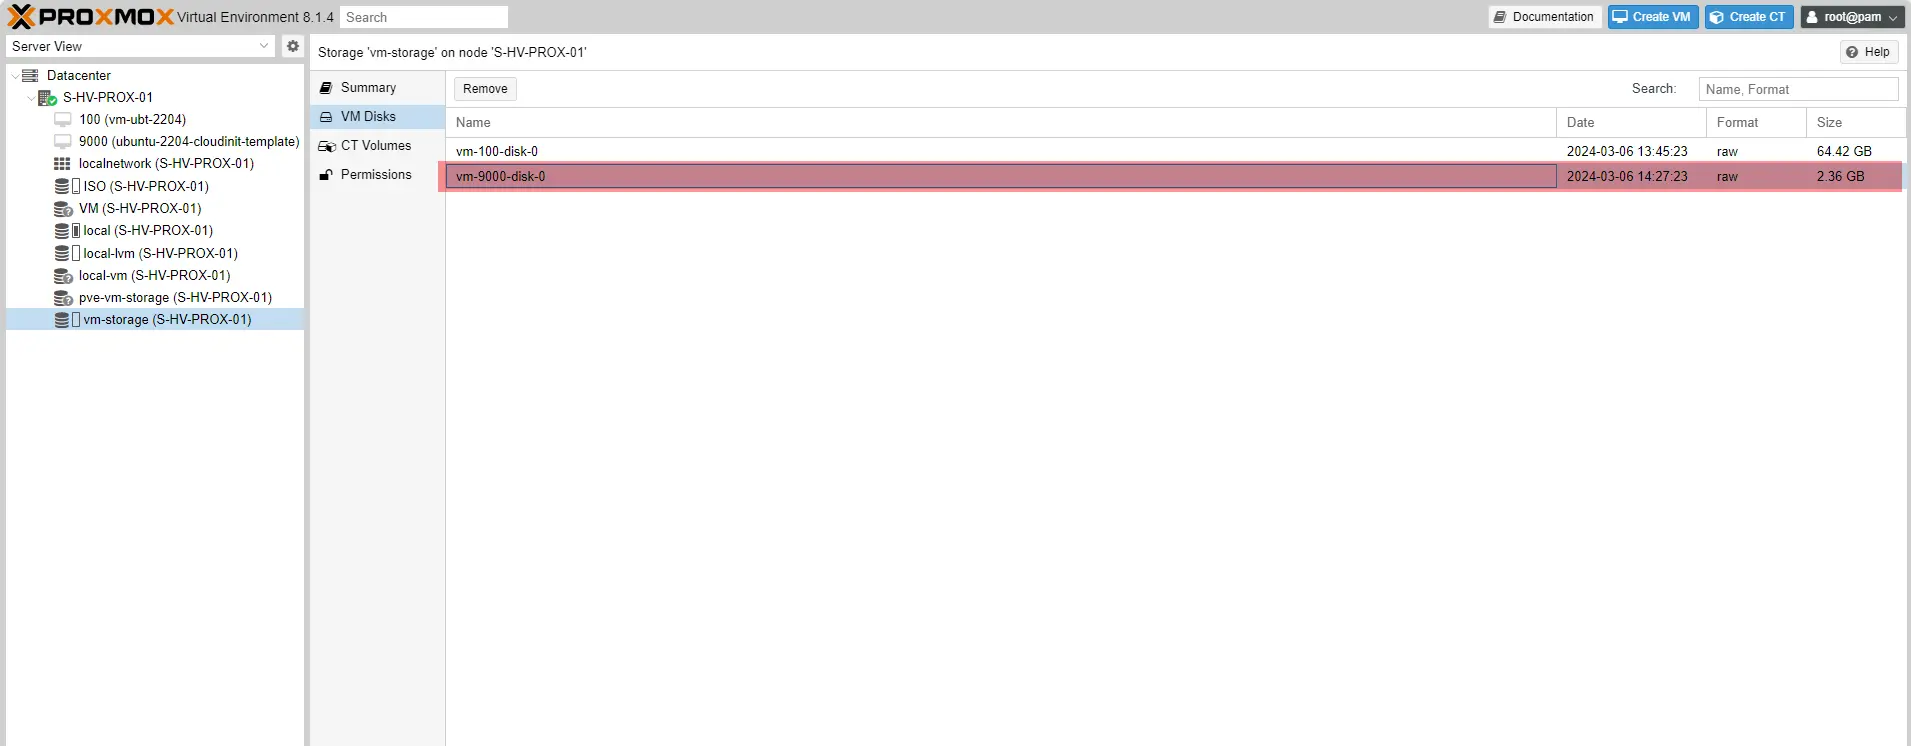
When creating the command, we can see the name of the disk, in my case: vm-9000-disk-0.
In the Web interface, I can find the disk that we have just created.
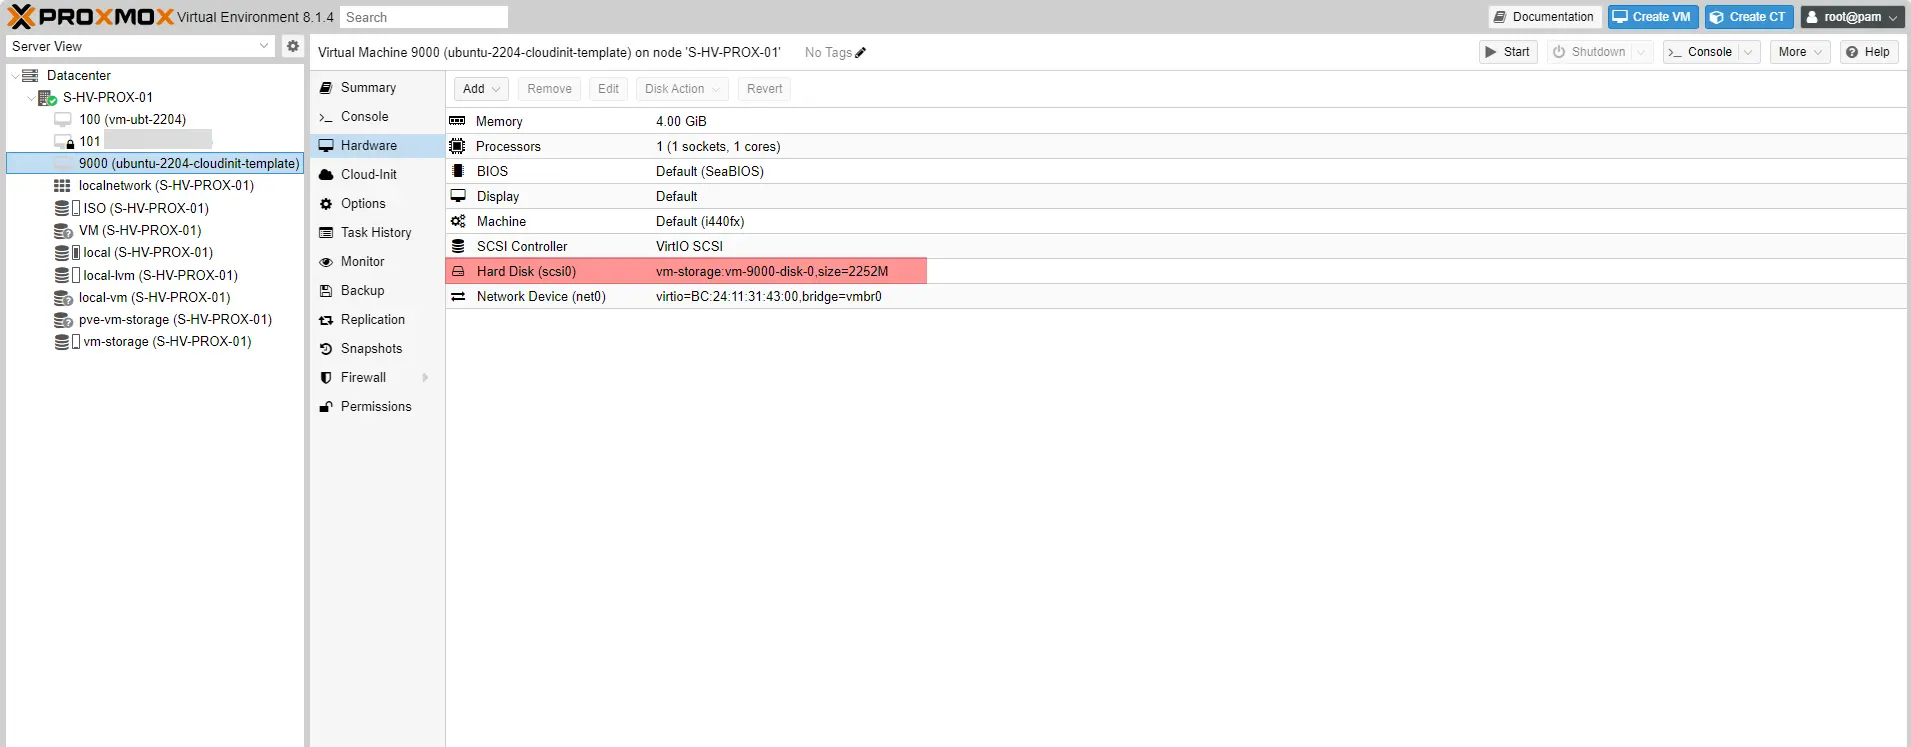
Now we attack the disk to the template virtual machine:
qm set 9000 --scsihw virtio-scsi-pci --scsi0 vm-storage:vm-9000-disk-0We see that the disk is now linked to the virtual computer.
By default the disk is 2GB, I will increase it by 98GB to arrive at a 100GB disk:
qm resize 9000 scsi0 +98GWe configure the VM to boot from disk:
qm set 9000 --boot c --bootdisk scsi0We add a Serial port (prerequisite to use Cloud-Init)
qm set 9000 --serial0 socket --vga serial0We add a volume dedicated to Cloud-Init:
qm set 9000 --ide2 vm-storage:cloudinitWe transform the virtual machine into a template:
qm template 9000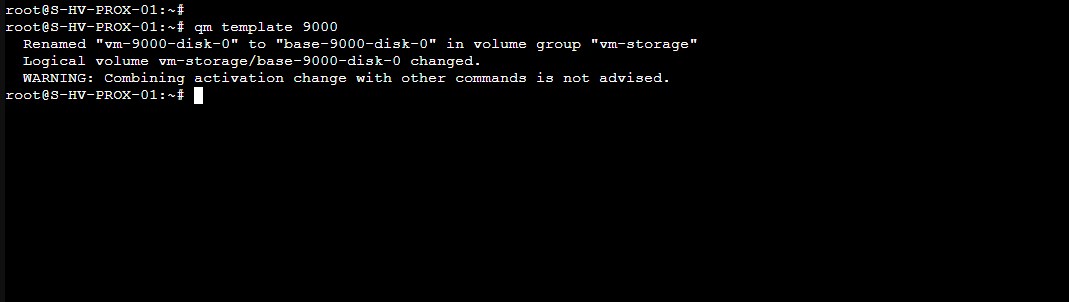
From the Web interface, we find the “template” virtual machine.

Deploy an Ubuntu virtual machine using Cloud-Init
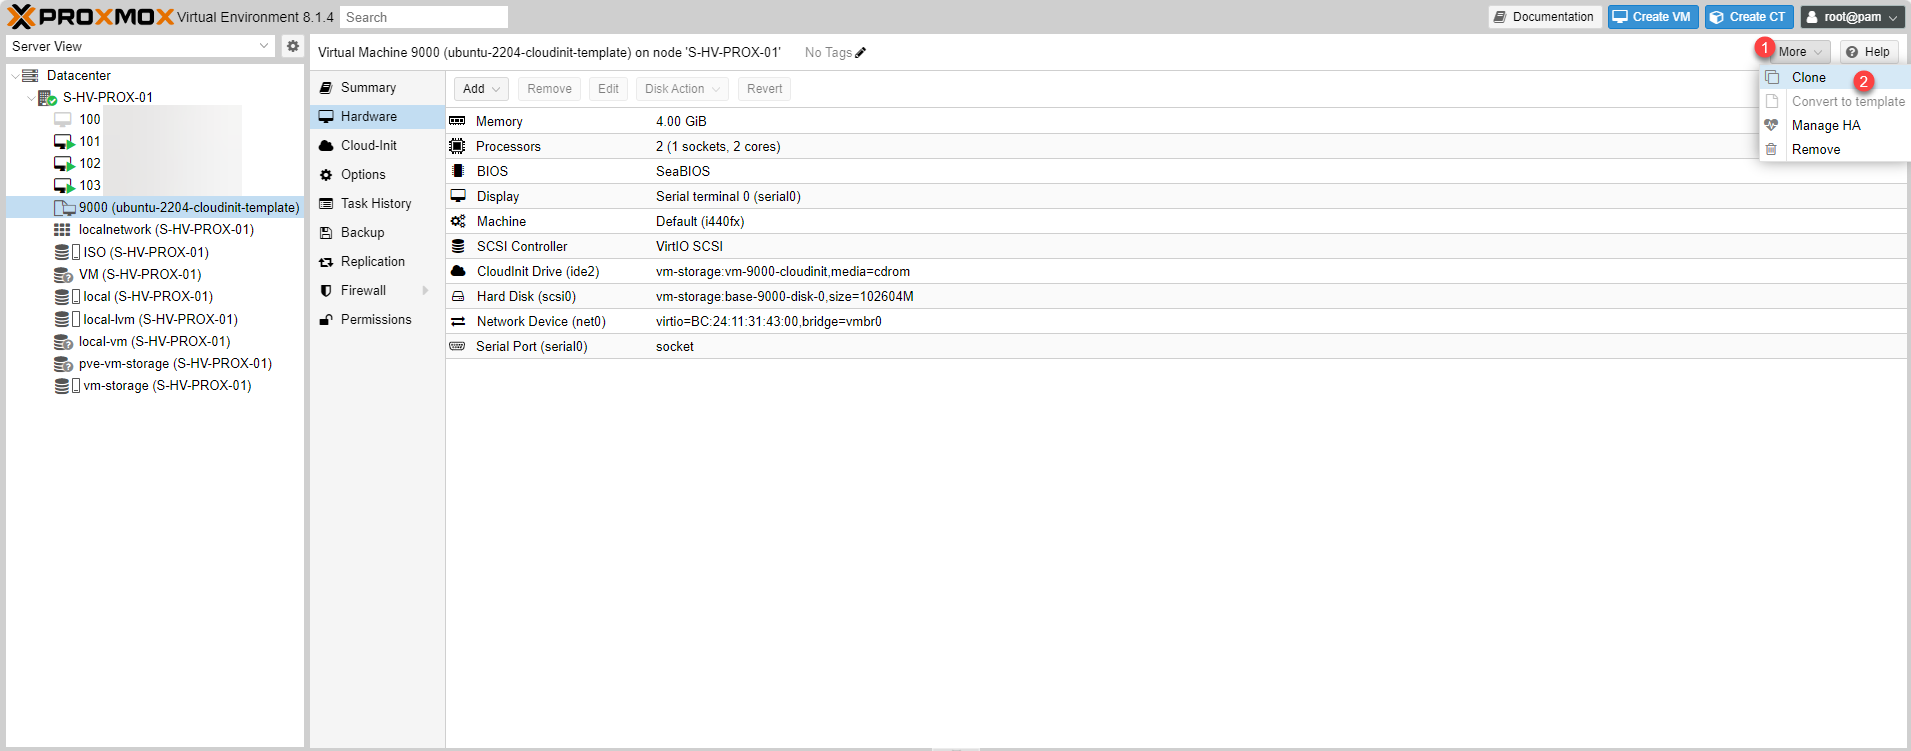
Last step of the tutorial, we will now deploy a virtual machine based on our template by customizing the Cloud-init parameters in Proxmox.
From the template, click on Mode 1 then on Clone 2.
Configure the VM ID 1, name it 2, choose the Full Clone type 3, choose the storage 4 and click on the Clone 4> button >.
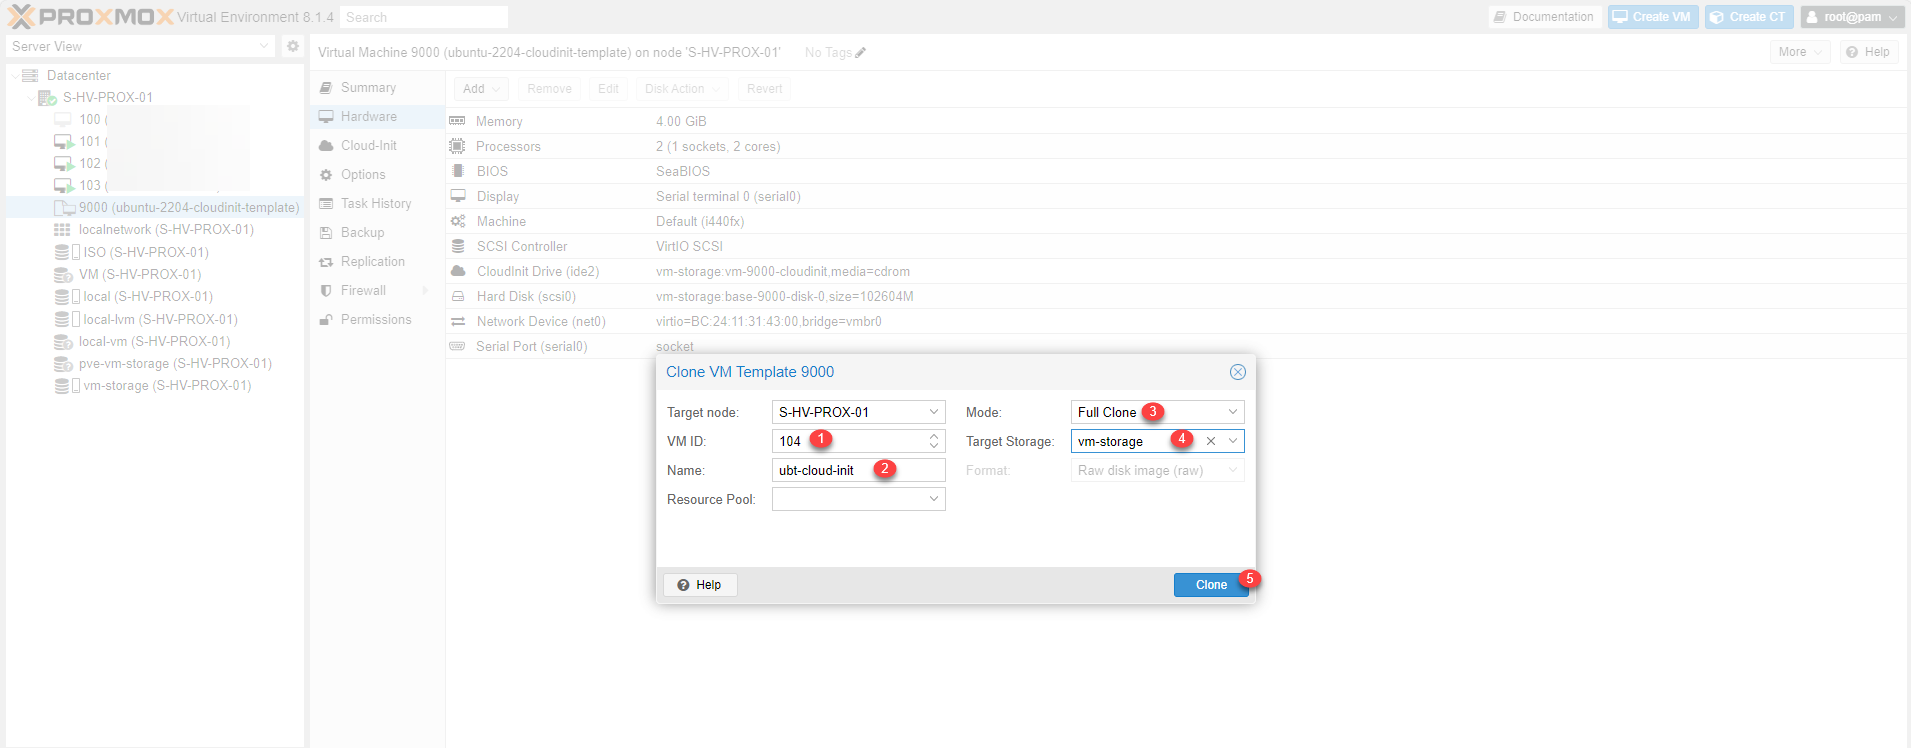
Wait during the cloning operation, we can see that the VM is locked during the copy, there is a padlock on the icon.

Once the copy is complete, select the VM and go to the Cloud-Init 1 settings.
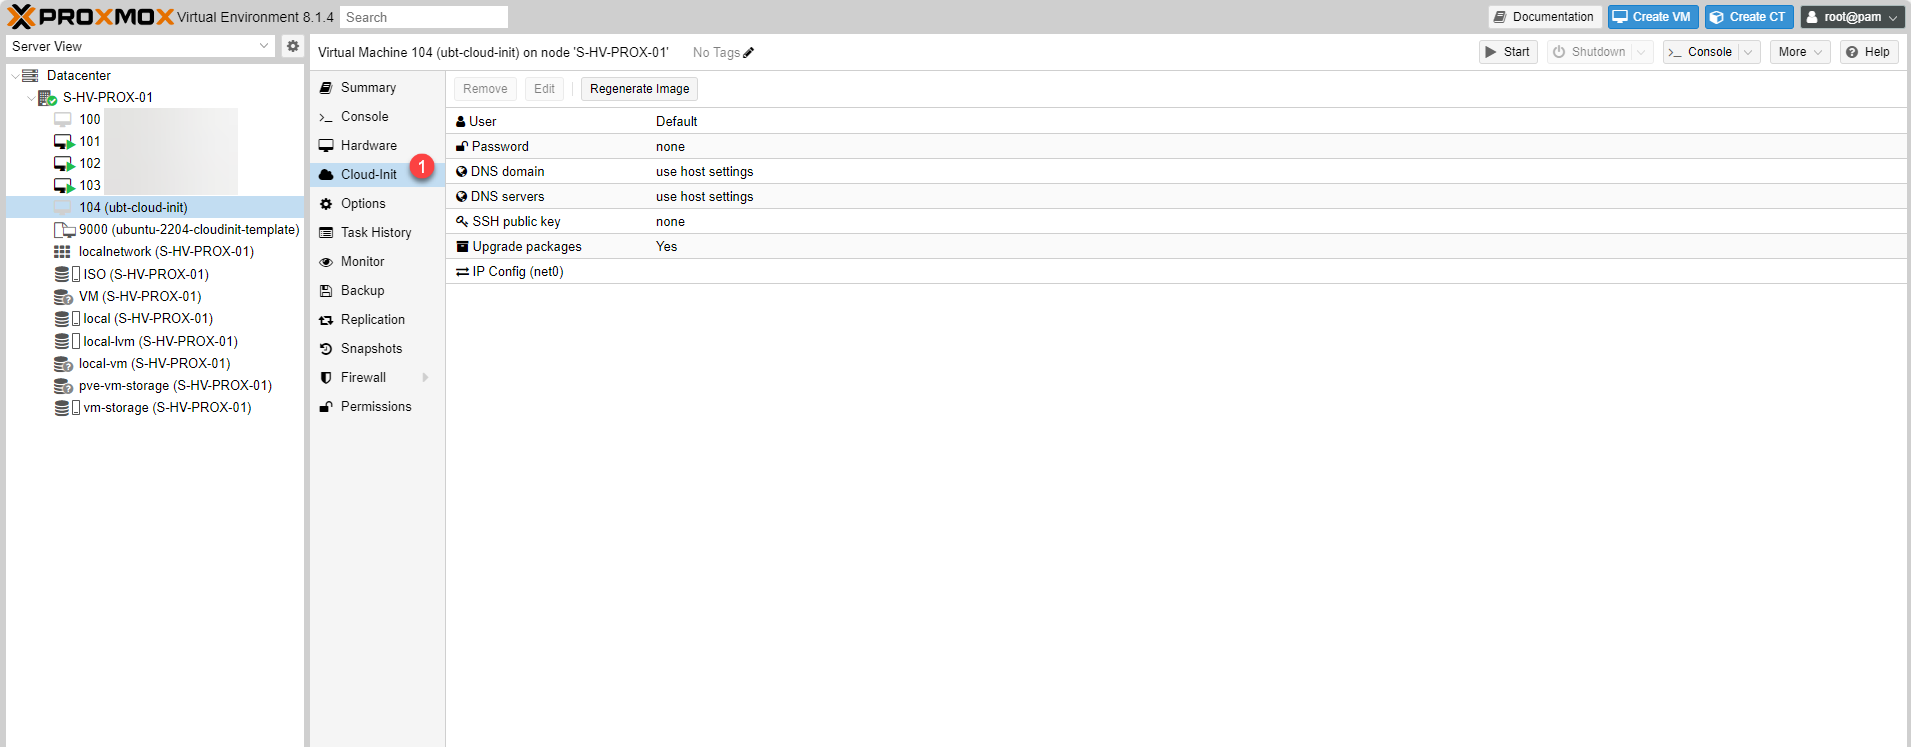
The options at the Proxmox Cloud-Init level are quite limited, but this already allows you to have a preconfigured VM with the user to create, the IP configuration and an up-to-date OS.
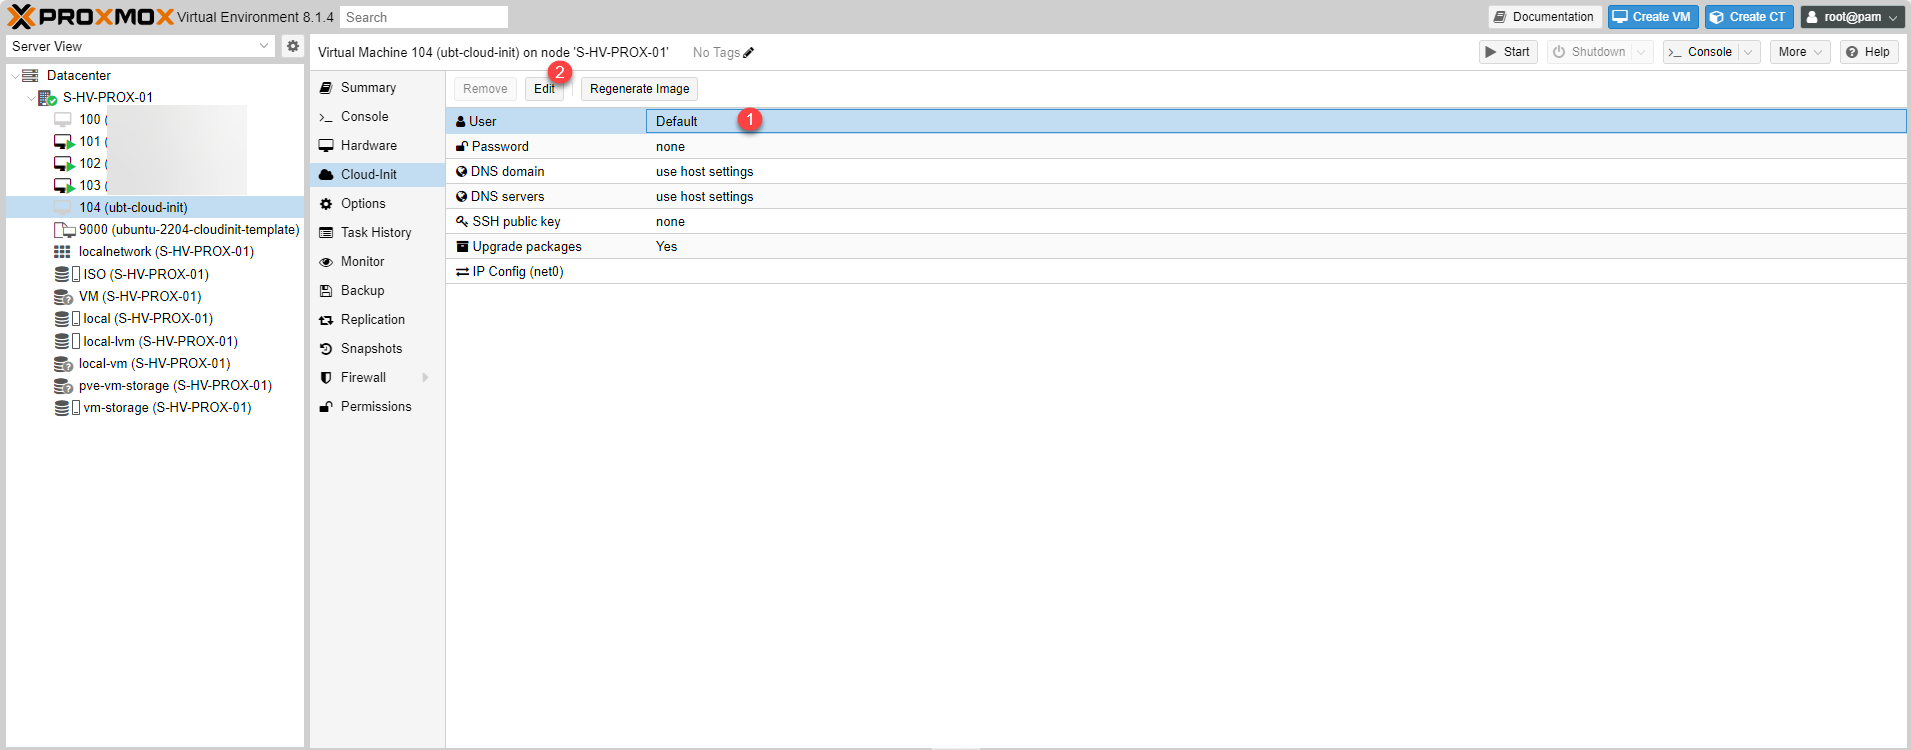
I don’t make all the parameters available, it’s quite simple to do, select the parameter to configure 1 and on Edit 2.
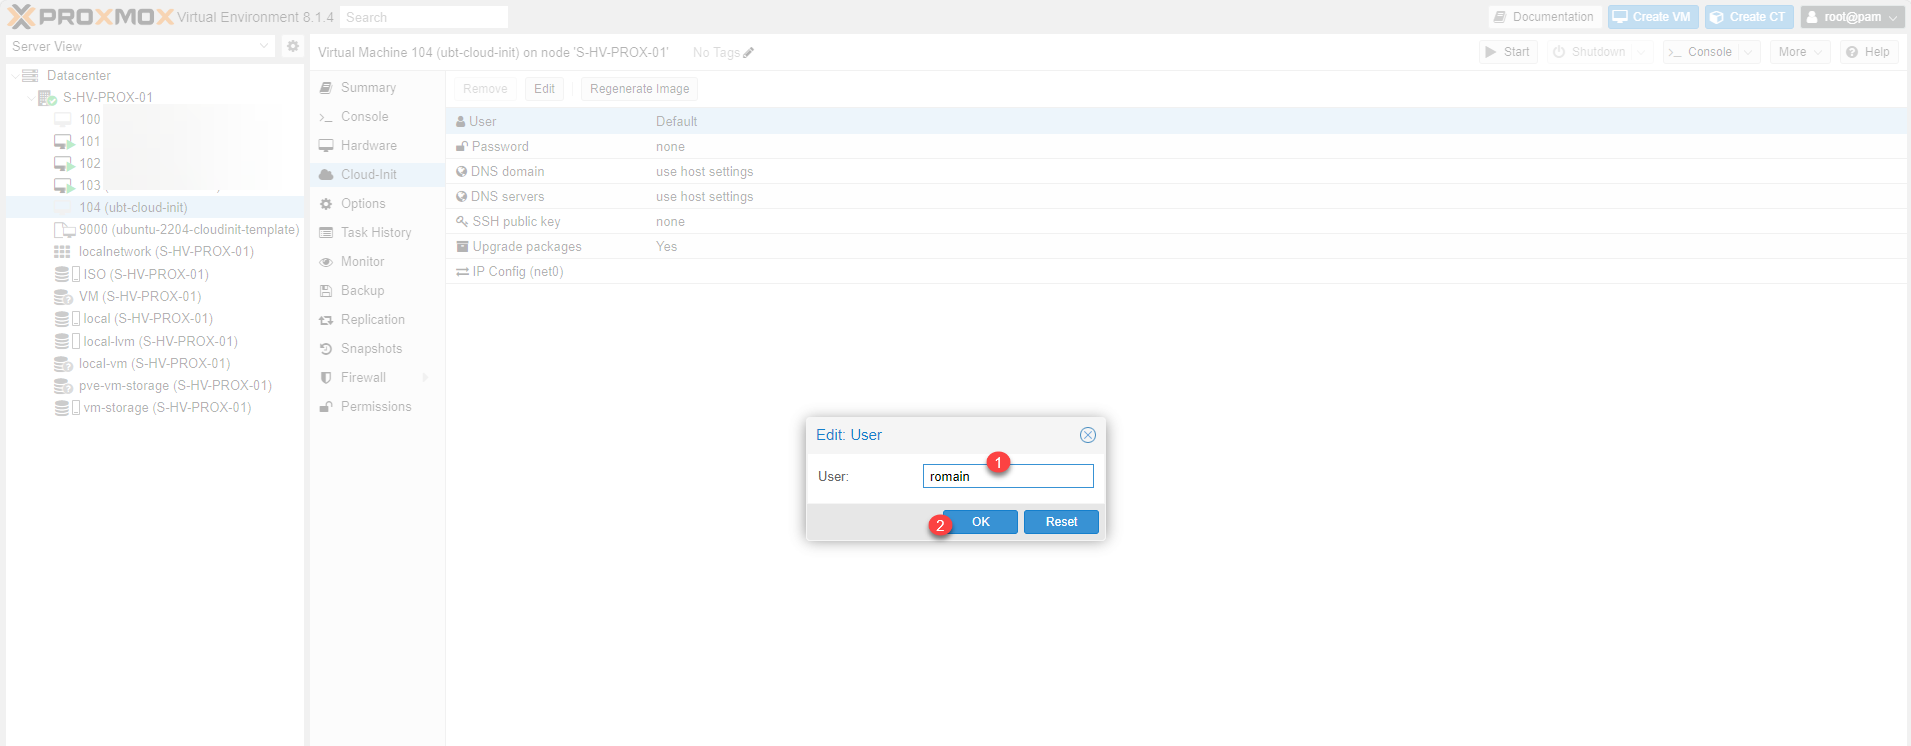
Modify parameter 1 and click OK 2. Here I will indicate the name of my user.
Here is the configuration that I will apply, to finish, you must click on Regenerate Image 1.
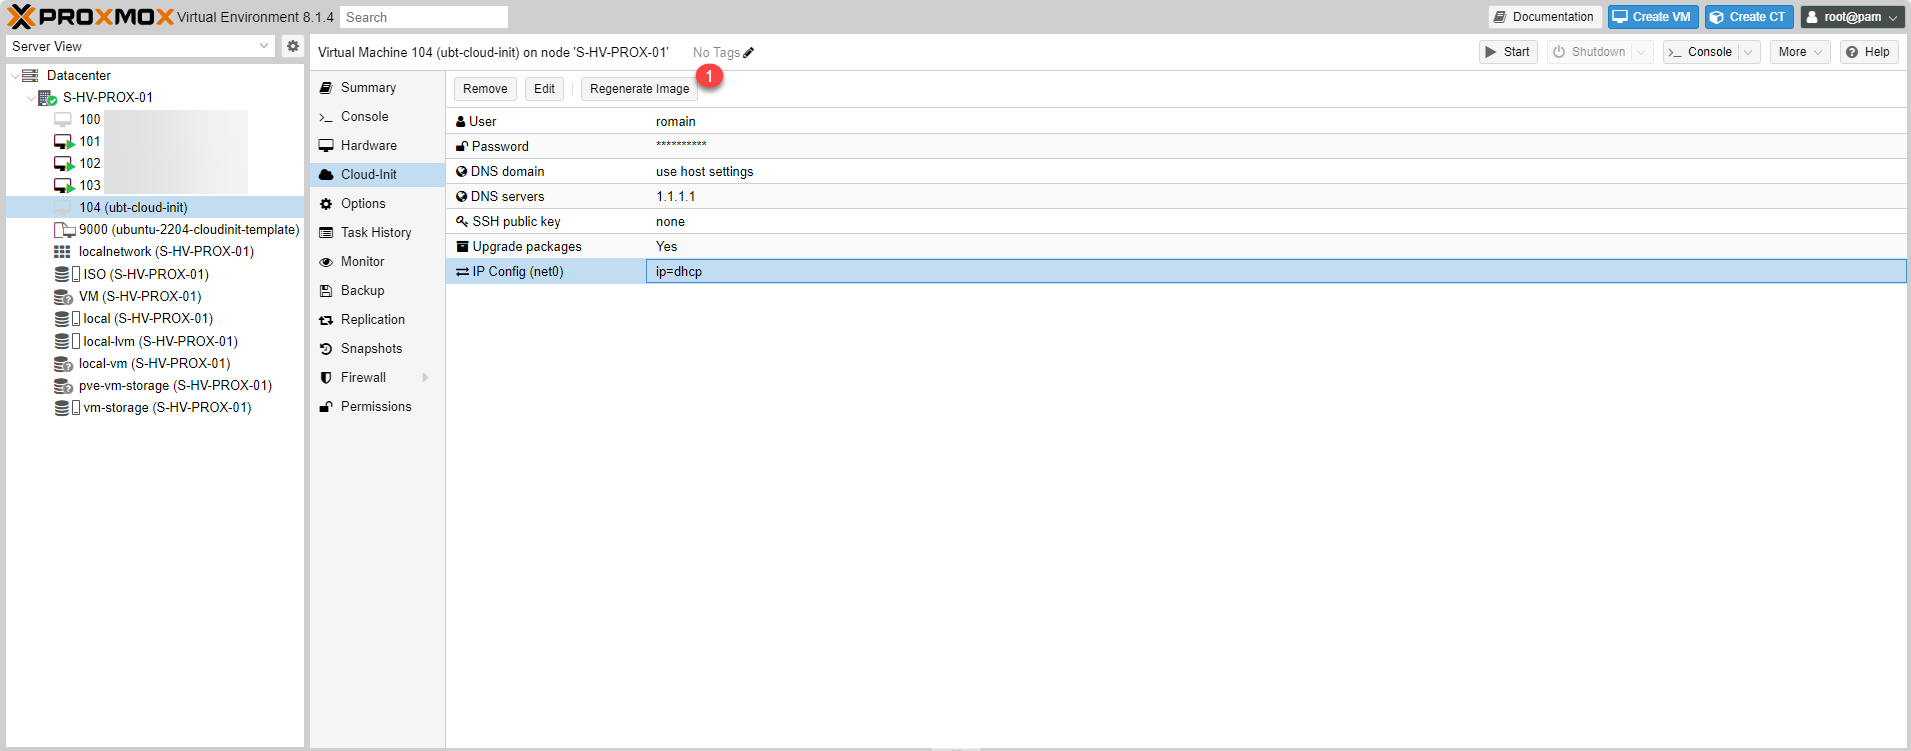
In the case of configuring the card in DHCP, the DNS servers of the DHCP service will be used.
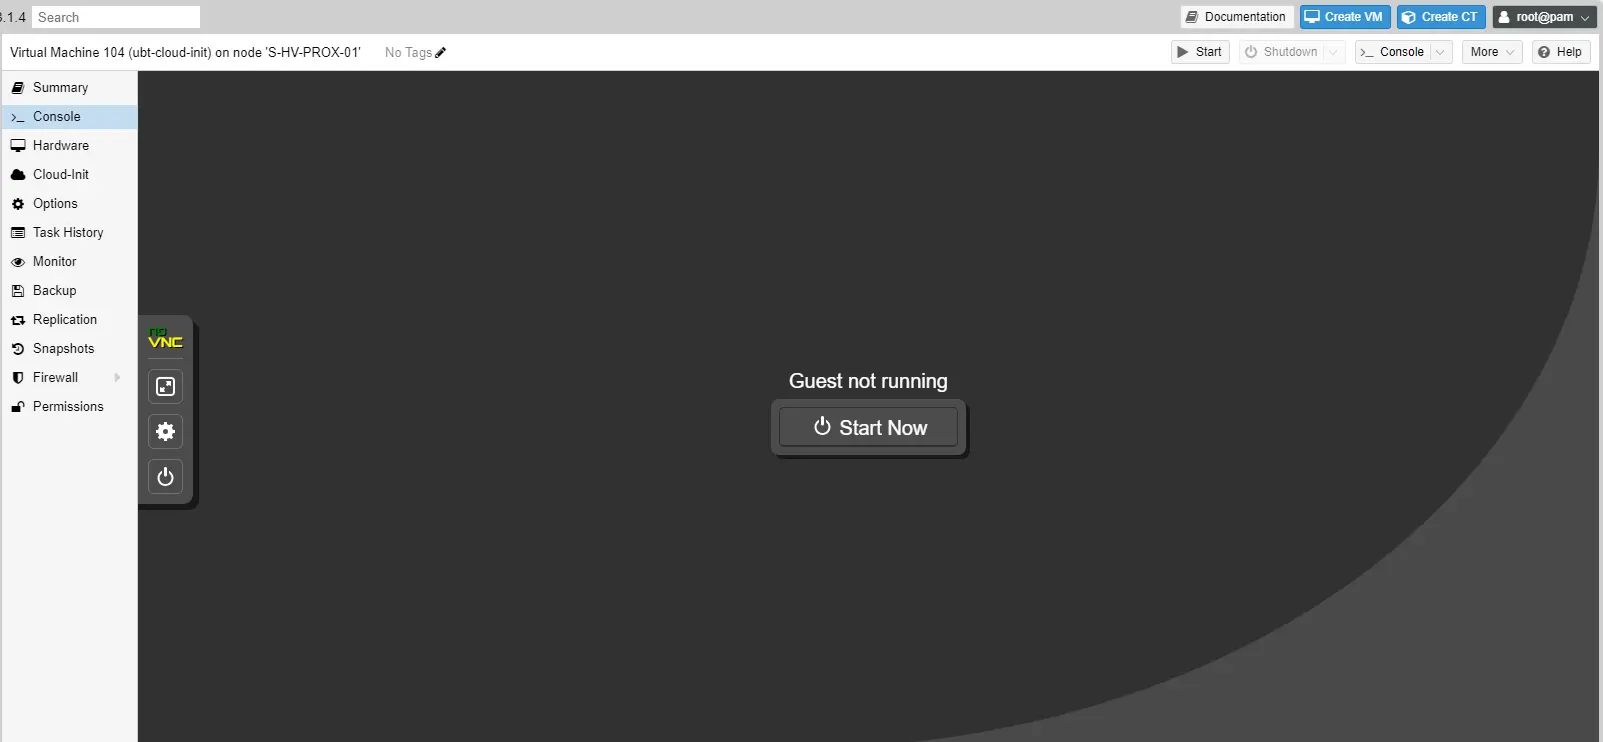
Now I will start the VM from the console to see the Cloud-Init settings applied:
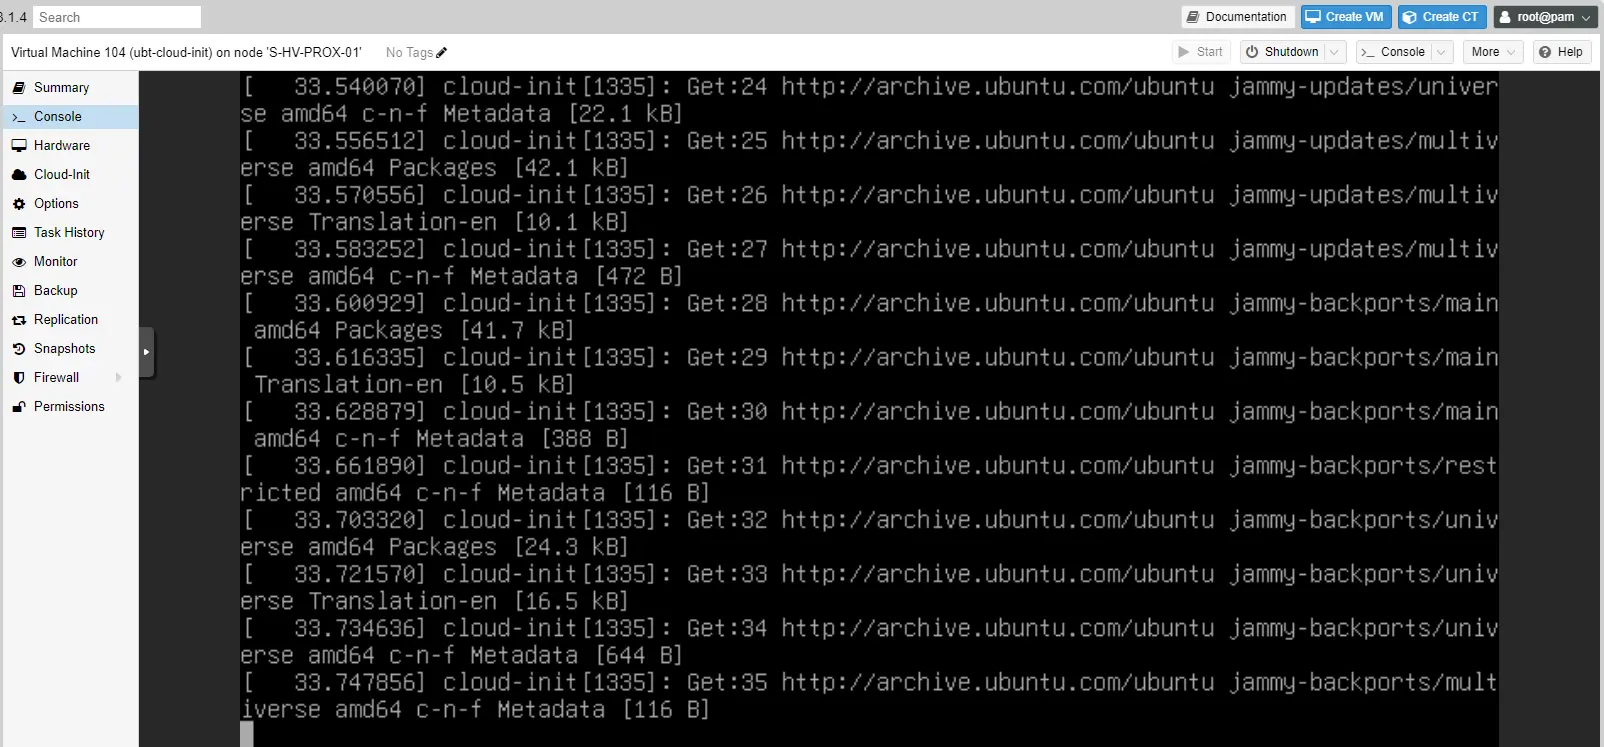
In the screenshots below, we can see the use of Cloud-Init and the installation of Ubuntu updates.
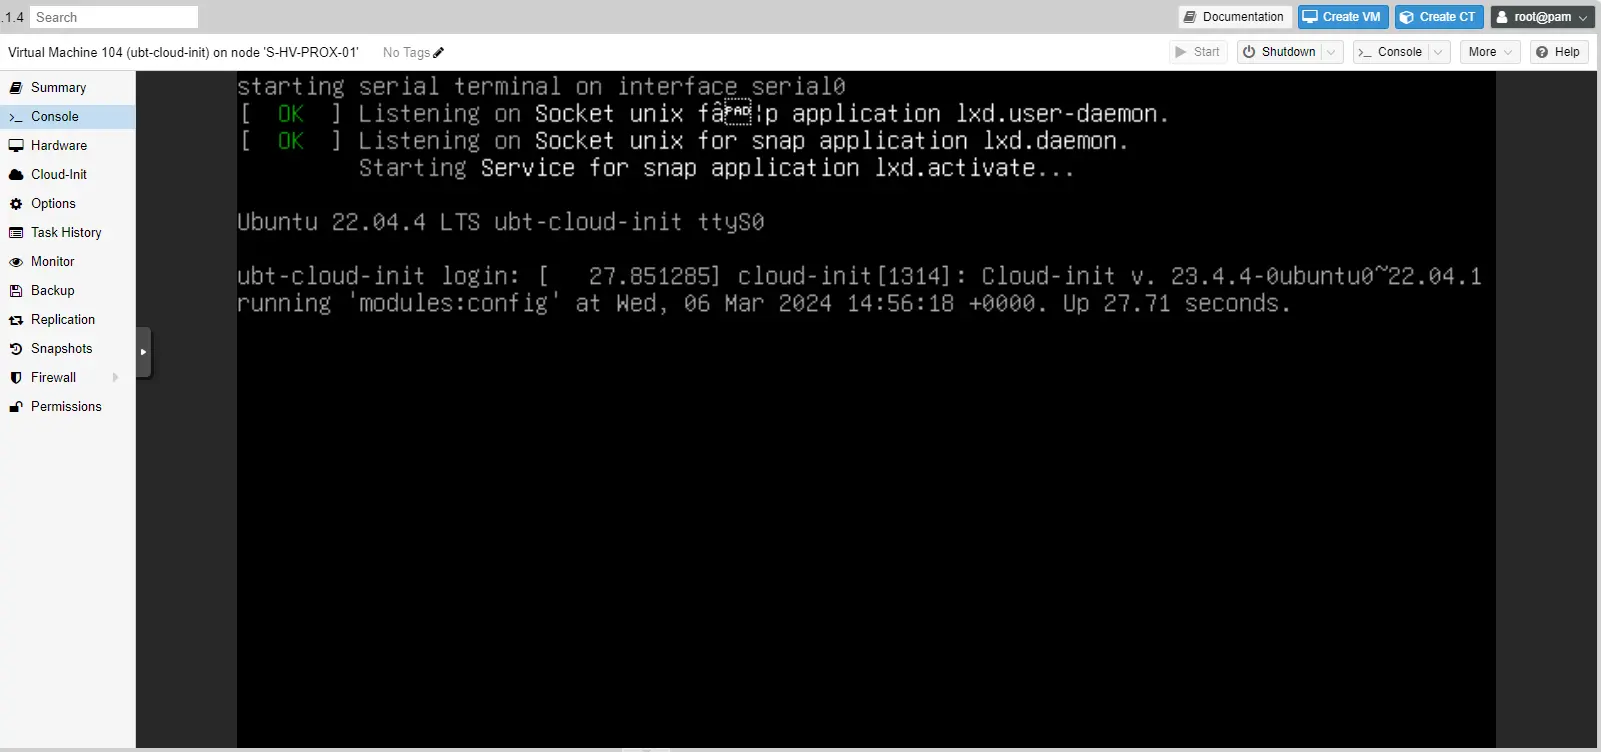
Once the startup is complete, I can log in with the user configured in Cloud-Init.
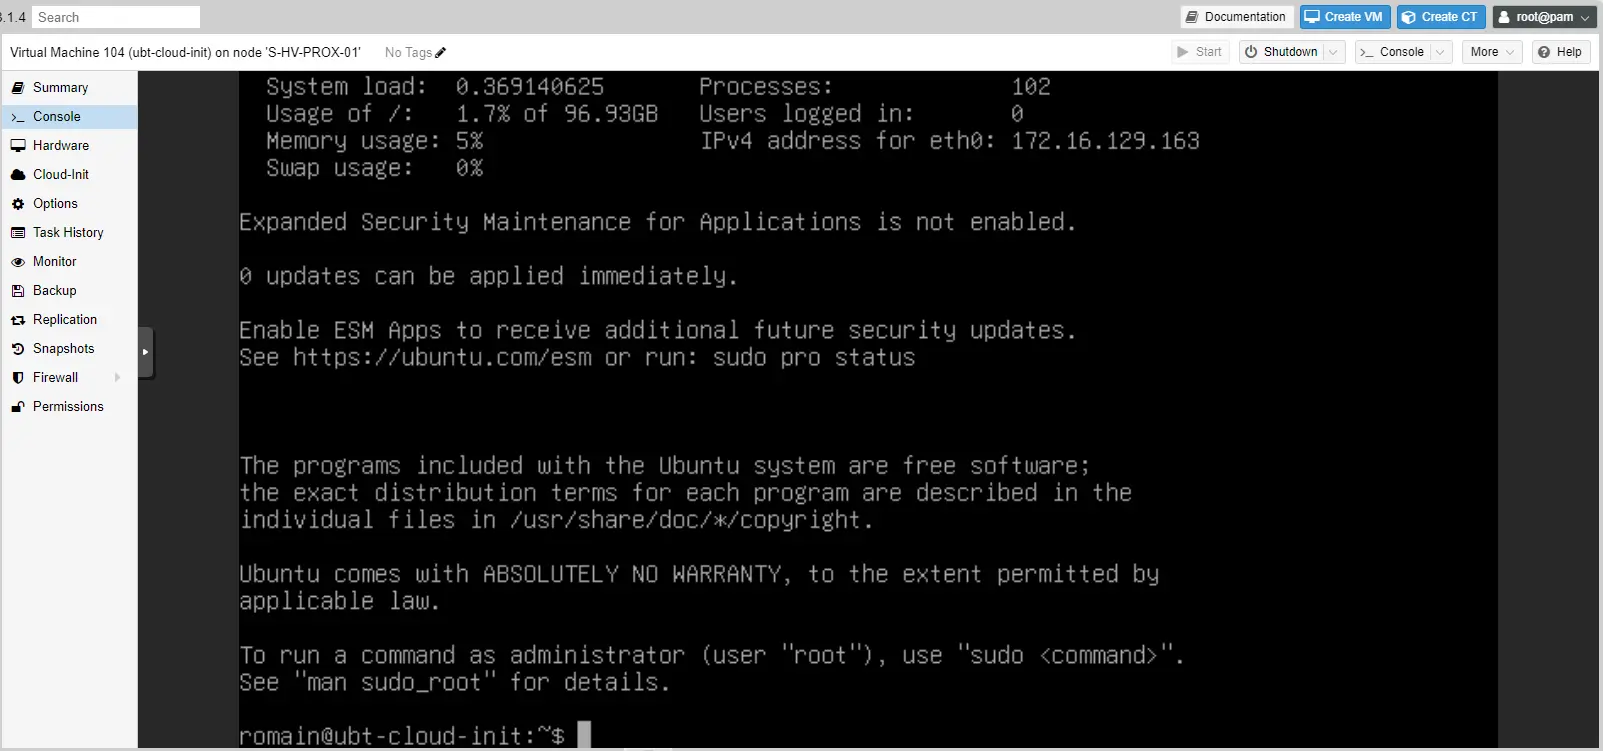
You will also notice that the virtual machine has the name configured in Proxmox.
You know how to deploy a virtual machine under Ubuntu using Cloud-Init in Proxmox
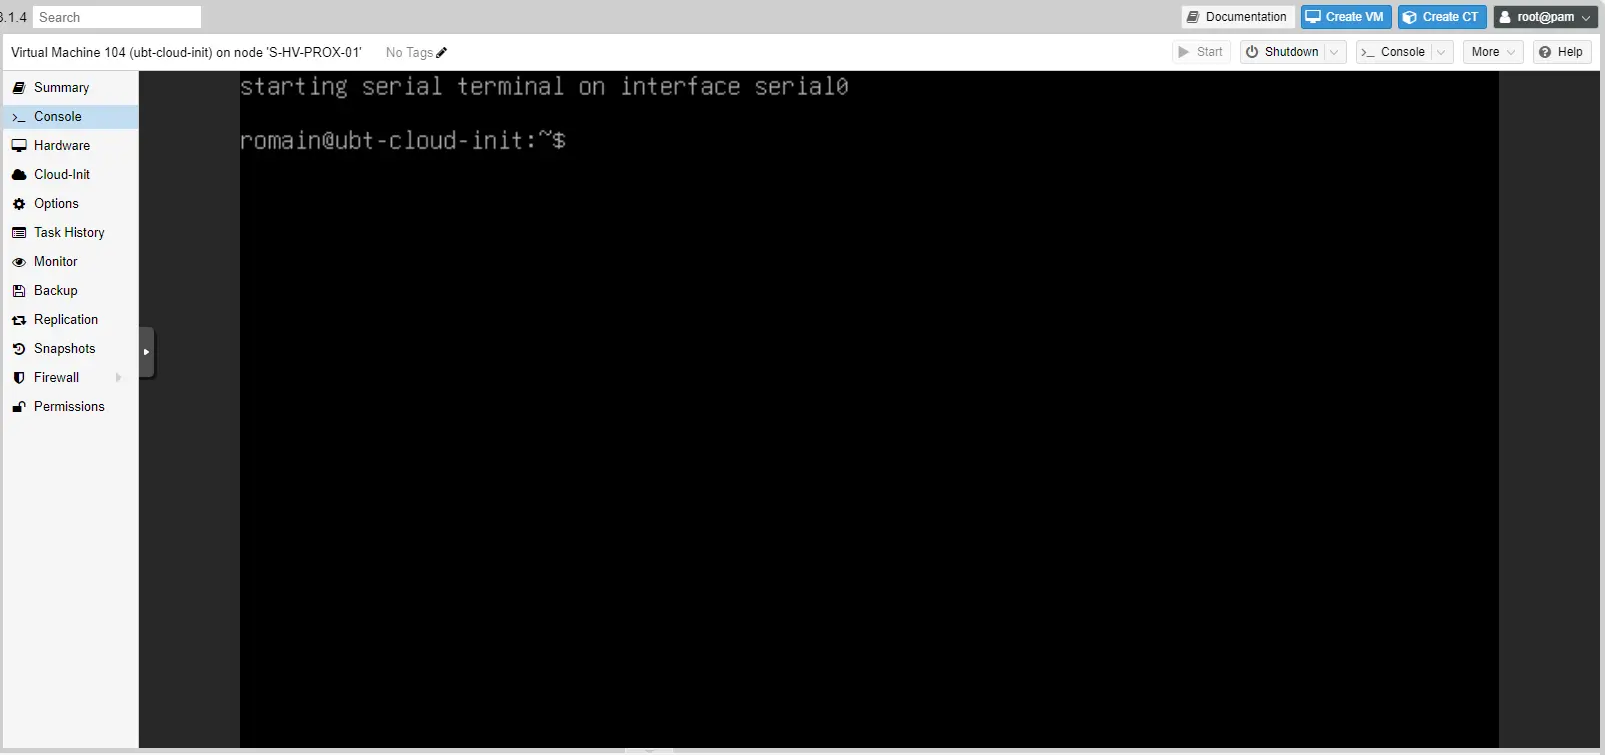
Troubleshooting: terminal stuck on starting serial terminal on interface serial0
When connecting to the console, you sometimes get stuck on starting serial terminal on interface serial0
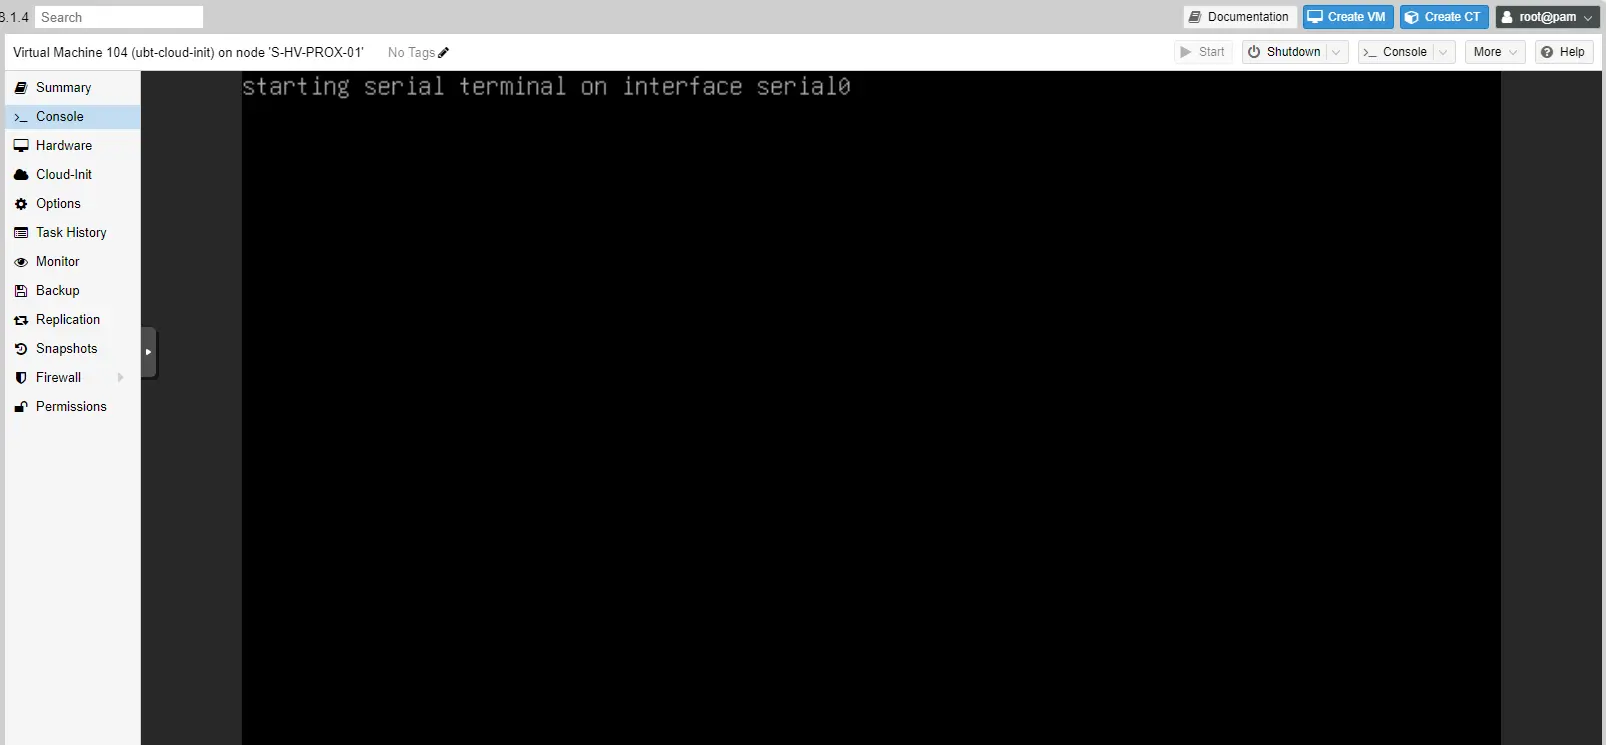
Just press Enter to retrieve the prompt.
Another solution is to change the VM’s video card to the default card.