In this tutorial, we will see how to create an LXC container on Proxmox.
Overview of LXC
LXC which allows container management on Linux.
Like any containerization system, LXC containers share resources with the host that hosts them here Promox.
LXC has the advantage of being much lighter than a virtual machine but having the same functionalities, because with LXD we will run a “complete” operating system where Docker will be specific to an application.
LXC uses Linux images prepared to run in containers.
Template download
As mentioned previously, LXD containers use specific images, so we will start by retrieving a template.
On Proxmox, from a storage that allows the hosting of ISOs and Templates, go to CT Templates 1 and click on Templates 2.
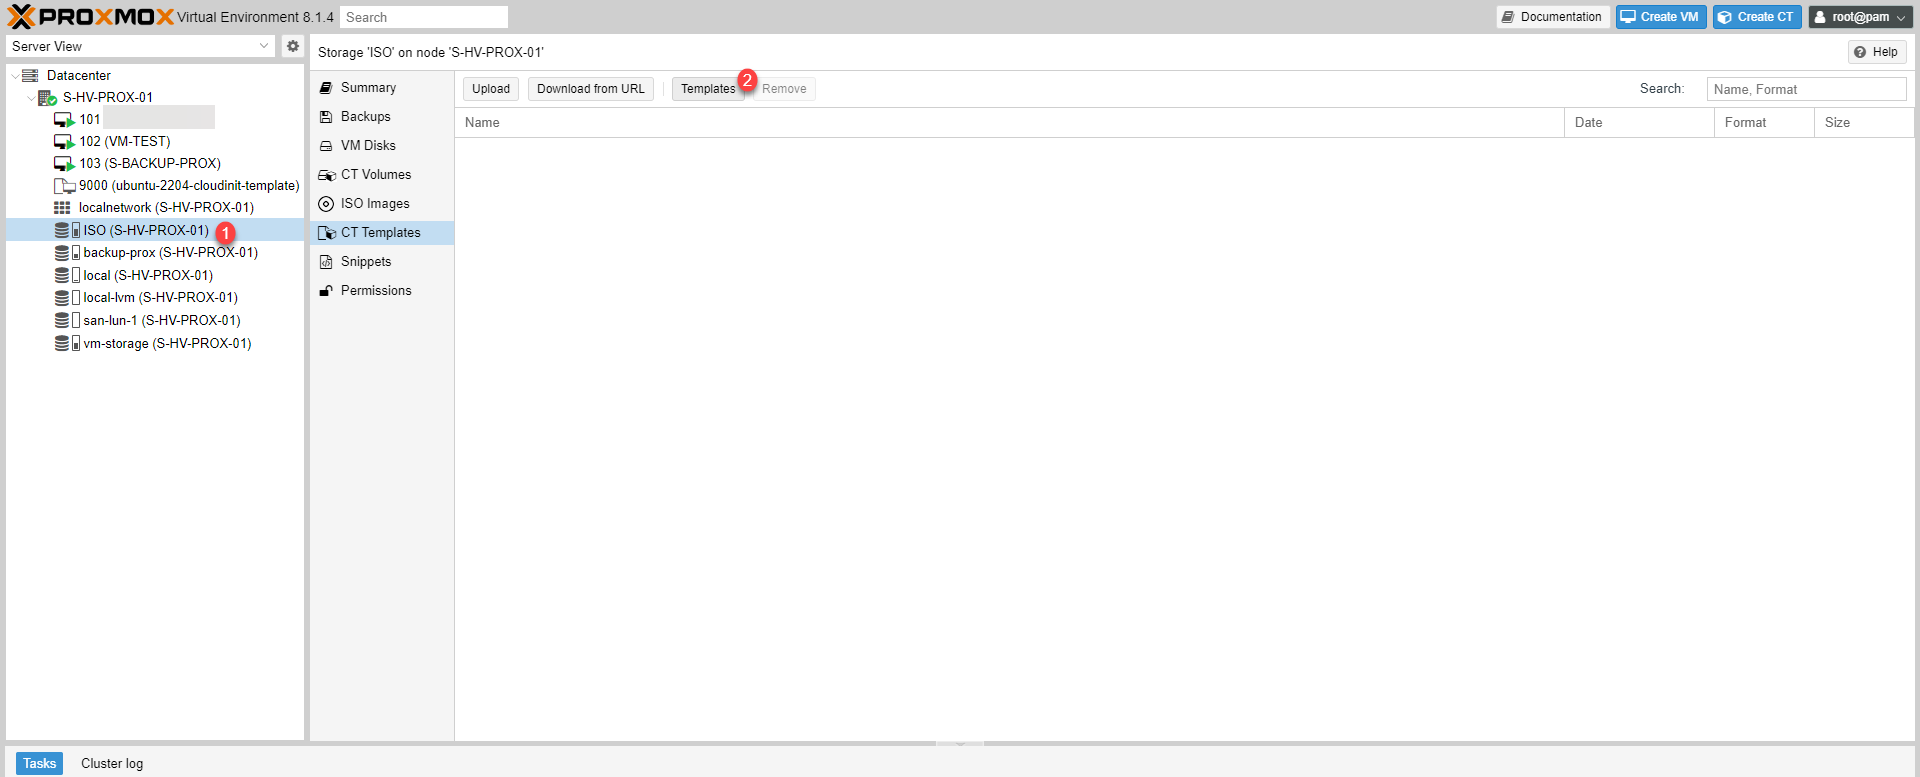
Proxmox offers several templates that can be downloaded directly.

In this tutorial, I will deploy an Ubuntu 22.04 container, search for the desired template, select the 1 then click on Download 2.

Wait while the image downloads…
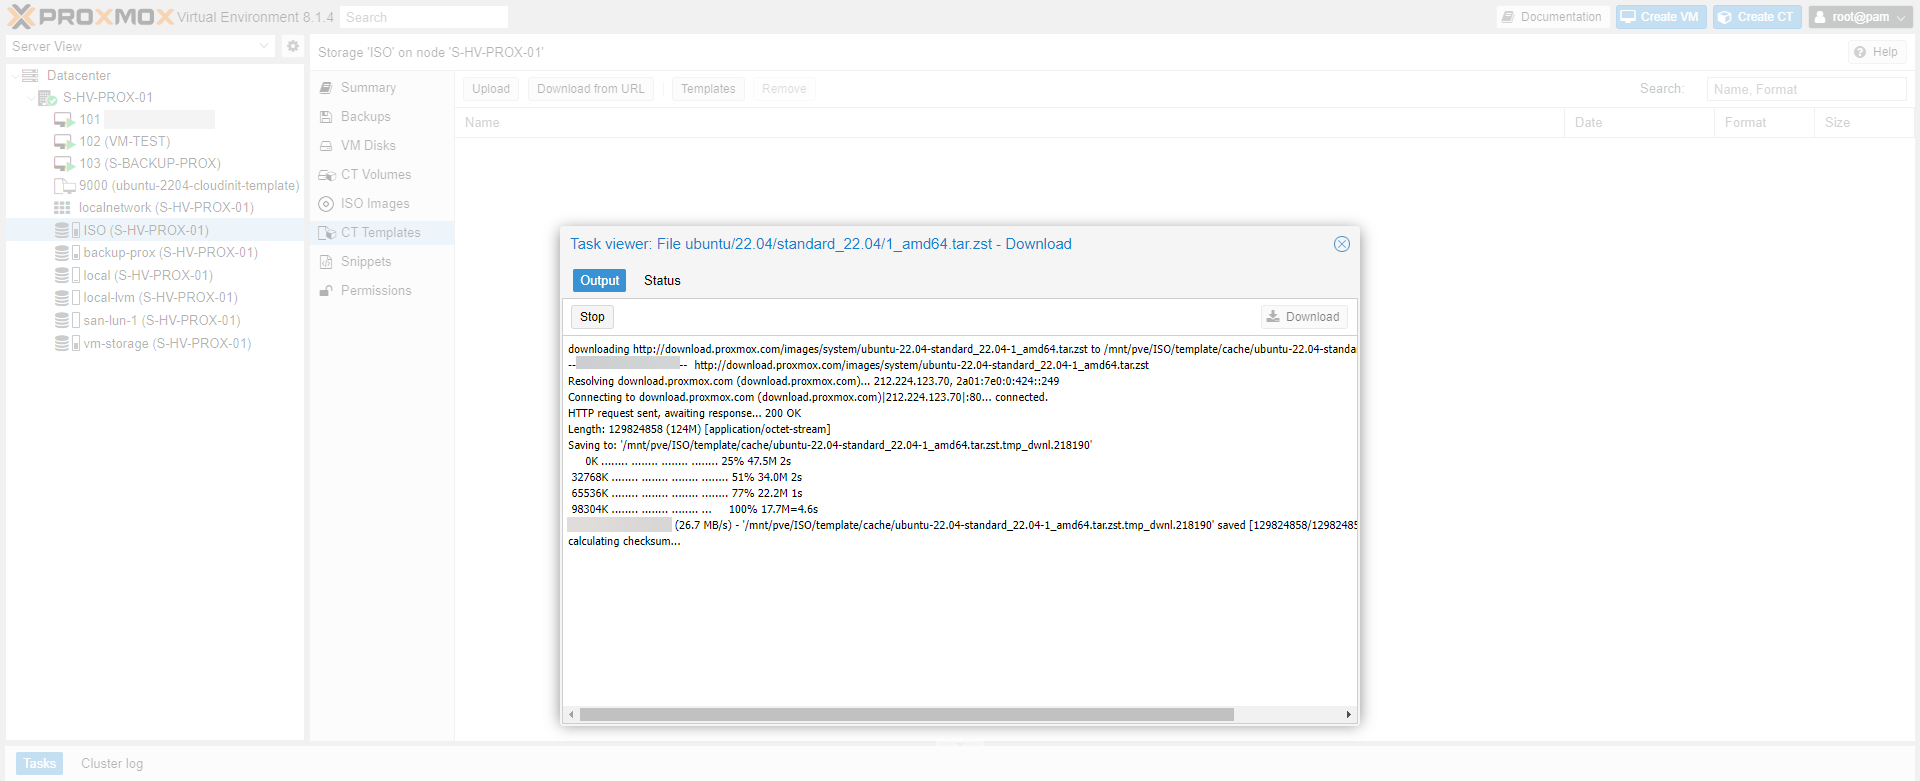
Once the download is complete, close the window.

The LXC Ubuntu 22.04 template is available on Proxmox.

Creating an LXC container on Proxmox
We can move on to creating the container, as you will see, we will configure several elements of the system during the creation of the container which allows us to not have to do any configuration at the level of the deployed system.
From the Proxmox server, click on Create CT 1.

Indicate the host name 1 (hostname), the password 2 of the root account and click on Next 3.

The name of the host will be that of the container and this will be visible in Proxmox.
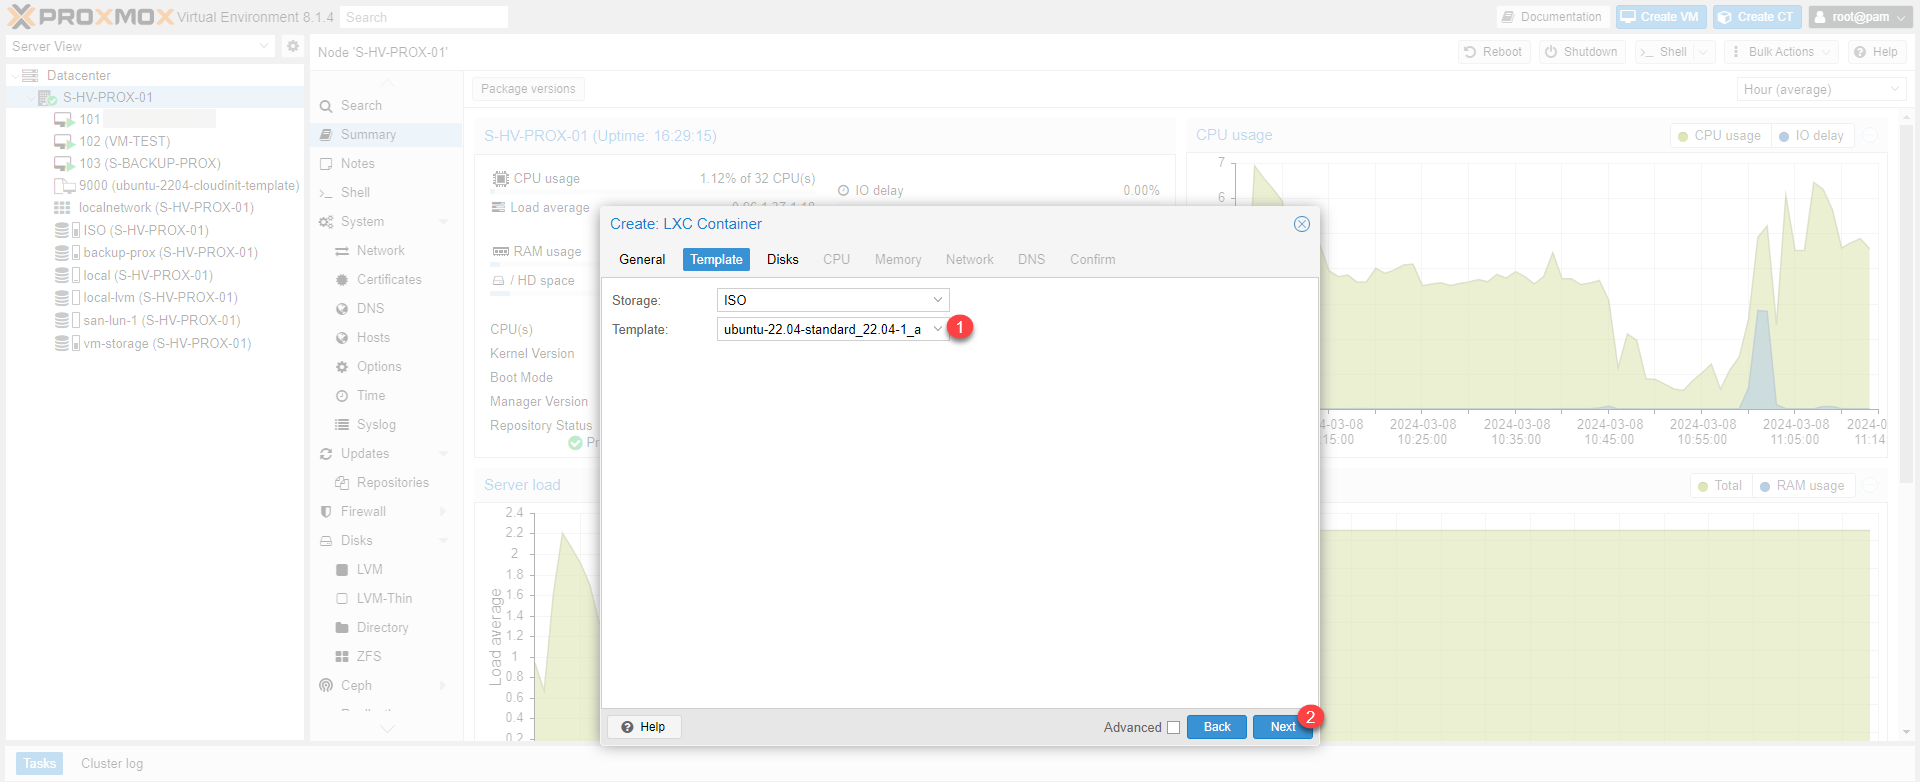
Select template 1 and click on Next 2.
Indicate the location of virtual disk 1 on Proxmox, configure the size 2 and click on Next 3.

Configure the number of CPUs 1 and click Next 2.

Configure RAM 1 and swap space 2 then click on the Next 3 button.

Configure network settings 1> and click Next 2.
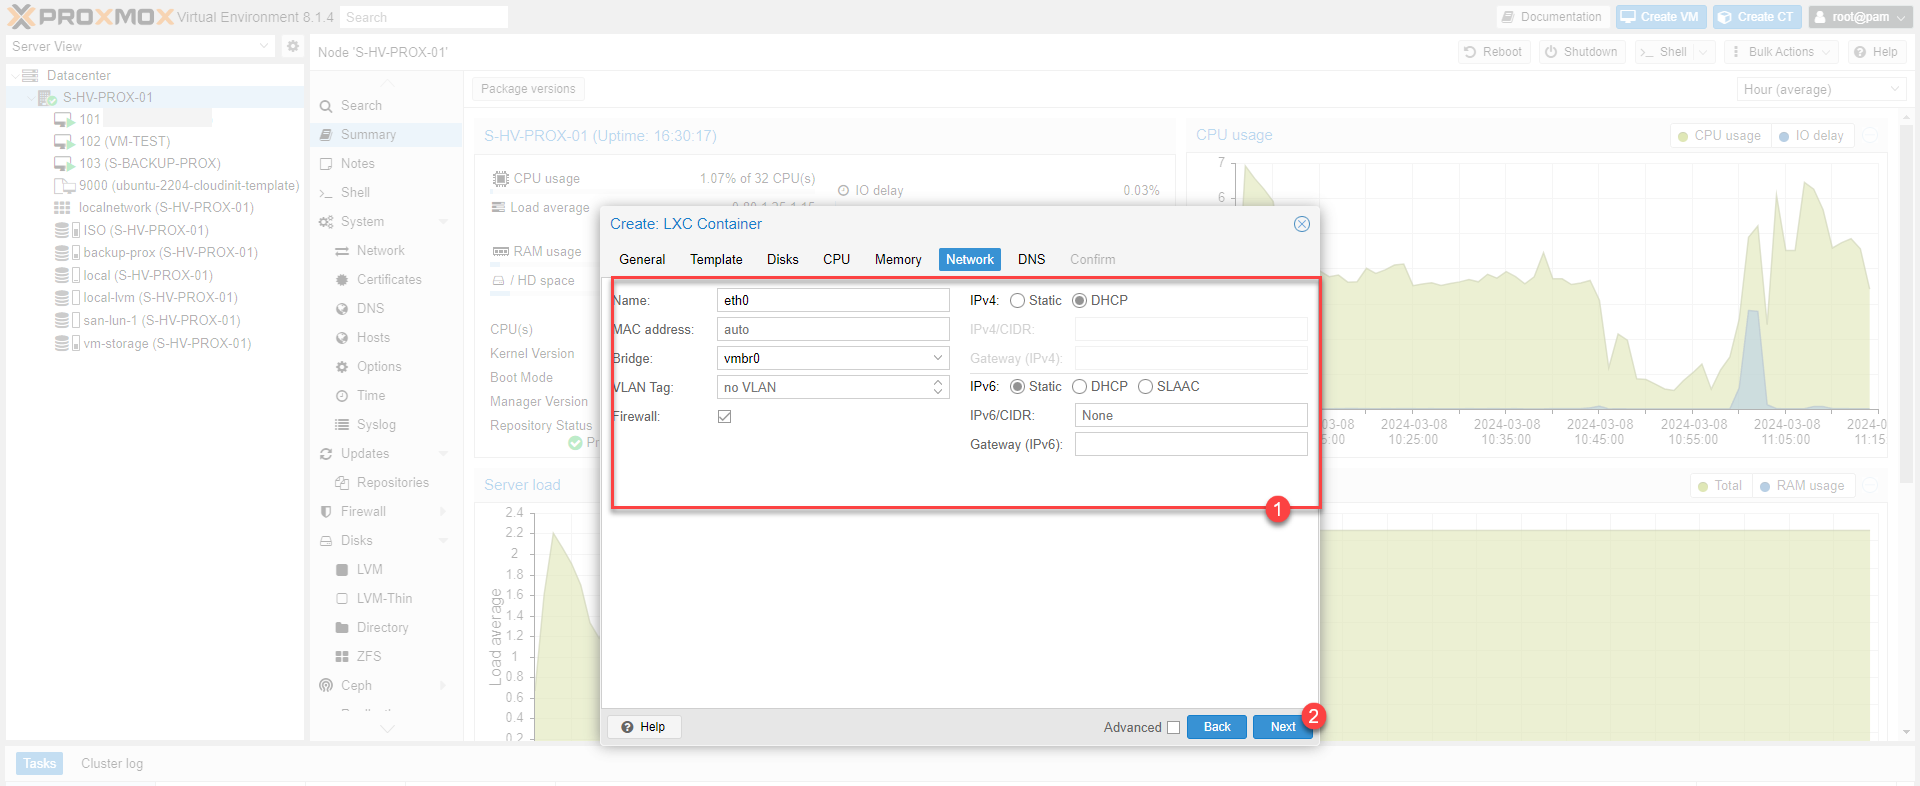
Here, I chose to configure IPv4 in DHCP
Configure DNS servers 1 and click Next 2.
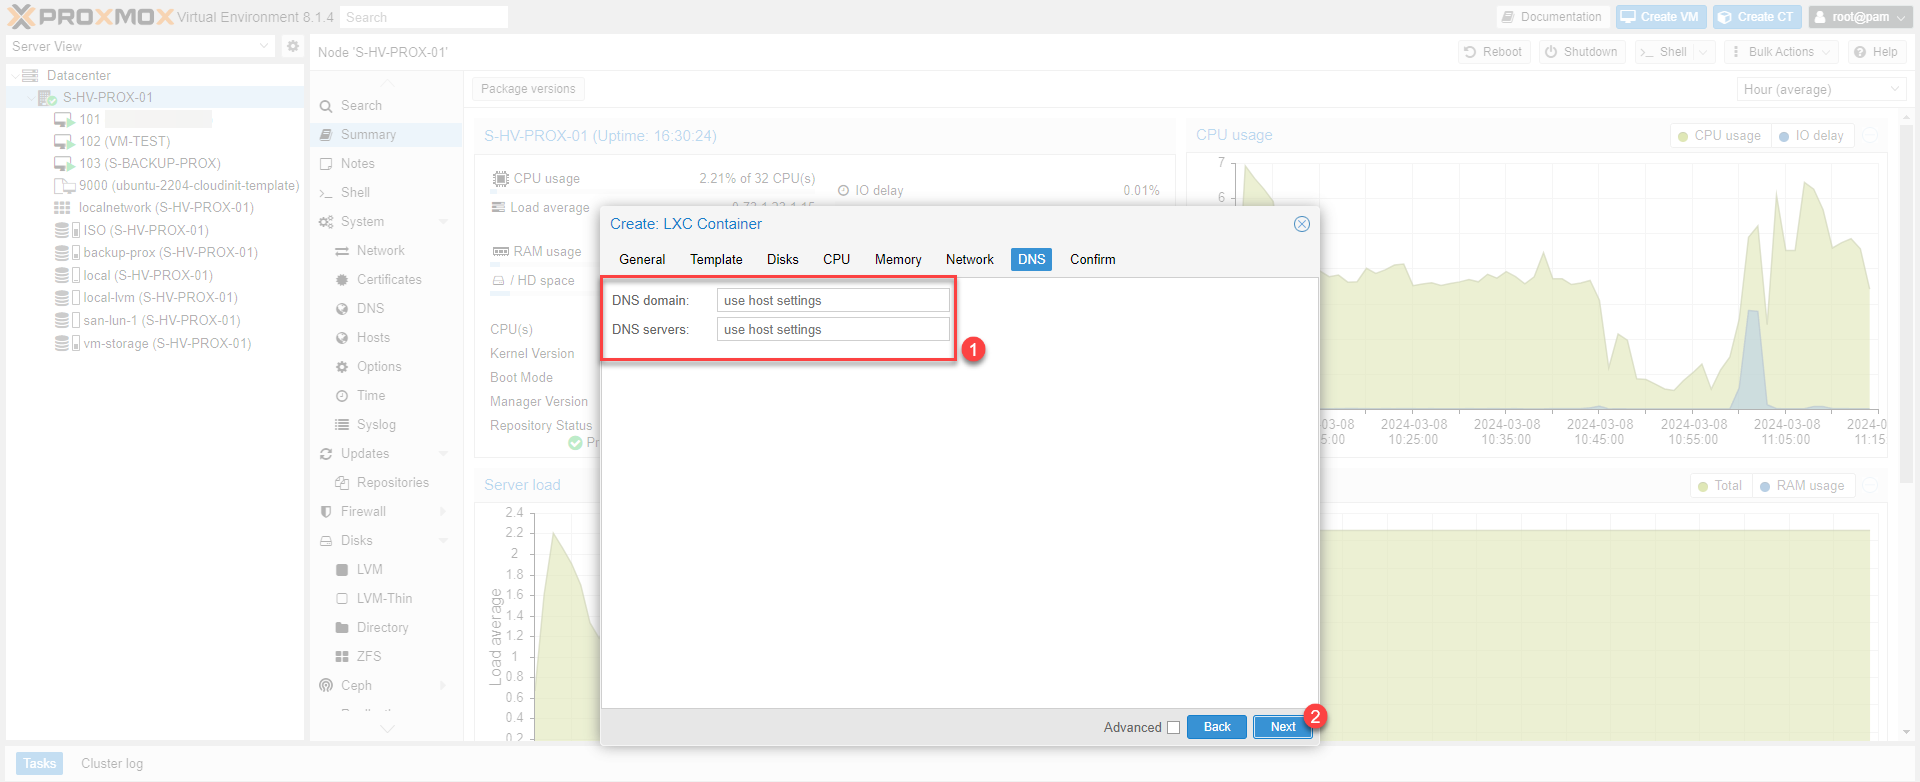
Here I left empty, because these parameters will be given to me by the DHCP server.
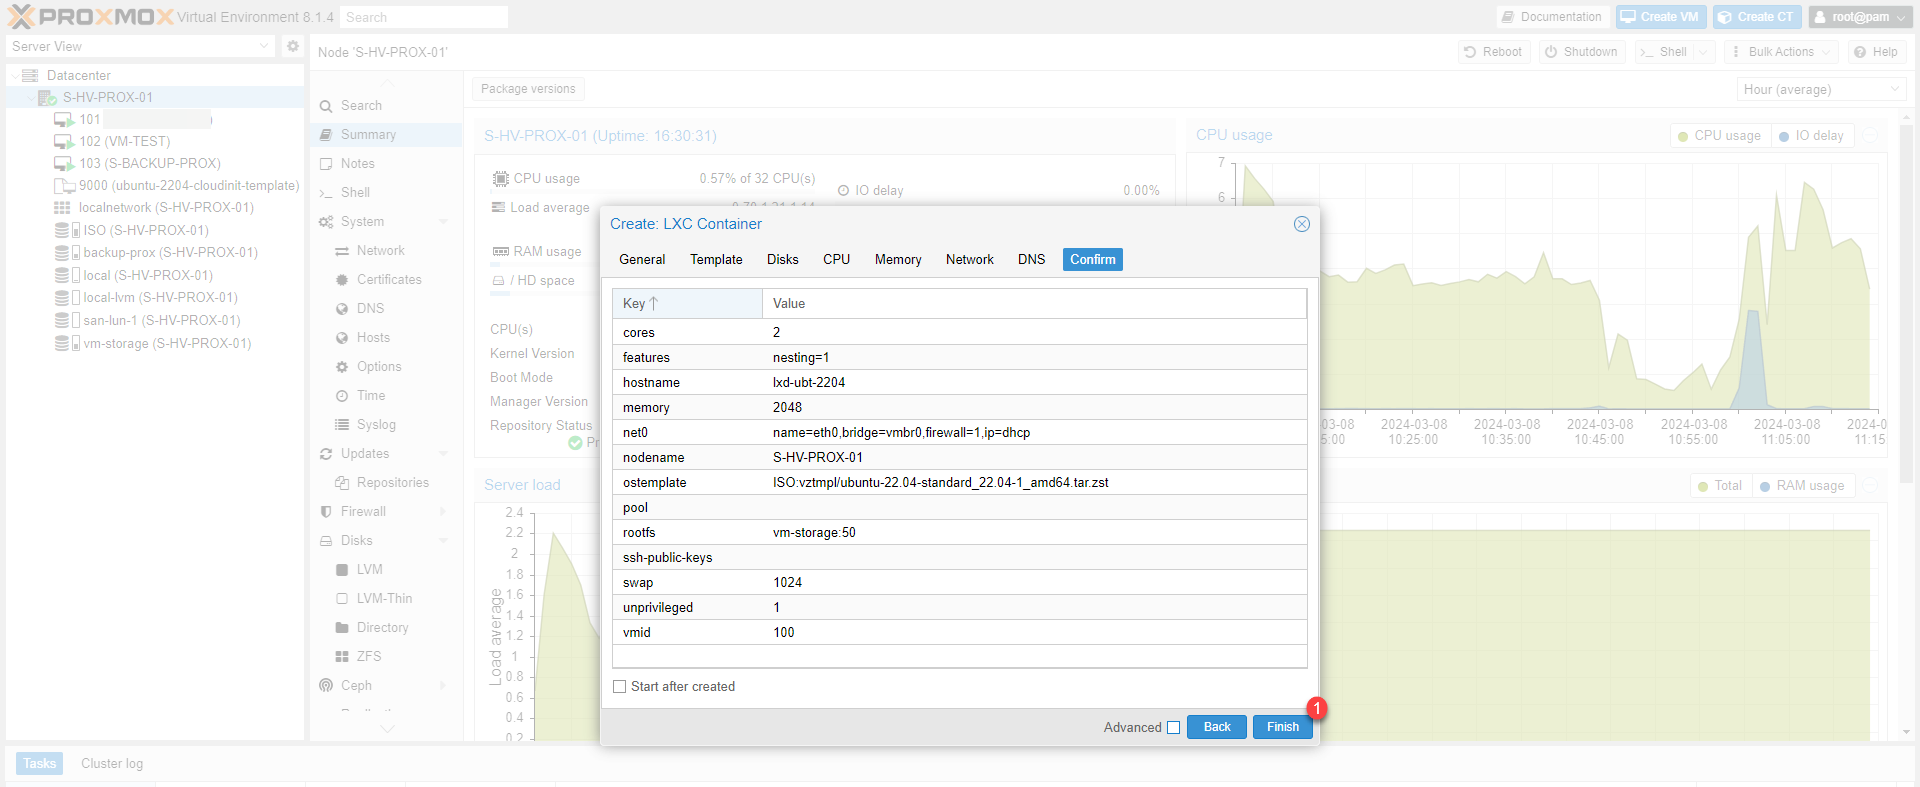
A summary of the configuration is displayed, click Finish 1 to create the LXC container.
Wait while the container is created and configured…


Once the creation is complete, close the window.

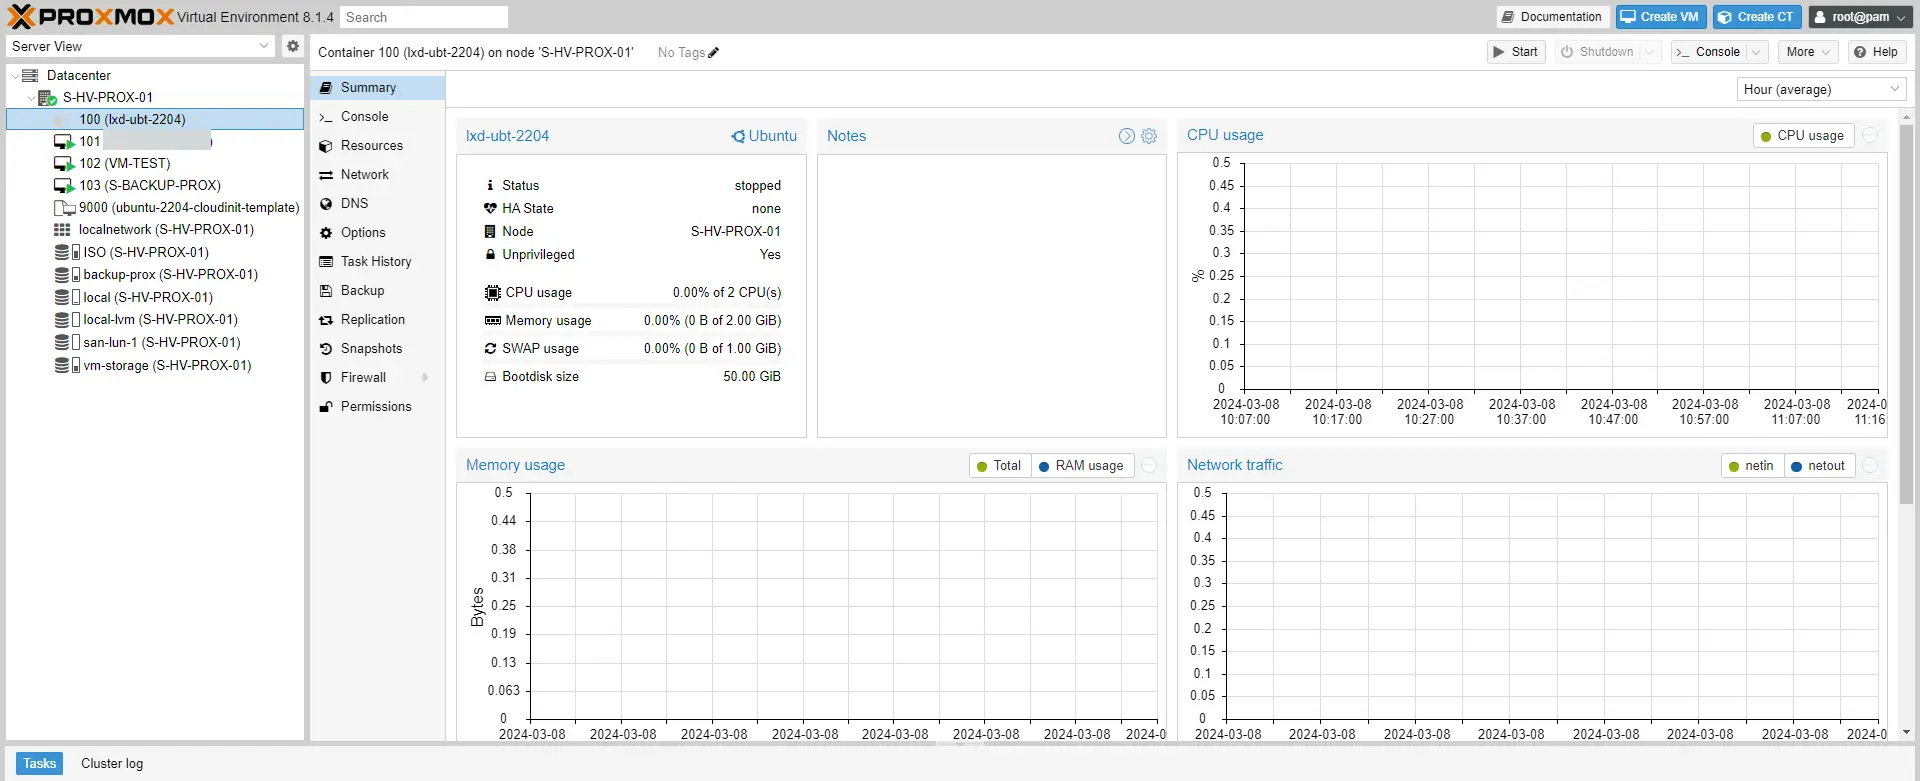
The LXC container is created and available on the Proxmox server.
Start and use the LXC container
Select the LXC container and click Start 1.

Once started, go to the console and use the root account with the password configured during container creation (CT) to manage the OS.

LXC containers are administered and used like any Linux, here Ubuntu, you can install the packages you need, even Docker.
LXC containers allow hot configuration changes such as increasing the number of CPUs or increasing disk space without the need to make any changes.
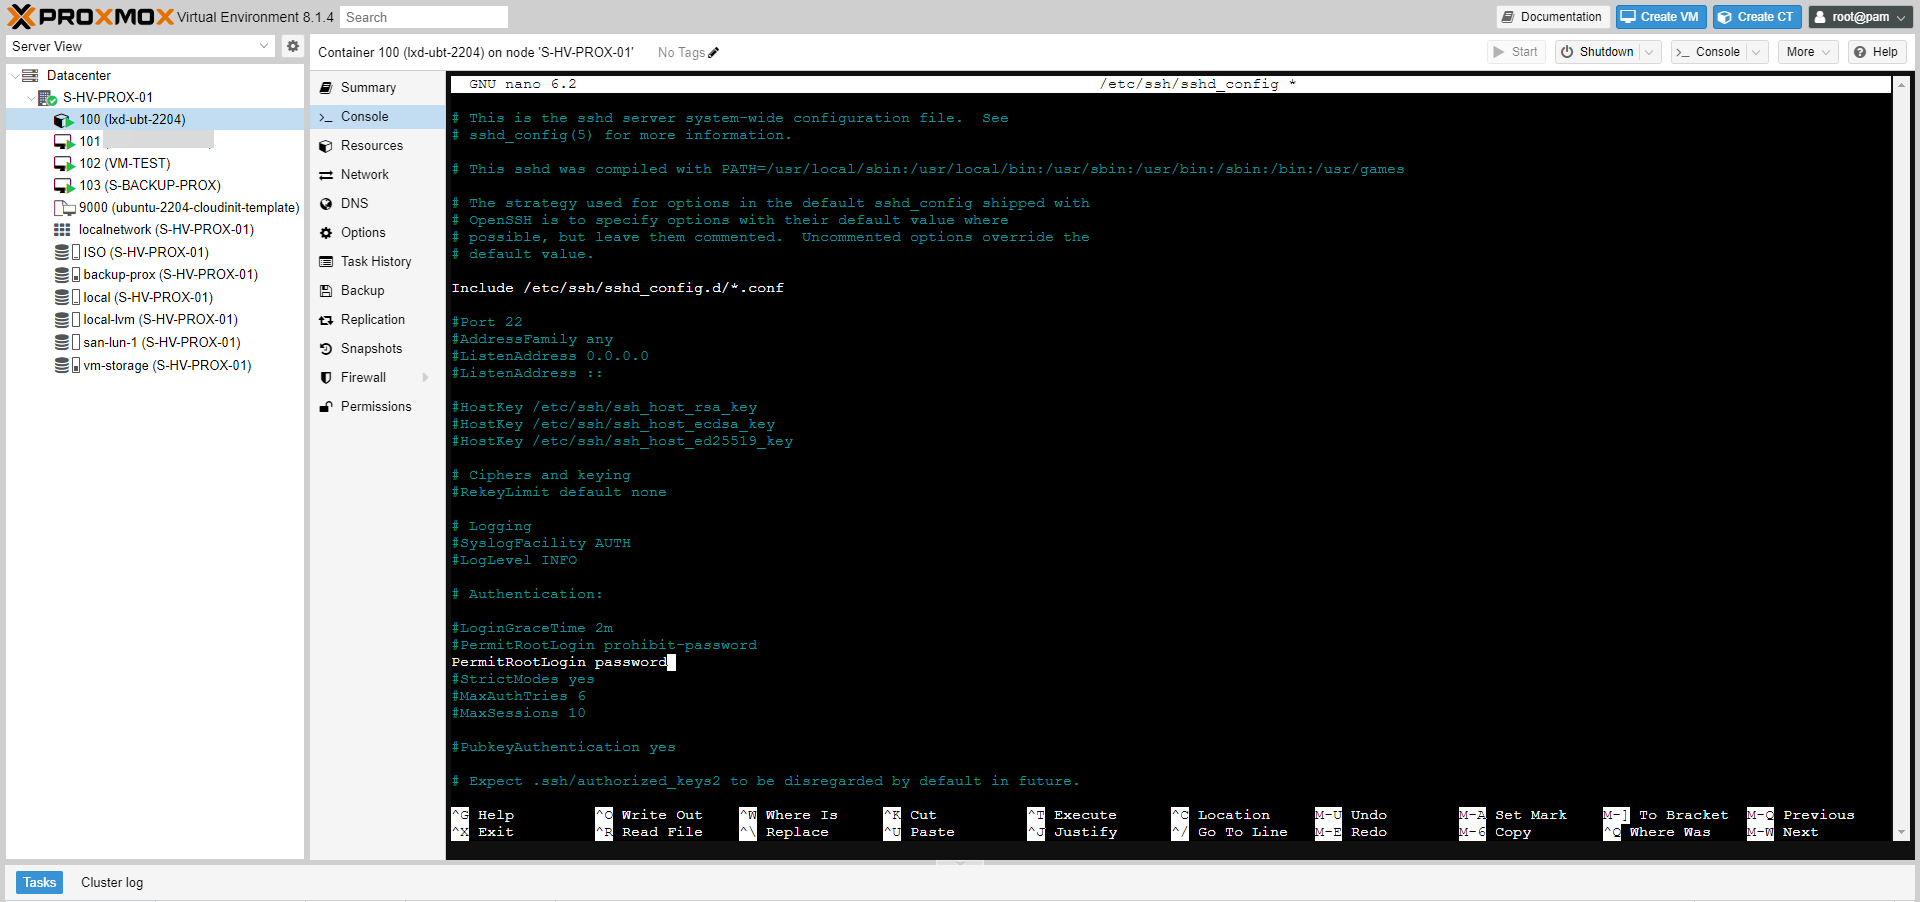
If you wish to access the LXC Ubuntu container via SSH, you must modify the configuration of the SSH service to authorize connection with the root account by password and then start the service.

You know how to deploy LXC containers on Proxmox.
Personally, I find LXC containers convenient for Linux server deployment, which allows Linux to be deployed in minutes configured ready to use.