In this tutorial, I will show how to create a virtual computer (VM) from the Proxmox administration web interface.
Create a virtual machine on Proxmox
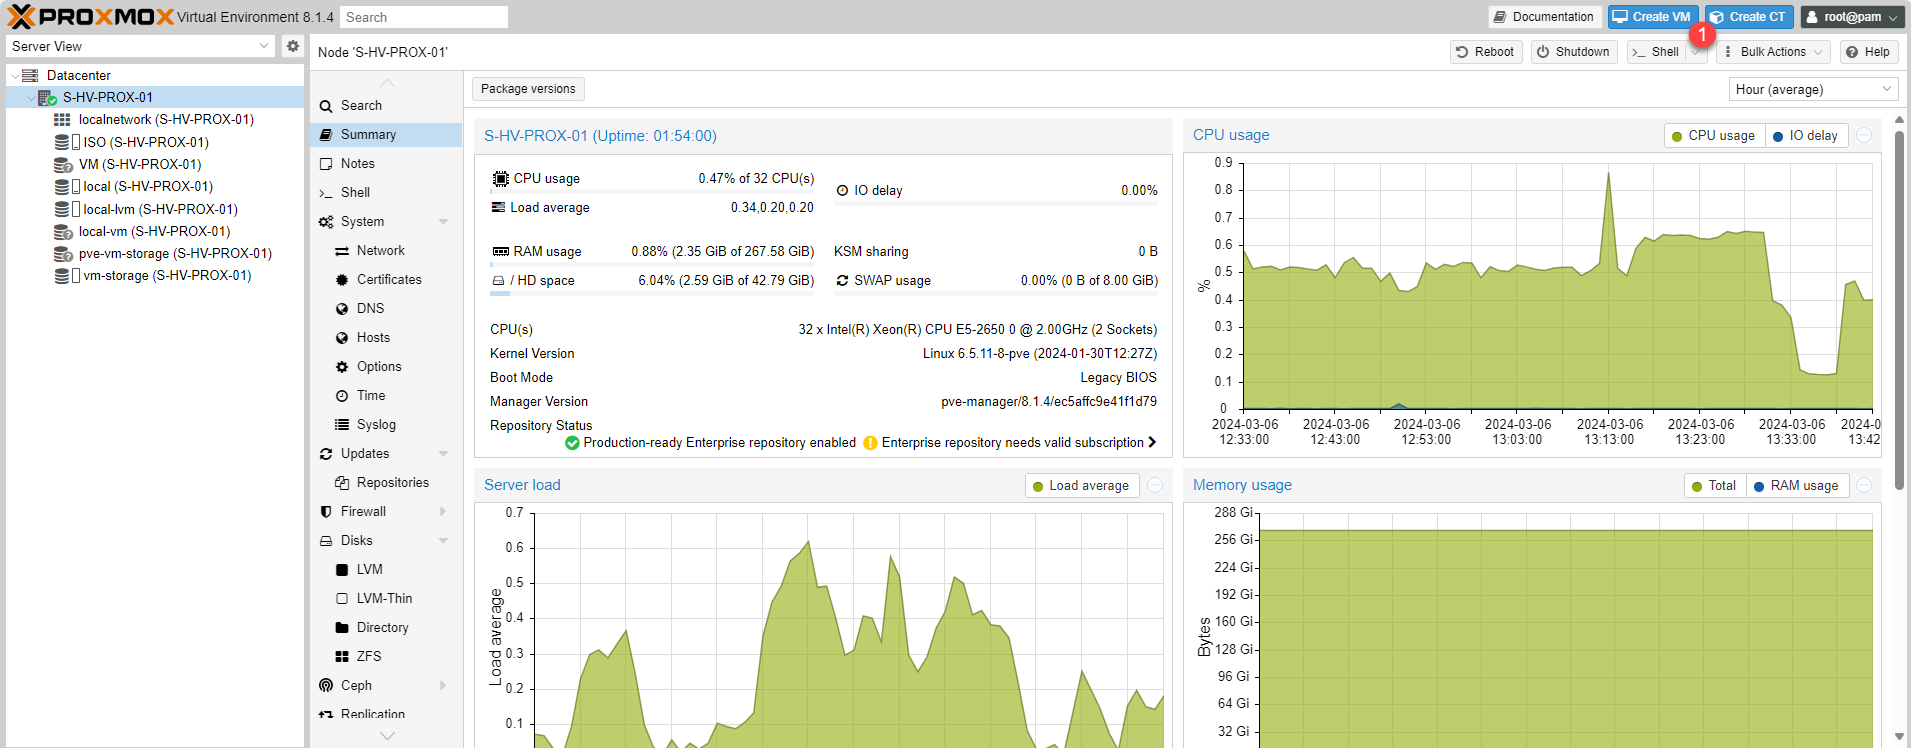
From the Web interface, go to the Proxmox server where you want to create the virtual computer and click on the Create VM 1 button.
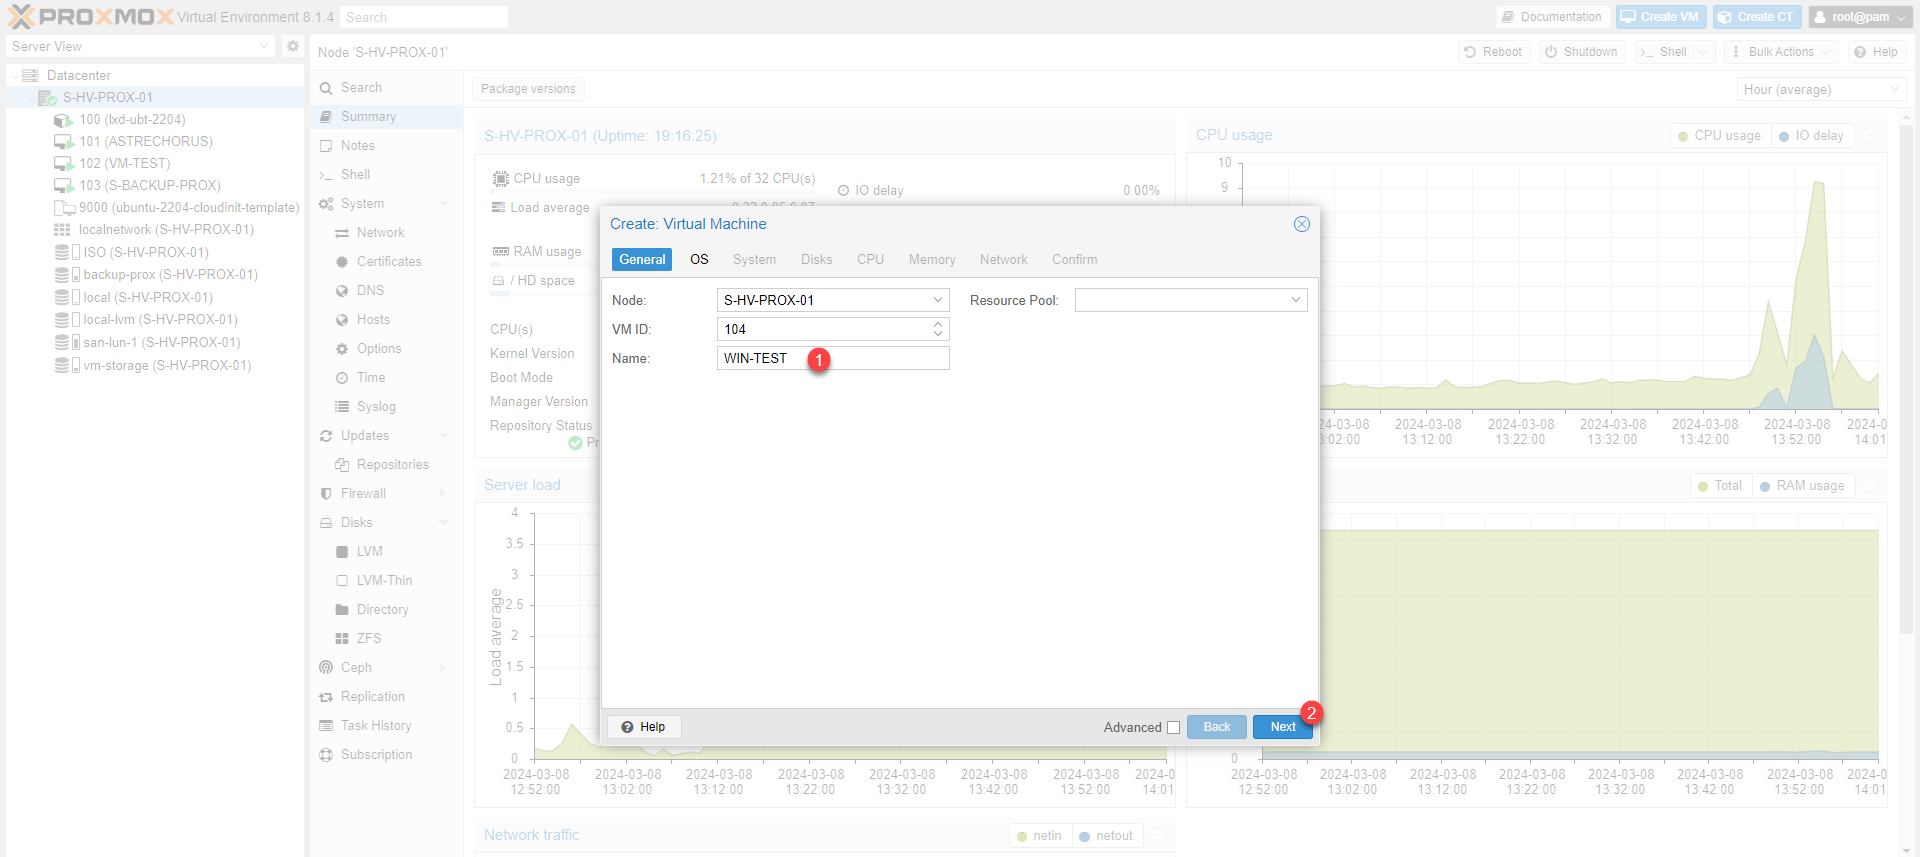
Enter the name 1 of the virtual machine then click on Next 2.

On the OS tab, we will choose the ISO 1 which will be used to install the operating system on the Proxmox virtual machine, configure the OS type 2 then click on Next < <3.
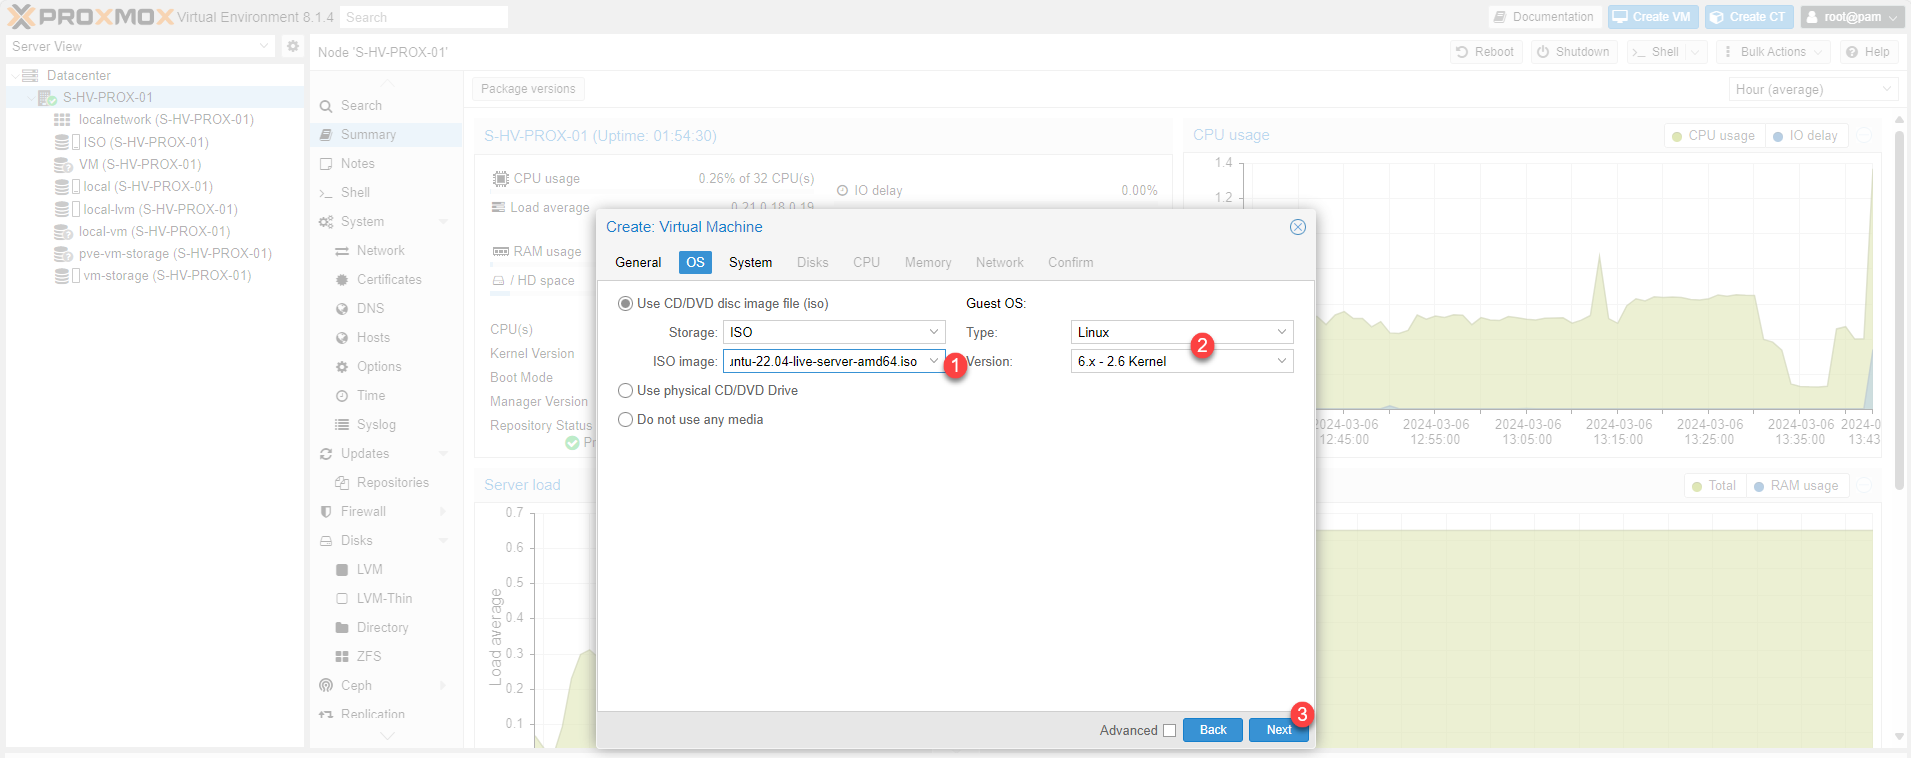

It is important to select the right type of operating system, because this will impact the subsequent configuration of the virtual machine, in particular to install Windows.
It is possible not to choose an ISO to boot on the network for example.
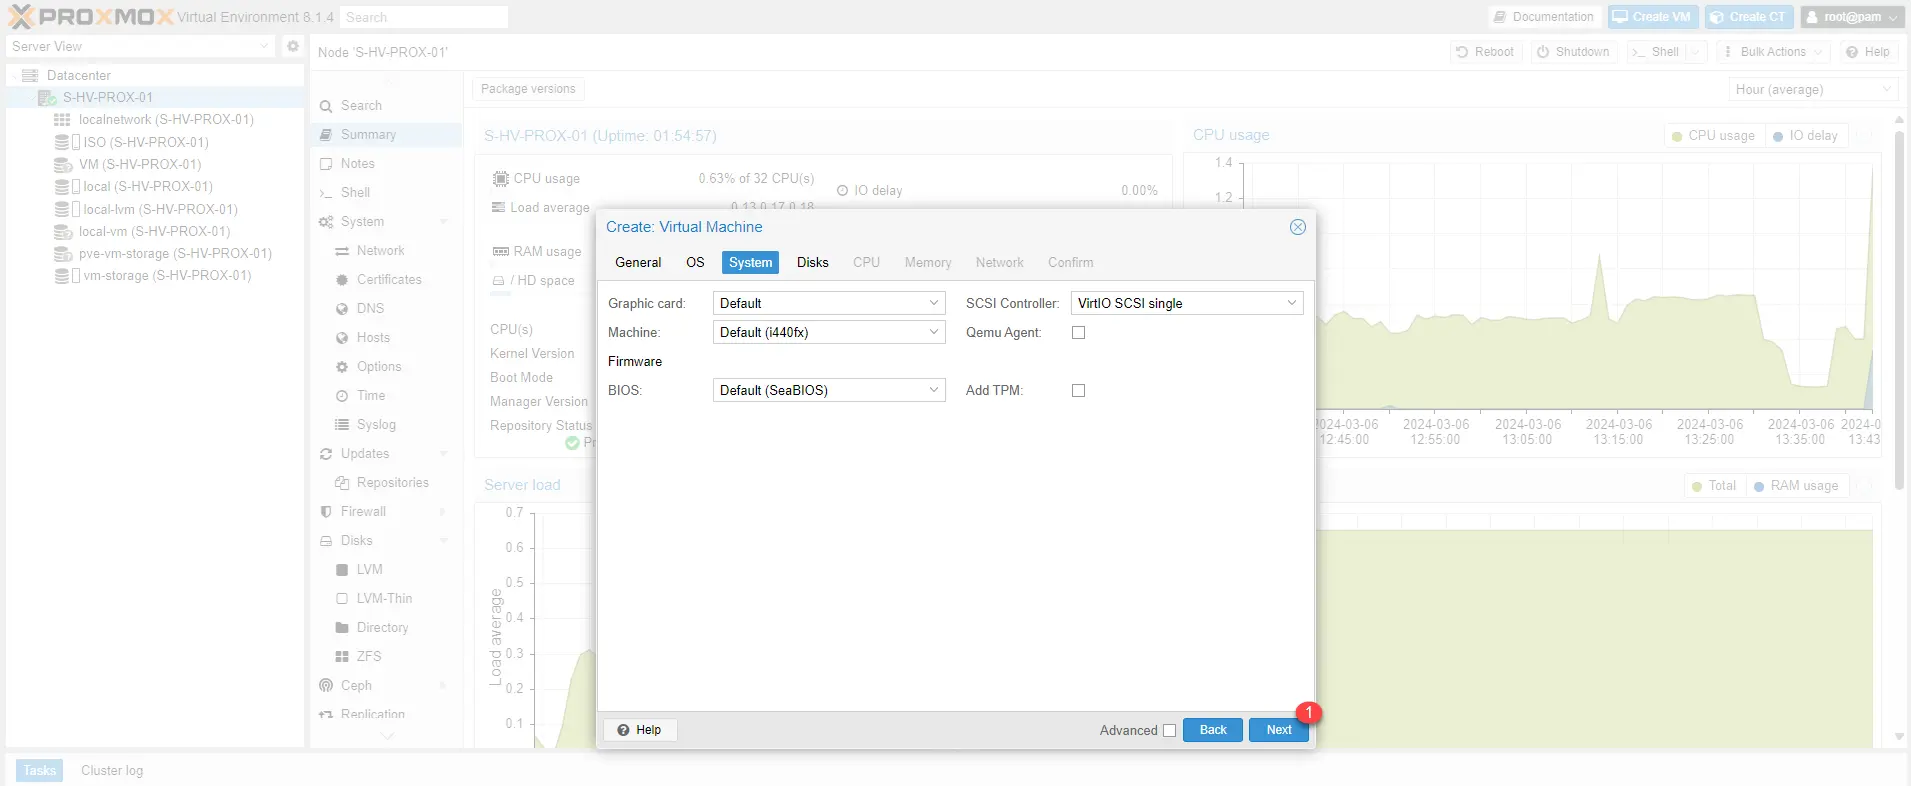
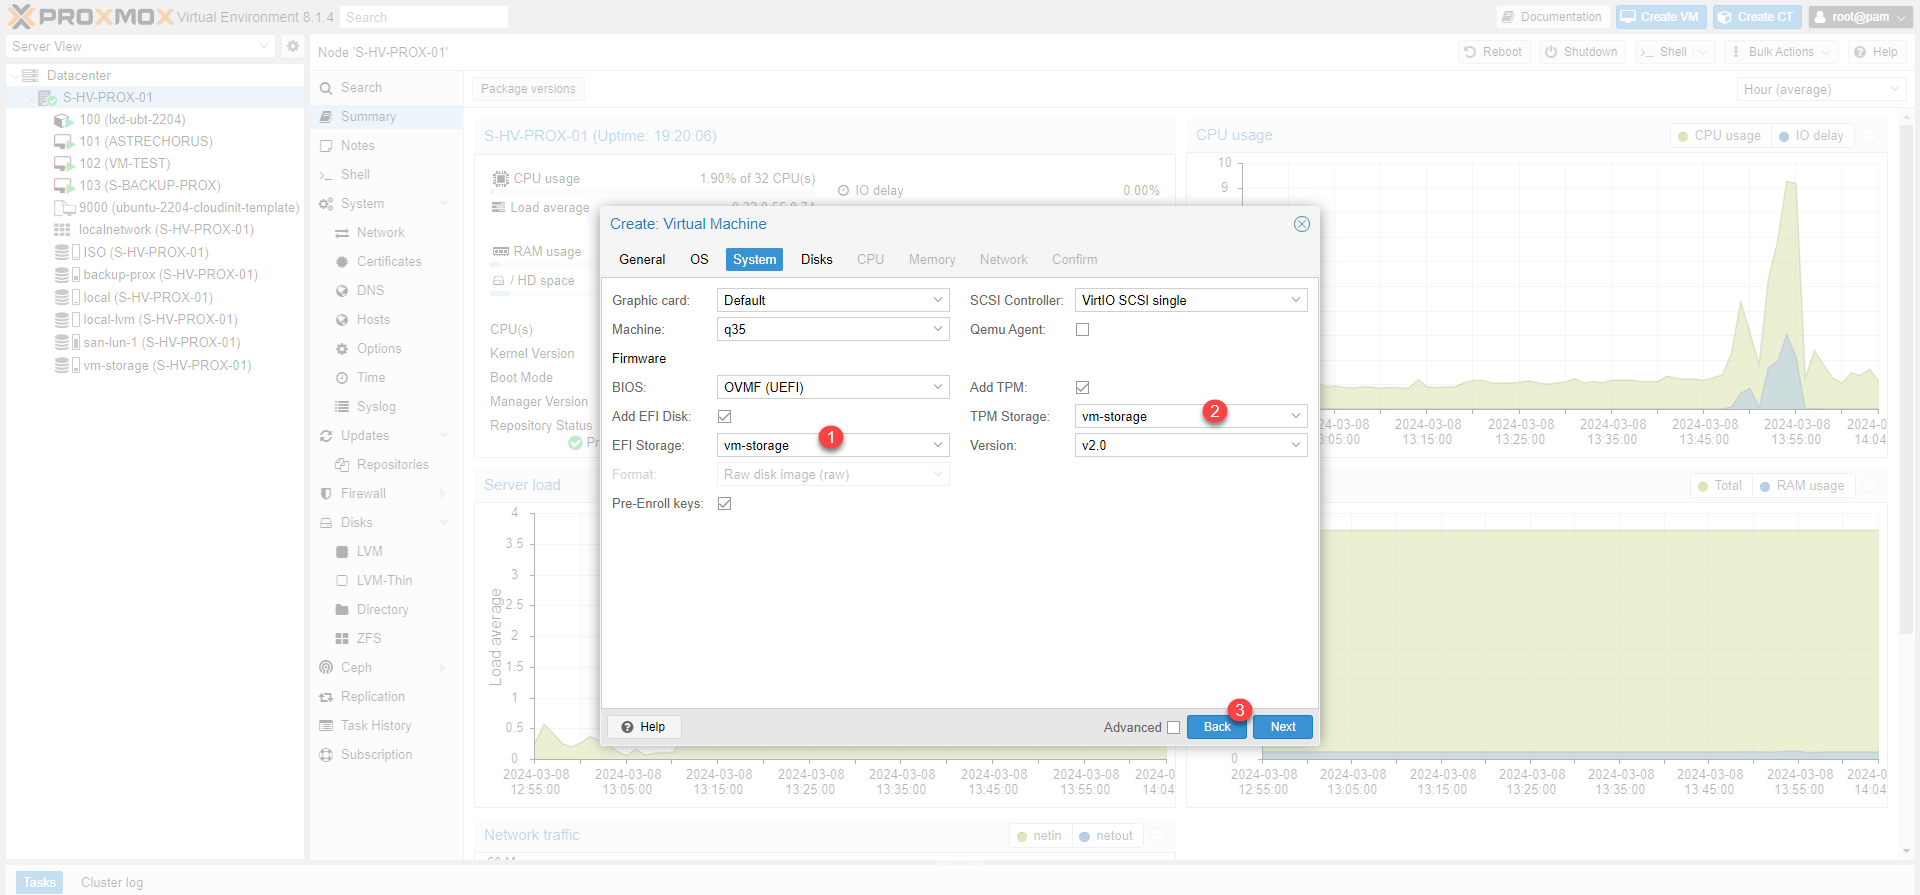
If you have chosen a Linux kernel, there is no modification to make, you can click on Next 1. For a Windows system, the BIOS type is UEFI, in this case you will need to indicate the storage location for EFI 1 and the storage chip of the TPM chip 2 and click on Next 3.
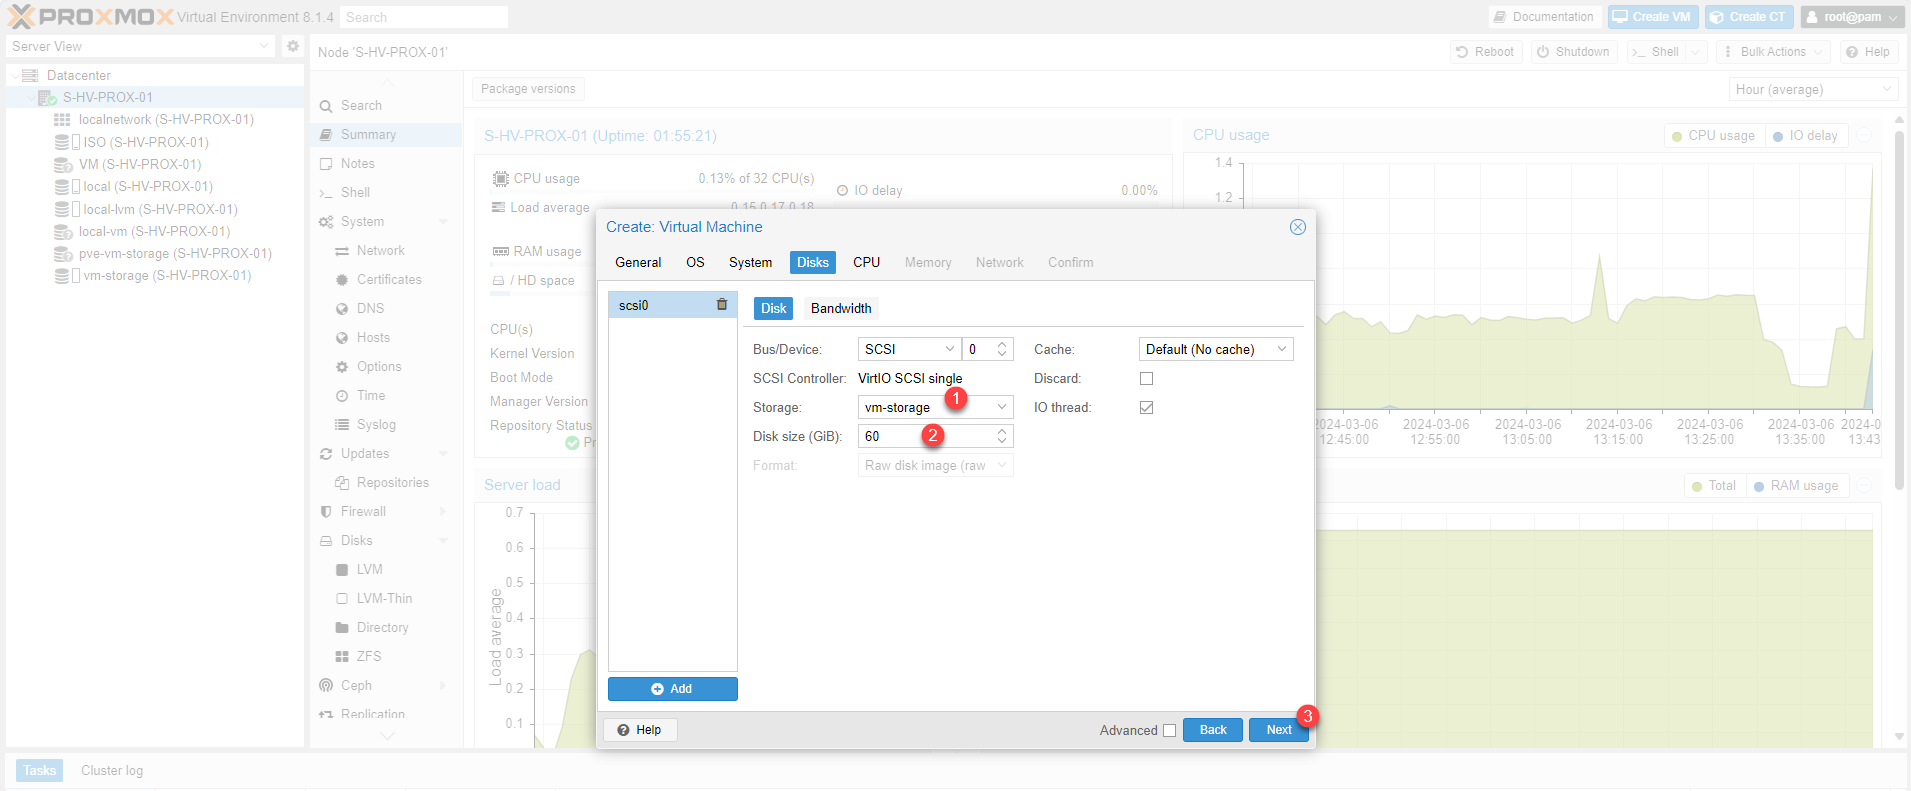
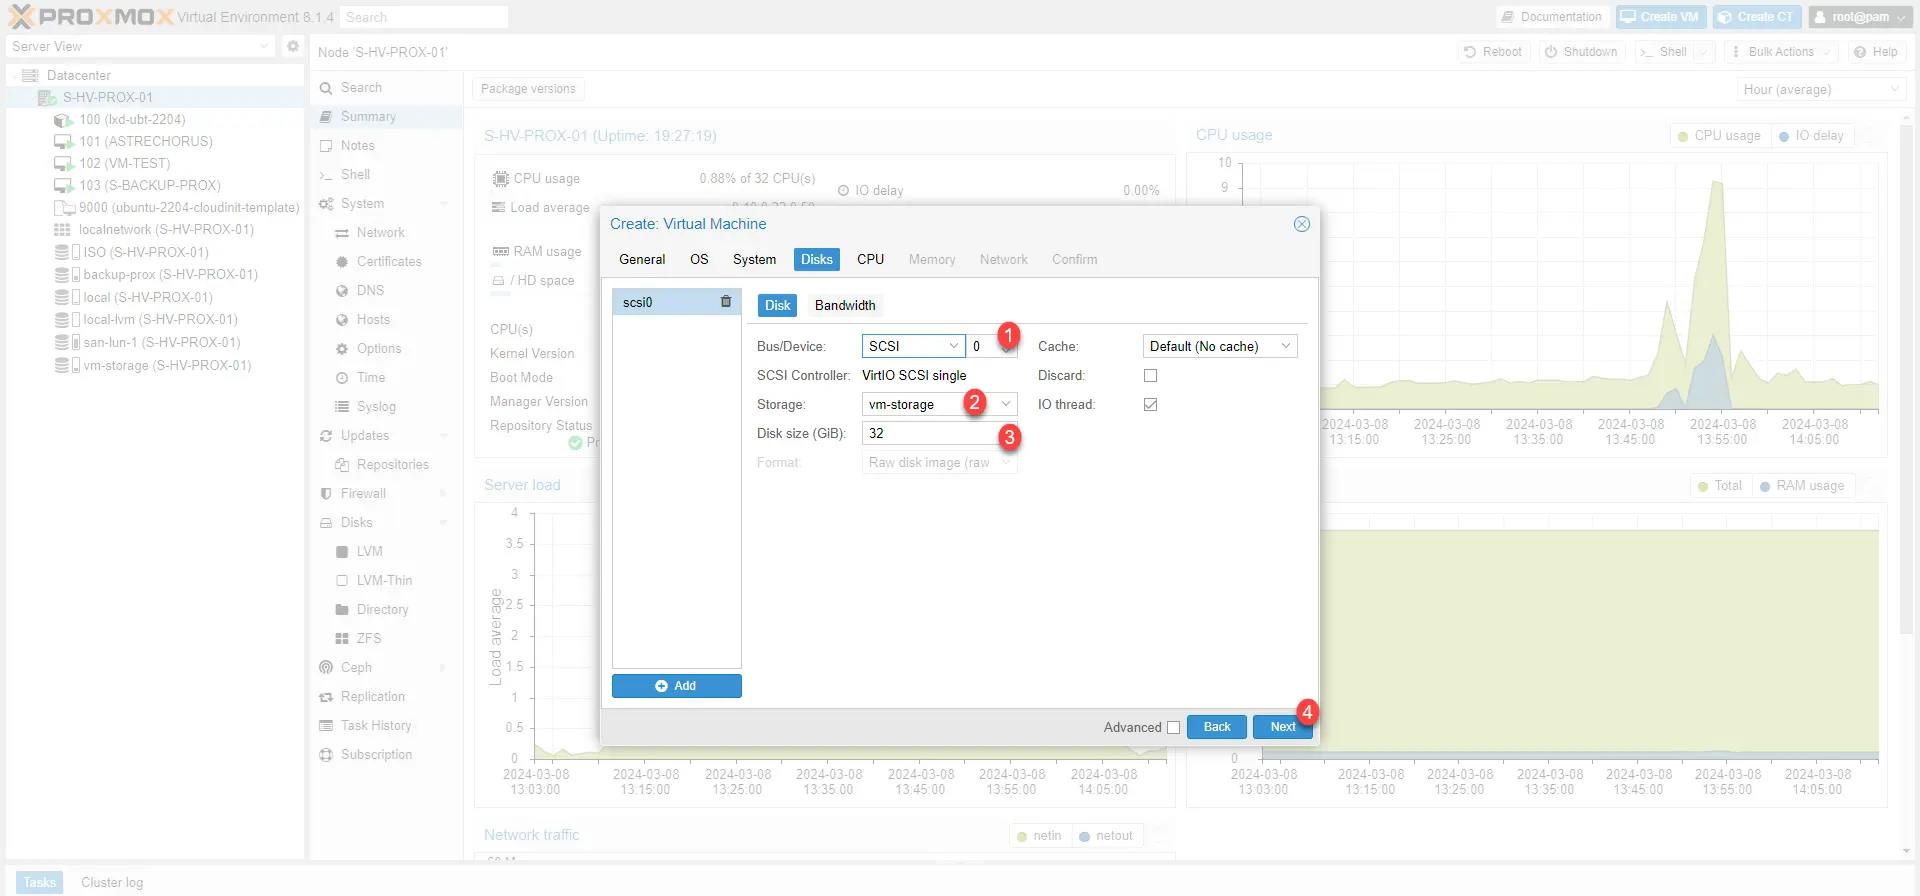
For Linux, specify the storage location 1, configure the disk size 2 and click Next 3. For Windows, change the storage type * 1 if necessary, choose the location 2, adapt the disk size 3 and click on Next 4.
For Windows if you choose an ISCSI controller, in the System configuration, you must select MegaRAID SAS 8708EM2 as the SCSI controller for it to be recognized, I advise you to leave the default options and stay on IDE.
The CPU configuration is identical for Linux and Windows, adjust the parameters 1 then click on Next 2.
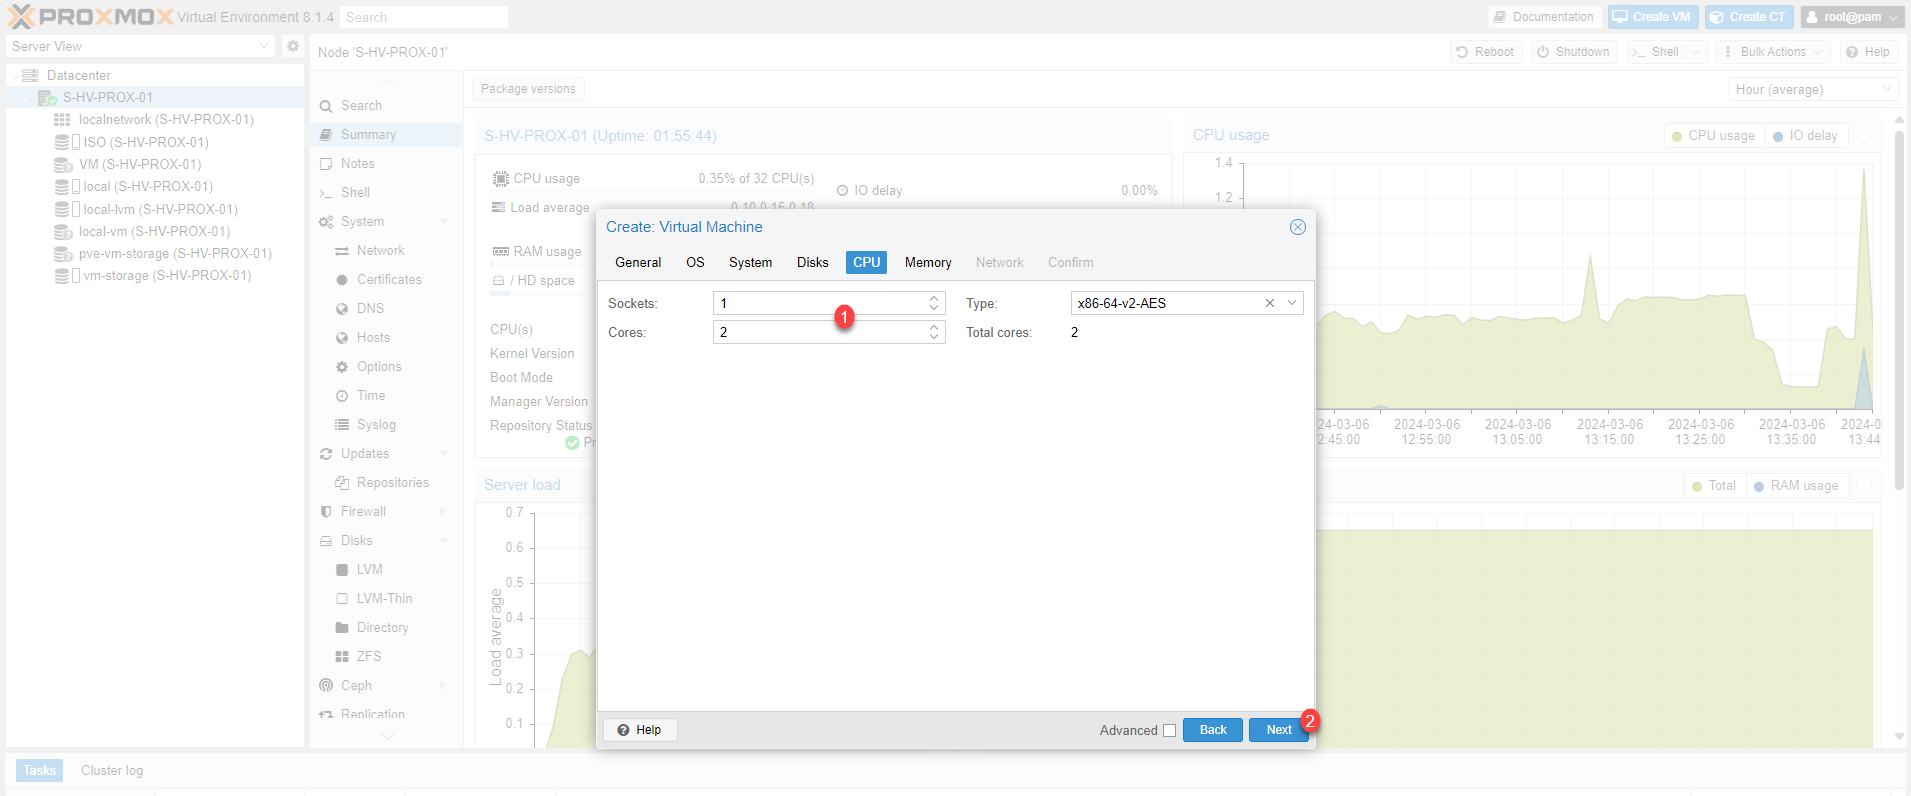
Proxmox allows great flexibility in CPU configuration by being able to choose the number of sockets and therefore physical CPU and then the number of cores per CPU/Sockets. It is also possible to choose the CPU model that will be seen in the virtual machine.
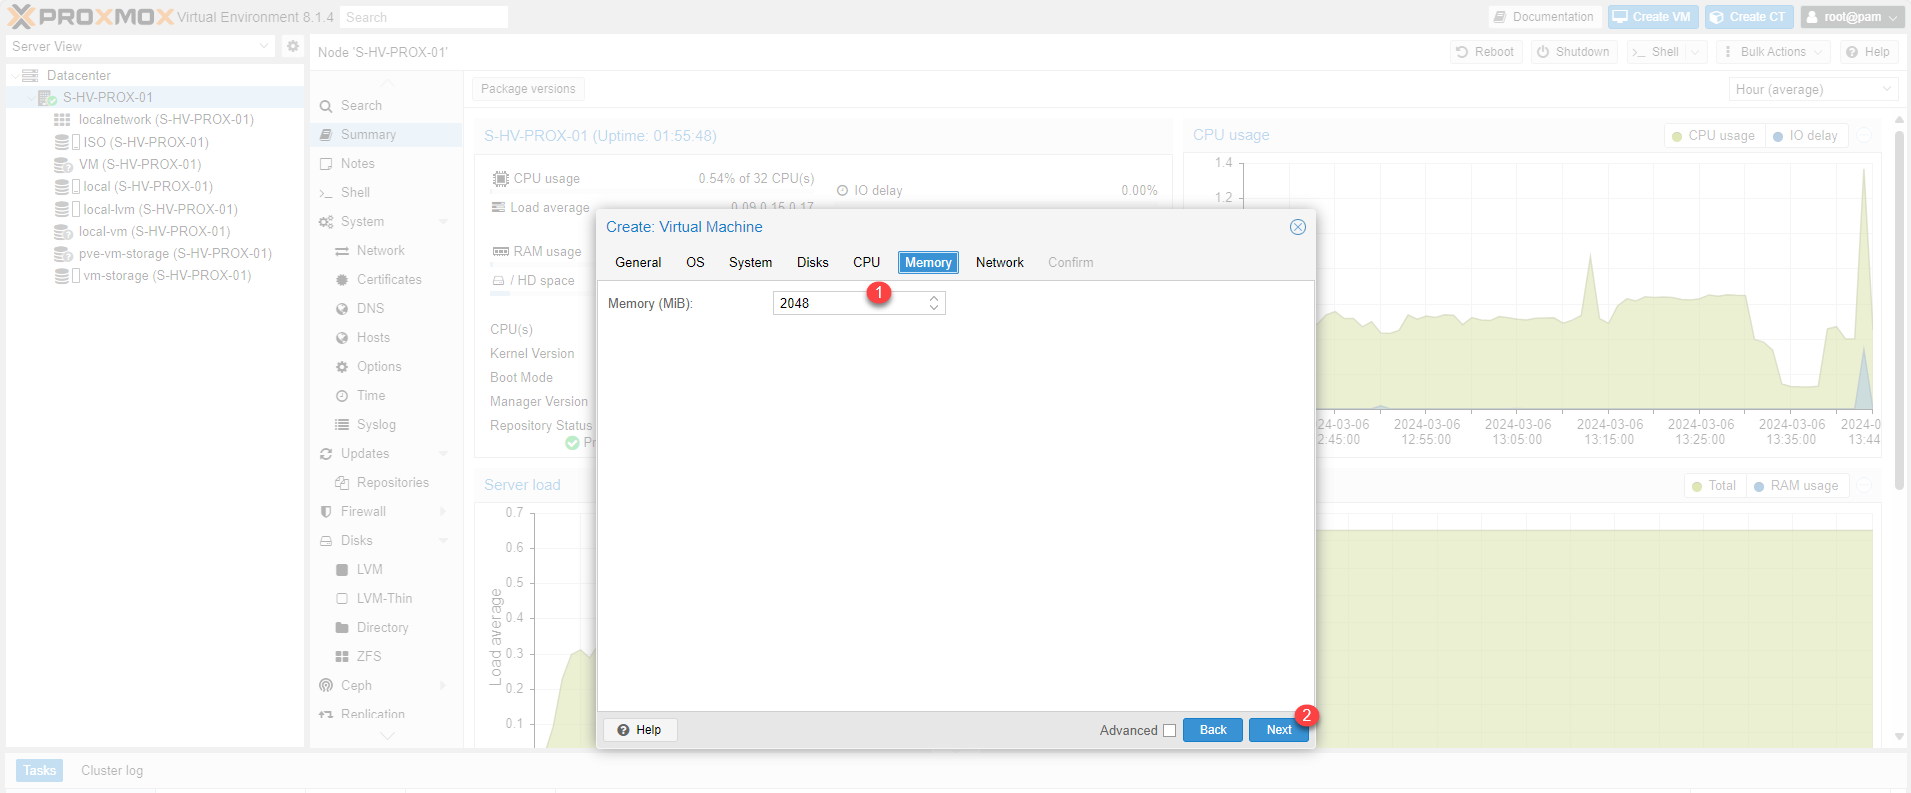
As for the CPU, the memory (RAM) configuration is identical regardless of the OS, adjust the amount of allocated memory 1 then click on Next 2.
For network configuration, the default settings should be suitable in the majority of cases, click on Next 1.
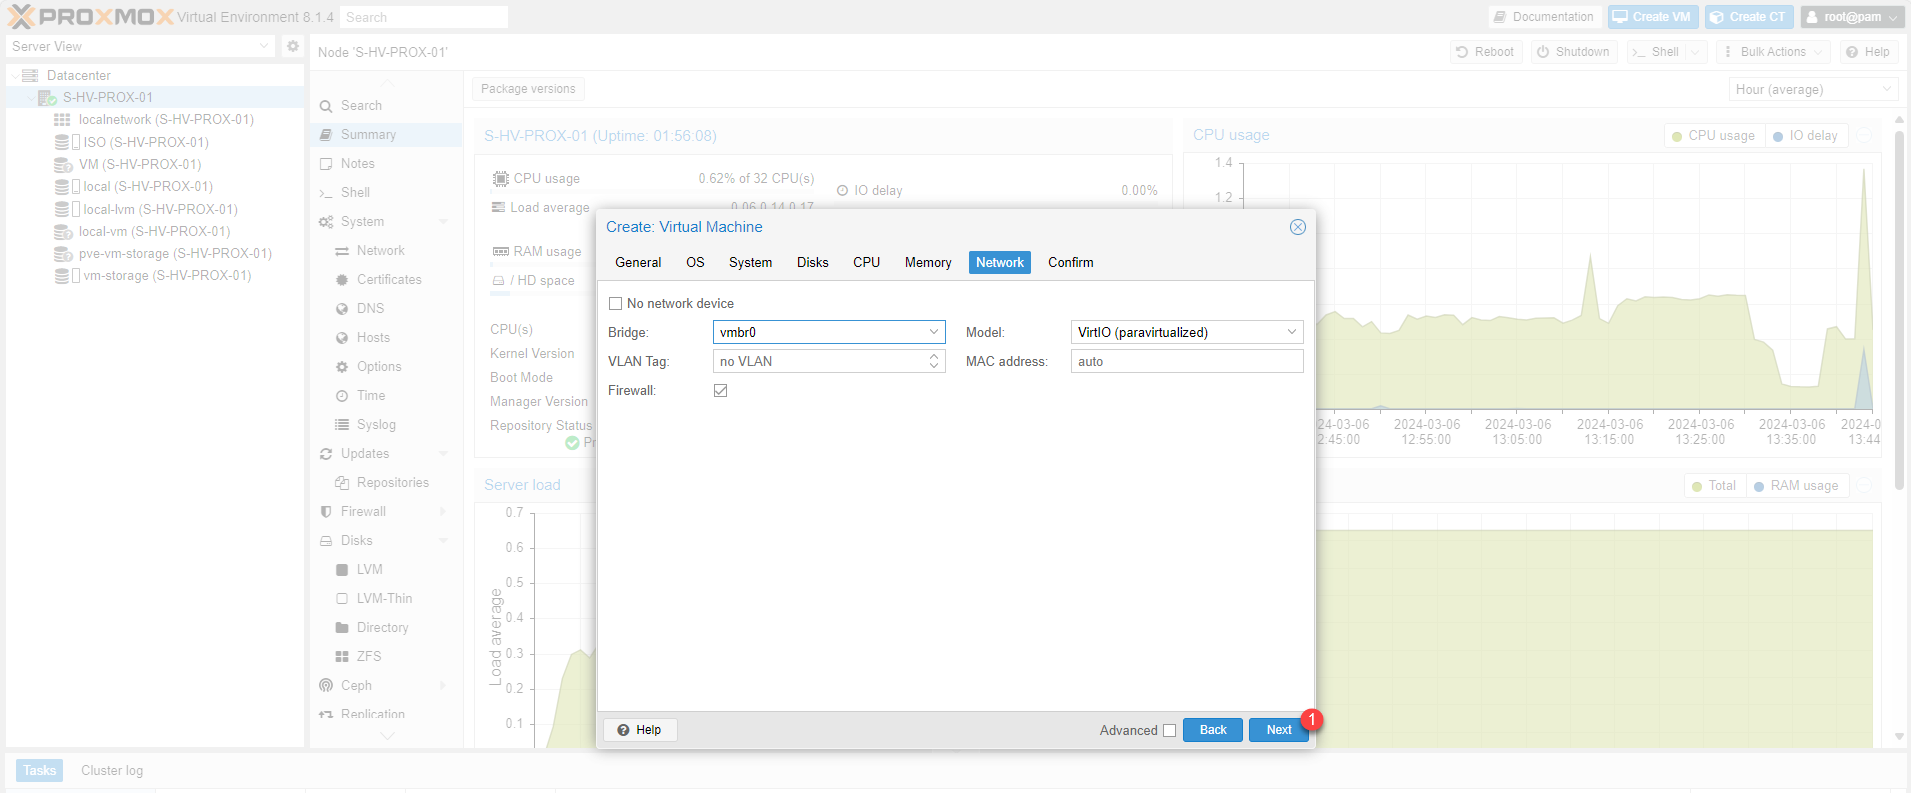
Depending on the operating system, the Card Model is different, if the VM must be in a VLAN, you can indicate the number (TAG).
You notice that the Firewall box is checked by default, I will give you a tutorial on this Proxmox feature.
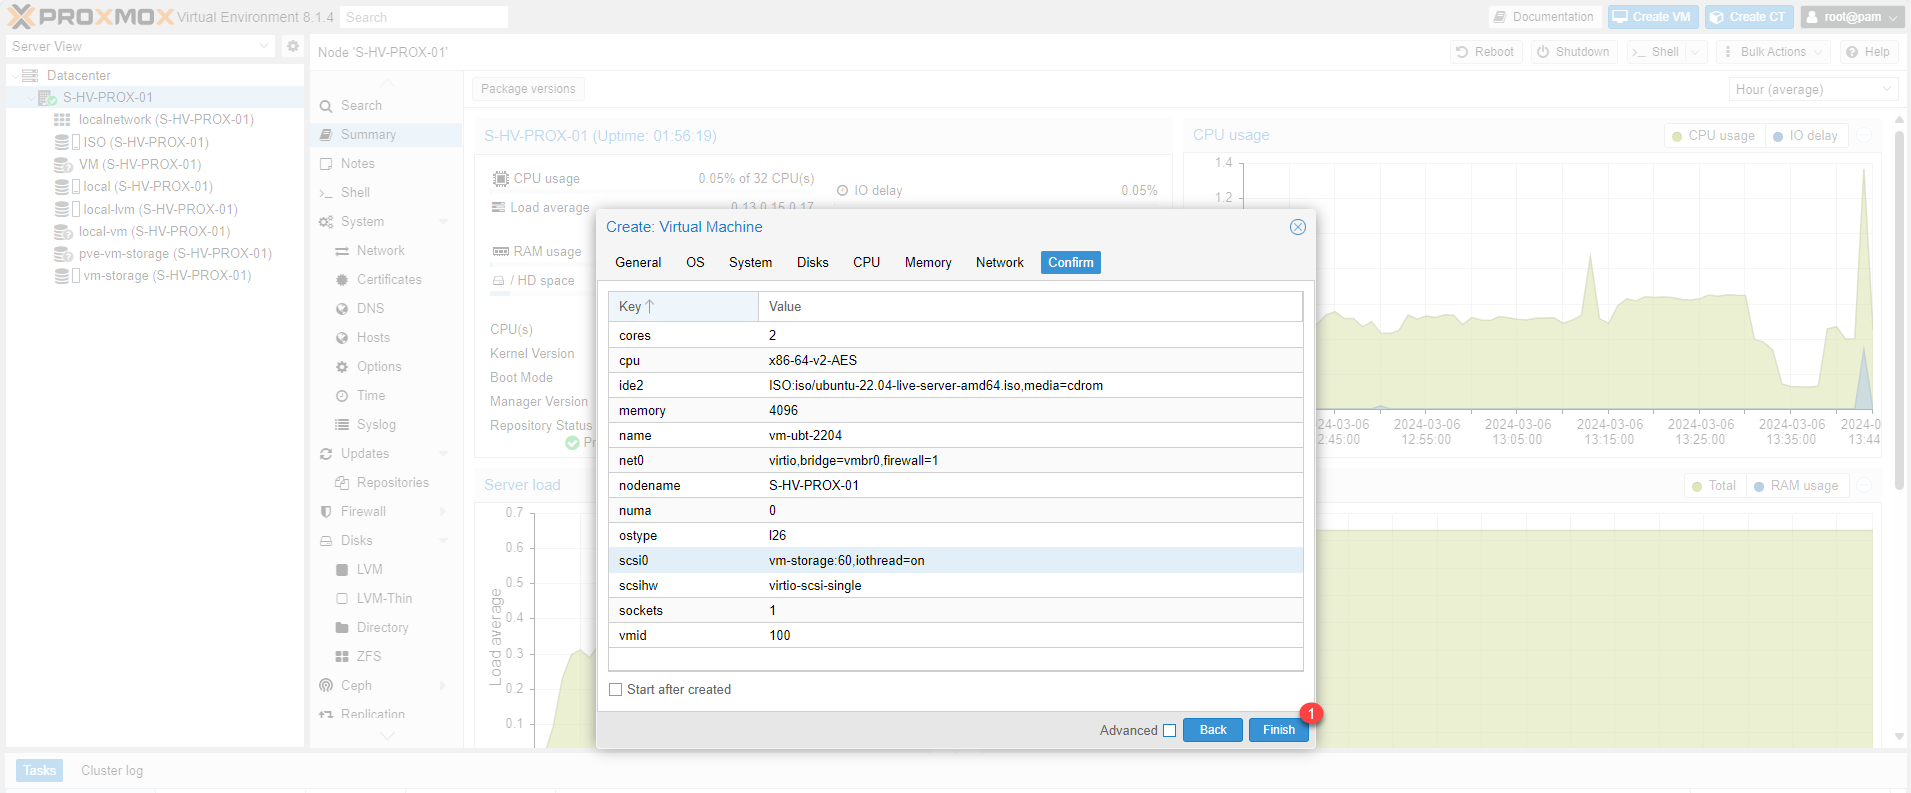
Finally, a summary of the virtual machine configuration is displayed, click Finish 1> to create the virtual machine.

The creation of the computer is complete, it is now available in the left menu.

Adjust virtual machine options
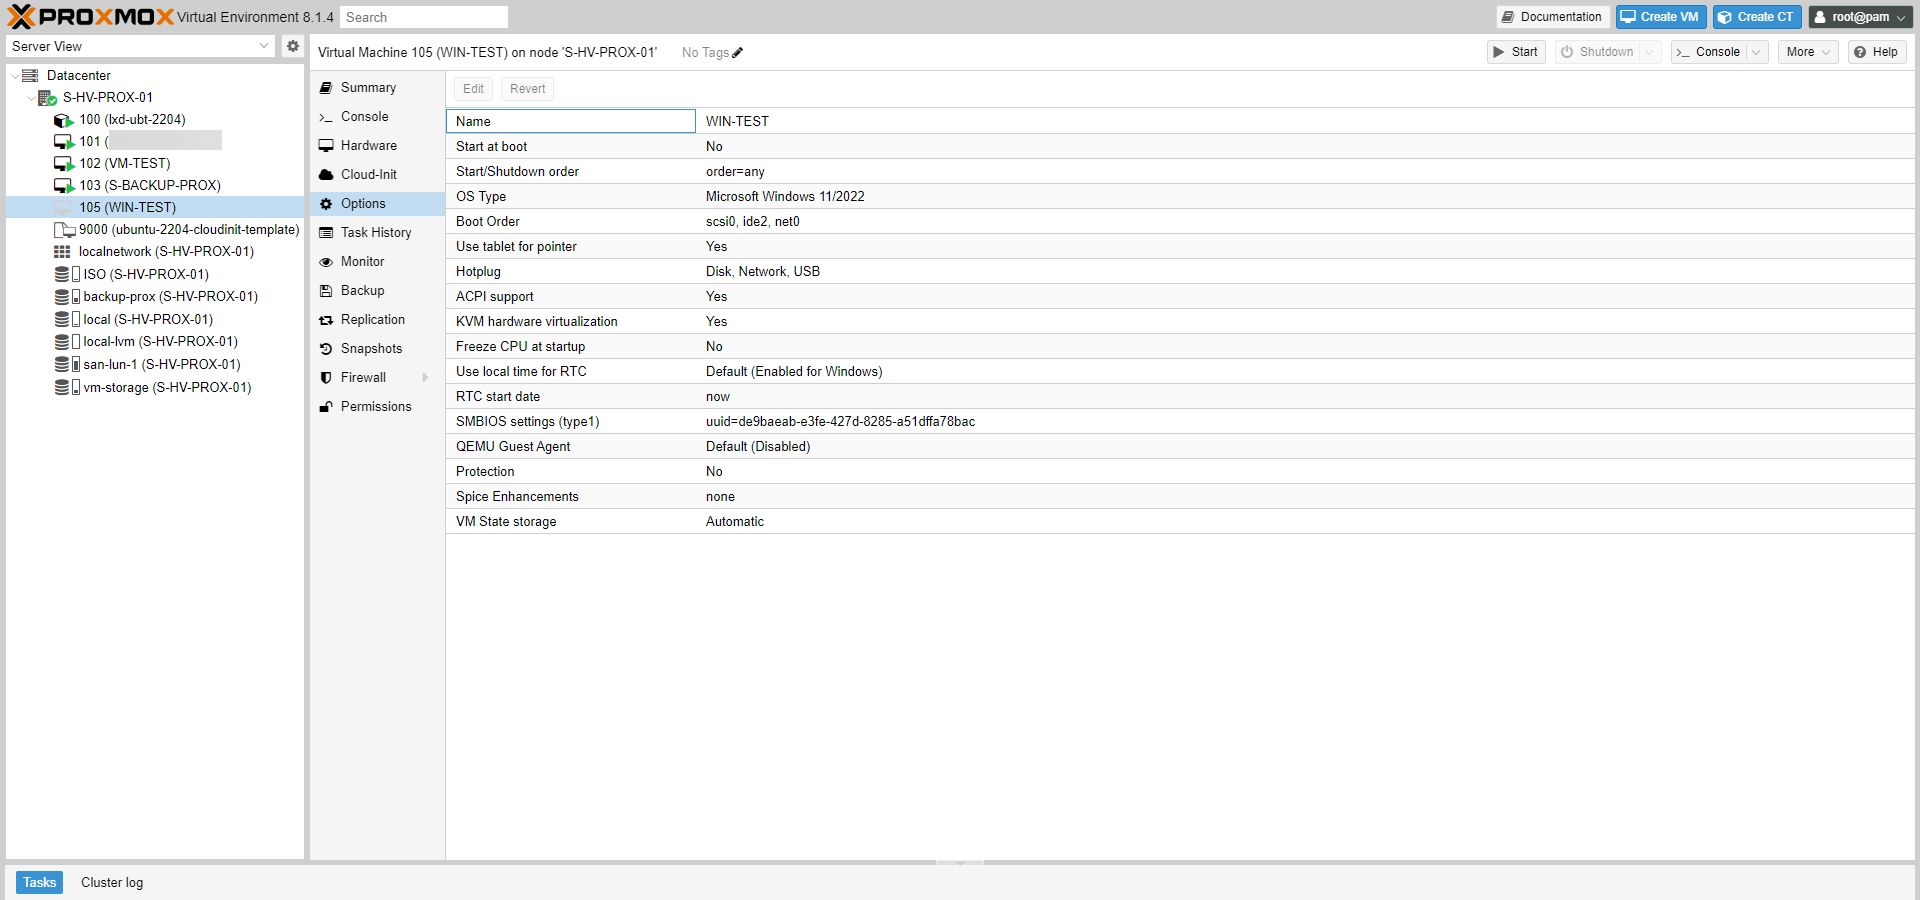
Before starting the computer, we will see two options which may be useful.
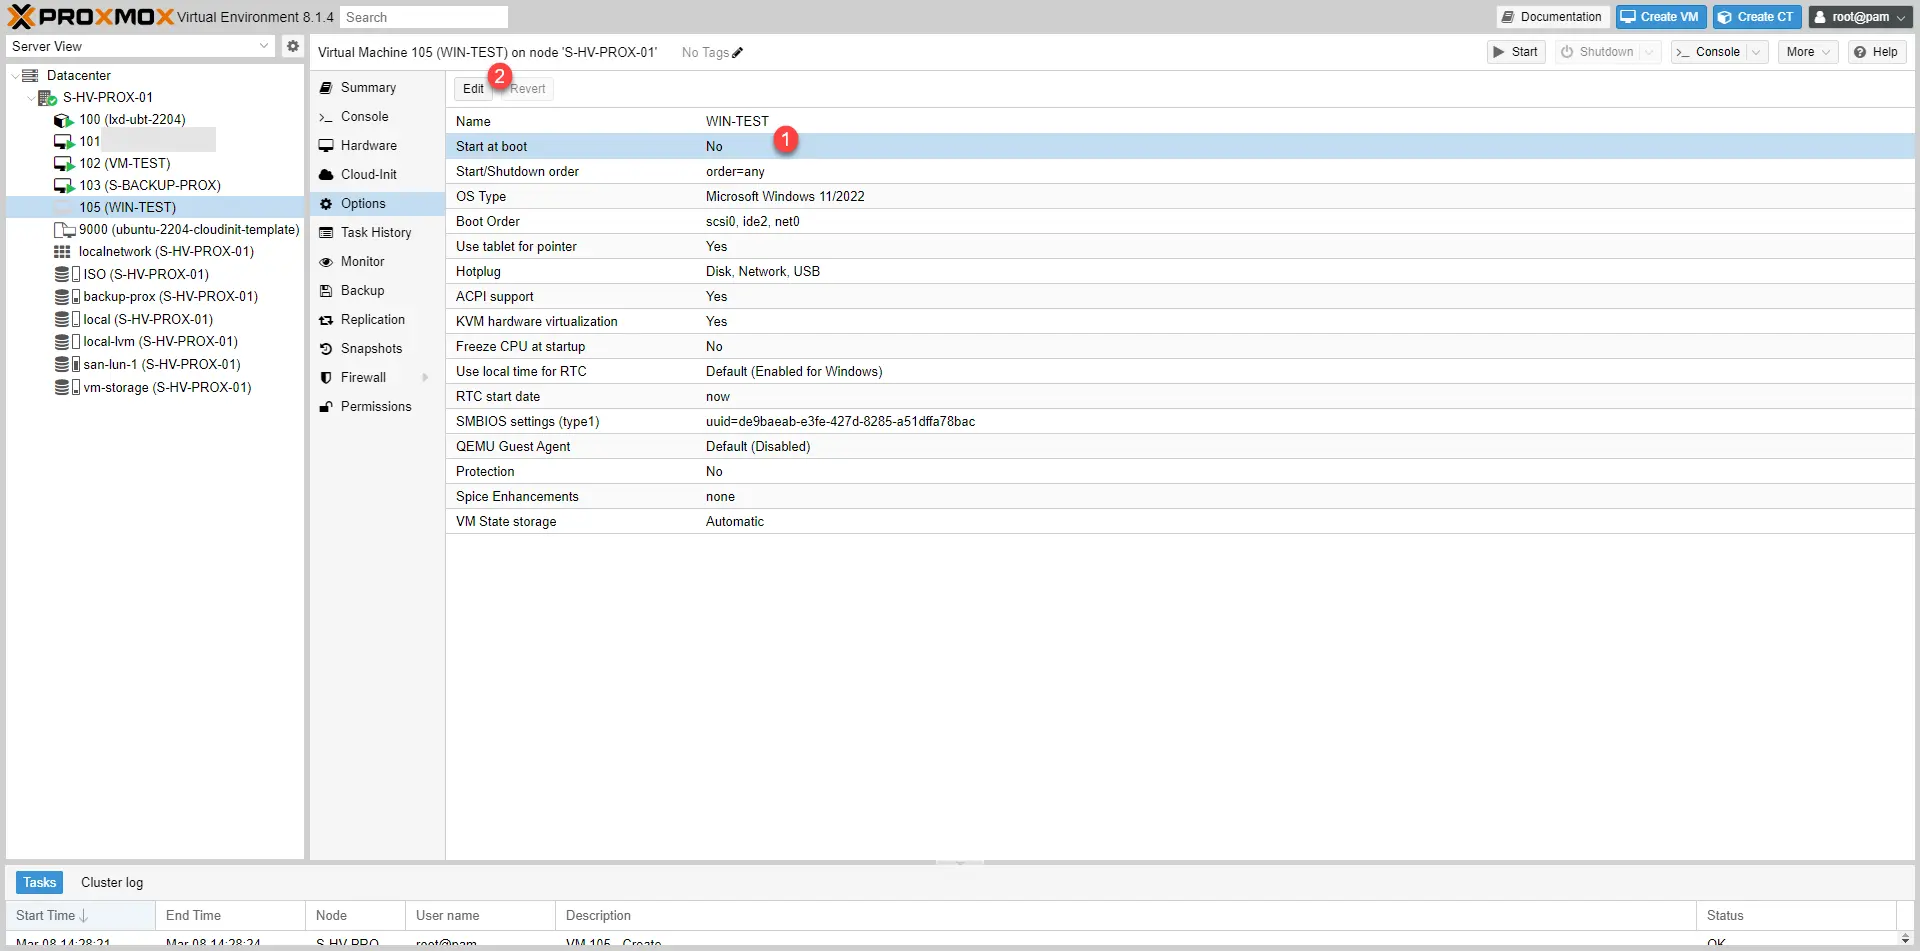
The virtual computer options are accessible by selecting the computer then going to Options.
Configure virtual machine autostart
By default, the VMs are not configured to start automatically, if you want them to be started automatically after a restart of Proxmox, for example, select the Start at boot 1 option and click on Edit 2> > (double clicking on the option also opens it).
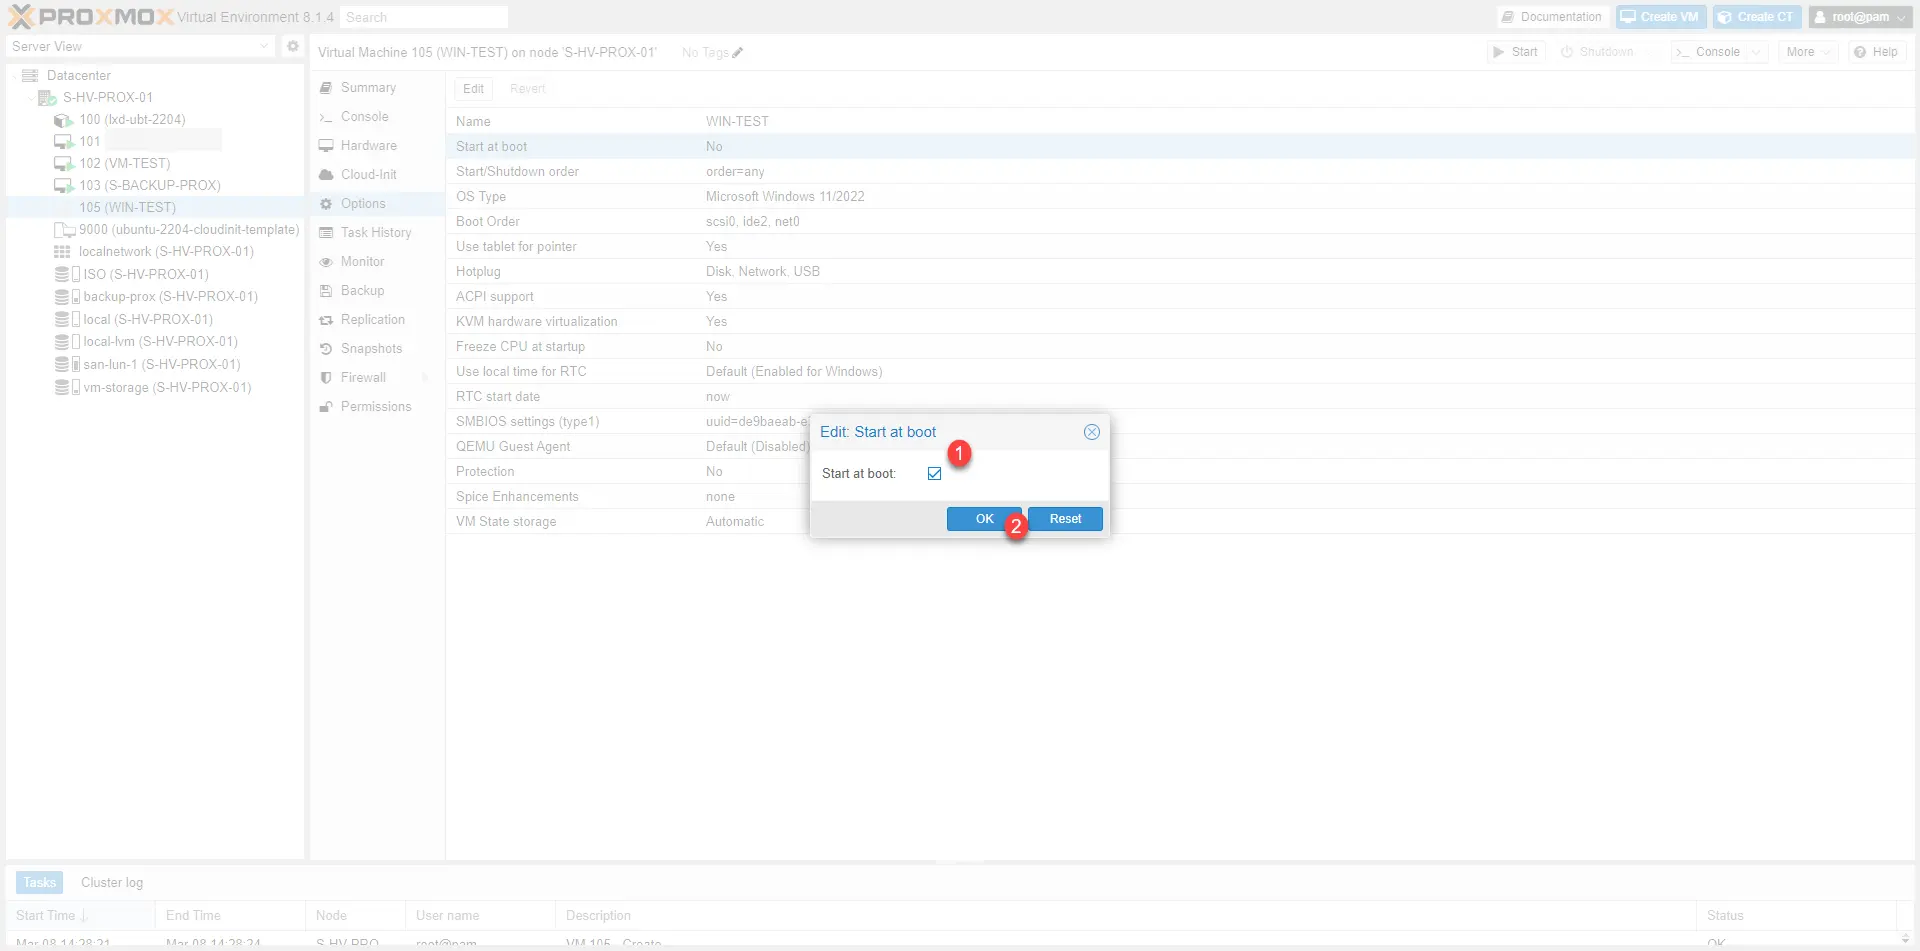
Check the Start at boot 1 box and click OK 2.
Autostart is enabled.
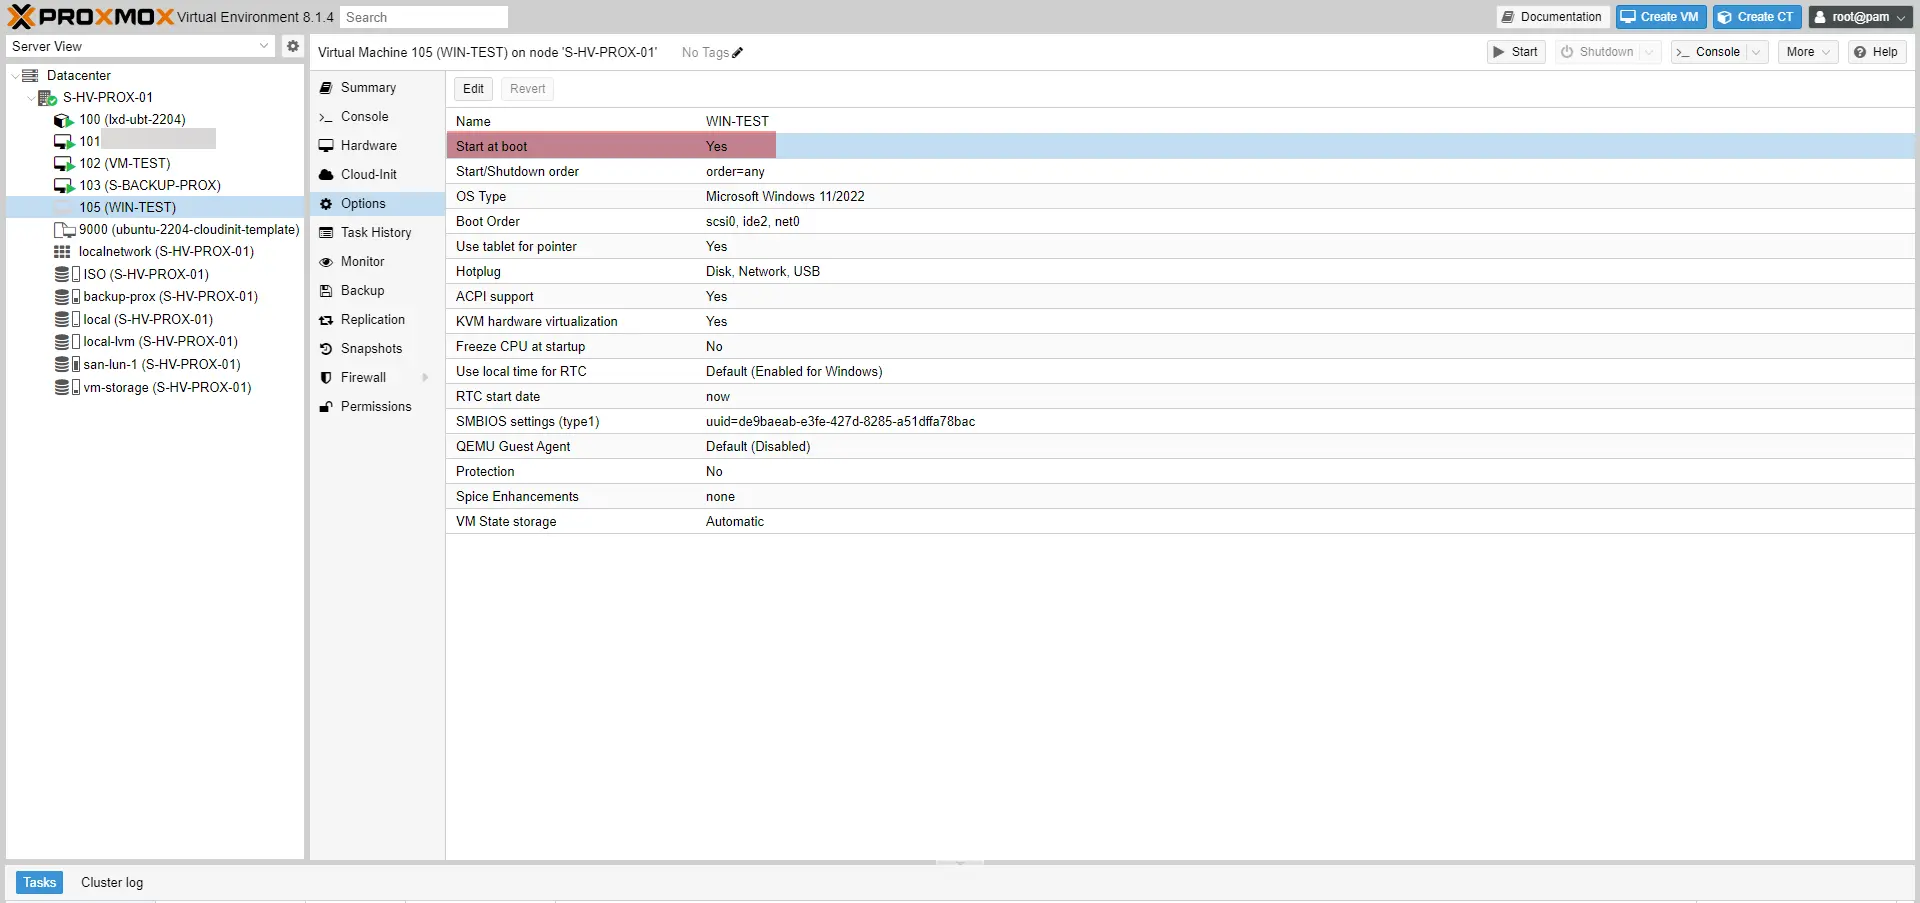
It is possible to configure a wait time before starting by configuring the Start/Shutdown order option. Configuring a delay can be useful on Hypervisors with several dozen VMs to prevent them all starting at the same time and saturating the server.
Change boot order
To modify the boot order, you must modify the Boot Order option.
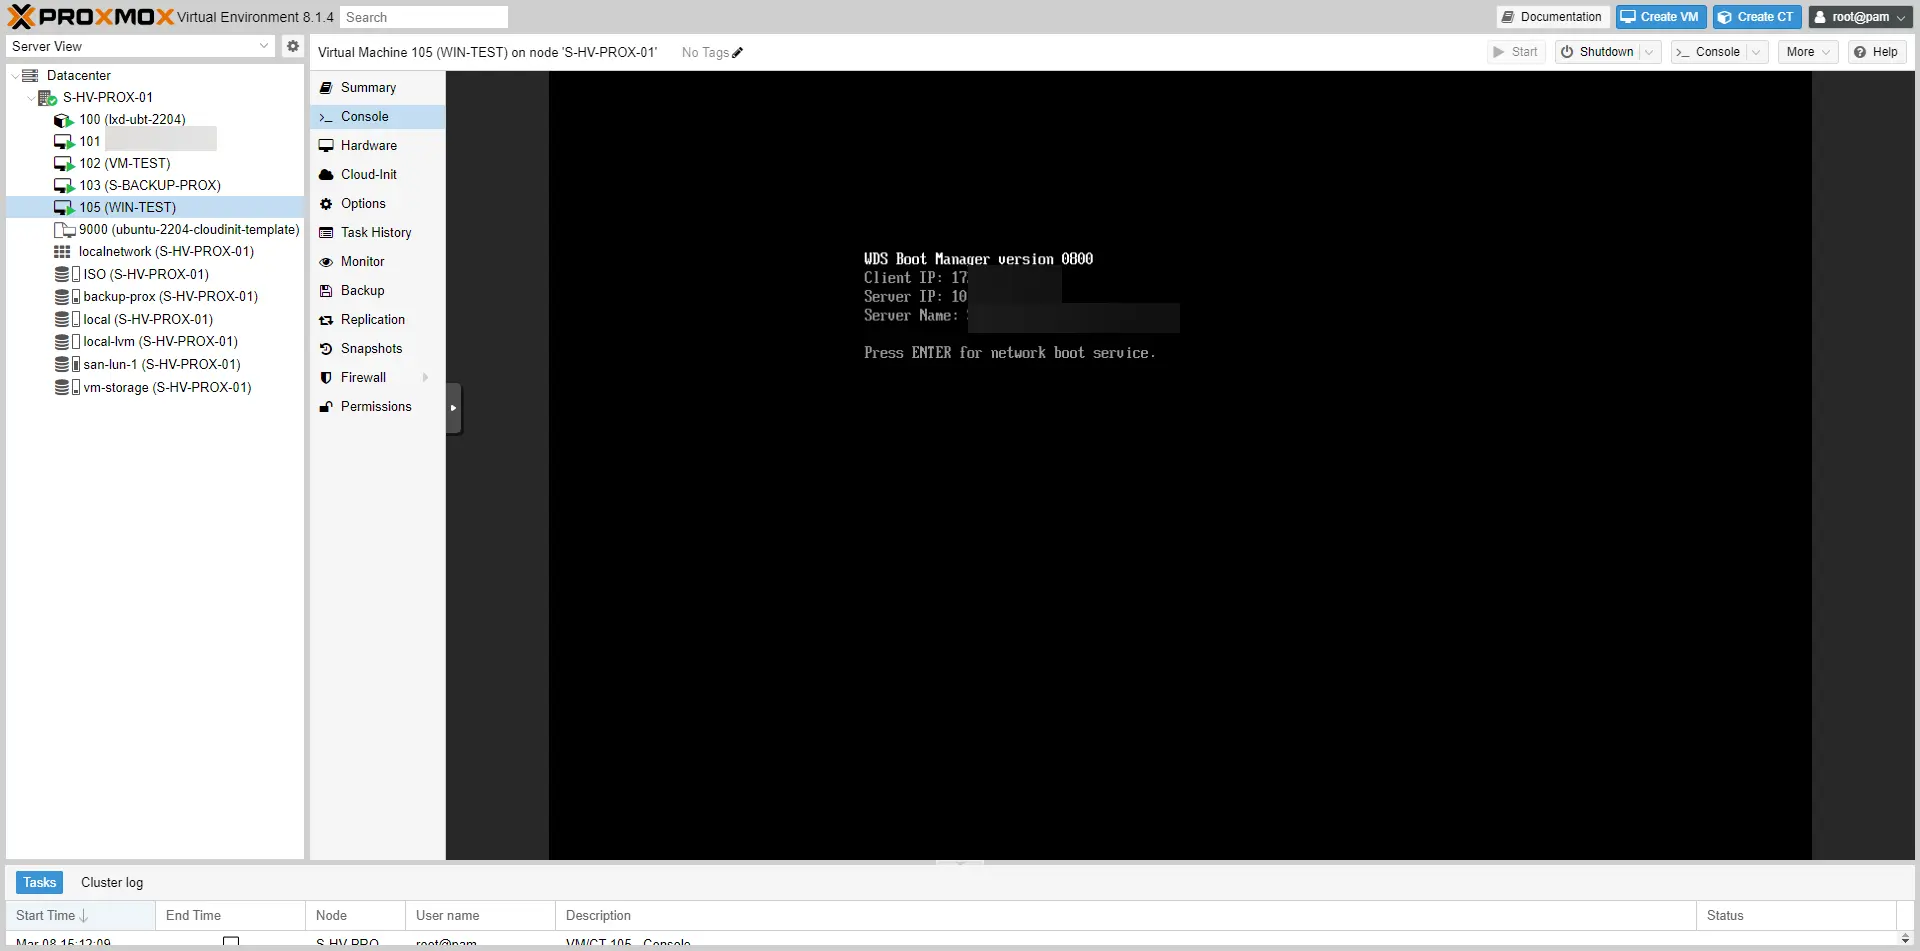
For a BootPXE installation, it is normally not necessary to change the boot order if no ISO is presented to the machine, because until the operating system is installed, booting to the hard drive will fail and will then move on to network booting.
Booting to network before booting to disk may be necessary to redo an installation on an existing virtual machine.
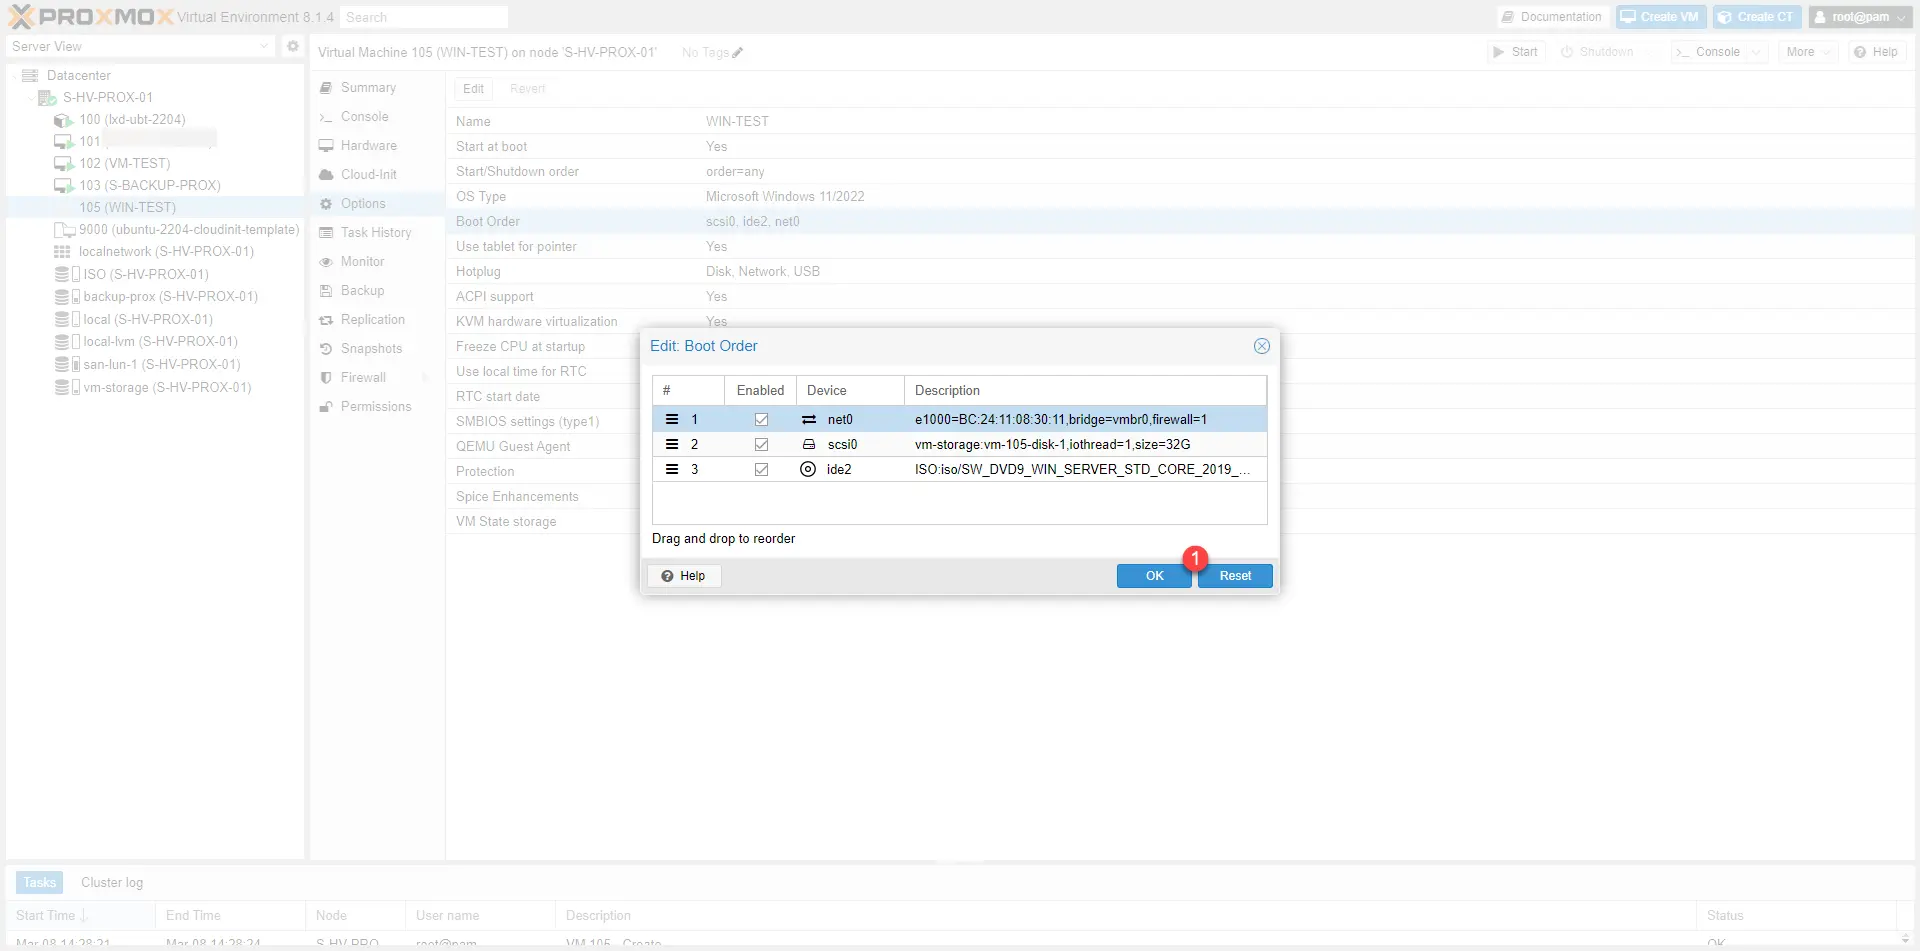
Open the Boot Order 1 option.
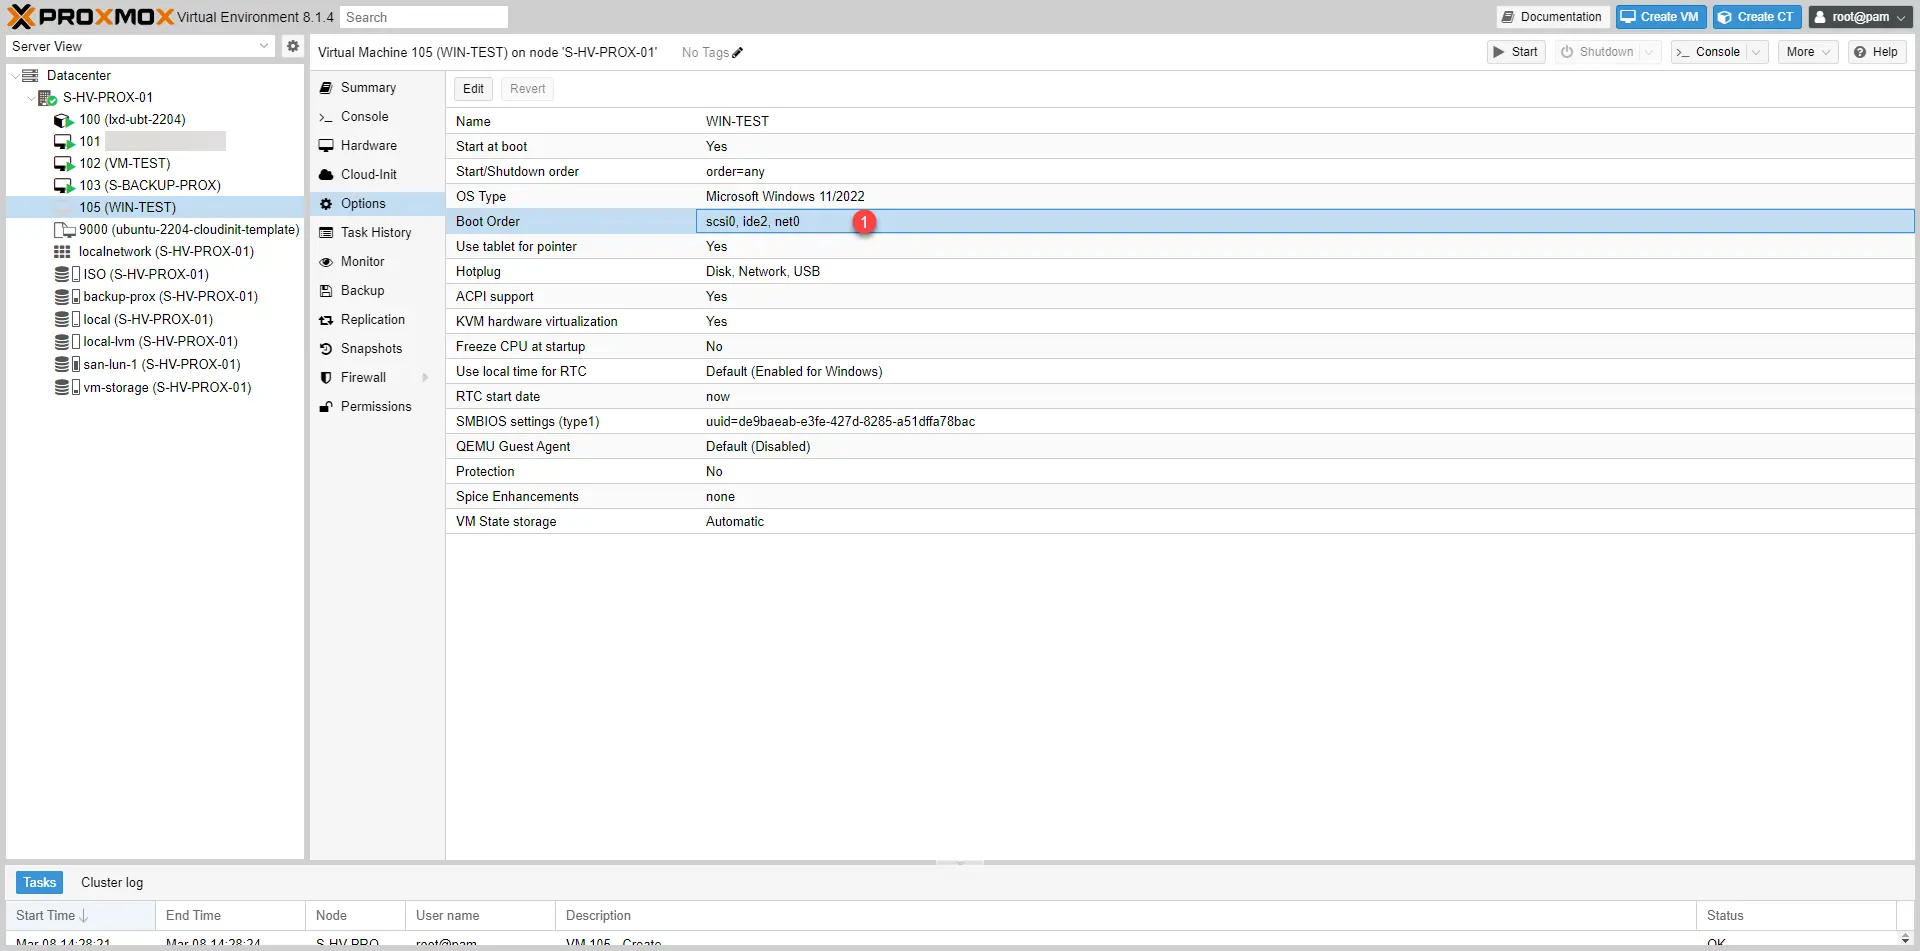
The reorganization works by drag and drop, for the moment the boot on the network is in 3rd position.

Click OK 1 to save.
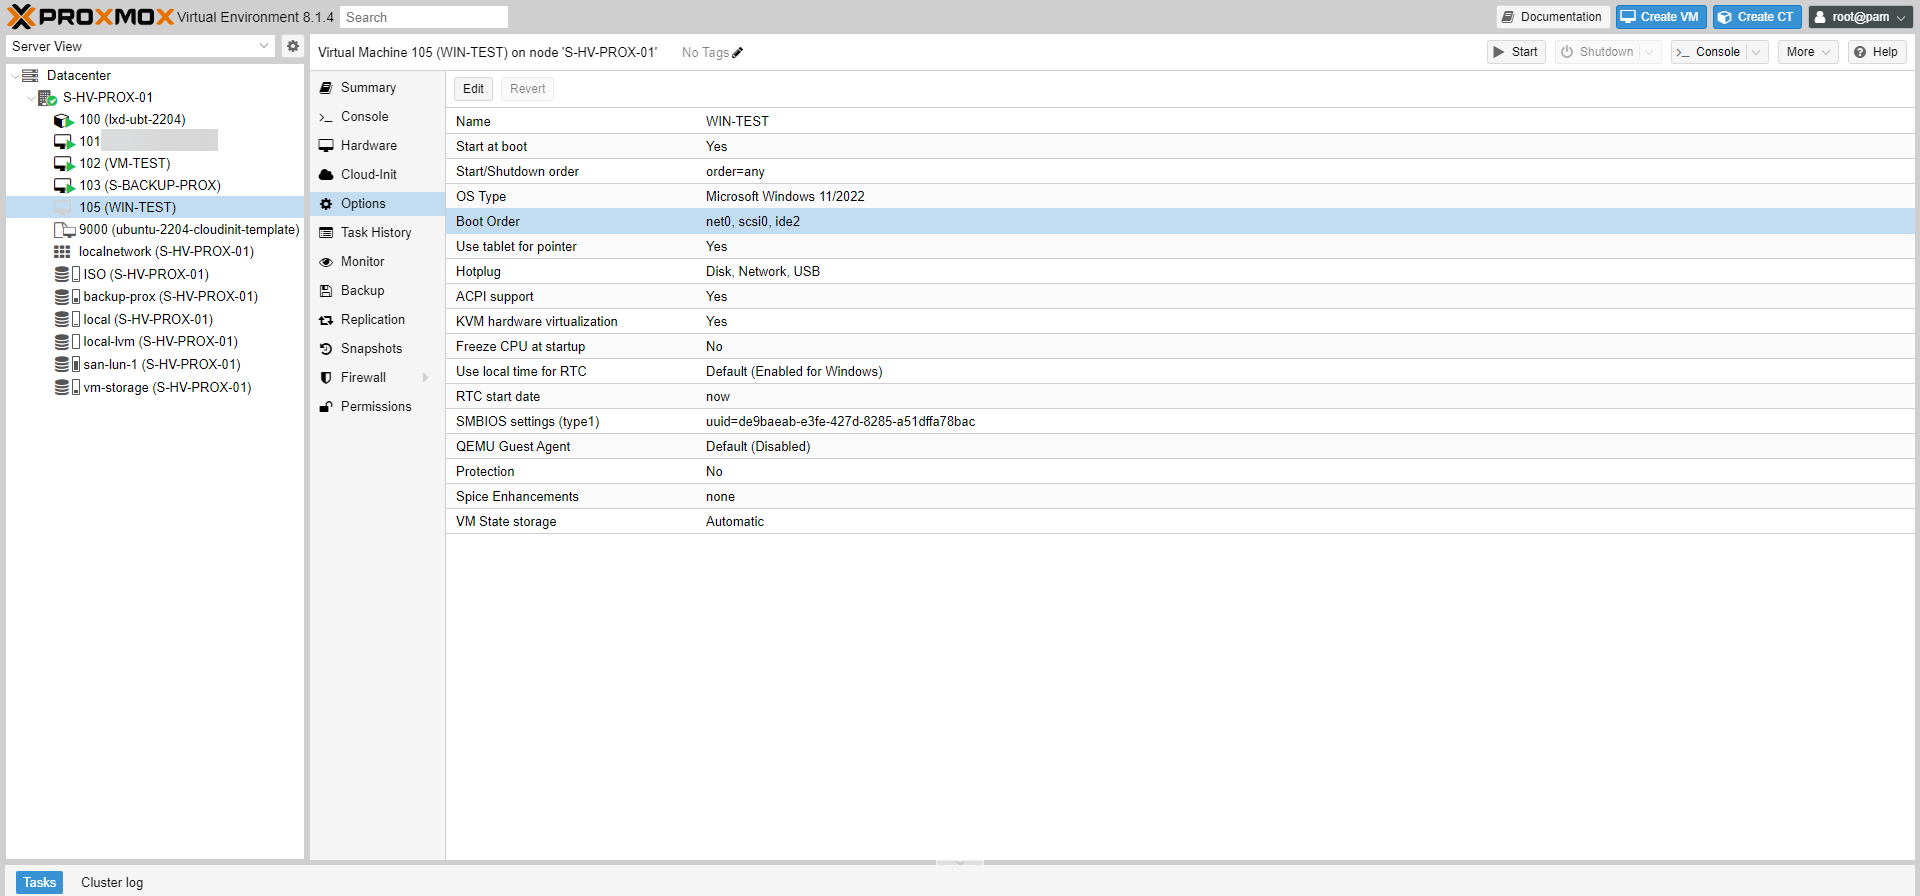
The boot order is changed.
Start the virtual machine
Starting the virtual machine can be done in several ways.
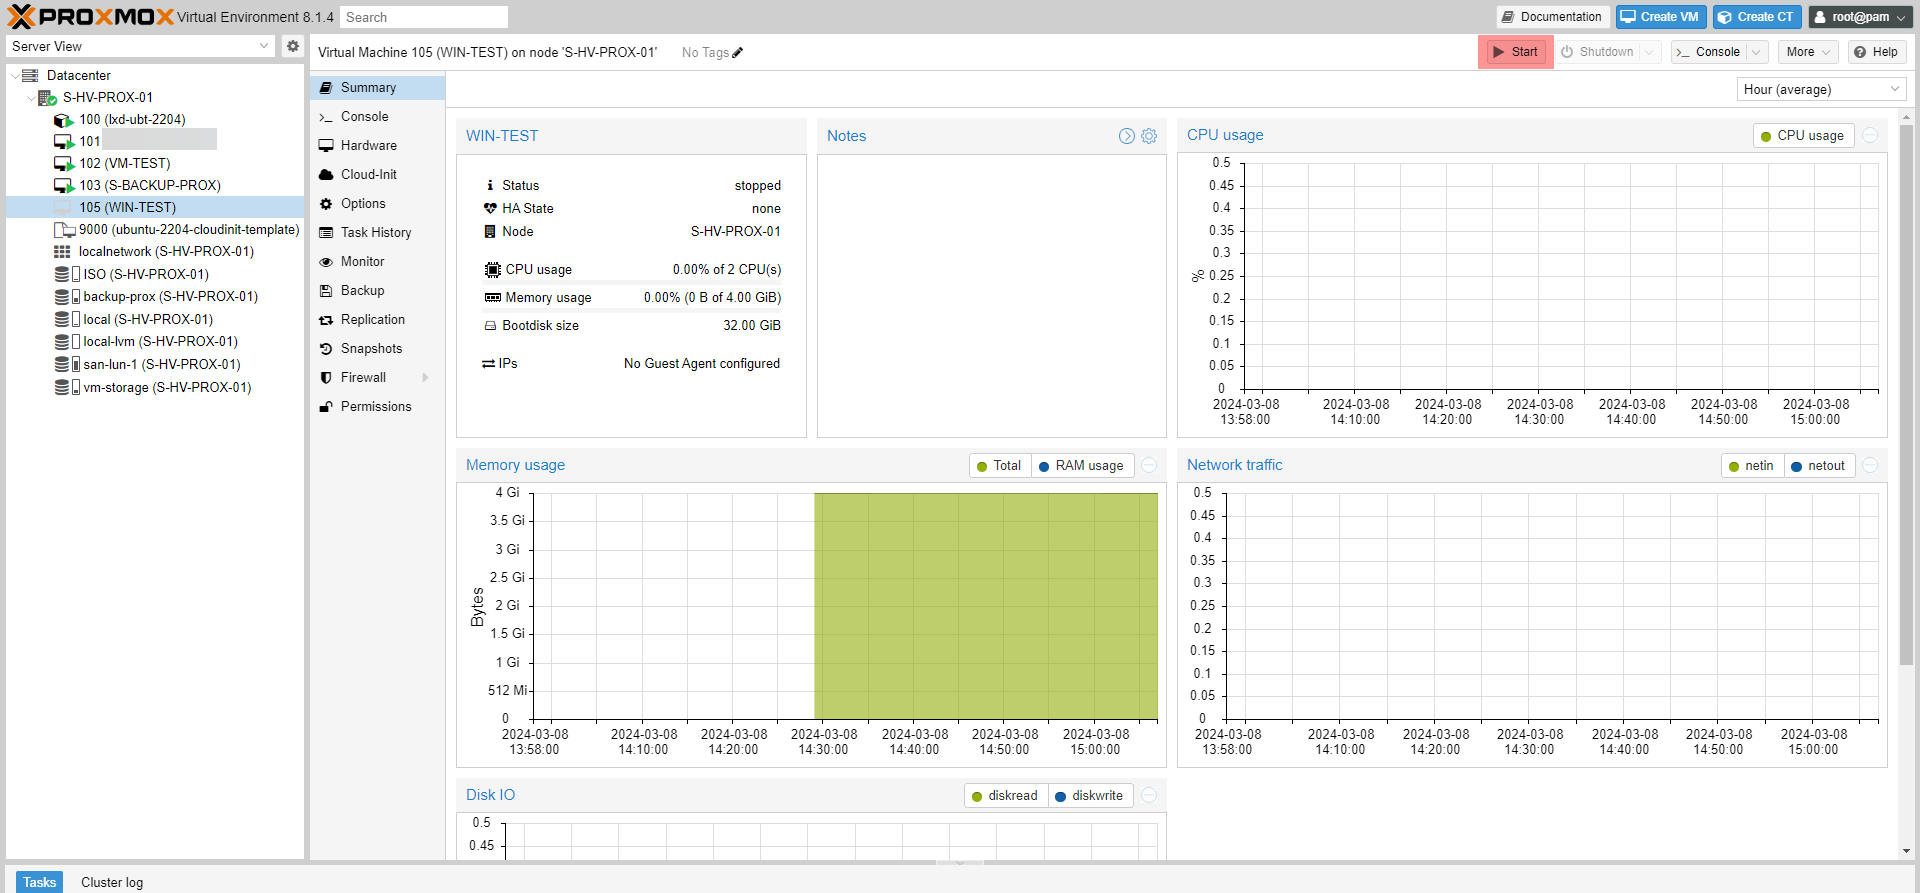
From any virtual computer management pages when it is selected, a Start button is located at the top right.
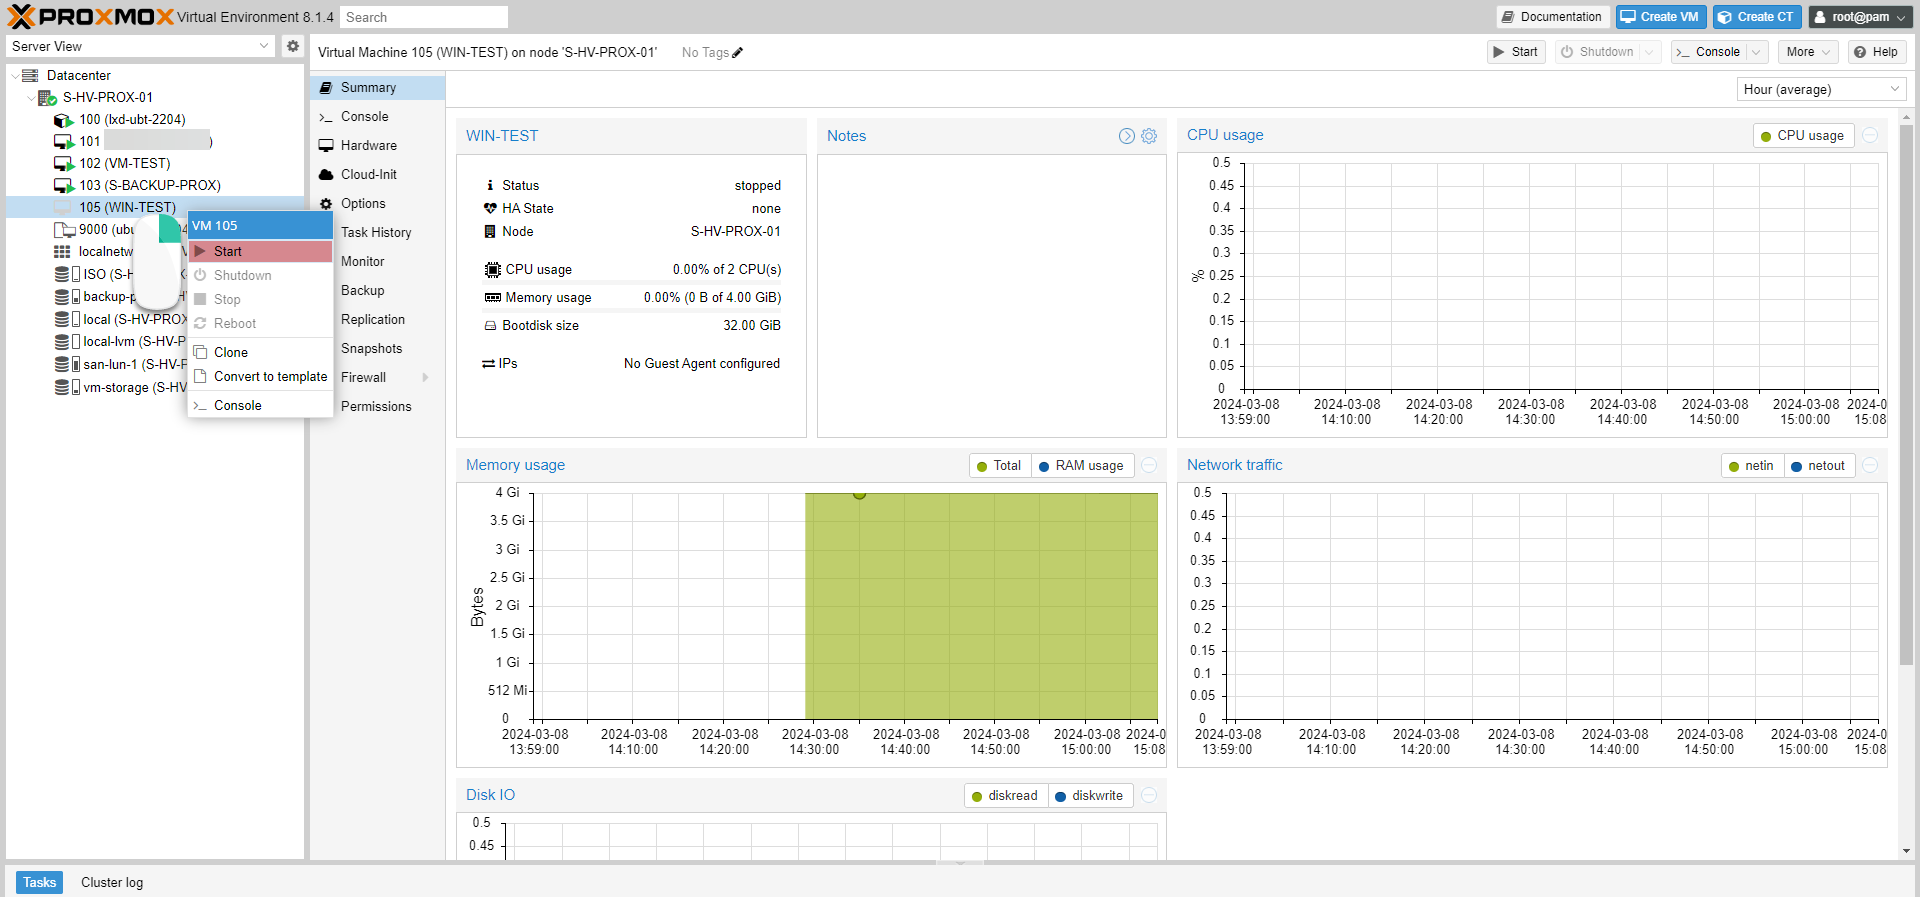
In the tree view, right-click on it then click on Start.
From the console by selecting the computer and clicking Start now.
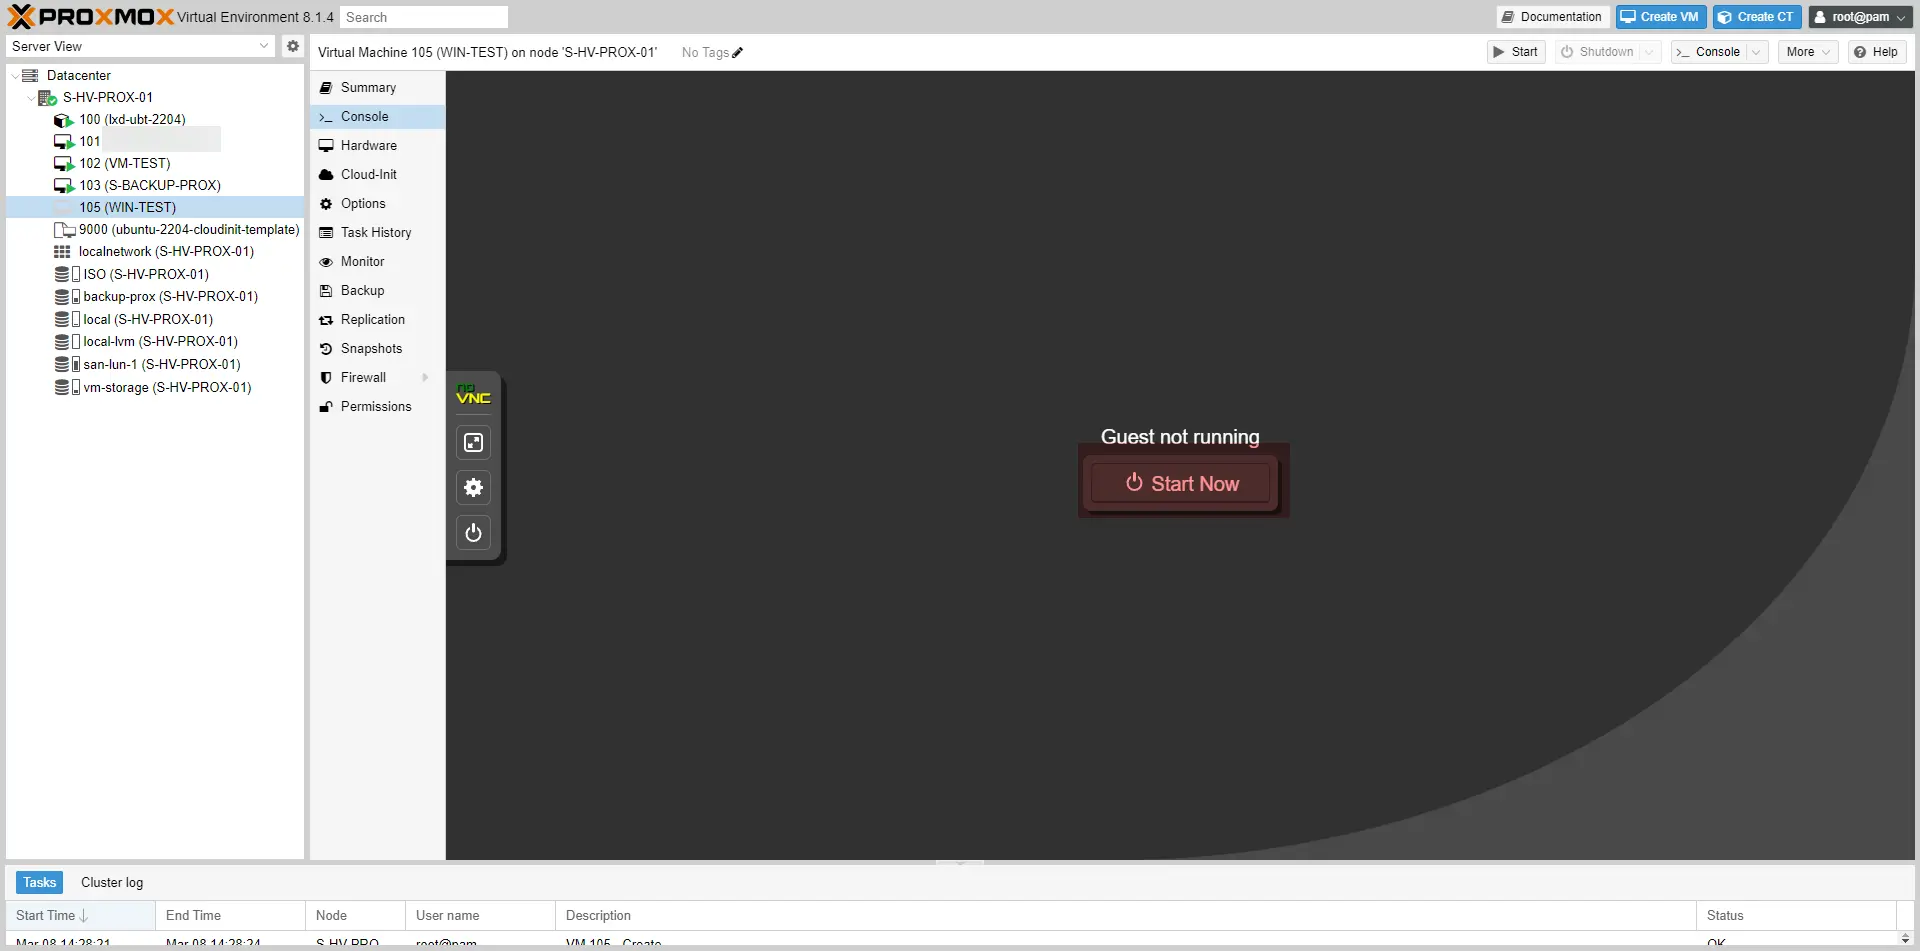
For a first boot, I advise you to go through the console to manage the boot, particularly for Windows where you have to press a key to validate the boot on the ISO or in PXE which must be validated by pressing F12.
Starting the virtual machine:

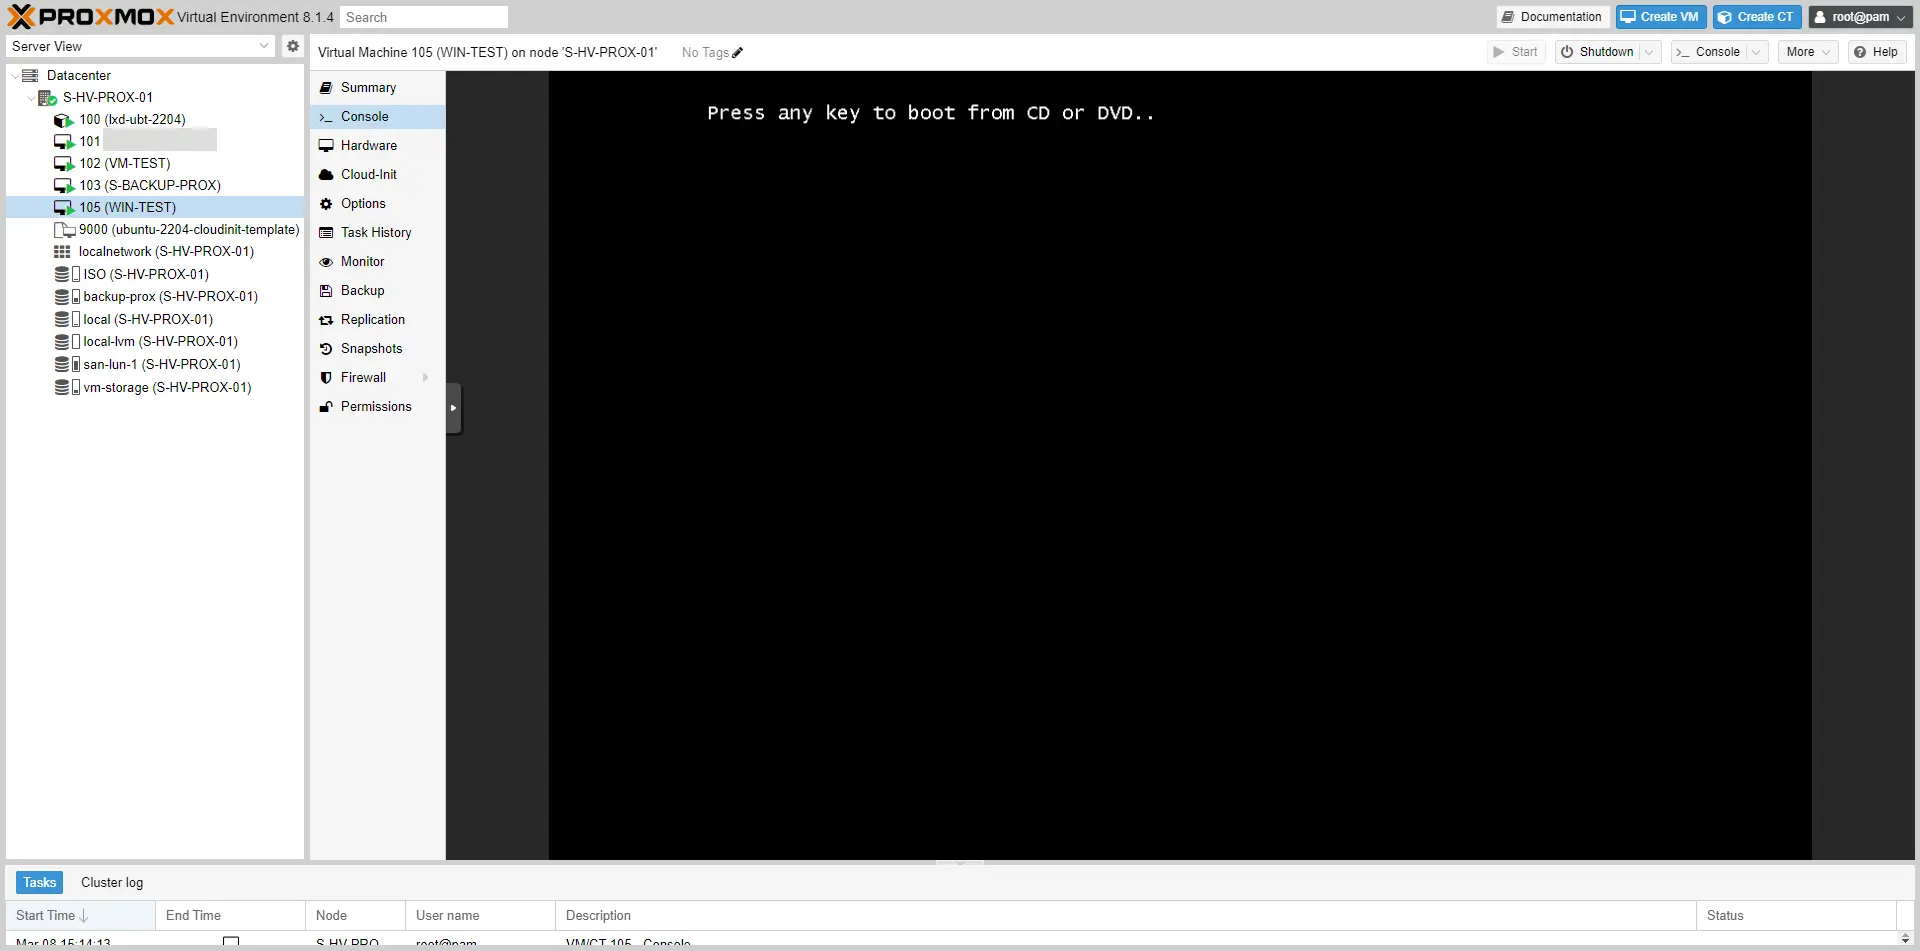
All that remains is to install the operating system.
You now know how to create a virtual machine on Proxmox and modify its settings.