In this tutorial, we will see how to set up a backup in Proxmox with Proxmox Backup Server.
Overview of Proxmox Backup Server
In addition to providing a free virtualization solution, Proxmox provides a backup solution for its Hypervisor system under the name Proxmox Backup Server.
Key features:
- Incremental and deduplicated backup
- Compressing backups with ZSTD
- Copying off-site backups
- Support for LTO4 and LTO5 tapes
- Granular file recovery
- ….
You can find the full feature list here : https://www.proxmox.com/en/proxmox-backup-server/features
Backup integrated into Proxmox
Before getting to the heart of the matter, it is possible to configure backups in Proxmox without Proxmox Backup Server, however the backups will necessarily be complete and it is not possible to do a granular restoration of the files.
As Proxmox Backup Server is available for free, it would be a shame not to use it.
Backup to NAS or share SMB
Proxmox Backup Server uses local storage for backups, so it is not “possible” to send backups directly to an SMB share.
To get around this limitation, there are several solutions:
- Use a mount point on the Proxmox Backup Server by editing the /etc/fstab file
- In Proxmox in storage management at Datacenter level, add an SMB/CIFS share and store the virtual disk dedicated to backup on this storage
In the tutorial, I chose the second option
Install Proxmox Backup Server
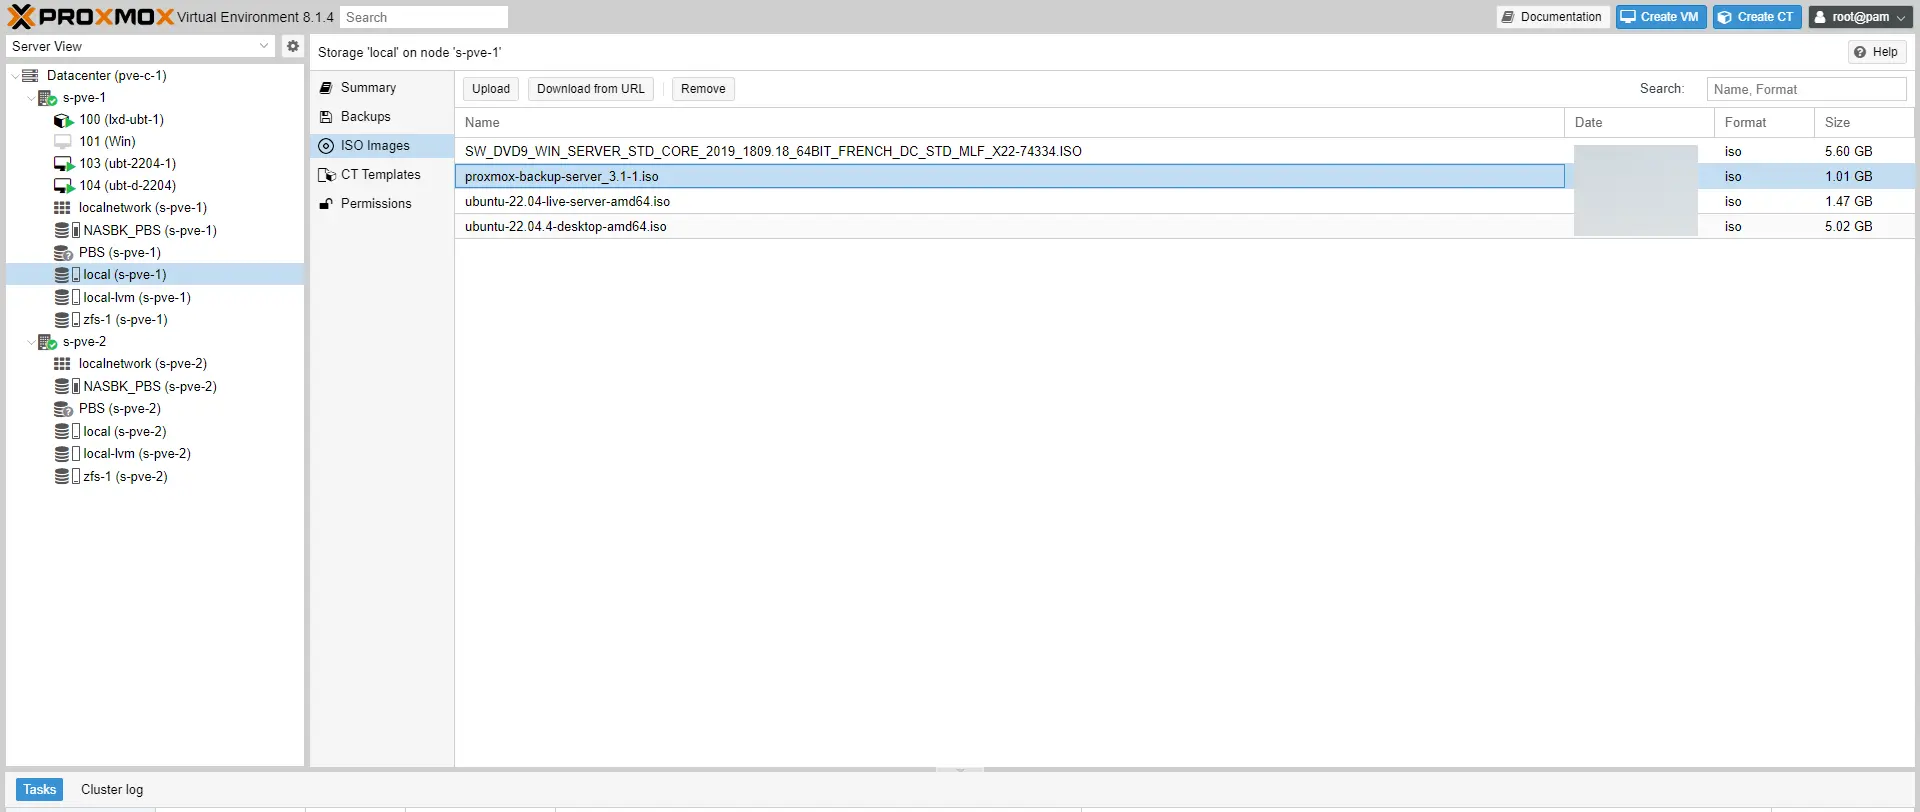
To start download the iSO of Proxmox Backup Server and make it available on Proxmox.
Create a virtual machine
Proxmox Backup Server can also be installed on another Hypervisor or even on a physical server.
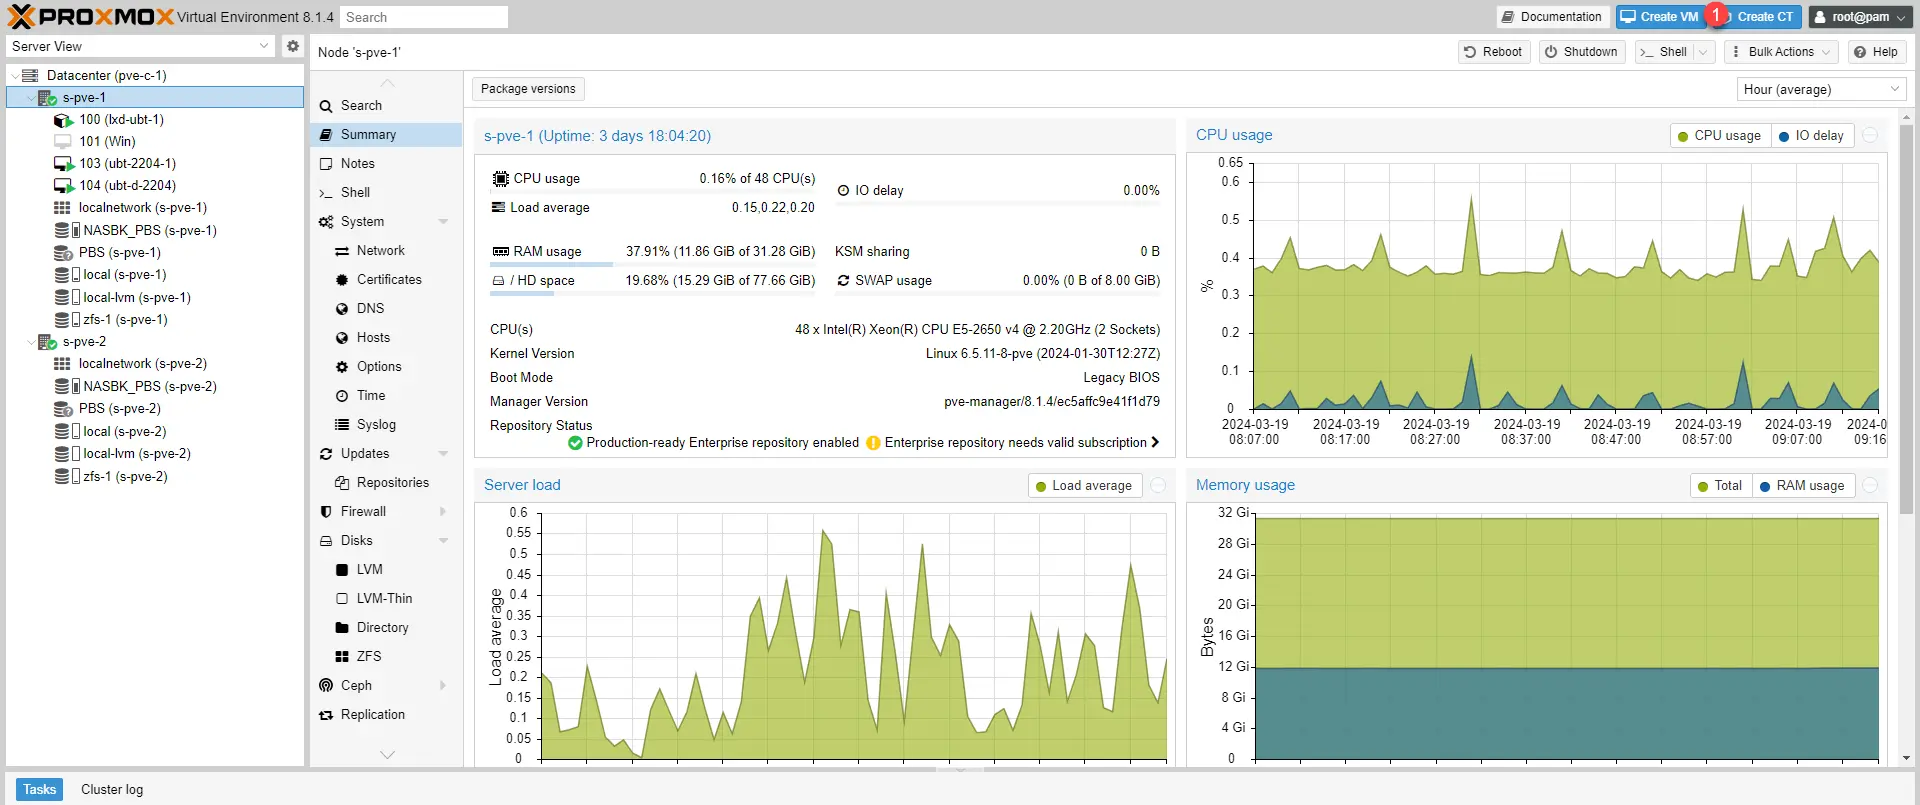
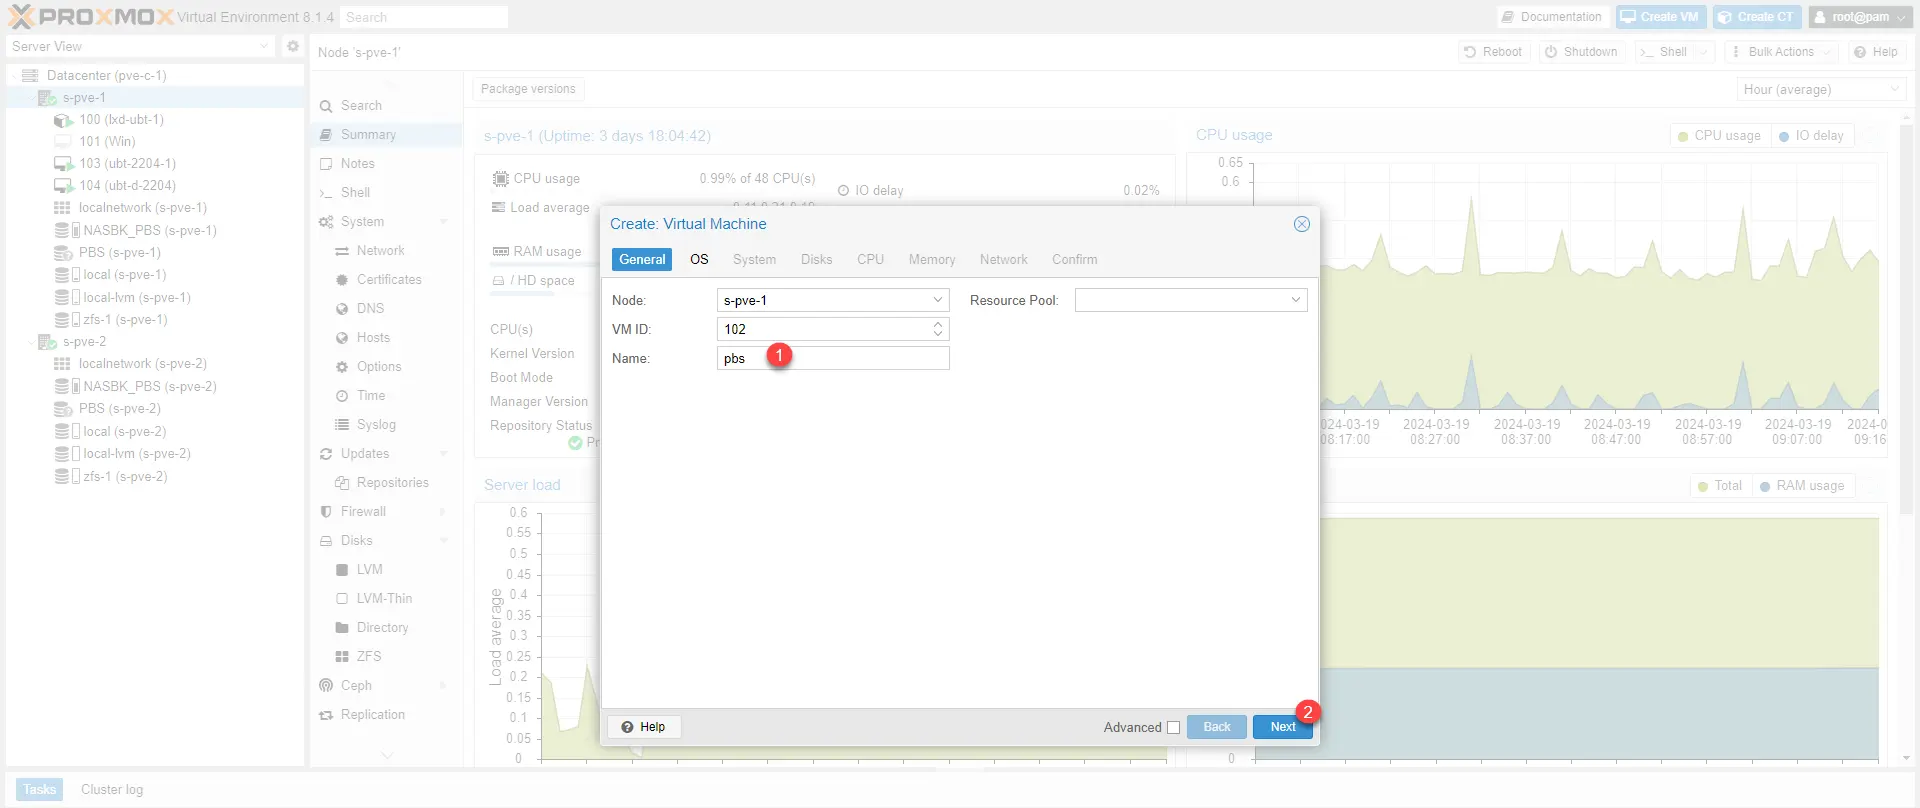
On the Proxmox server, create a VM, click on the Create VM 1 button.
Name the VM 1 then click on Next 2.
Select the Proxmox Backup Server ISO 1 then click on Next 2.

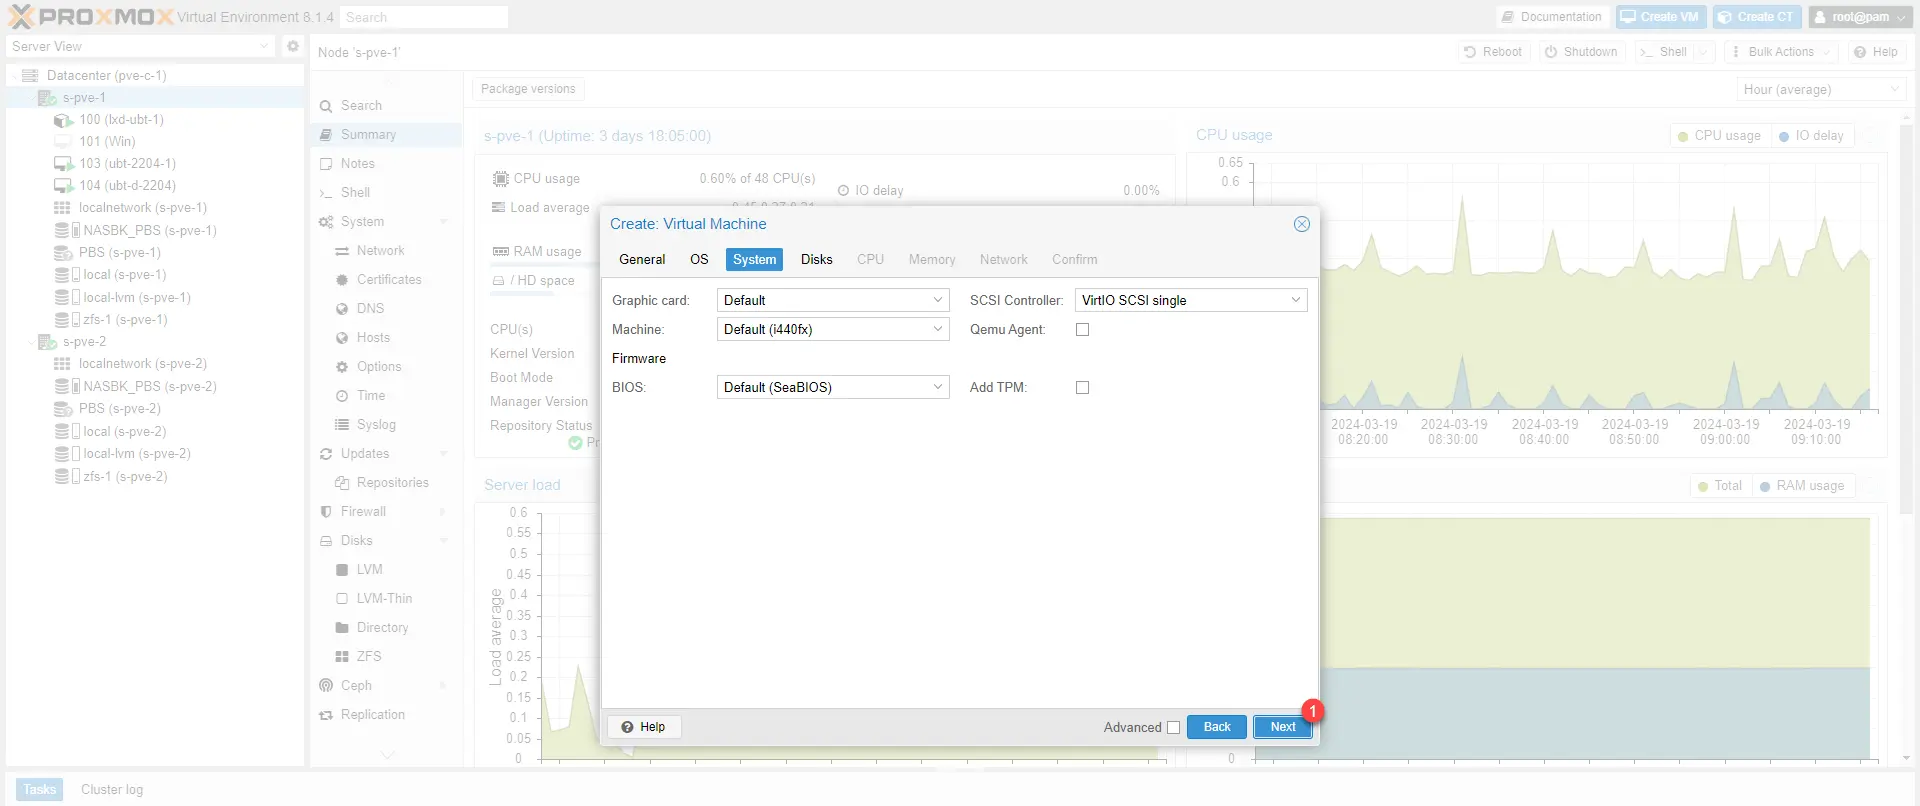
Skip the System configuration by clicking on Next 1.
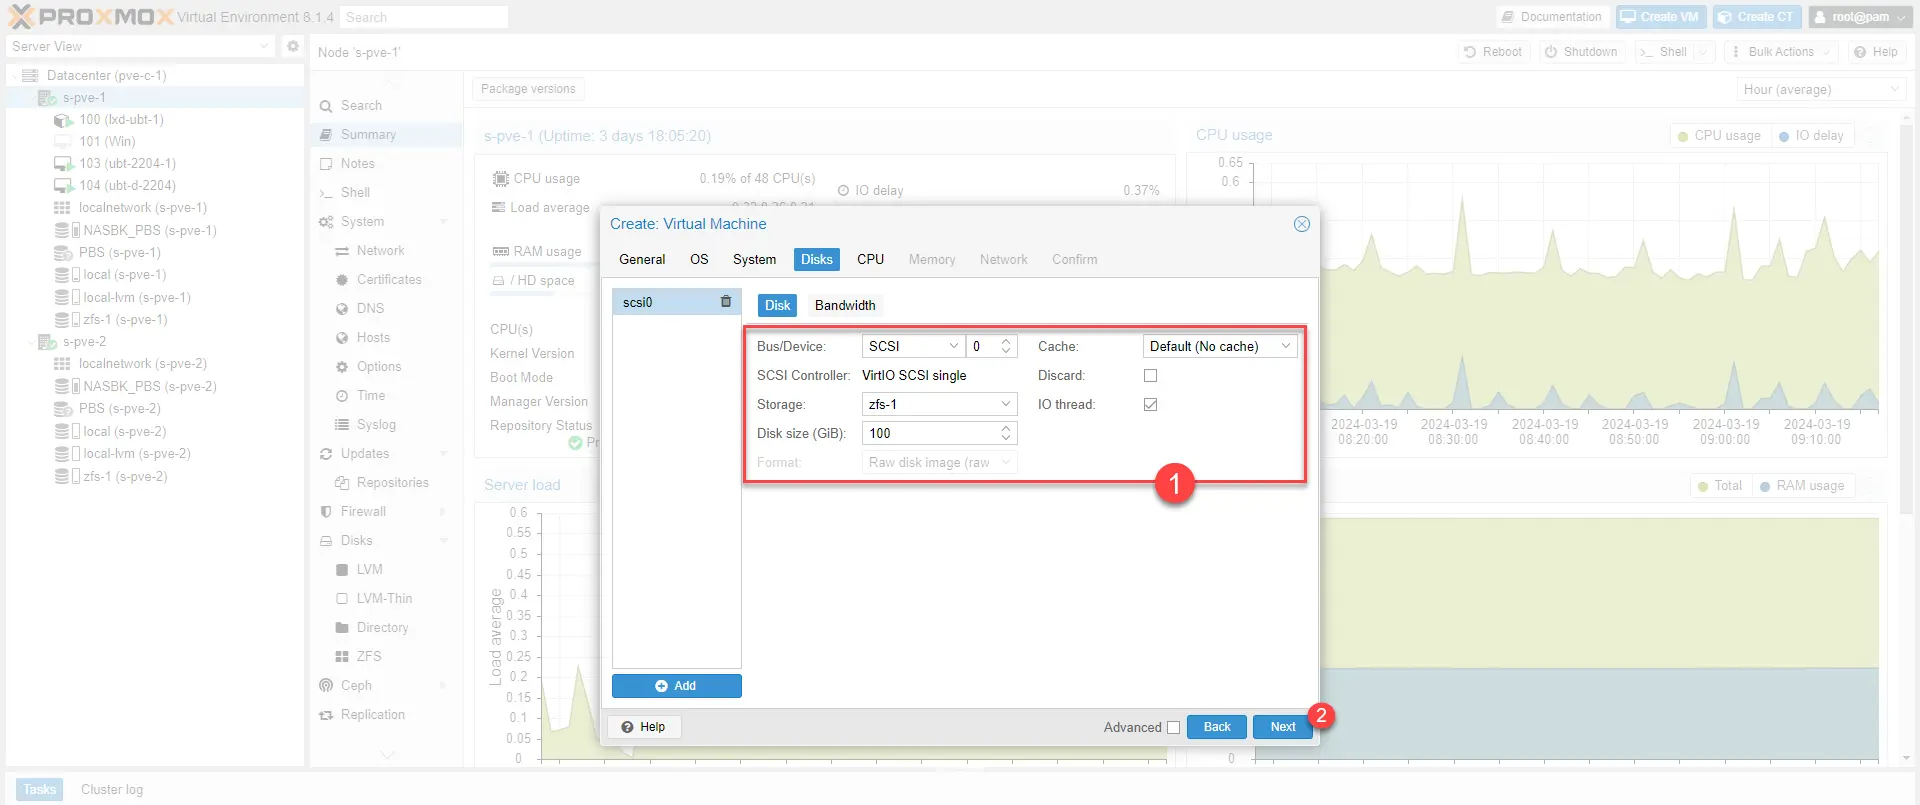
Configure the disk for system installation 1 then click on Next 2.
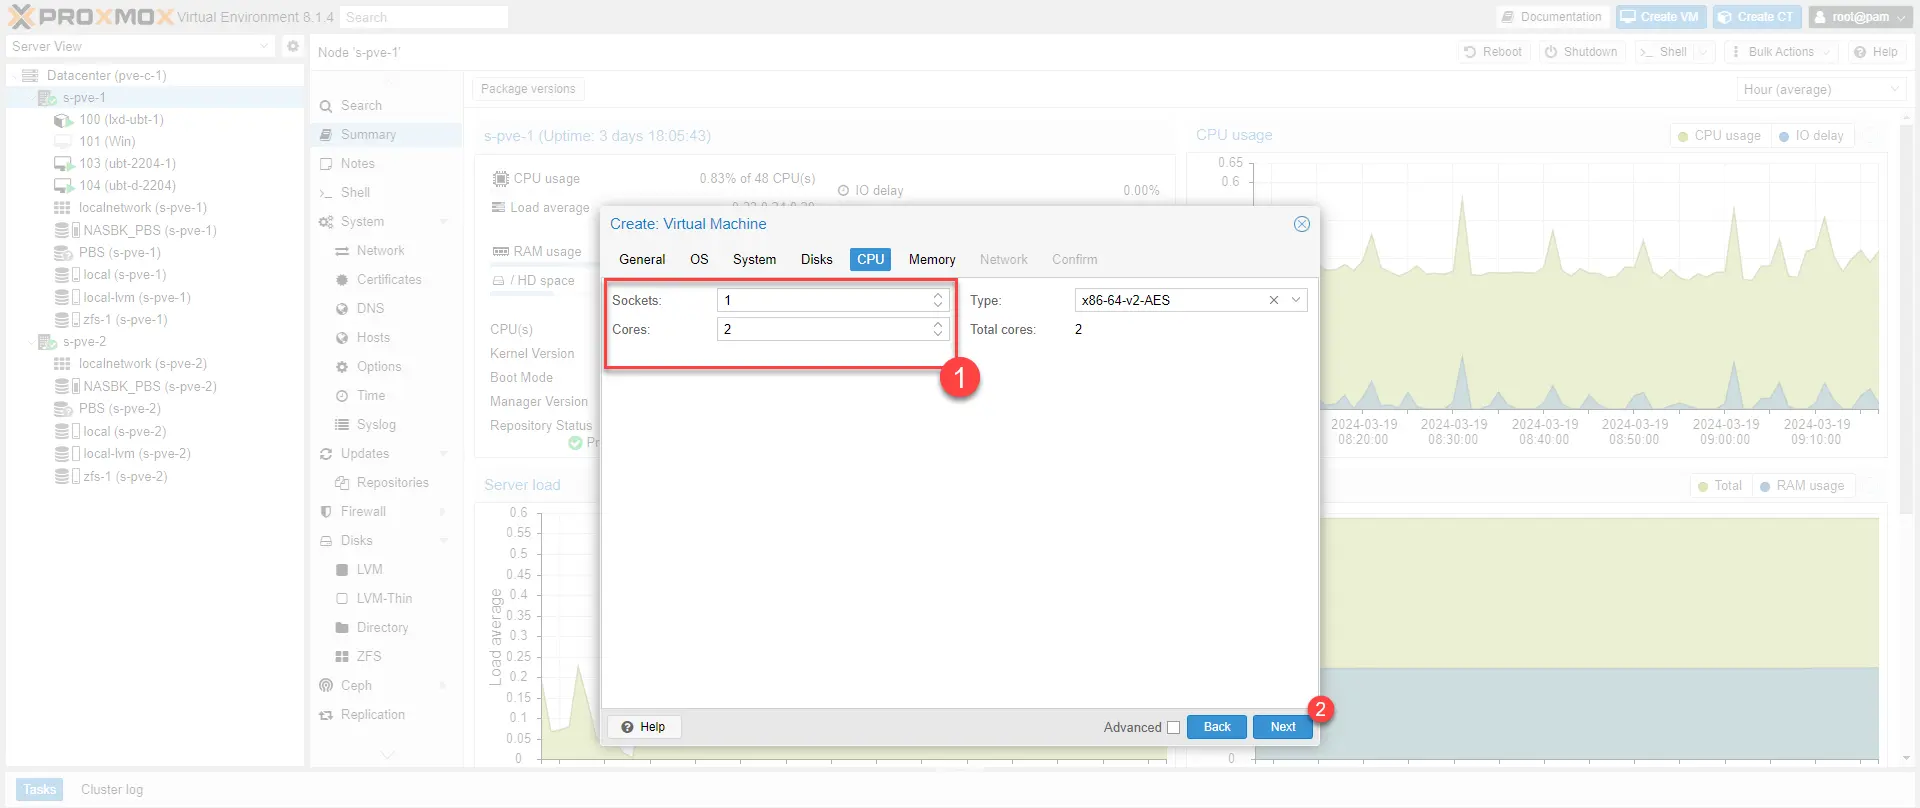
Adjust the number of CPUs 1 and click Next 2.
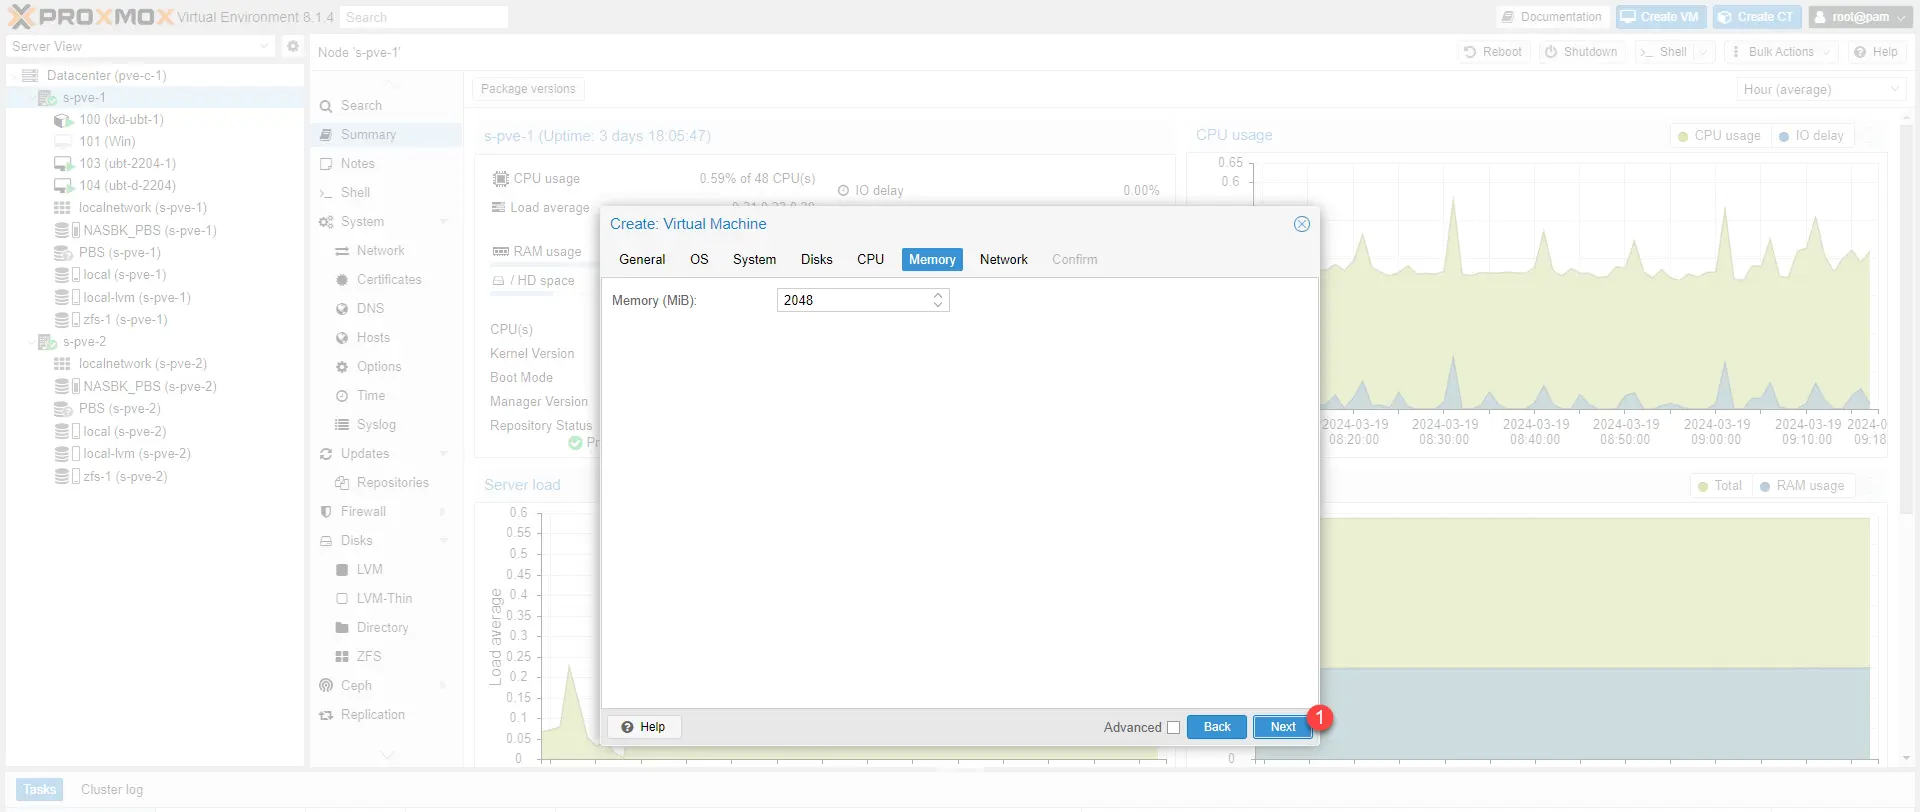
For the tutorial, I did not change the RAM, adjust if necessary and click Next 1.
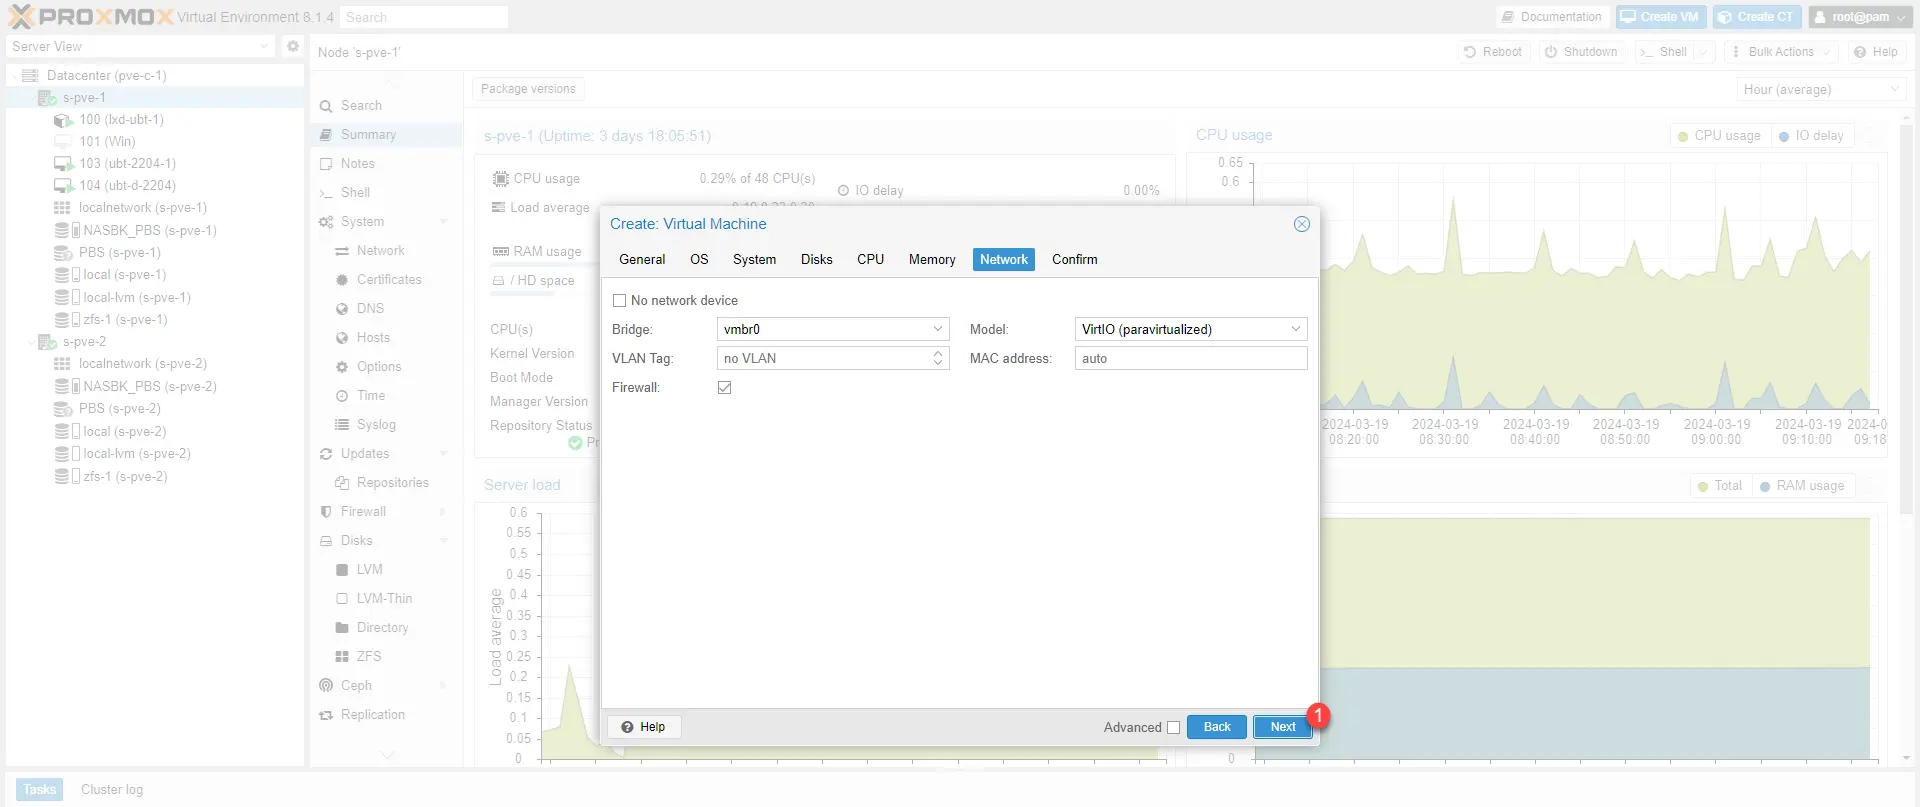
I have not modified anything in the network configuration, click on Next 1.
Click on Finish 1 to create the VM.
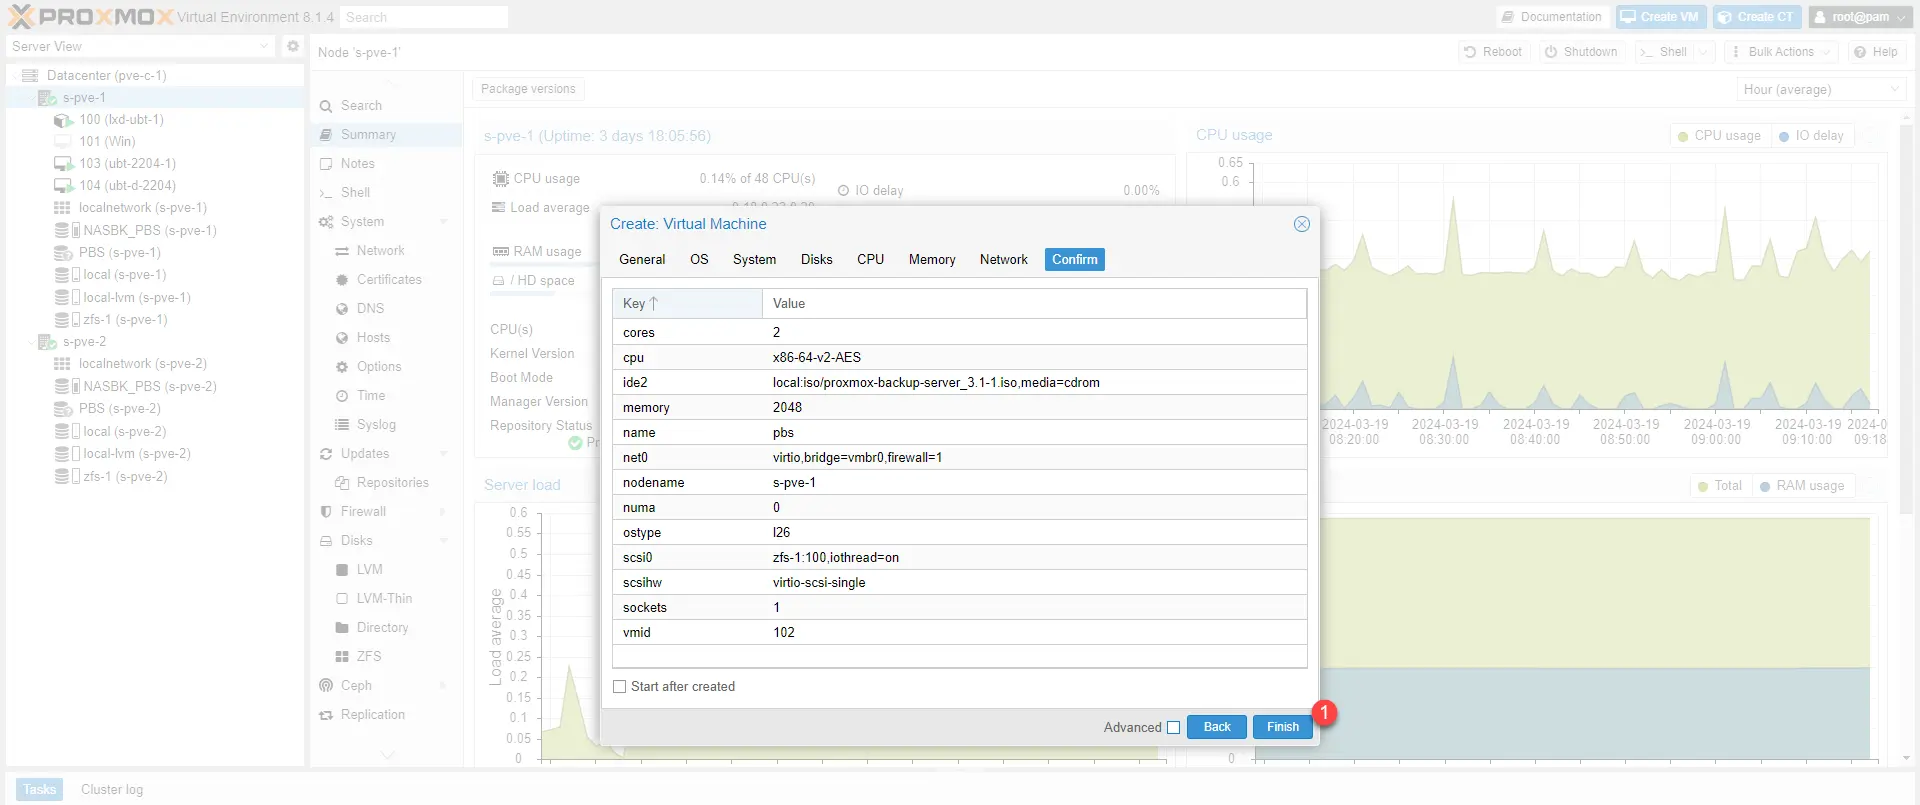
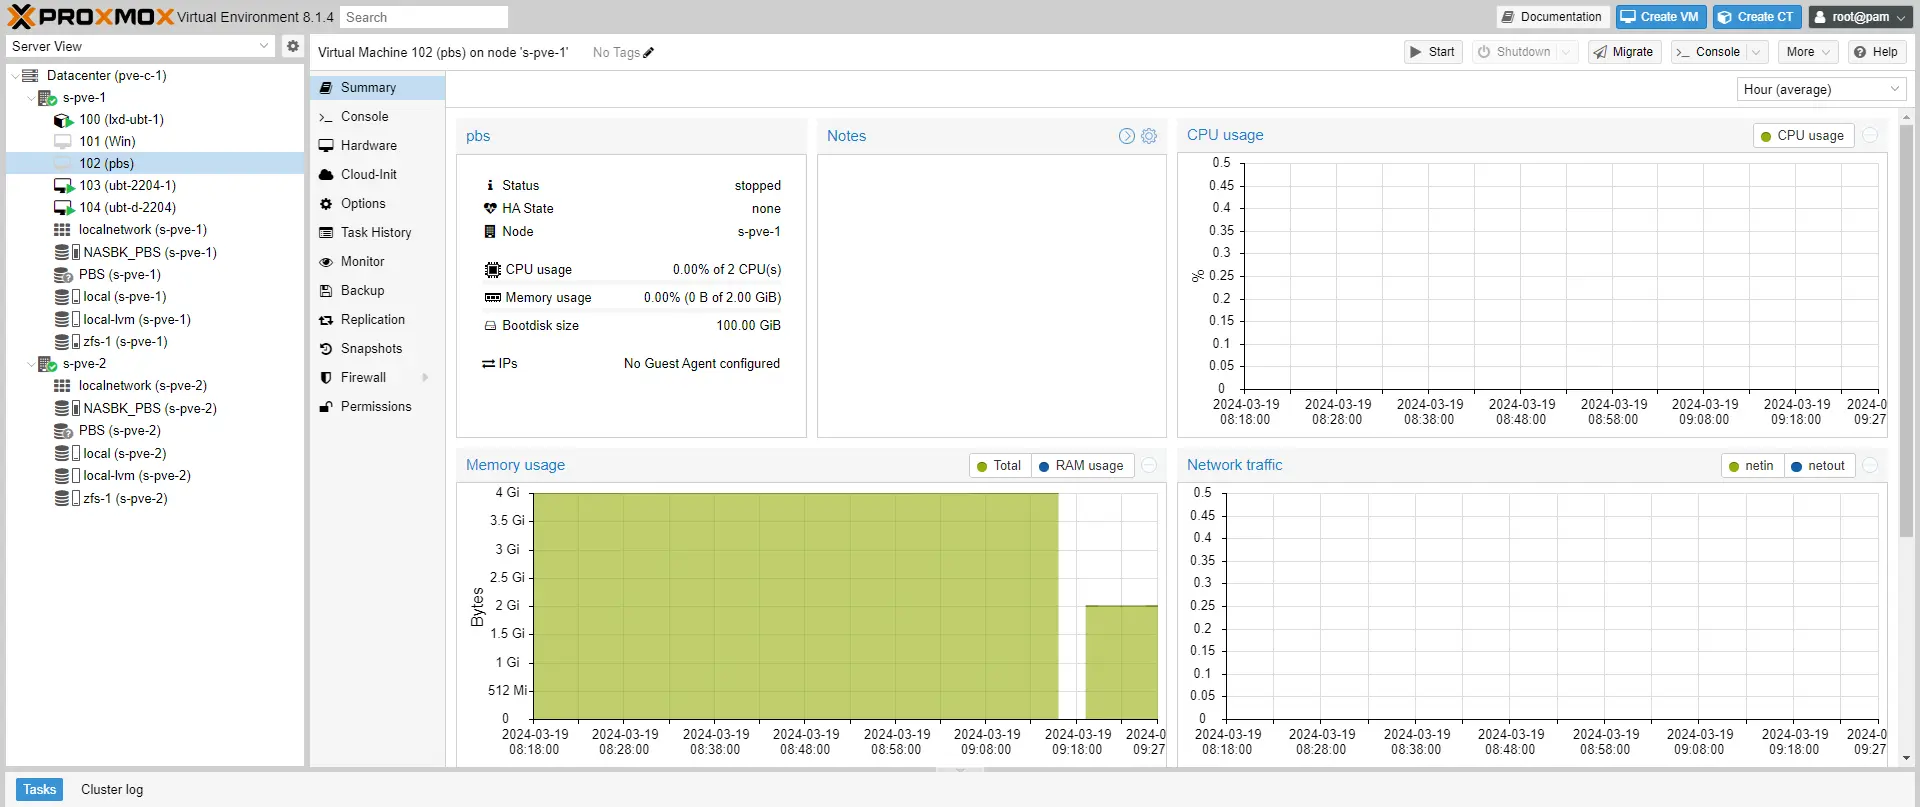
The VM is created.
Installing Proxmox Backup Server
Go to the Console and click on Start Now 1.
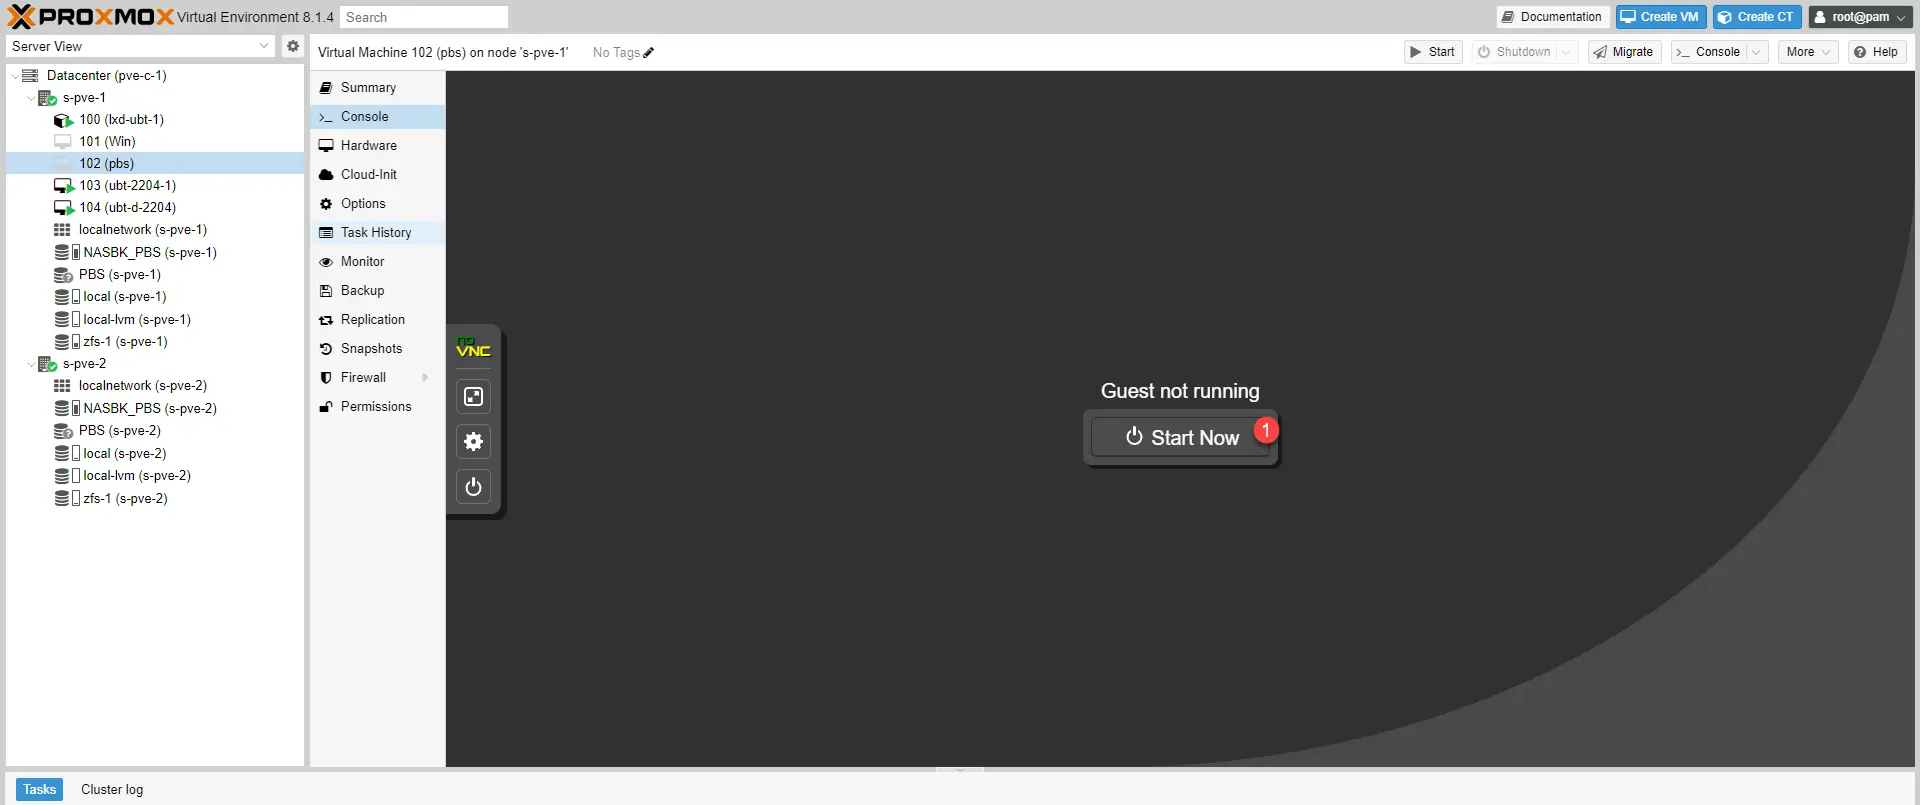
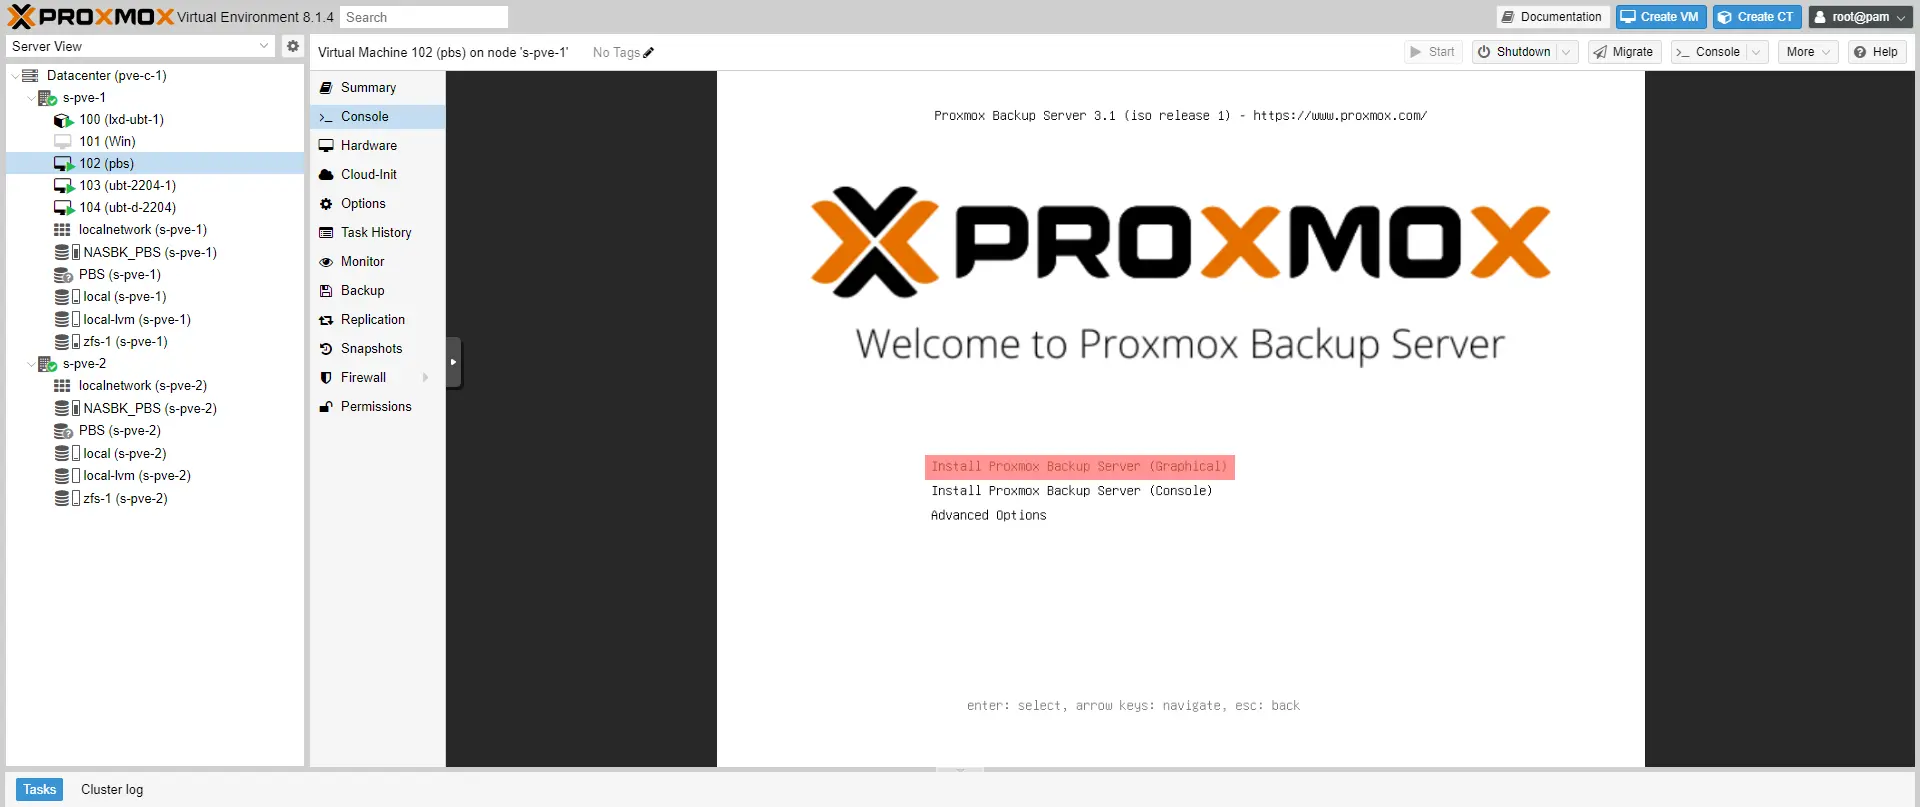
The virtual computer starts on the ISO, choose the option: Install Proxmox Backup Server (Graphical).
Wait while the installation wizard loads.
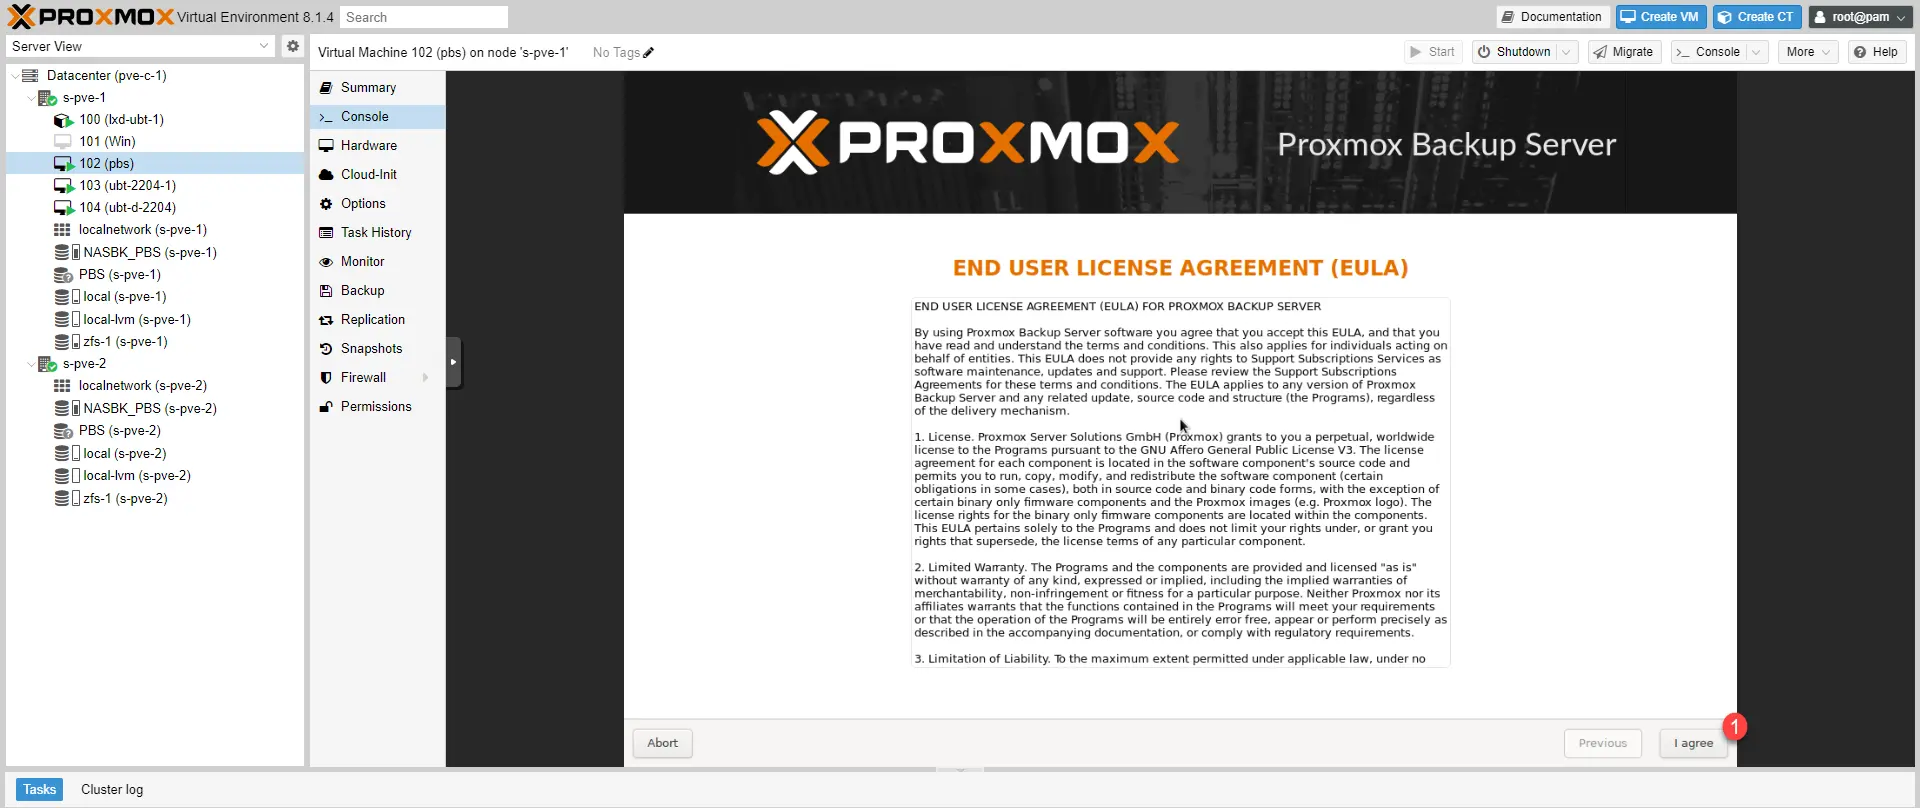
Start by accepting the license by clicking on I agree 1.
If you have several disks select disk 1 where Proxmox Backup Server will be installed then click on Next 2.

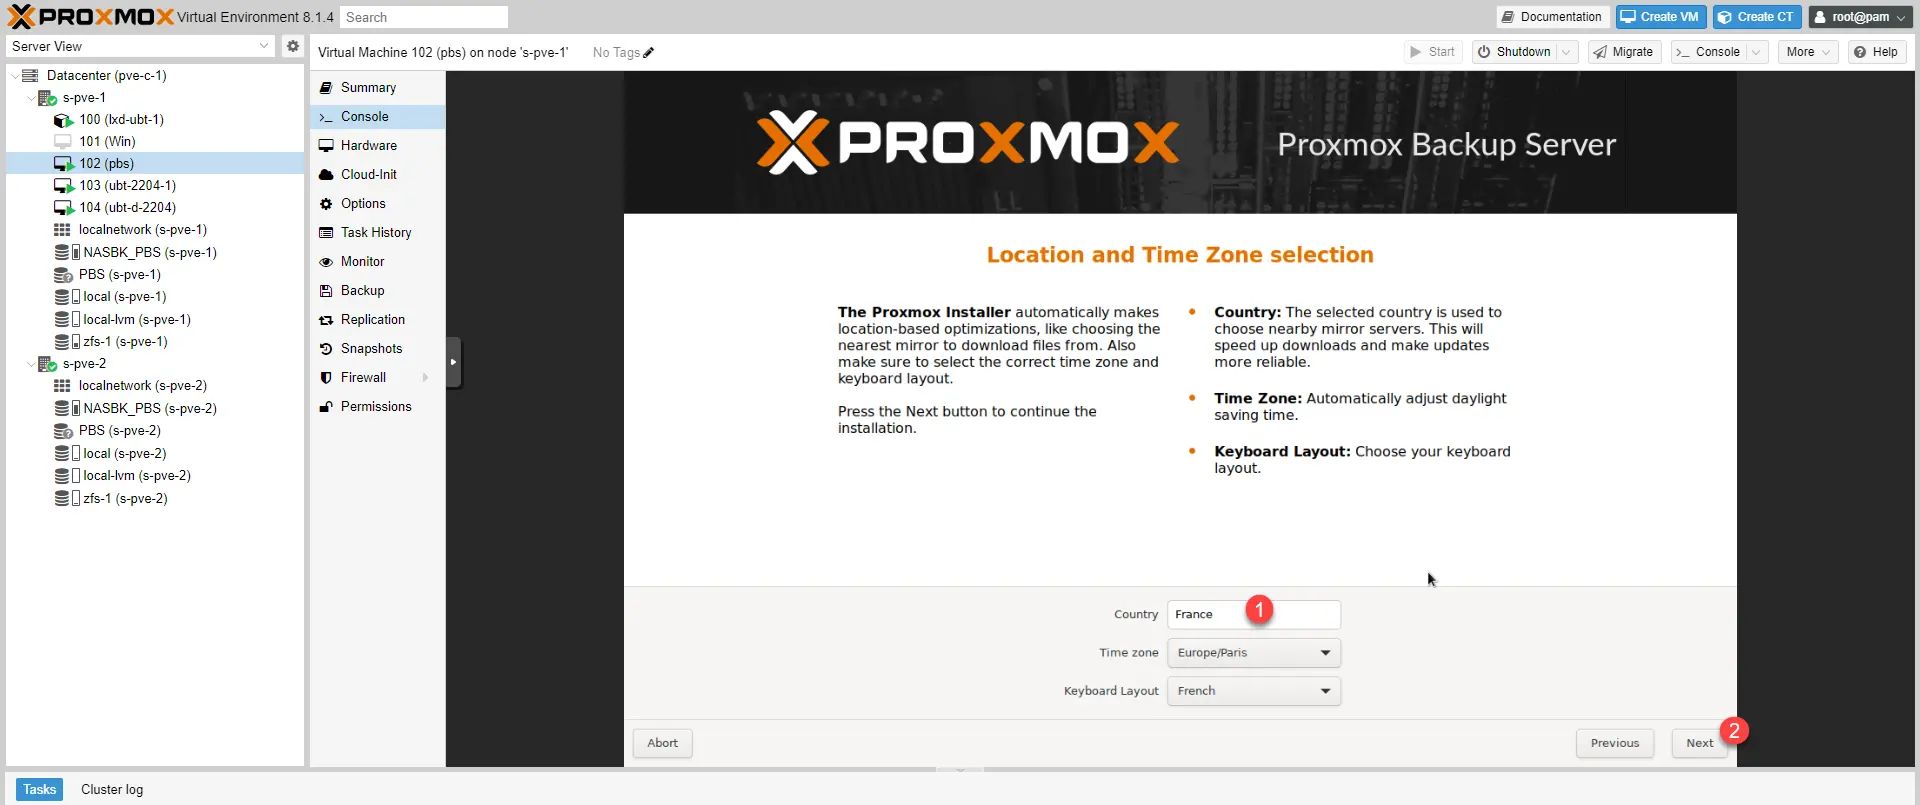
Enter your country 1 to obtain the Time Zone and keyboard configuration then click on the Next 2 button.
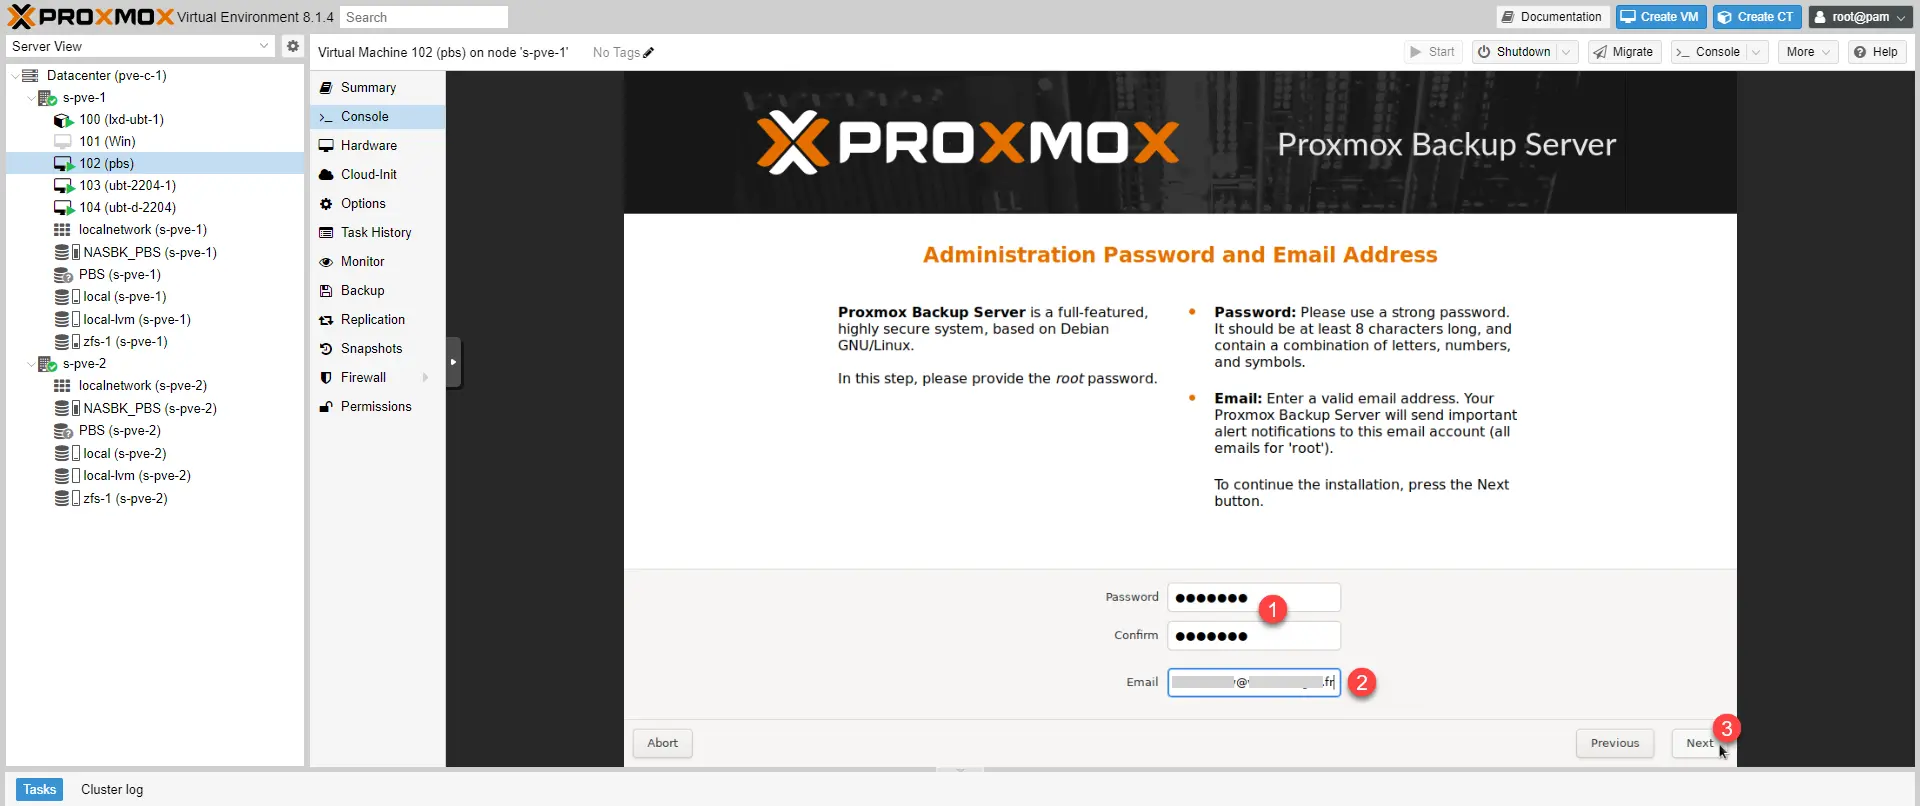
Enter the root account password 1, an email address 2 and click Next 3.
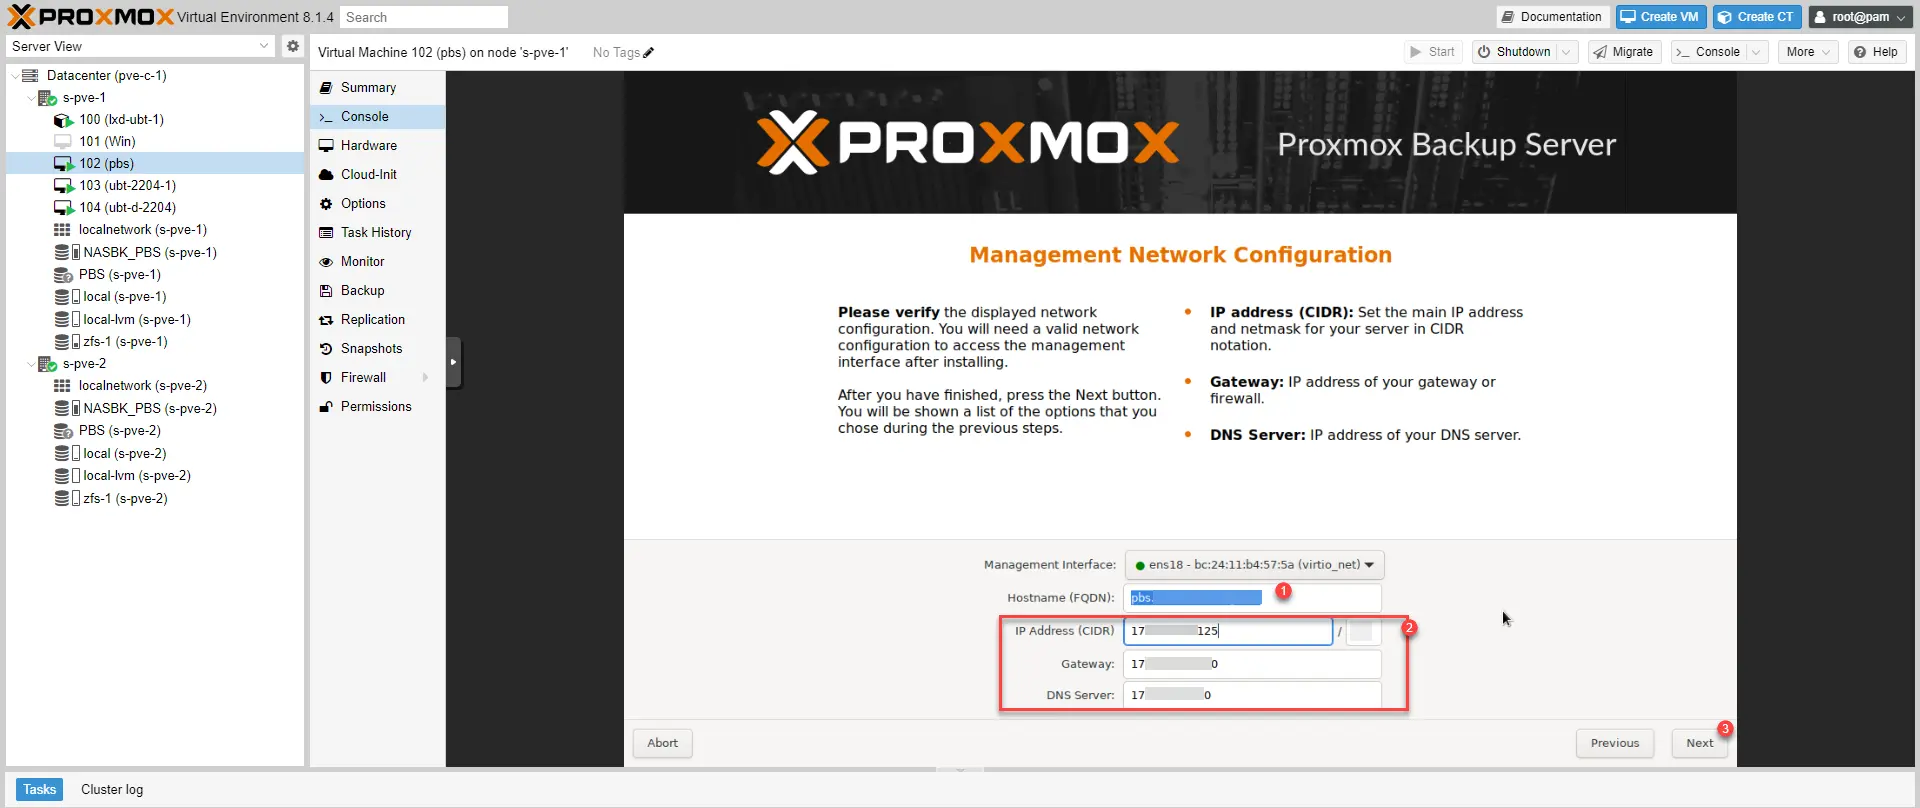
Enter the FQDN name 1 and the IP configuration 2 for the Proxmox Backup Server then click on Next 3.
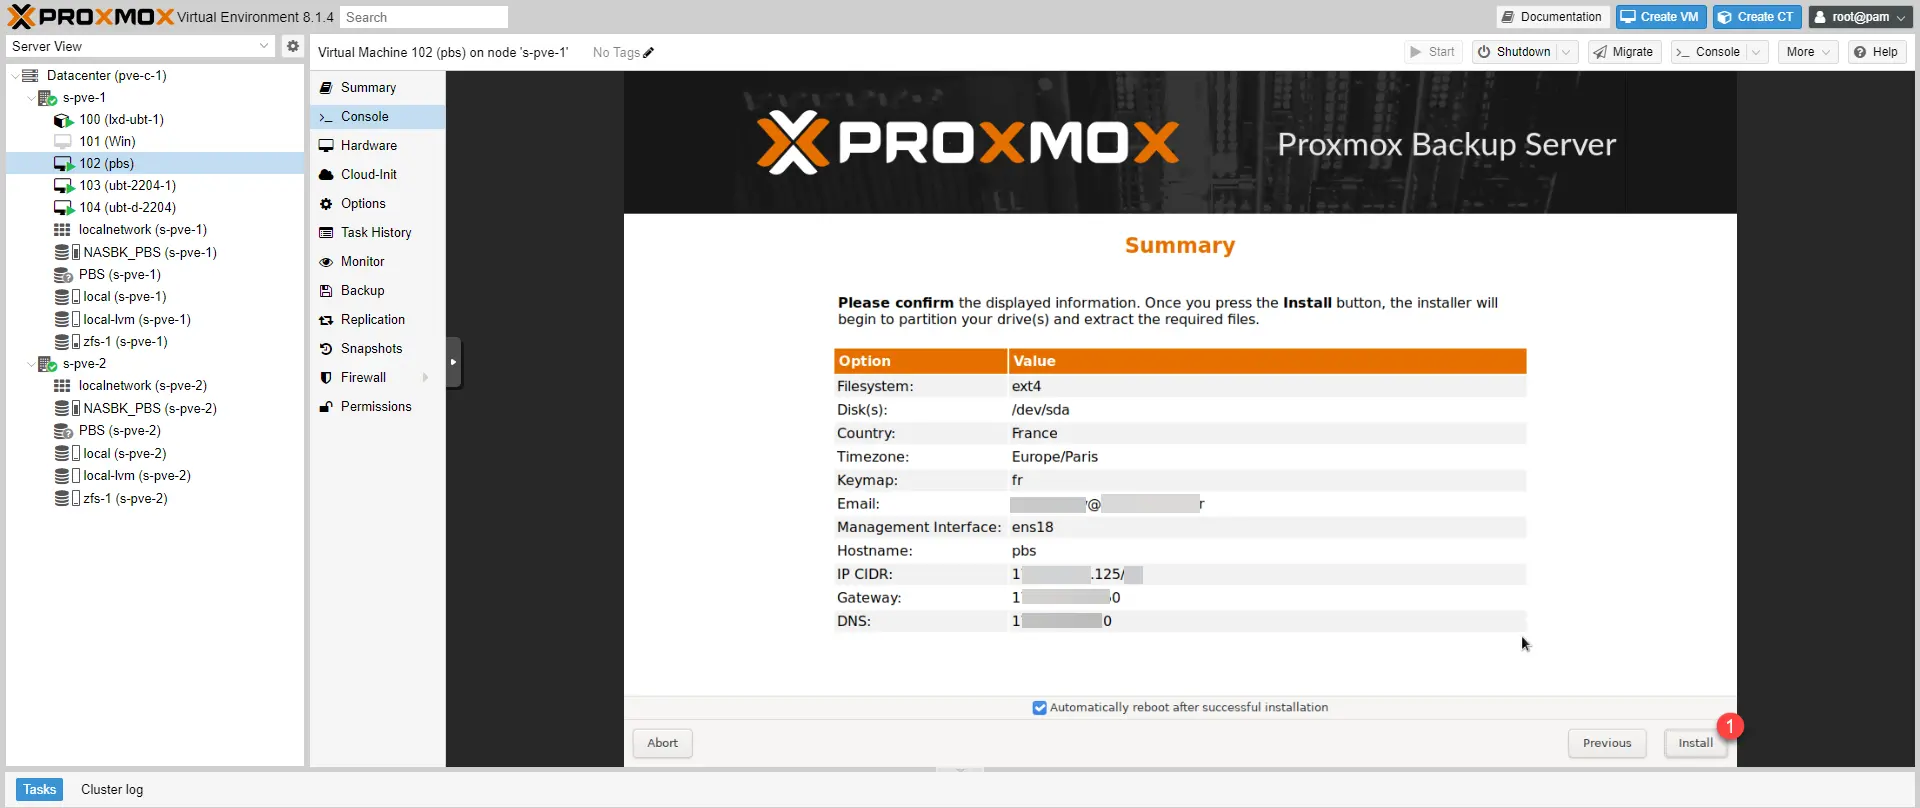
A summary of the configuration is displayed, click on Install 1.
Wait while installing…


At the end of the installation, the server restarts, wait until you receive the authentication prompt.
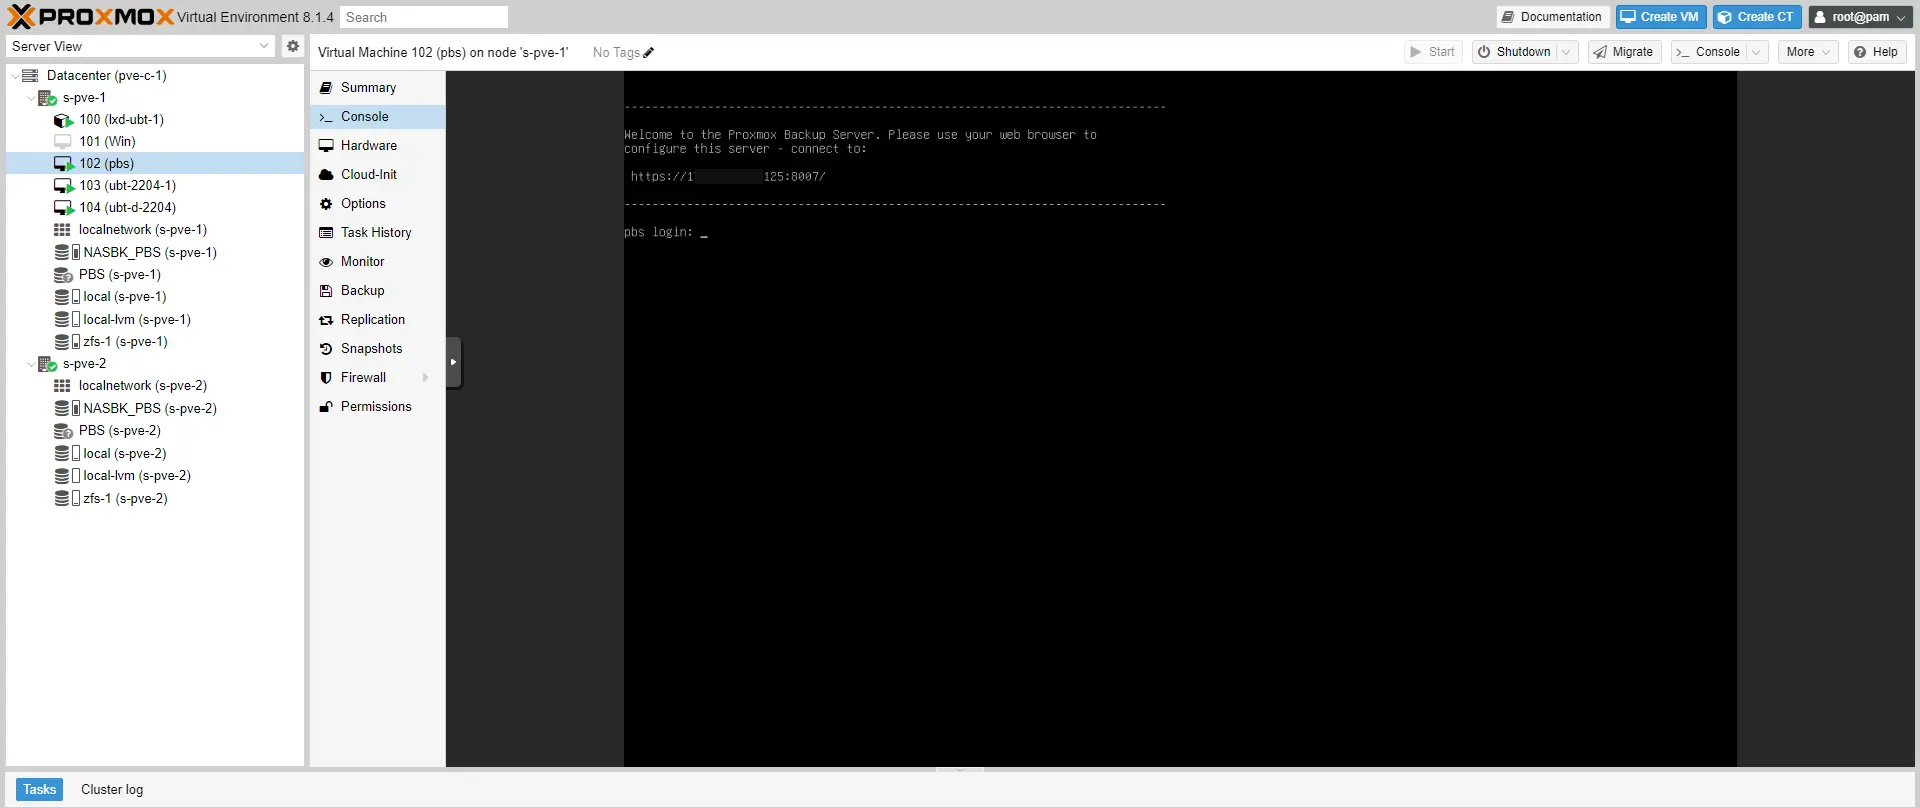
Launch an Internet browser and go to the following address: https://ip-psb:8007, enter as root user and the password indicated during installation to log in.
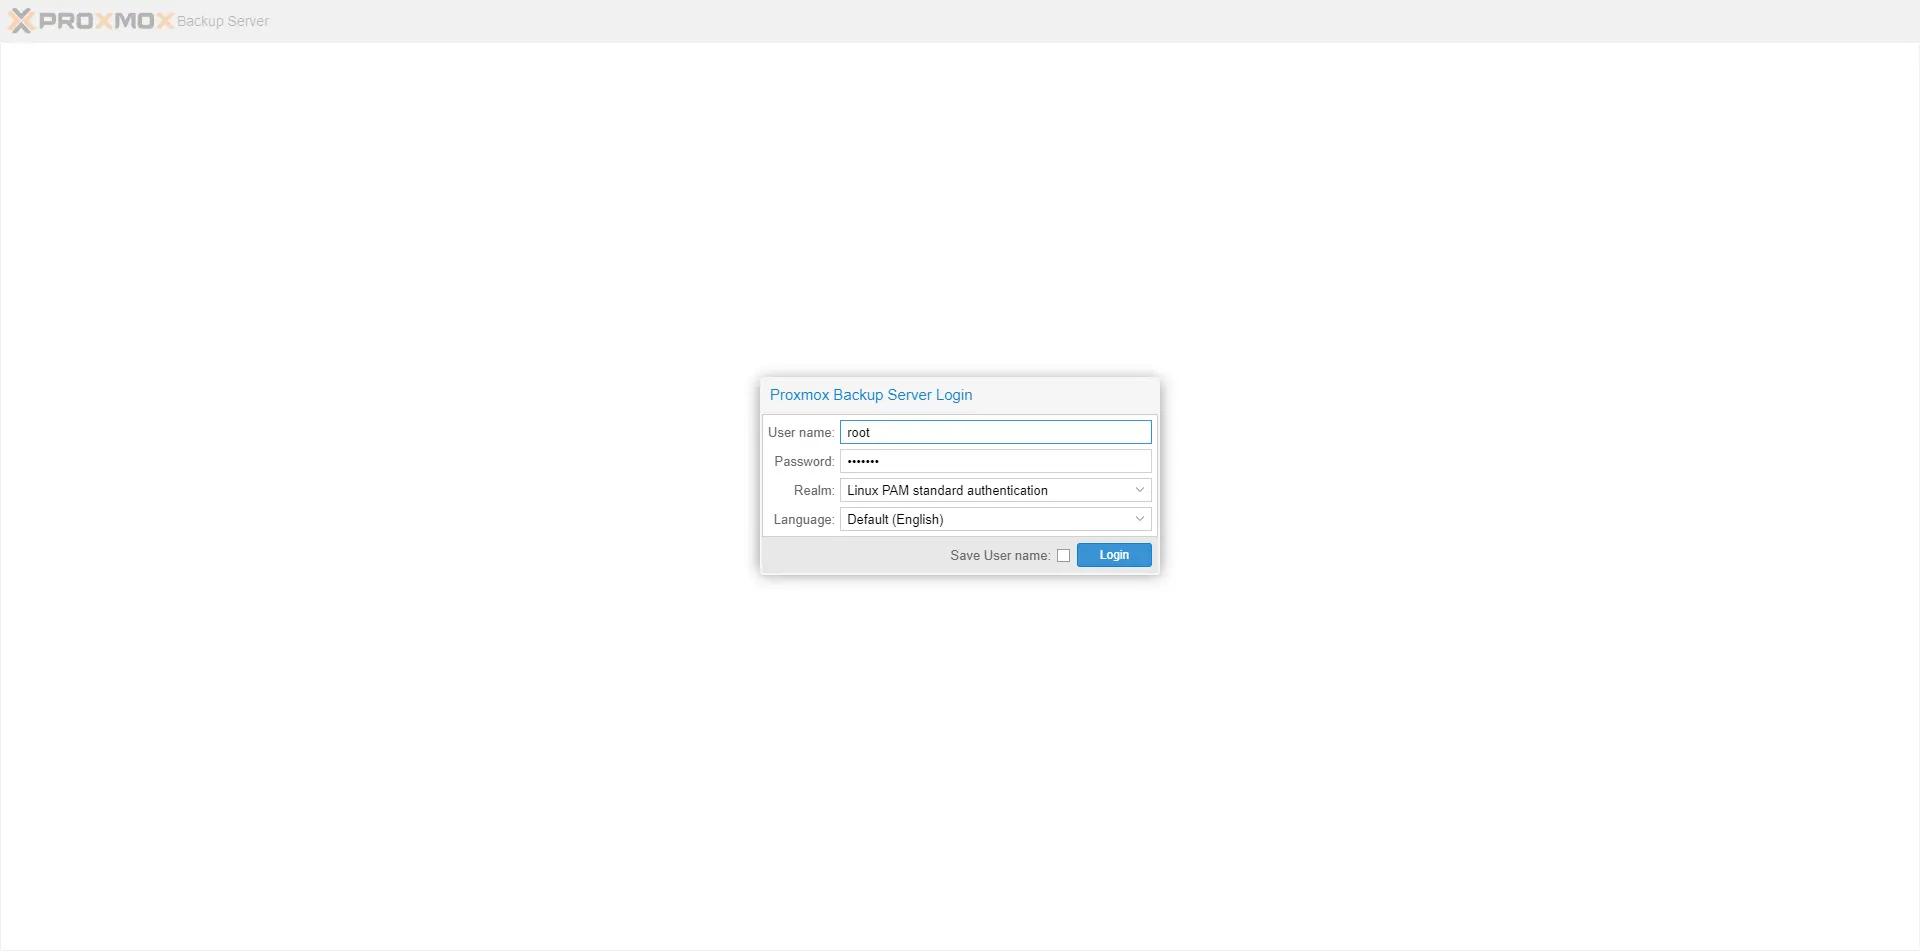
When connecting, you are redirected to the Backup Server Dashboard.
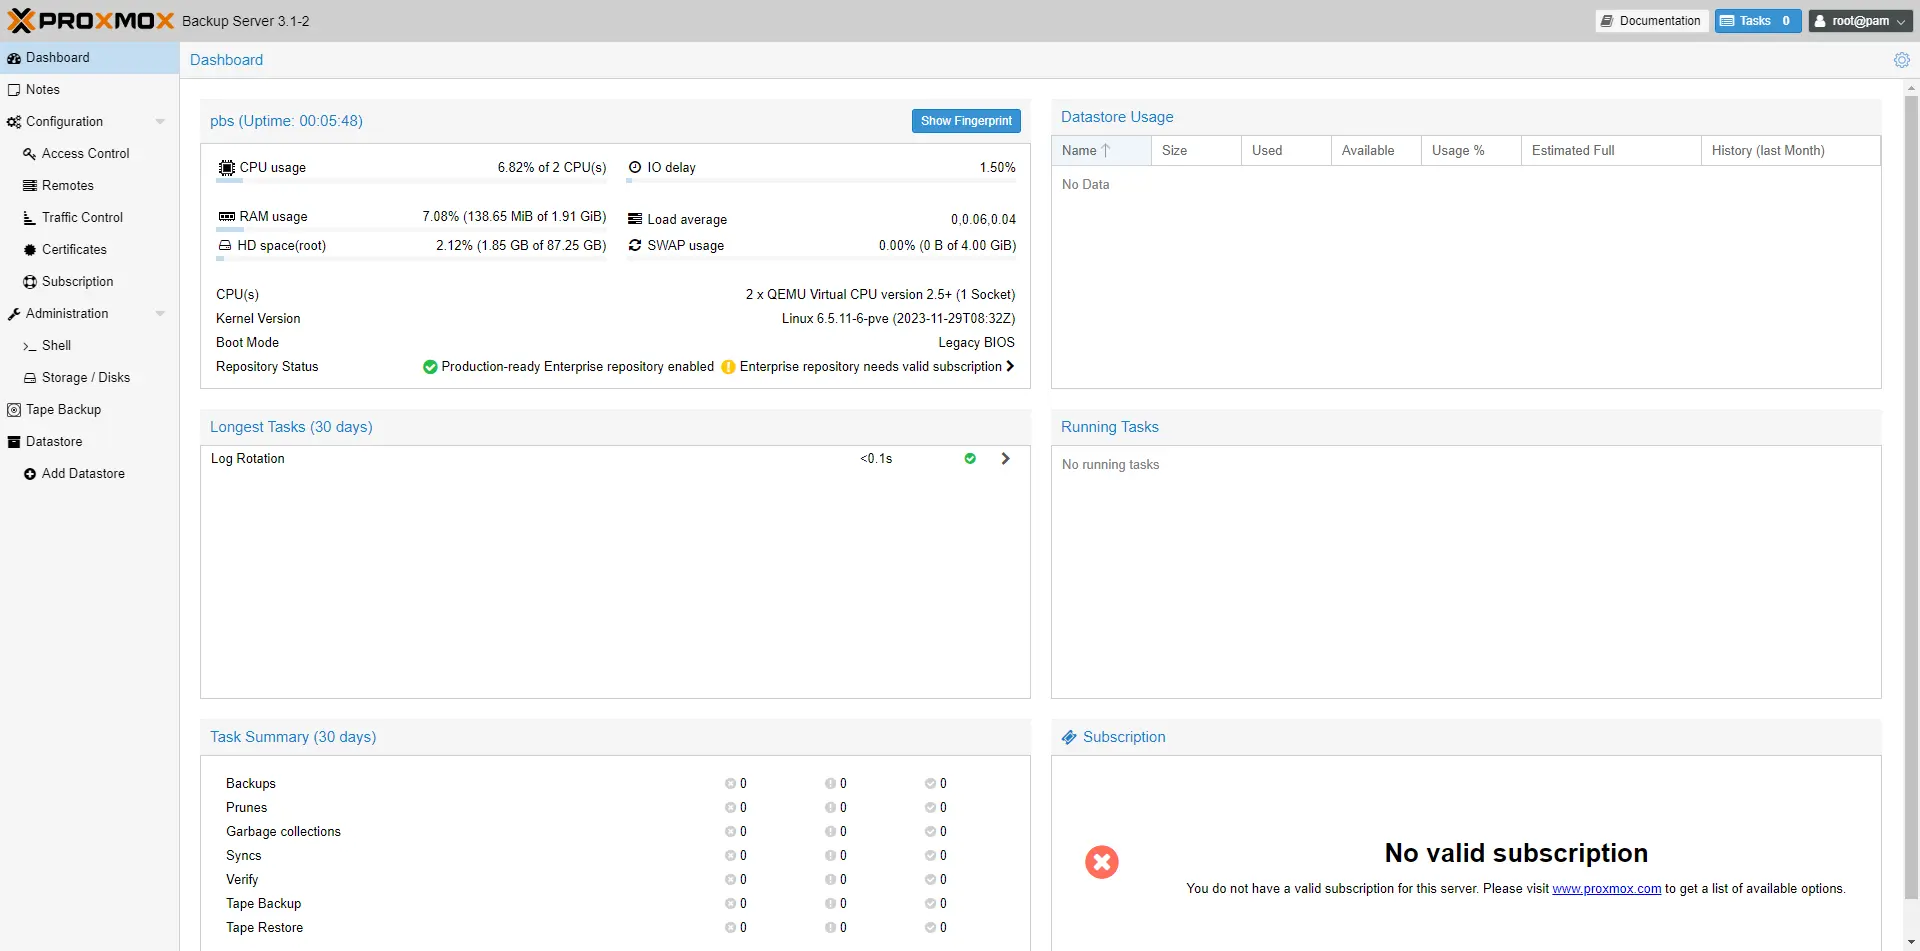
Configuring Proxmox Backup Server
Configure backup storage location
The first step will be to configure the backup location, as explained in the tutorial at the beginning, I will add a disk to the server which is located on SMB/CIFS storage at Proxmox.
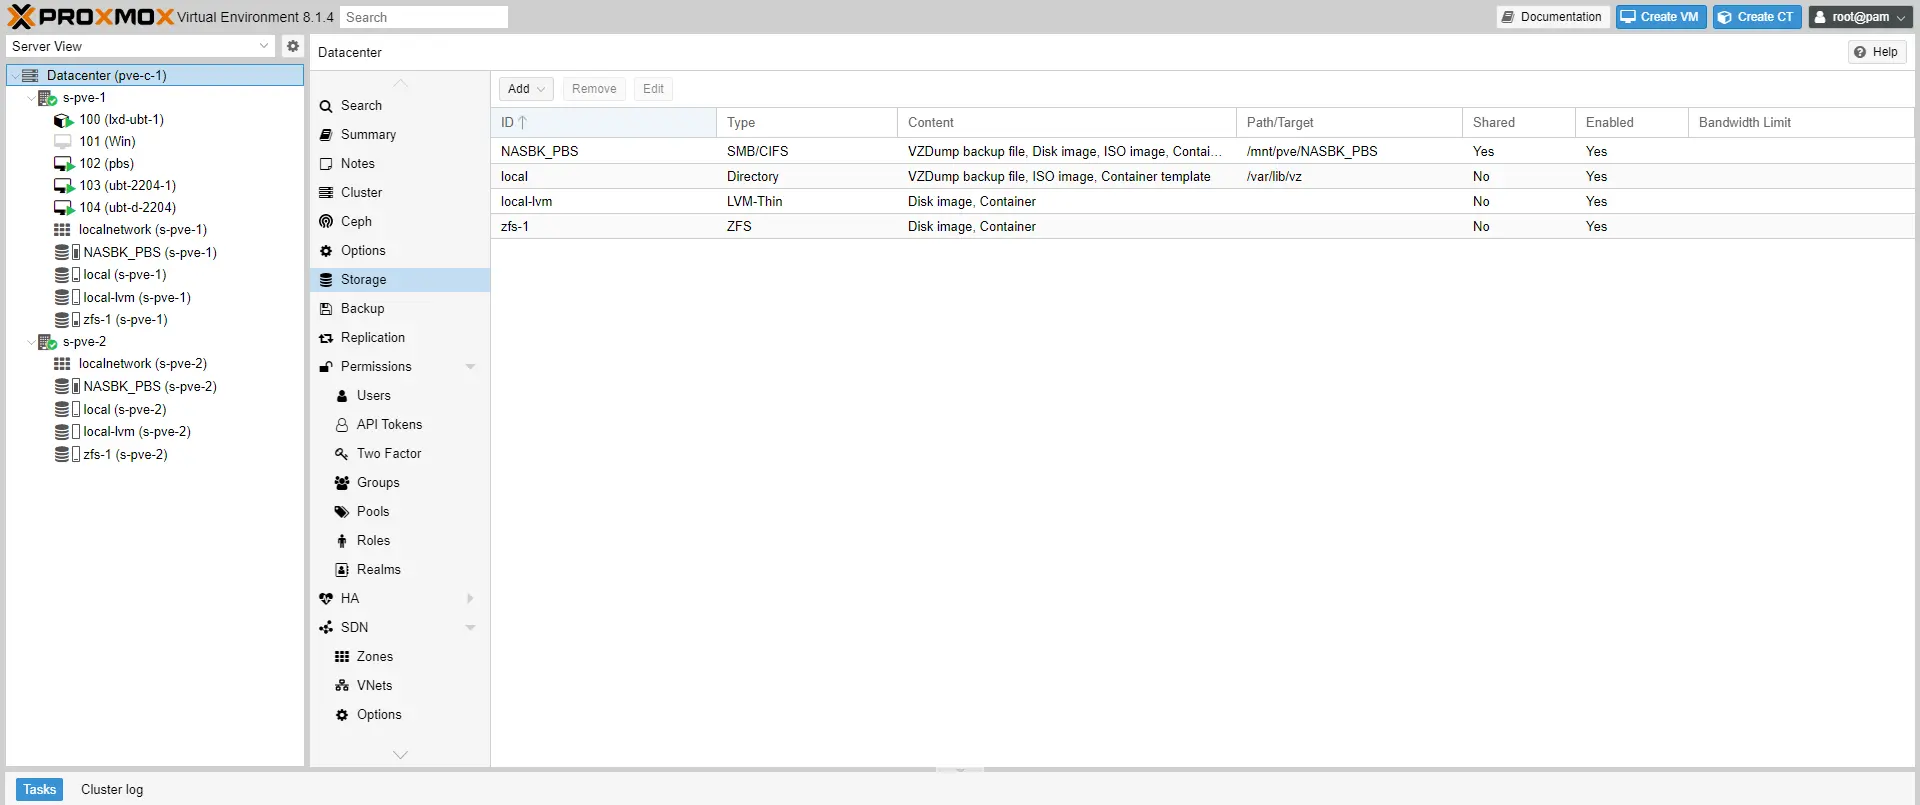
Here is the storage in Proxmox:
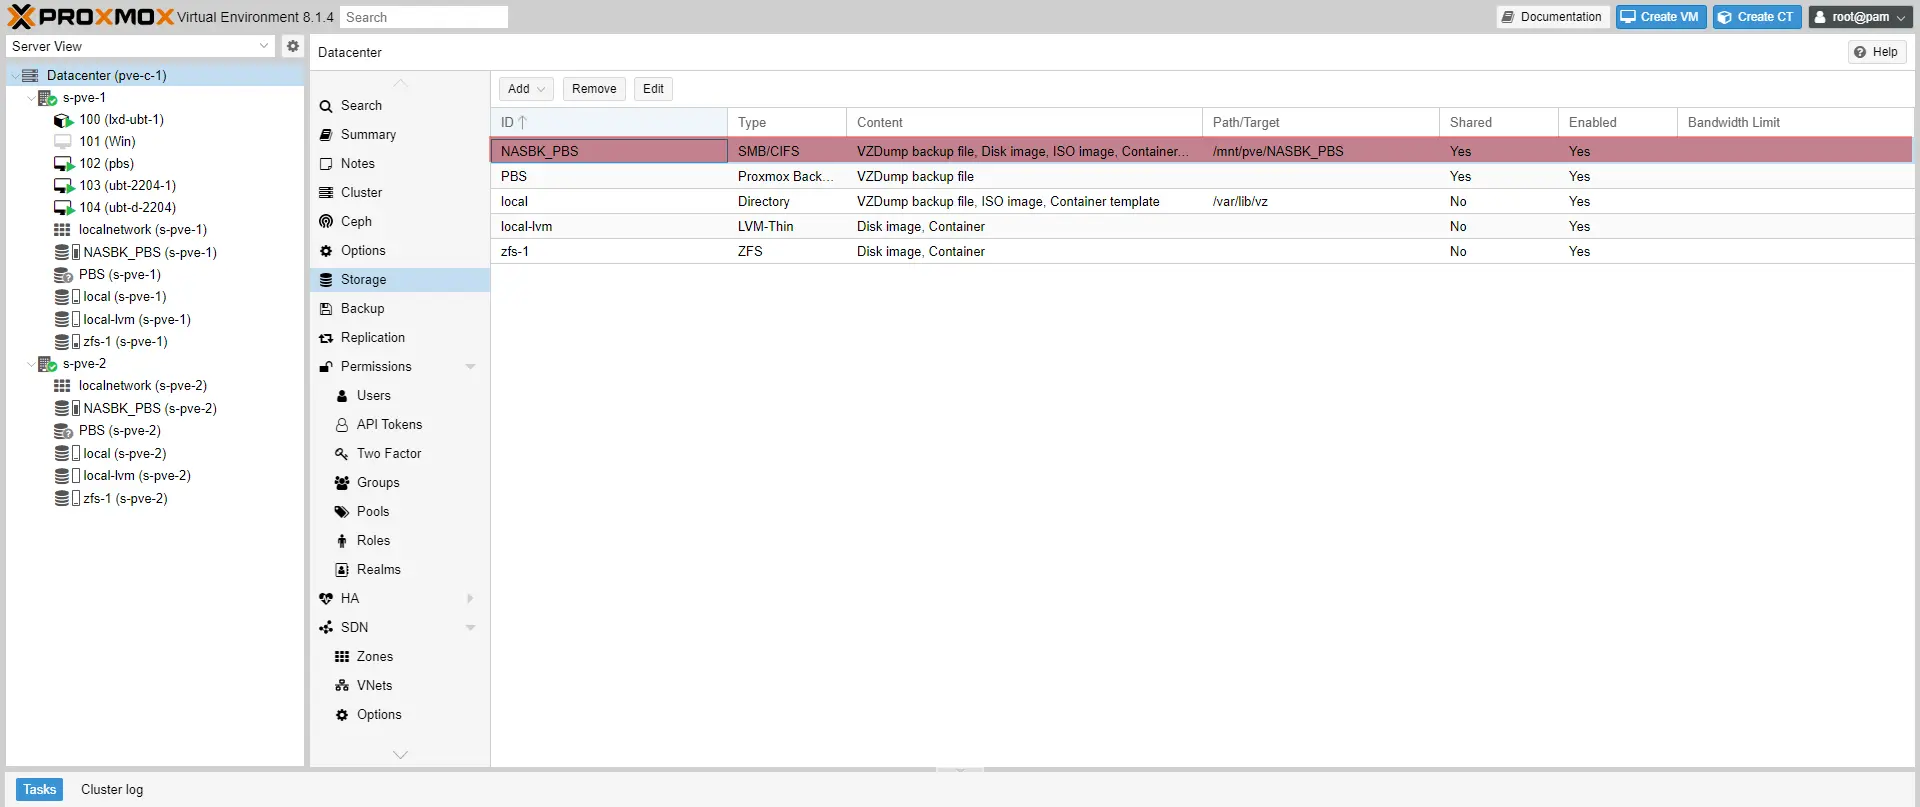
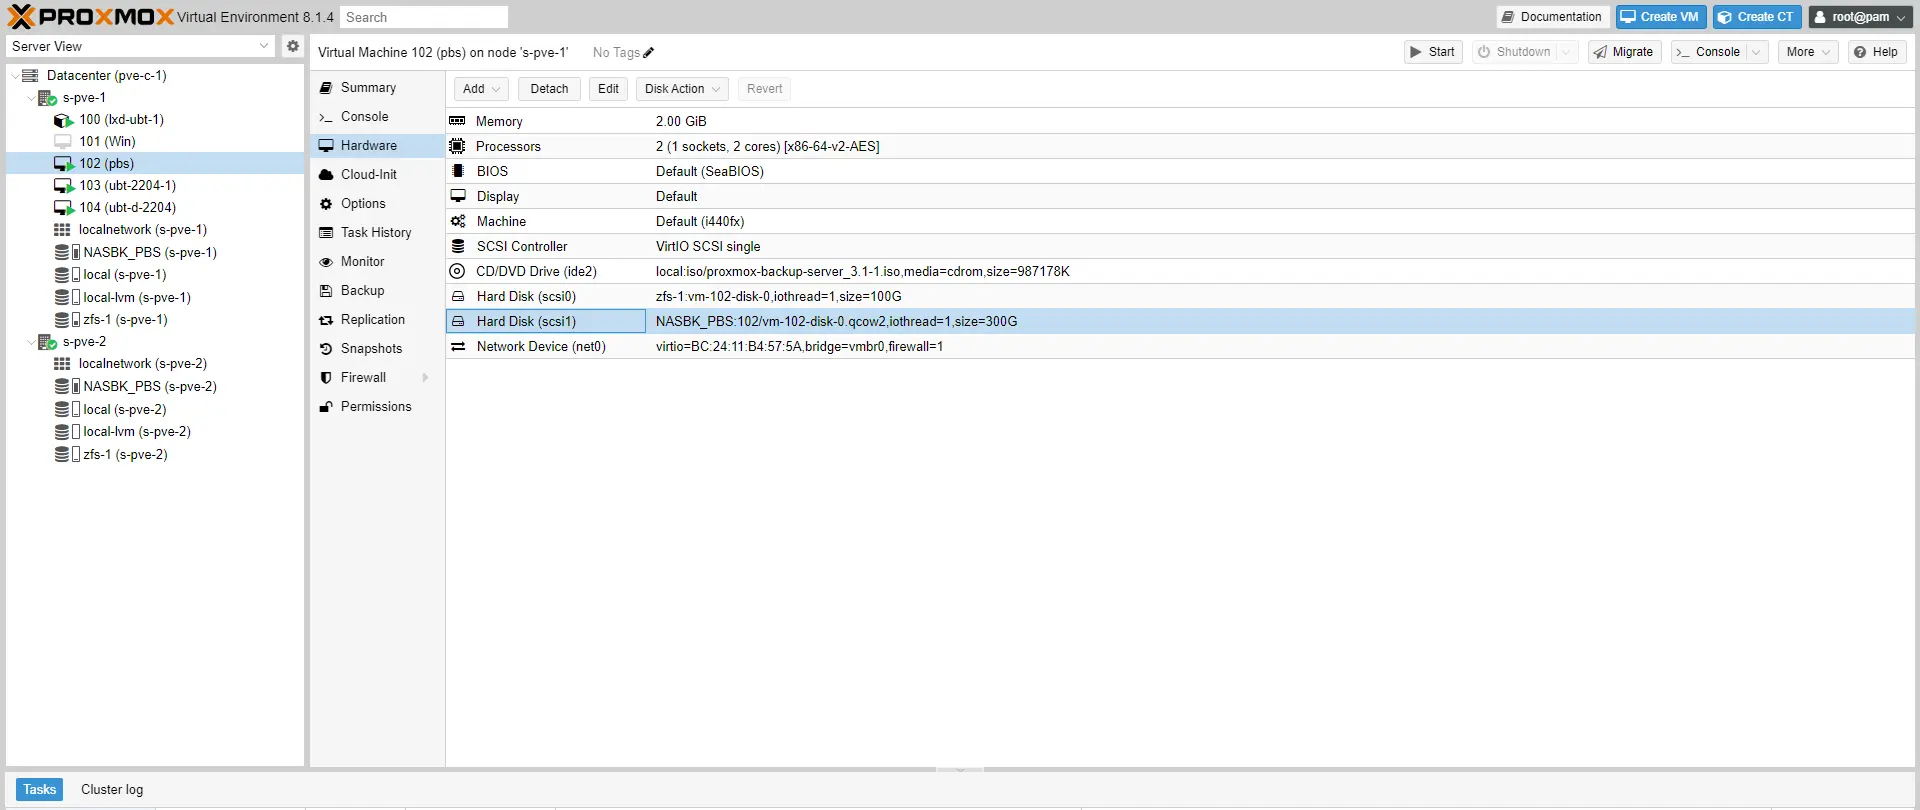
As can be seen below, I added a second 300G disk to the SMB storage.
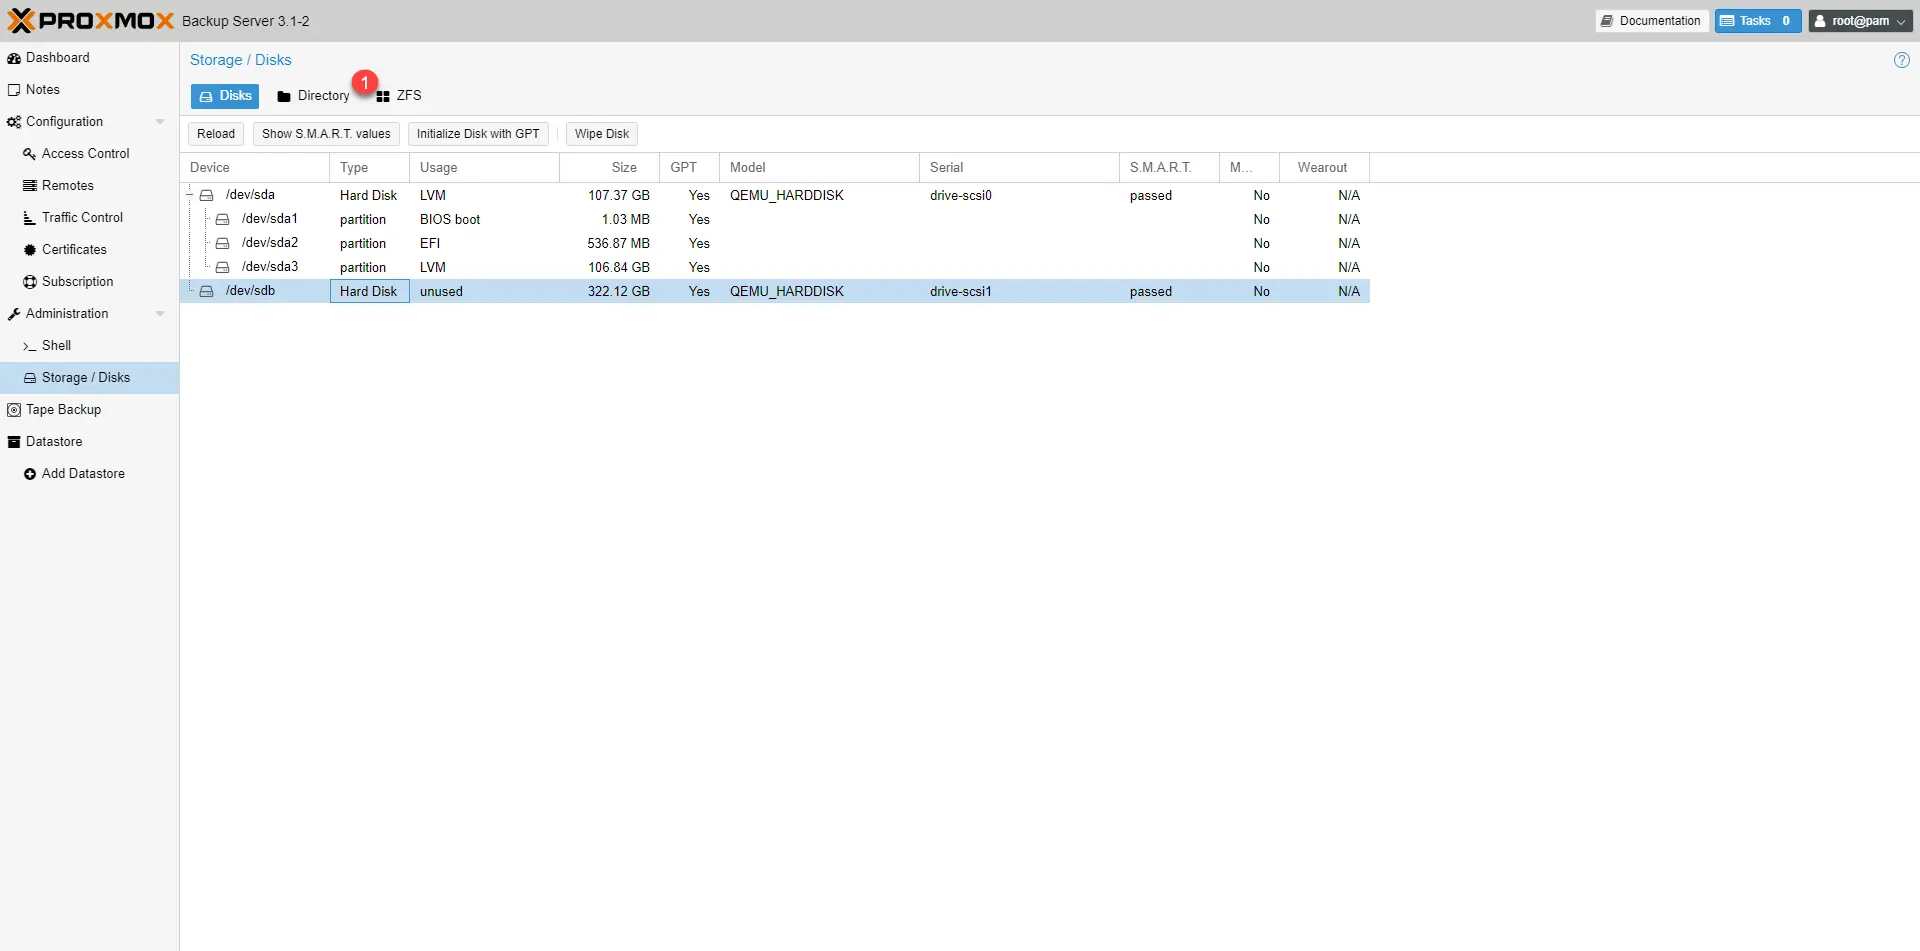
On the PSB server, I can clearly see the 300G disk (sdb).
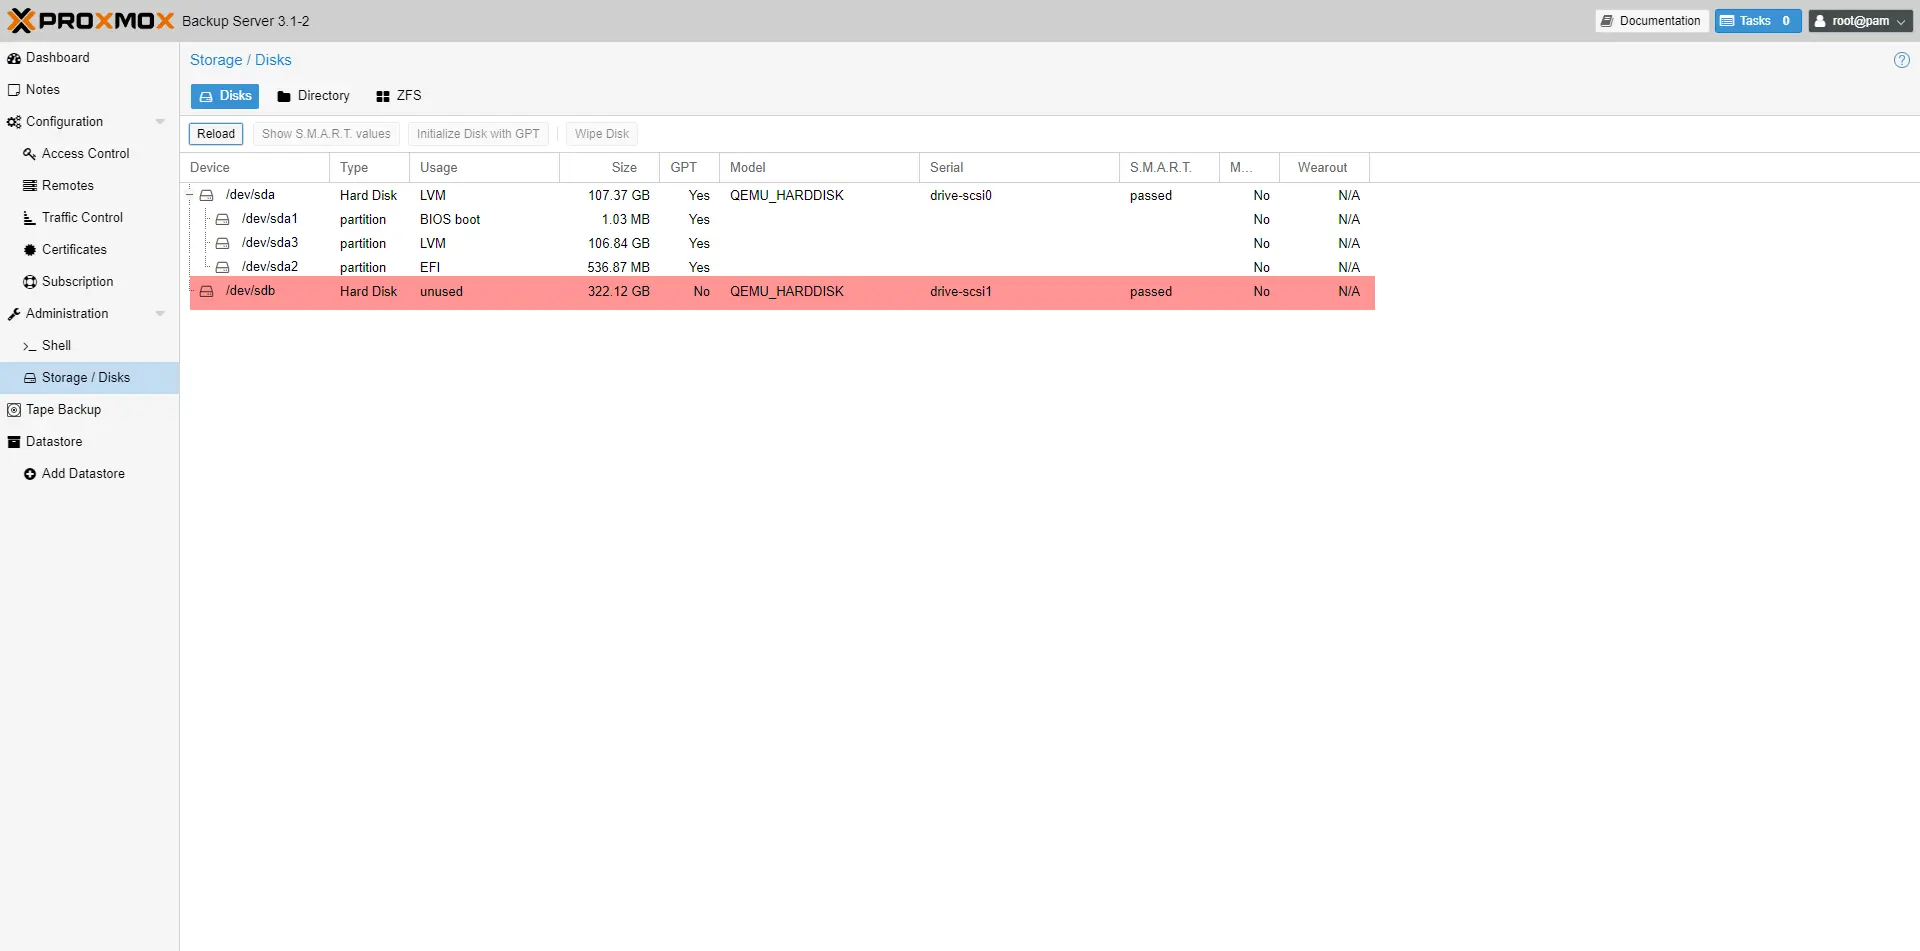
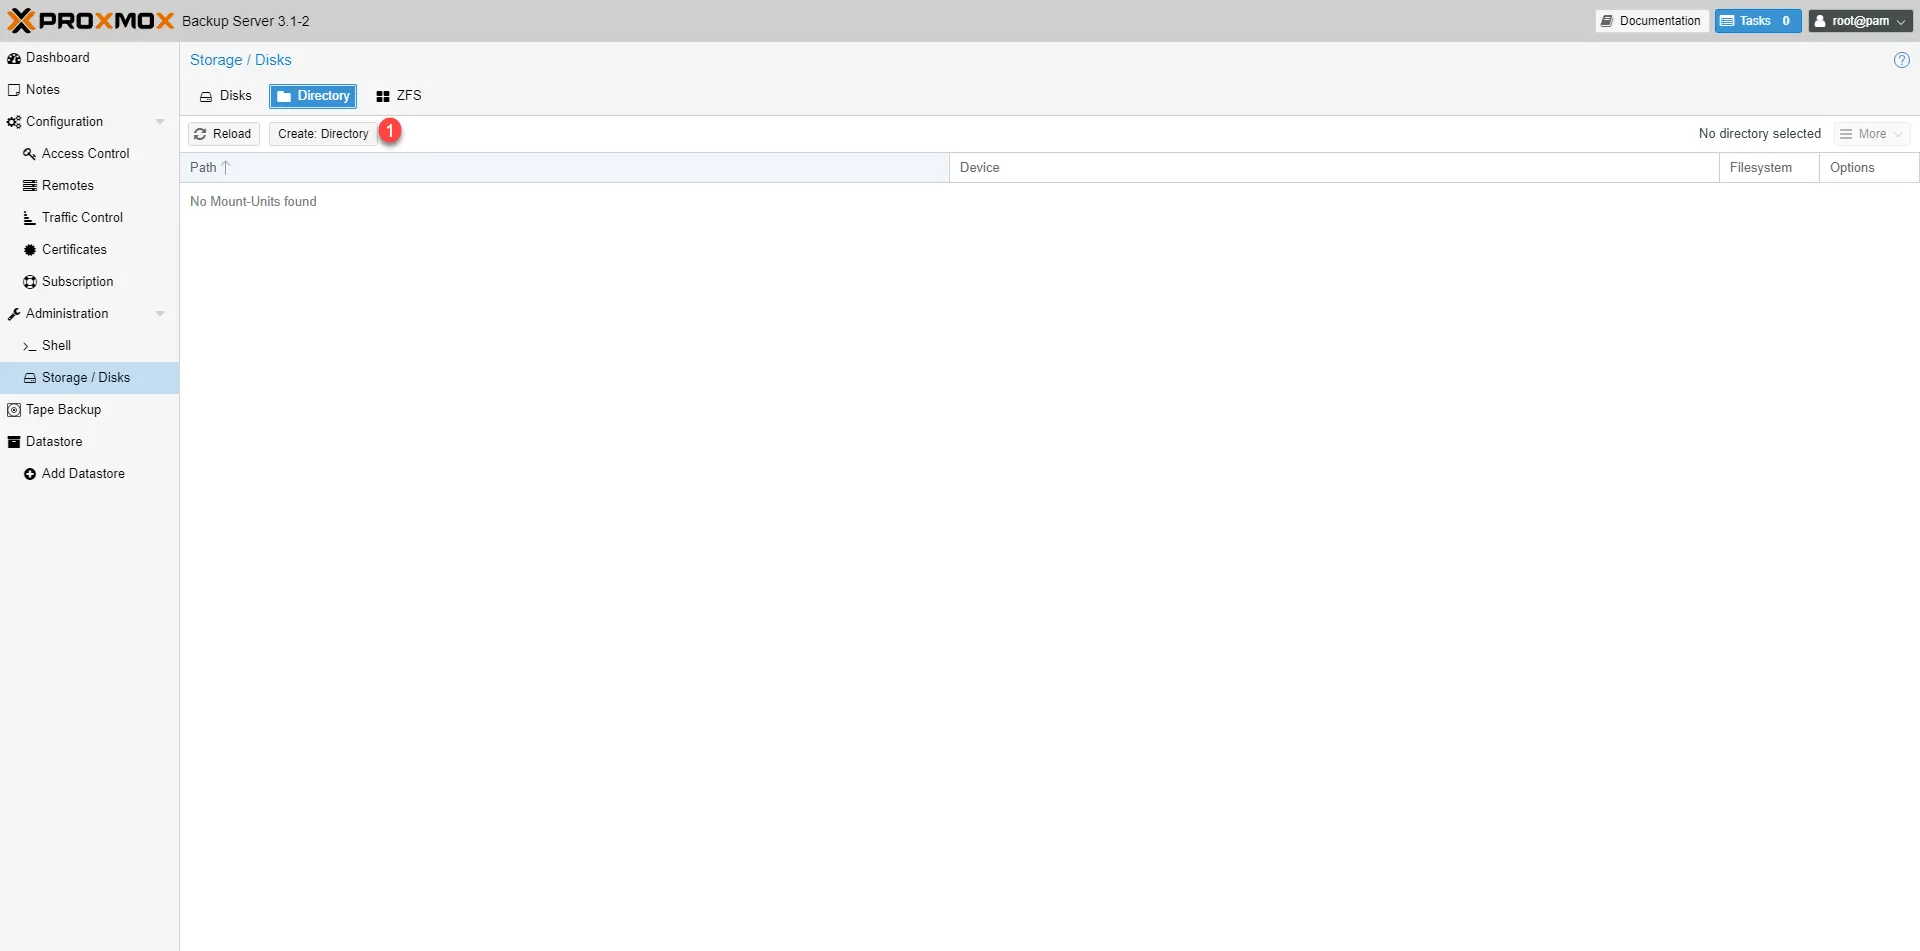
In Disk Management, go to Directory 1.
Click on Create: Directory 1.
Select disk 1, partition type 2, name folder 3 and click Create 4.

Leave the box checked: Add as Datastore
The Directory type storage is created.
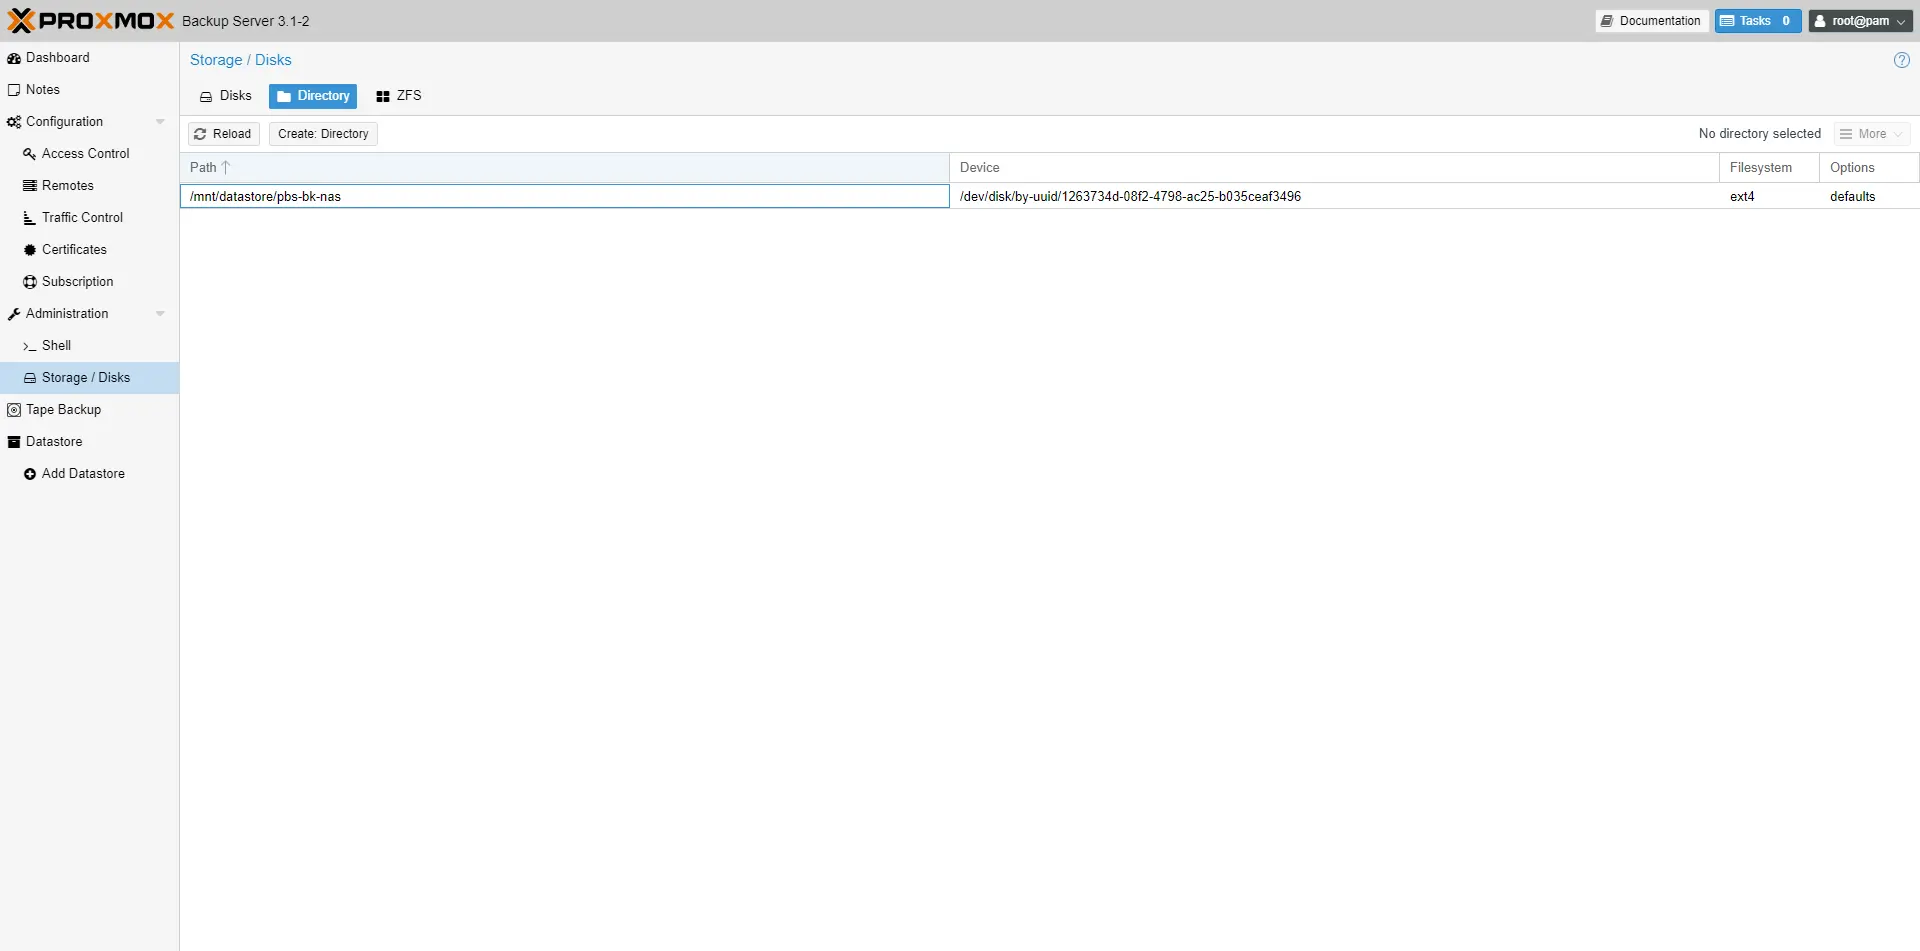
Normally a Datastore is added and this will be used to declare the storage of backups in Proxmox.

Add the Proxmox Backup Server to Proxmox
We will now declare the PSB server in Proxmox, which we can use as a backup target, I have not talked about it yet, backup and restoration management is done directly in Proxmox, everything is managed from a single interface.
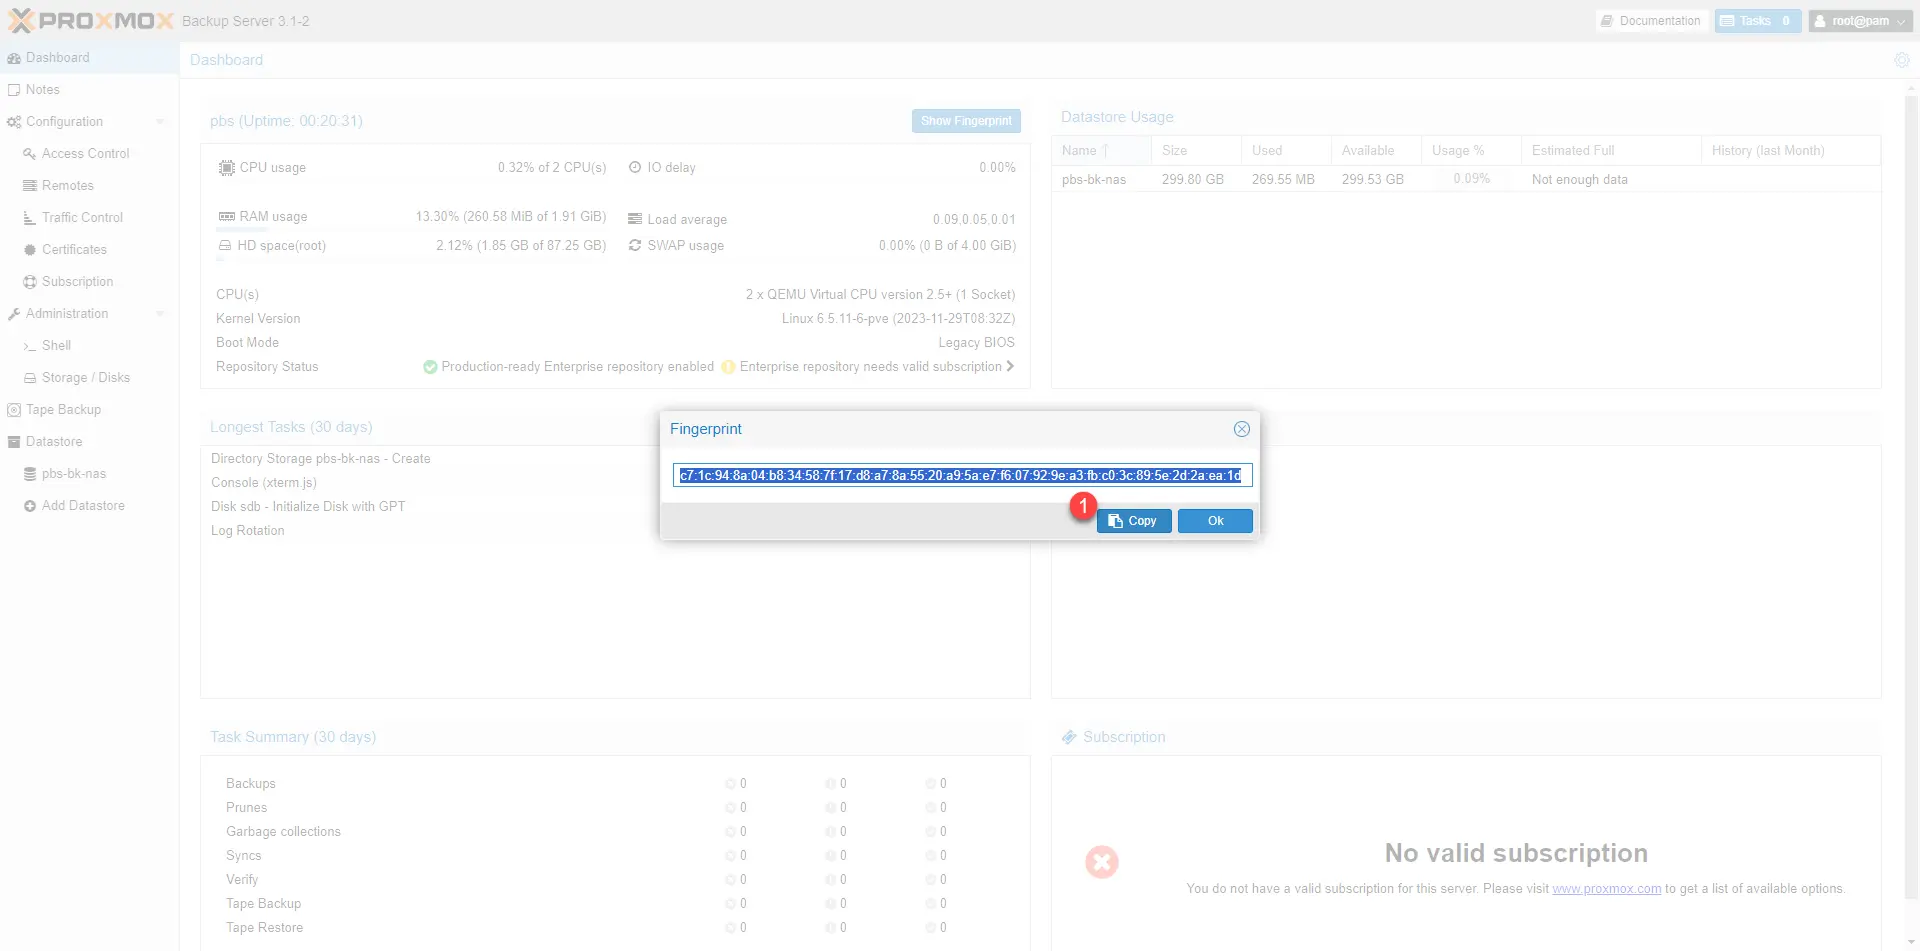
From the PSB server, go to the Dashboard and click on Show Finderprint 1.

Click on the Copy 1 button.
Go to Proxmox in Datacenter / Storage.
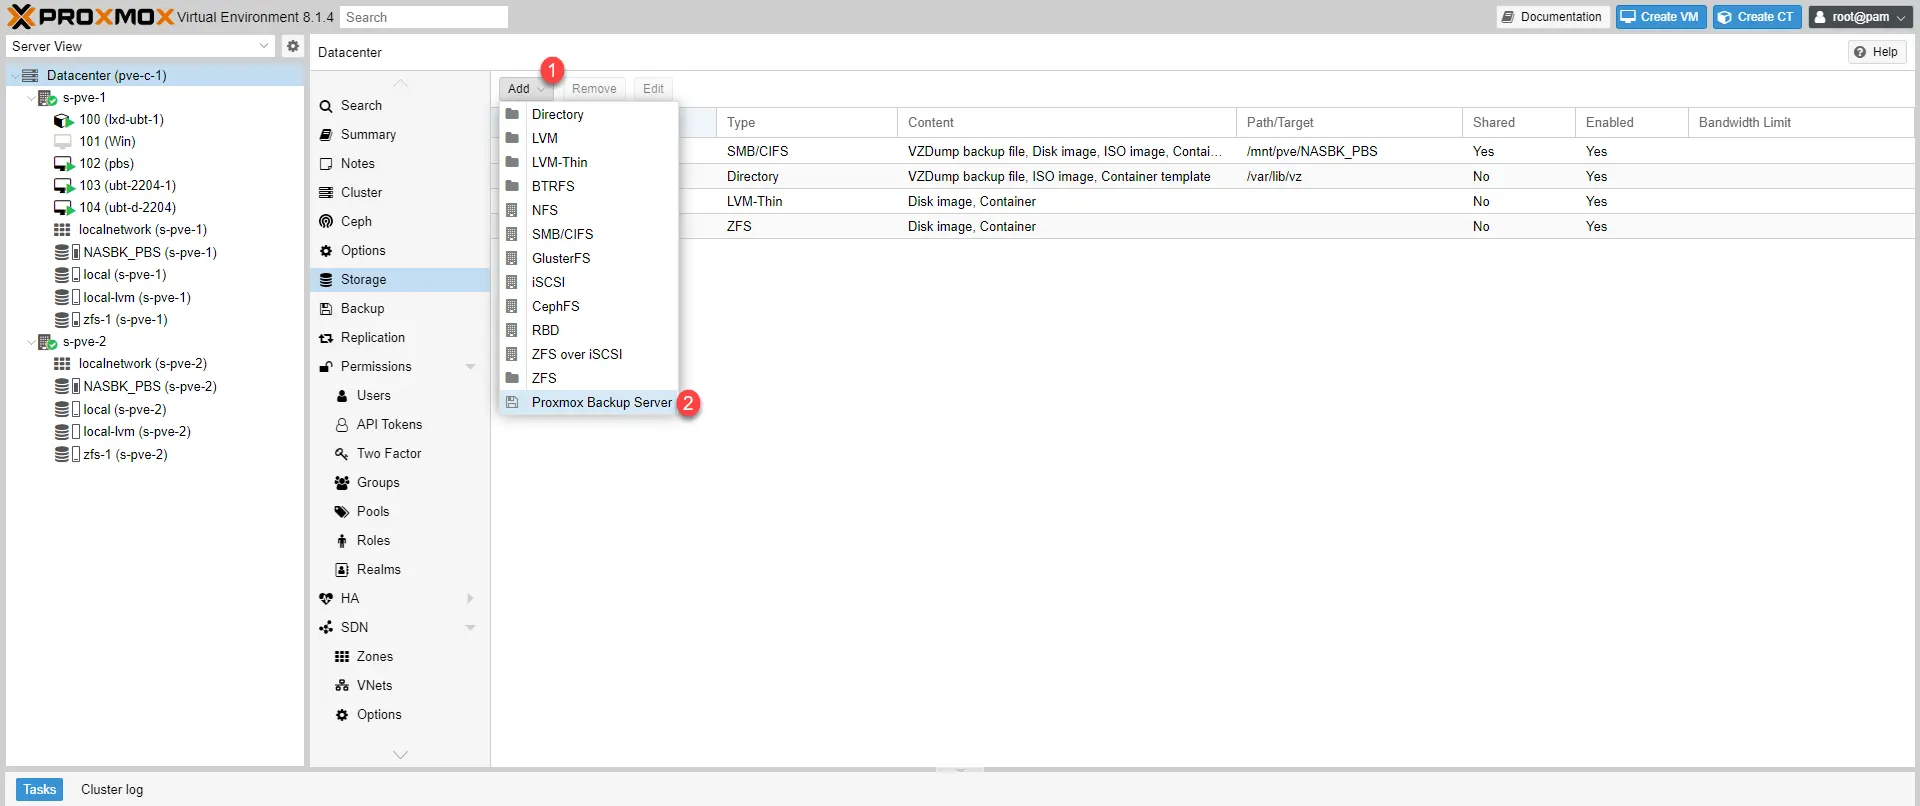
Click on Add 1 then on Proxmox Backup Server 2.
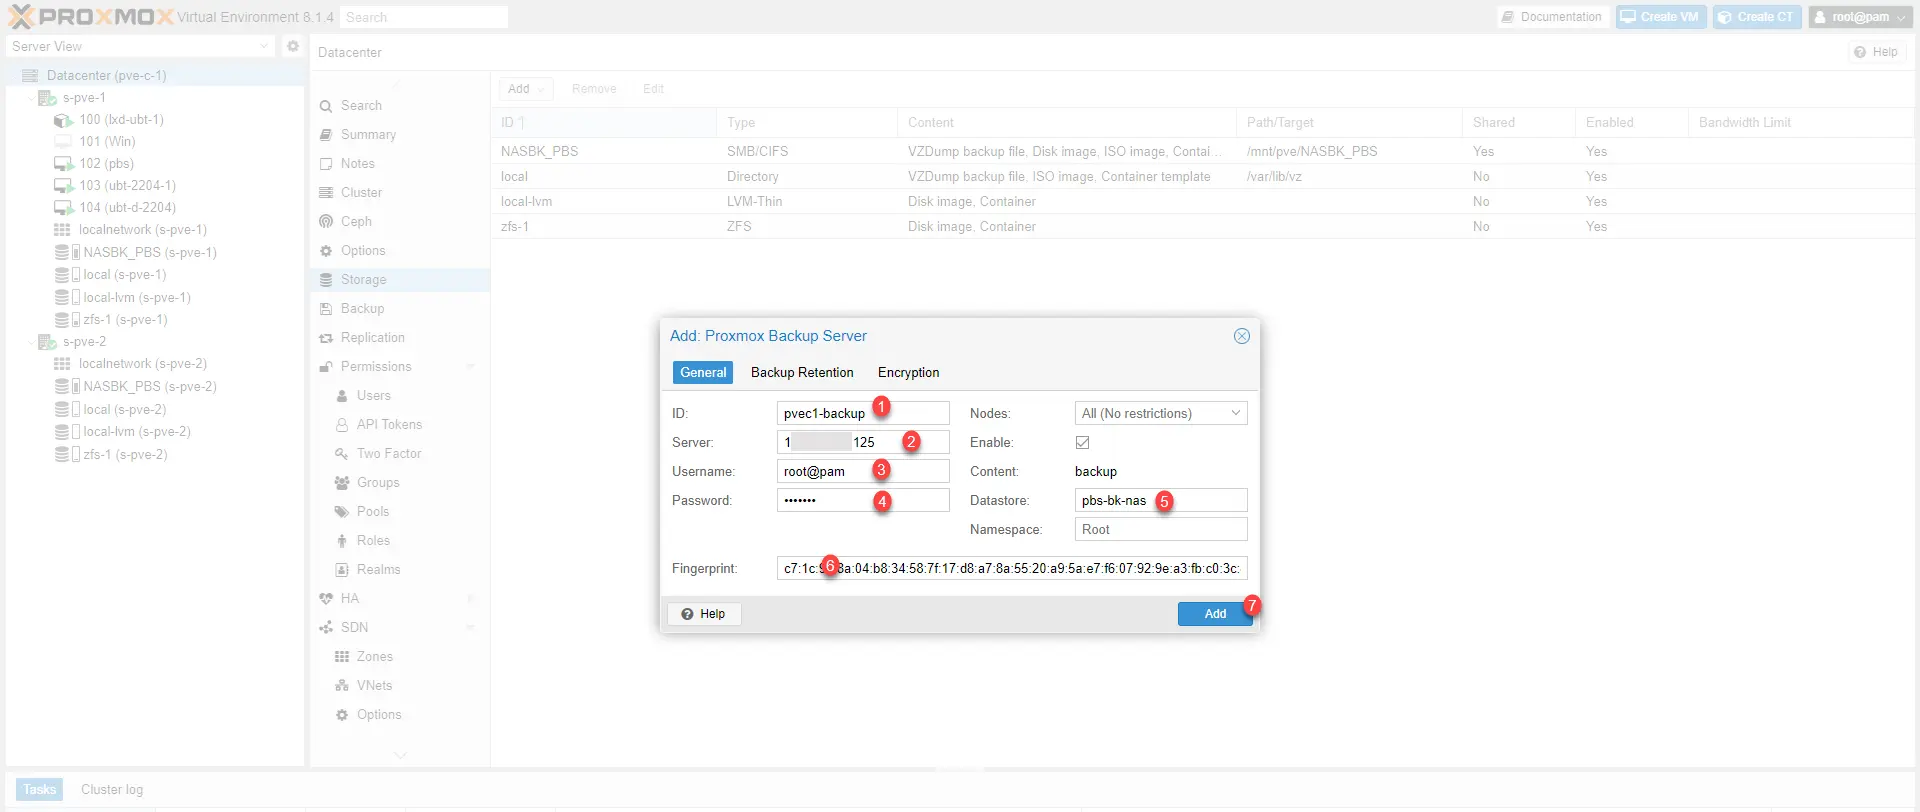
Give an ID 1 to the storage, indicate the IP address of the PSB server 2, enter the root@pam account 3 with the password 4, indicate the name from the datastore 5 created previously, paste the fingerprint 6 and click on Add 7.
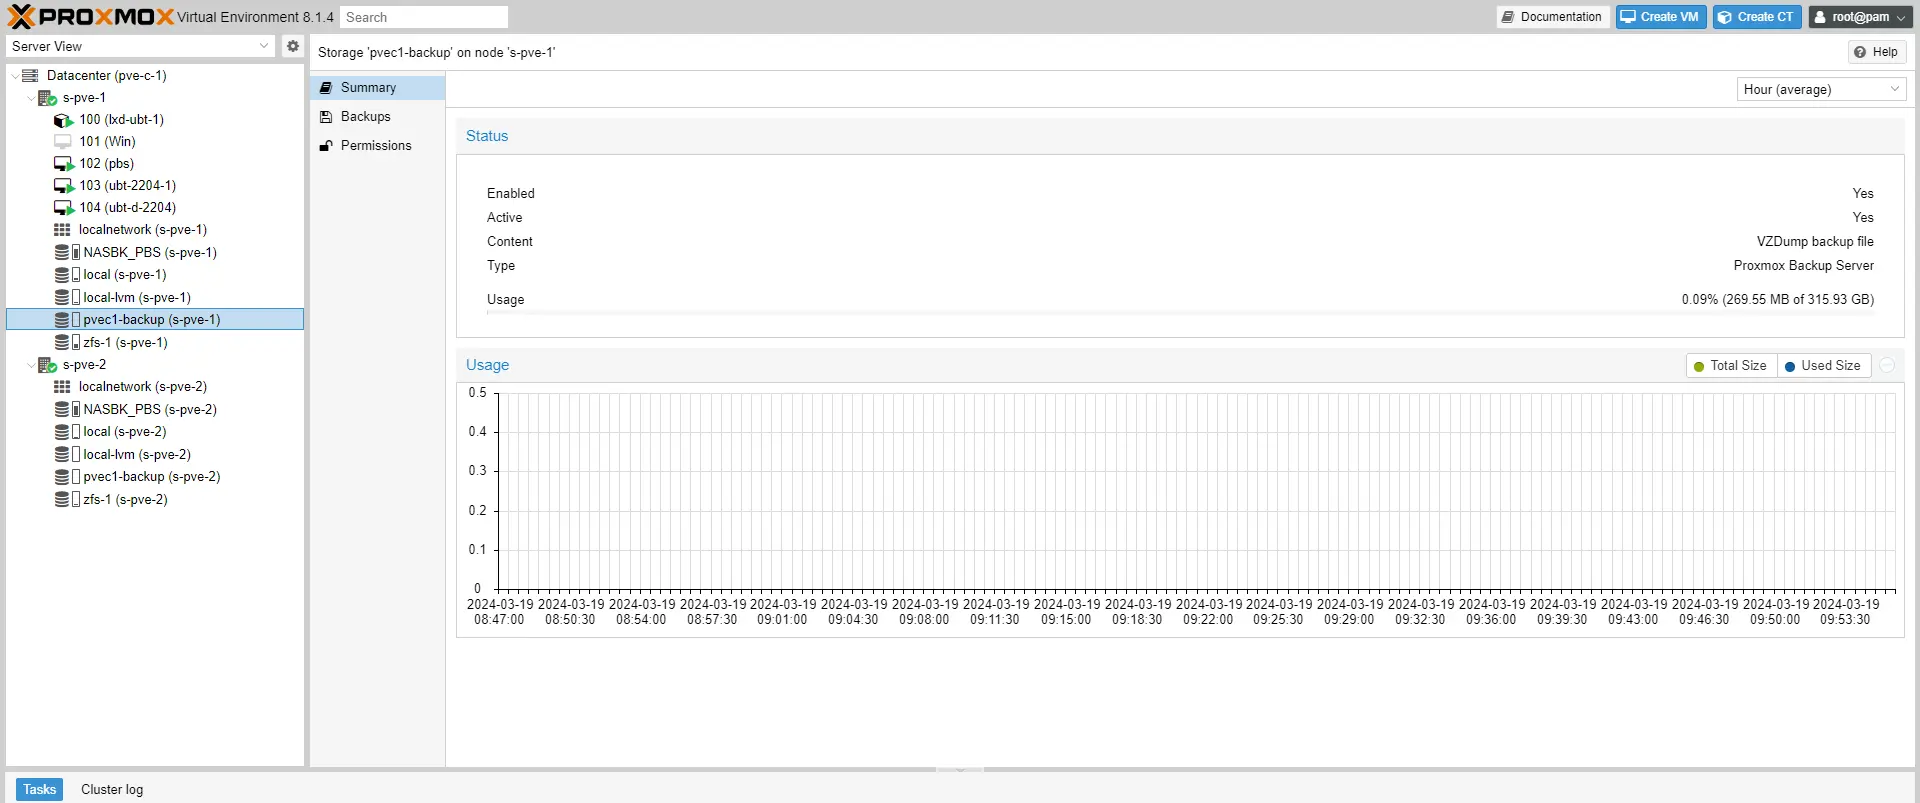
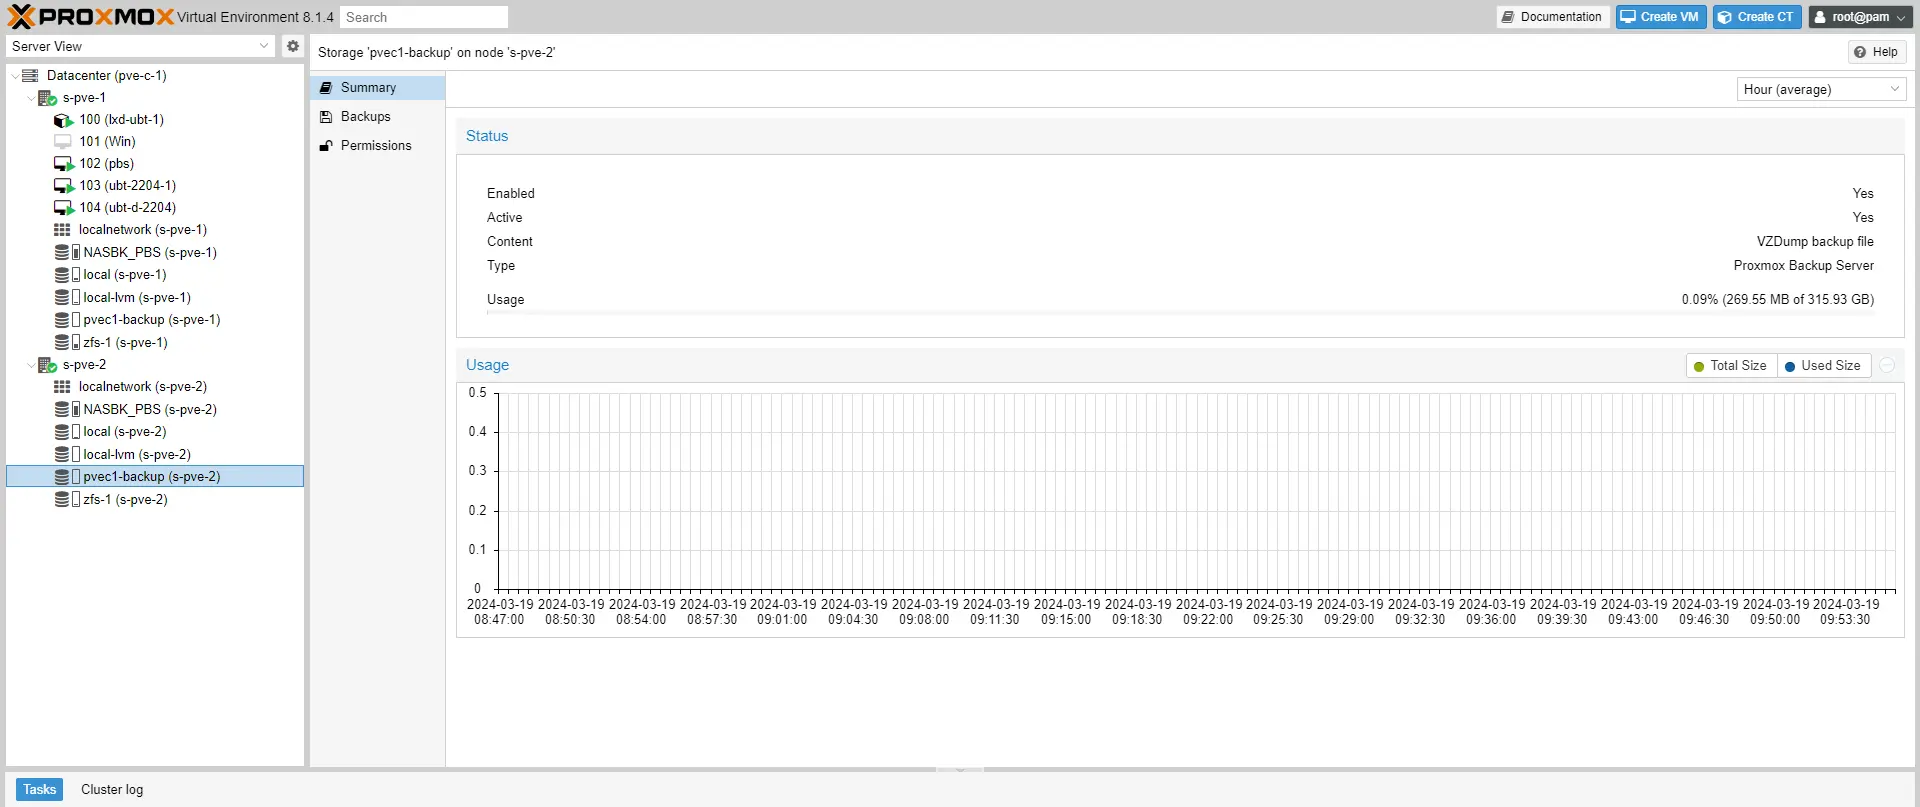
PSB server storage is added.
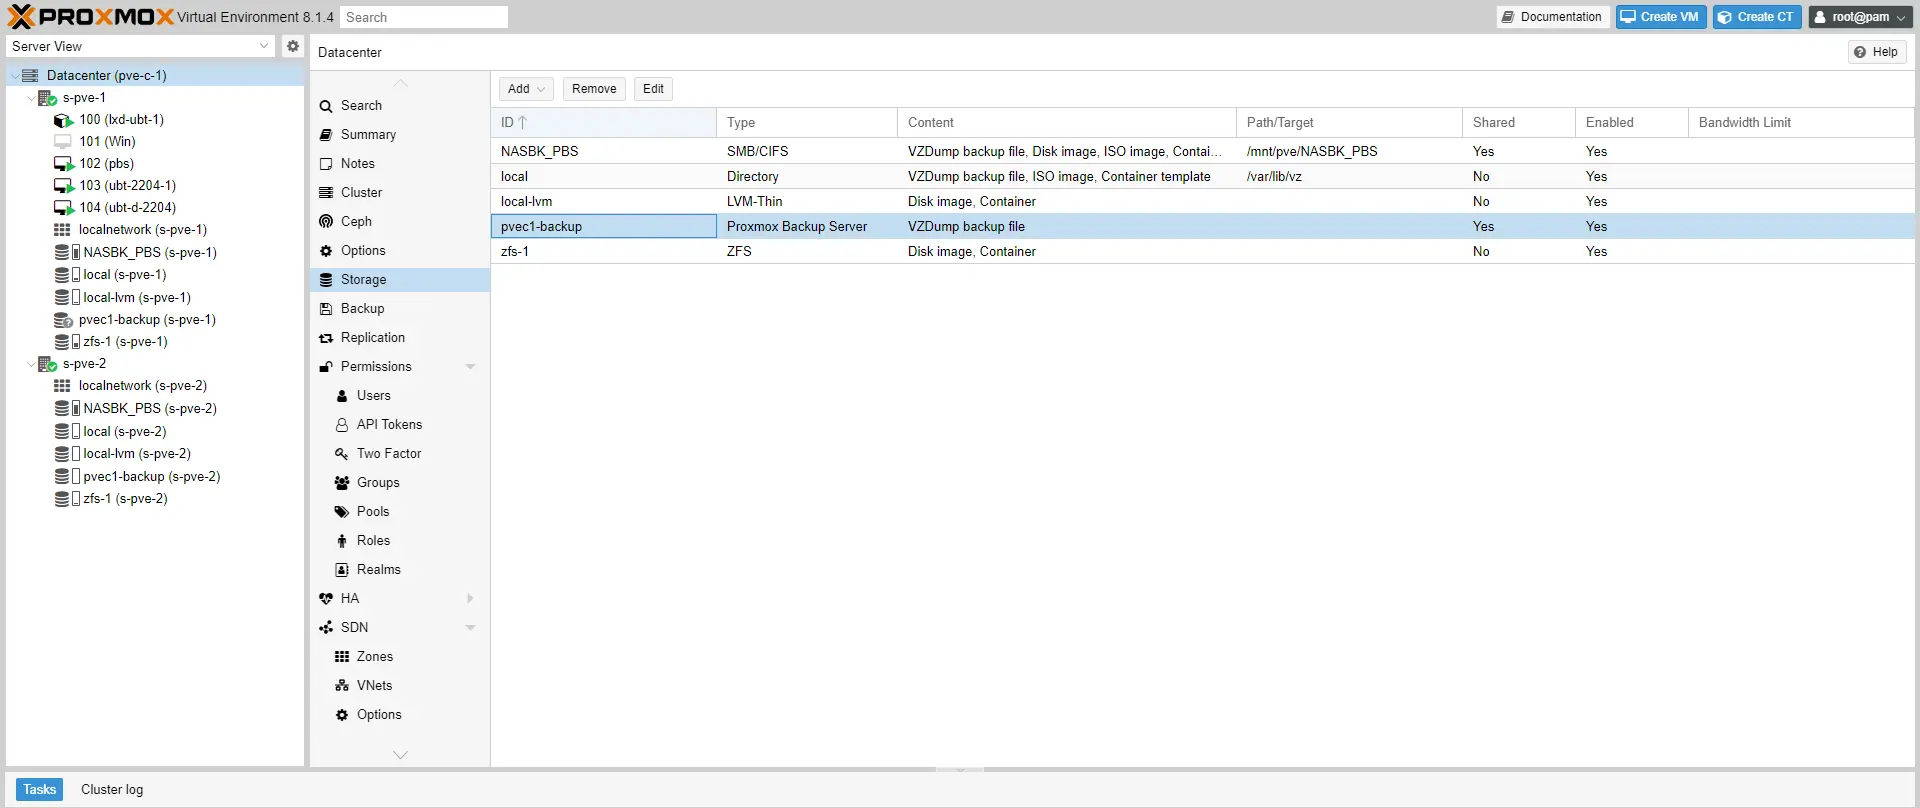
Storage is also available from each Proxmox server in the cluster.
Configure the backup of a virtual machine in Proxmox
We will now move on to setting up the backup.
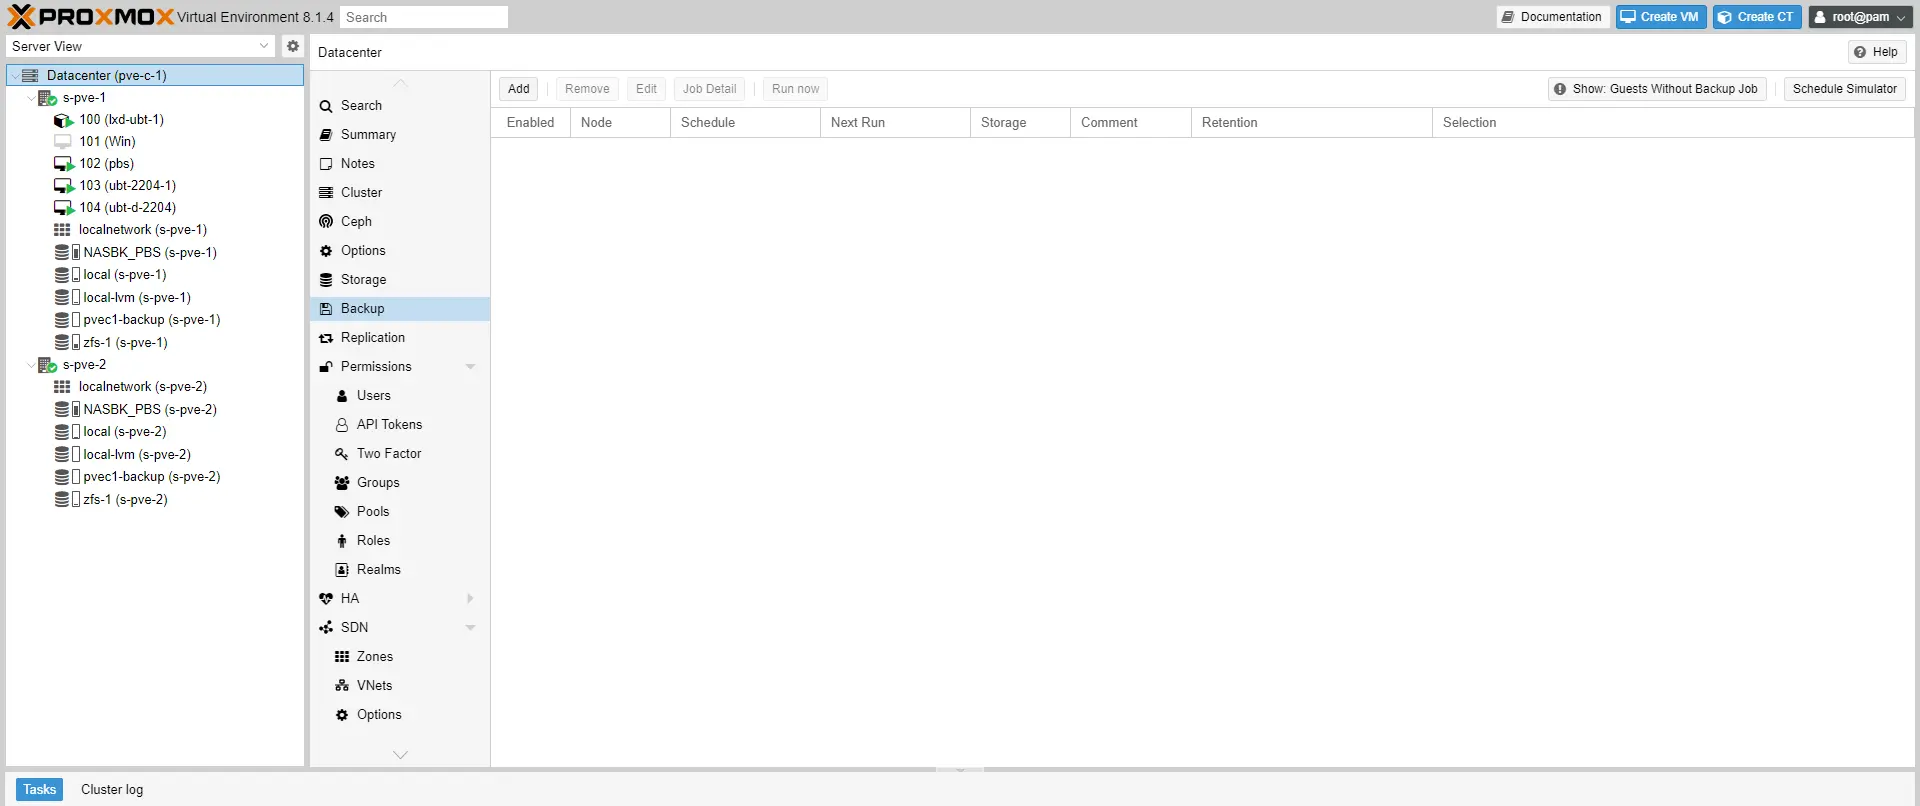
Go to Datacenter then Backup.
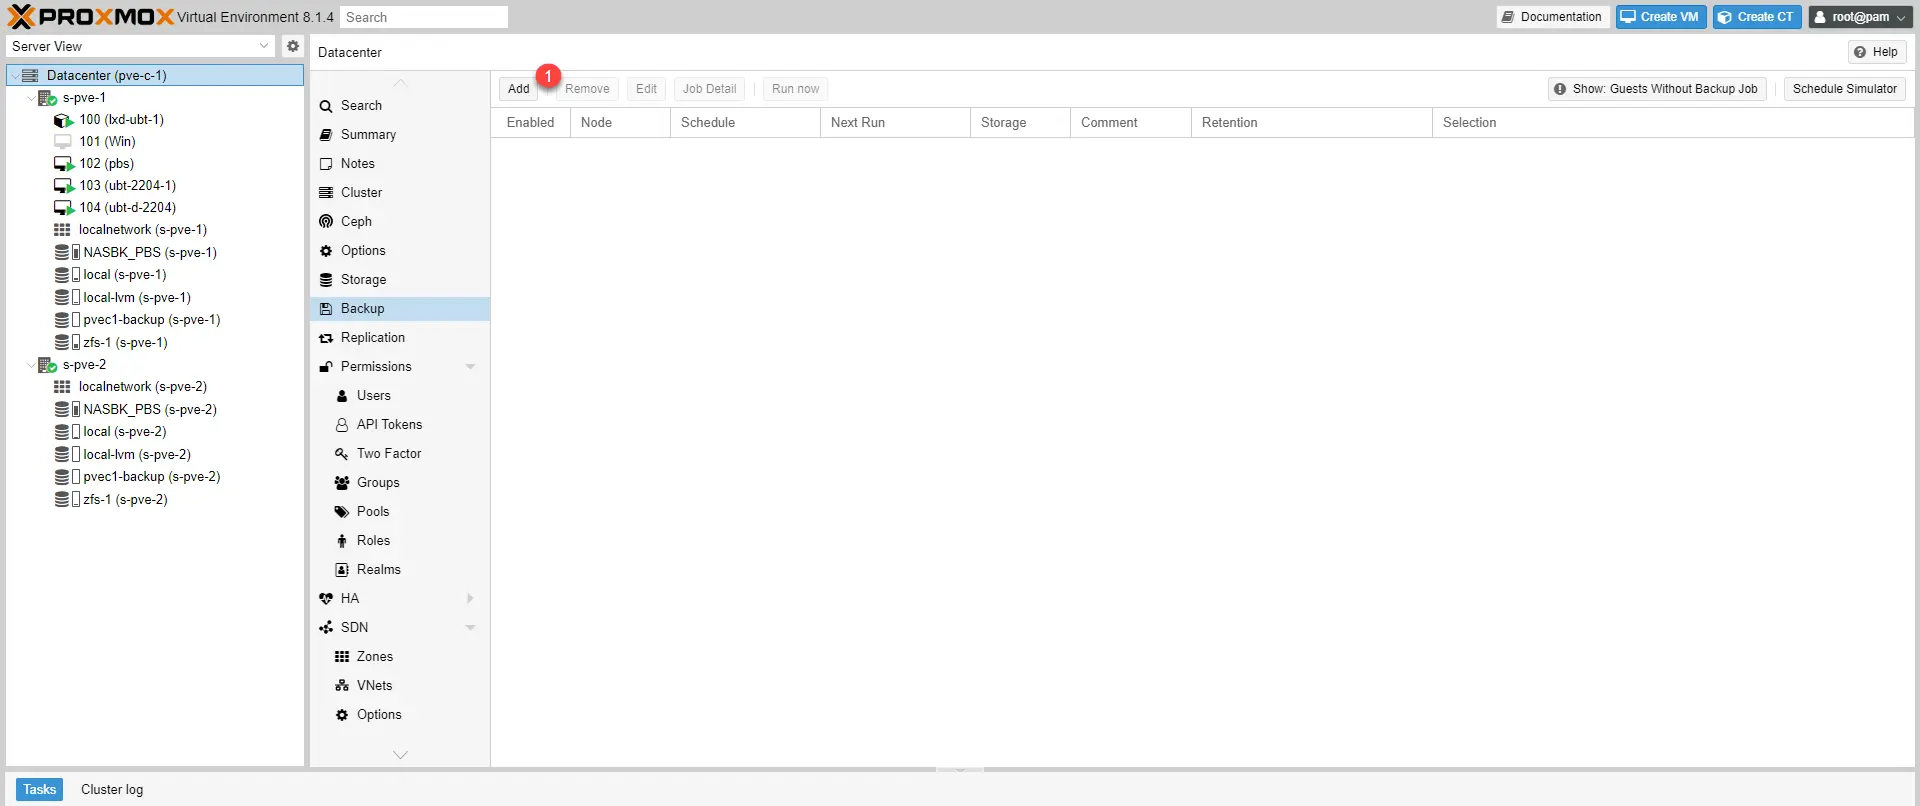
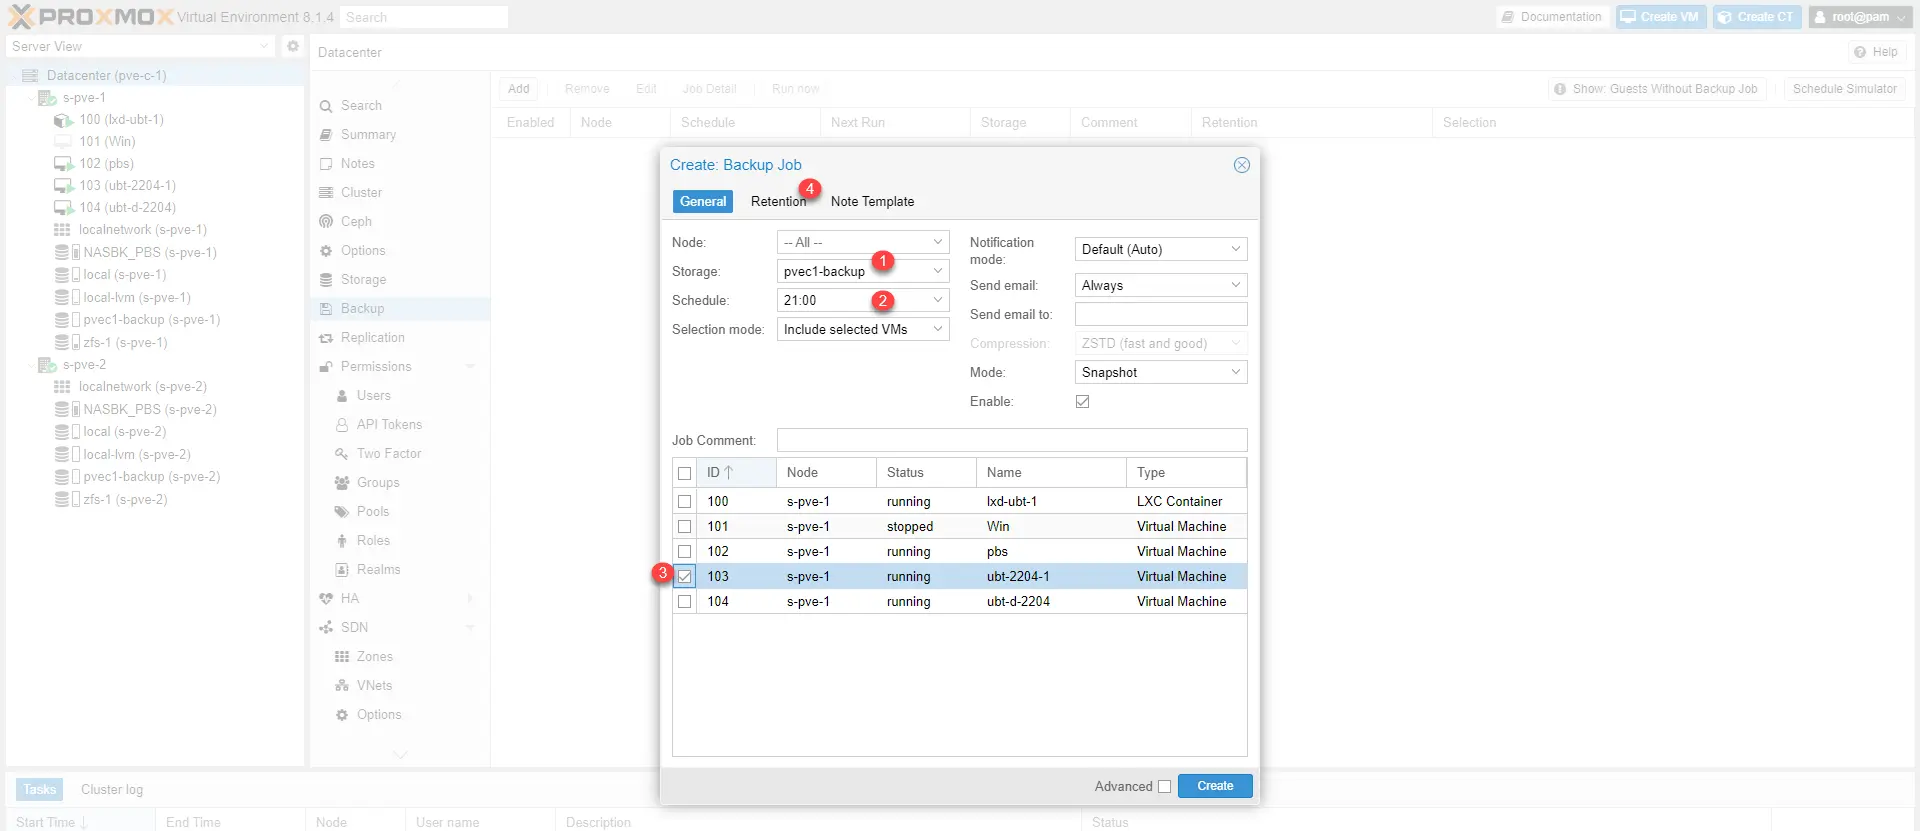
To create a backup Job click on Add 1.
Select the storage 1 which corresponds to the PSB server, configure a schedule 2 (here every day at 9:00 p.m.), select the VM(s) 3 which will be backed up then click on Retention 4.
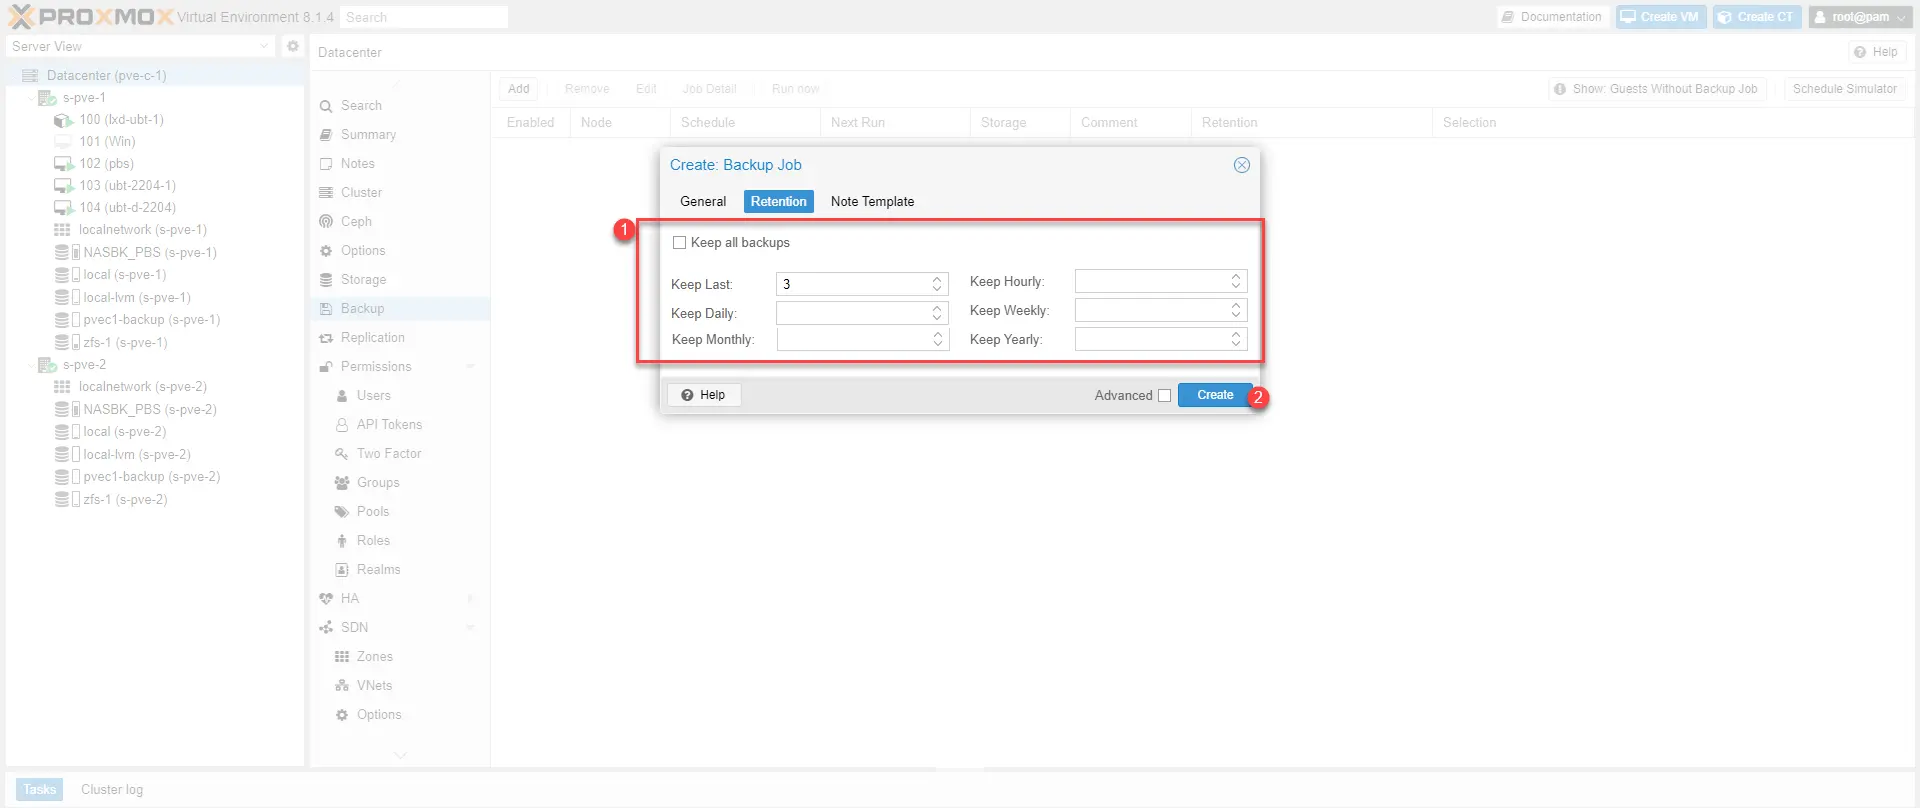
Configure the desired retention 1 here I will keep 3 save points then click on Create 2.
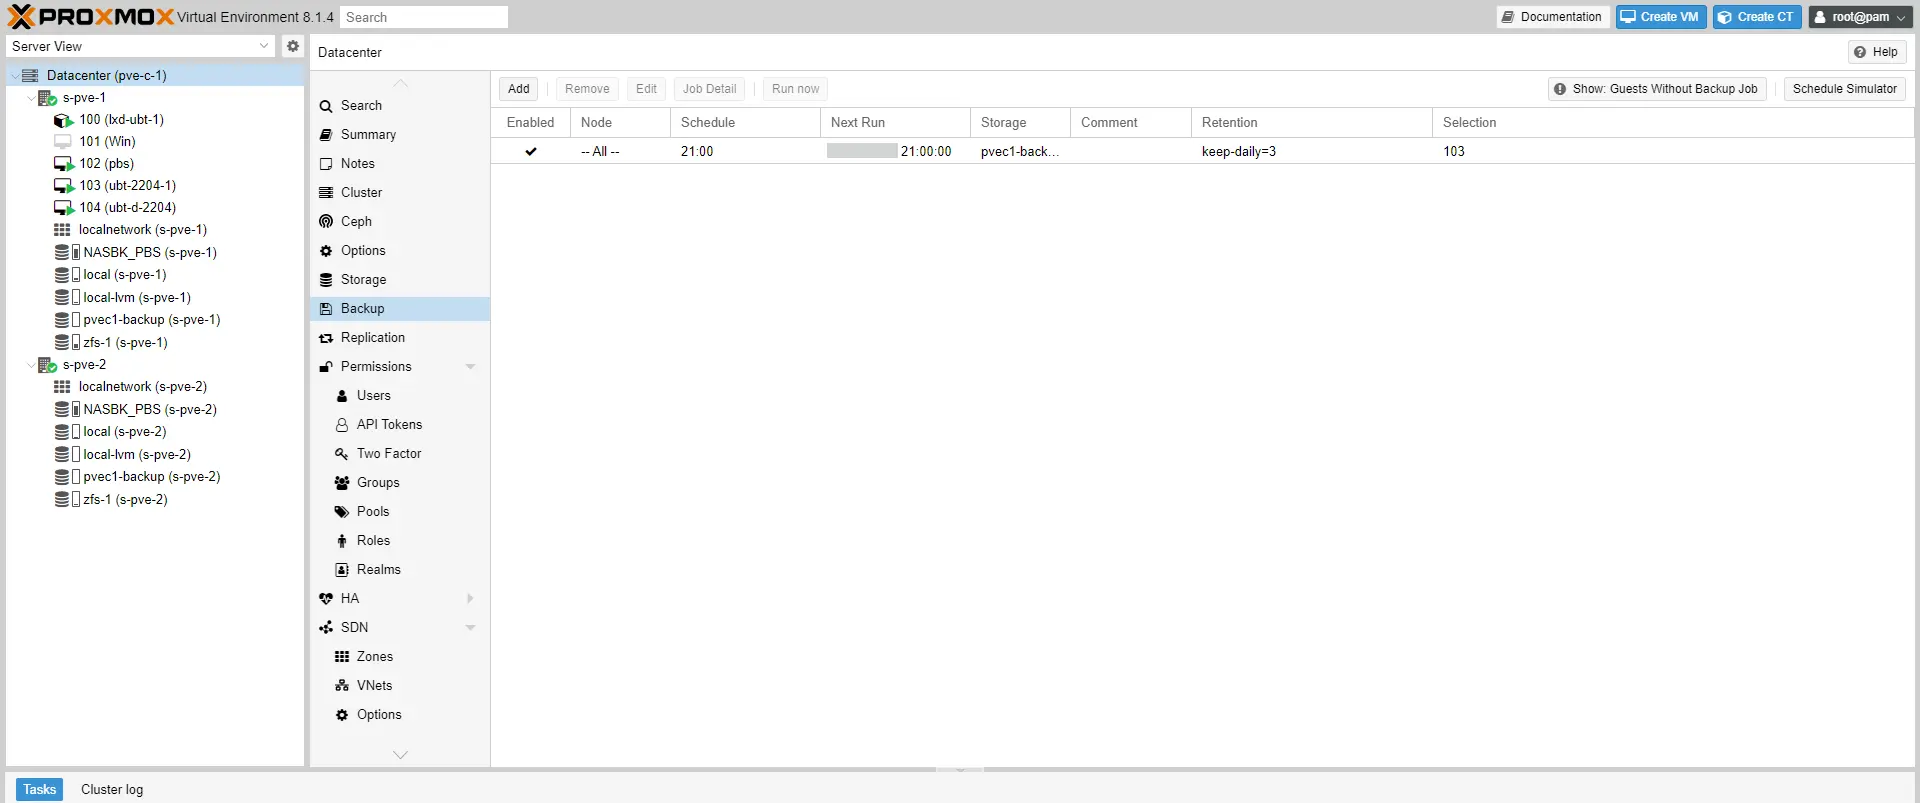
The job is created and we can see that the next execution will be at 9:00 p.m.
It is possible to trigger a backup whenever you want, select job 1 and click on Run now 2.
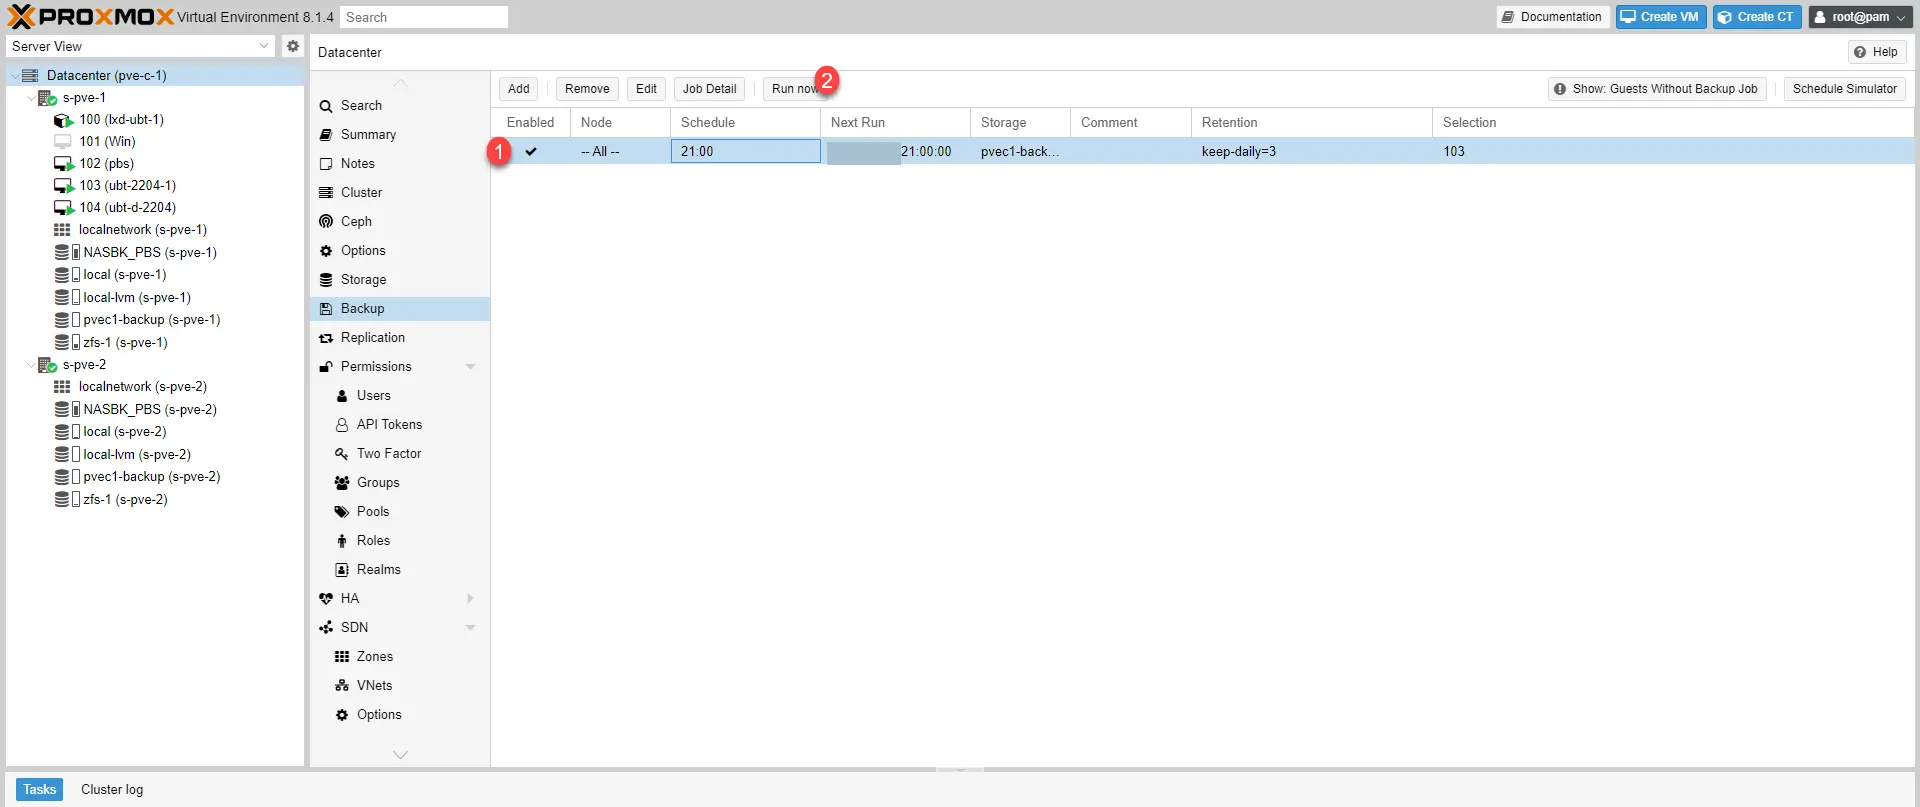
It is possible to trigger a backup whenever you want, select job 1 and click on Run now 2.
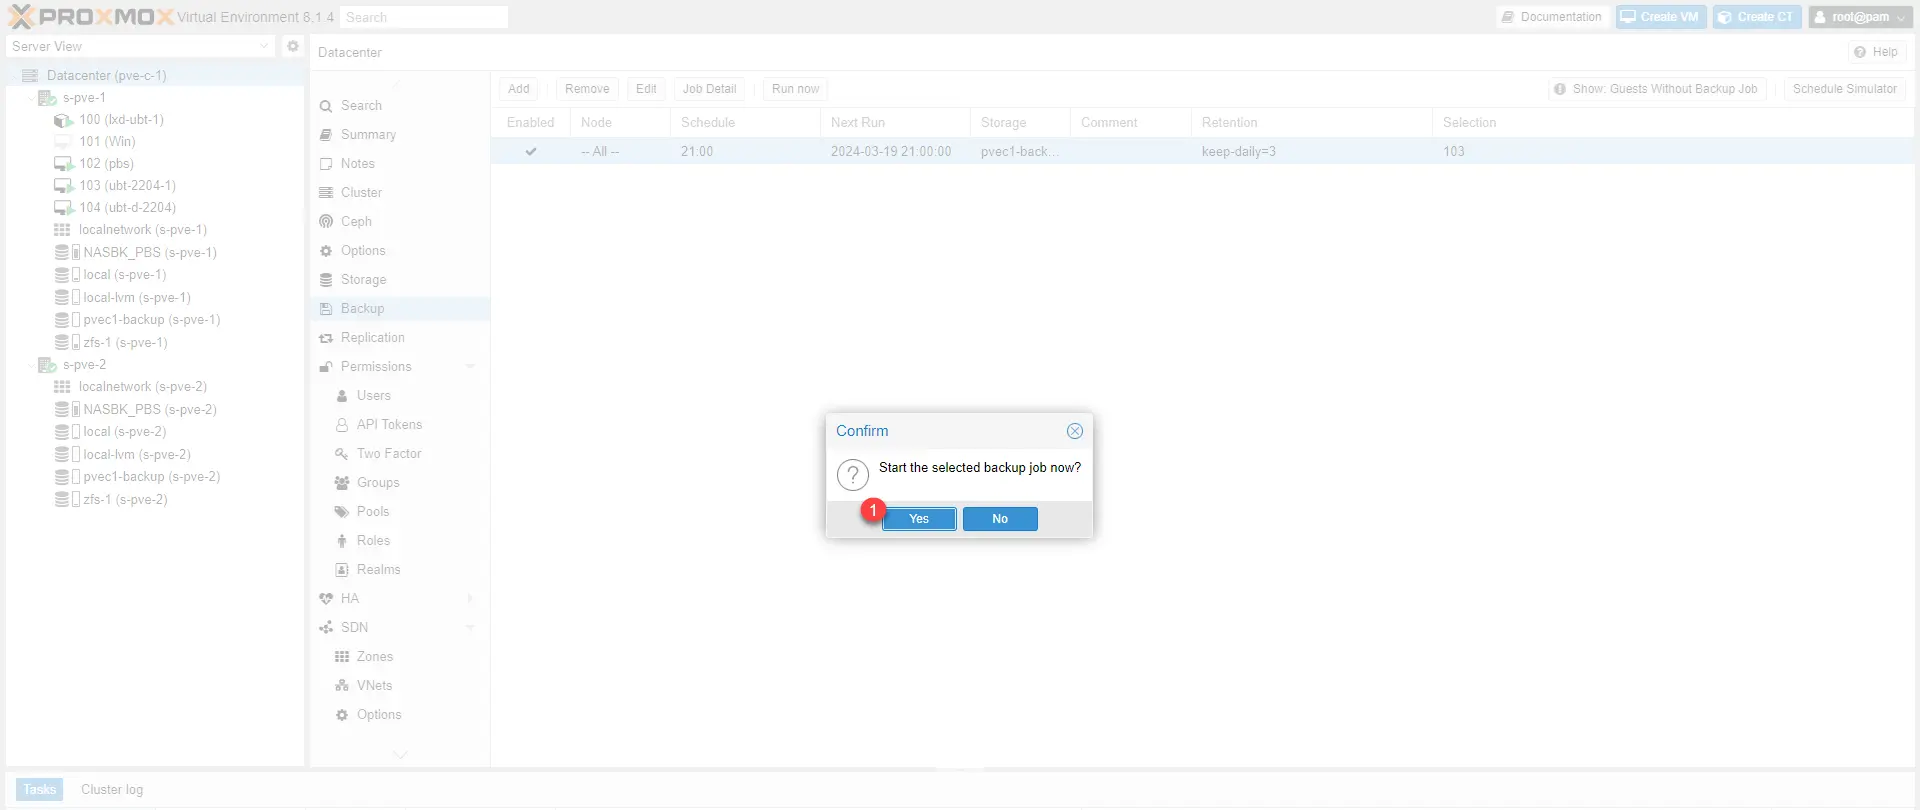
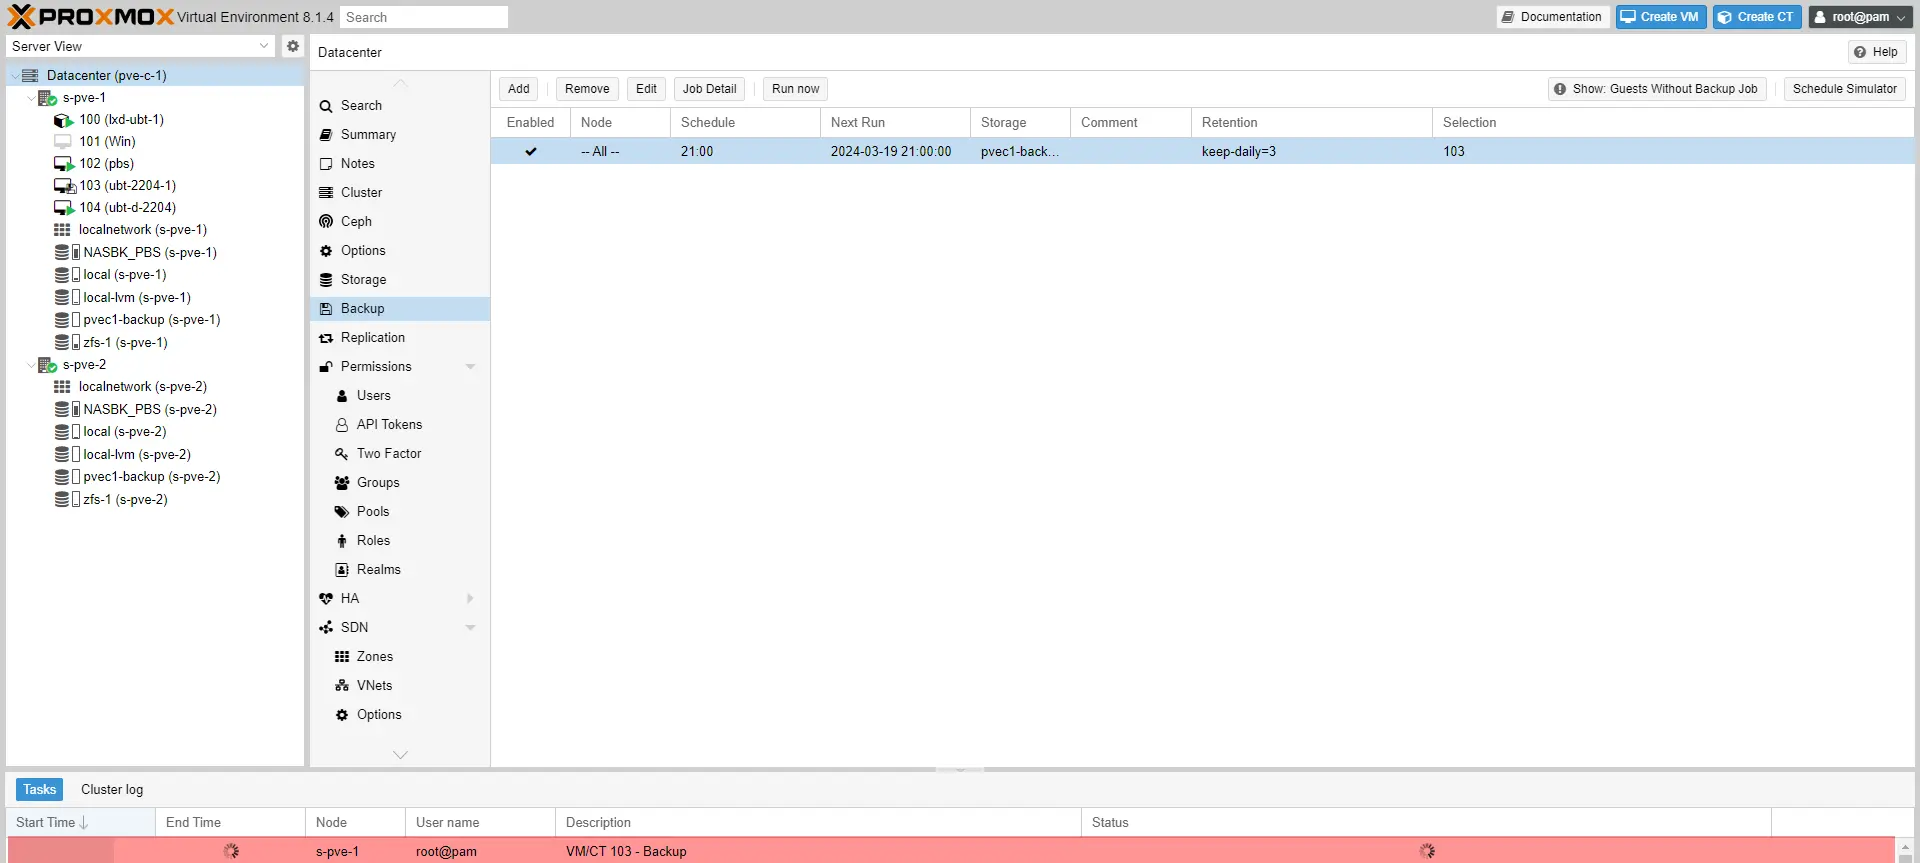
The backup is in progress… we find the status in the task in the area at the bottom of the Proxmox console.
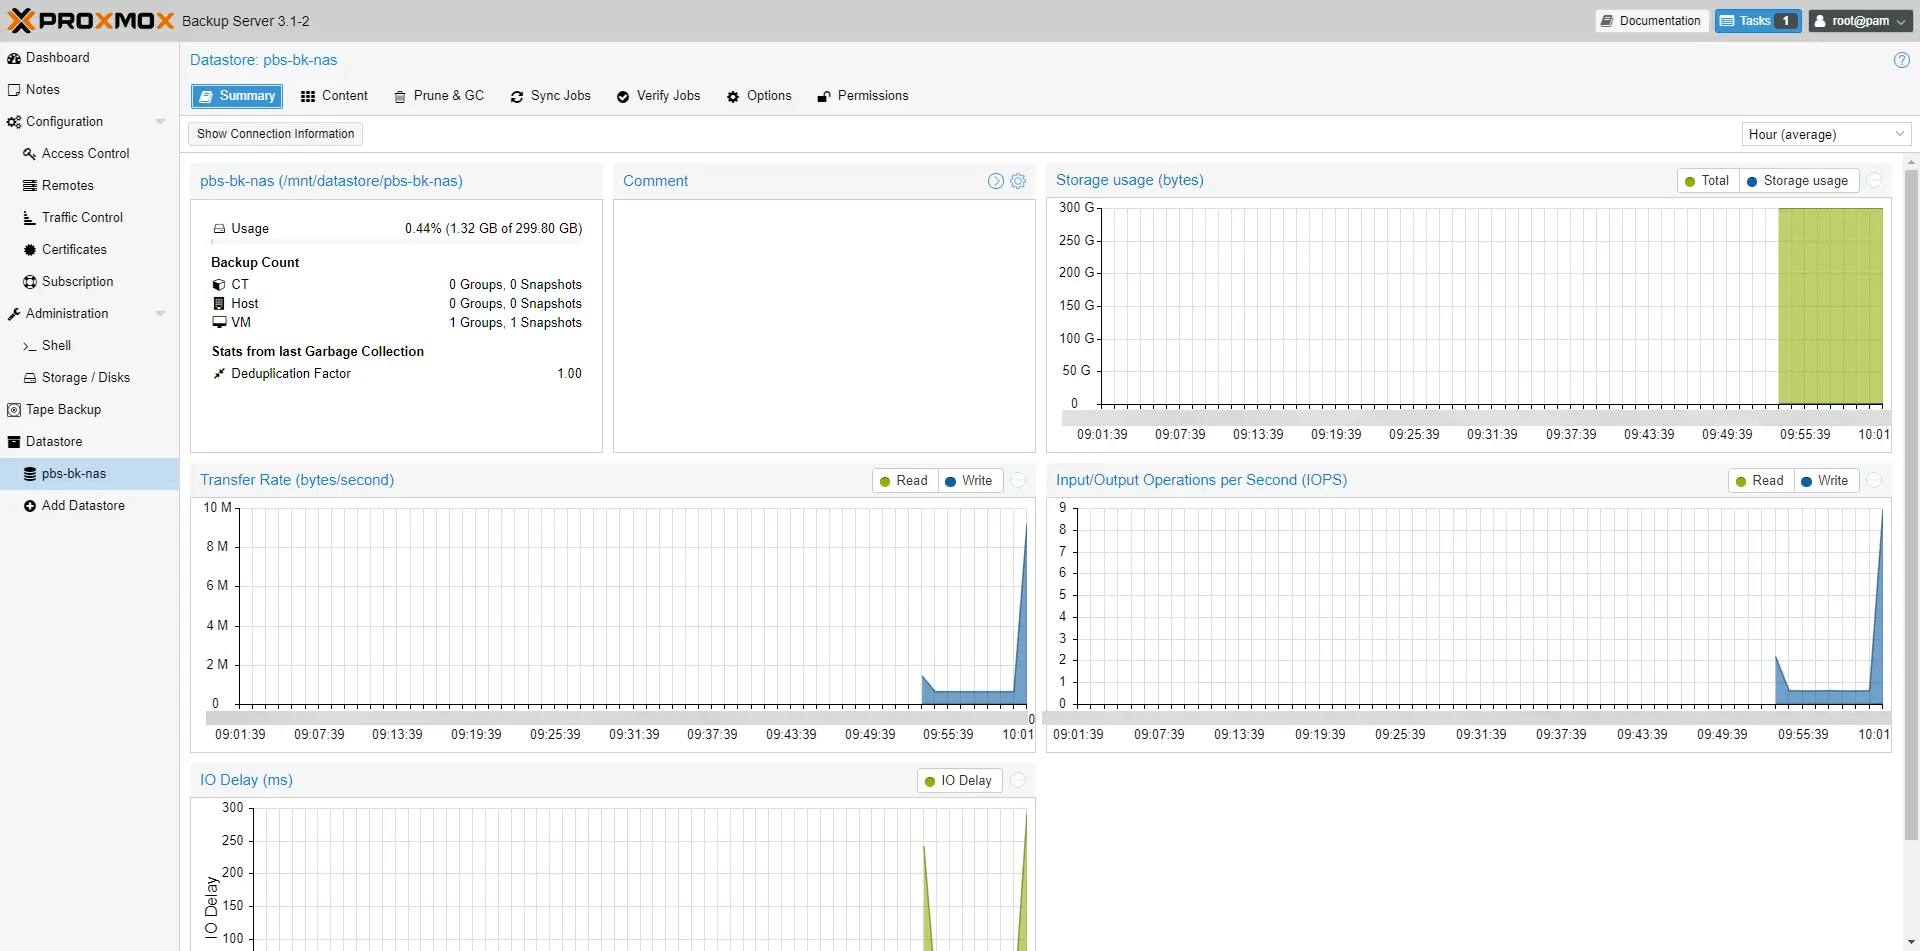
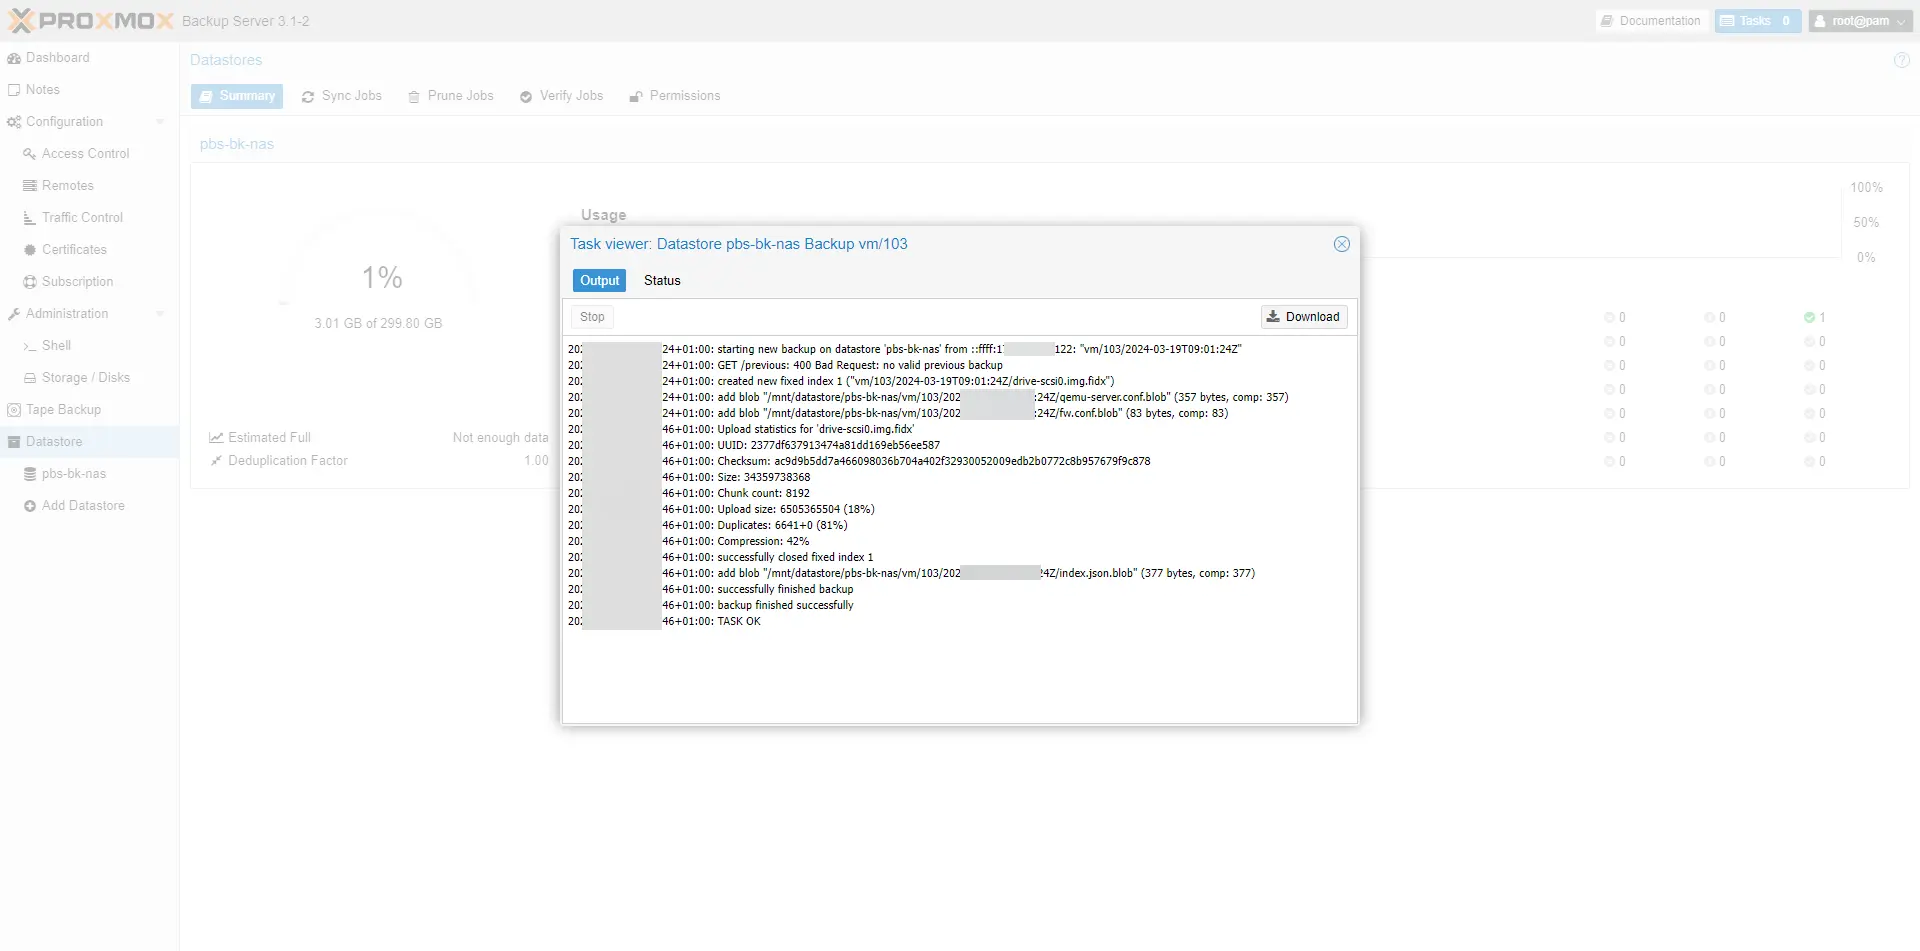
At the same time on the PSB server, we can see the activity and performance on the Datastore.
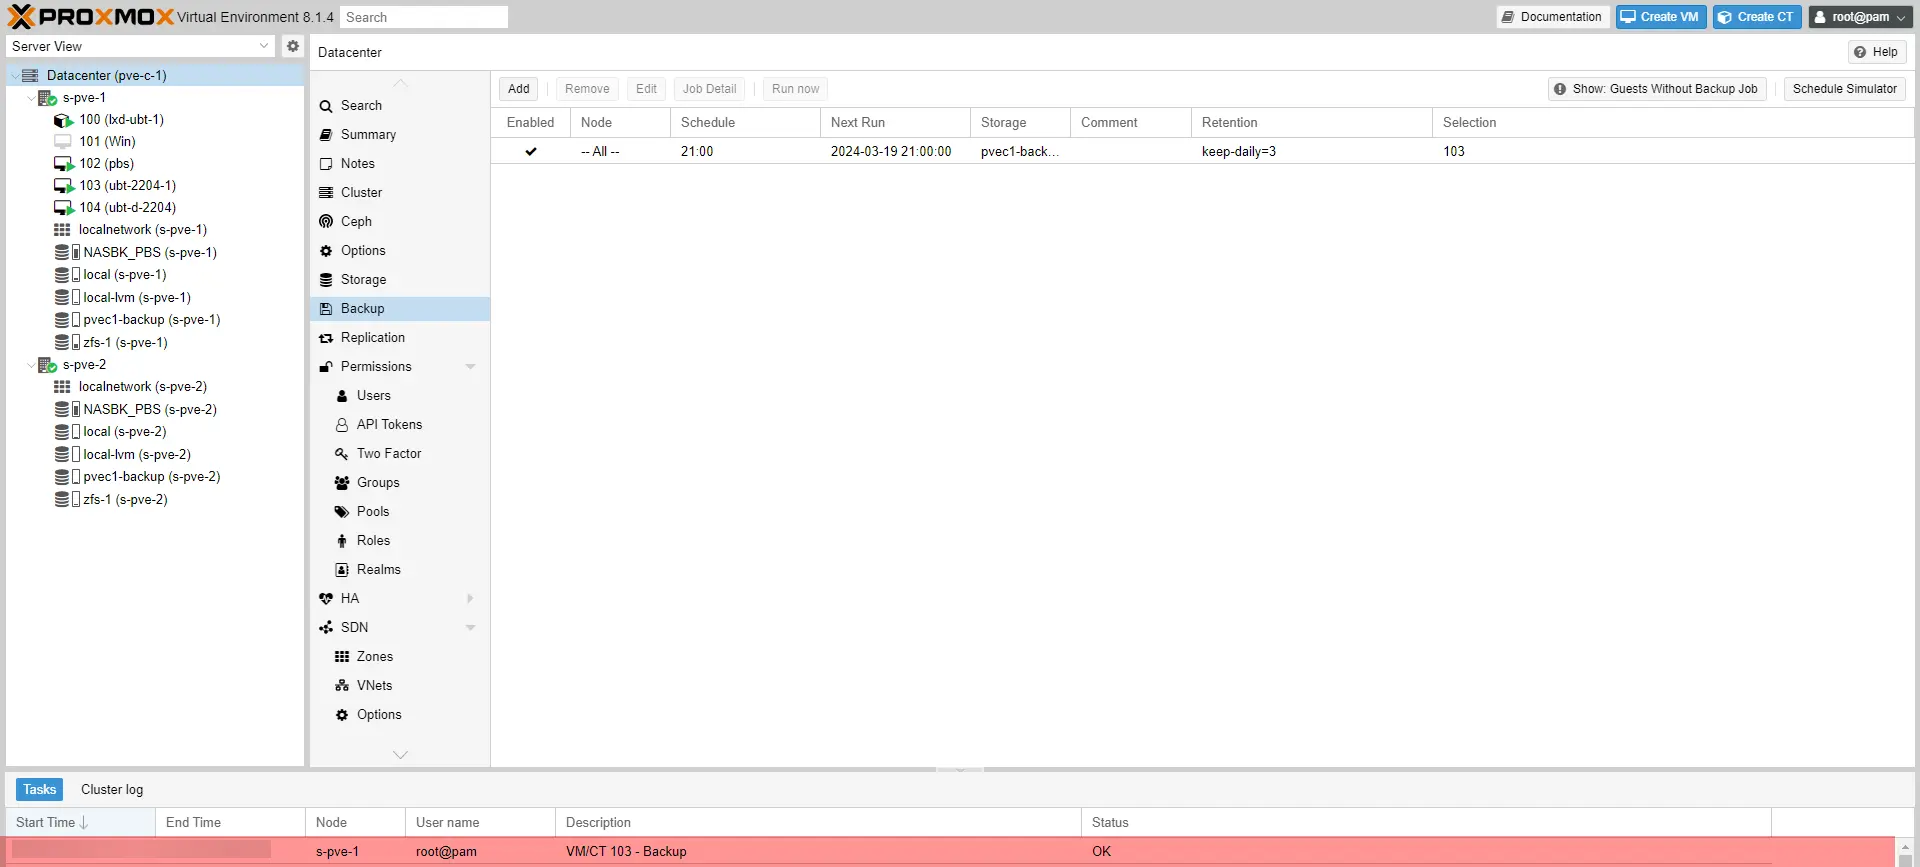
The backup is complete.
In Proxmox, you can see the backup by going to the virtual machine then Backup.
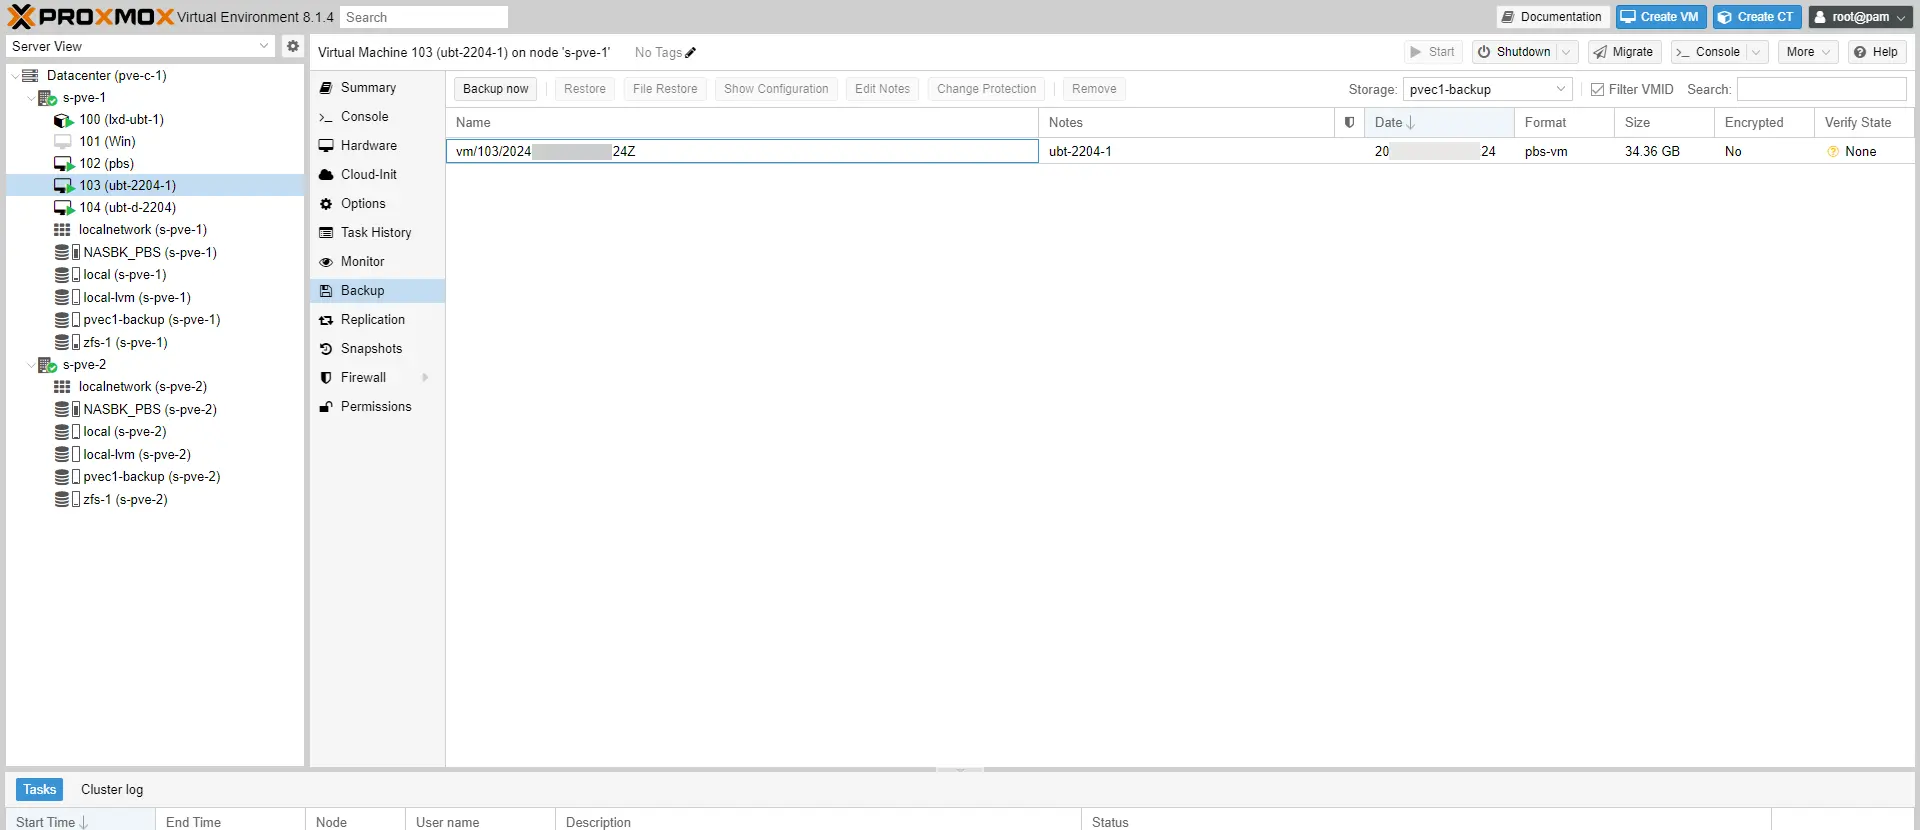
If you don’t see the backup, change the Storage at the top right.
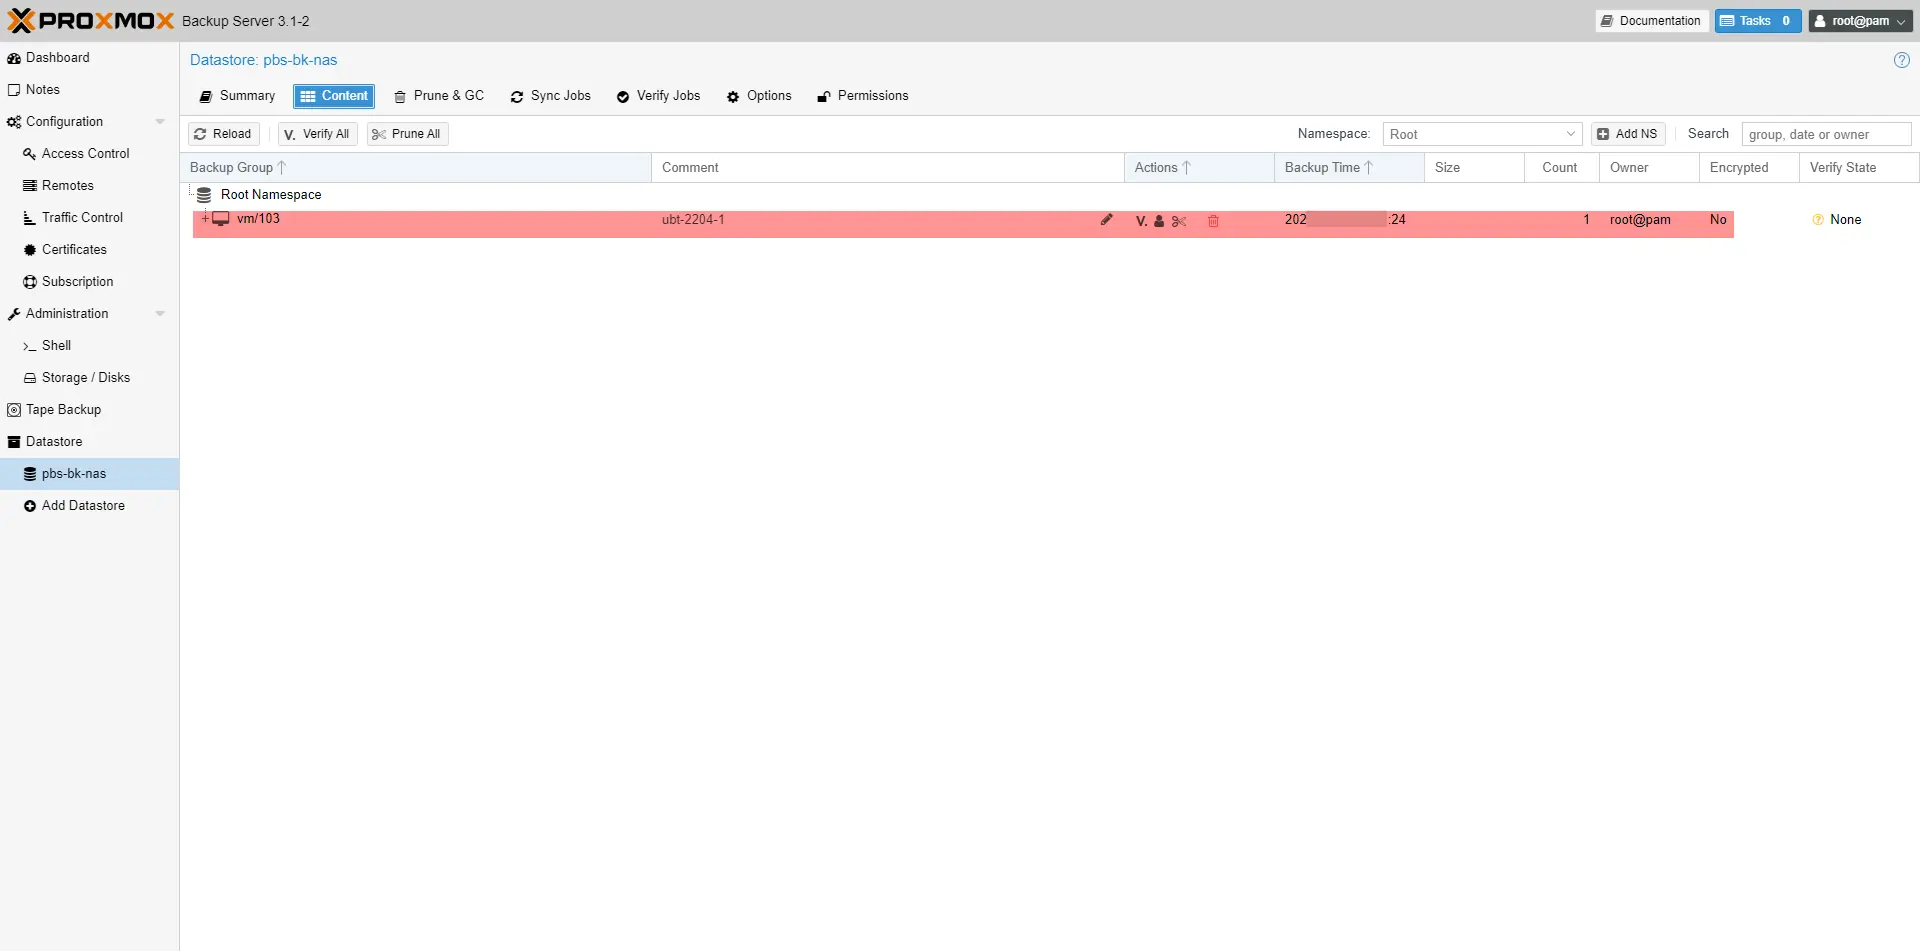
From PSB, by going to the Datastore then to Content.
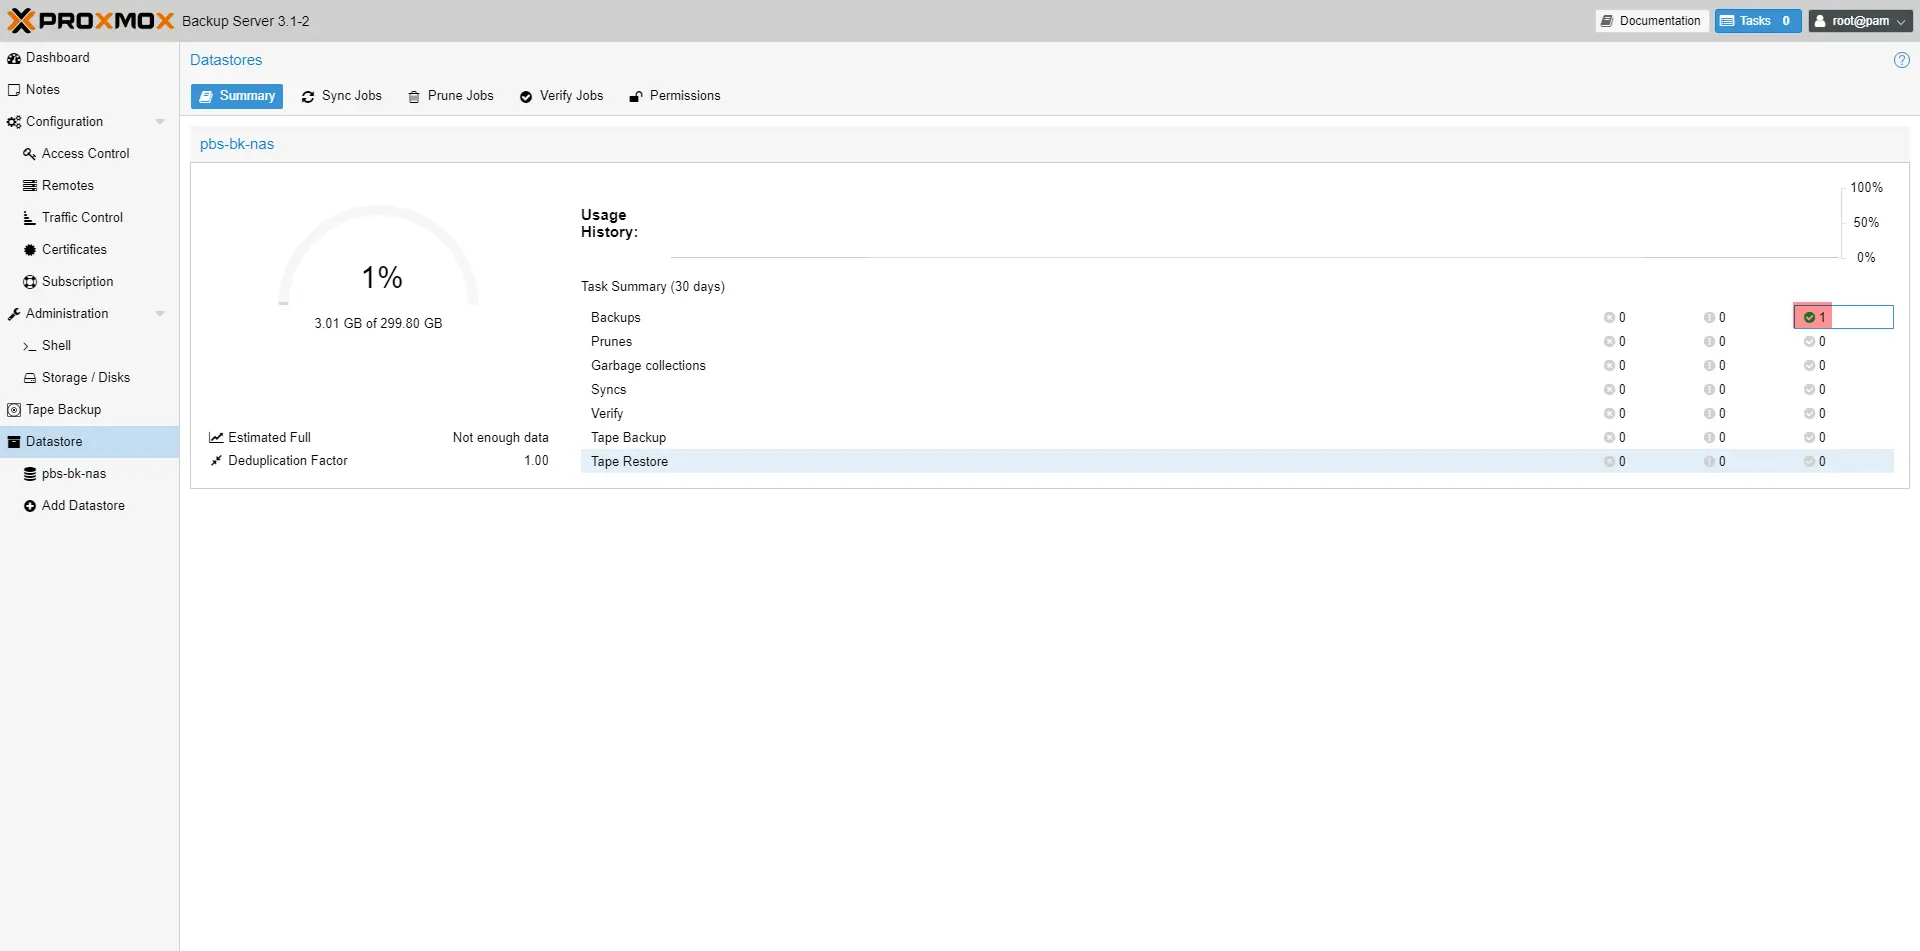
You can access the backup log from PSB, going to Datastore / Summary, then clicking on 1 for Backups.
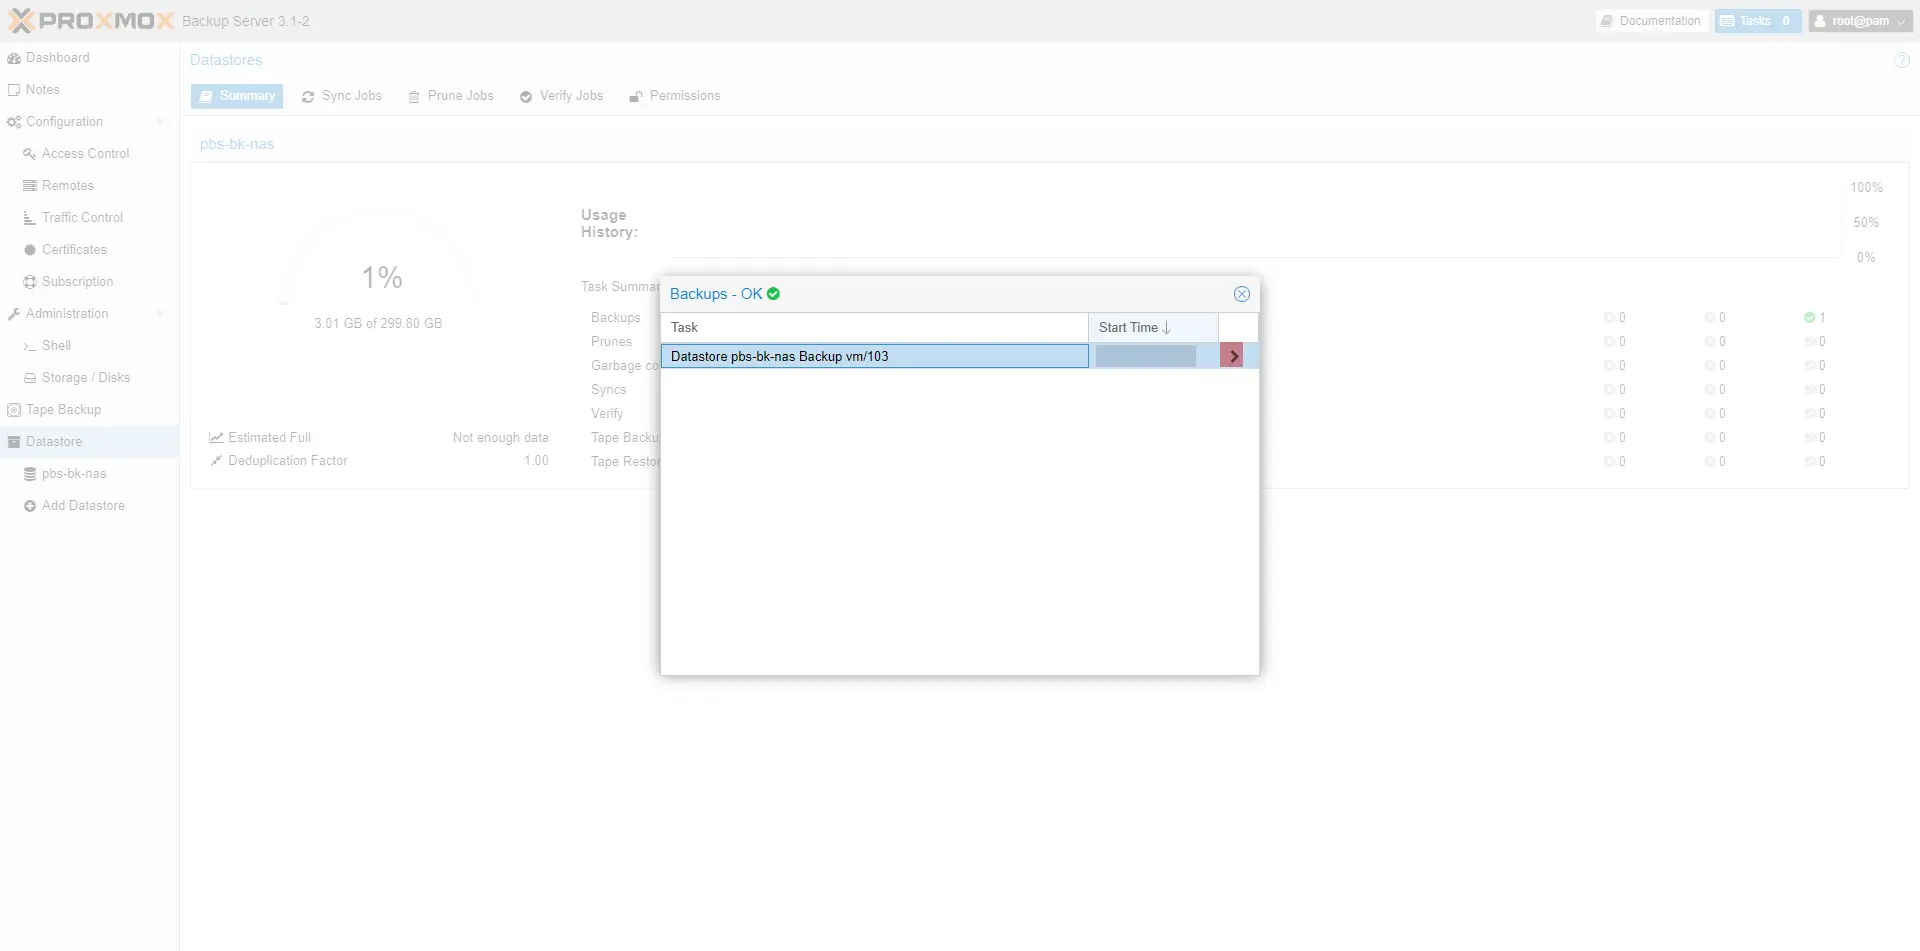
The Backup list is displayed, clicking on the arrow provides access to the details.
Restoring from backup
The last element that we will see in this tutorial is restoration, you have two choices when the backup is made with PSB:
- Complete recovery of the virtual machine
- Recover a file from backup.
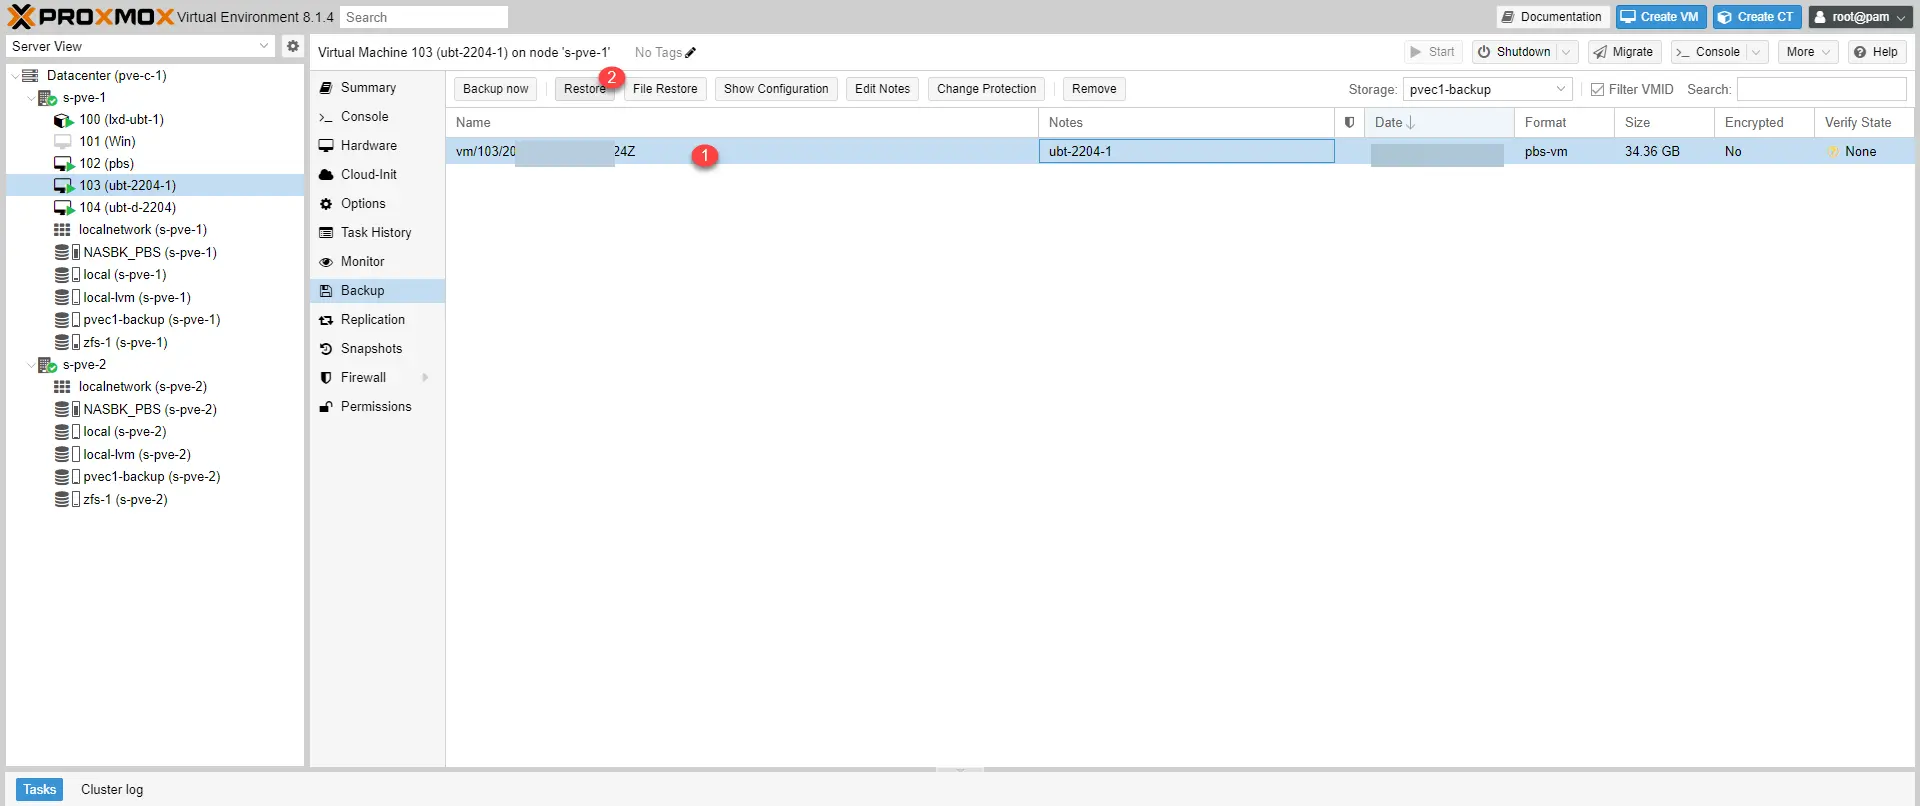
To completely restore a VM, select the desired backup 1 and click Restore 2.
In case you delete the VM, it is possible to access the backup from the storage on the Proxmox server
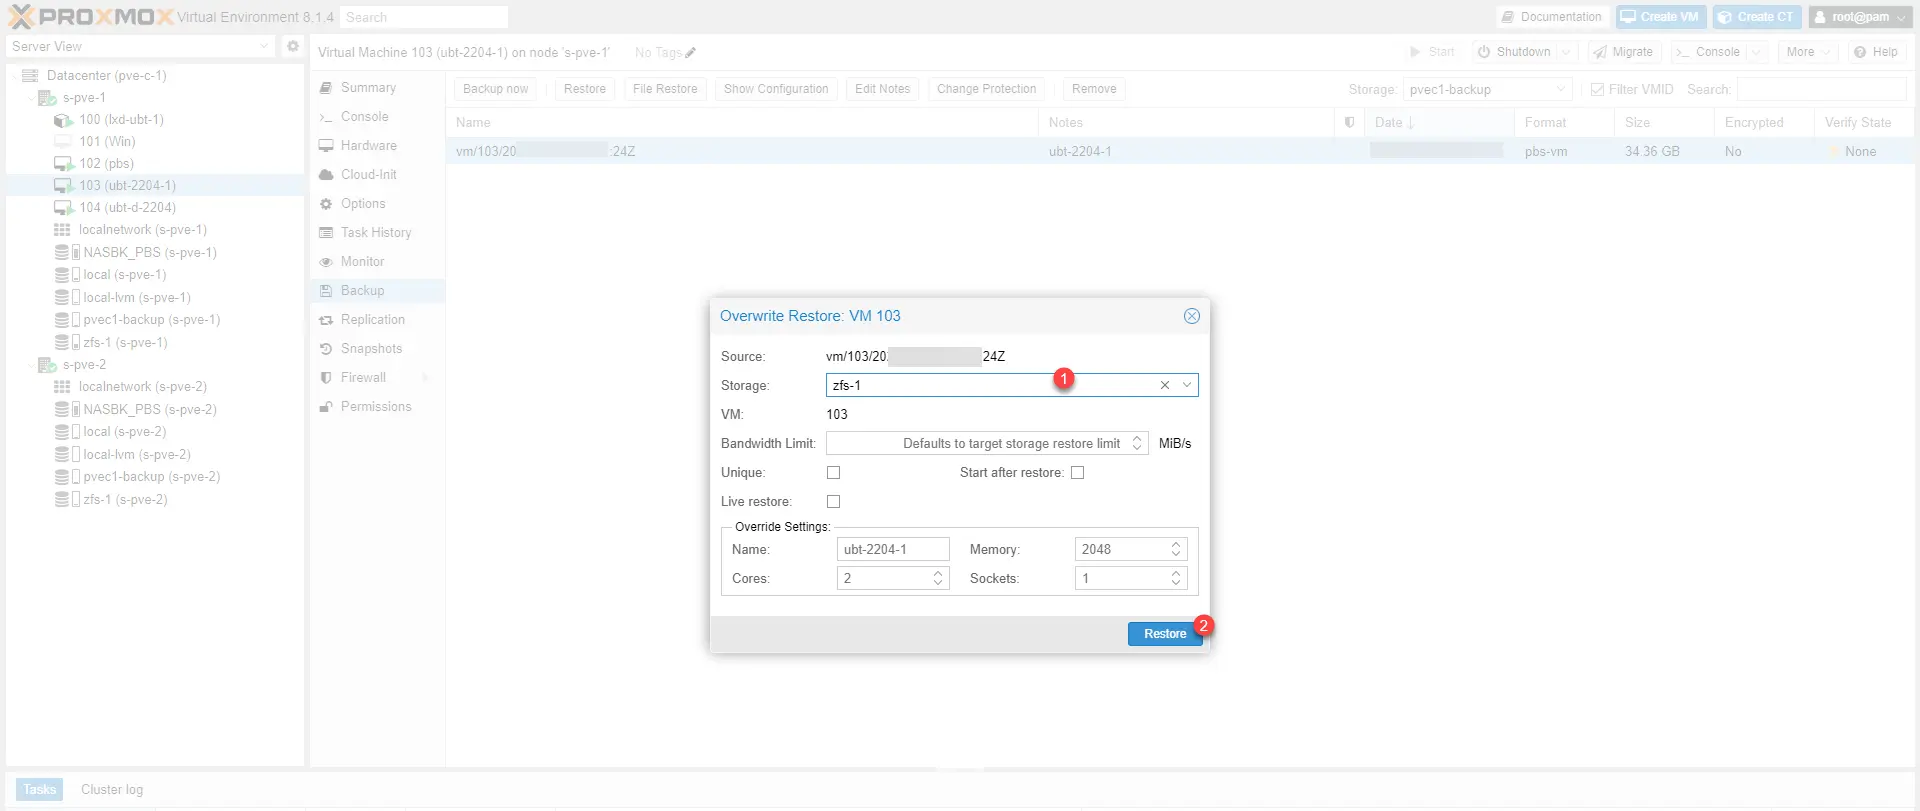
Select VM storage 1 and click Restore 2.
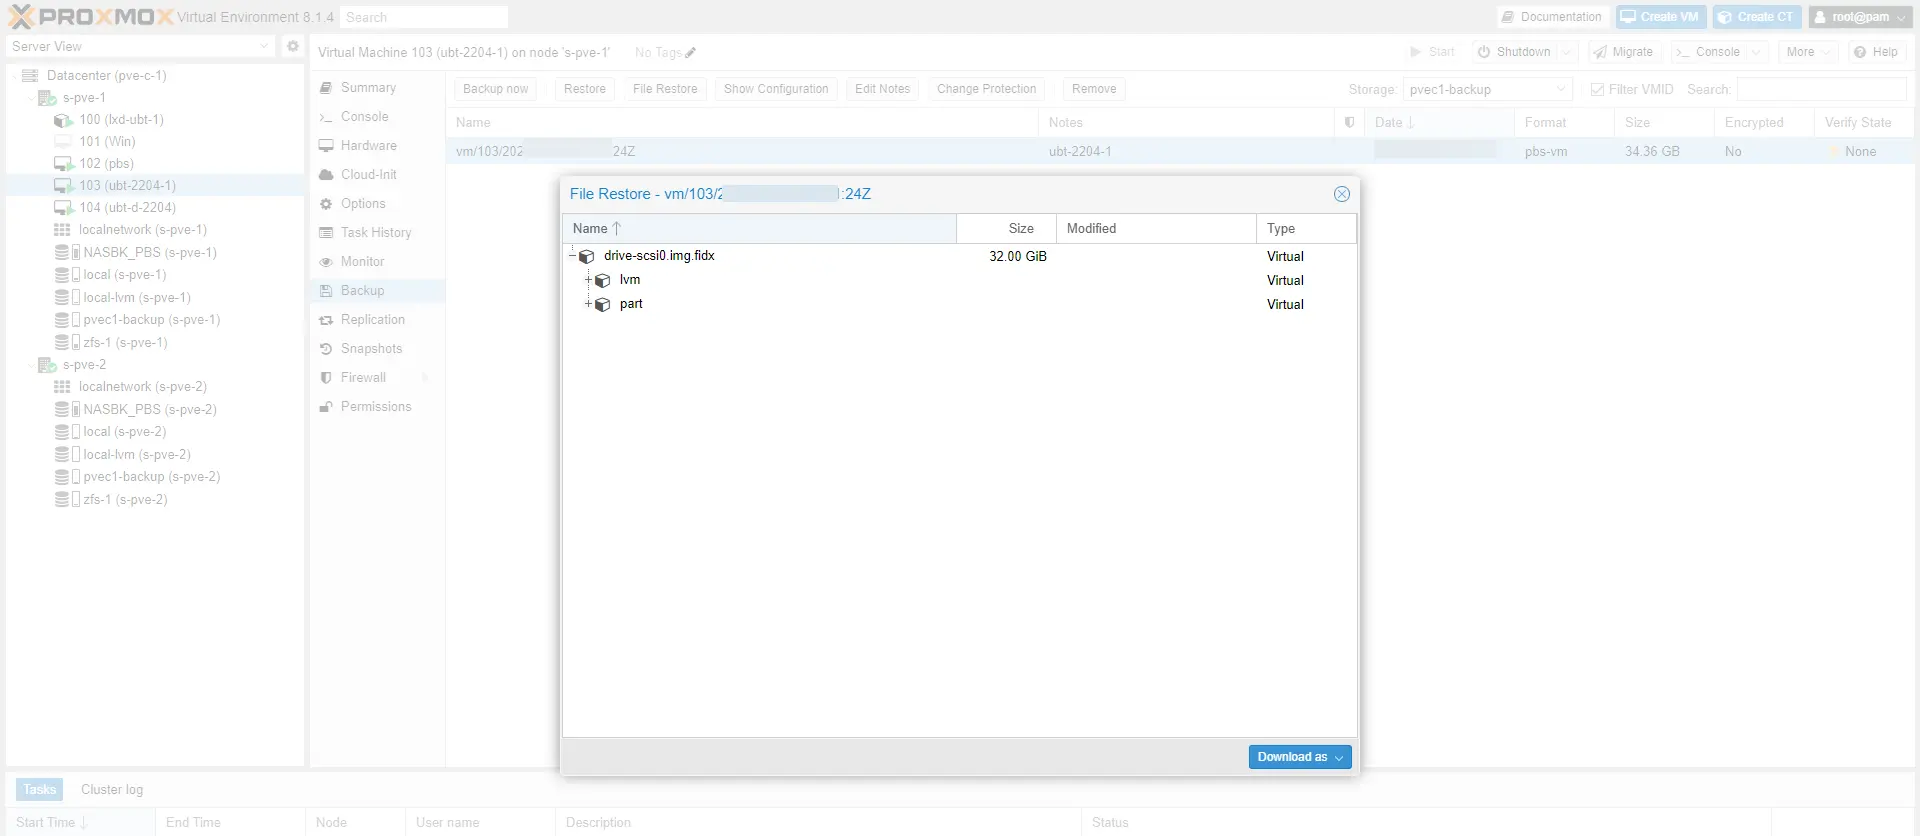
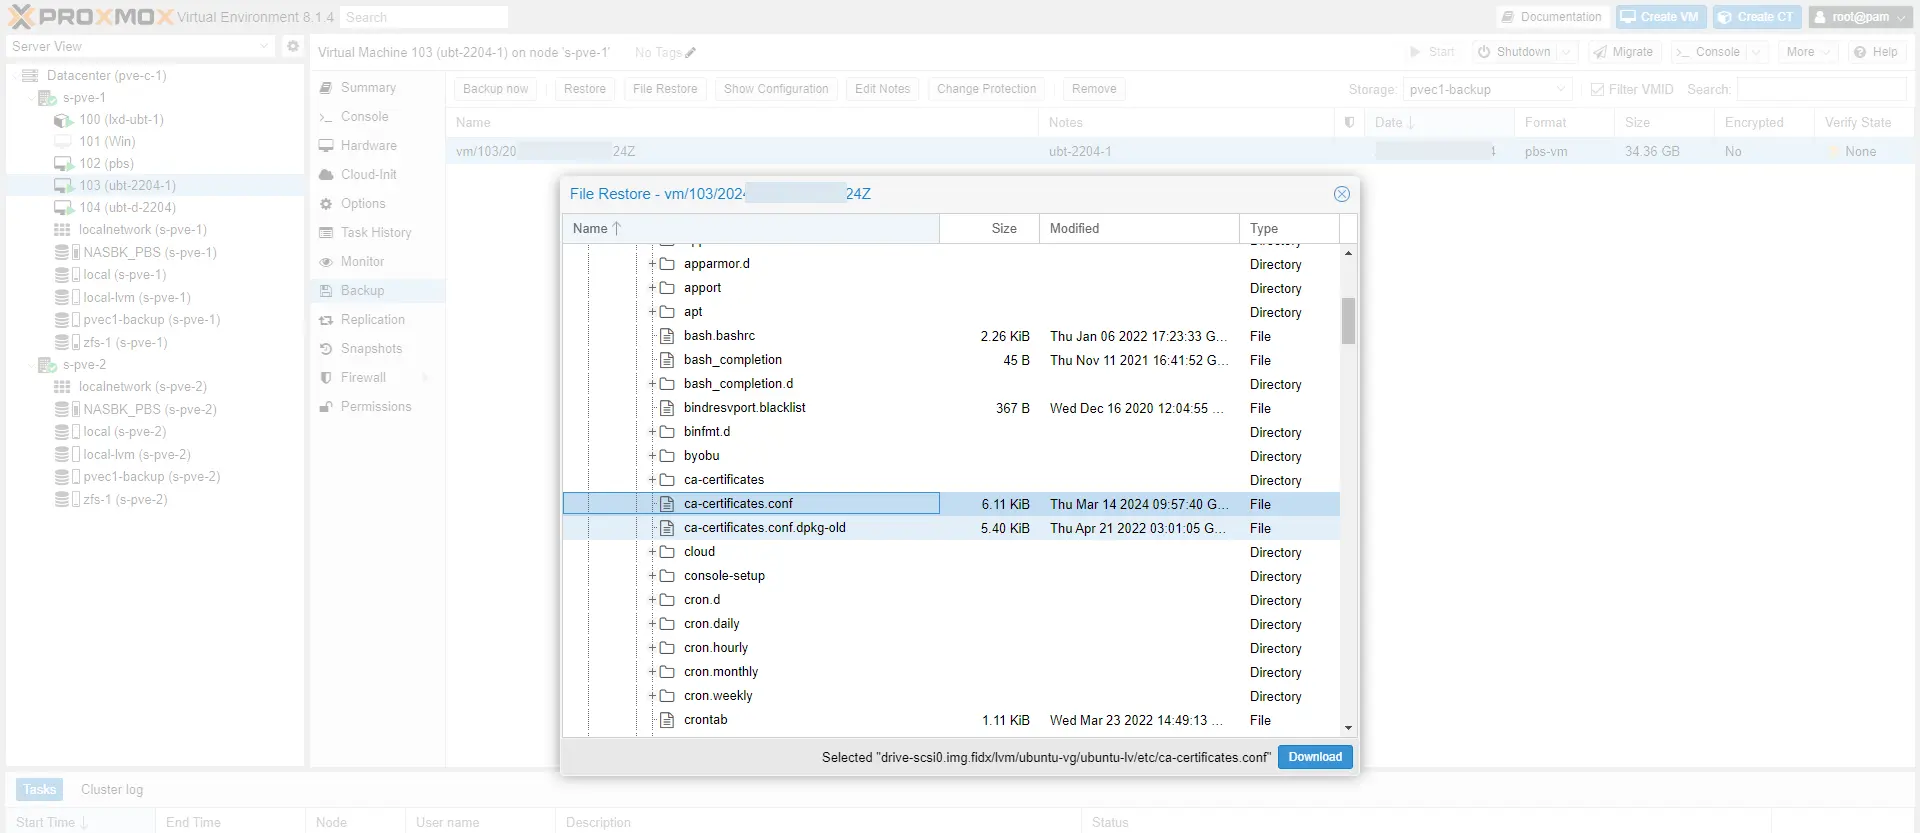
For a granular file-level restore, select backup 1 then click on File Restore 2.
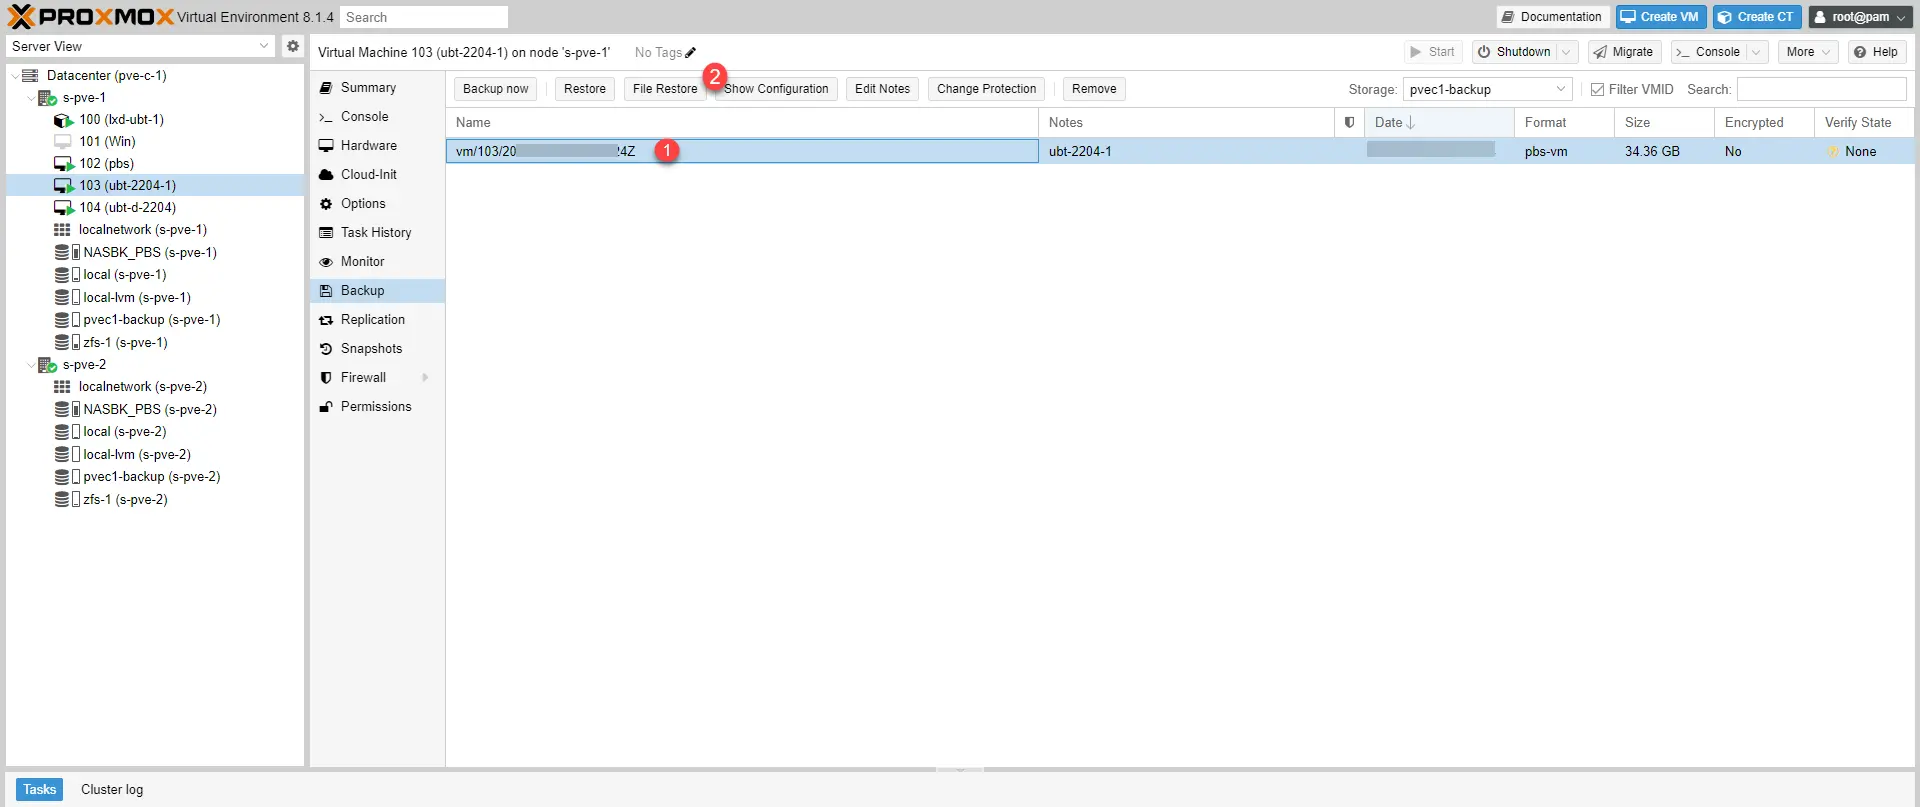
A window opens where you can explore the disks to find a file and download it.
This first tutorial dedicated to saving stops here after it will become indigestible, other tutorials will follow on PSB because there is still plenty to see.
Don’t hesitate to be curious because there are lots of endless things to discover such as the possibility of seeing VMs without backup, protecting a backup so that it is not deleted…
Also note that Nakivo offers a backup solution for Proxmox.