In this “small” tutorial, I will explain how to create a text file in Powershell and then how to write content in it.
In this tutorial, we will see 4 Powershell Cmdlets:
- New-item : which will be used to create the text file.
- Set-Content :which writes to the file.
- Add-Content : allows you to add content
- Get-Content : which displays the contents of the file
We will start by creating the file.
New-Item TextFile.txt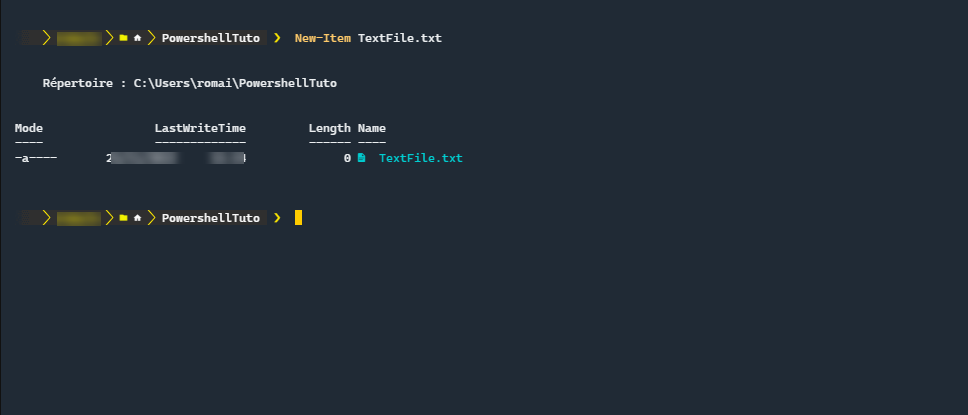
Here the file is created in the current folder, it is possible to put an absolute path.
The creation of a file is very simple and is done simply with the Cmdlet New-Item indicating the path / name of the file.
Now, we will see how to add content with the Cmdlets Set-Content and Add-Content. The main difference between the two commands is that Set-Content will first delete the file and then add the content, while the Add-Content command will add the content at the end of the file.
To add content to an empty file or replace content:
Set-Content TextFile.txt "Content to add in the text file"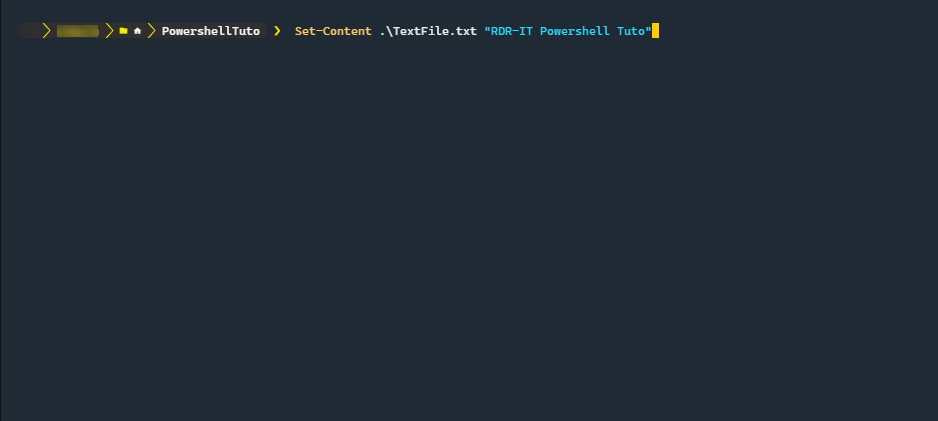
The command has no particular return.
To add content to the end of the file:
Add-Content TextFile.txt "Content to add in the text file"
Again, the command has no return.
Using the Get-Content cmdlet, we can see the contents of the file:
Get-Content TextFile.txt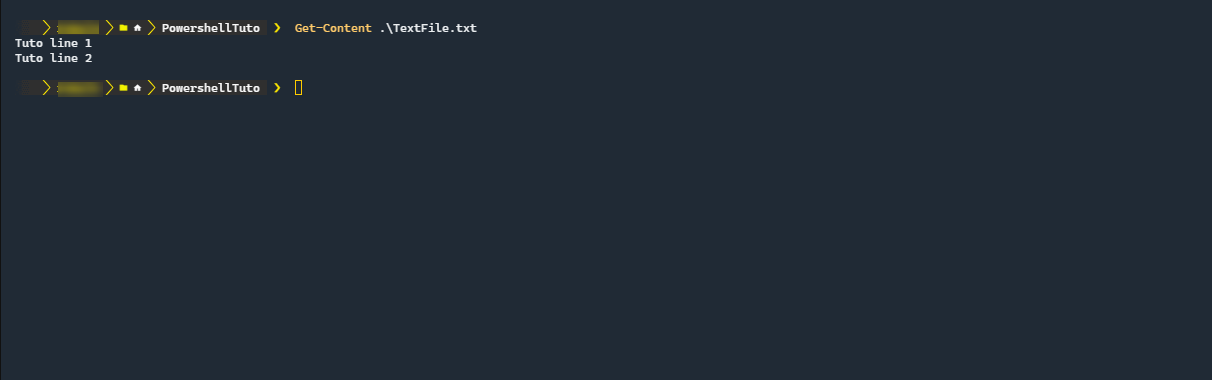
You now know how to write to a file with PowerShell.