In this tutorial, I will explain to you how to install (it’s the easiest) and configure Postfix on Ubuntu as an email relay to send emails from applications, equipment (copier, switch, etc.).
This type of server is often used in businesses to send emails from different equipment and software, even if you have an internal messaging solution such as Exchange, I recommend setting up a third-party relay for sending messages.
We are going to set up an MTA (Mail Transfer Agent) server.
Installing Postfix on Ubuntu
This part is quite simple, from a terminal enter the following command:
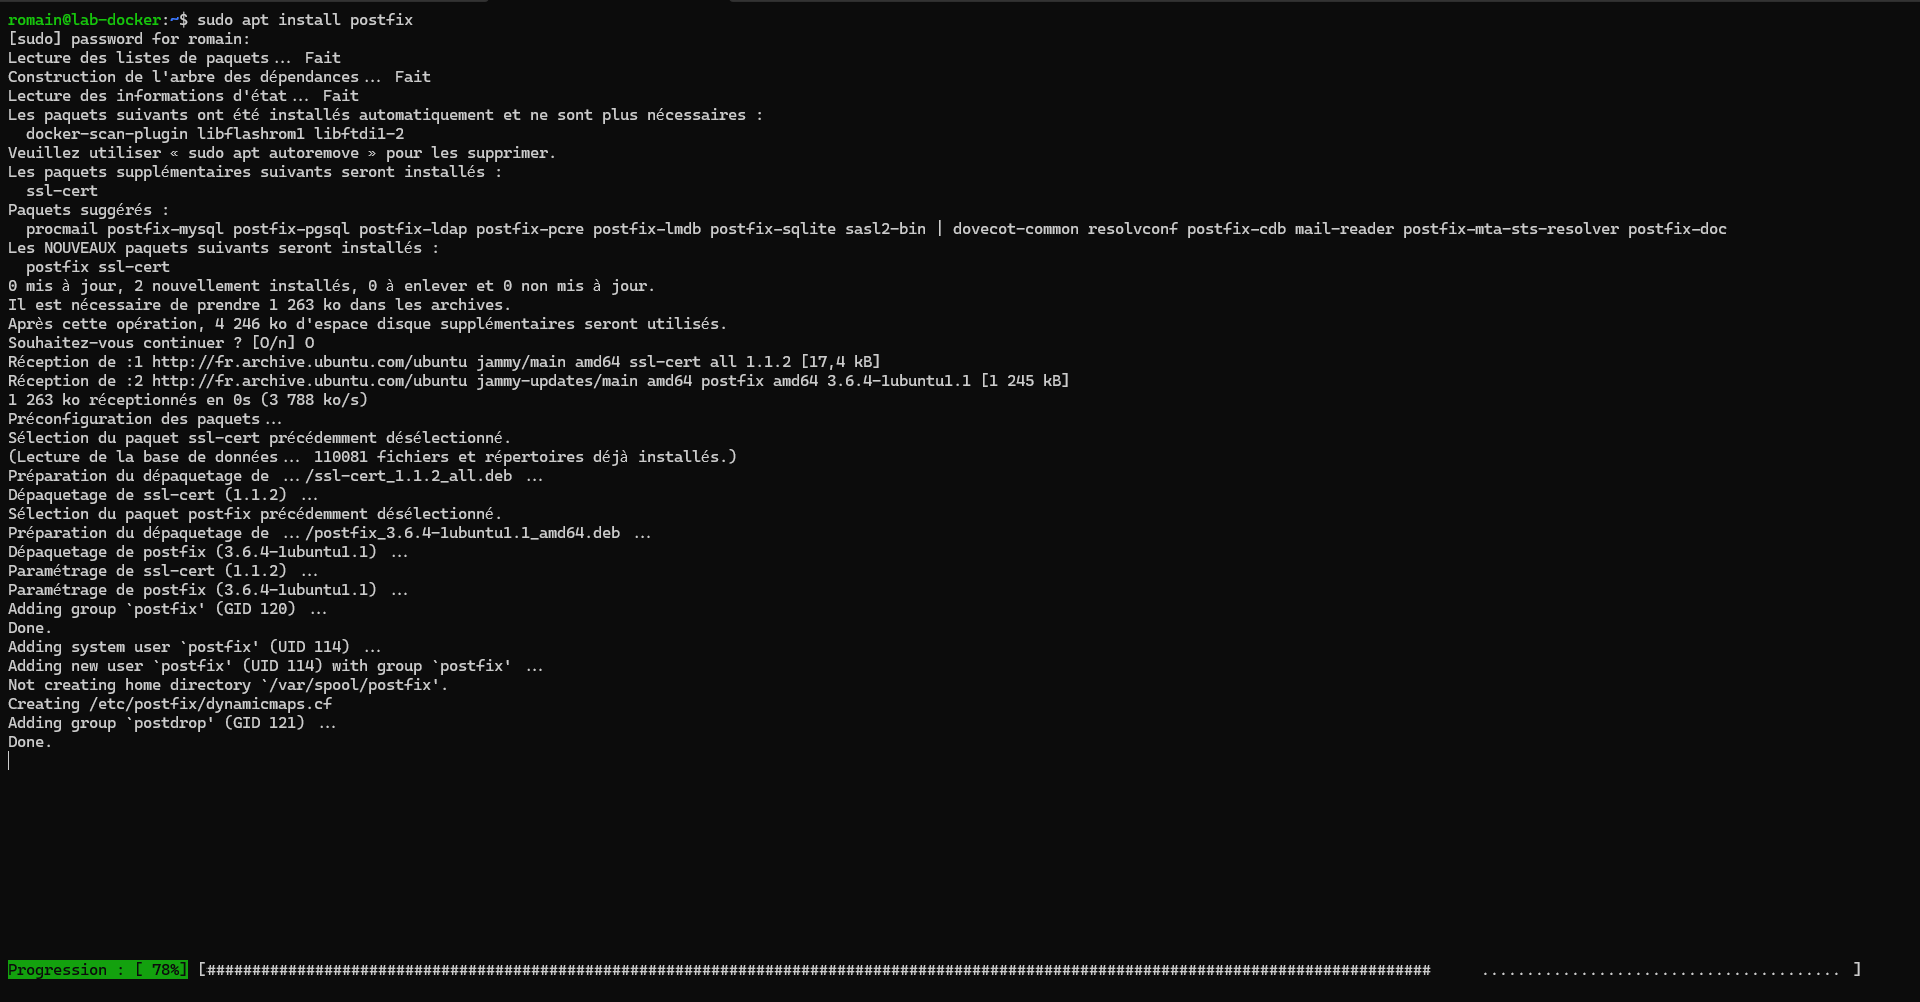
sudo apt install postfix
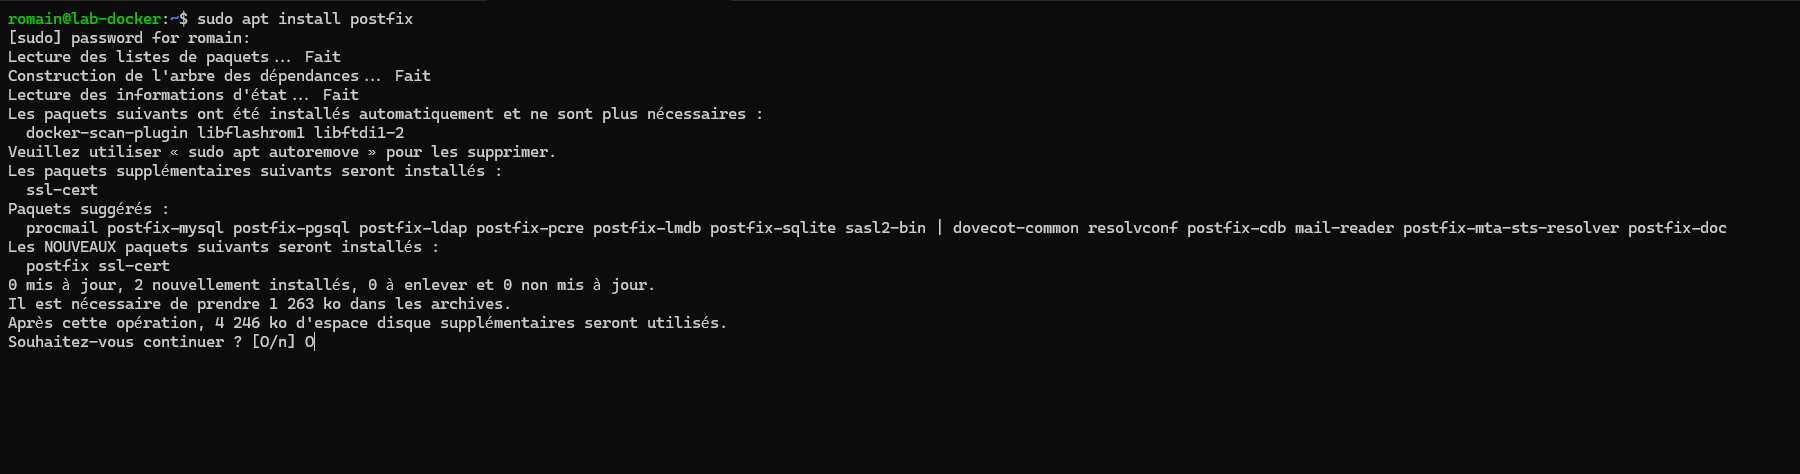
Confirm Postfix installation:
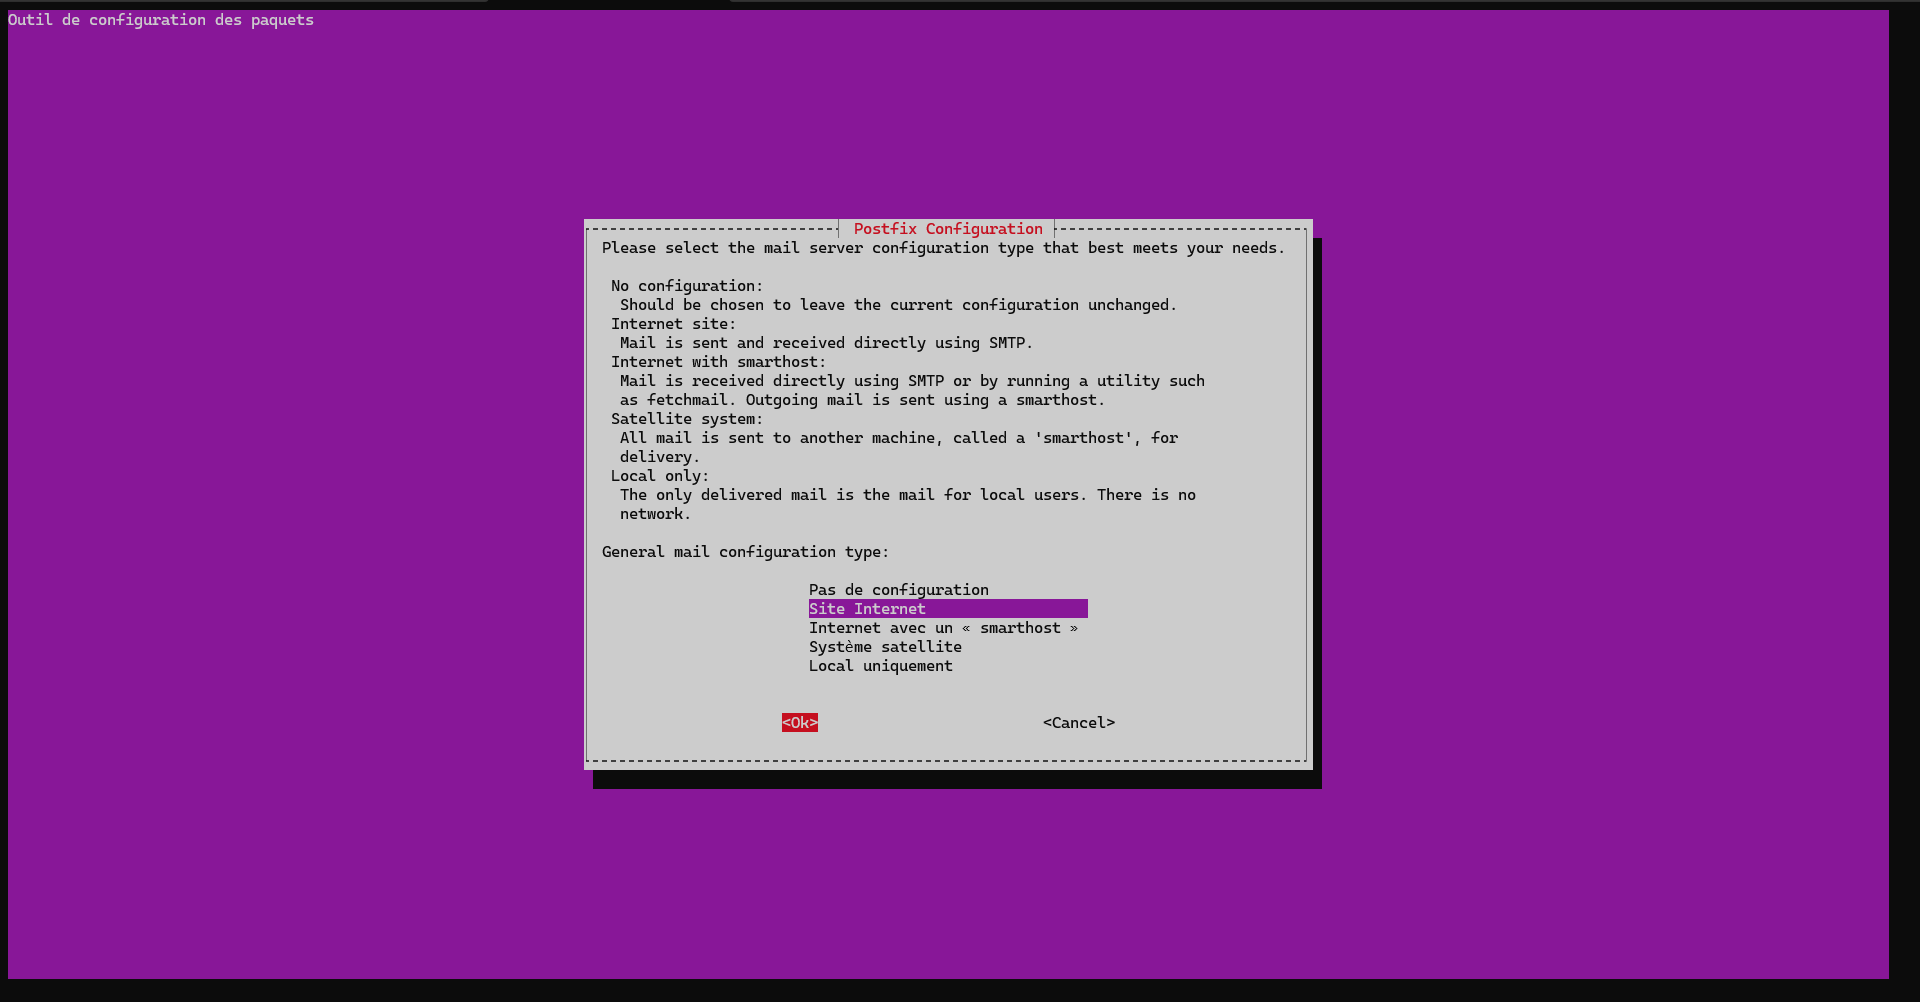
During installation, a wizard asks you for what use Postfix should be configured, leave Website and confirm .
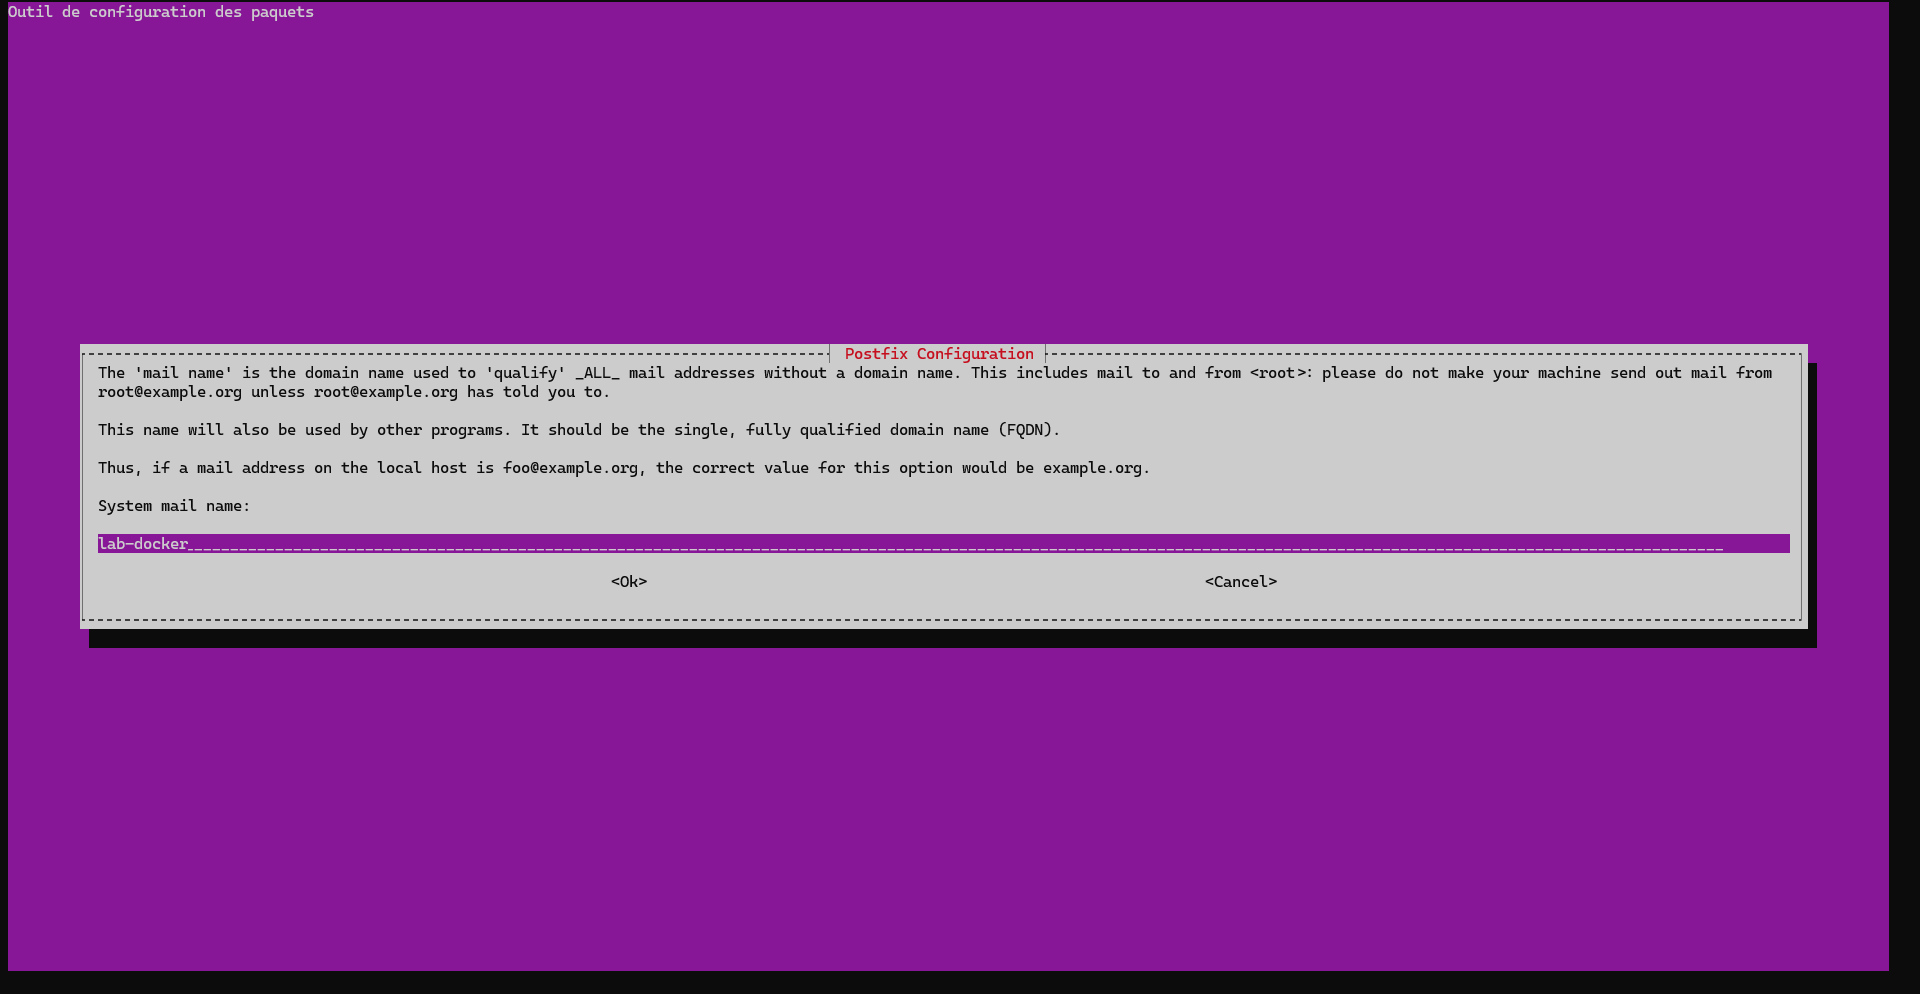
The wizard also asks you to provide the FQDN name of the server.
Wait while installing Postfix…
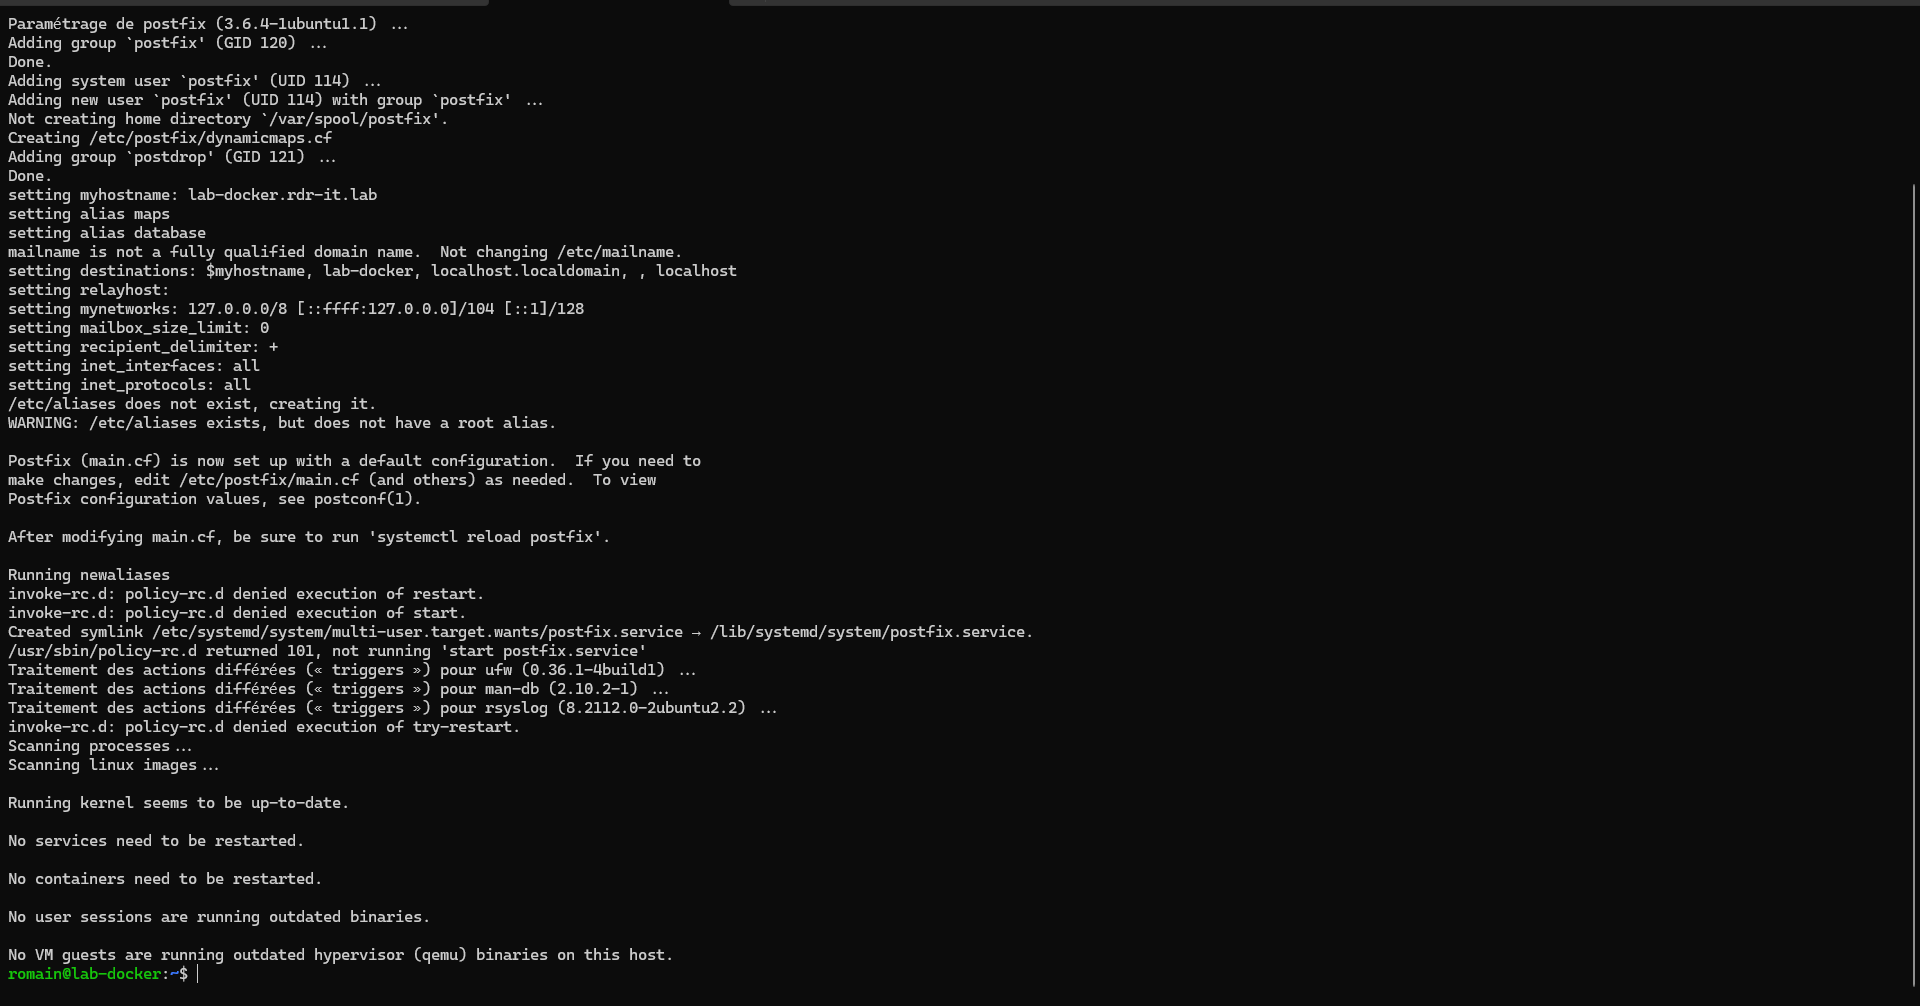
Postfix is installed, we will now move on to configuring it.
Configuring Postfix
We will now move on to configuring Postfix.
The configuration files are located in the following location: /etc/postfix
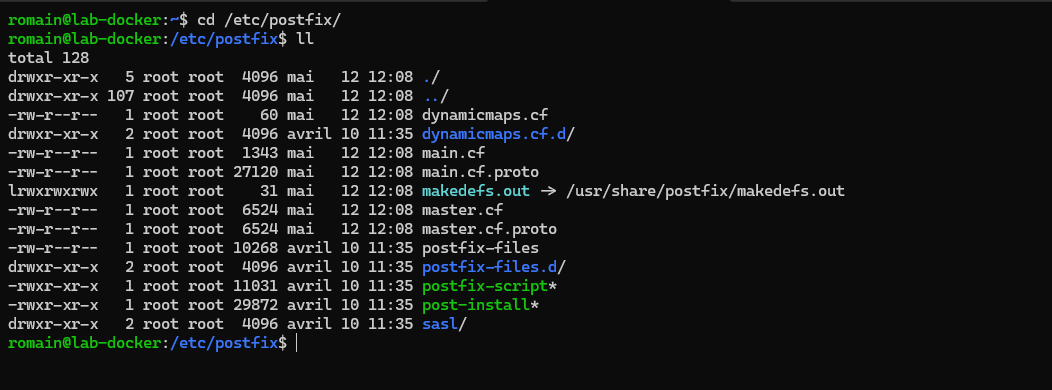
The file that interests us at the moment is the main.cf file which contains the configuration elements.
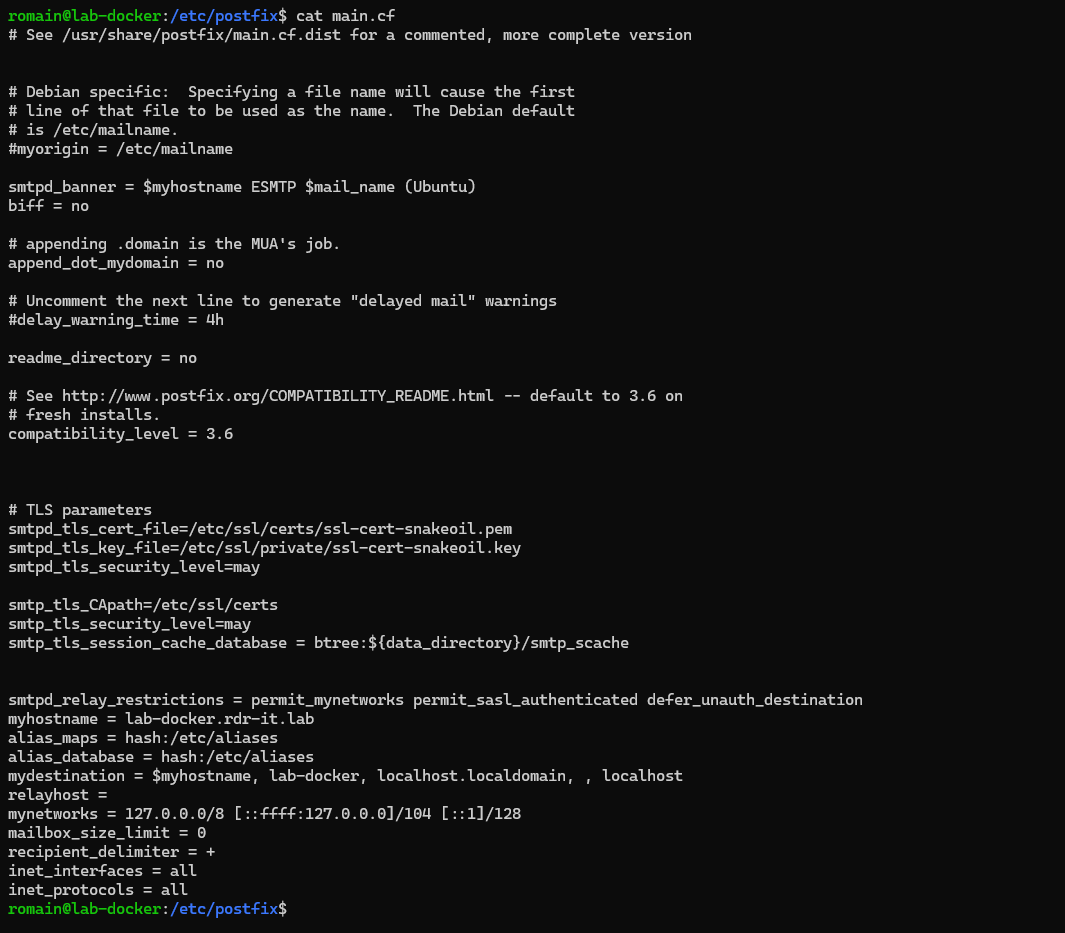
The first element that we will configure is the mynetworks parameter, by default Postfix only authorizes access to its service on local addresses (127.0.0.0).
Comment the current mynetworks line:
#mynetworks = 127.0.0.0/8 [::ffff:127.0.0.0]/104 [::1]/128Add this line below:
mynetworks = 0.0.0.0/0
Restart the Postftix service:
sudo systemctl restart postfixThe postfix server is now operational, for the moment emails will be transferred using DNS MX records.
We will now see different postfix configuration elements that can be found in businesses.
Transfer emails to a relay server
If you already have a mail relay and you want to forward messages to this relay, you must indicate the IP address of the relay or the DNS name in the relayhost parameter.
Open the /etc/postfix/main.cf file.
Search :
relayhost =Indicate the relay address here:
relayhost = relay-smtp.dom.comRestart the Postftix service:
sudo systemctl restart postfixTransfer based on domain
Here we will see how to transfer depending on the recipient’s domain to a mail server and otherwise send to another relay which would not be in DMZ for example.
To illustrate the configuration, here is the diagram:

Messages for the corp-a.com domain must be sent to the Exchange server 192.168.100.10 and messages for the corp-b.io domain are sent to the Exchange servers 192.168.100.20 or 192.168.100.21. All other messages are sent to the MTA at DMZ 192.168.200.3 to be sent over the Internet.
For this we will use a transport map (transport_map).
Open the configuration file: /etc/postfix/main.cf
Before: # TLS parameters
Add:
# Transport
transport_maps = hash:/etc/postfix/transport
In the /etc/postfix folder, create a file named transport.
Open the transport file and paste the content below:
corp-a.com    smtp:192.168.100.10
corp-b.io         smtp:192.168.100.20, 192.168.100.21
*                           relay:[192.168.200.3]:25
The configuration of the transport file must be adapted to your environment.
Build the transport index for Postfix:
sudo postmap /etc/postfix/transportRestart Postfix:
sudo systemctl restart postfixNow postfix will route messages based on the domain to the configured server otherwise it will be sent to another relay.
If you want to send directly from Postfix replace:
* relay:[192.168.200.3]:25By:
* smtpWhen using transport_maps, it is recommended not to configure the relayhost parameter, i.e. to leave it empty.
After each modification of the transport file, you must rebuild the index with the command sudo postmap /etc/postfix/transport and restart the Posfix service.
Postfix Troubleshooting
To check that it is working correctly, you will find the logs in the file: /var/log/mail.log
To display the list of pending messages : sudo mailq
To purge the queue : sudo postqueue -f
Some links on Postfix to go further if you wish: