In this new tutorial dedicated to Nextcloud, I will explain to you how to link Nextcloud and an Active Directory or LDAP directory.
Linking to an external directory allows Nextcloud to be used without the need to create accounts in the local database and it also allows users to use their Windows ID in the case of an Active Directory.
Prerequisites for Active Directory binding
User account for linking with the directory
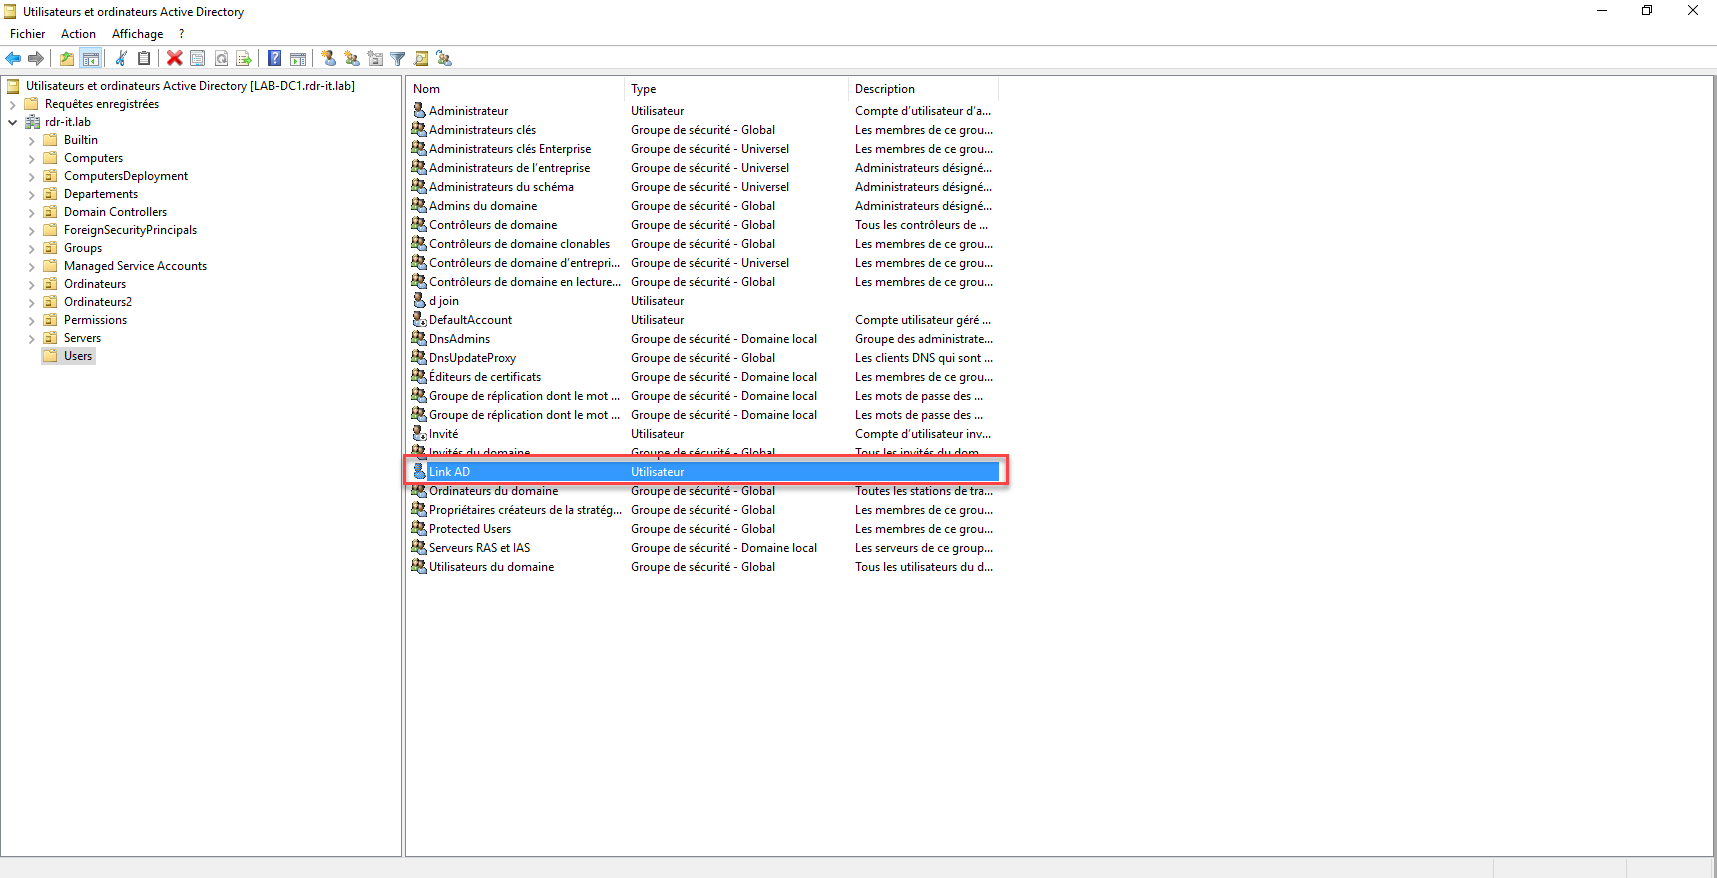
To link with your Active Directory you will need a user account.
The account does not need any special rights, the only thing to take into account if you have a password strategy is to check the box: The password never expires.


In this tutorial, I will use my Link AD user.
Install the LDAP user and group backend application
In order to be able to link Nextcloud and an LDAP directory, you need to activate the application : Ldap user and group backend.
To operate the application needs the module
php-ldap.
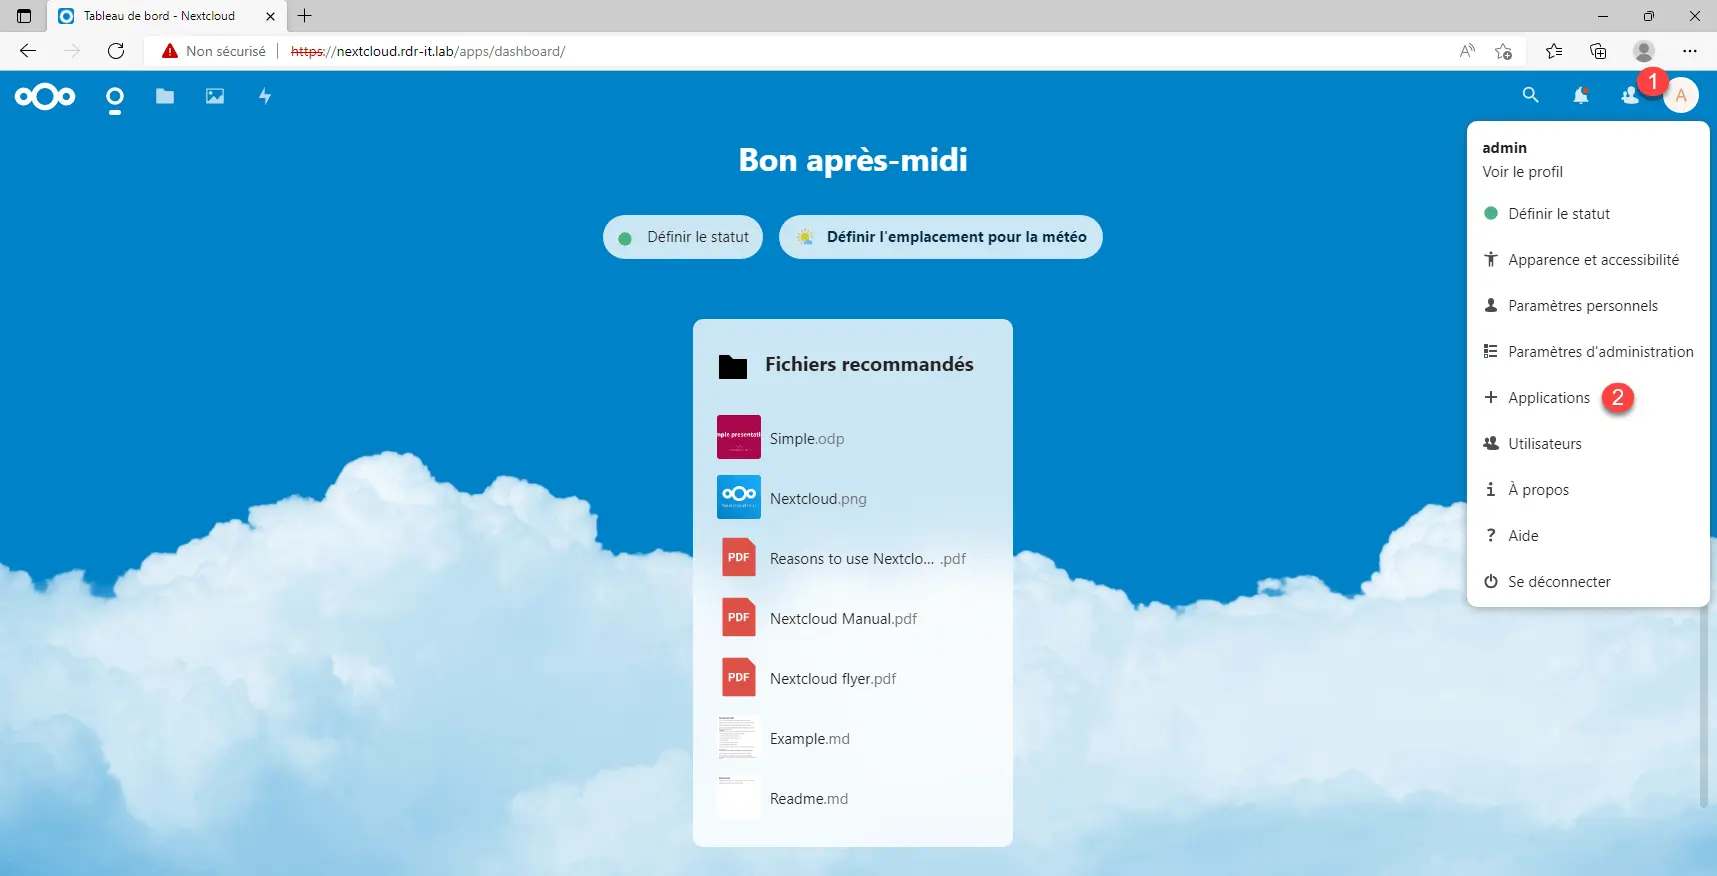
From the Nextcloud interface, click on your avatar 1 then click on Applications 2.
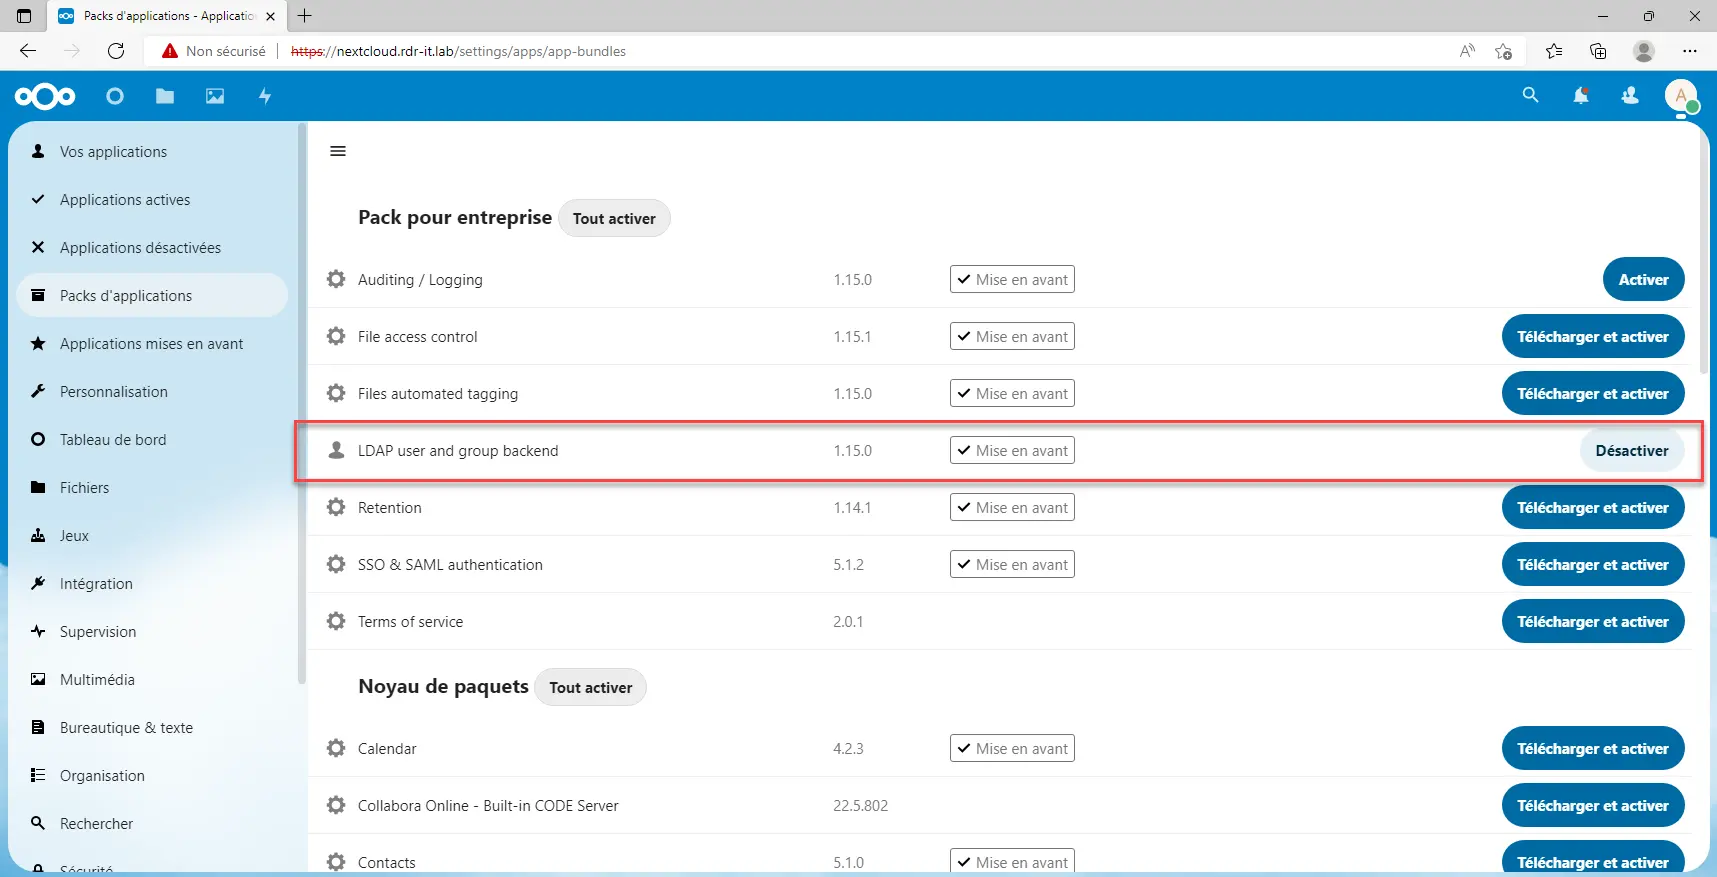
To locate the application, from the left menu, click on Application bundles 1, look for Enterprise bundle, you should find the LDAP user and group backend application here, click on the Activate 3 button.

The LDAP user and group backend application is enabled.
We can now move on to configuring the AD link.
Configure an Active Directory link in Nextcloud
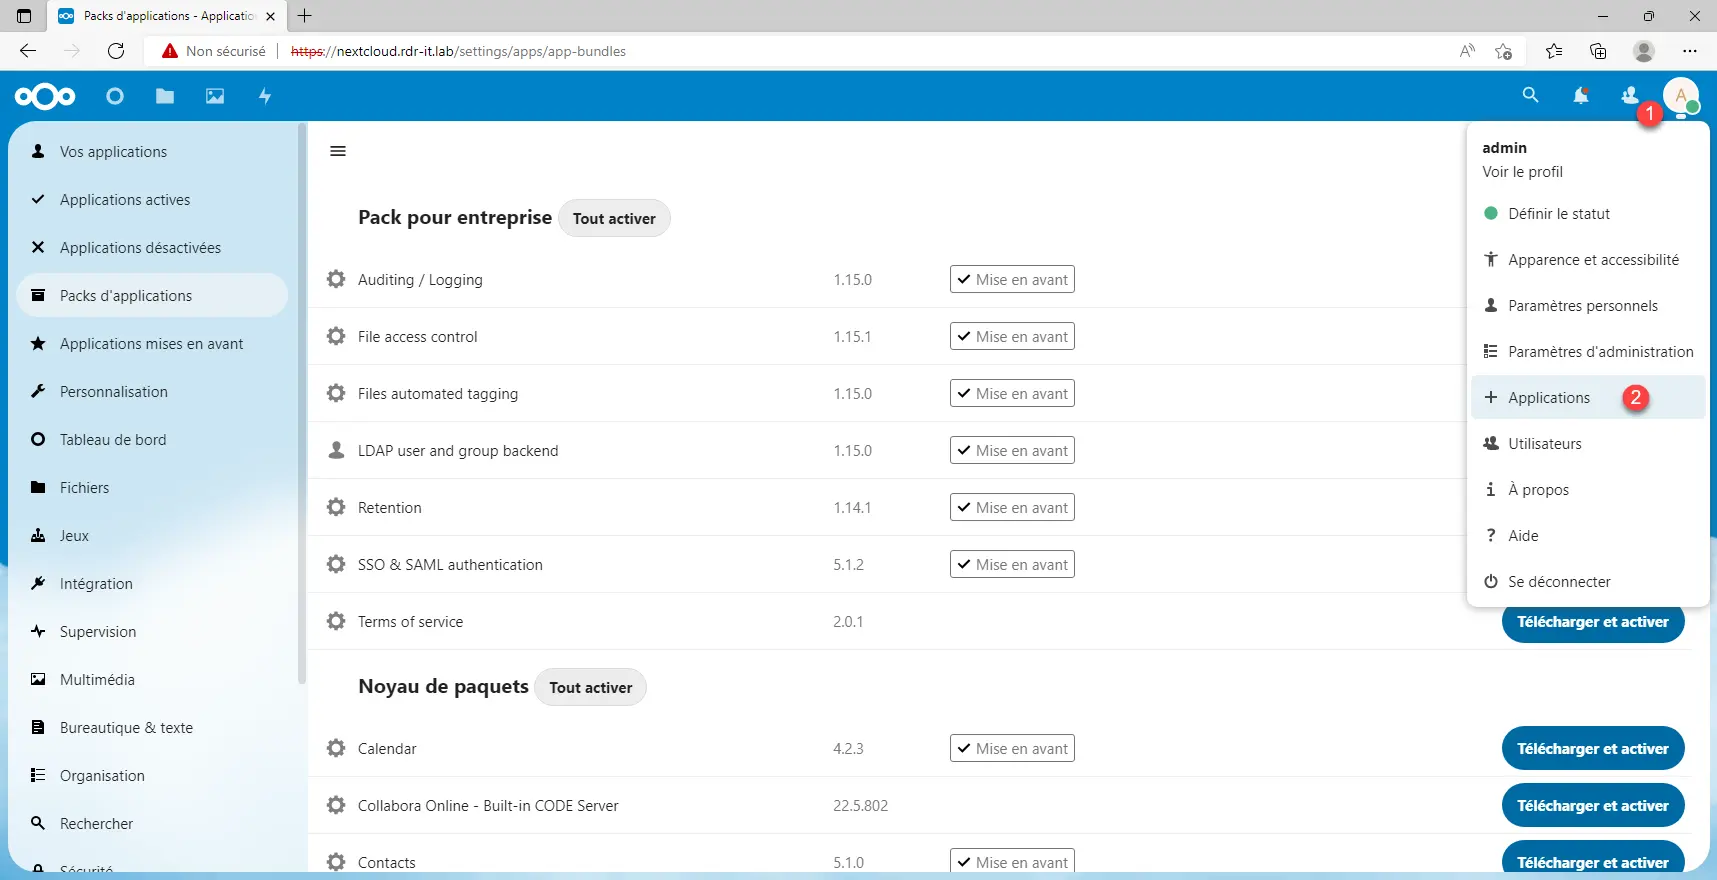
Click again on your account avatar 1 and then click on Application Settings 2.
In the left navigation menu, search for Integration LDAP/AD 1 and click on it.

We arrive on a page where we can manage the links with the different Active Directories.

Before going any further, I invite you to read this tutorial: Active Directory: retrieve the base DN (distinguishedName) attribute of an object, because we will use the base DN of several objects to configure the link with the directory .
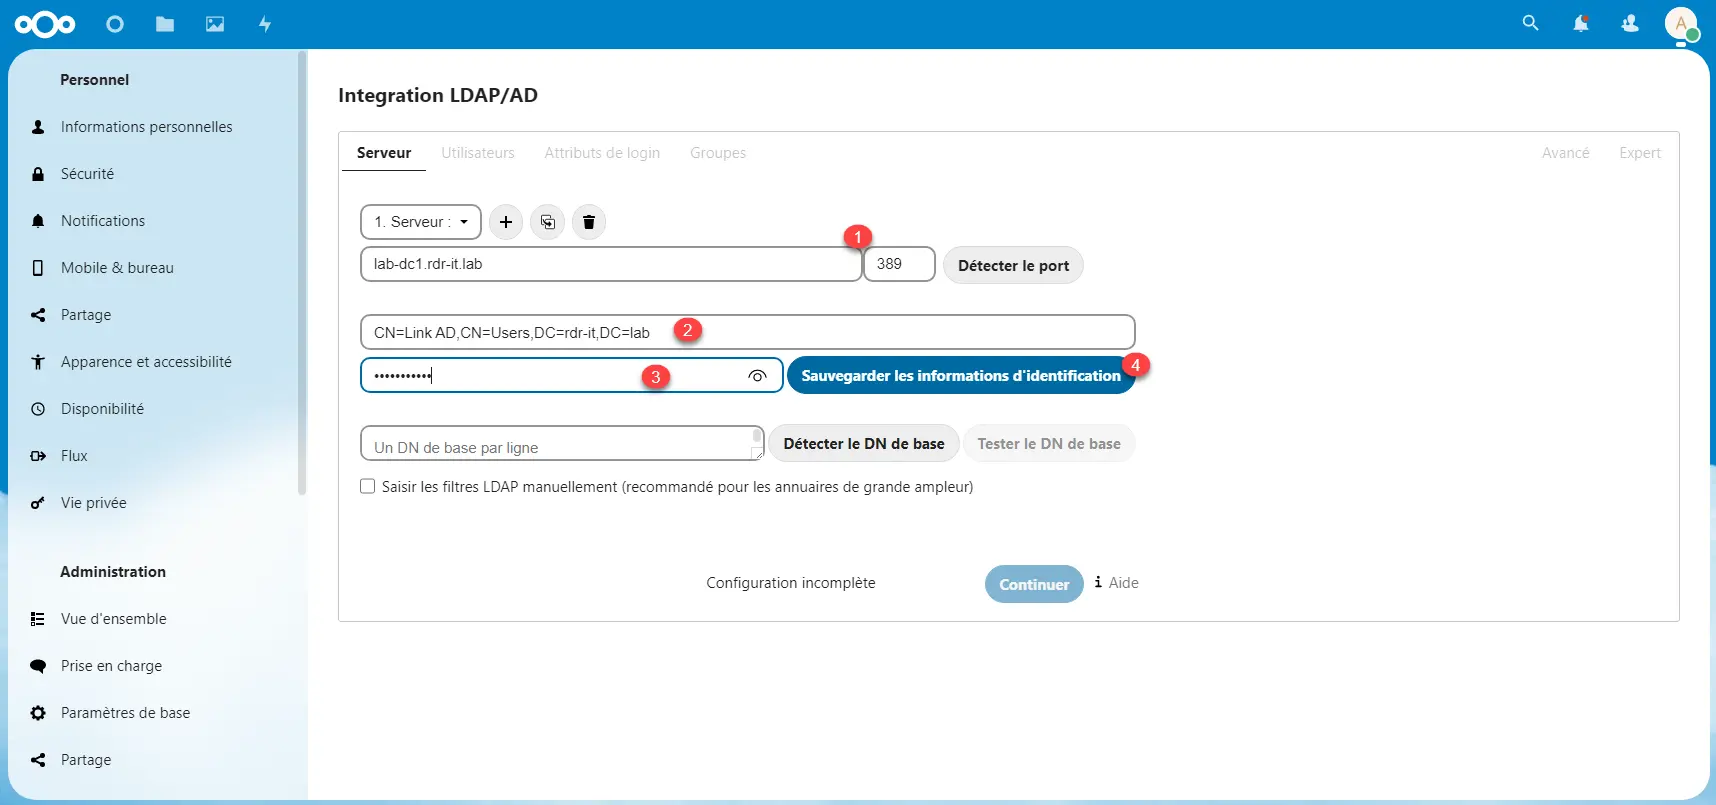
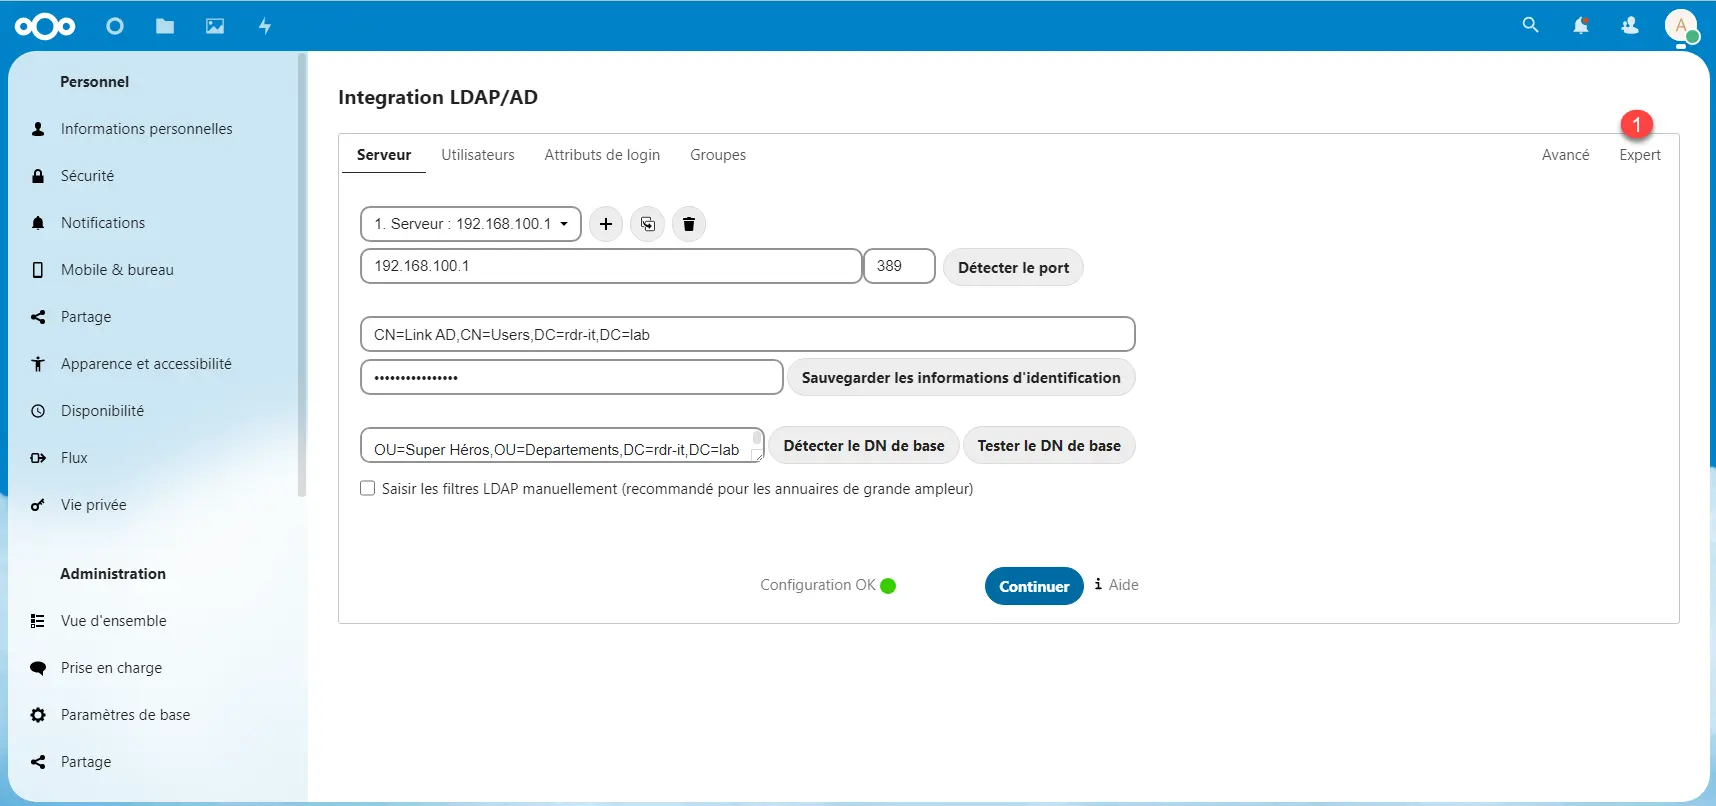
Start by entering the Active Directory / LDAP server address and port 1, then the user’s DN base 2 use to query the directory and its password 3> >, click on the Save credentials 4 button.
We will now indicate the base DN of the container, which will contain the users who will be able to use Nextcloud with their Active Directory account, this step is important, because for example we will be able to limit access to only certain users who are in a particular OU or all users of the domain if the root is specified.
In this tutorial, I will limit access to users who are in the Super Hero OU.

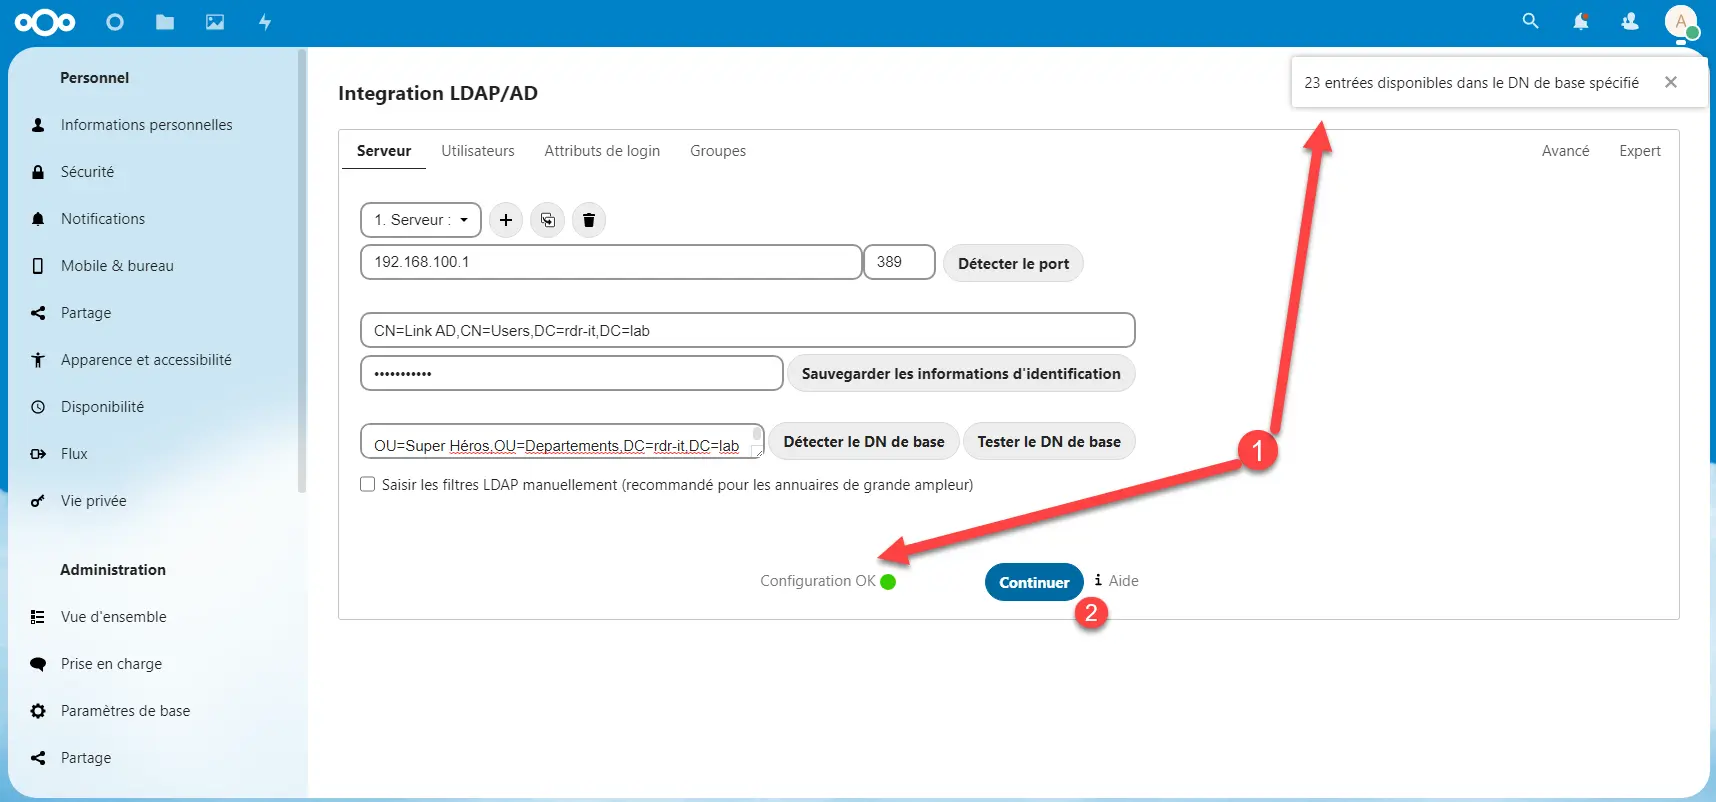
Indicate the base DN 1 and click on the Test base DN 2 button to validate the configuration.

It is possible to indicate several ORs, in this case, one must be indicated per line.
The configuration is validated 1, then click on the Continue 2 button.
Normally, in the Users section, there is nothing to modify, unless you wish to limit access to a particular group, in this case, you must select the group(s) in the field: Only in these groups, click on the button Continue 1.

You can find out the number of users who will be synchronized by clicking on the Check settings and user accounts button.
In the Login Attributes section, you can choose the identifiers that users will be able to use, select the attributes, select 1, click on continue 2.

Here too, you can test the configuration by entering an identifier.
In the last part, you can also configure the synchronizations of Active Directory groups in Nextcloud, in order to be able to use them in the rights assignments in the administration or to allow users to use them to share documents and folders.
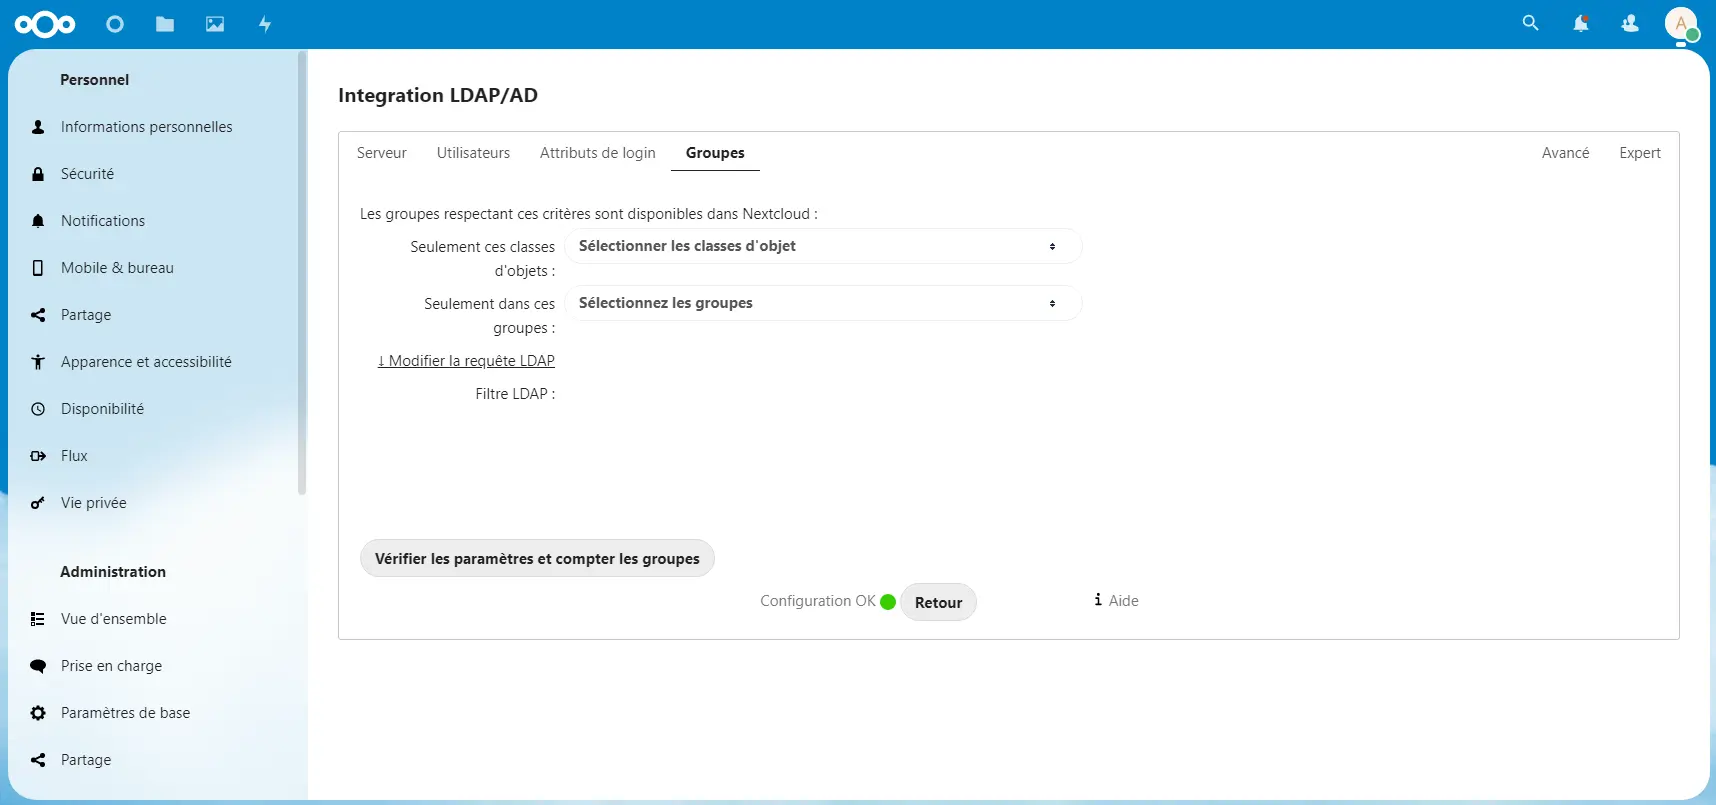
The setup is complete.
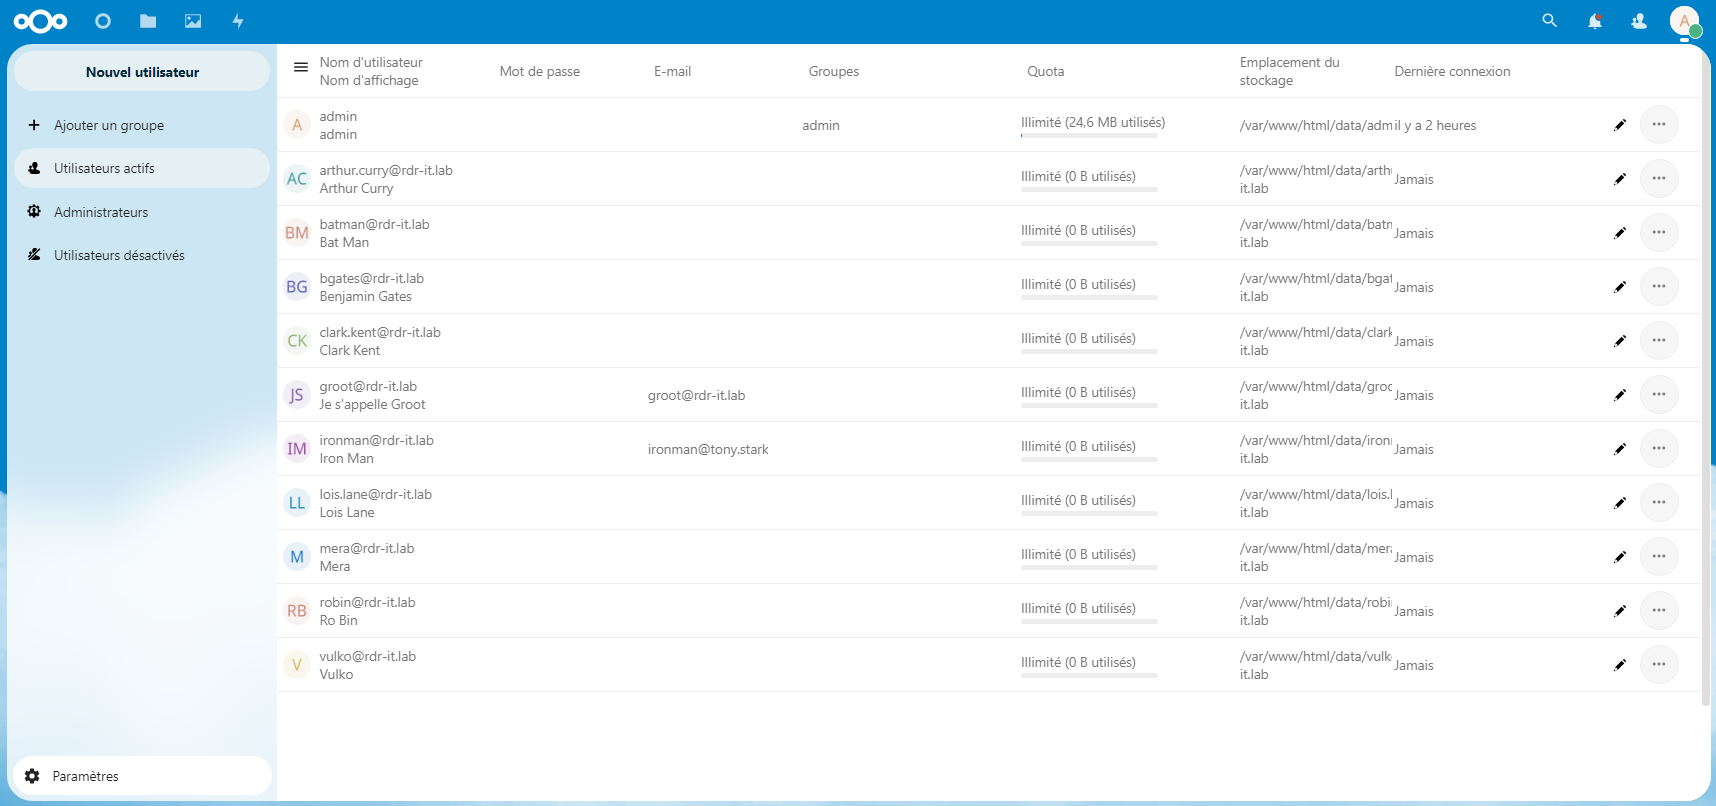
To check that it worked correctly, go to the Nextcloud users list, you should see the Active Directory users.

Synchronization is performed by scheduled task, if the list is empty, either the task has not yet been performed or scheduled tasks are not configured correctly on your Nextcloud instance.
Sign in with an Active Directory user
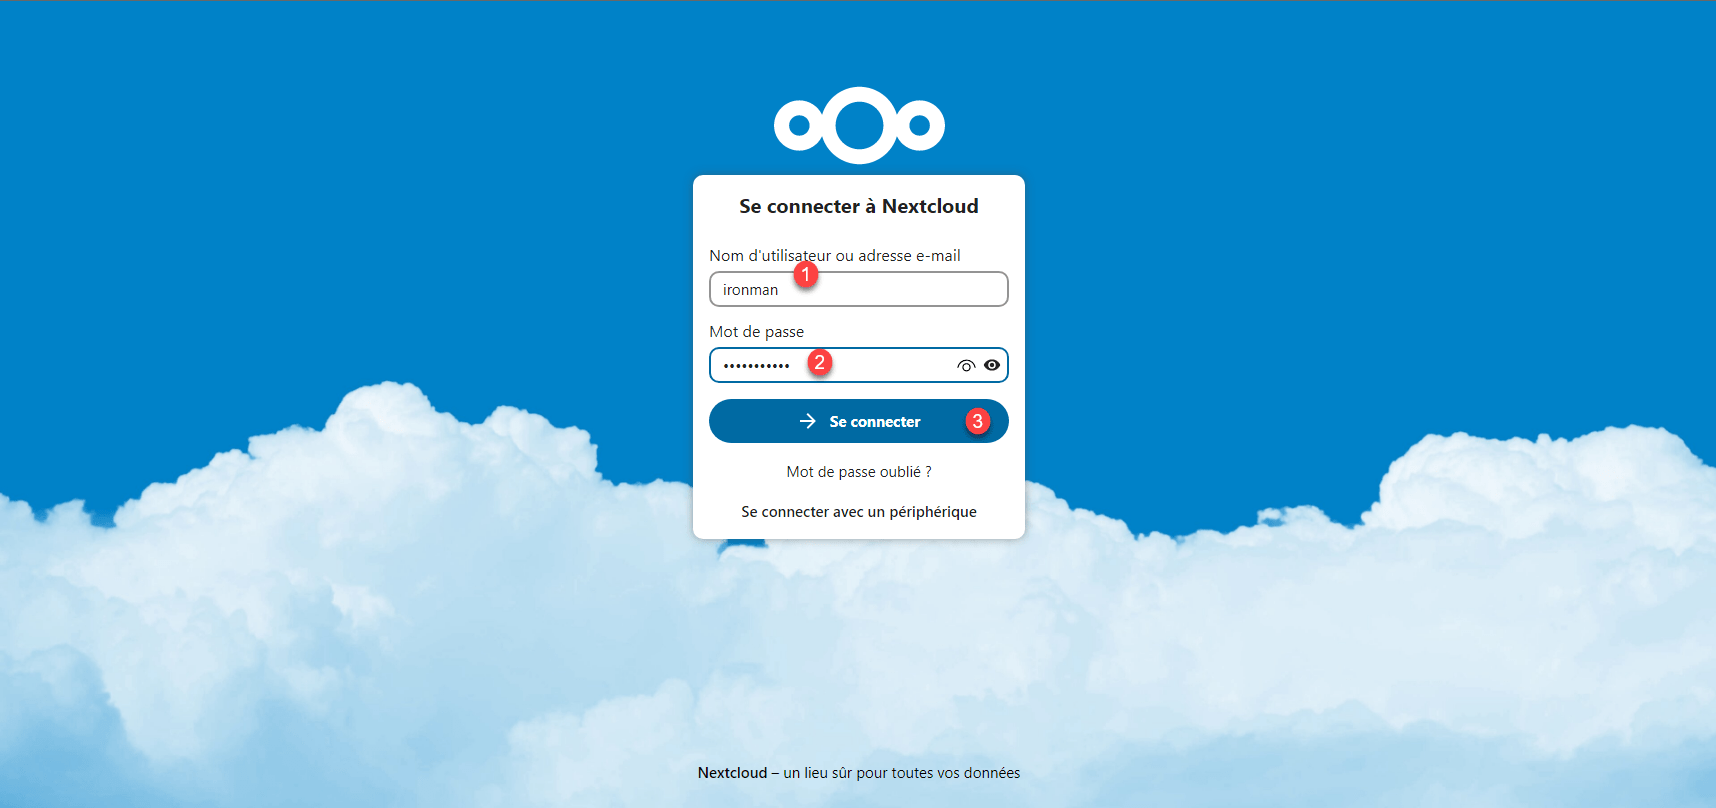
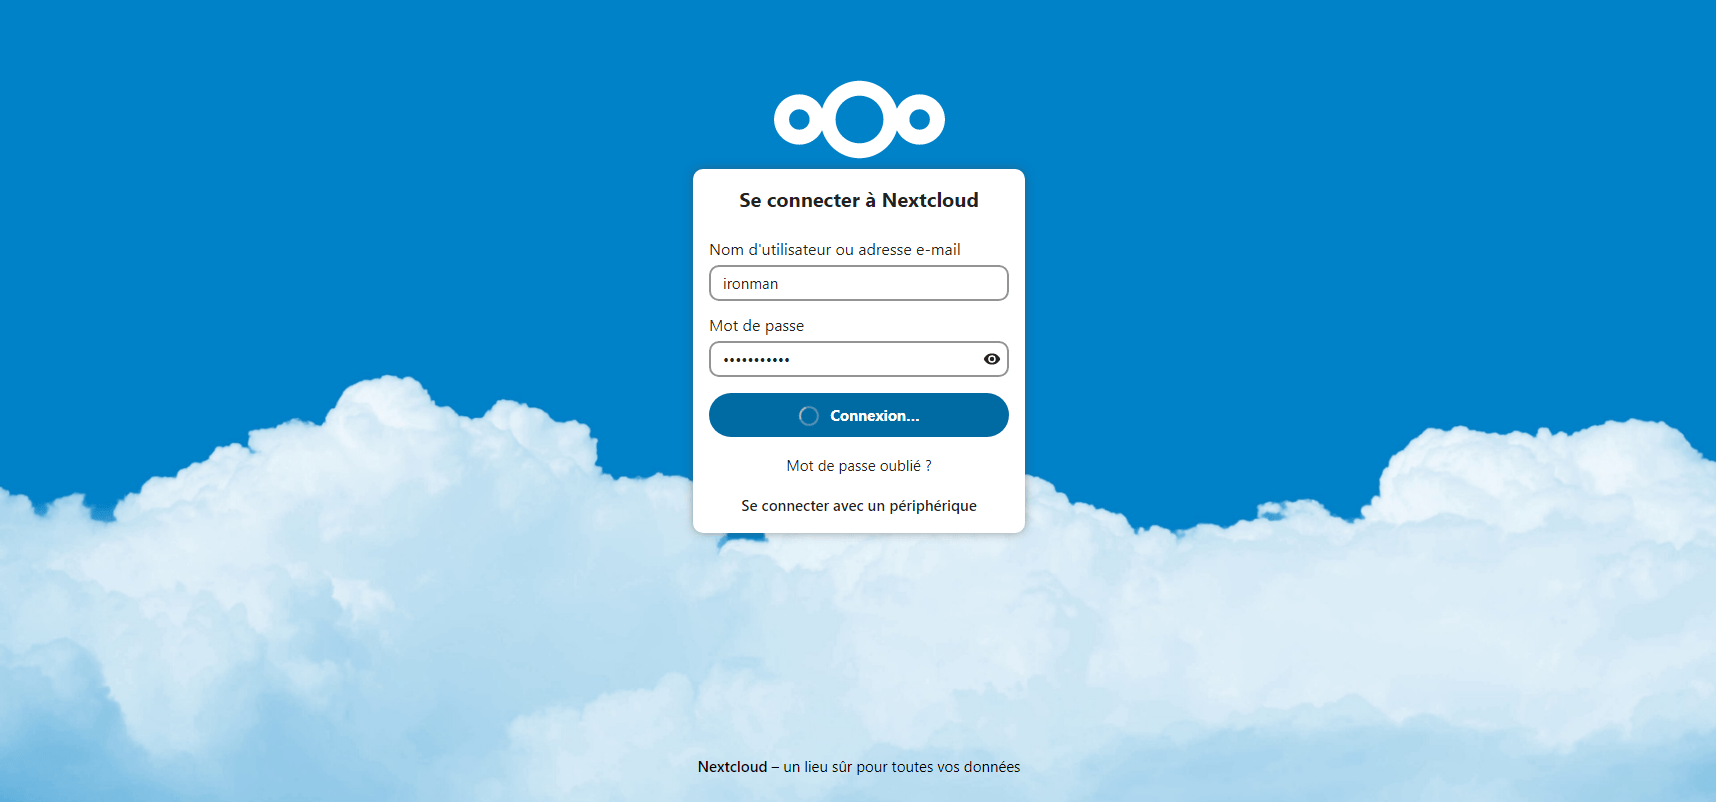
To test, the easiest way is to connect with a user from the directory, for example, I will use the ironman user.

On the authentication page, enter one of the login attribute fields 1, the Active Directory password 2 and click Connect 3.
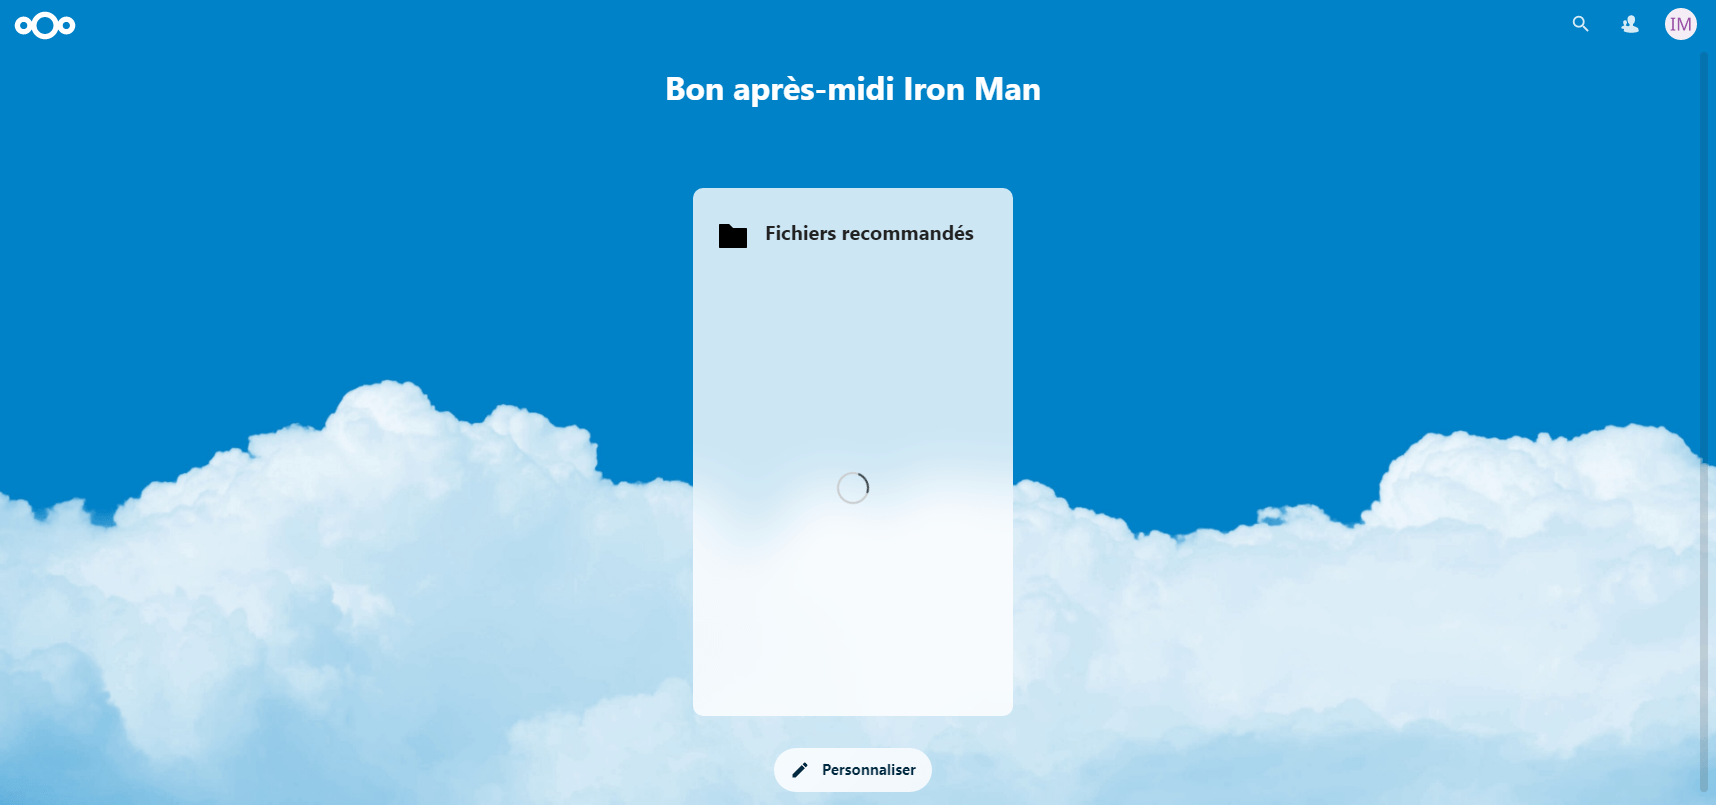
Wait while logging in the first login takes a little time…
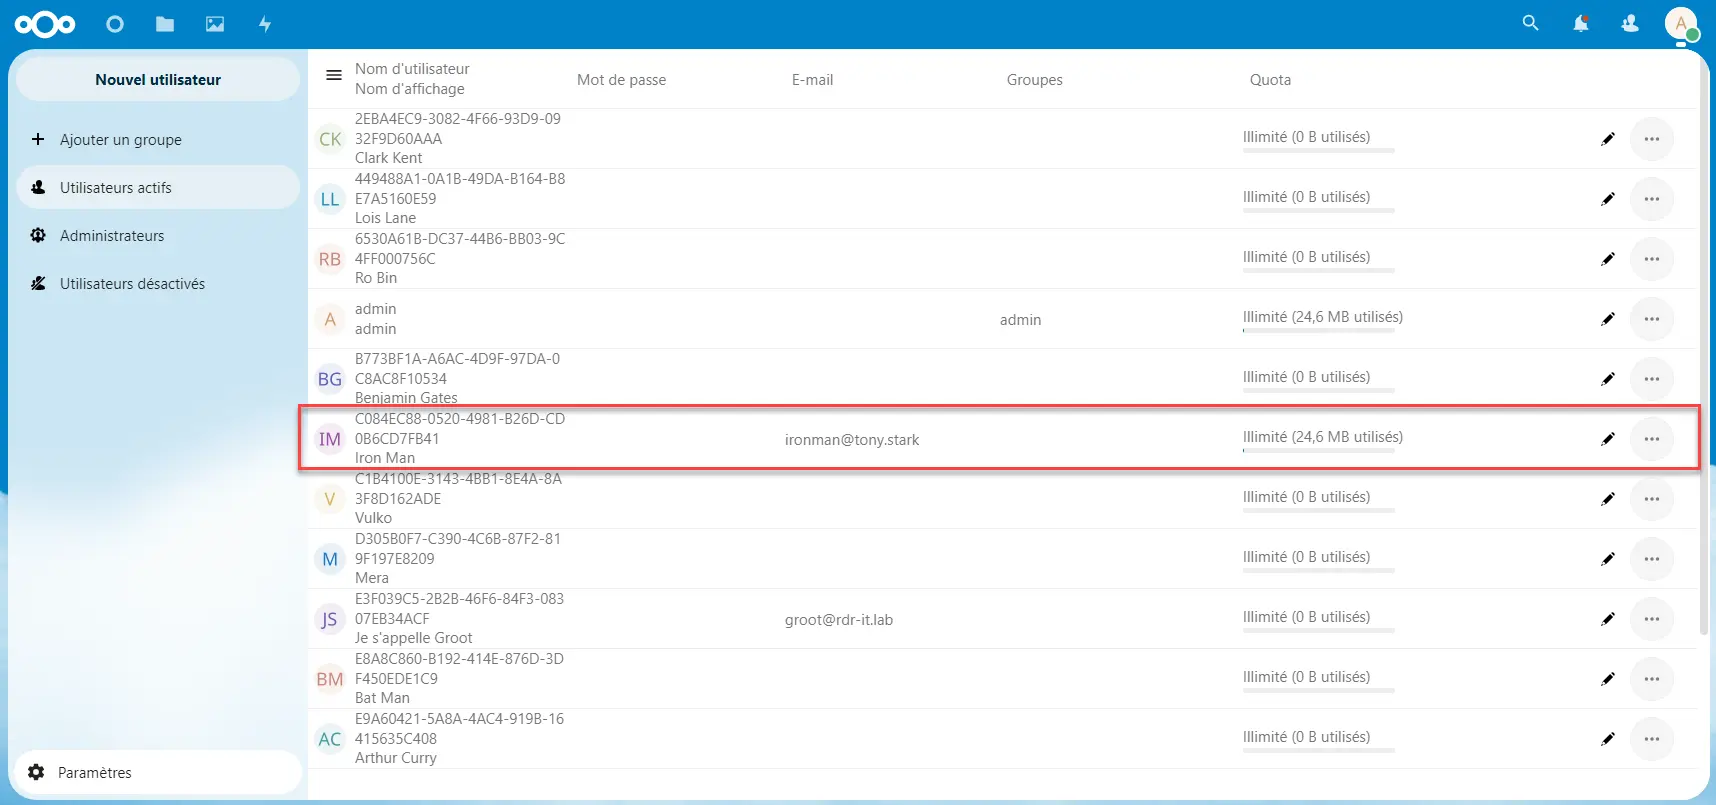
By returning to the list of users with an administrator account on Nextcloud, I can see the user’s quota is no longer 0, the default folders and files were added to their space.
You now know how to link Nextcloud to an Active Directory or LDAP directory.
Add-ons to Nextcloud and Active Directory / LDAP linking
To finish this tutorial, I will give you some additional information to help you manage your Nextcloud as best as possible.
View User Source
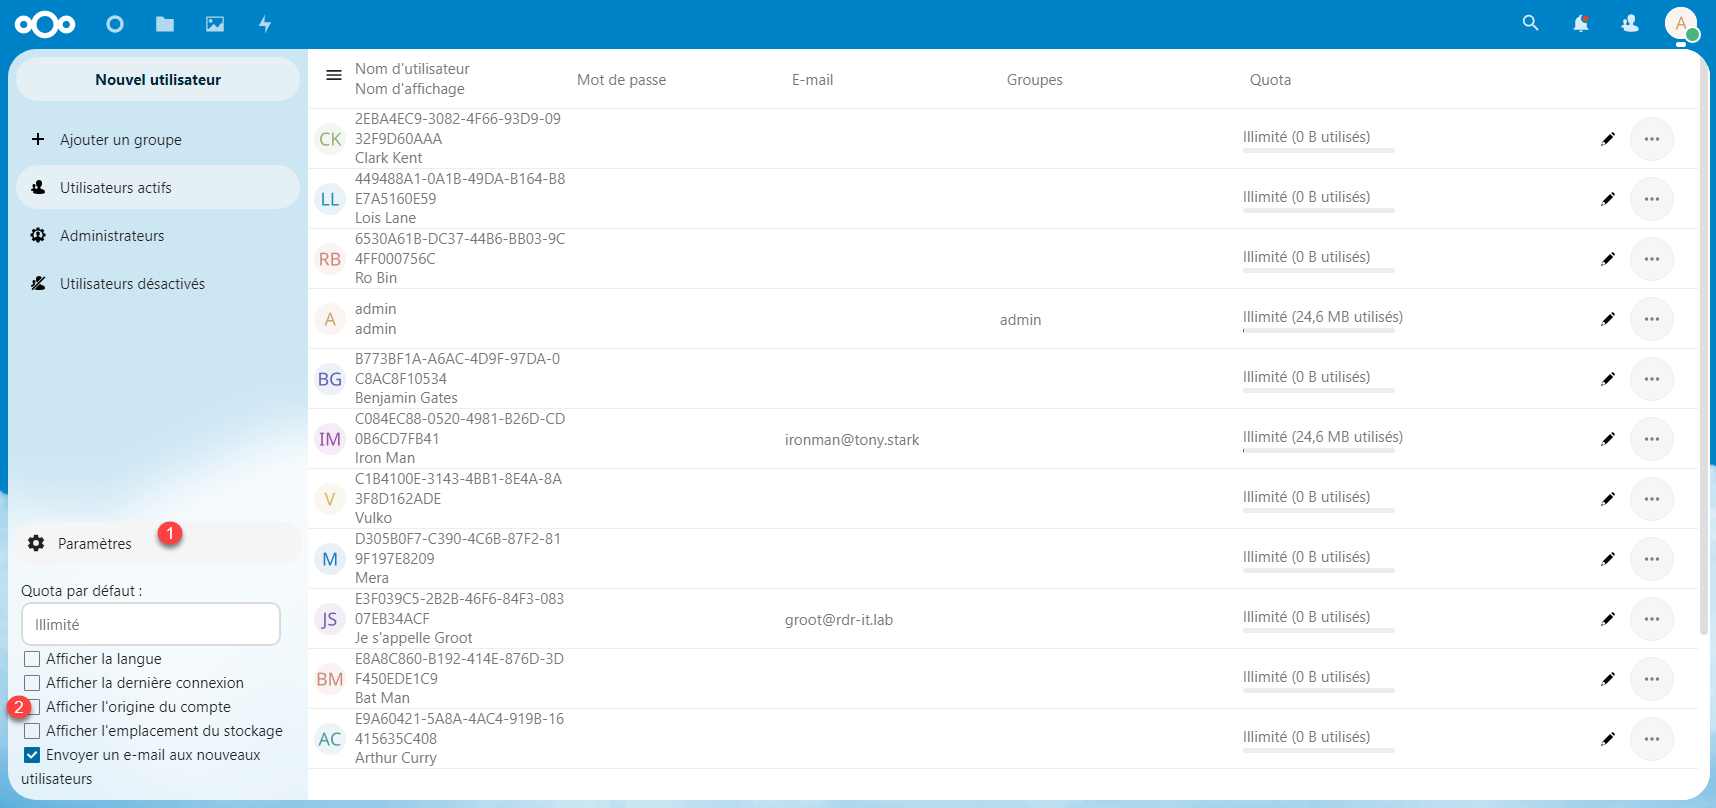
As we have seen, in the list of users, we find all the local and Active Directory users, it is possible to display the source (origin) of the account.
Click on Settings 1 and check the Show account origin 2 box, once checked, it is possible to see the account source.
You can also view the last login date.
Internal account/user name
As you can see in the list of users, users who originate from Active Directory have an internal name composed of letters and numbers.

By default Nextcloud uses the GUID (objectGUID) as a unique identifier and internal name. It is also used for user folders as we can see in the screenshot below:

It is possible to modify this parameter to use another attribute, for example such as:
- userPrincipalName
- sAMAccountName
Change internal name
I will explain to you how to change the account name in Nextcloud, ideally, this is to be done when first configuring the LDAP / AD link.
In the LDAP/AD Integration administration, click on Expert 1.
In the Internal User Name field, enter the desired AD field 1.
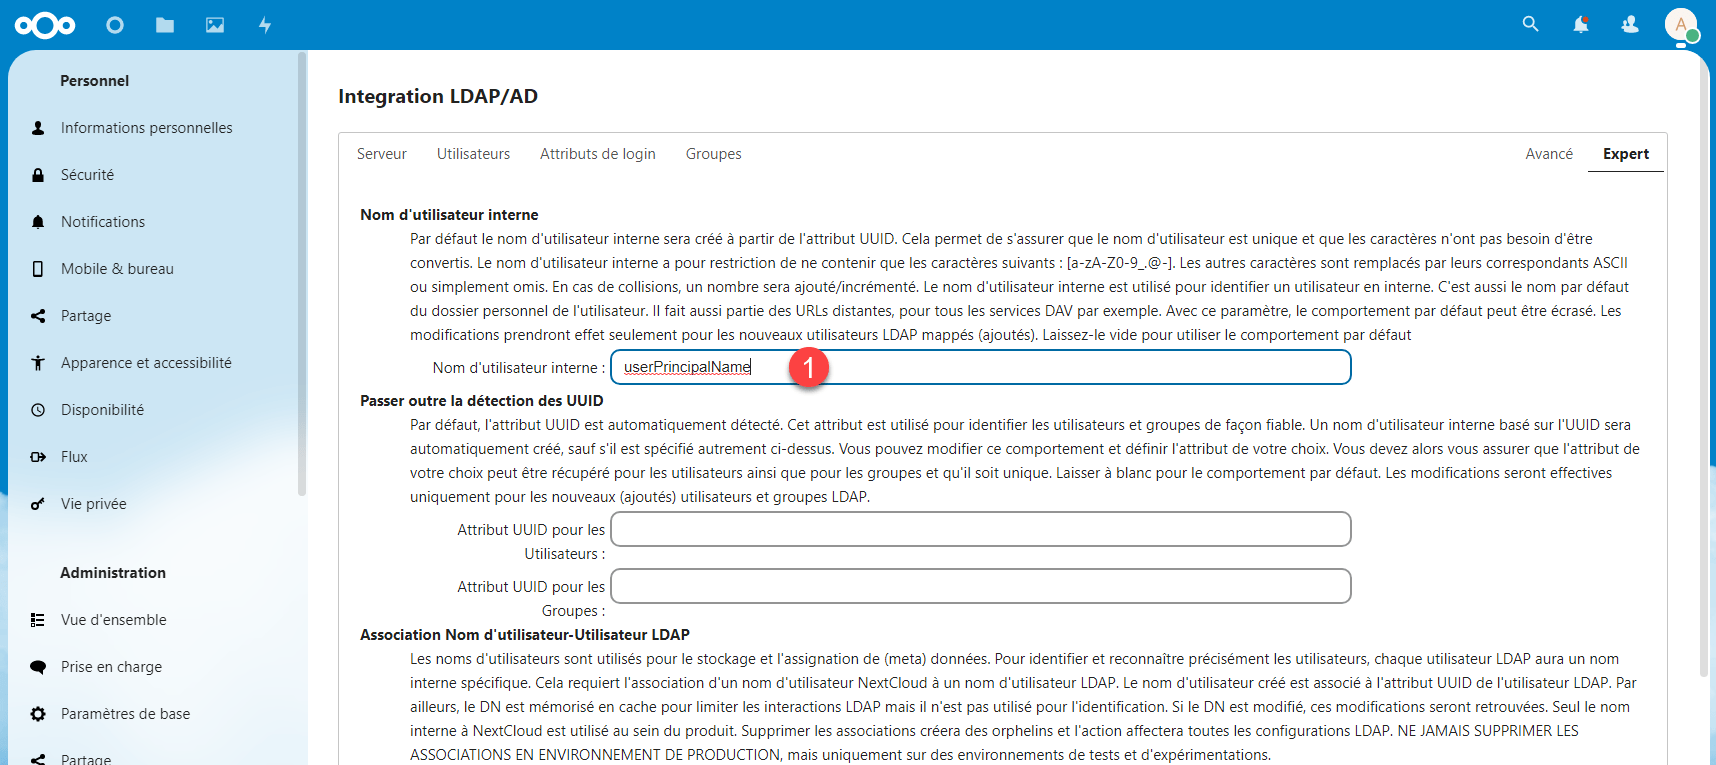
This is configured, for the moment only new users UPN as internal name.
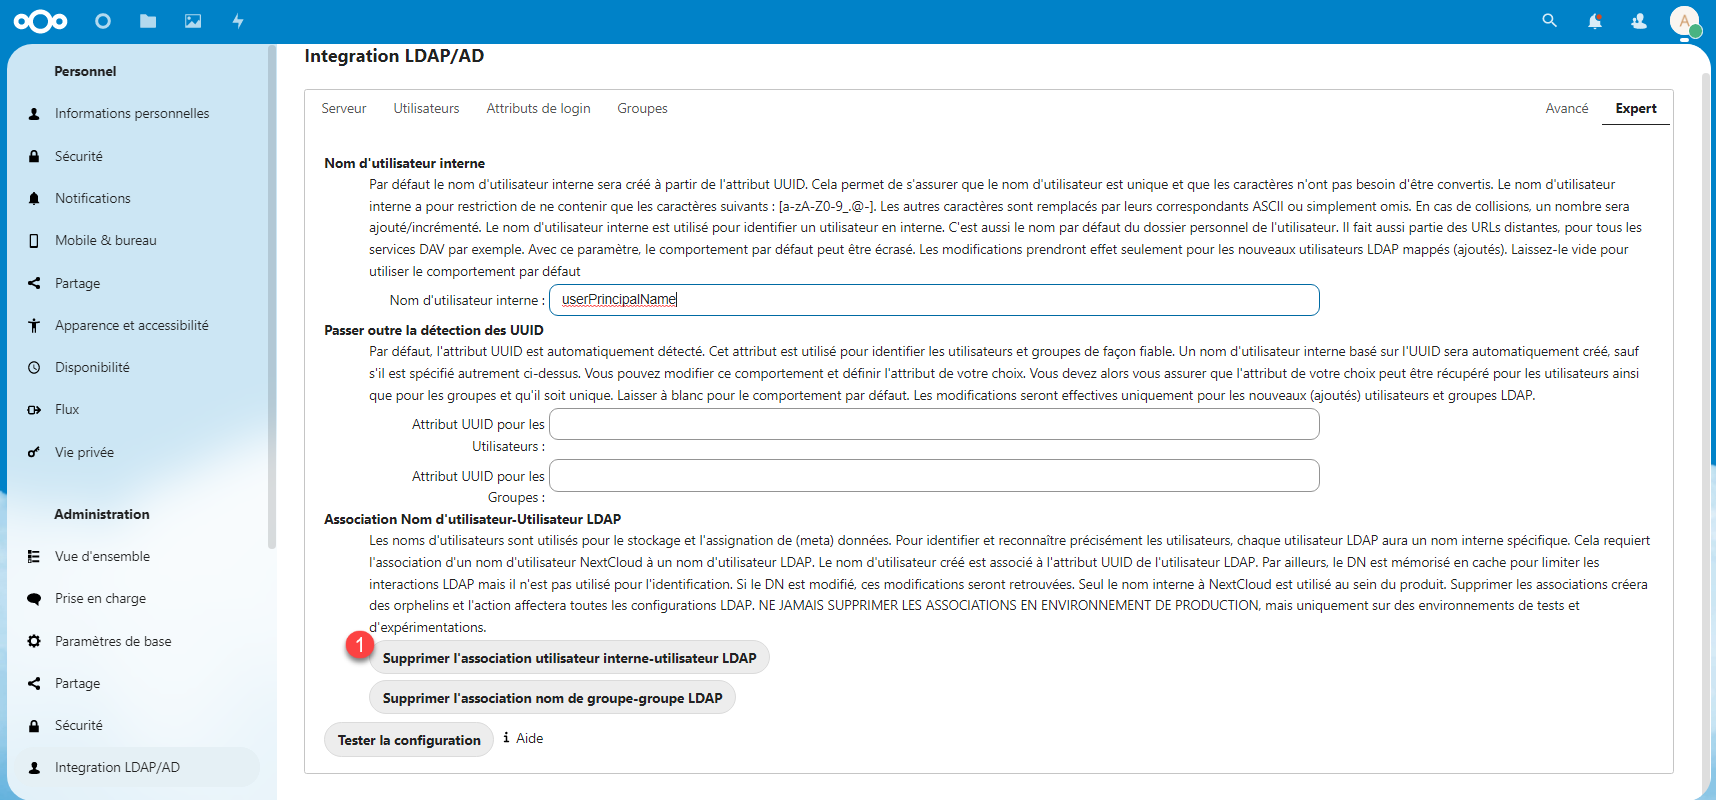
If you want to apply this setting to the existing account, click the Remove internal user-LDAP user association 1 button.
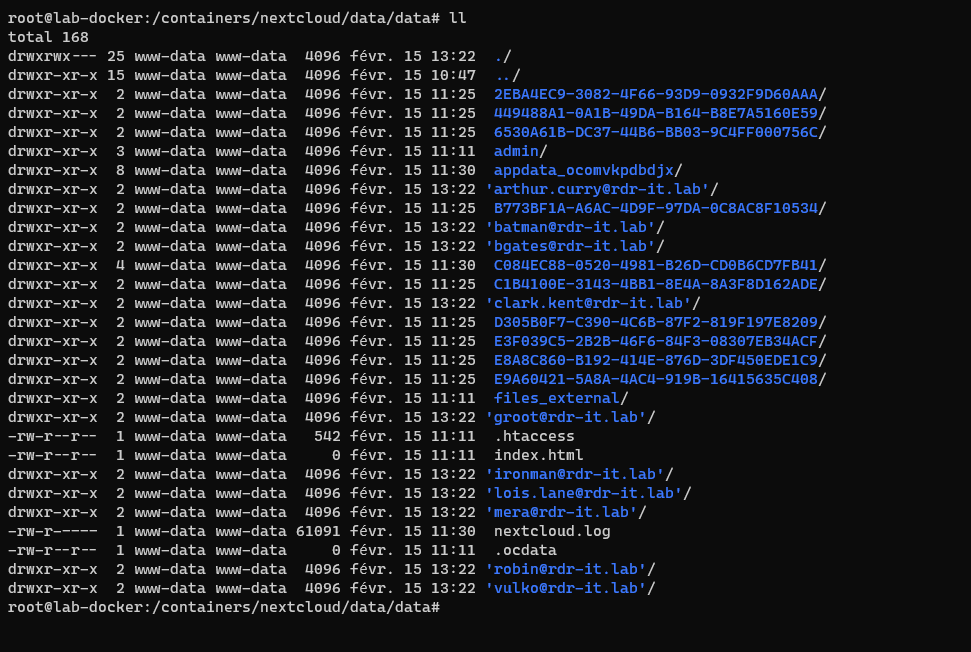
After synchronization, we can see that the internal name is UPN:
If we look on the server, we can also see that new folders for users have been created:
If users have already uploaded items to Nextcloud, they will no longer see them.
You now know how to link an Active Directory and Nextcloud.
In an upcoming tutorial, I will explain how to use ADFS to authenticate users