Nano Server Overview
Nano Server is a version of Windows Server that has made its appearance with Windows Server 2016, which is a “light” version of a Windows Core (without GUI) that installs the following roles:
- Hyper-V
- containers
- IIS
- DNS
- File Server (SOFS).
Complete presentation : https://docs.microsoft.com/fr-fr/windows-server/get-started/getting-started-with-nano-server
Unlike the “normal” versions of WIndows, the Nano Server installation is done by directly generating the VHD (X) or by generating a USB key.
Two tools are available:
- From the command line using PowerShell.
- With graphical interface: Nano Server Image Builder.
The keyboard under Nano Server is in QWERTY.
Generate a Nano Server Virtual Disk
In order to generate a Nano Server image, it is necessary to have the installation DVD.
With PowerShell
In powershell when creating a virtual disk, this one has a size of 4GB. The basic installation of Windows Nano is less than 600MB.
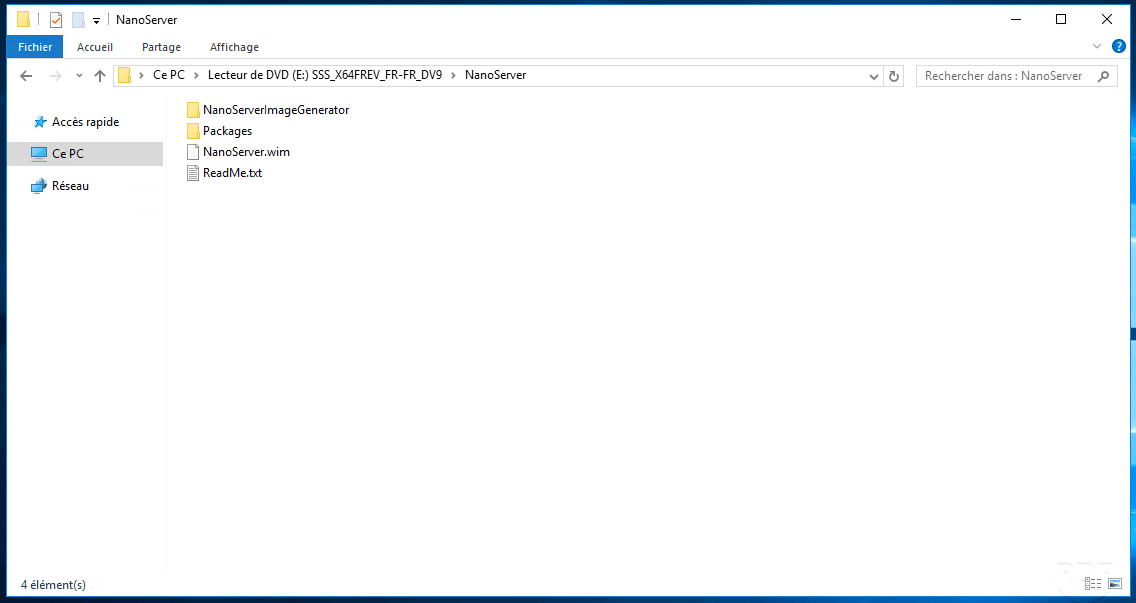
Mount the Windows 2016/2019 ISO and check for the presence of the NanoServer folder at the root.
Open a PowerShell prompt in Administrator, go to the NanoServer folder of the ISO and enter the following command to load the build module.
Import-Module .\NanoServerImageGeneratir -VerboseThe order should return you the lines below:

Syntax of the command to generate an image:
New-NanoServerImage -Edition <Standard|DataCenter> -DeploymentType <Host|Guest> -MediaPath <Source ISO> -TargetPath <Folder store image\name-file.extension > -ComputerName "Computer Name" -Package Microsoft-NanoServer-<package-name>We will now generate the Nano Server image in VDHX with the IIS package installed.
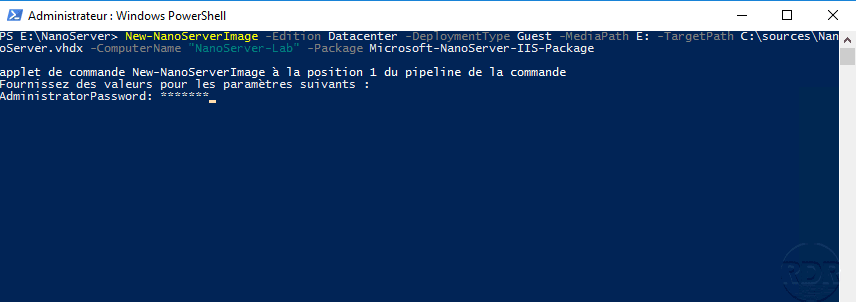
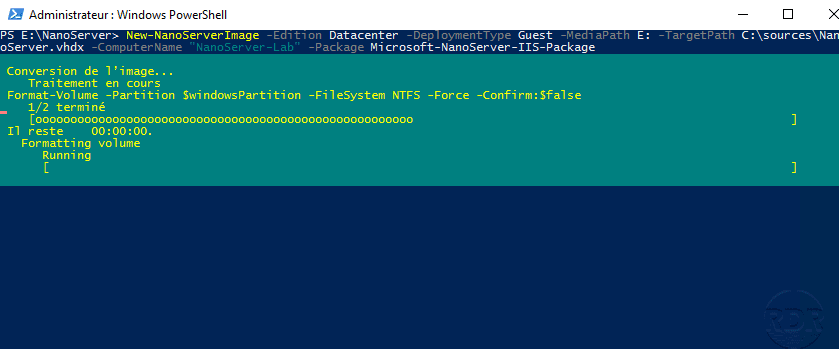
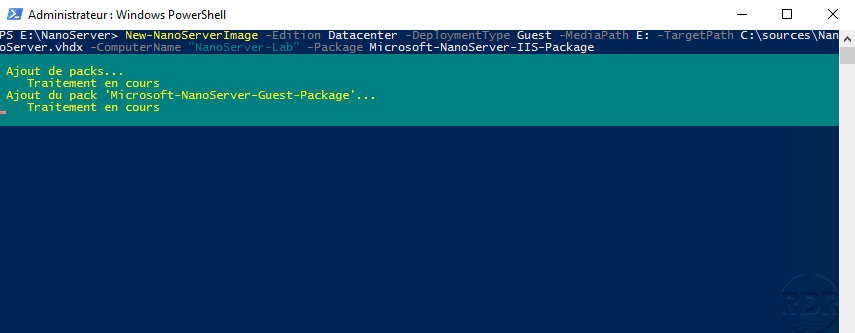
New-NanoServerImage -Edition DataCenter -DeploymentType Guest -MediaPath E: -TargetPath C:\sources\NanoServer.vhdx -ComputerName "NanoServer-Lab" -Package Microsoft-NanoServer-IIS-PackageEnter the password for the Administrator account
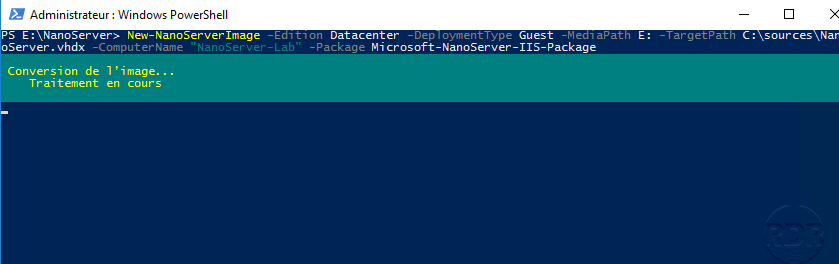
Wait while generating the virtual hard disk …
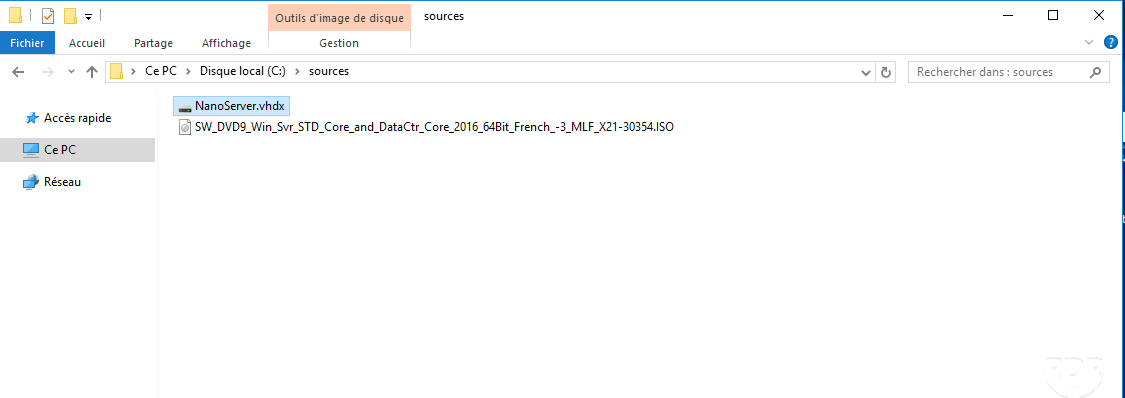
When finished, the vdhx file must be present in the specified TargetPath location.
With Nano Server Image Builder
Before downloading Nano Server Image Build (NSIB), the computer where NSIB will be installed must have ADK.
As with PowerShell generation, it is necessary to have the Windows Server ISO mounted or uncompressed.
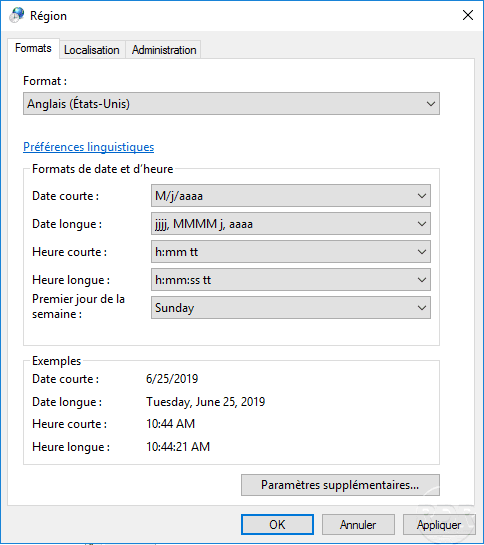
To generate the image with NSIB, I also had to change the date format of the server in English (United States) otherwise during the generation you will have a 1026 error.
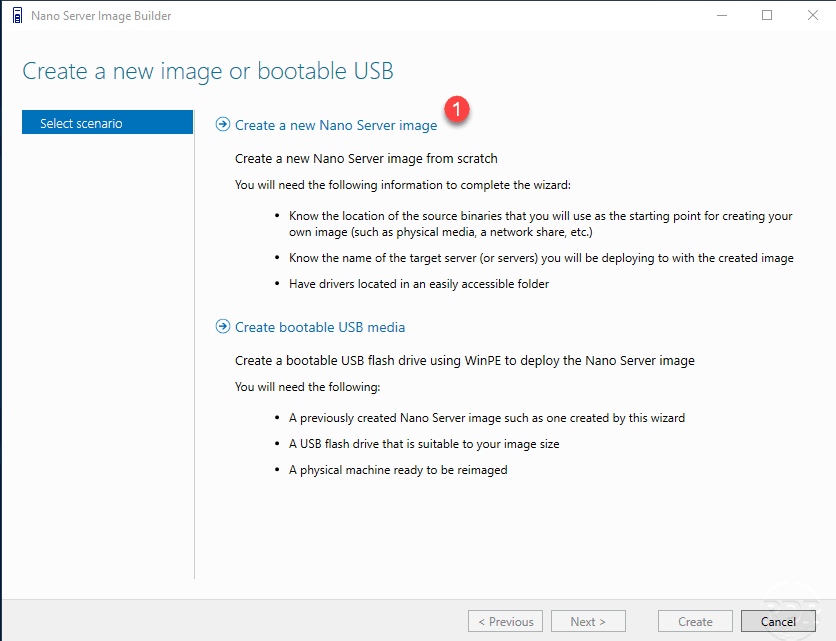
Download, install and run Nano Server Image Builder.

Choose the type of image you want, for the tutorial click Create a new Nano Server image 1 .
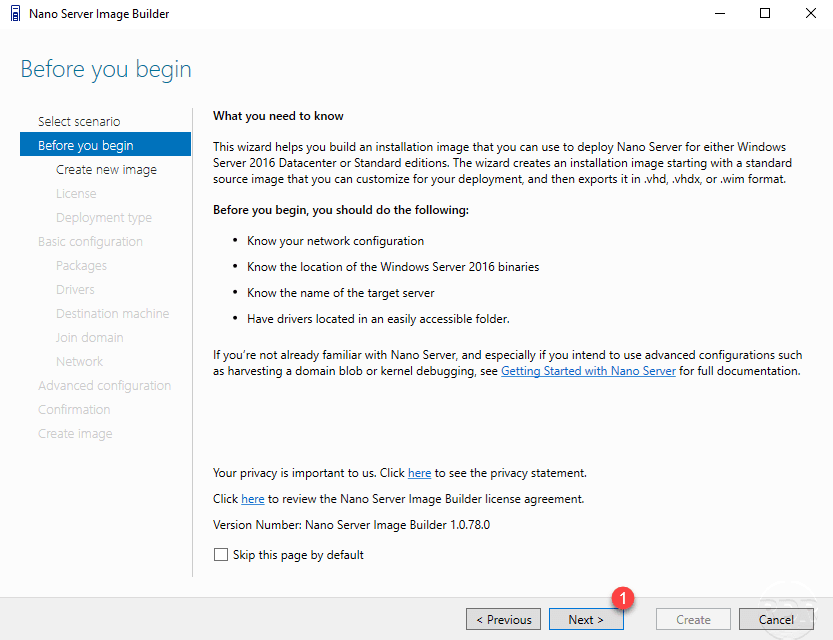
Click Next 1 to go to the Before you begin page.
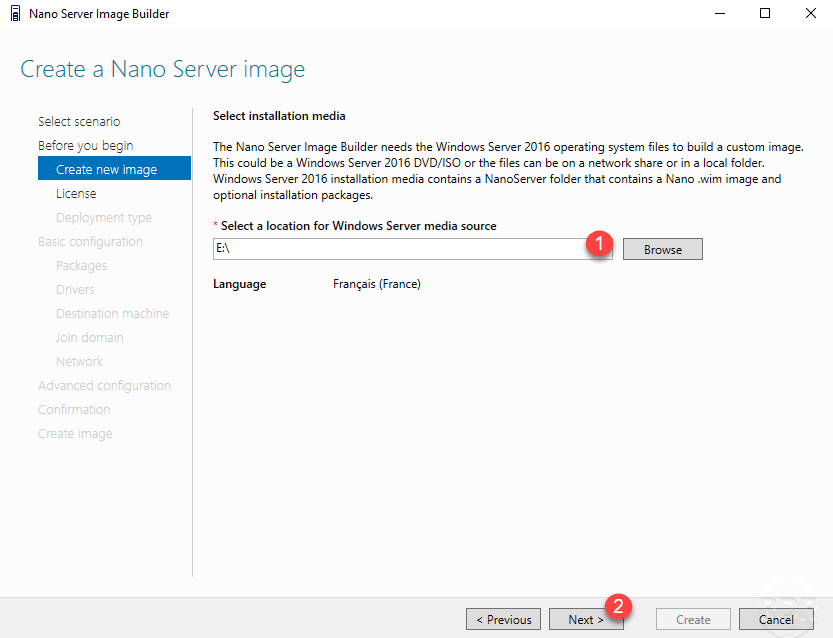
Indicate the location of Windows sources 1 and click Next 2 .
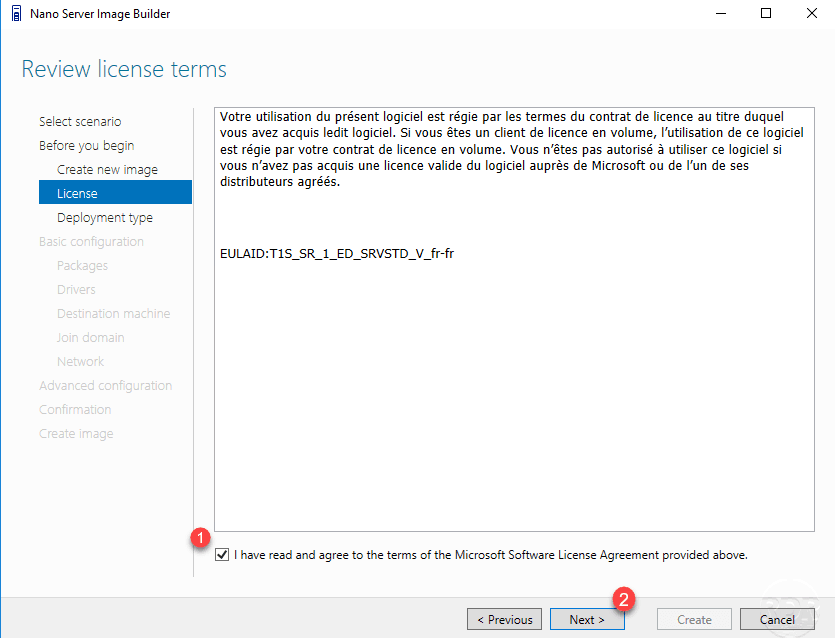
Accept the 1 license agreement and click Next 2 .
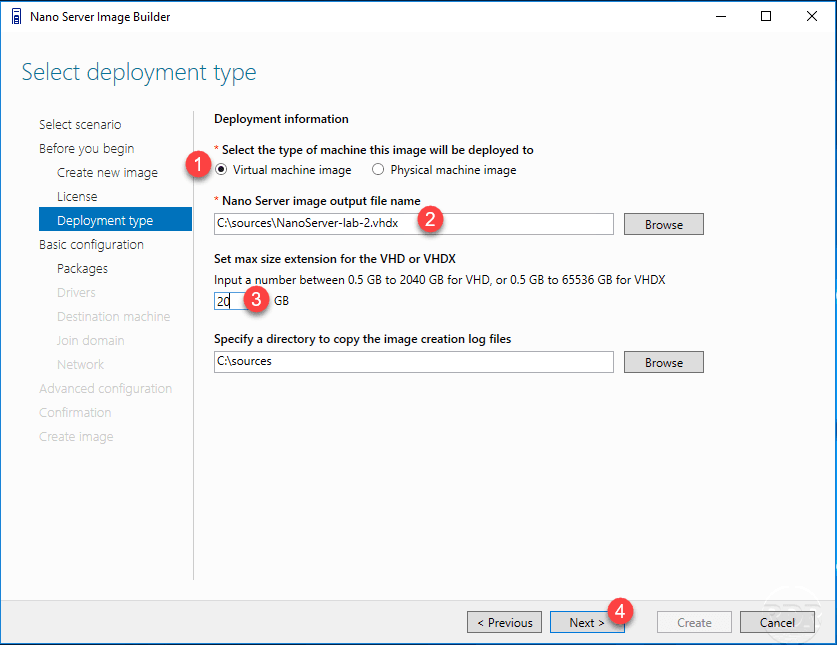
Select the type of the deployment type 1 , indicate the location of the output file 2 , for a virtual machine indicate the size 3 of the disk then click Next 4 .
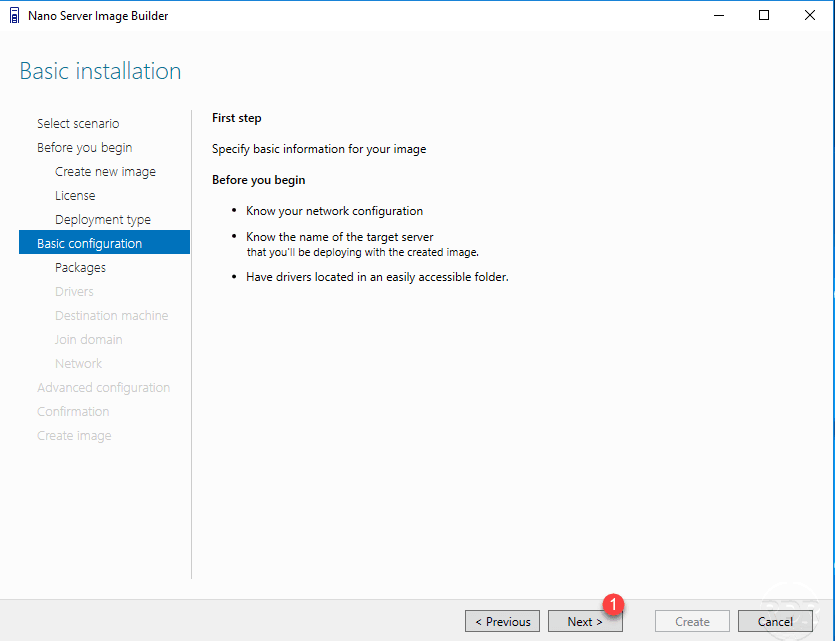
Click on Next 1 .
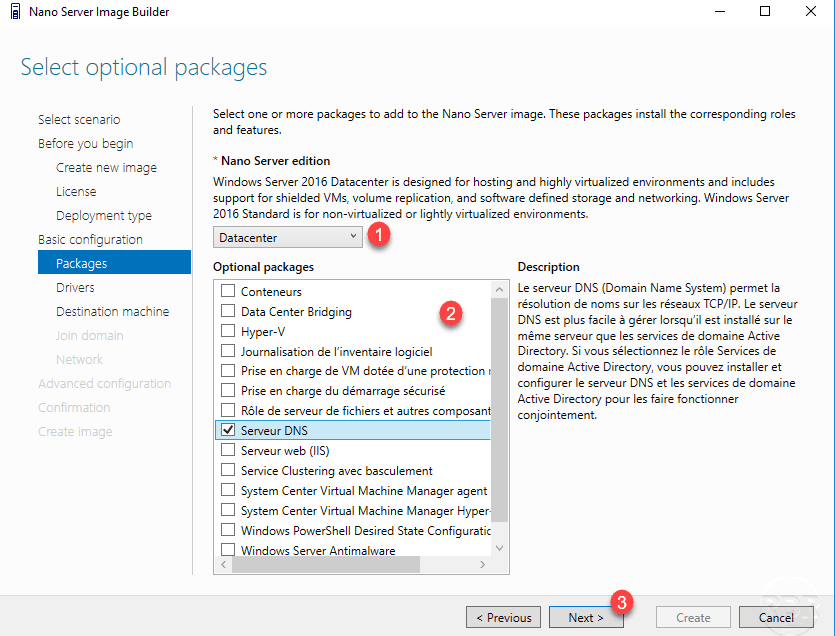
Choose the edition 1 , choose the packages to integrate 2 and click on Next 3 .
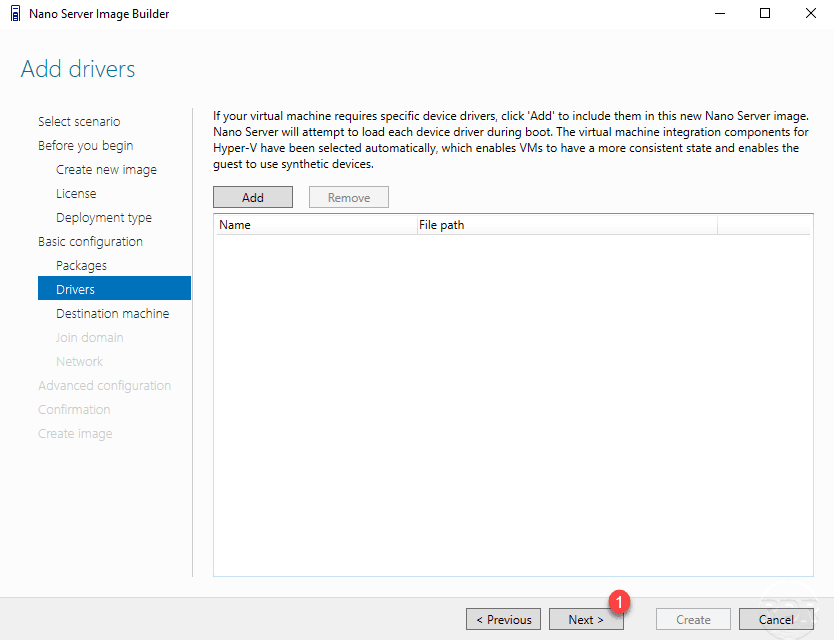
It is possible to add drivers to the installation, pass by clicking Next 1 .
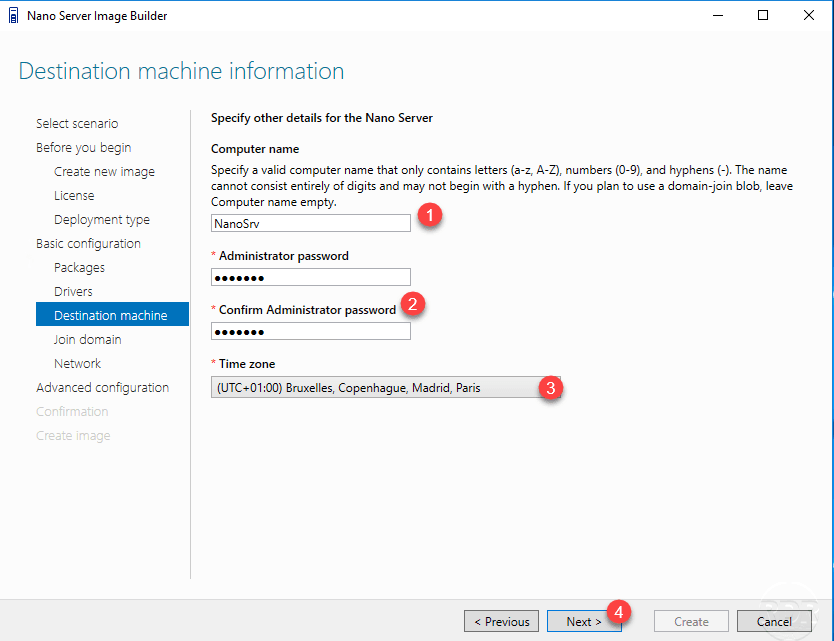
Enter the name of the machine 1 , enter the password of the Administrator account 2 , set the time zone 3 and confirm by clicking Next 4 .
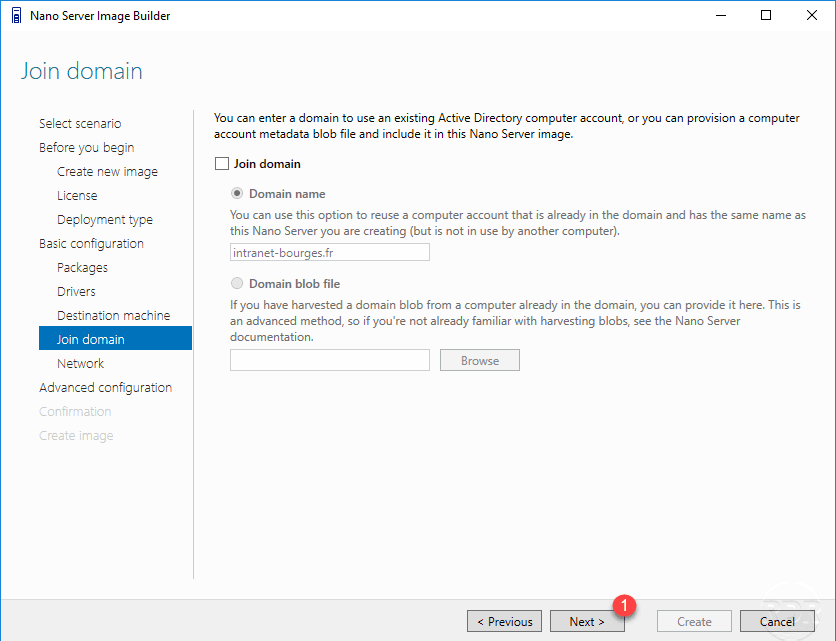
It is possible to join the server to the domain during the creation, skip the step by clicking Next 1 .
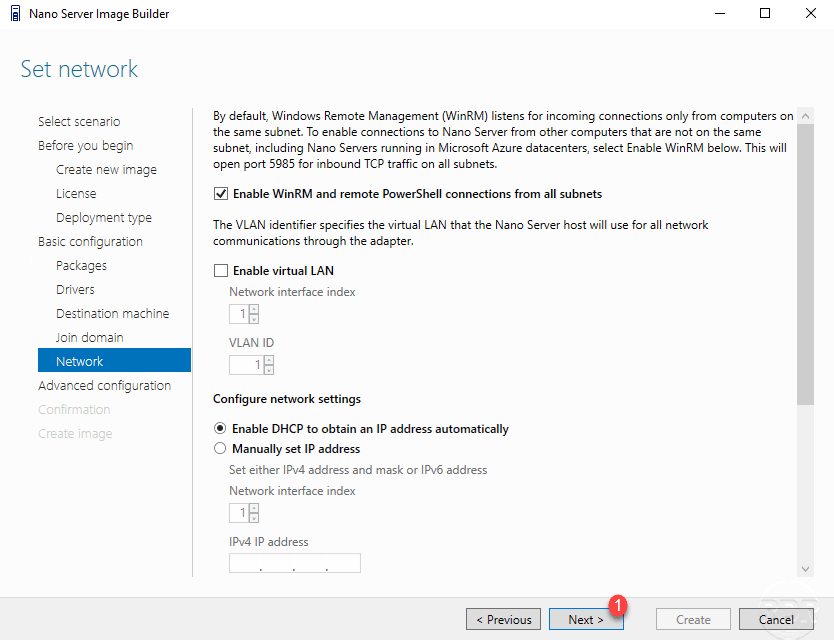
If necessary, it is possible to define the network parameters at the creation of the image, pass by clicking Next 1 .
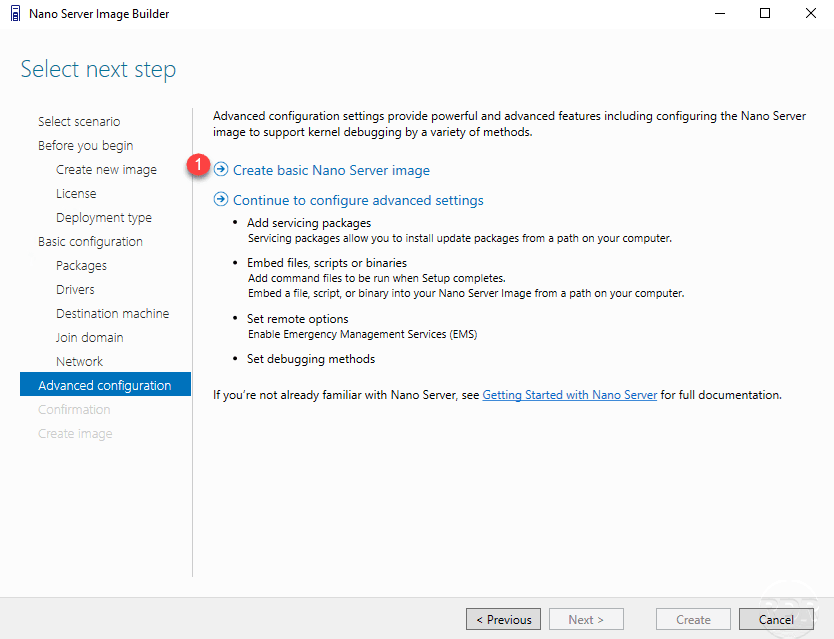
The configuration of the image is complete, it is possible to go further by choosing the advanced configuration option. Click on Create basic Nano Server Image 1 .
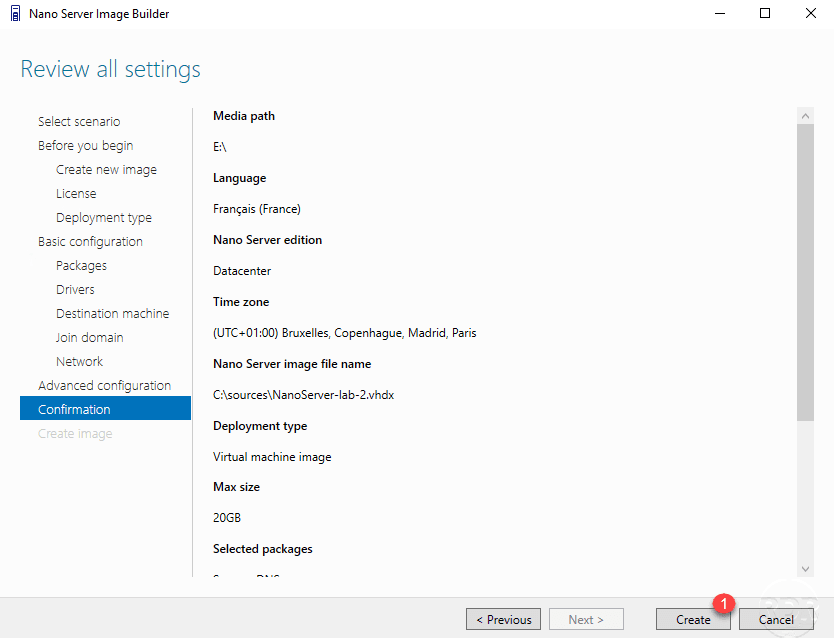
A summary of the image is displayed, click on Create 1 to confirm the generation.
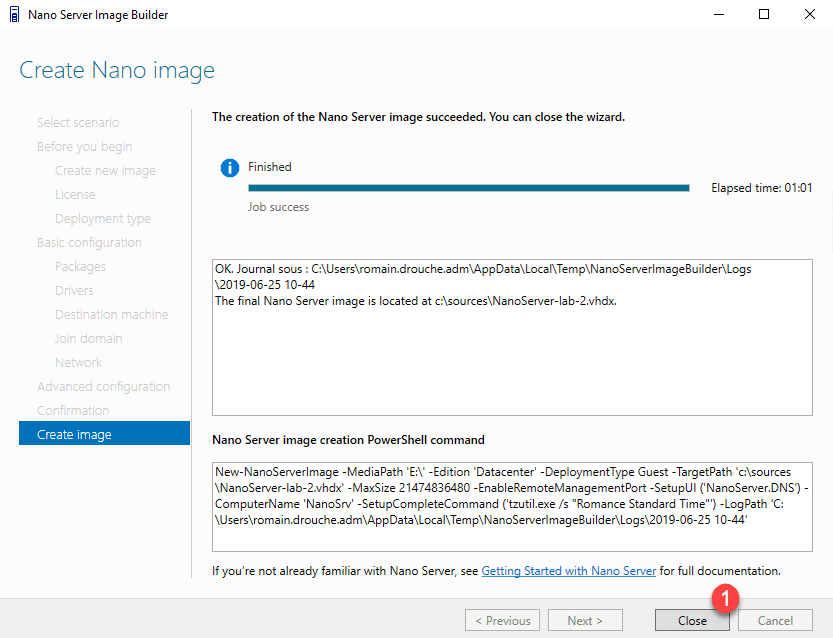
Wait while creating the image …

Once the image is generated, exit the wizard by clicking Close 1 .
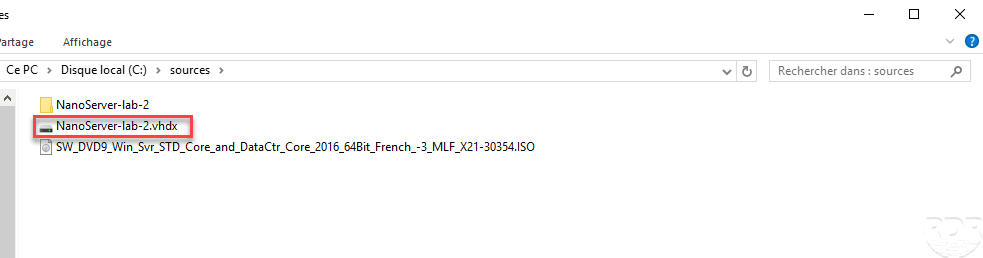
Open the configured location and verify that the vhdx file is present.
Use the virtual disk
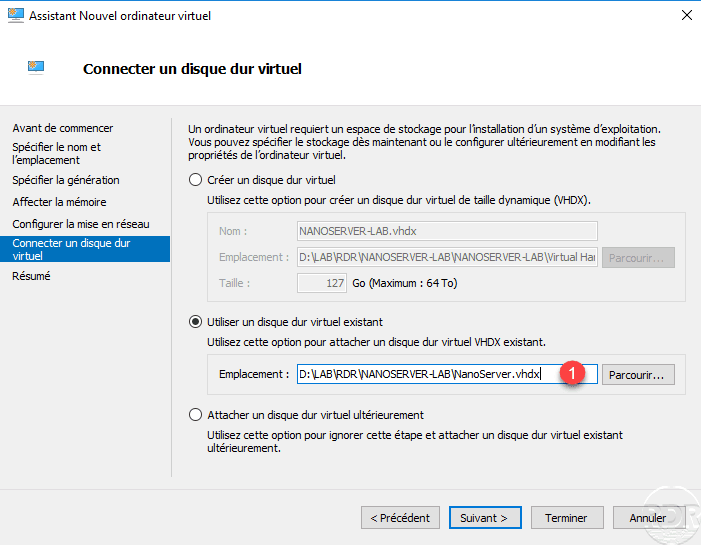
Move the virtual disk file to the desired location on a hyper-v server and then create a new virtual machine, in the wizard when configuring the virtual hard disk, select the disk of the generated image 1 .
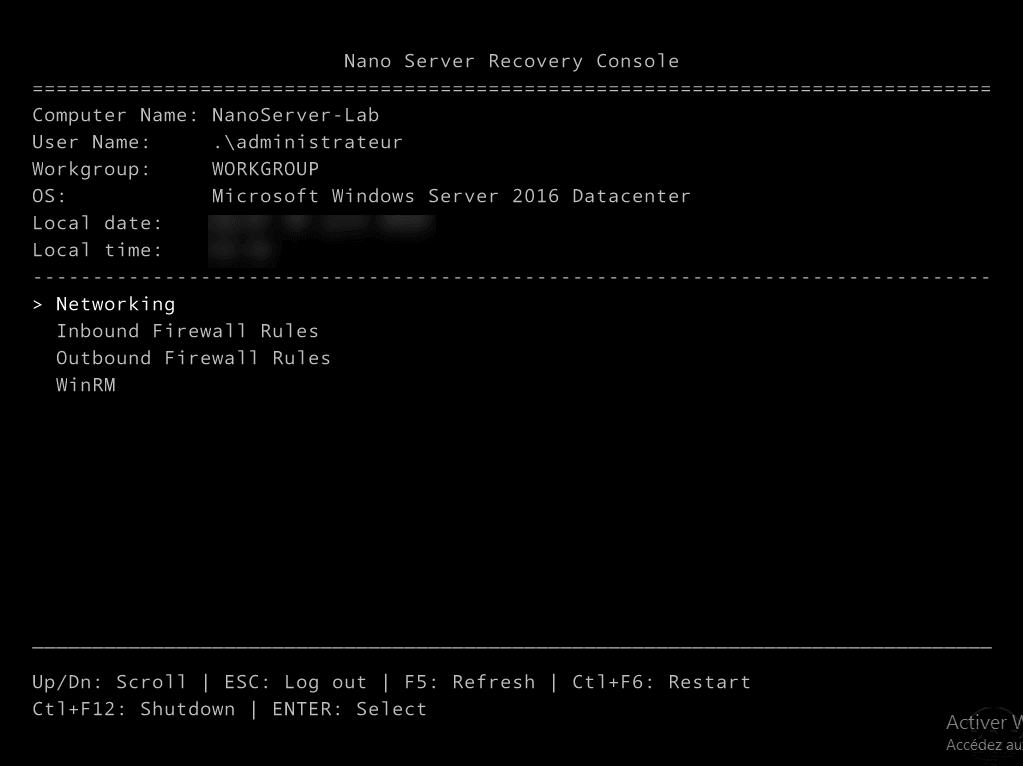
Start the virtual machine and log in with the Administrator account.
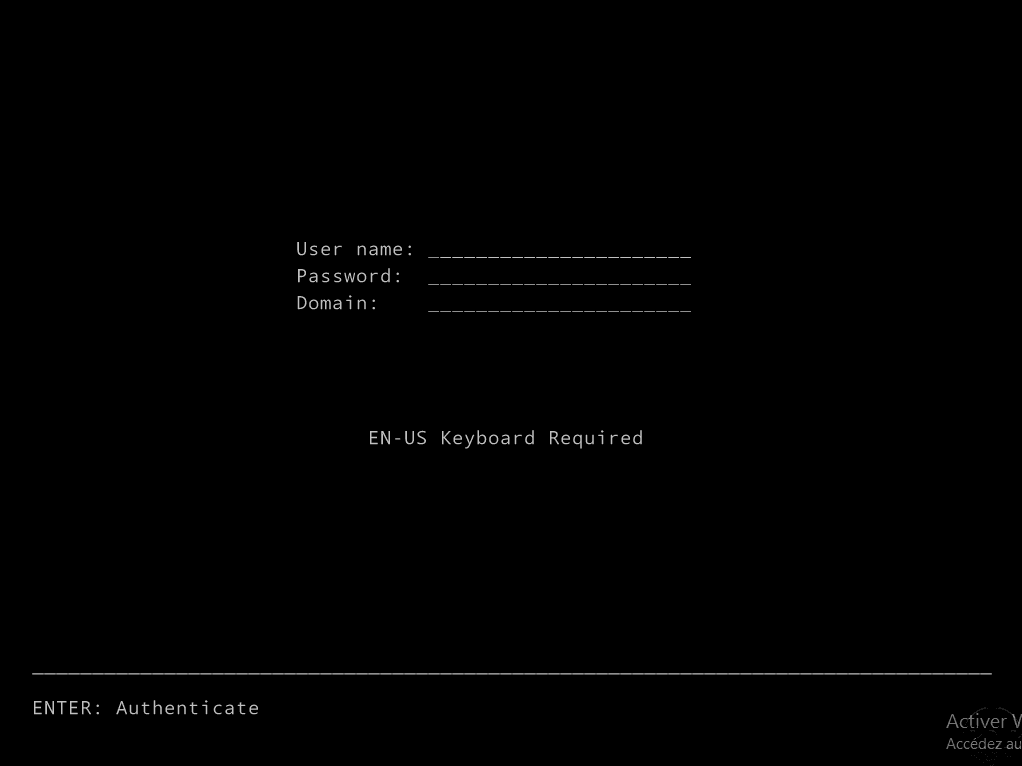
Once identified, a summary of the machine is displayed and a configuration menu is available that allows network configuration, firewall and WinRM activation for remote administration.