

Dans ce tutoriel, nous allons aborder l’installation d’Office lors du déploiement de Windows.
If you are not familiar with application deployment with MDT, I invite you to read the following article first: MDT installation during applications during Windows deployment.
Why use MDT to install Office? When adding the application in the console, you have the possibility to customize the deployment.
In the tutorial, we will see how to deploy Office 2013, you can apply it for other versions, for Office 365 some adjustments are necessary.
Prerequisites:
- Have the Office sources available in a folder accessible from your deployment server.
Add Office in MDT Console
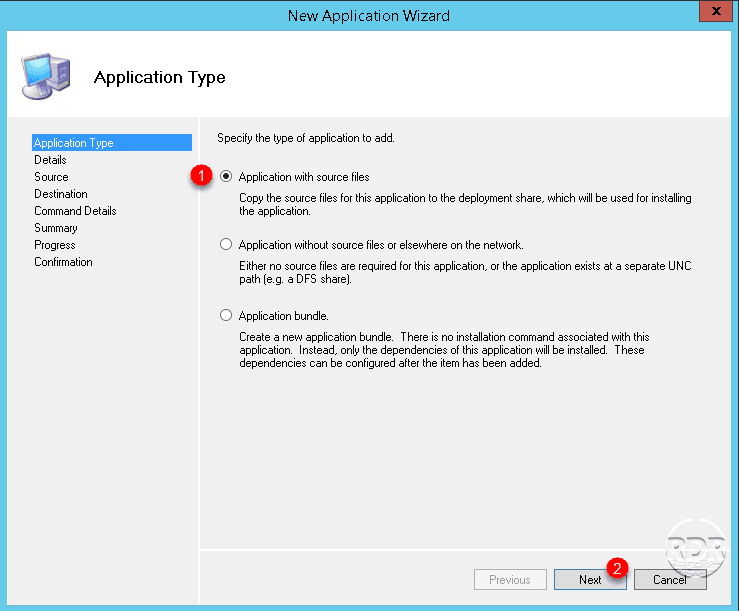
1. From the MDT console, launch the wizard to add an application.
2. Select the Application with source files 1 option then click on Next 2.
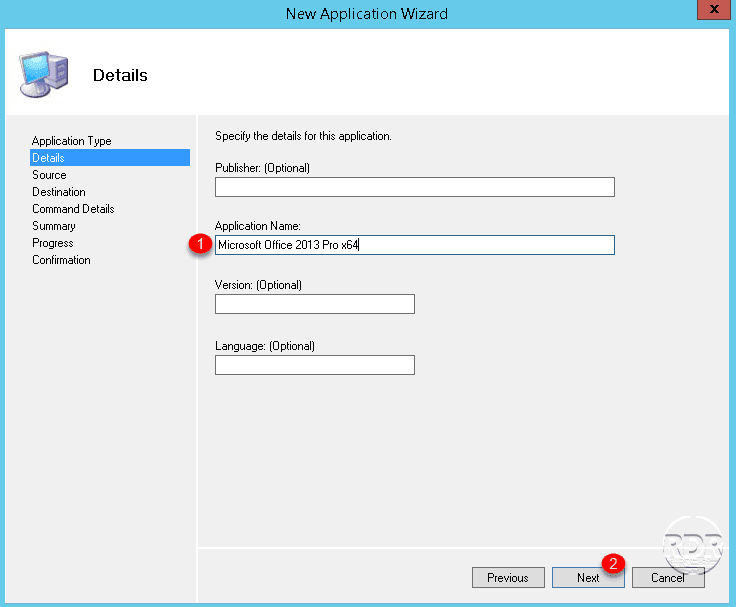
3. Name the application 1 and click on Next 2.
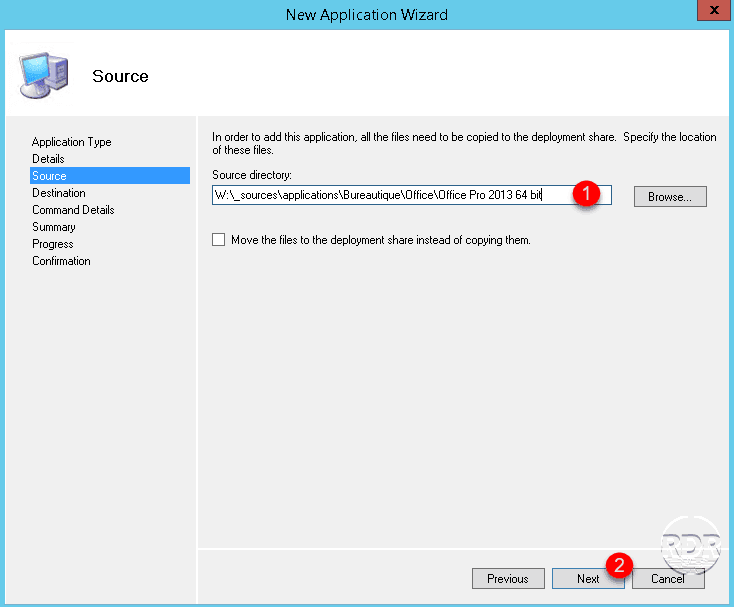
4. Indicate the location of Office sources 1 then click on Next 2.
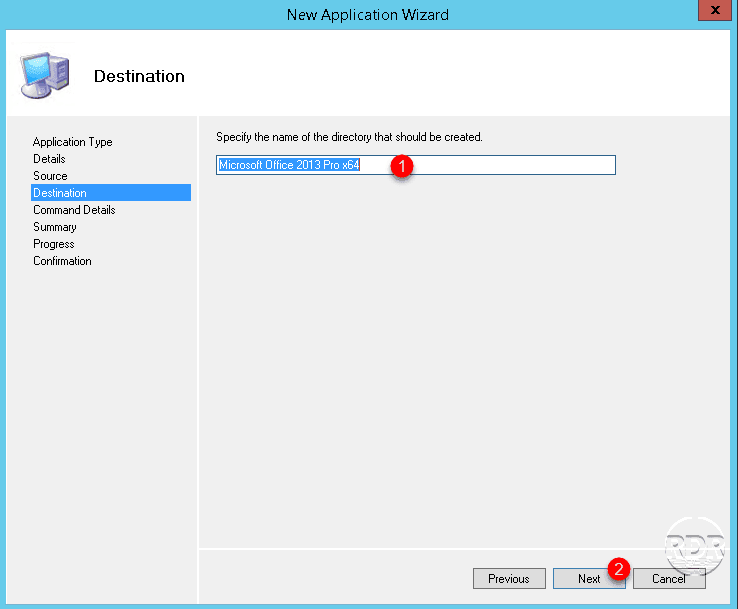
5. Indicate the name of the folder that will be created in the DeploymentShare\Applications 1 folder then click on Next 2.
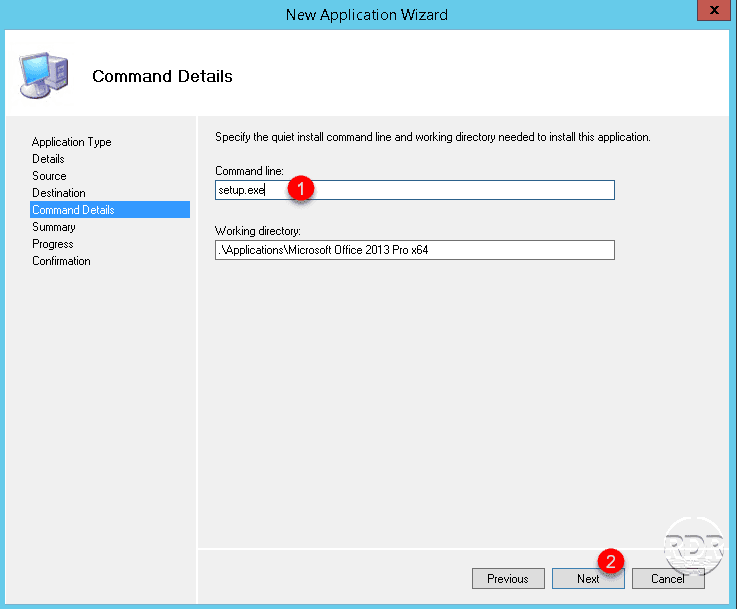
6. Enter the name of the executable 1, for office setup.exe then click on Next 2.
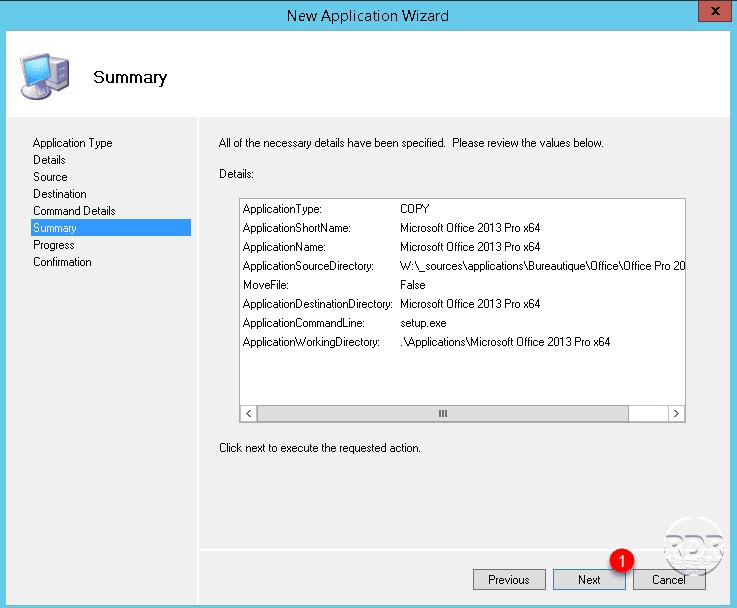
7. Addition summary, click Next 1 to add Office to MDT.
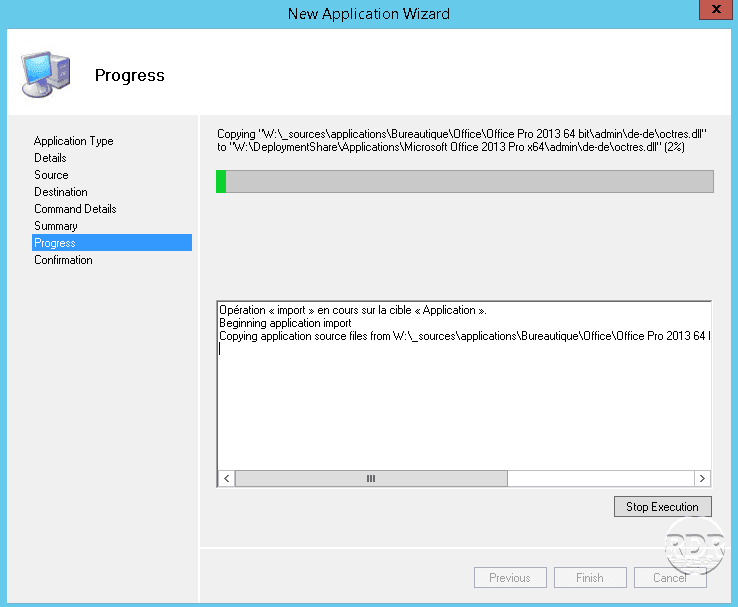
8. Wait while copying sources…
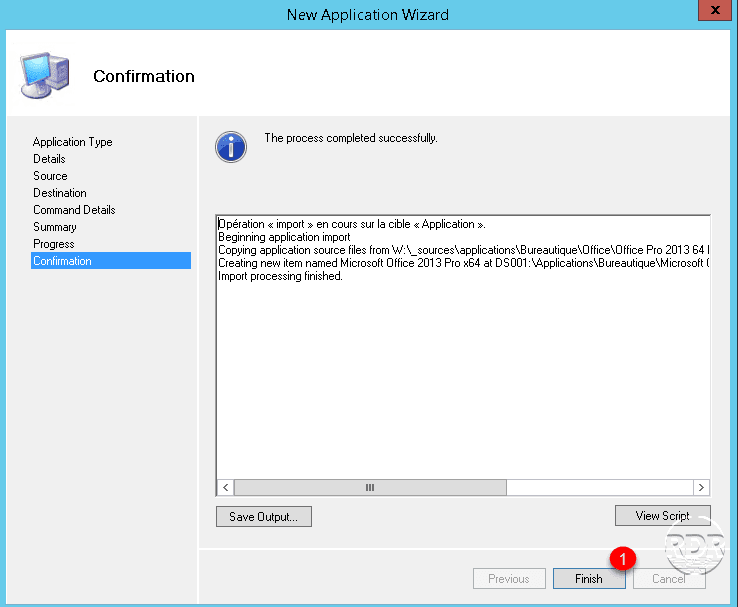
9. The import is complete and Office is now available in applications. Click Finish 1 to close the wizard.
10. Office should be available in the console.

Now that we have added the application in the console, we will see how to automate the installation of office using two methods.
Customize Office installation in MDT
There are two ways to customize the office installation:
- XML response file, which automates the installation of Office without configuration.
- MSP response file, which fully configures Office.
In both cases to access customization you must:
1. Right click on Office 1 and click on Properties 2.
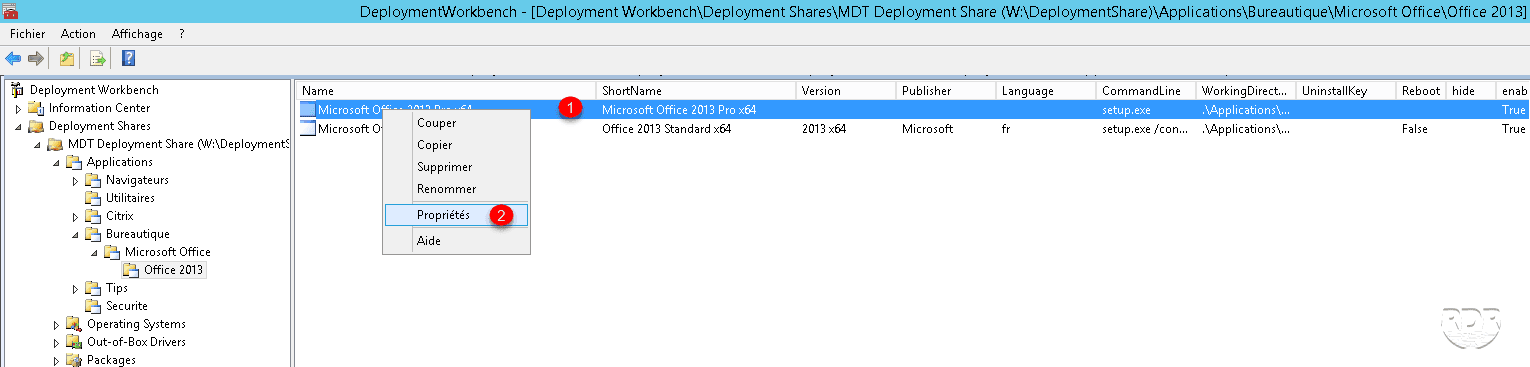
2. Go to the Office Products tab 1.

XML response file
1. From the Office Products tab, select the office version 1, customize the installation options in the Config.xml setting 2 box then click on Apply 3.
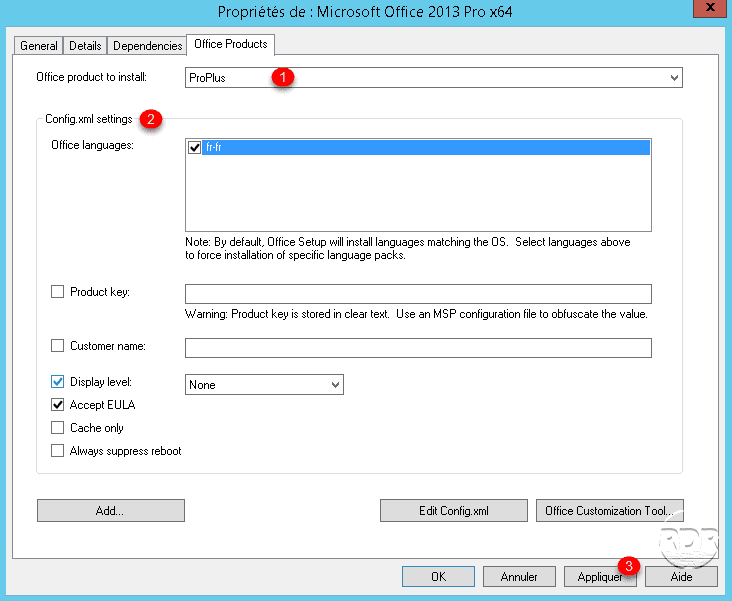
The example above will allow the installation of Office 2013 ProPlus in French, without display (Display level: none) and Accept the user license (Accept EULA)
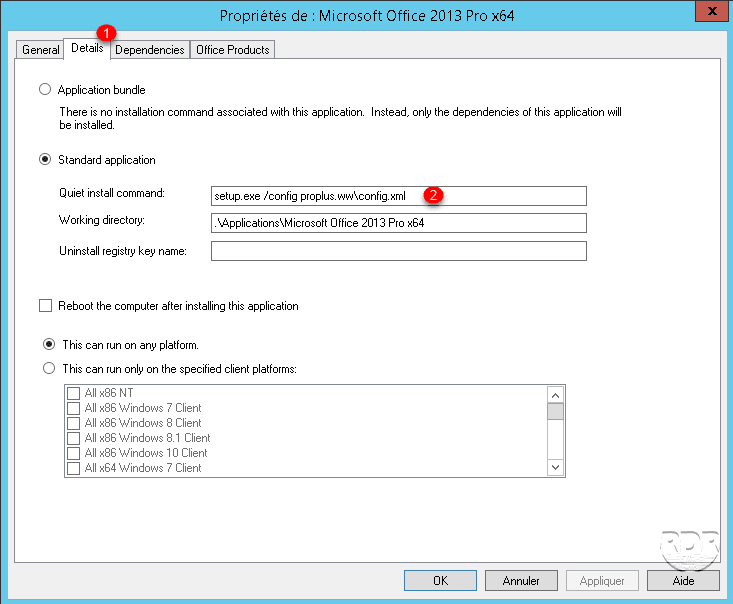
2. Go to the Detail 1 tab, we can see that the installation command 2 has been modified by indicating the XML file to use.
MSP response file
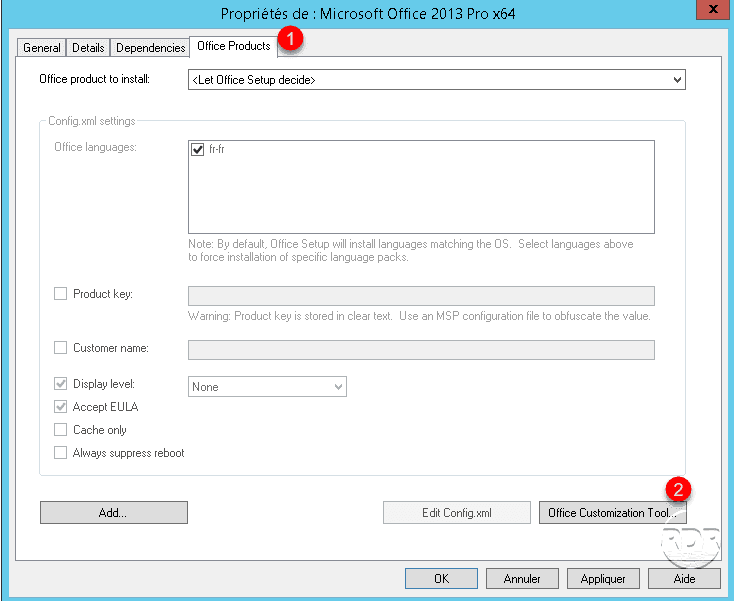
1. From the Office Products 1 tab, click on Office Customization Tool… 2.
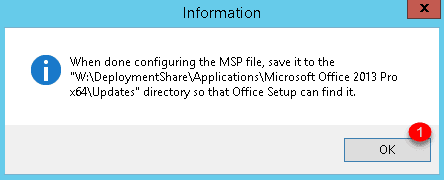
2. Click on OK 1 to close the information message. (We will come back to this later).
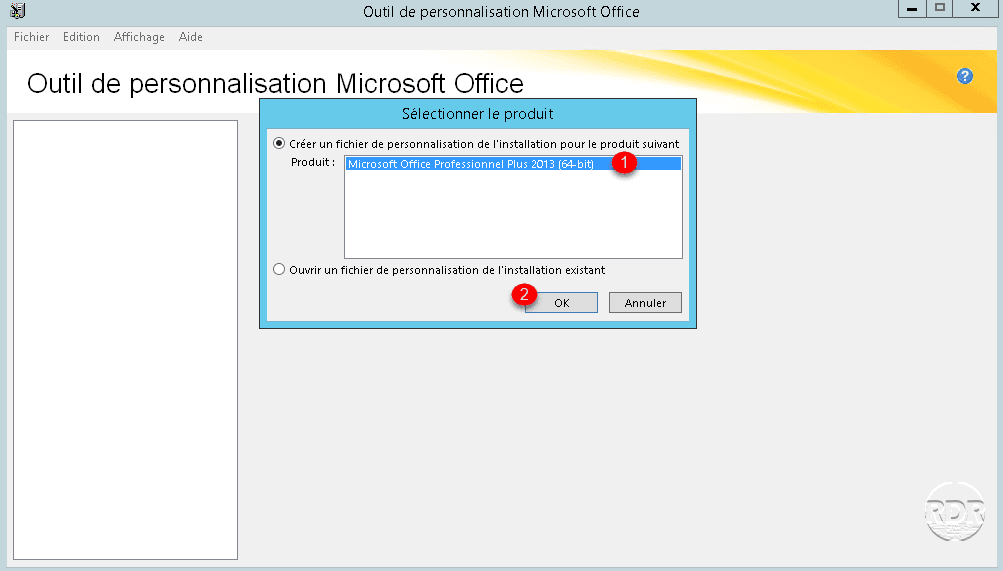
3. Select the version of Office that will be personalized 1 then click on OK 2.
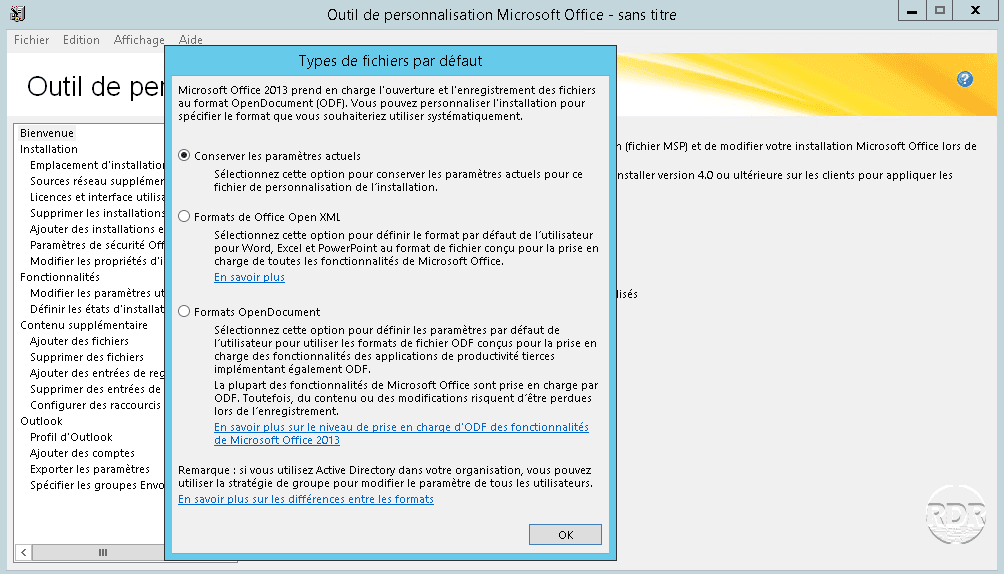
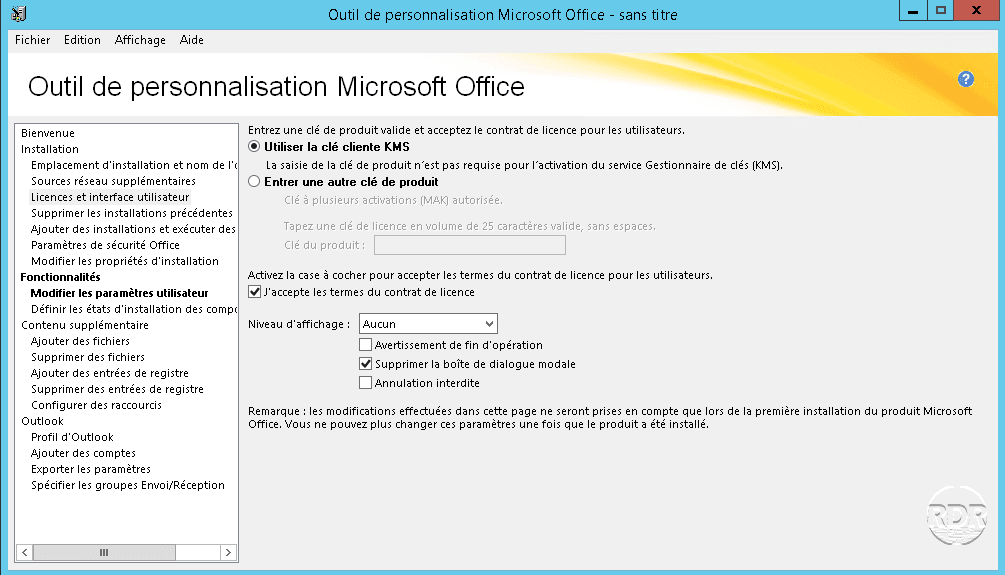
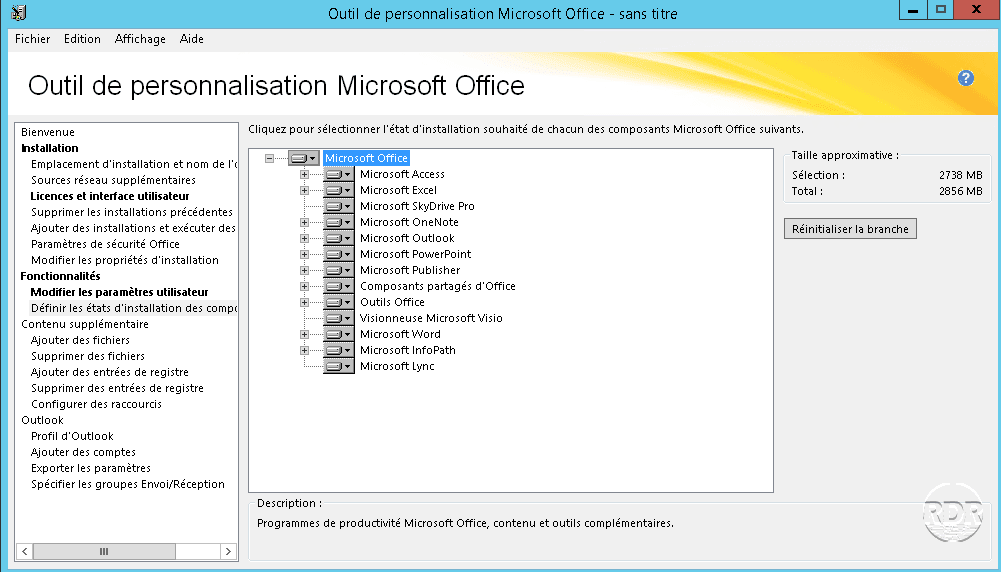
4. Customize Office installation and options…
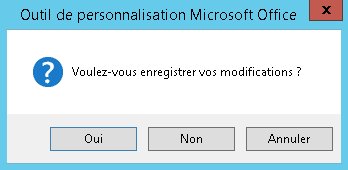
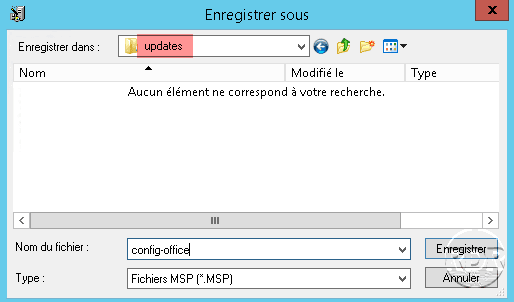
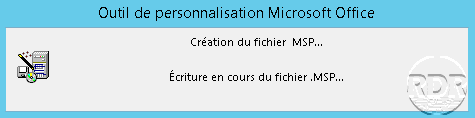
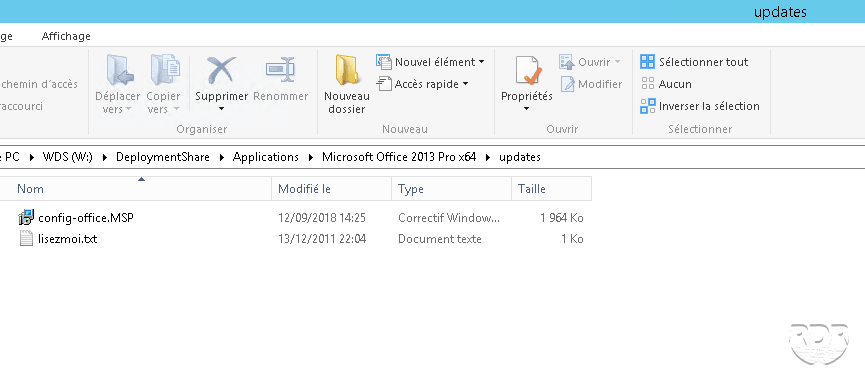
5. Save the configuration, to save the file, click on the cross at the top right. There are two possible solutions:
- Save in the updates folder of the office sources, this way the MSP file should automatically be called during installation
- In the location of your choice, you will have to specify the location of the file in the properties.
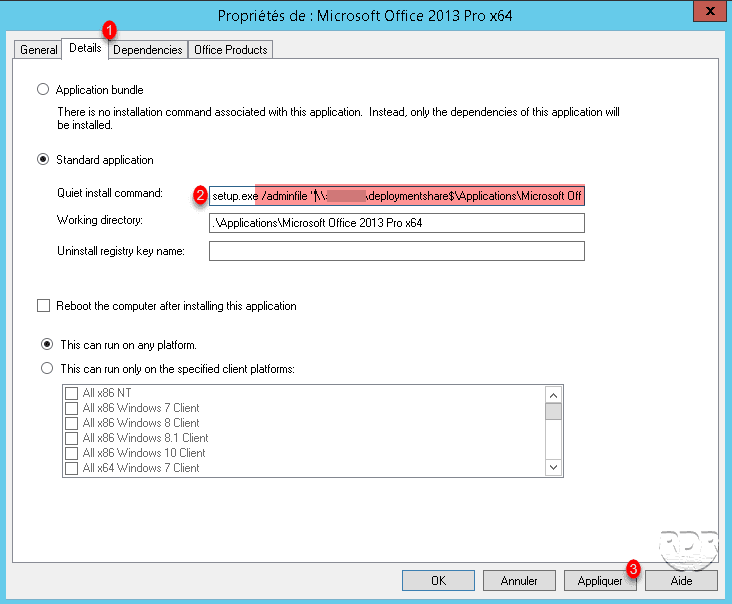
6. If you chose the second option, go to the Details 1 tab and in the Quiet install command 2 field, add the parameter /adminfile “\LOCATION\FILE\MSP.msp” then click on Apply 3.
All you have to do is explore the customization options.