In this tutorial, I will explain how to deploy Keycloak with Docker.
Keycloak Overview
Before getting to the heart of the matter, I will present to you Keycloak.
Keycloak is open source software, which allows you to set up a single sign-on SSO system that supports:
- OpenID
- SAML
If you know ADFS, Keycloak allows you to do the “same thing”, that is to say have a single web portal for application authentication.
Keycloak allows you to be more flexible than ADFS because it supports several sources:
- Local base per reamls
- Linking with Active Directory
- ADFS
- and most suppliers (Google, Facebook, Github …)
In addition to multiple sources of user accounts, Keycloak allows:
- Password policy
- Change your password
- OTP
- …
Prerequisites
To deploy Keycloak you will need:
- From a Linux server with Docker
- From a reverse proxy, in this tutorial I will use Nginx.
Installing Keycloak
Keycloak can be deployed in several ways:
- On a Linux distribution with OpenJDK
- Kubernetes
- Podman
- OpenShift
- Docker
In this tutorial, I will explain how to deploy it with Docker.
Here are the documentation links for deployment with Docker:
- https://www.keycloak.org/getting-started/getting-started-docker
- https://www.keycloak.org/server/containers
If you look at the documentation, putting Keycloak into production is not explained very well on the first link and on the second, we explain how to build your Docker image for putting it into production.
To make things easier for you, I have already “built” an image for Docker and written a docker-compose.yml file.
Sources are available here : https://git.rdr-it.io/registry/keycloak.
I also added the following addition to the image : Keycloak: Restrict user authorization on clients which allows you to restrict authentication based on a role.
This brings functionality similar to AD FS with restriction by user group.
If you have started to get used to reading my tutorials when I use Docker containers, I will start by creating a folder where I will put the different files and volumes.
Here I will work in the file /containers/keycloak/.
Here I will work in the file
sudo git clone https://git.rdr-it.io/registry/keycloak.git .
Check that the repository files are present:
ll
To make container configuration easier, the settings have been put into an environment file.
Copy the file:
sudo cp .env.template .envEdit the .env file
sudo nano .envHere are the variable parameters to edit at a minimum:
| Variable | Explication |
|---|---|
MYSQL_PASSWORD | Keycloak user password in MariaDB |
MYSQL_ROOT_PASSWORD | Root account password in MariaDB |
KEYCLOAK_ADMIN_PASSWORD | Mot de passe du compte admin de Keycloak |
KEYCLOAK_PORT_EXPOSE | Exposed port of Keycloak container, default 8080 |
KC_HOSTNAME_URL | Protocol (HTTP/HTTPS) and Keycloak service url |
KC_HOSTNAME | Keycloak service url (normally not used) |
KC_HOSTNAME_PORT | Keycloak service port (normally not used) |
KC_PROXY | Allows you to declare if a reverse proxy is used, in the tutorial it will be reencrypt |
Now that the containers are configured, download the images:
sudo docker compose pull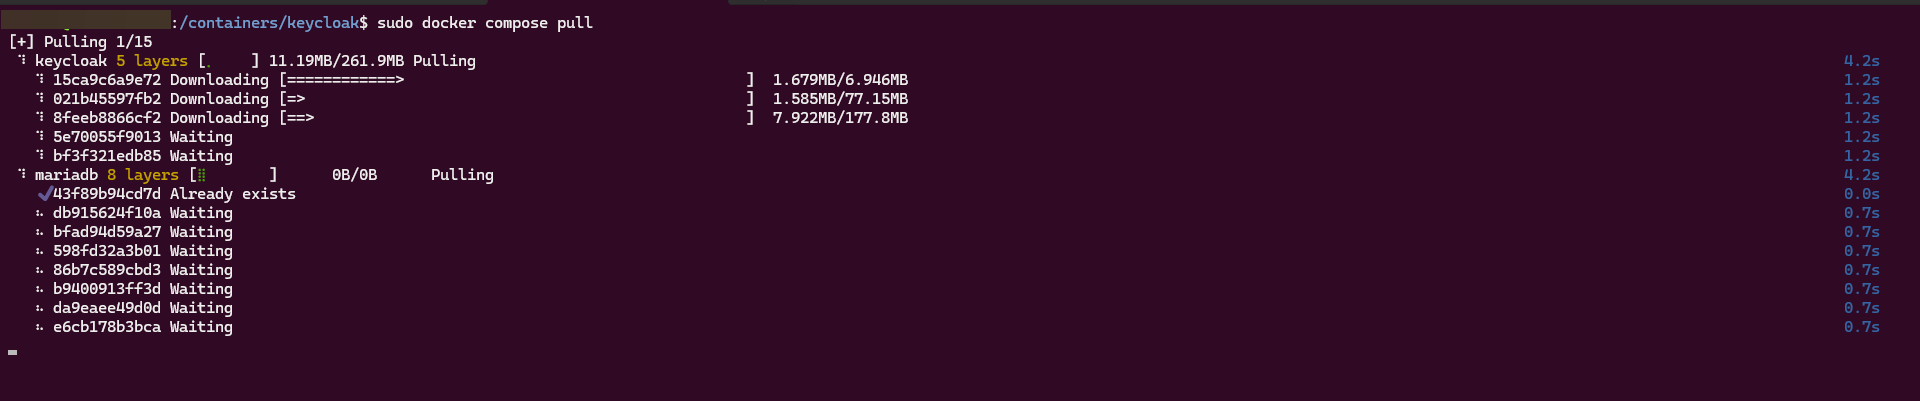
Start containers:
sudo docker compose up -d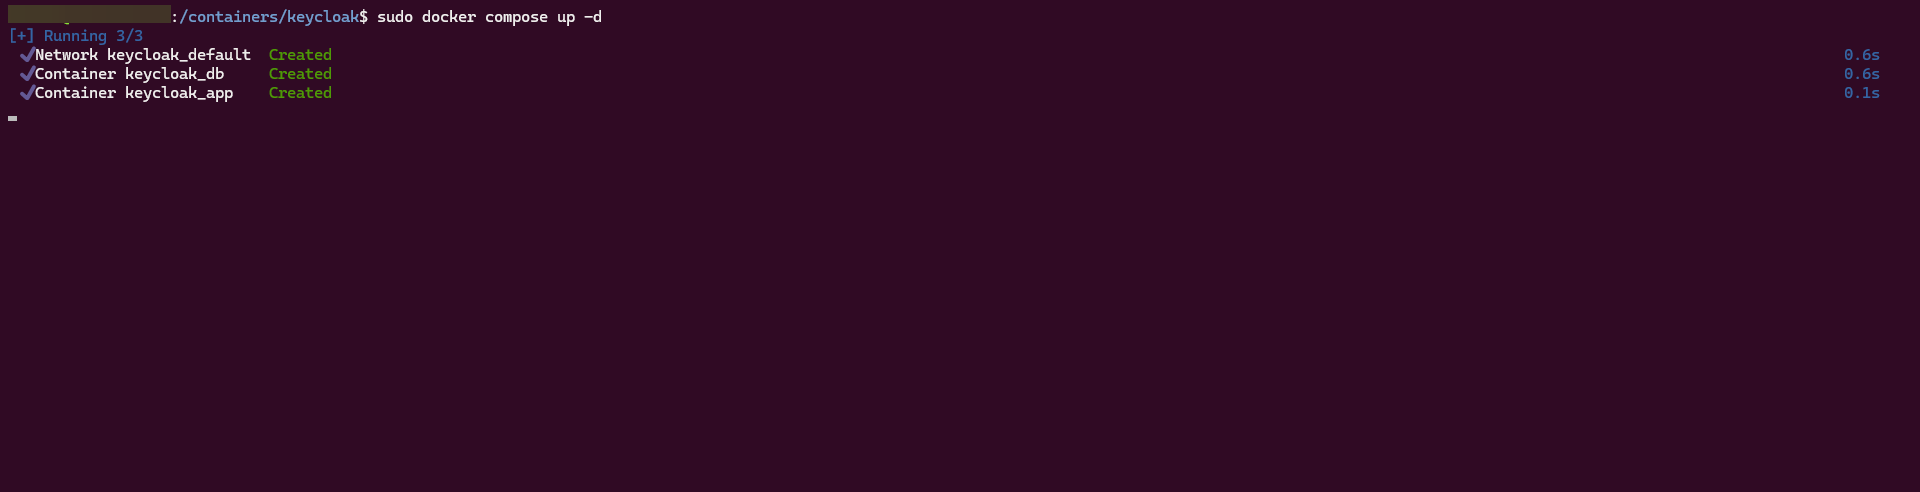
Check that everything is going well by displaying the logs:
sudo docker compose logs -f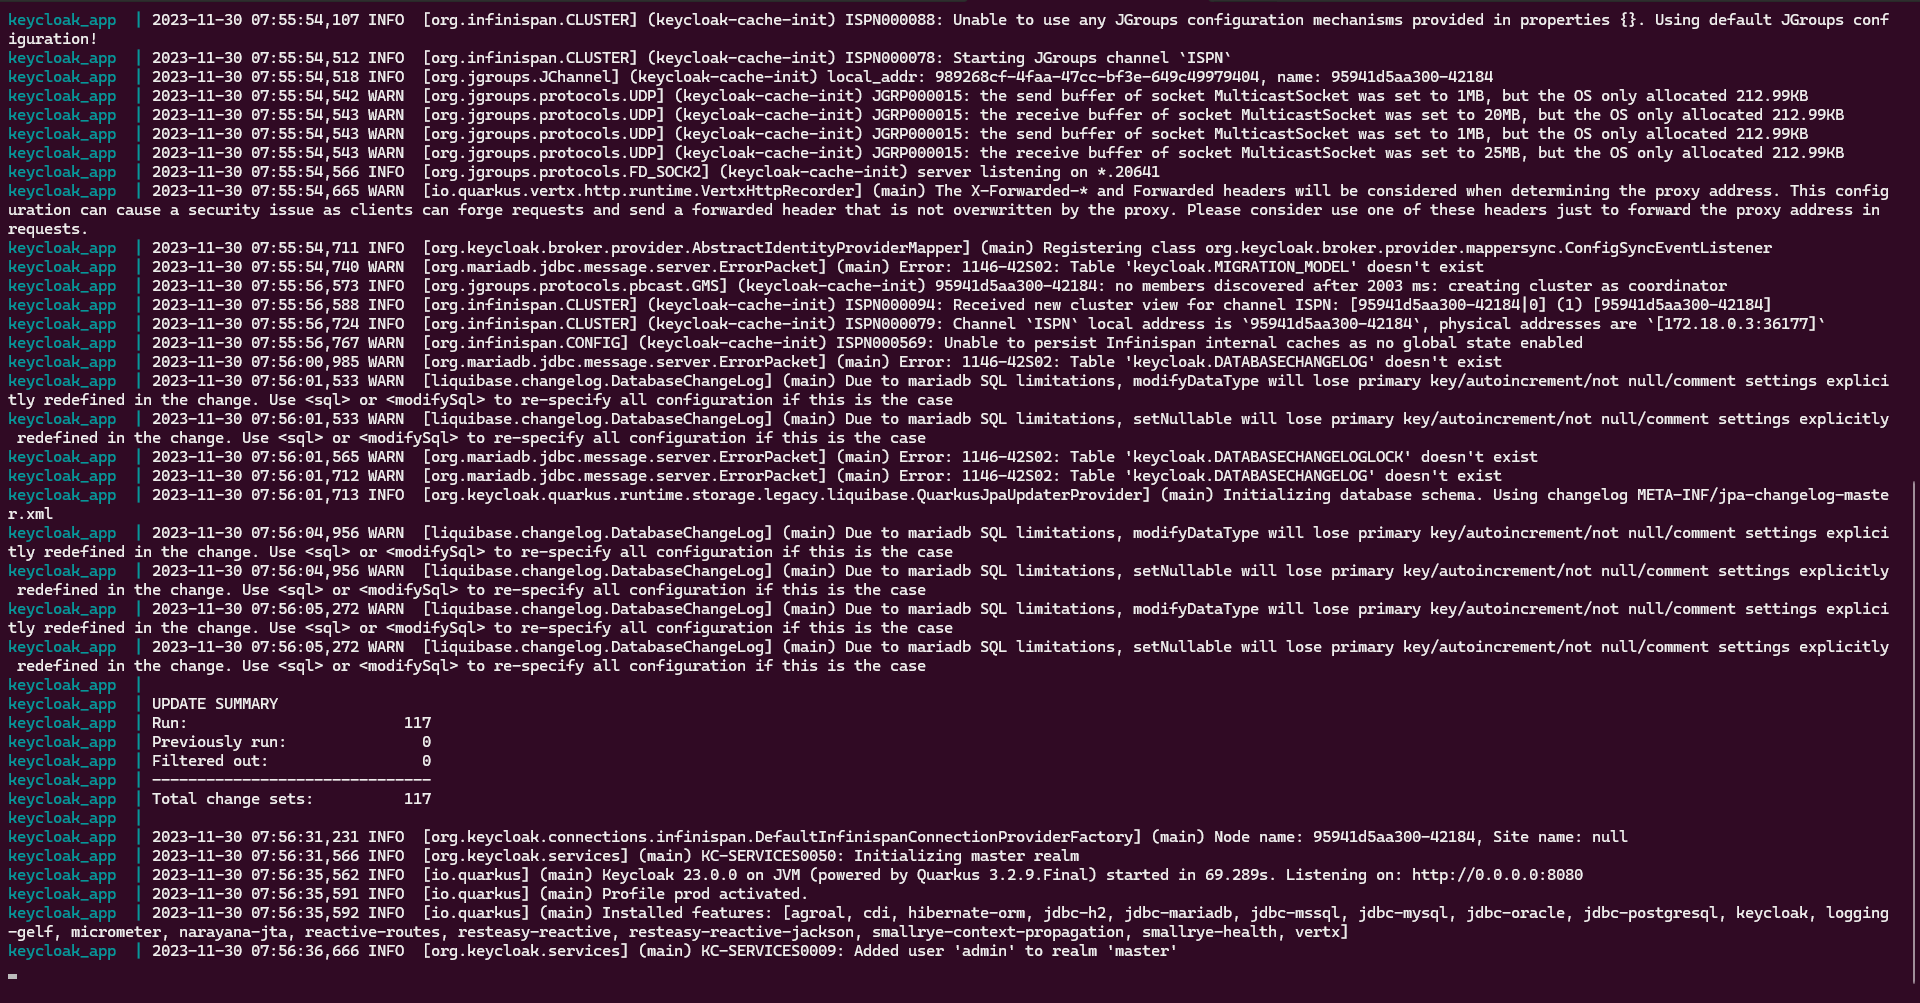
The Keycloak container is operational.
Before you can access it, you must configure the reverse proxy
Configure Nginx as a reverse proxy for Keycloak
In the cloned folder, the nginx-keycloak file is a template for configuring the virtual host.
Adapt to your environment.
Here is the file :
If you have any questions about setting up the virtual host on Nginx, ask them in the comments.
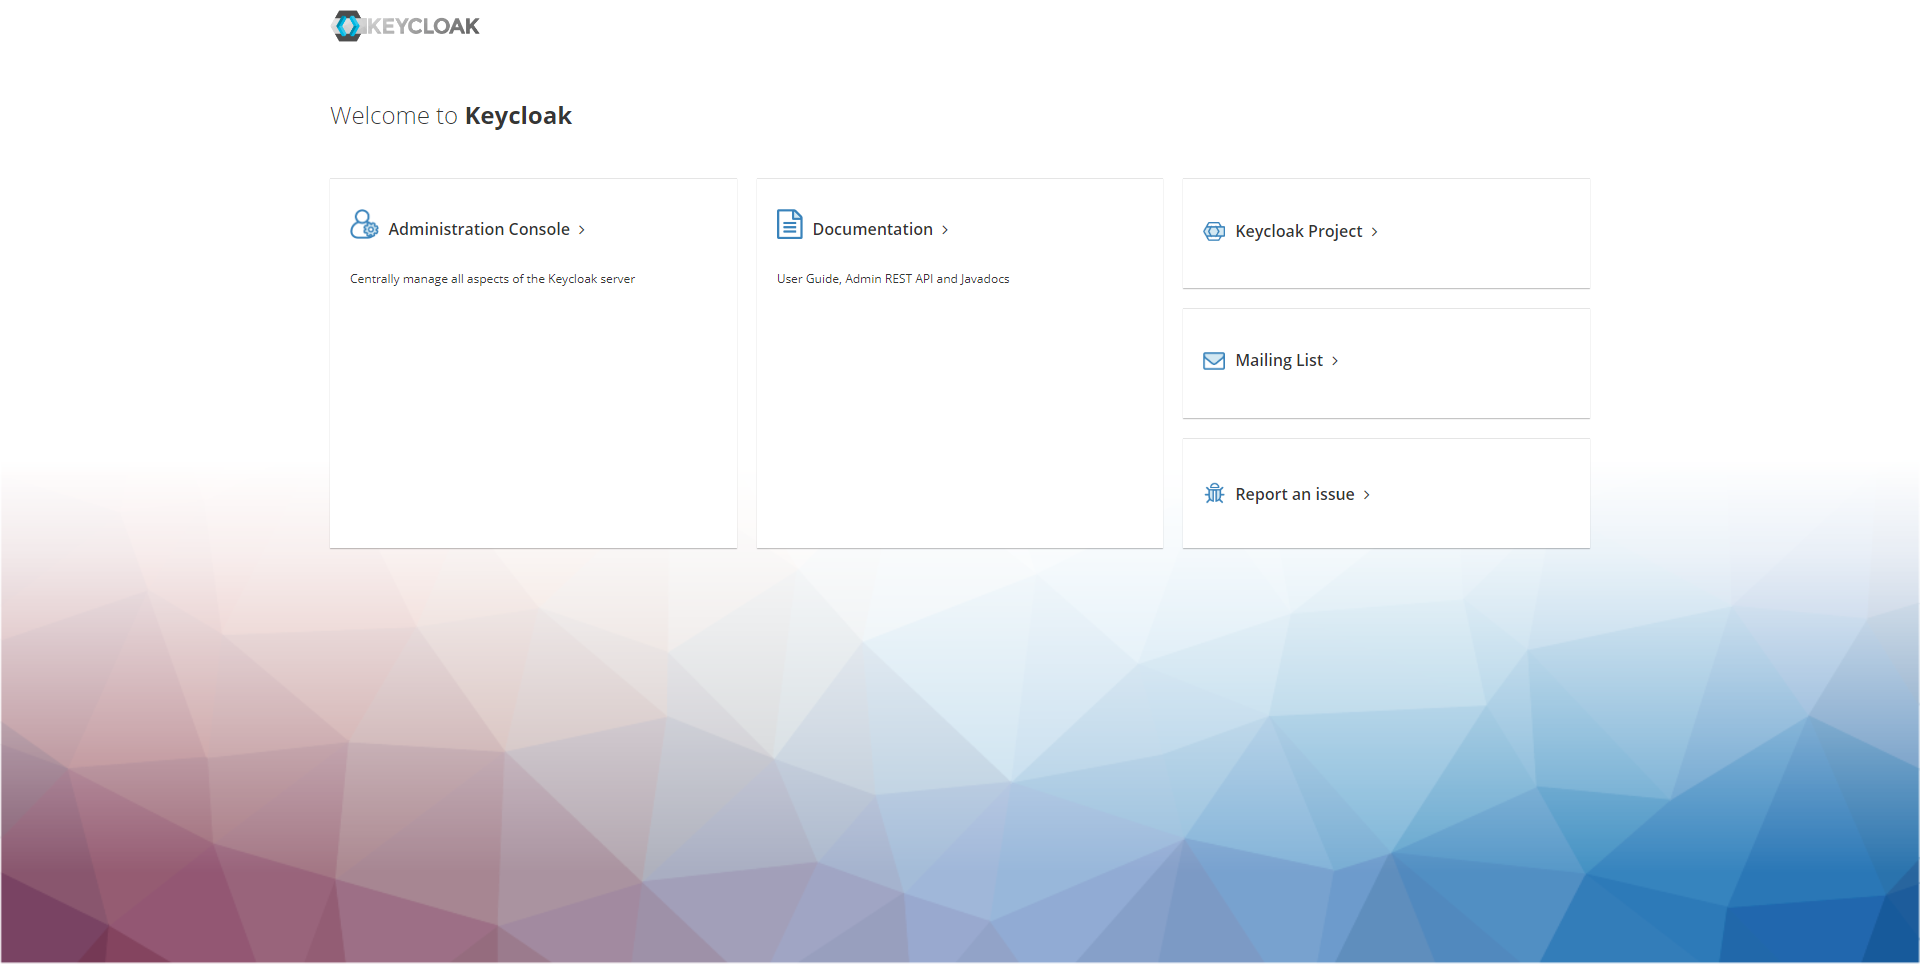
When the reverse proxy configuration is complete, open a browser and go to the configured URL to validate operation.
If all goes well, you arrive on this page:
Getting started with Keycloak
In this part, I will not explain to you how to configure applications with Keycloak to set up SAML or OpenID authentication, but I will present the administration interface and give you some information to get started.
Log in to Keycloak administration
On the previous page, click on Administration Console 1.
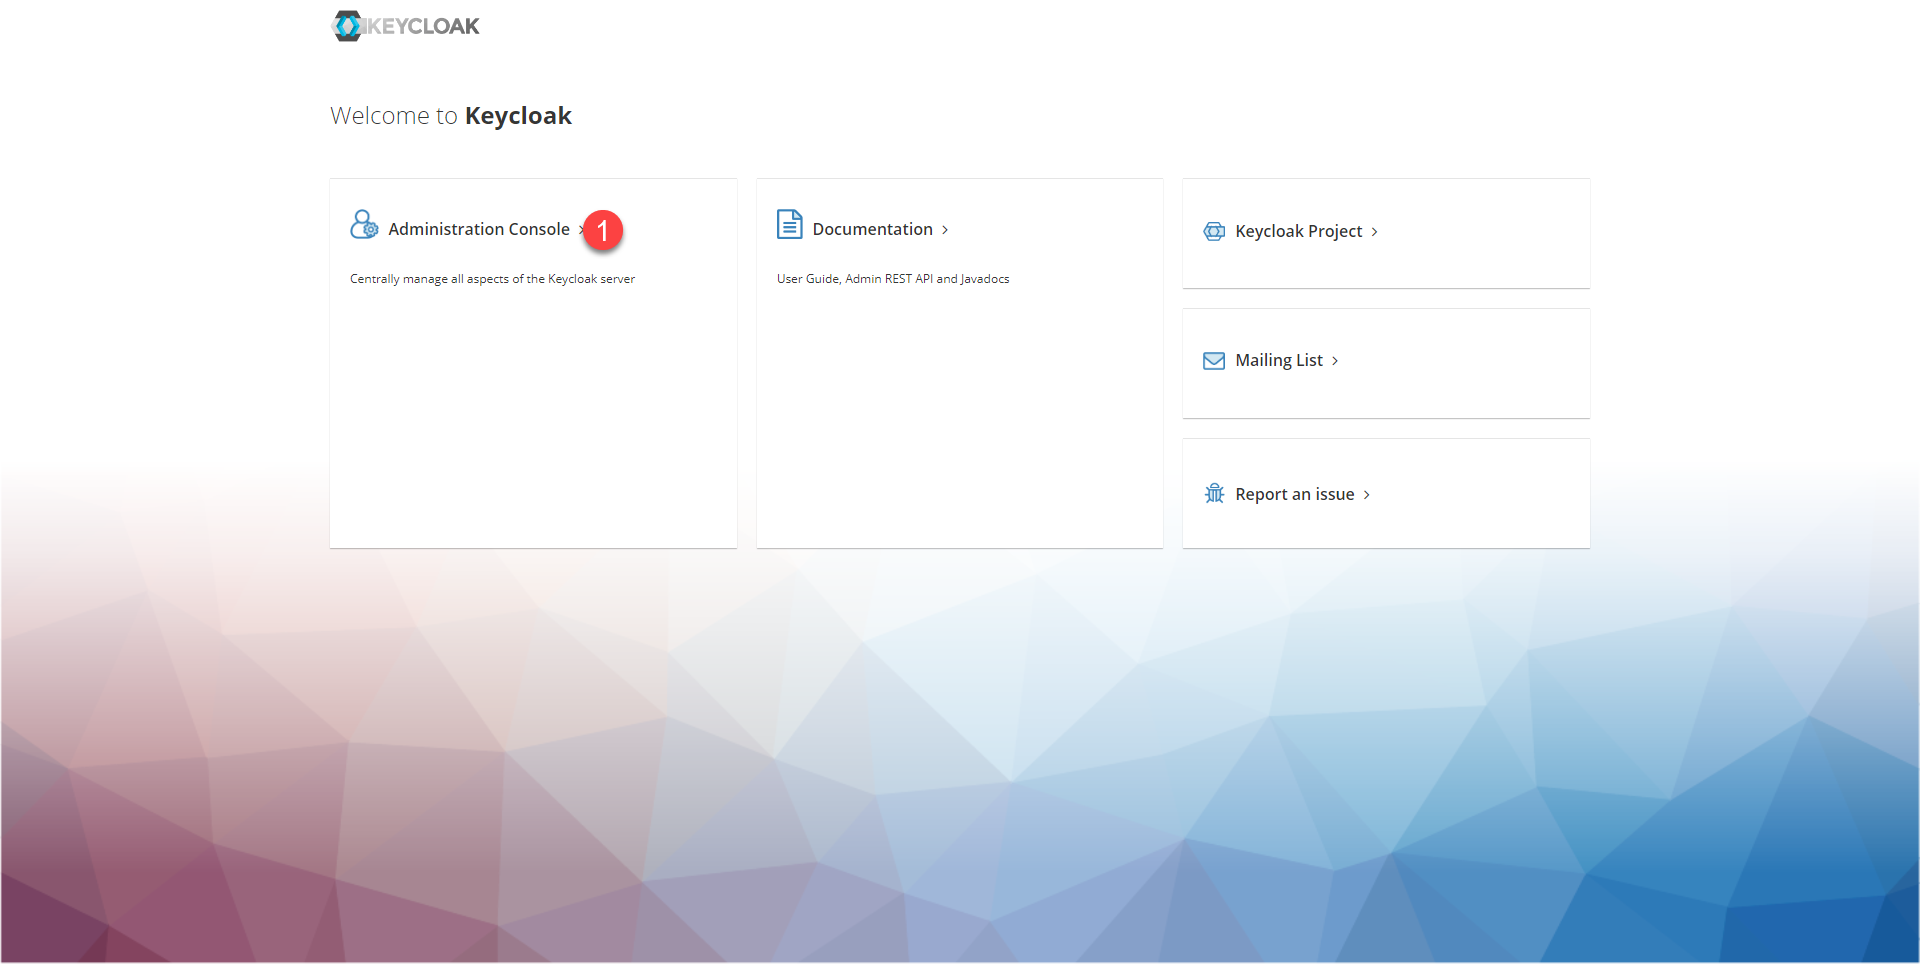
We arrive at the authentication form.
- Username: admin (unless you change it in the .env file)
- Password: the one indicated in the .env file

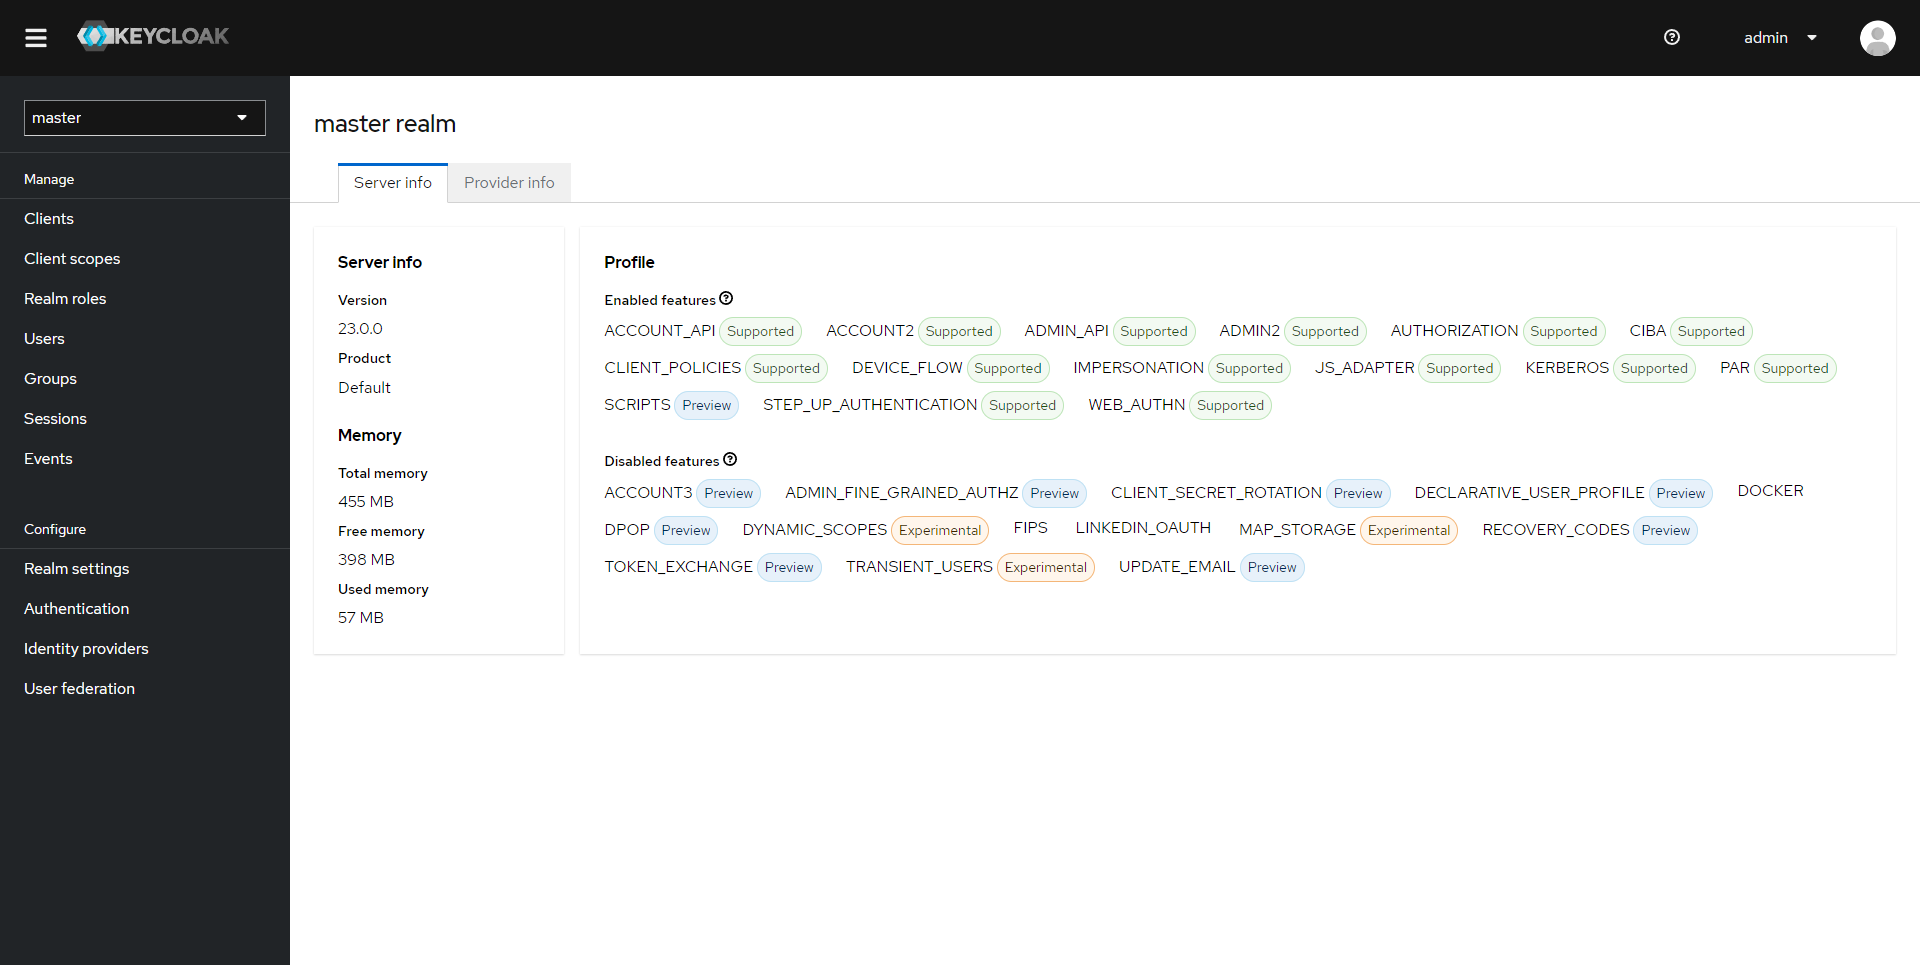
Once connected, you arrive on the server information page in the master realm.
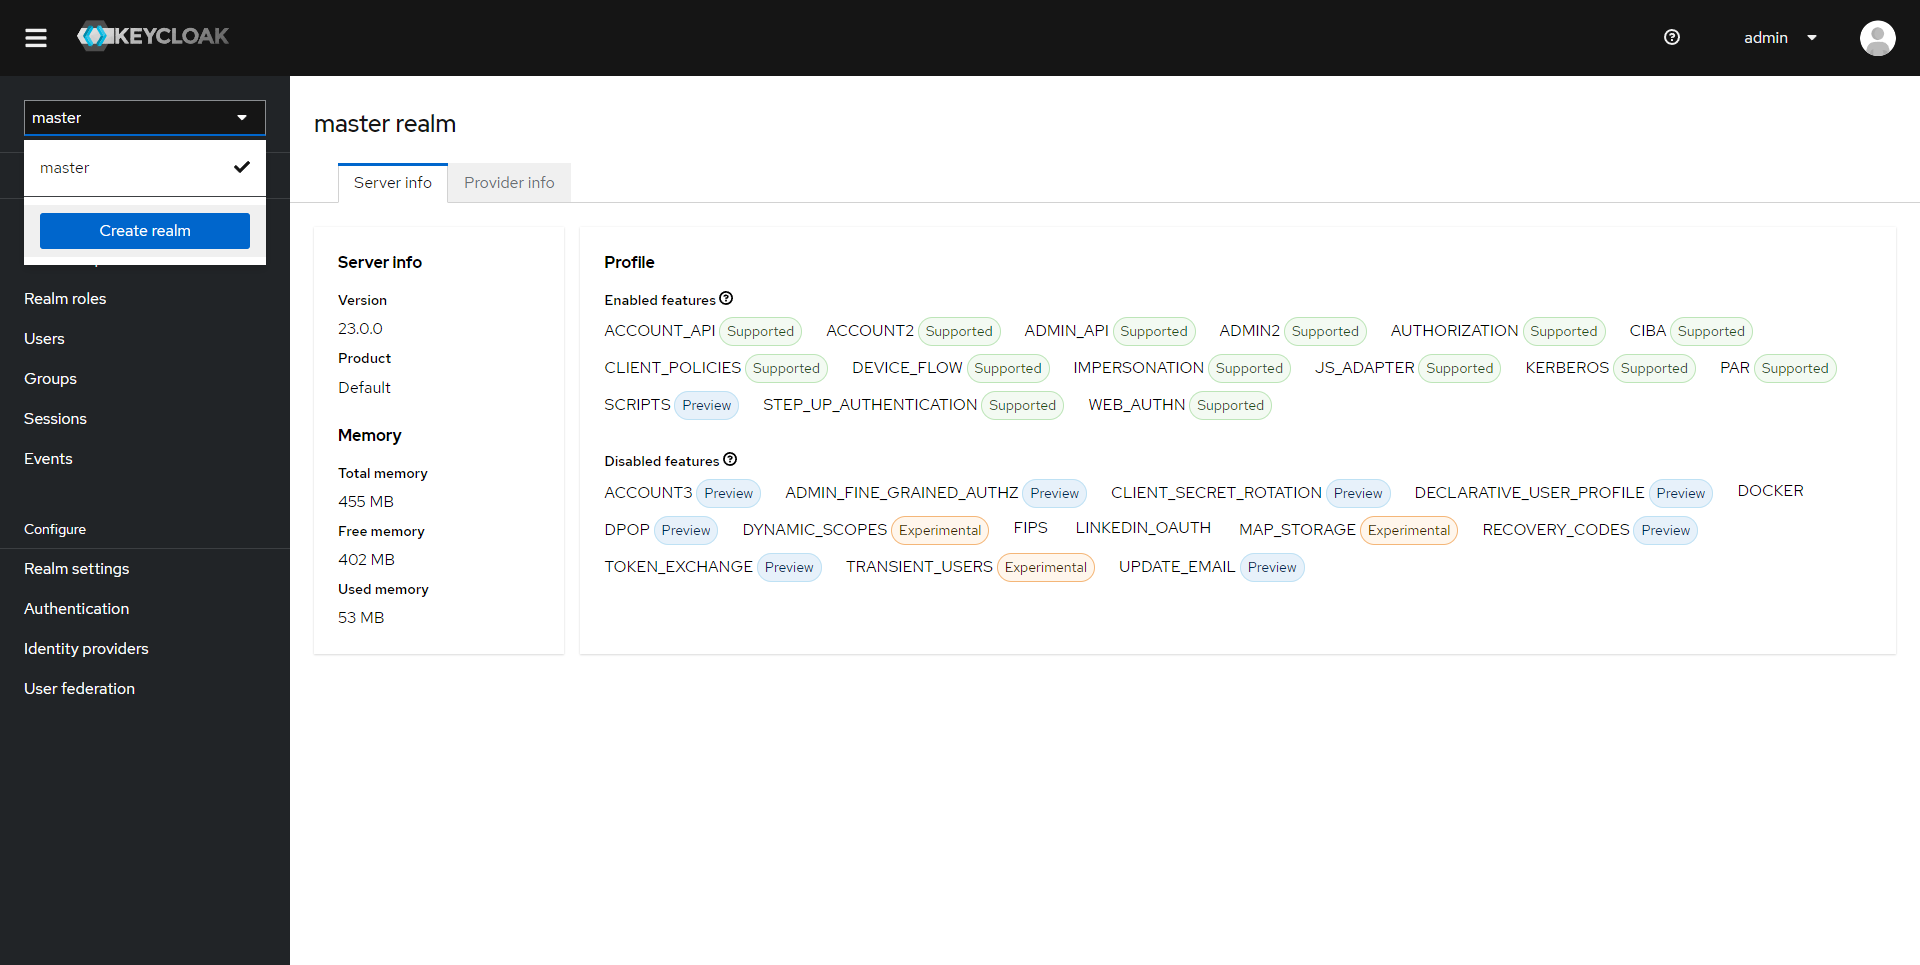
Realms
The first important thing to take into account in Keycloak is the notion of Realm.
Here is the definition given in the official documentation:
A domain manages a set of users, credentials, roles, and groups. A user belongs to a domain and logs in to it. Realms are isolated from each other and can only manage and authenticate users they control.
The creation of different realms will depend on how you use Keycloak.
If you are a service company, for example, you will create one domain per customer.
In the case of use in an internal company, you can for example create a realm per application.
Clients
In every realm we have clients, clients are the applications that we will configure to use Keycloak.

In the screenshot below, we can see that two clients have been added:
- kb-rdr-it-io
- learn-rdr-it-io
Which means realm master users can log in to both apps.
This first Keycloak tutorial ends here. Other tutorials are being written where we will see more features in Keycloak like:
- Realm configuration
- User Management
- Password policy
- Brute force protection
- Linking with an Active Directory
- Client configuration:
- WordPress
- Guacamole
- Gitlab
- Nextcloiud
- …