

Introduction
Jenkins is a free open source software for continuous integration. It is normally used by development equipment to ensure non-regression of source code.
In turn, it is possible to use Jenkins as a scheduler to centralize the administration of scheduled Windows and / or Linux tasks.
I propose in this article to explain how to use Jenkins to manage scheduled tasks in a Windows Server environment.

Install Jenkins on Windows Server
Installation of Jenkins
Download the latest version of Jenkins, unzip the archive and run the installation wizard. When launching it, click Next 1 .
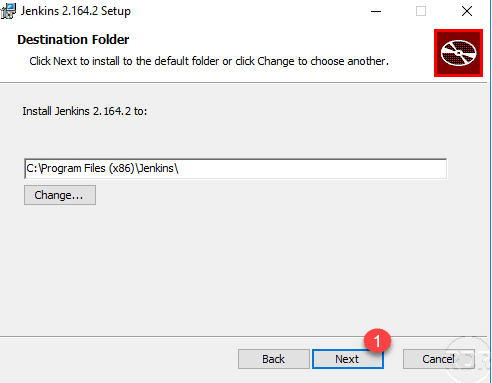
If necessary change the installation folder then click on Next 1 .
Start the installation by clicking the Install 1 button.
Wait during the installation …
Once the installation is complete, close the wizard by clicking Finish 1 .
Now that the installation of Jenkins is done, we will go to the post-installation configuration.
Jenkins post-installation configuration
If your browser does not open automatically at the end of the installation, run it manually and enter the following address: http: // localhost: 8080. Wait during Jenkins full start.

Before starting the configuration, you must unblock it following the instructions.
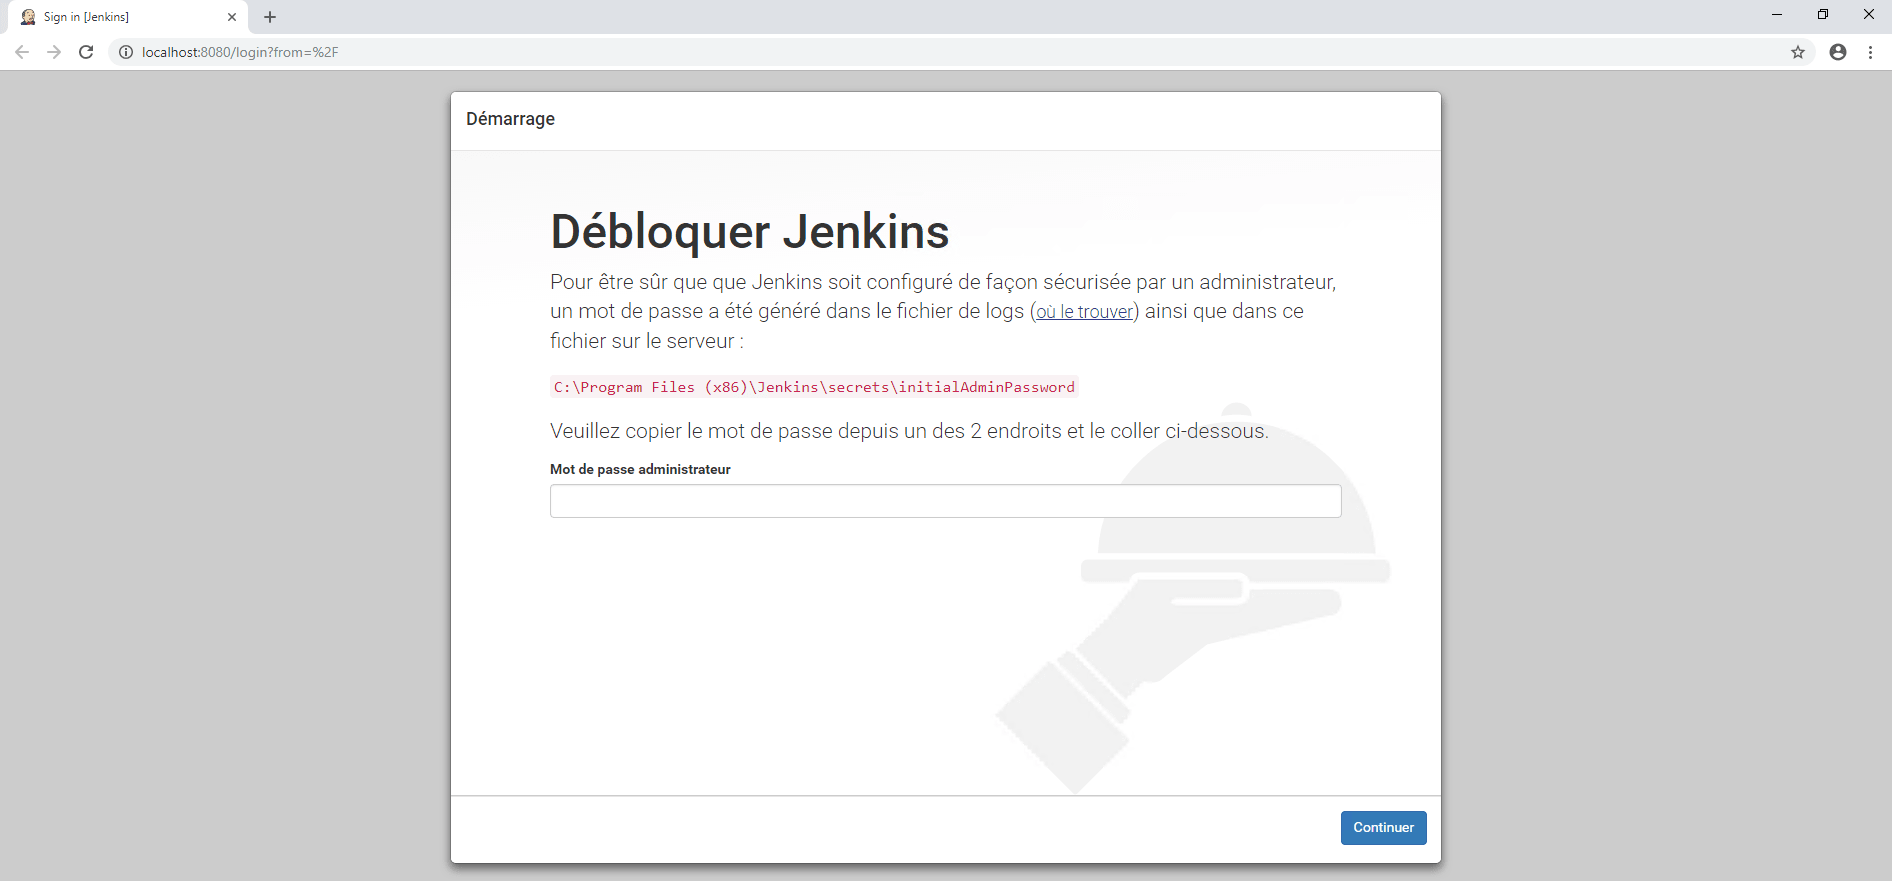
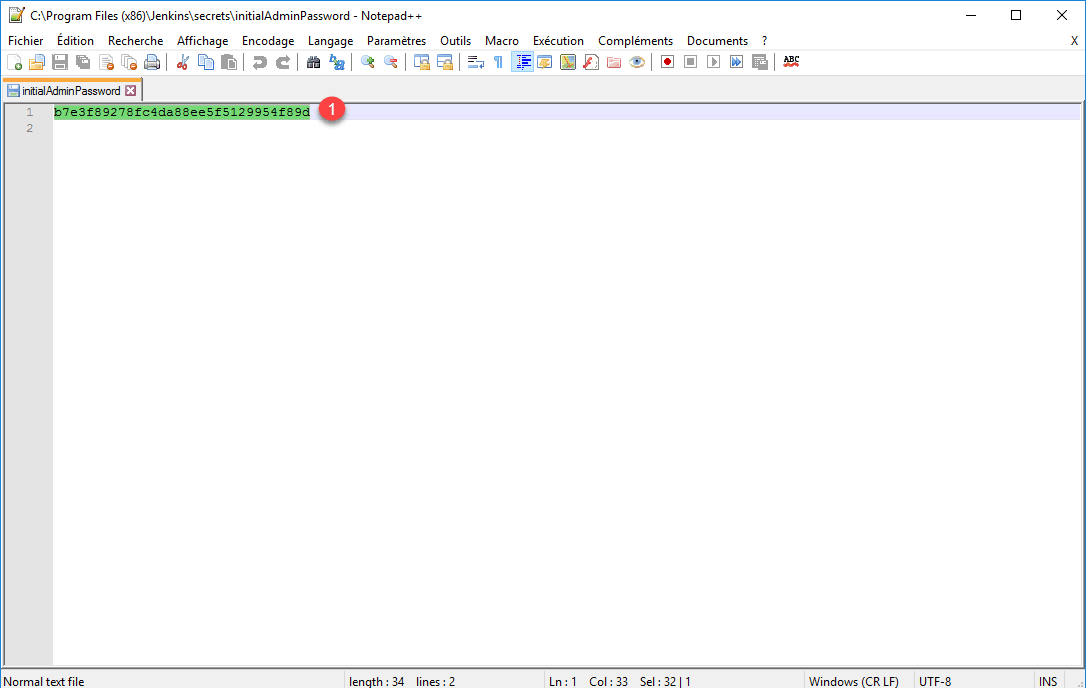
Open the file initalAdminPassword and copy the password 1 .
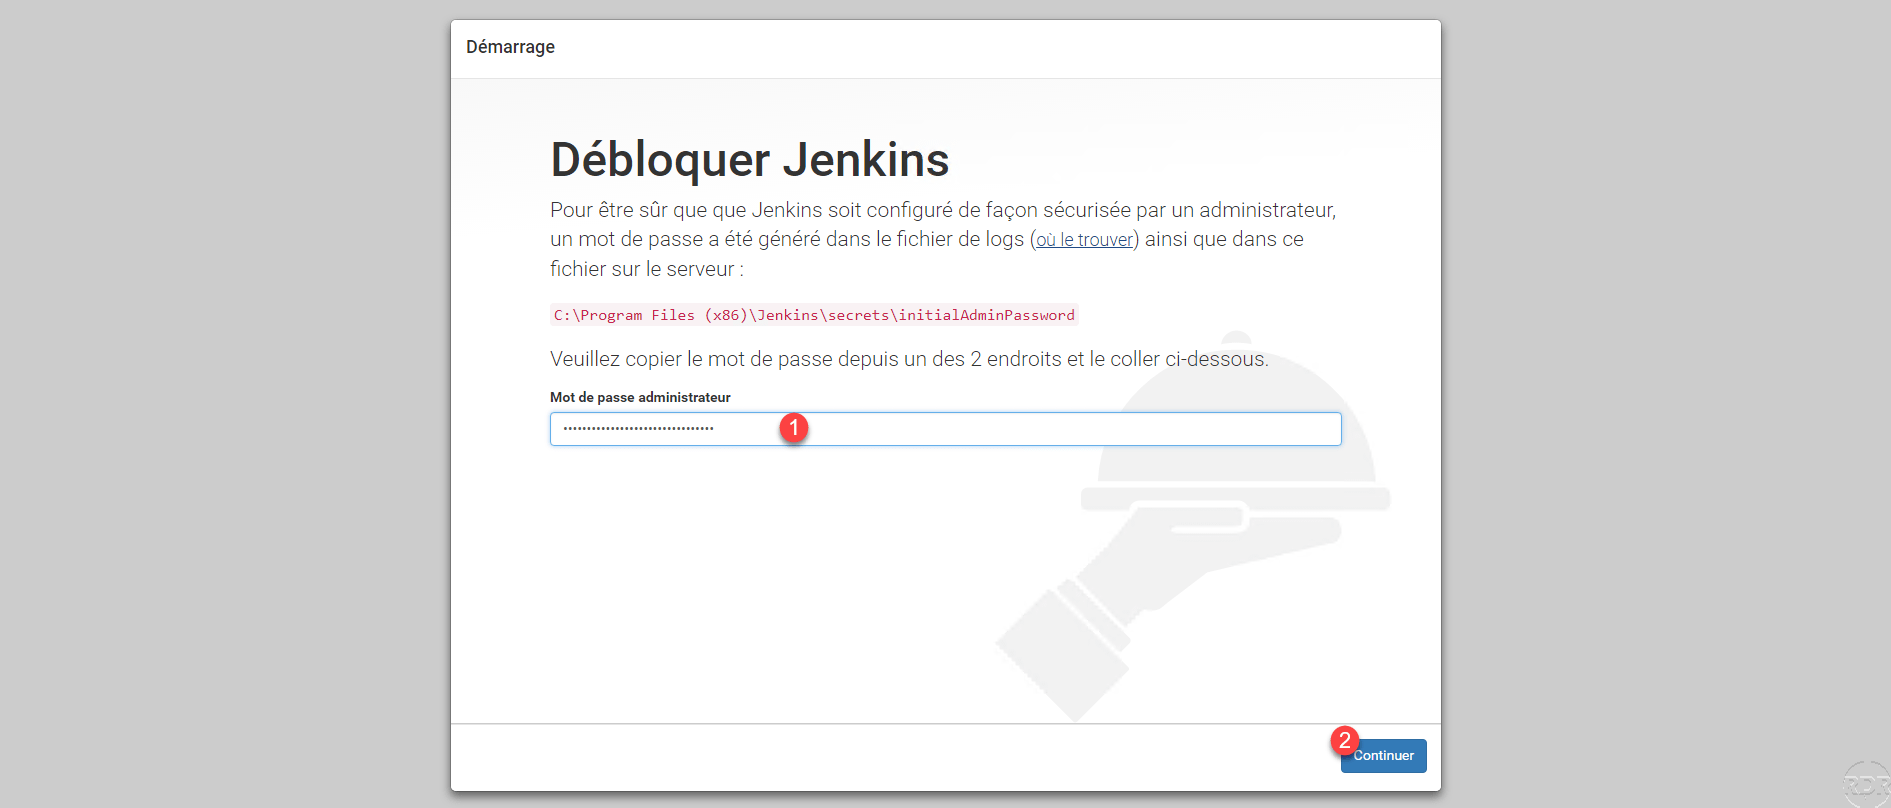
Paste the password in the field 1 and click Continue 2 .
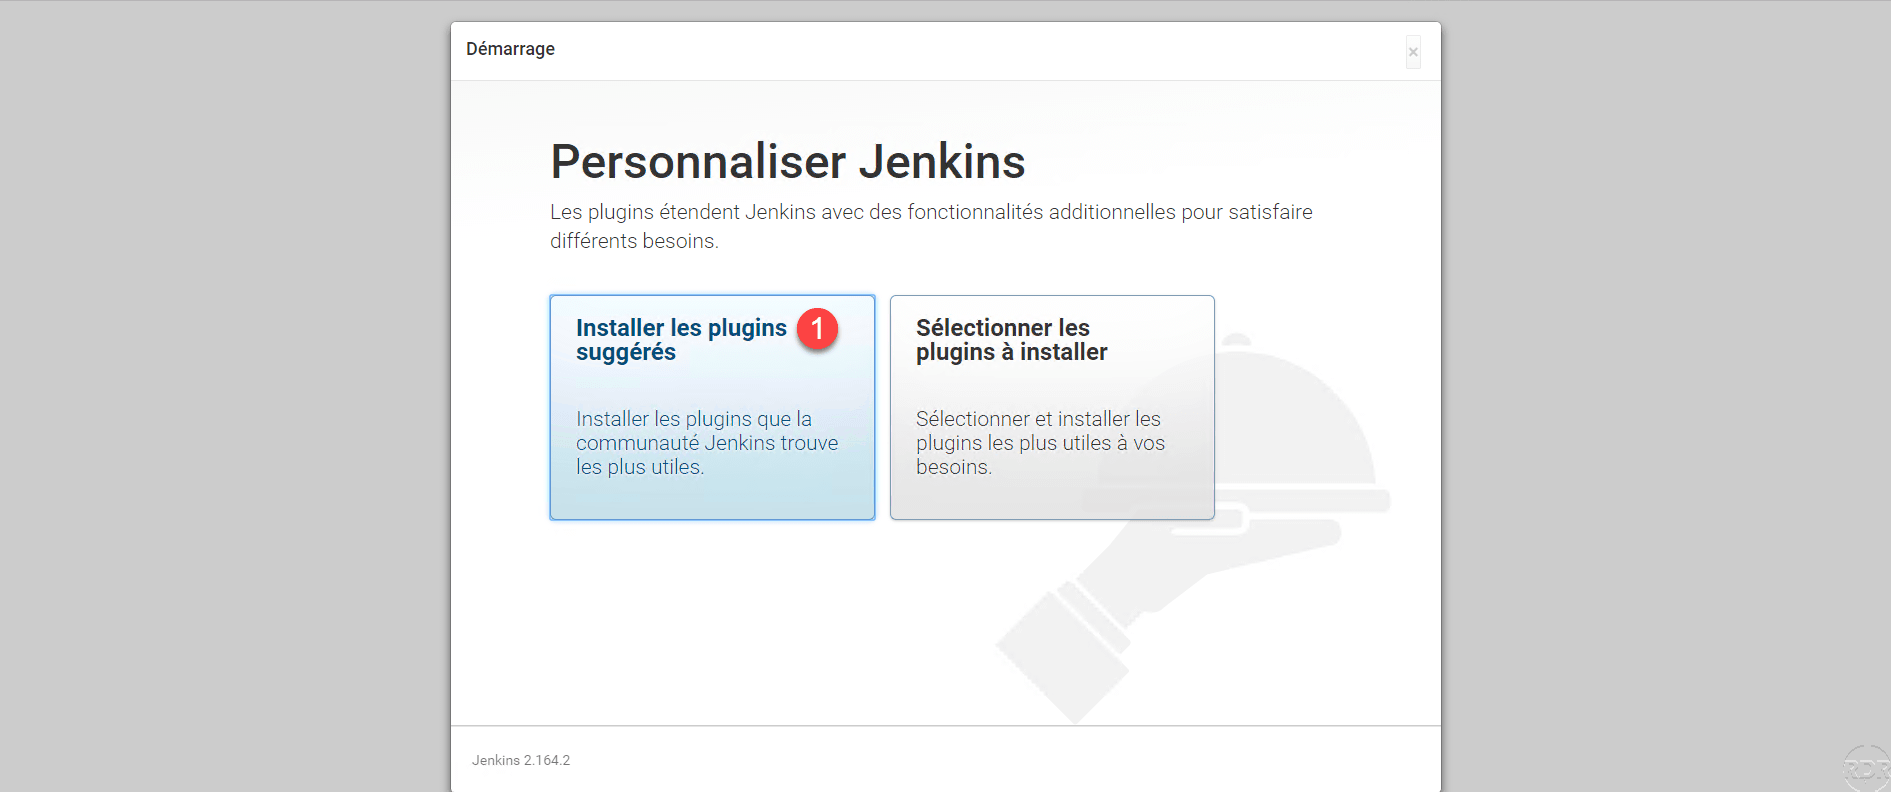
Click Install Suggested Plugins 1 .
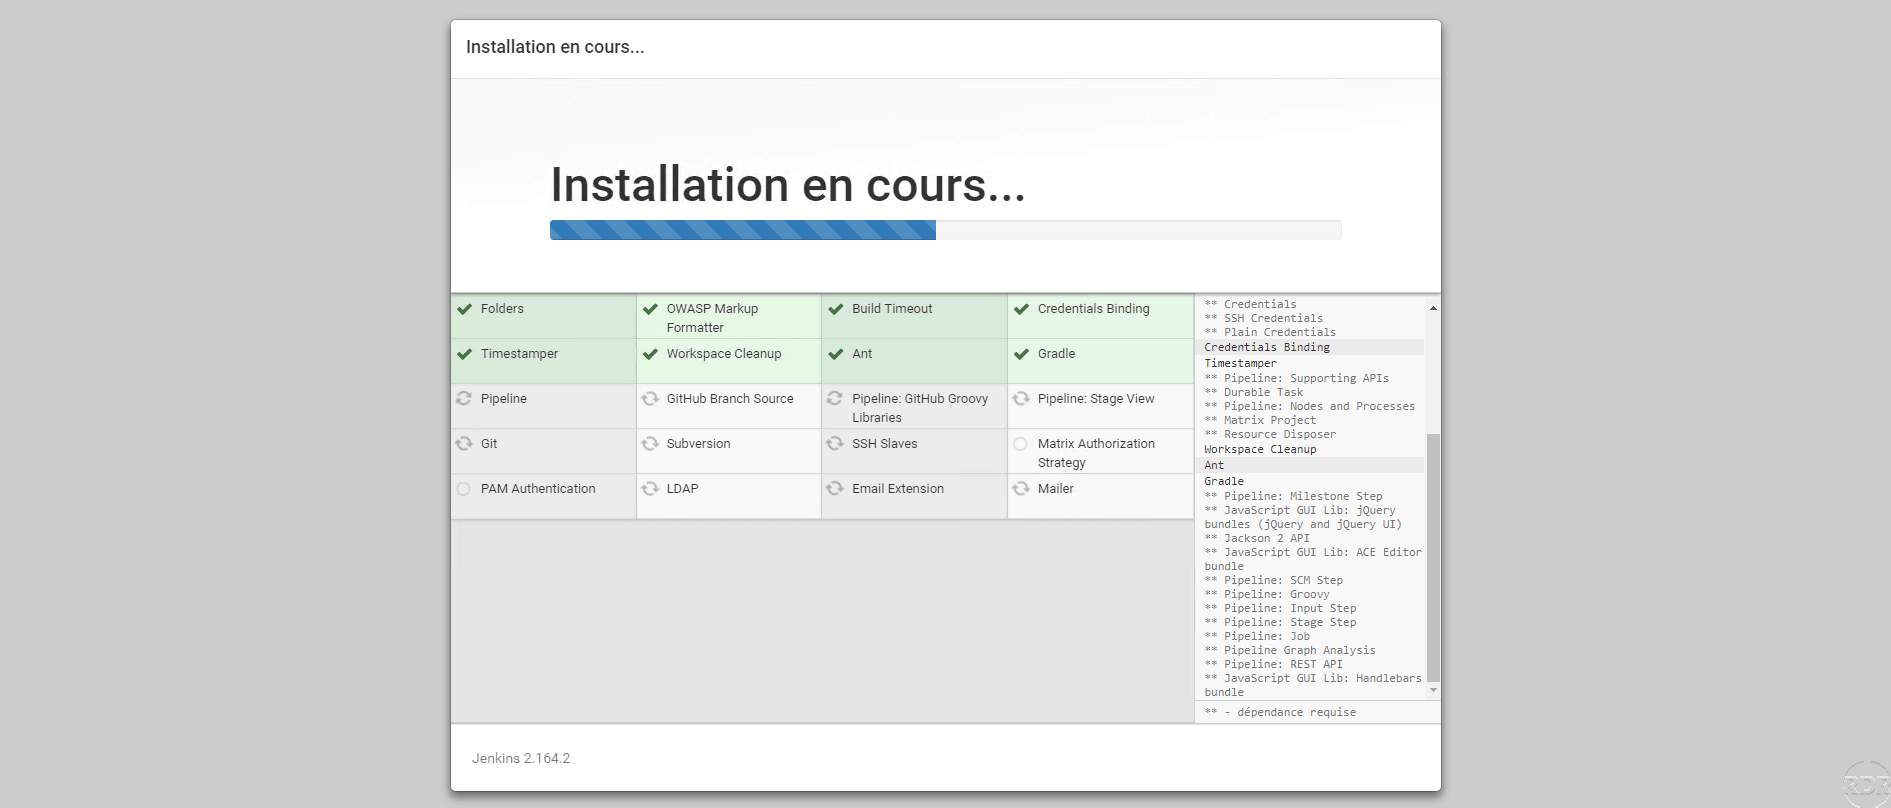
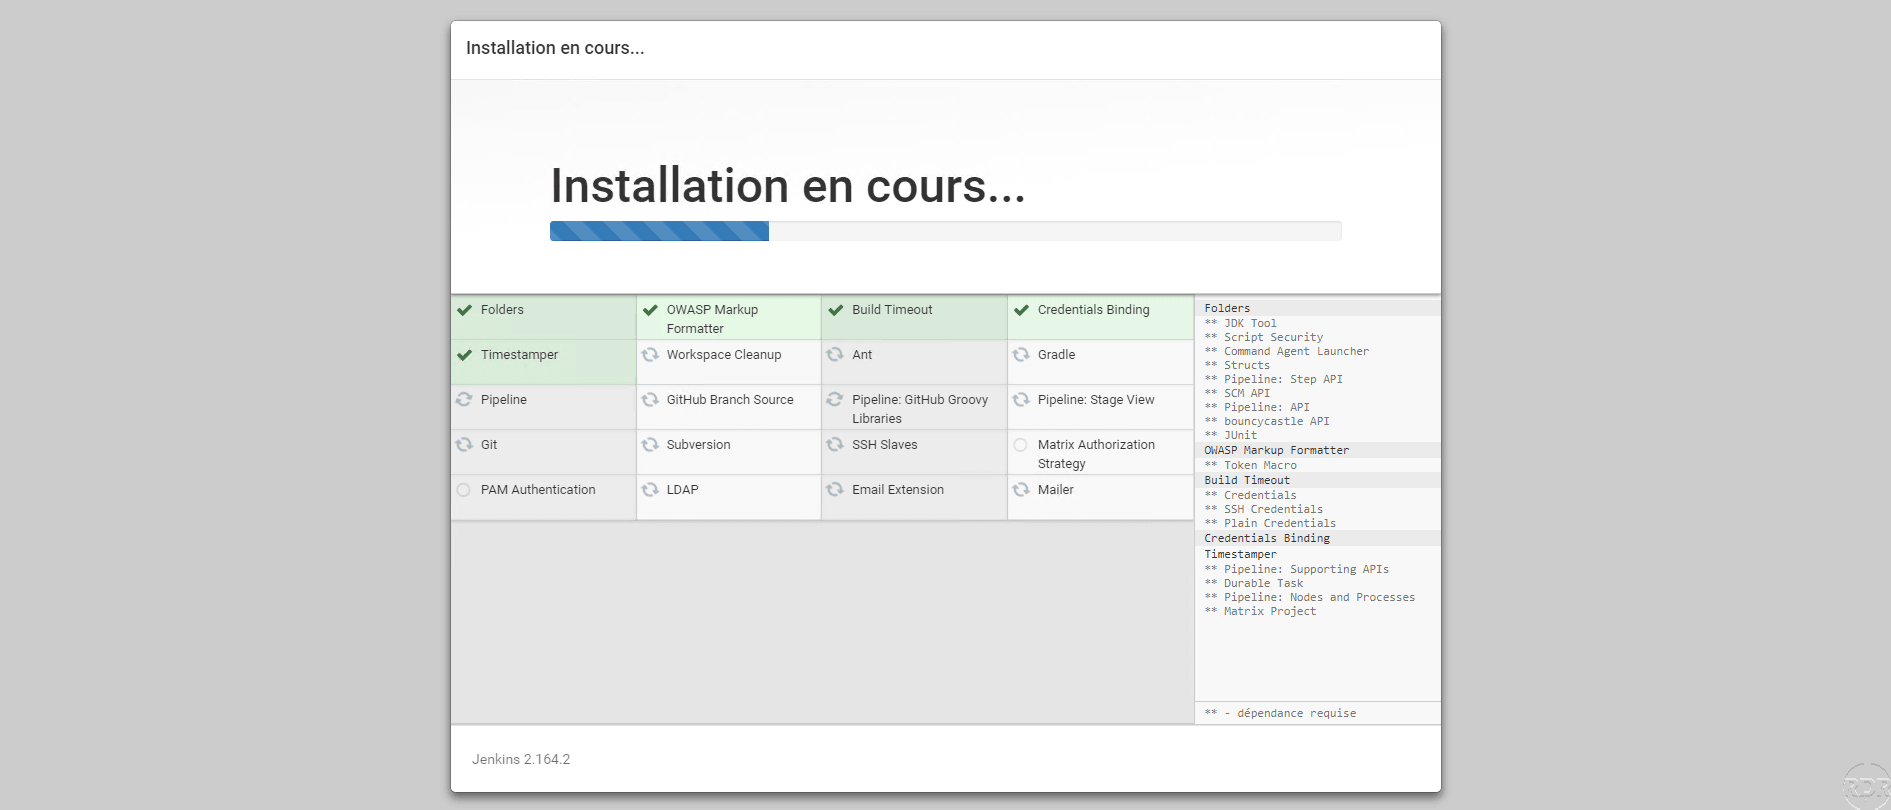
Wait while installing the plugins …
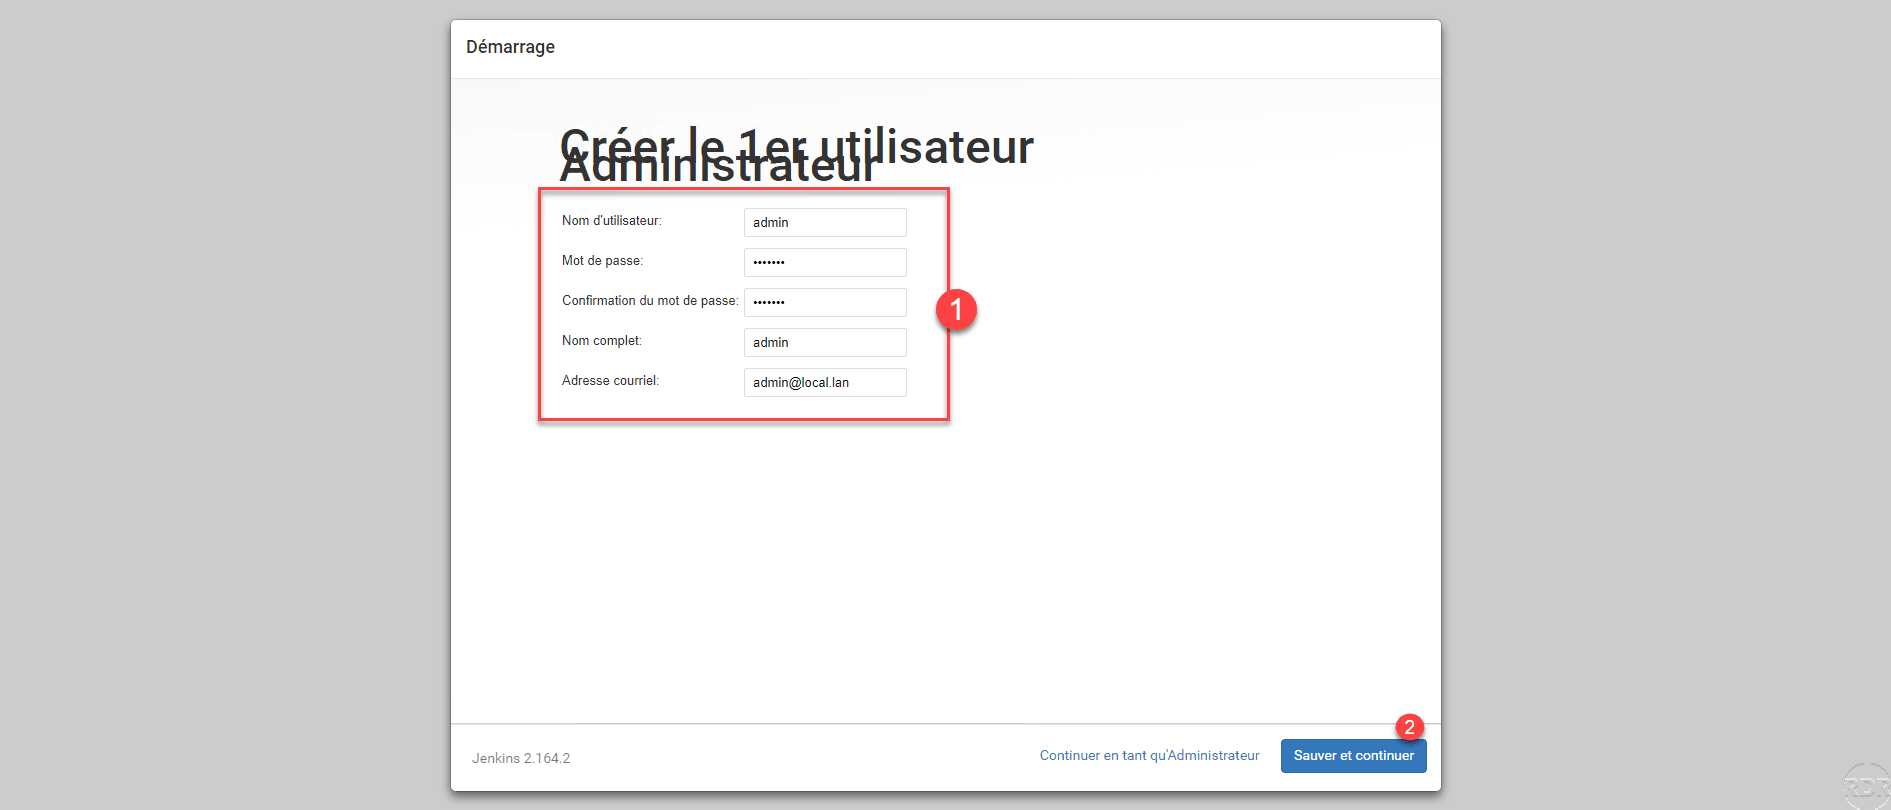
Create an administrator account by filling in the form 1 and clicking on Save and Continue 2 .
Configure the Jenkins Service URL 1 and click Save and Complete 2 .
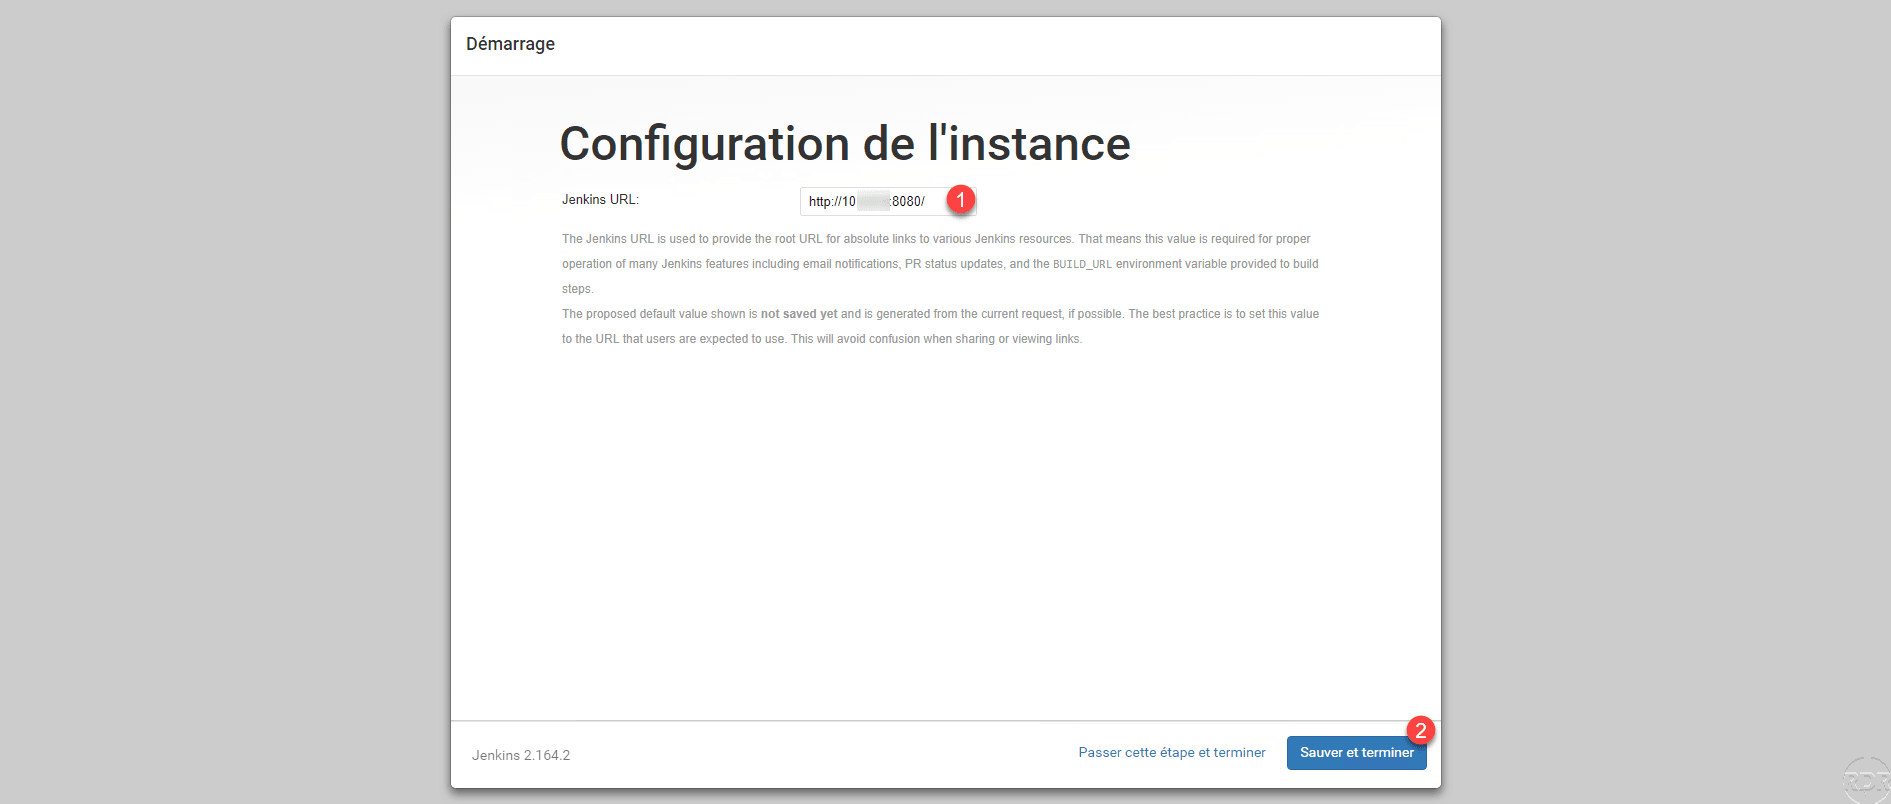
The configuration of the URL will allow access to the remote agent to communicate with the server, if you leave 127.0.0.1 or localhost the agents will not be able to be installed.
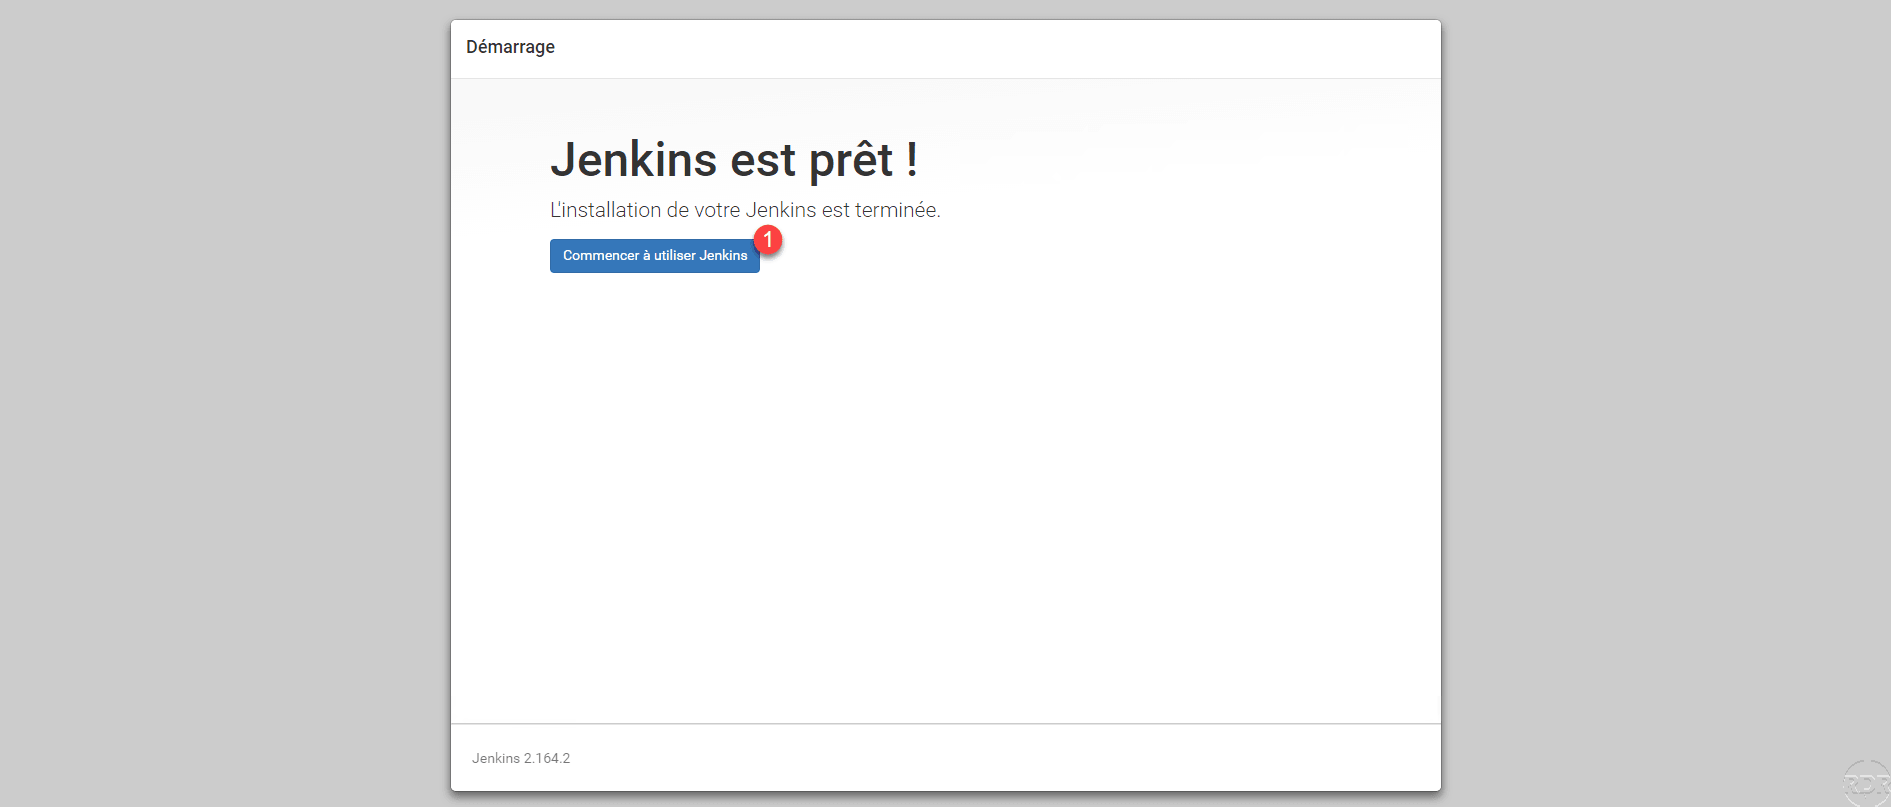
The post-installation configuration is complete, click on the button Start using Jenkins 1 .
Jenkins setting
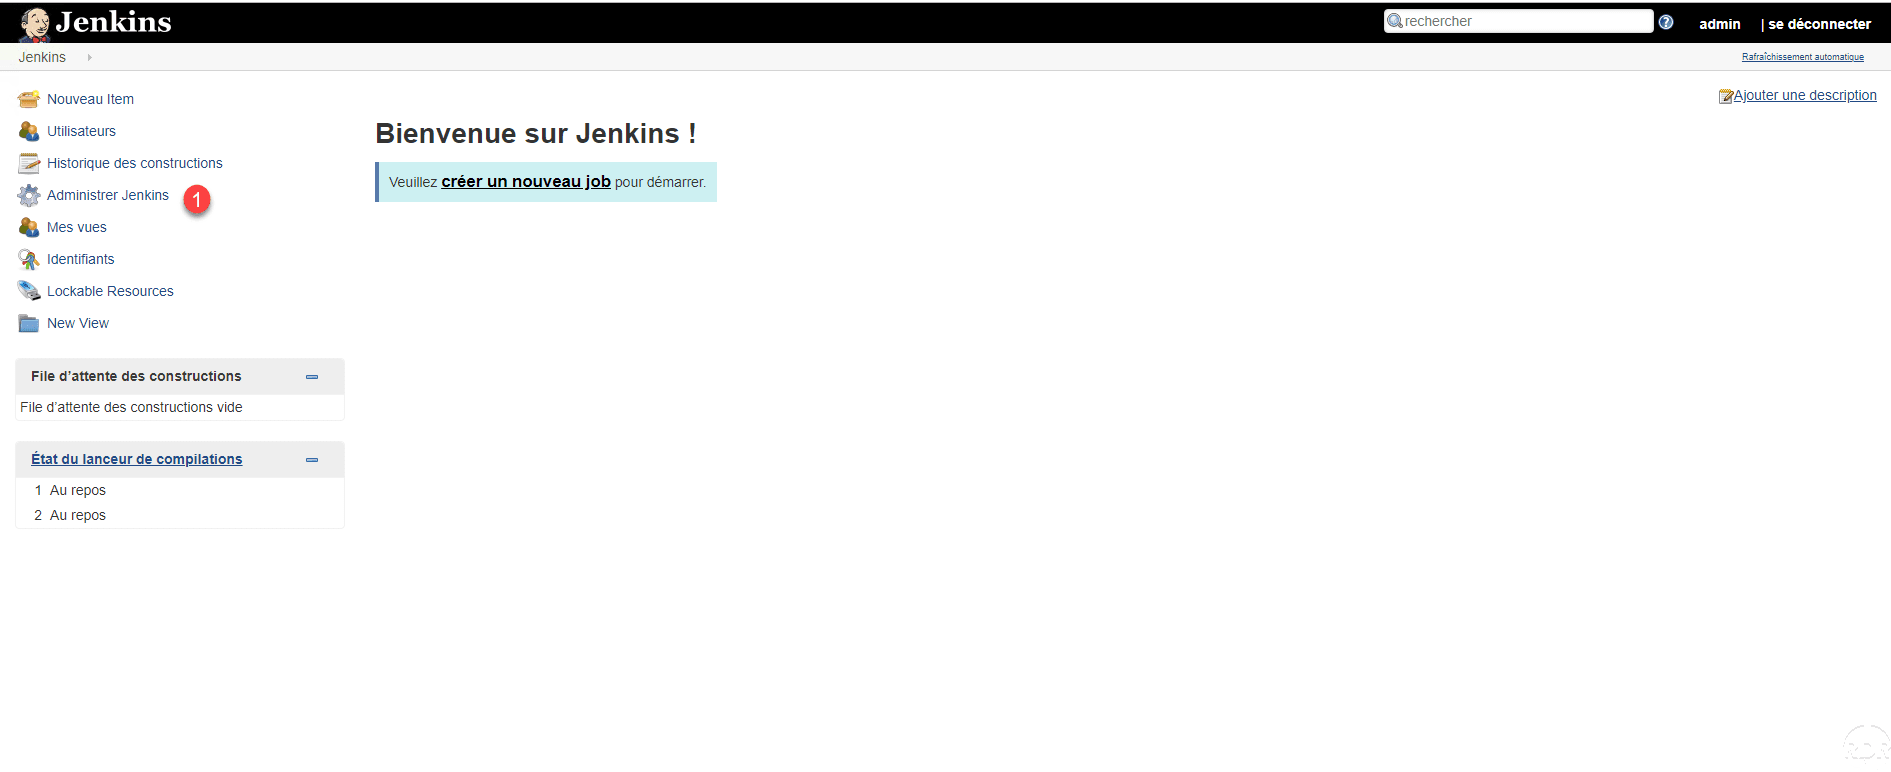
Now that Jenkins is up and running, we’re going to go over to setting up and installing the plugins needed to handle the scheduled tasks on Windows.
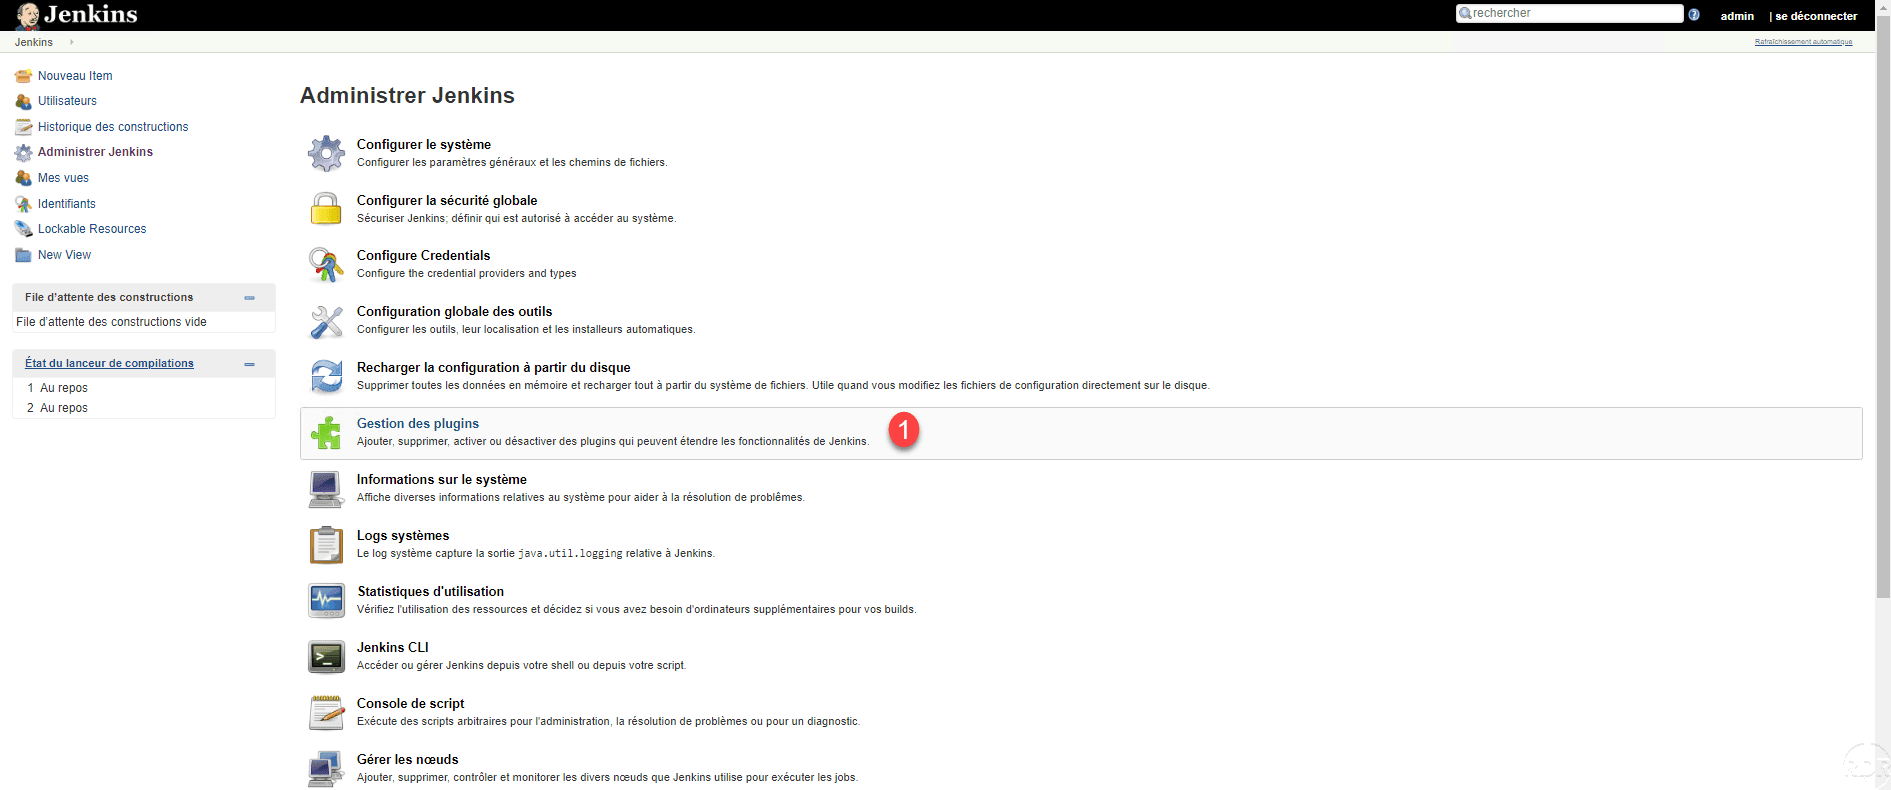
From the home page, click Administer Jenkins 1 .
Configuring global security
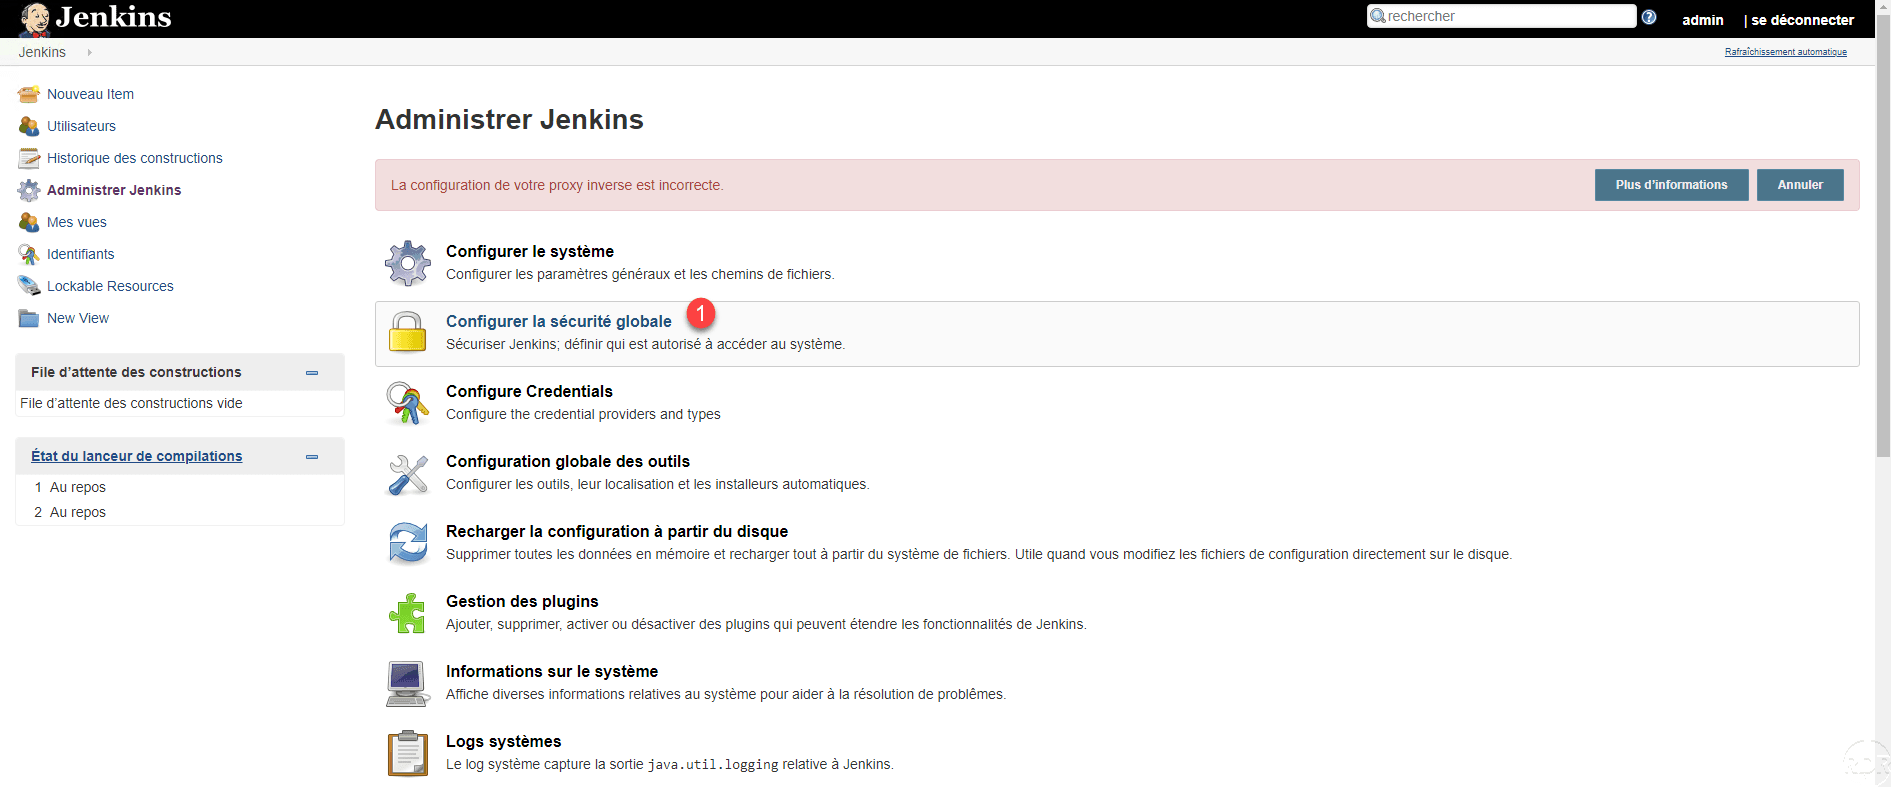
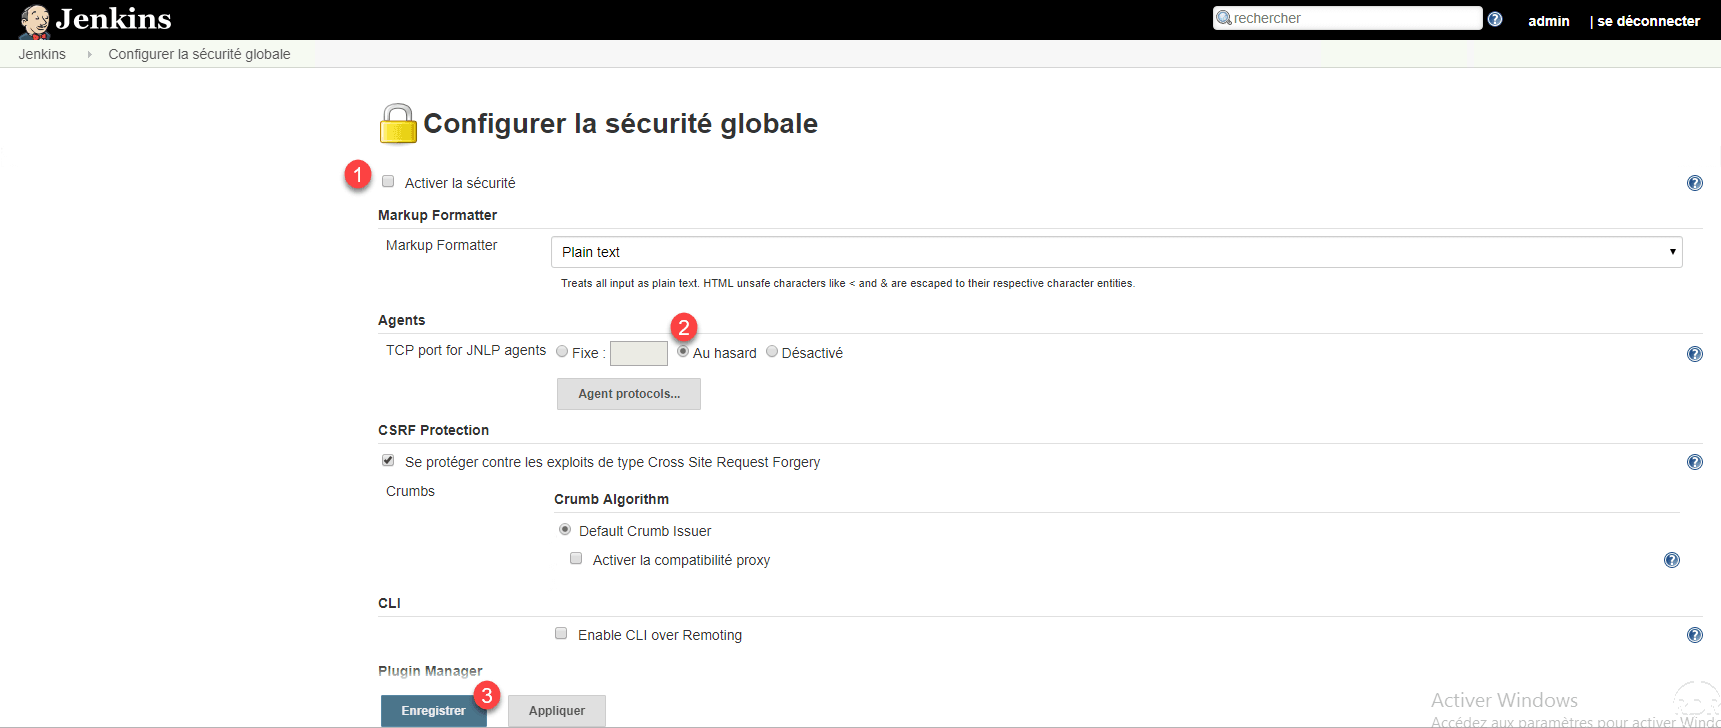
From the Administer Jenkins page, click Configure Global Security 1 .
Uncheck the box Enable security 1 and check the option Random 2 for the configuration of the ports of the agent. Then click on Save 3 .
Return to Administer Jenkins.
Installing plugins to manage Windows
Click on Plugin Management 1 .
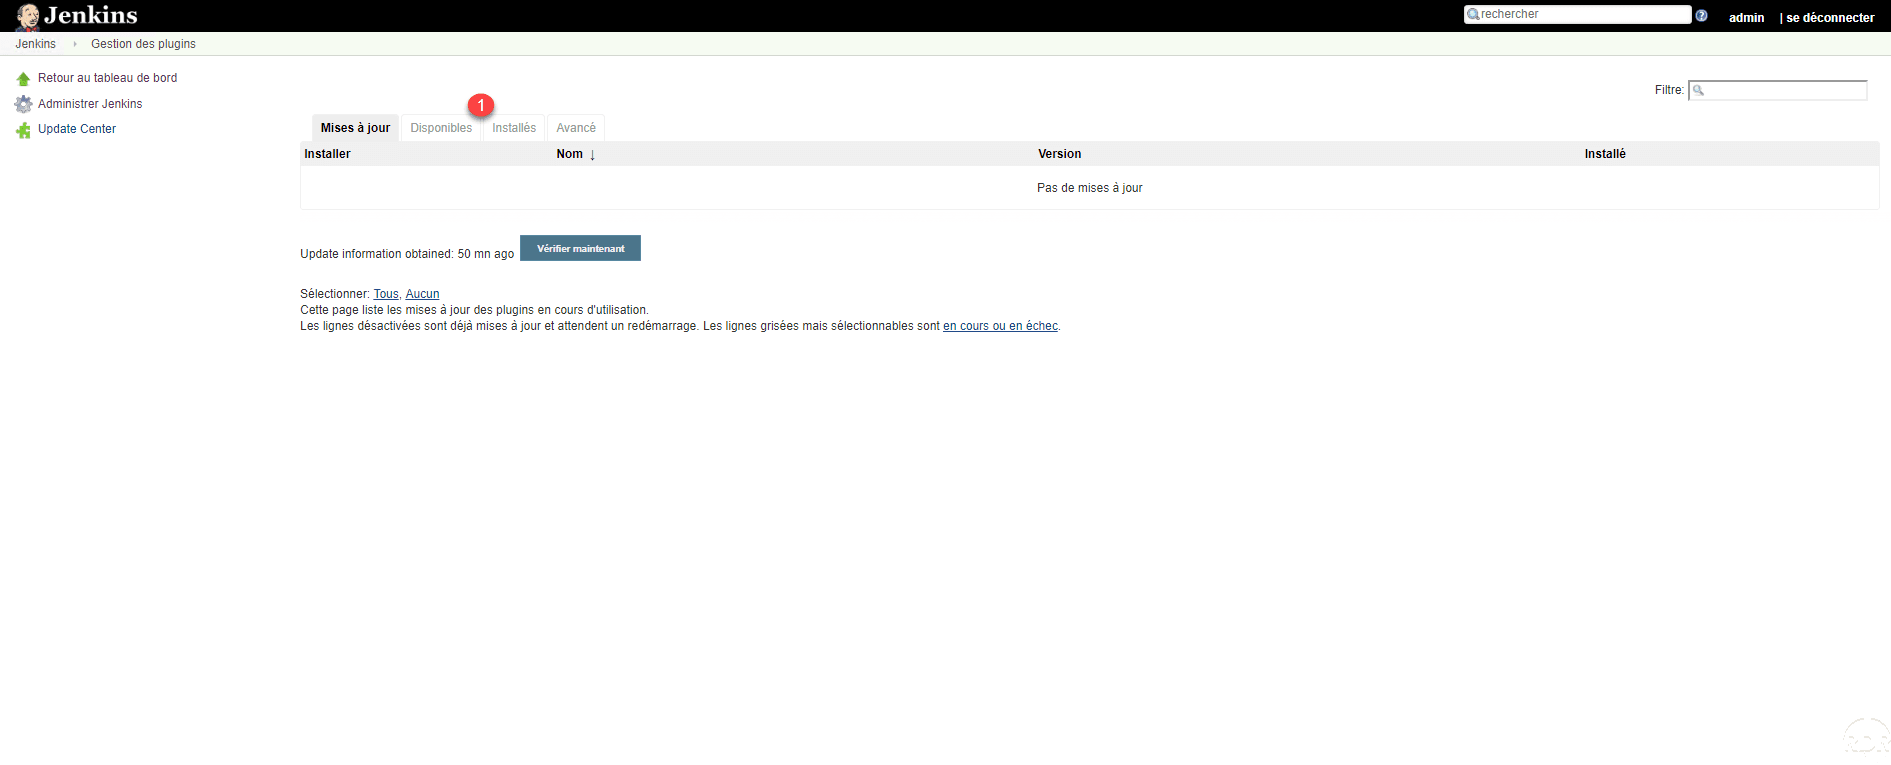
The first plugin management page displays the pending updates. Click on the Available tab 1 .
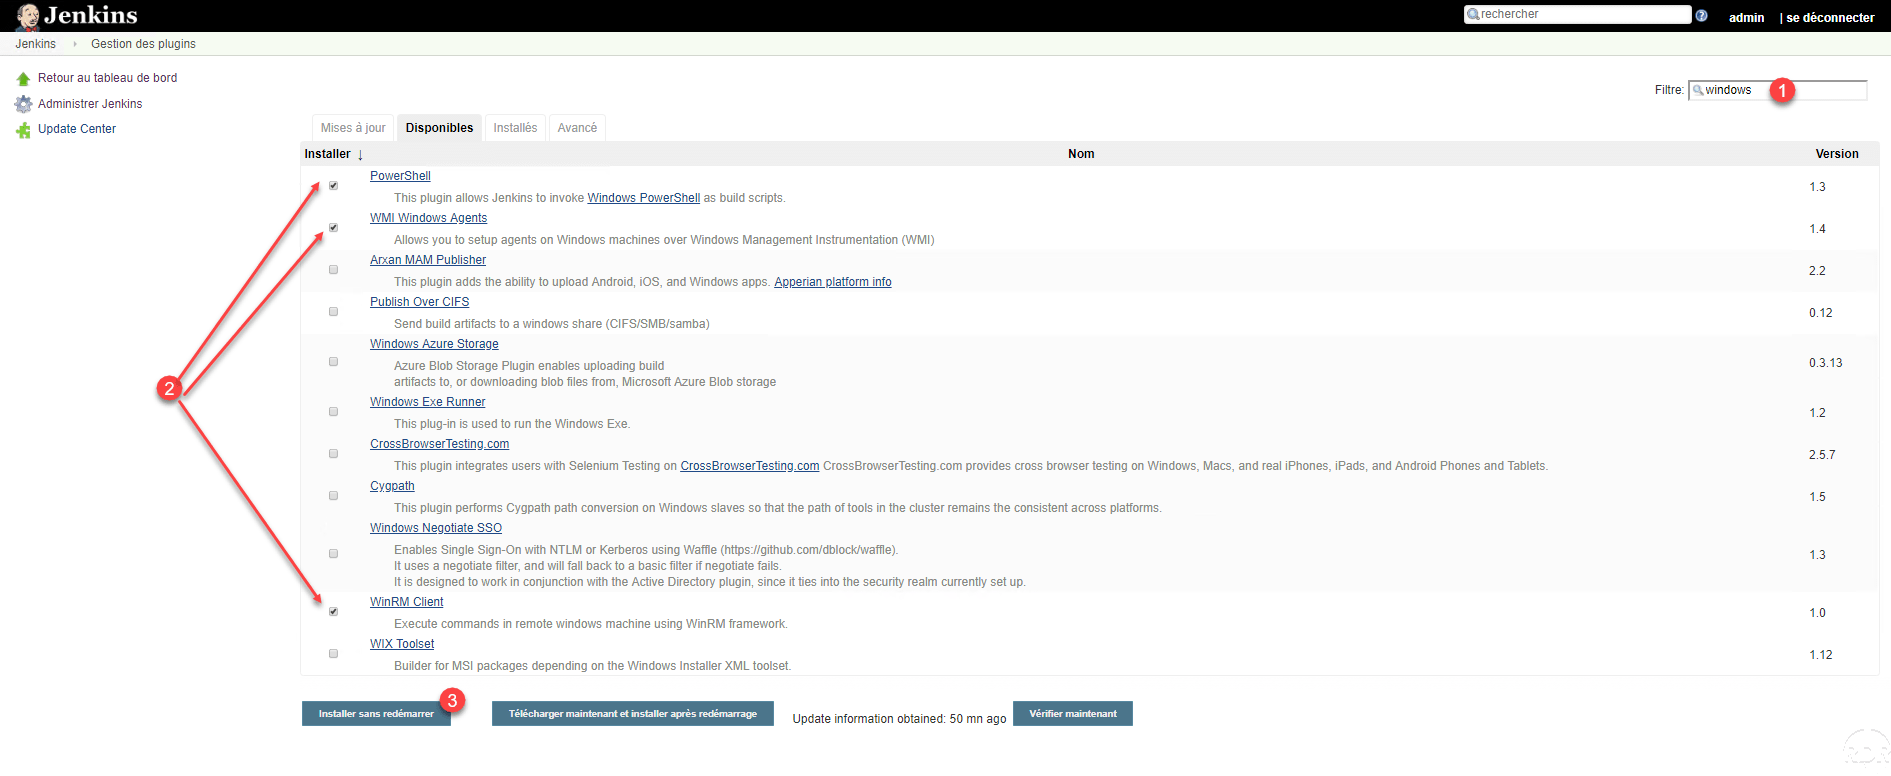
In the search box enter Windows 1 to filter the plugins, select the 2 plugins (Powershell, Windows Agent WMI, WinRM Client) and click on Install without restart 3 .
Wait while downloading and installing plugins …
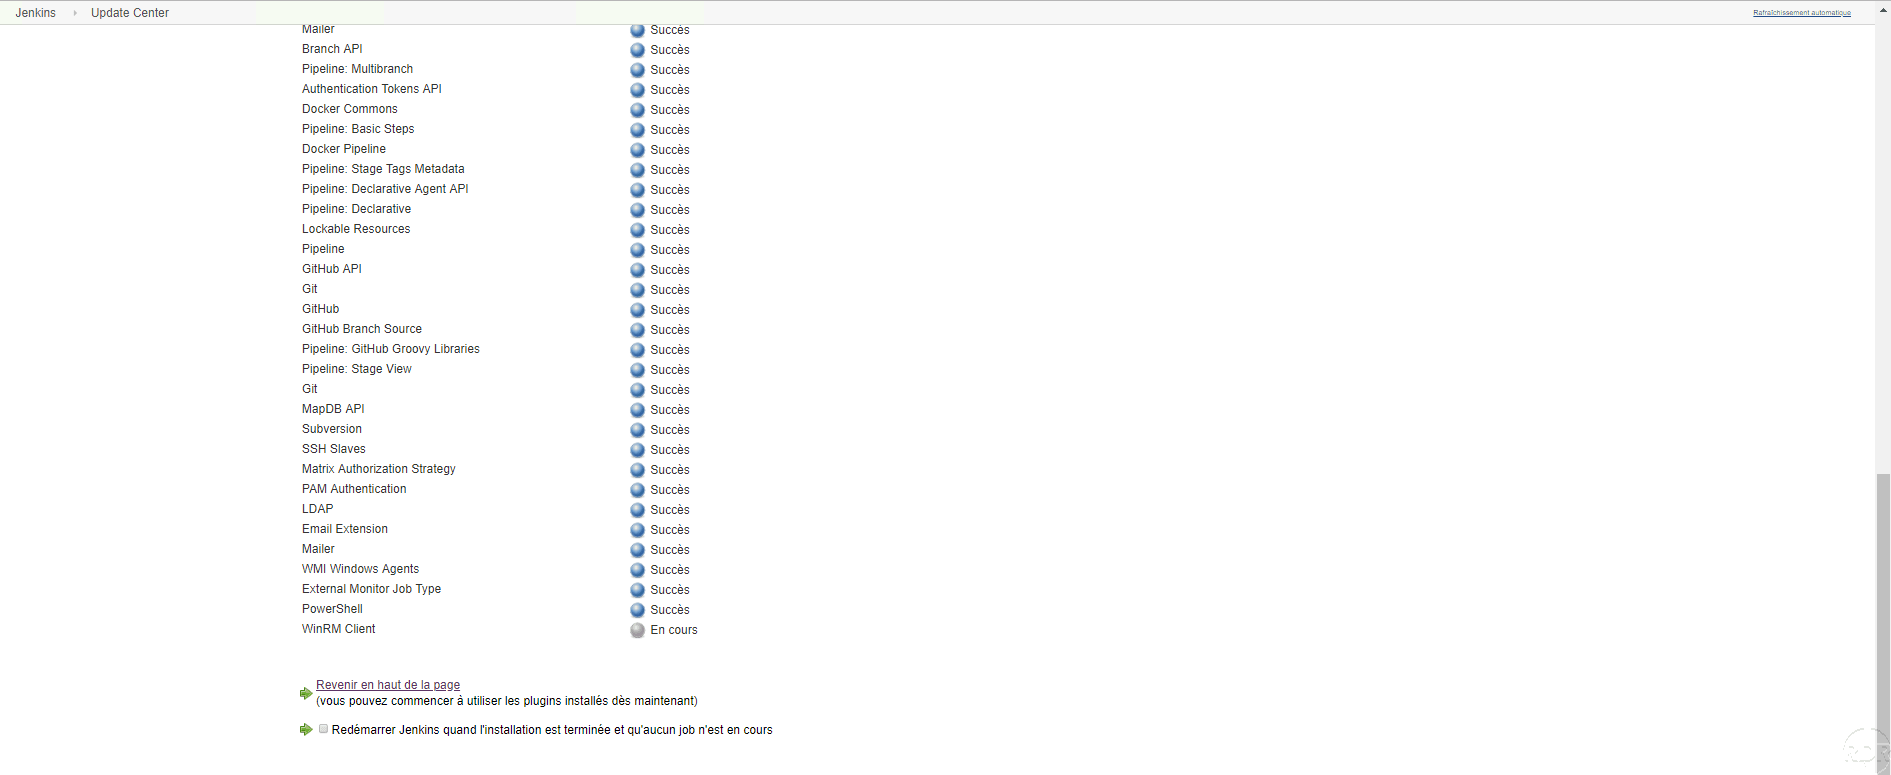
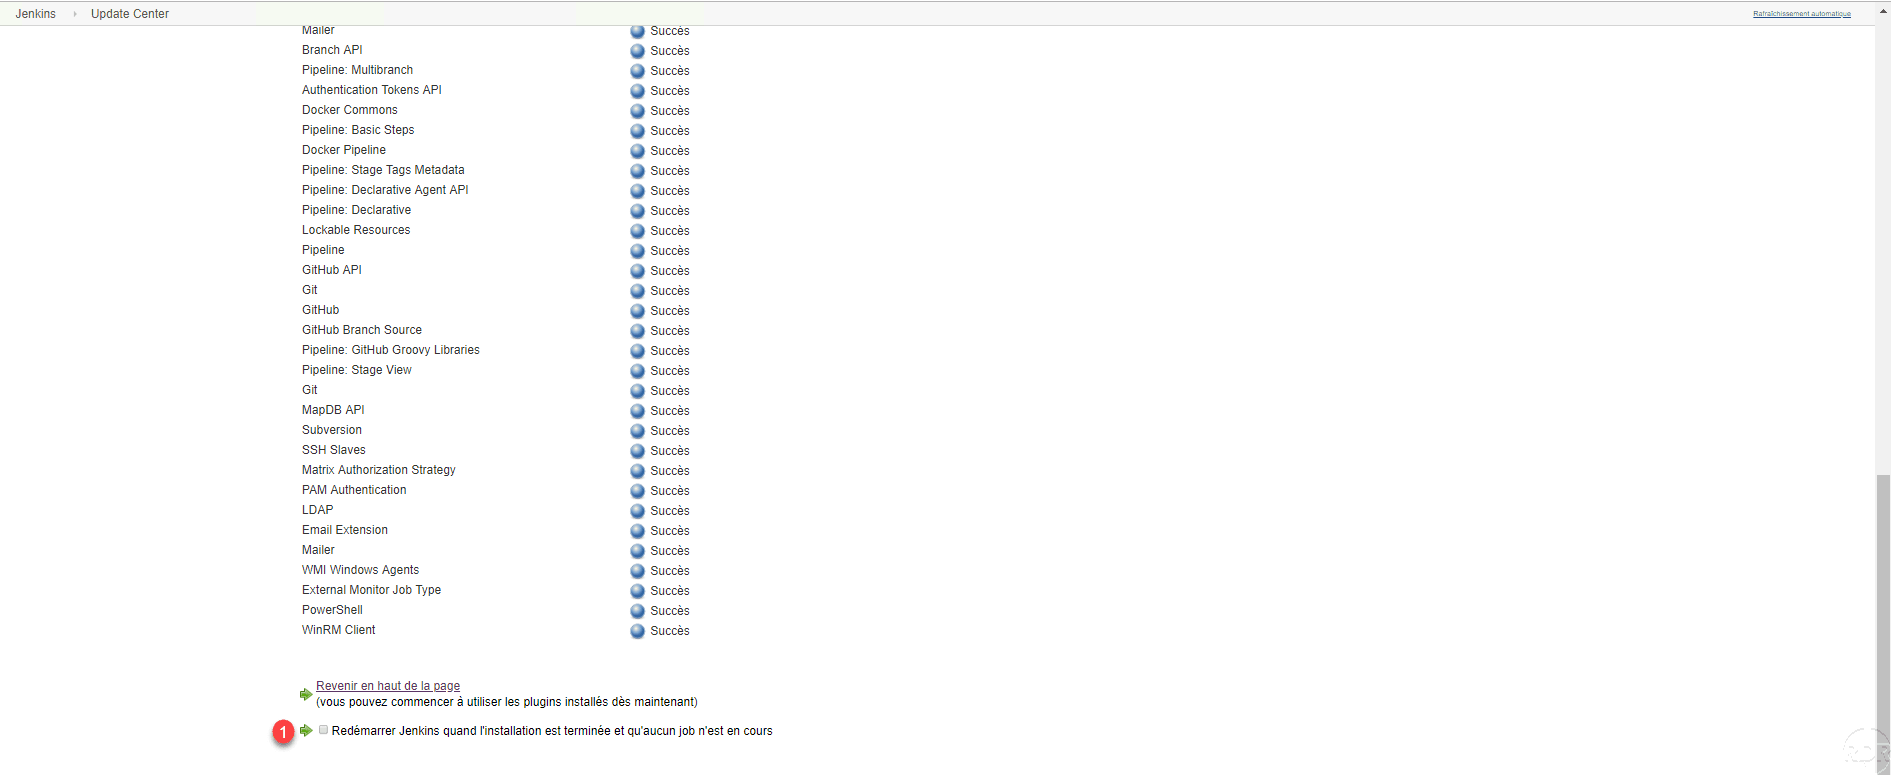
Once the plugins are installed, check the Restart Jenkins box when the installation is complete and no job is in progress 1 .
Wait while restarting Jenkins …
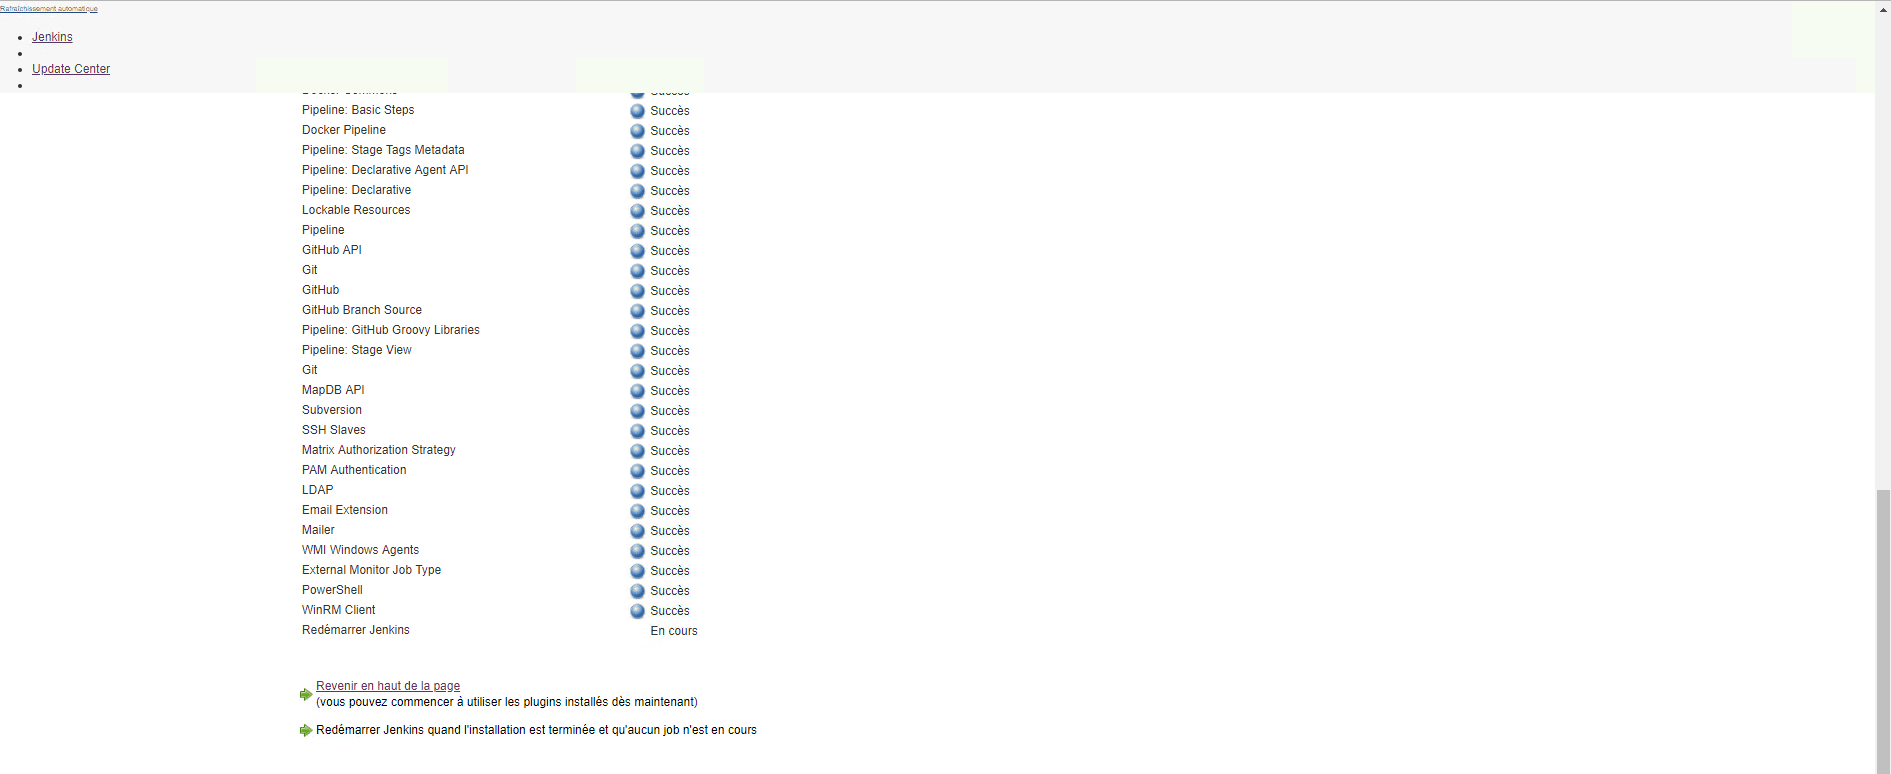
If the page does not refresh automatically, press the F5 key on the keyboard. After rebooting it may be necessary to log in again.

Creating a job
In this part, we will see how to create our first job, which will execute the IPCONFIG command. Having not yet declared other nodes, the job will be executed on the Jenkins server itself.
The job that will be created in this part will be used later in the other chapters of this tutorial.
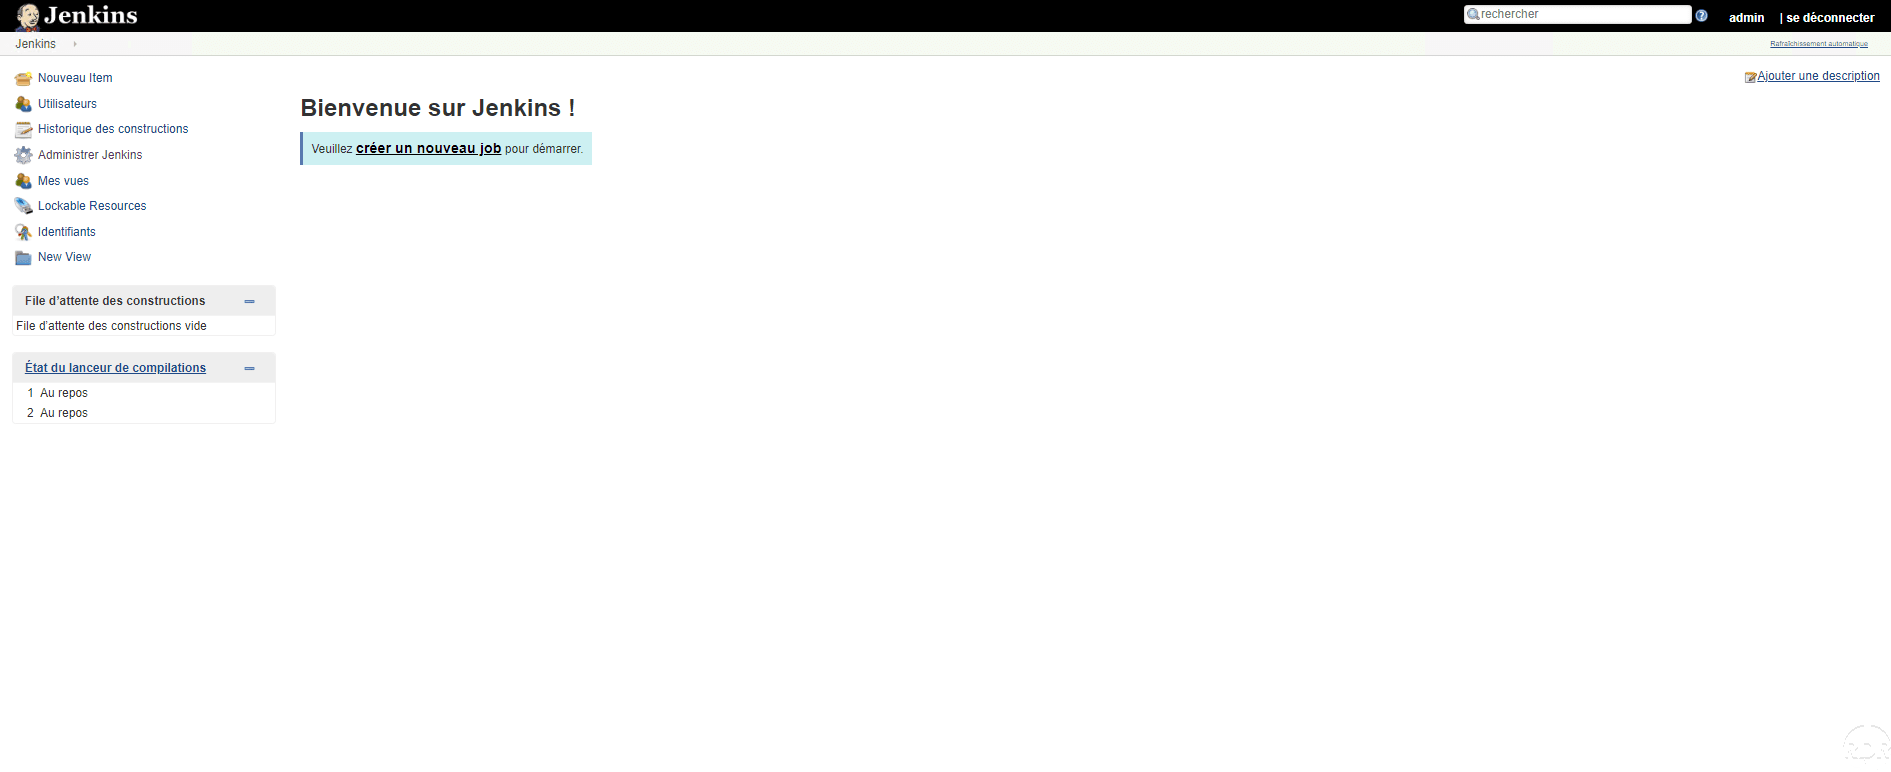
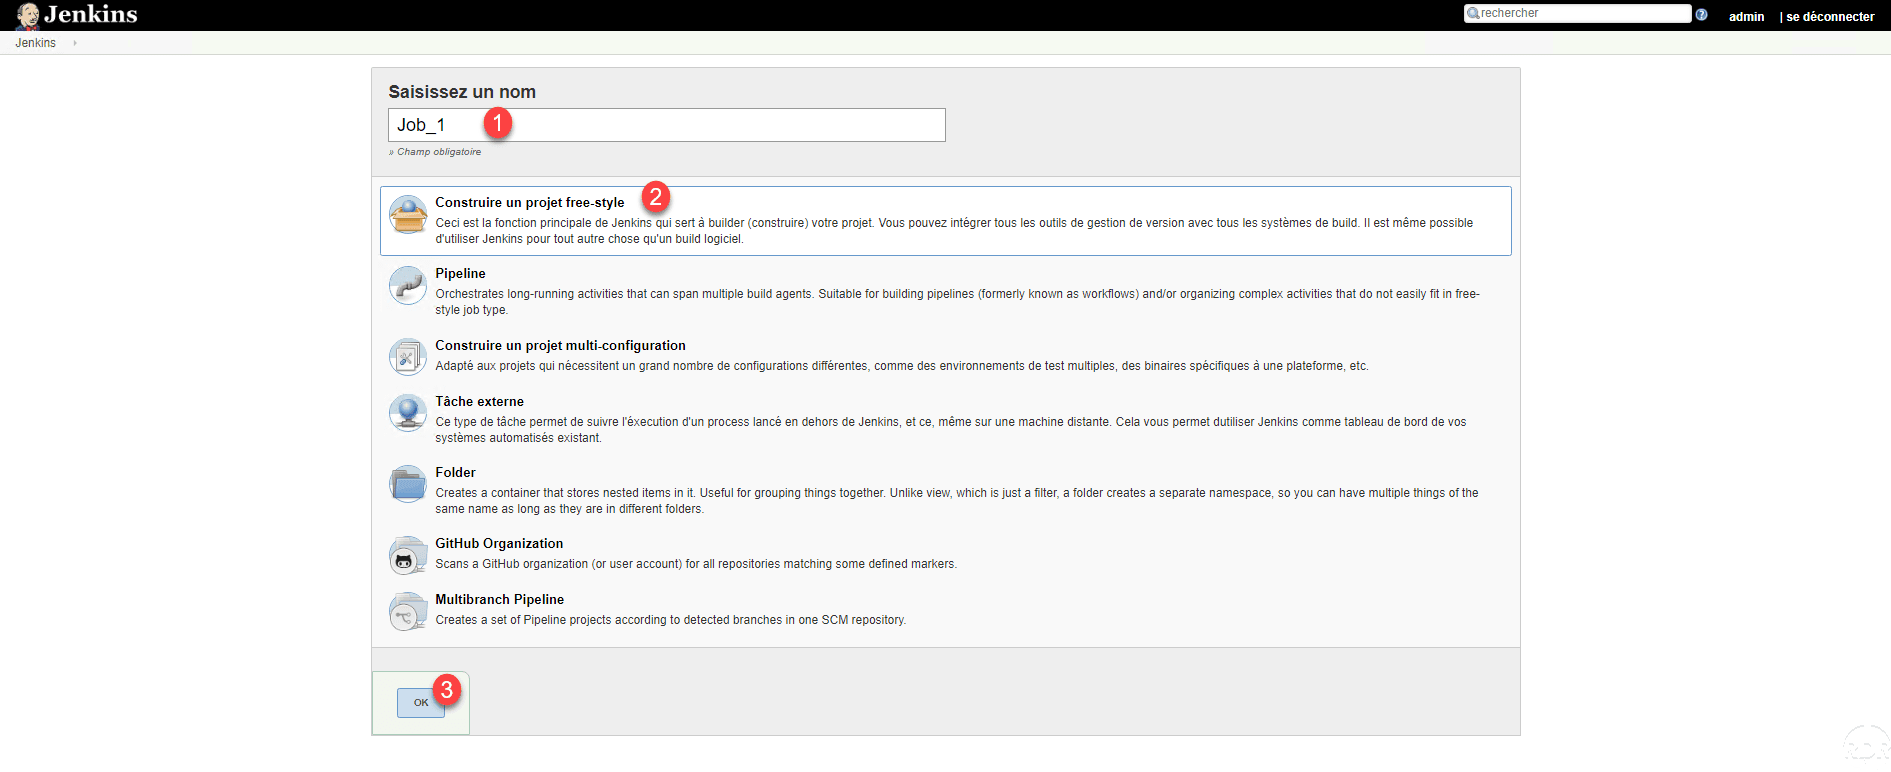
From the home page, click on create a new job 1 .
Name the job 1 , select Build a free-style project 2 and click OK 3 .
Give a description 1 and click on Build 2 .

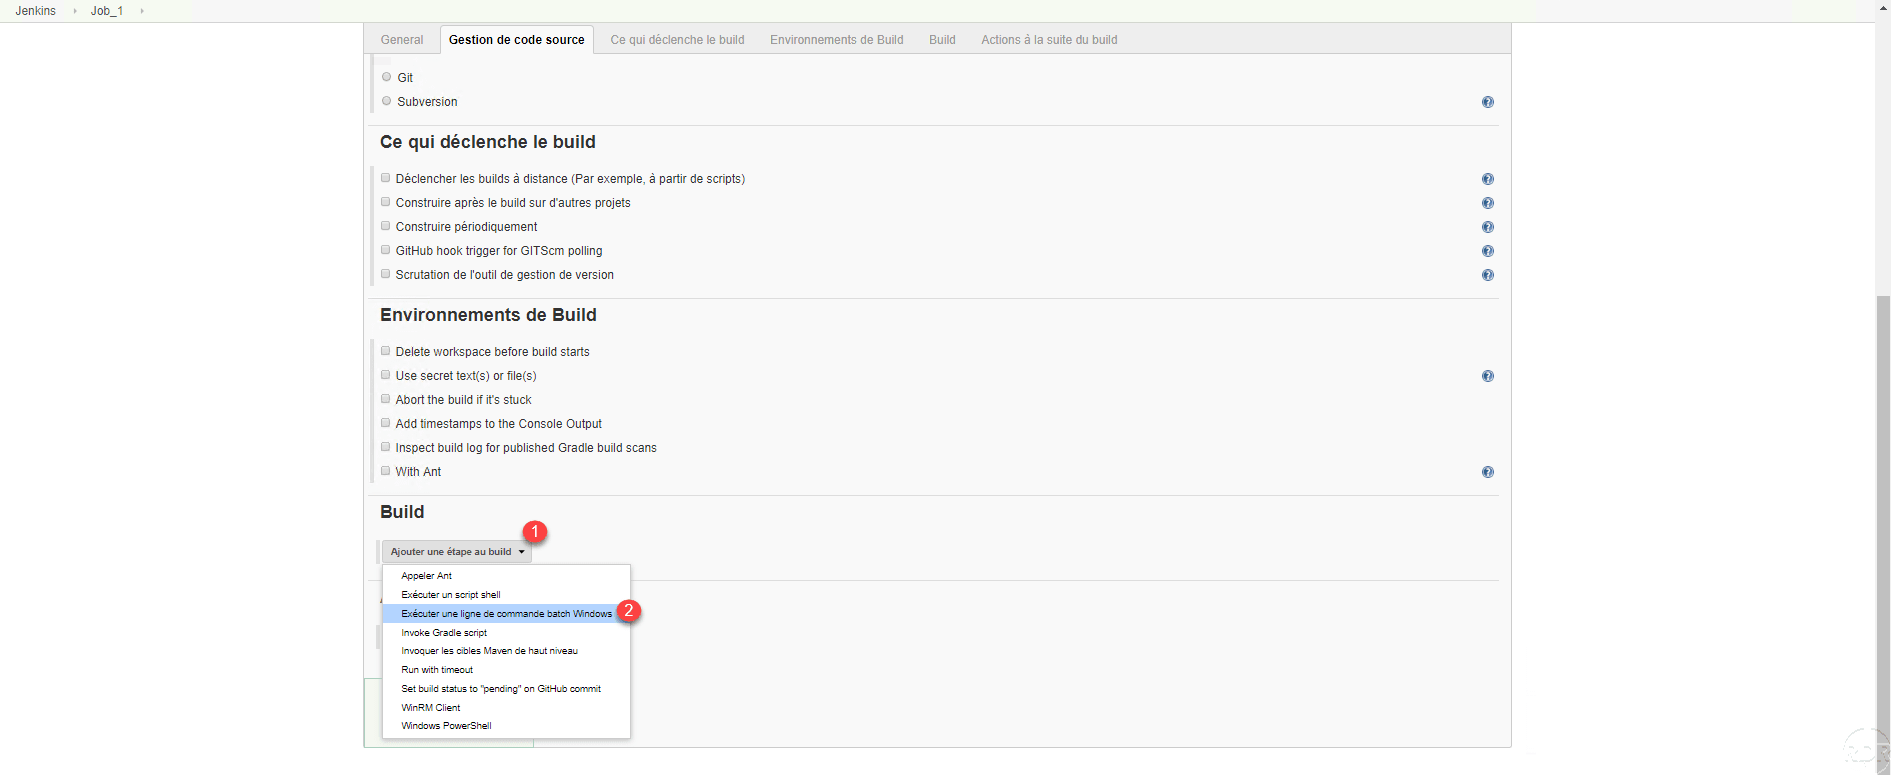
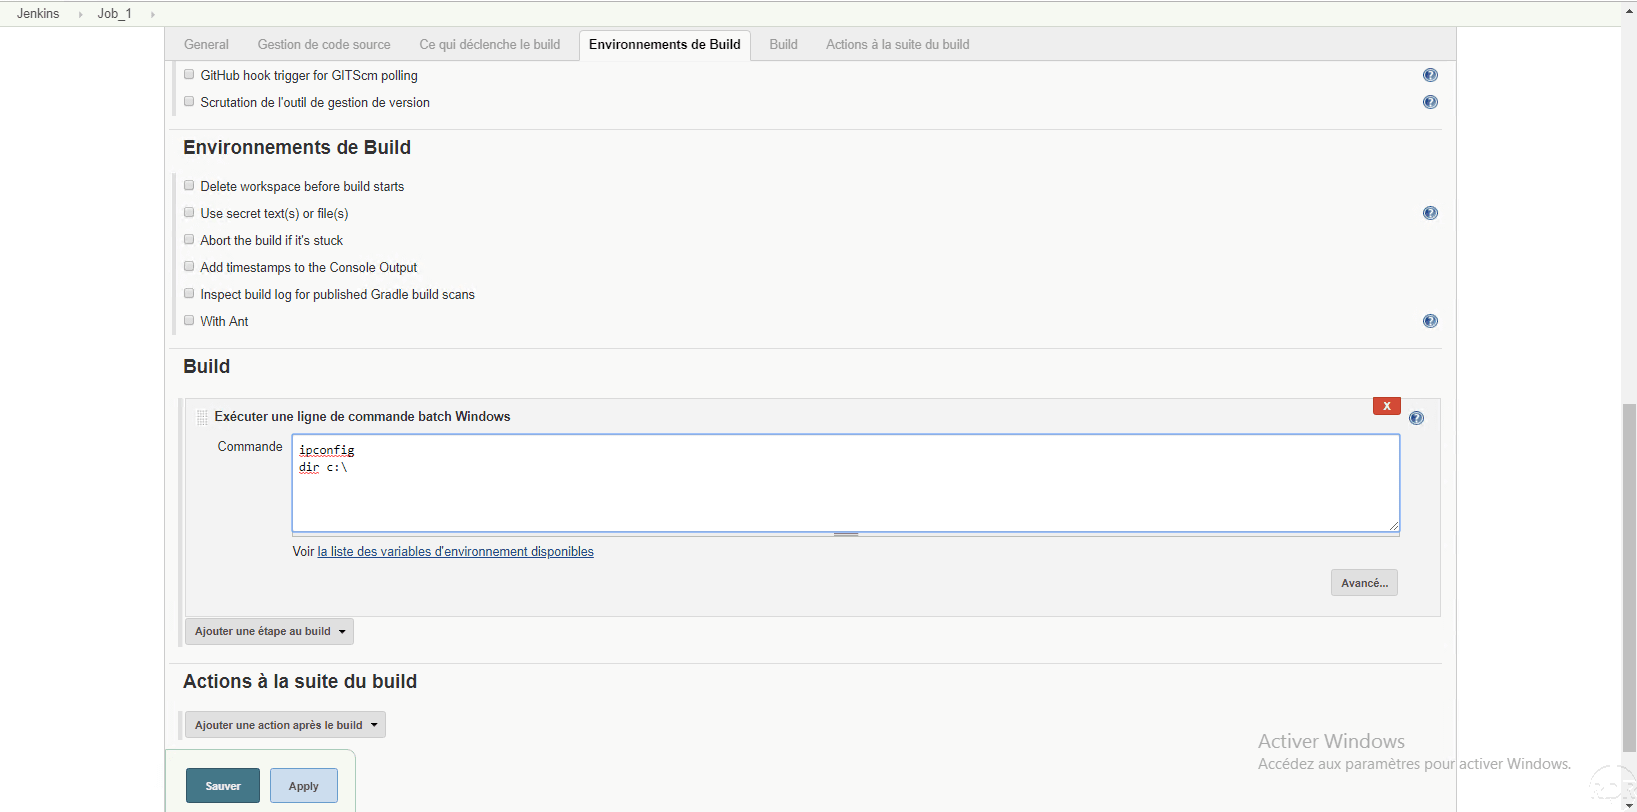
Click the Add a step to build 1 button and choose Run a Windows batch command line 2 .
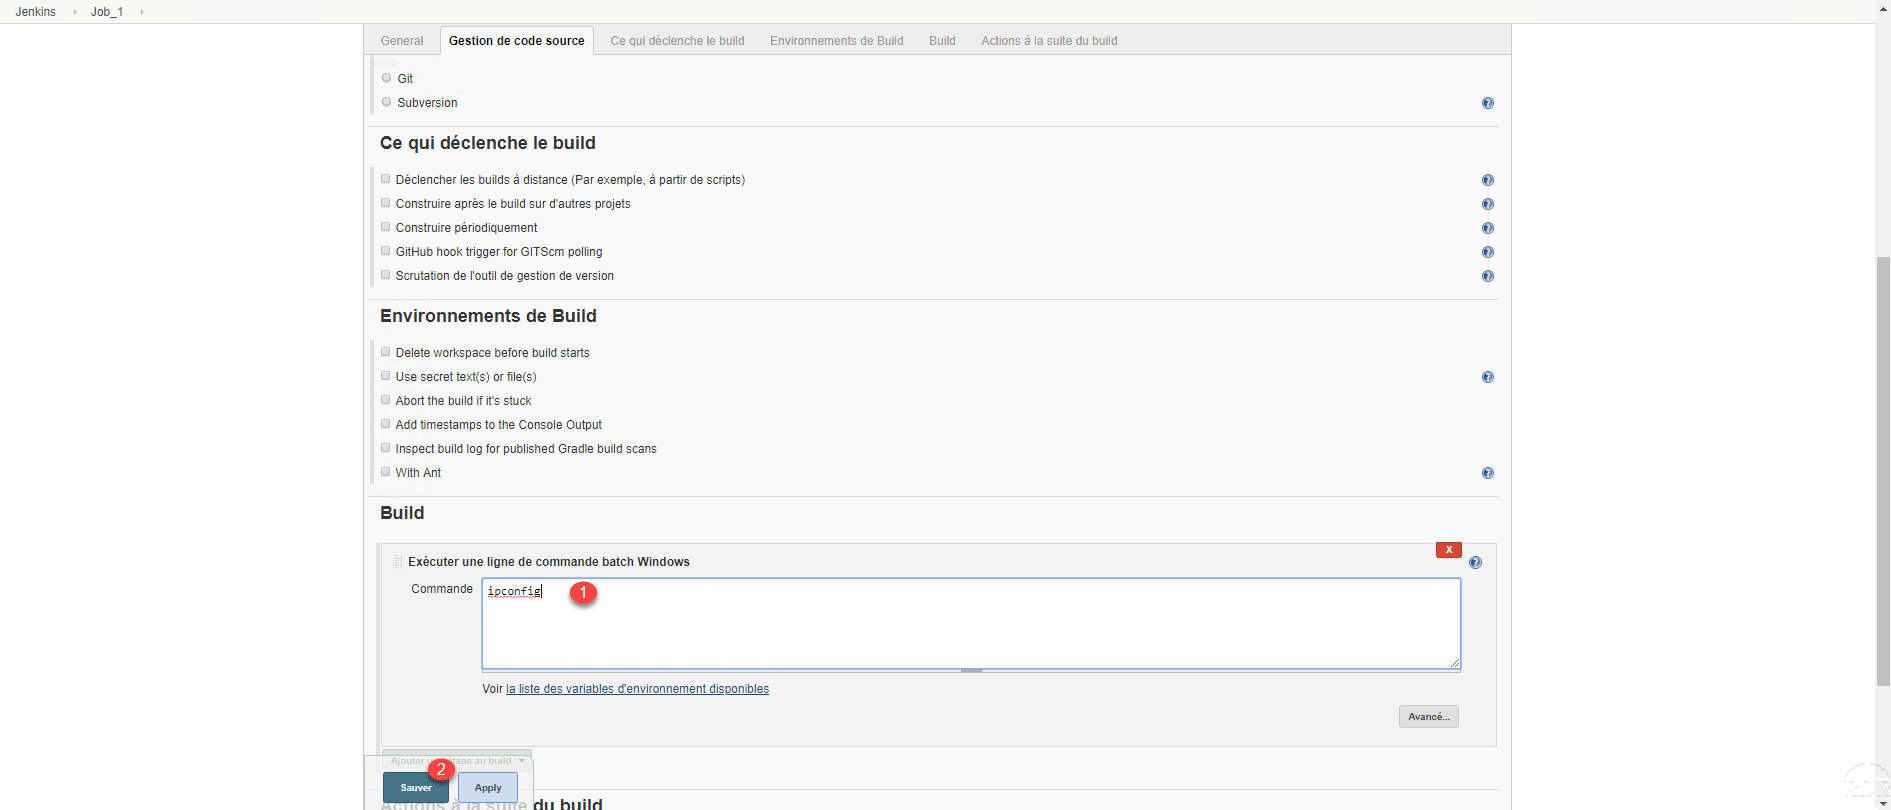
Enter the command to execute 1 and click Save 2 .
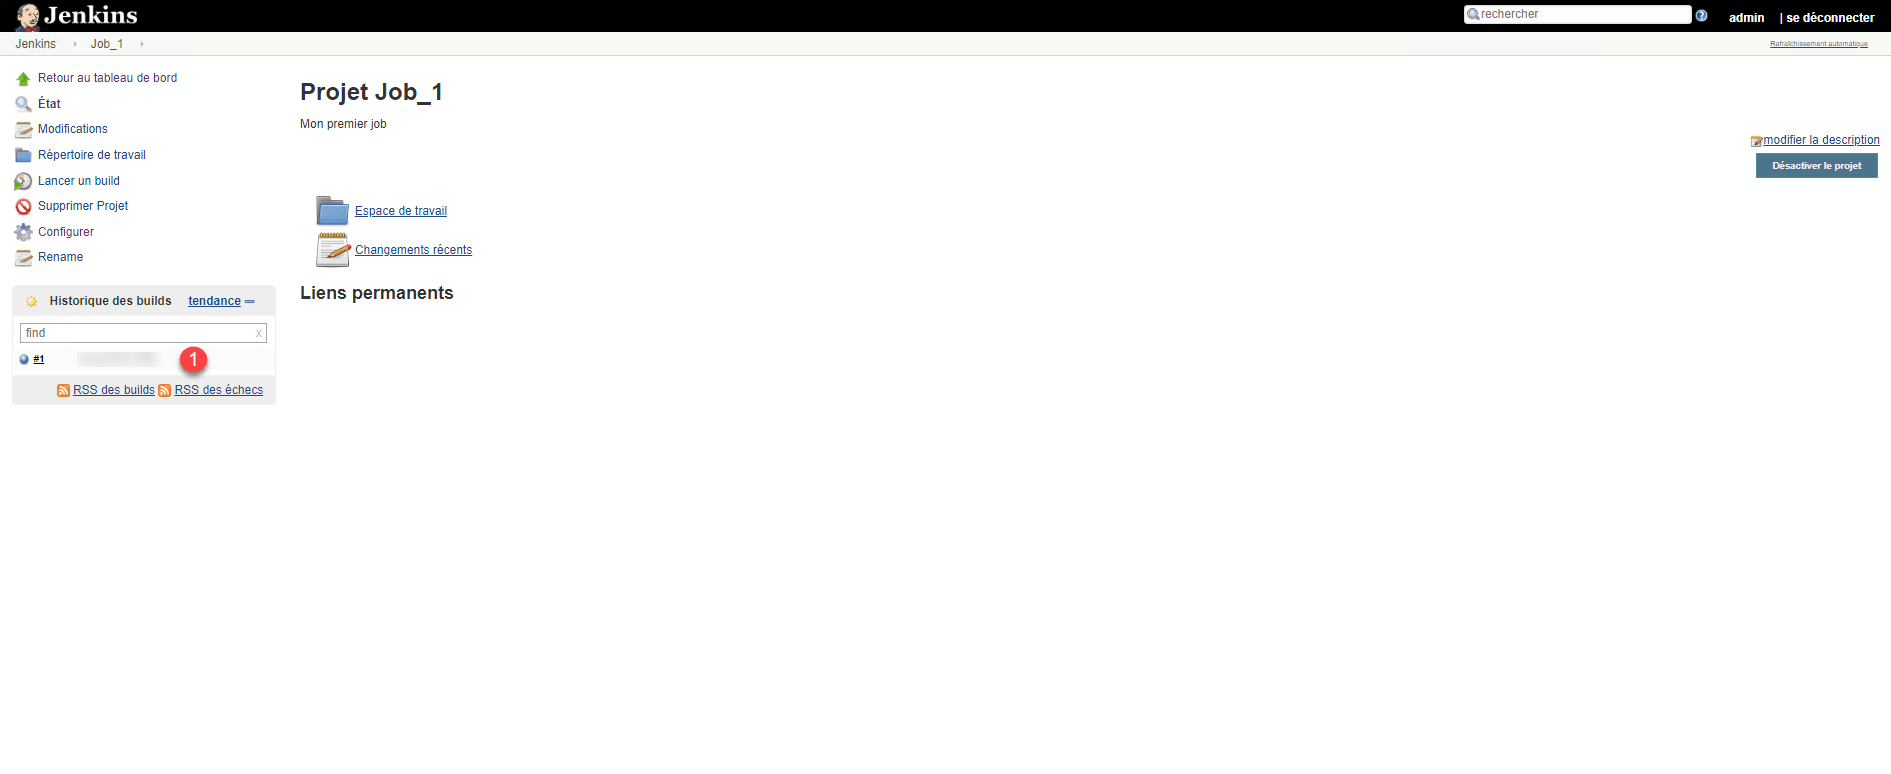
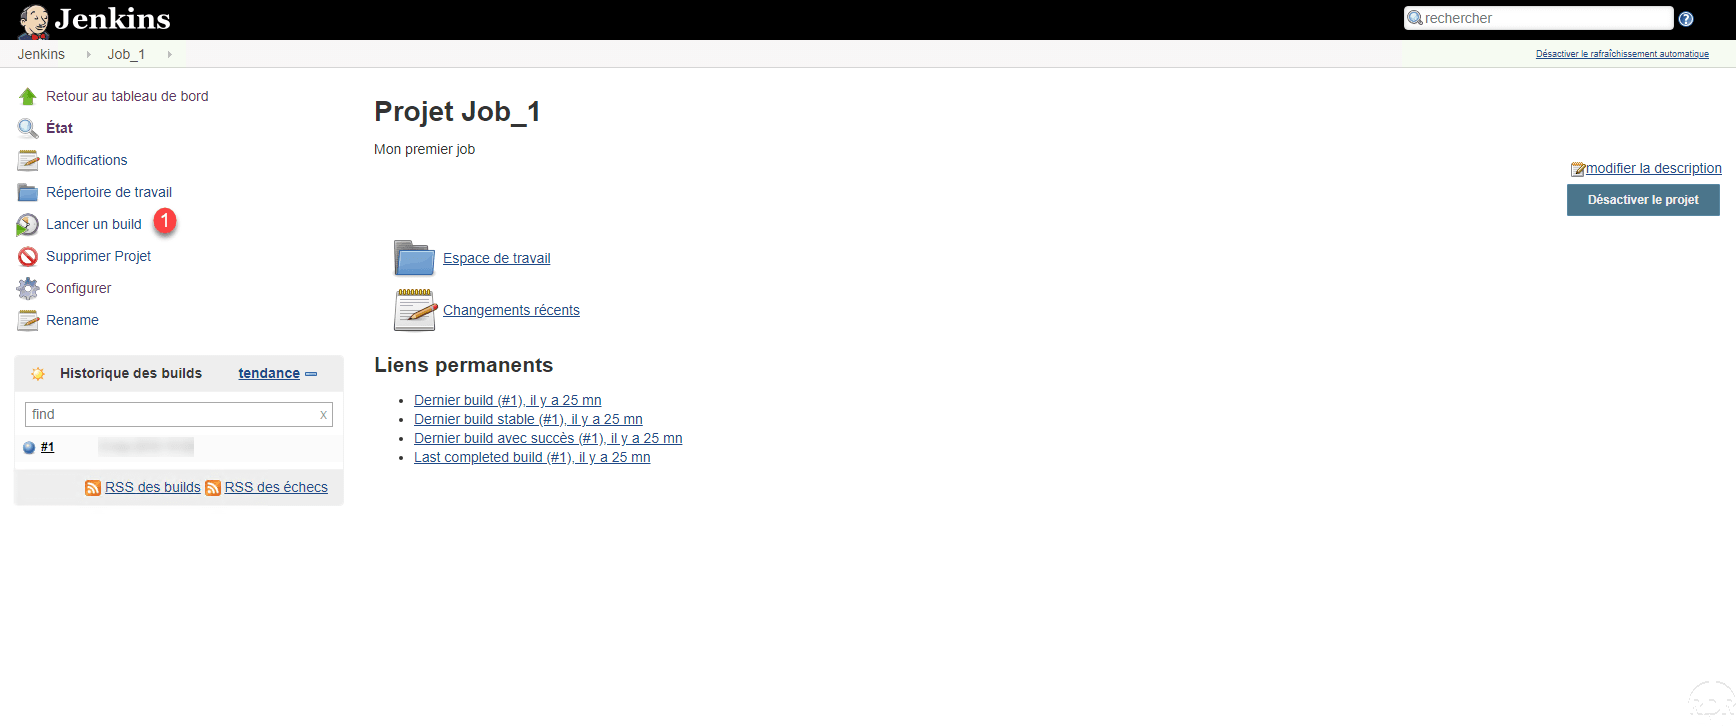
The project is created, to test it, click on Start the build 1 .

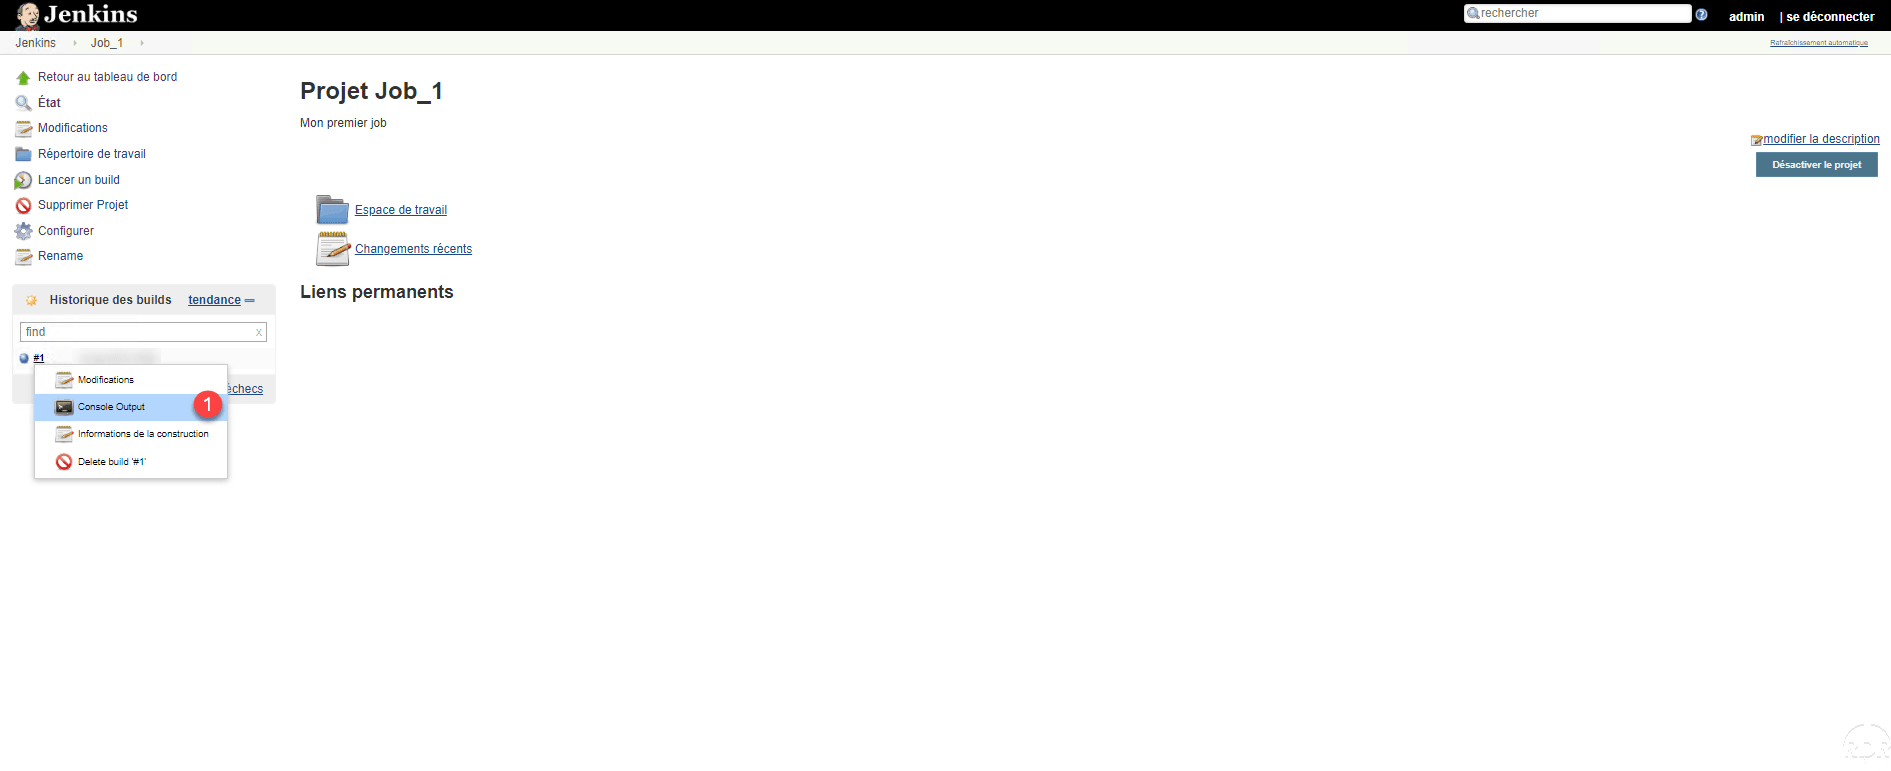
In historical widget, we see that the job has been executed 1 .
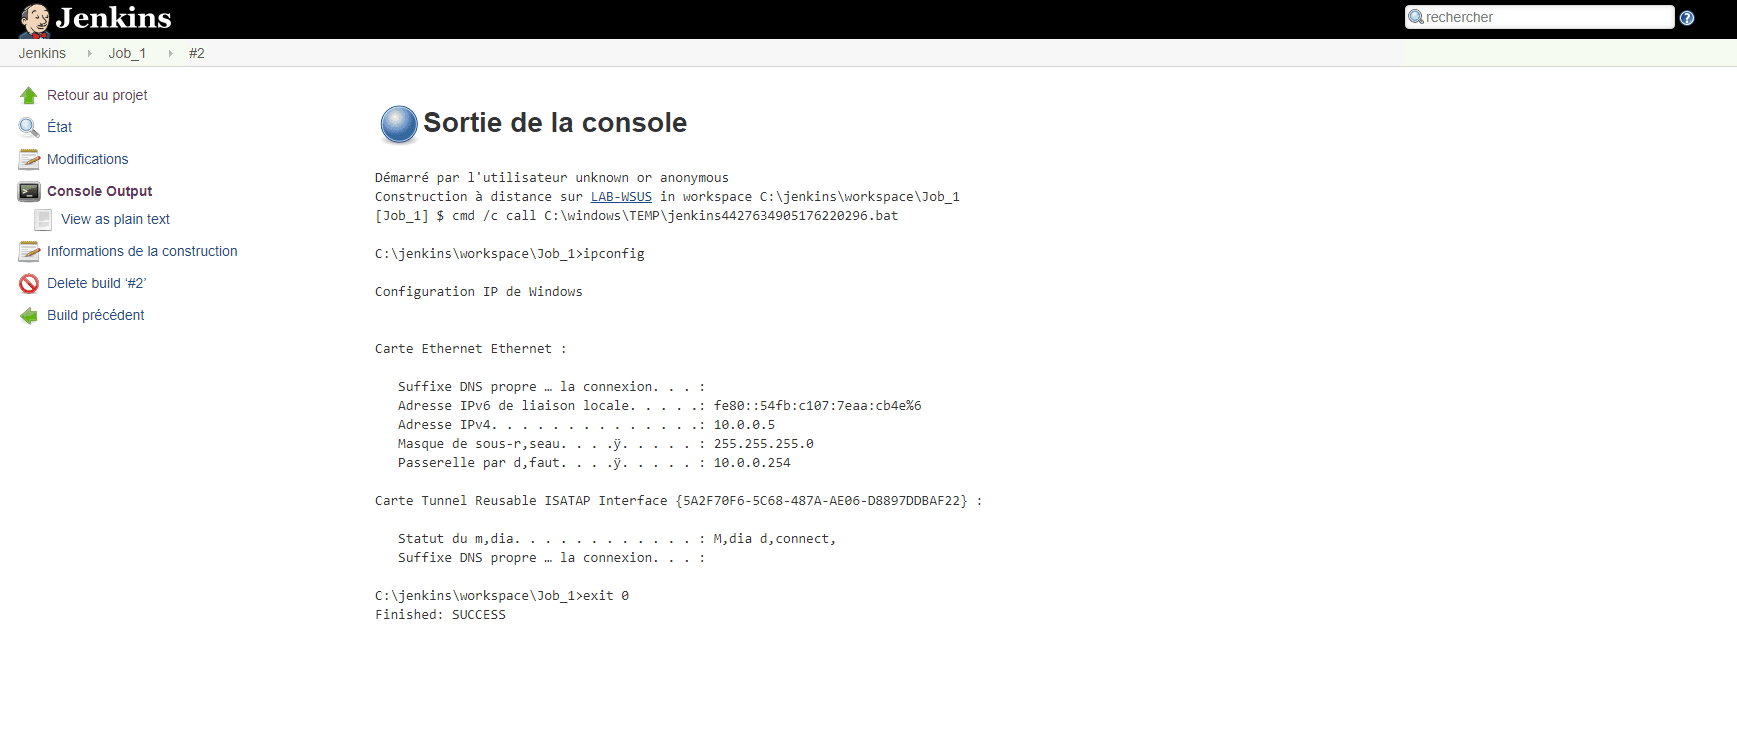
Hover over the job number, click on the arrow to open the menu and click on Console Output 1 .
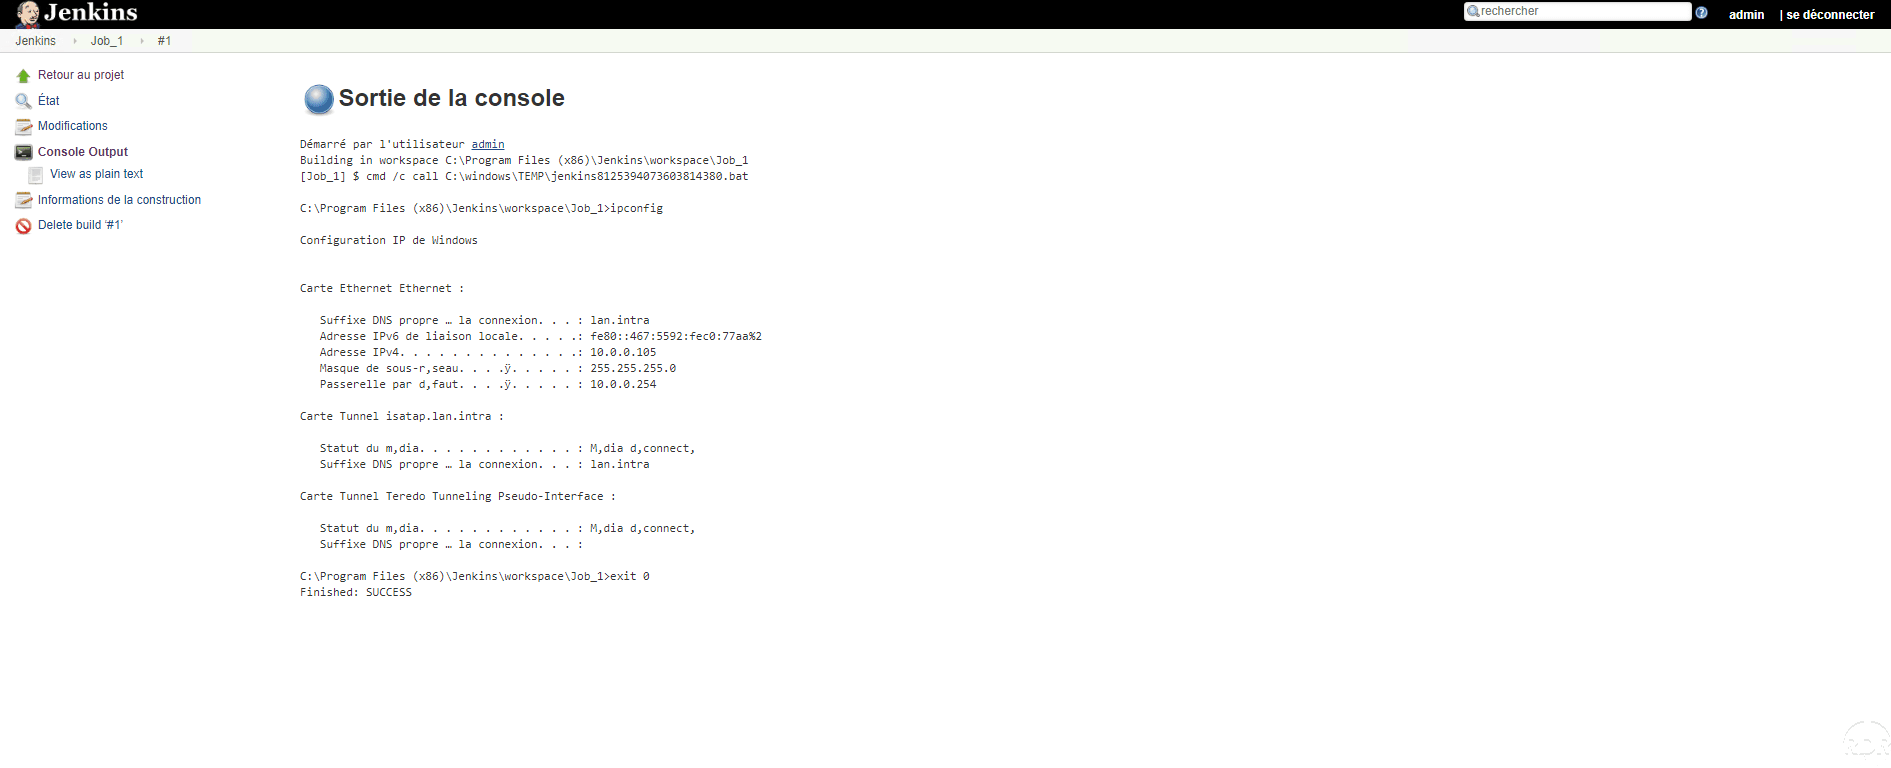
The result of the command appears as if it had been run directly from a Windows command window.
Add a Windows Remote Node in Jenkins
Now that we’ve seen how to create and run a task with Jenkins, we’ll add a remote Windows node so we can run the project on it.
A remote node is a server where we will install a Jenkins agent that will communicate with the server. It is necessary that Java be installed on the remote server.
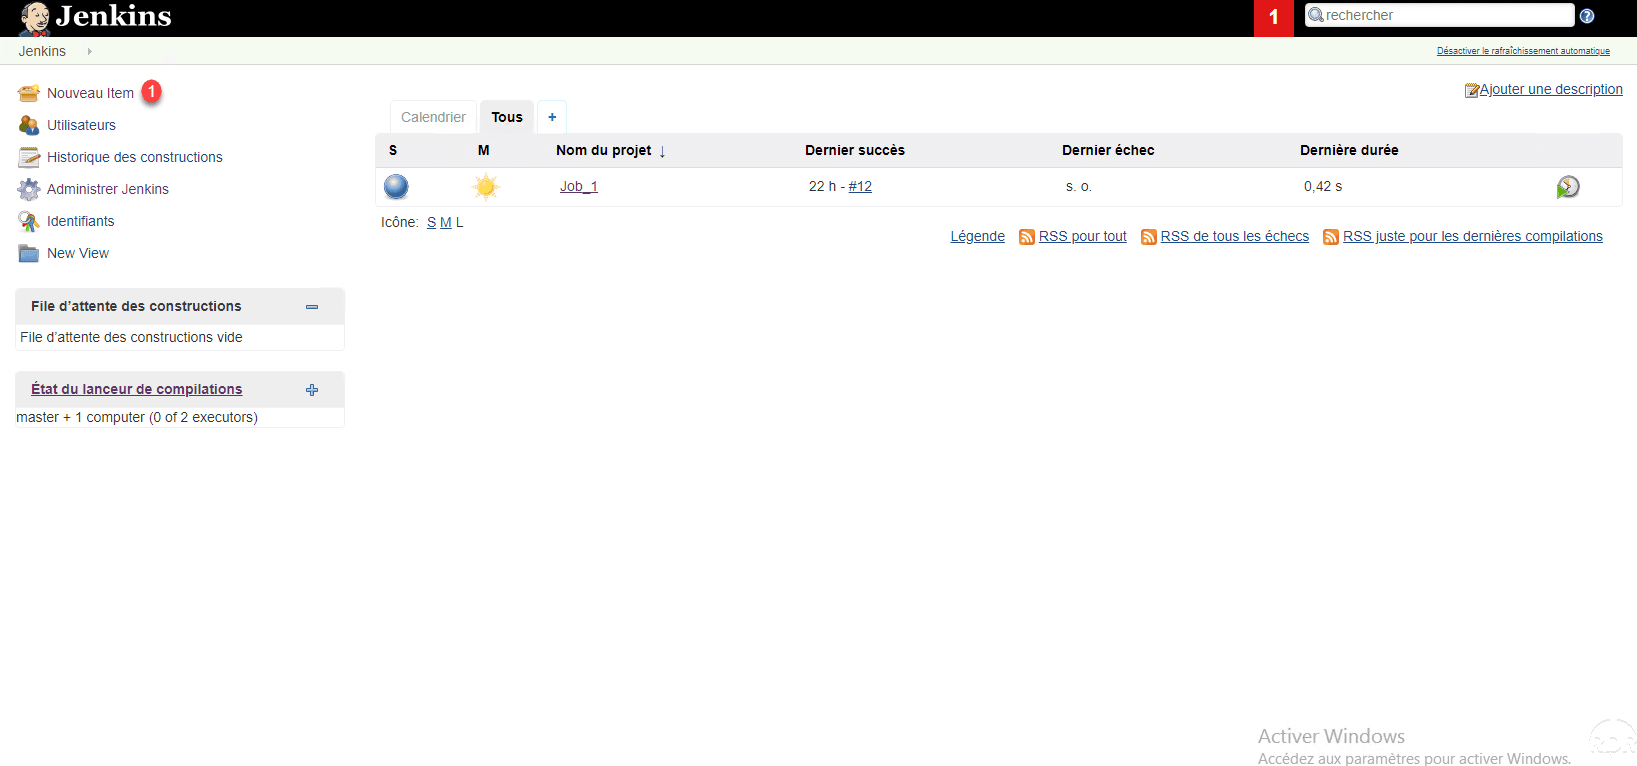
On the home page, click Jenkins Administrator 1 .
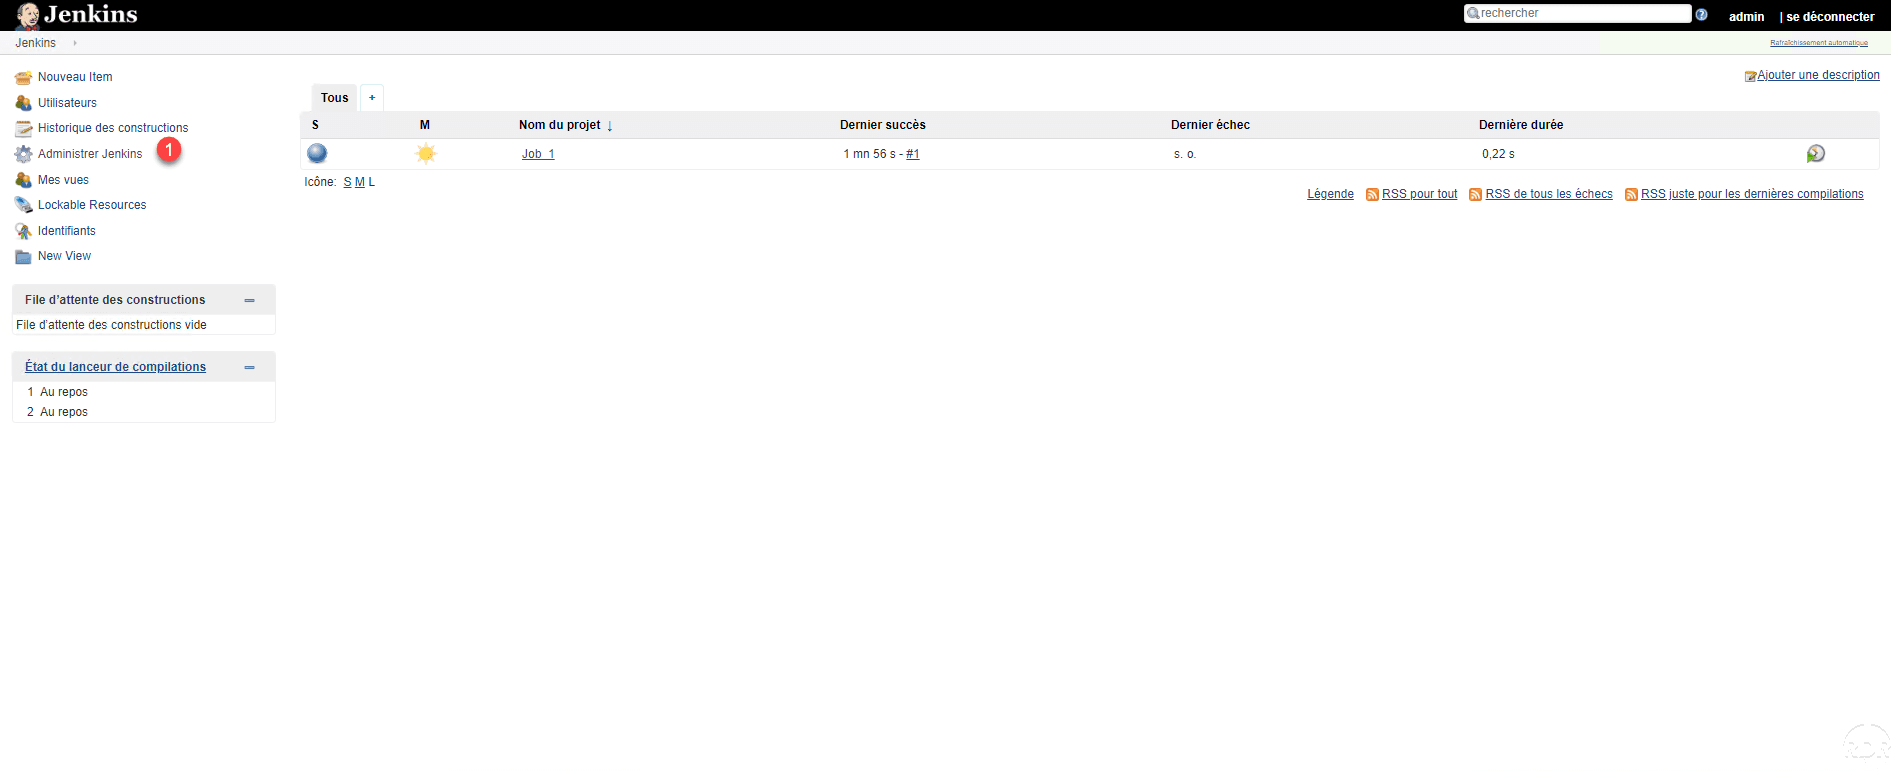
In passing, we can see our project on the home page and its status.
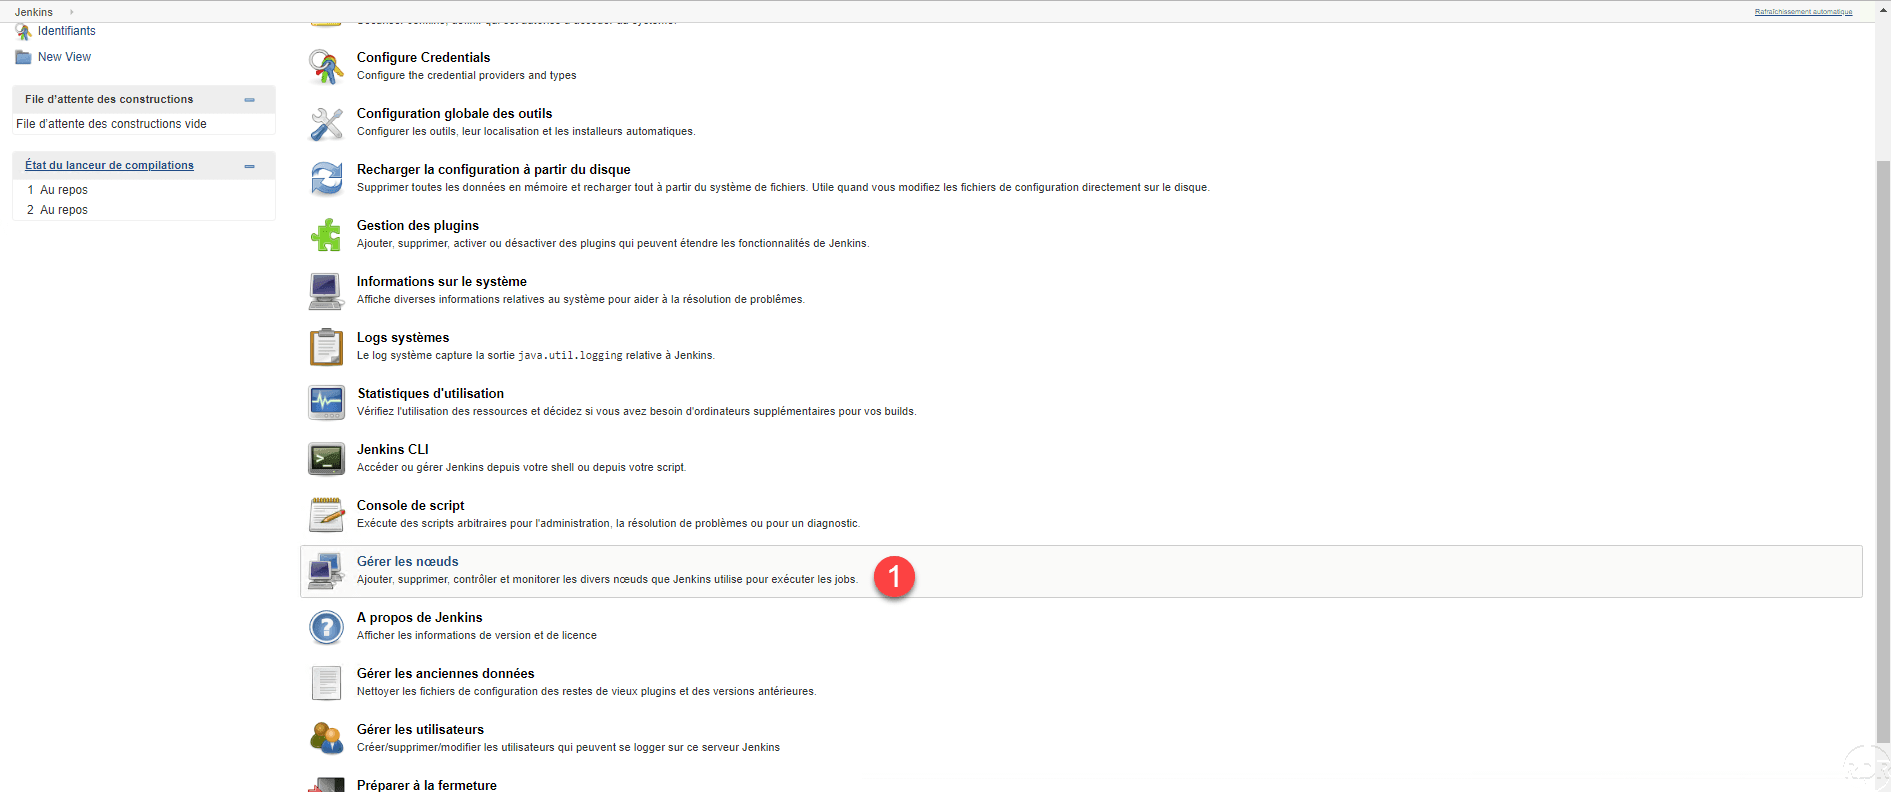
Click on Manage nodes 1 .
A page with the list of nodes is displayed, click Create node 1 .

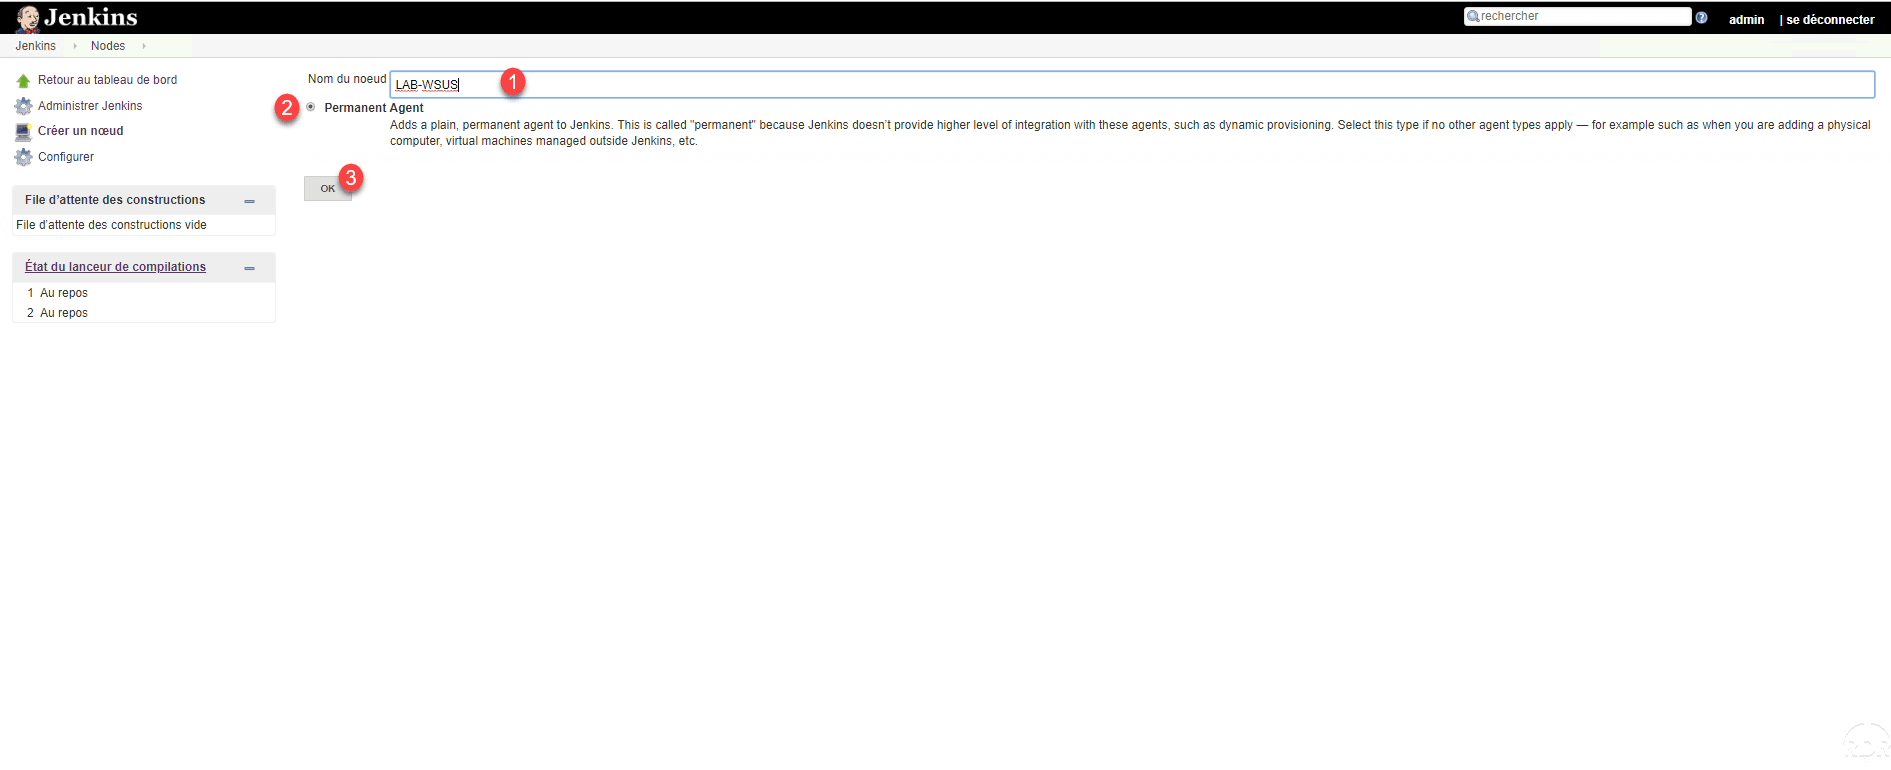
Enter a name for agent 1 , select the option Permanent Agent 2 and click on OK 3 .
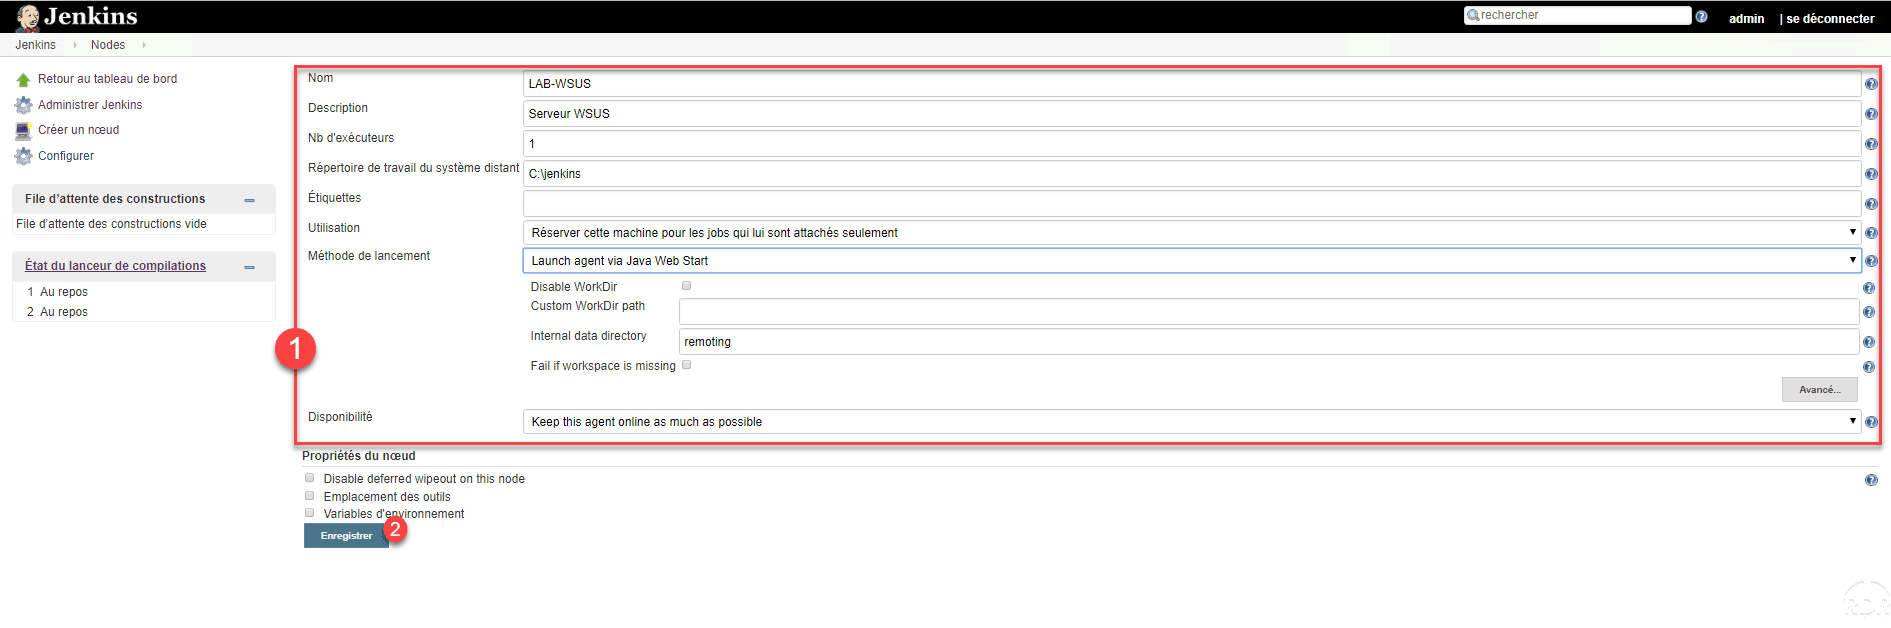
Configure Agent 1 and click Save 2 . Here are the parameters to configure correctly:
- Remote System Work Directory: A folder on the remote server that will be used to generate scripts.
- Use: Reserve this machine for jobs that are attached to it only.
- Launch Method: Choose Launch Agent via Java Web Start.
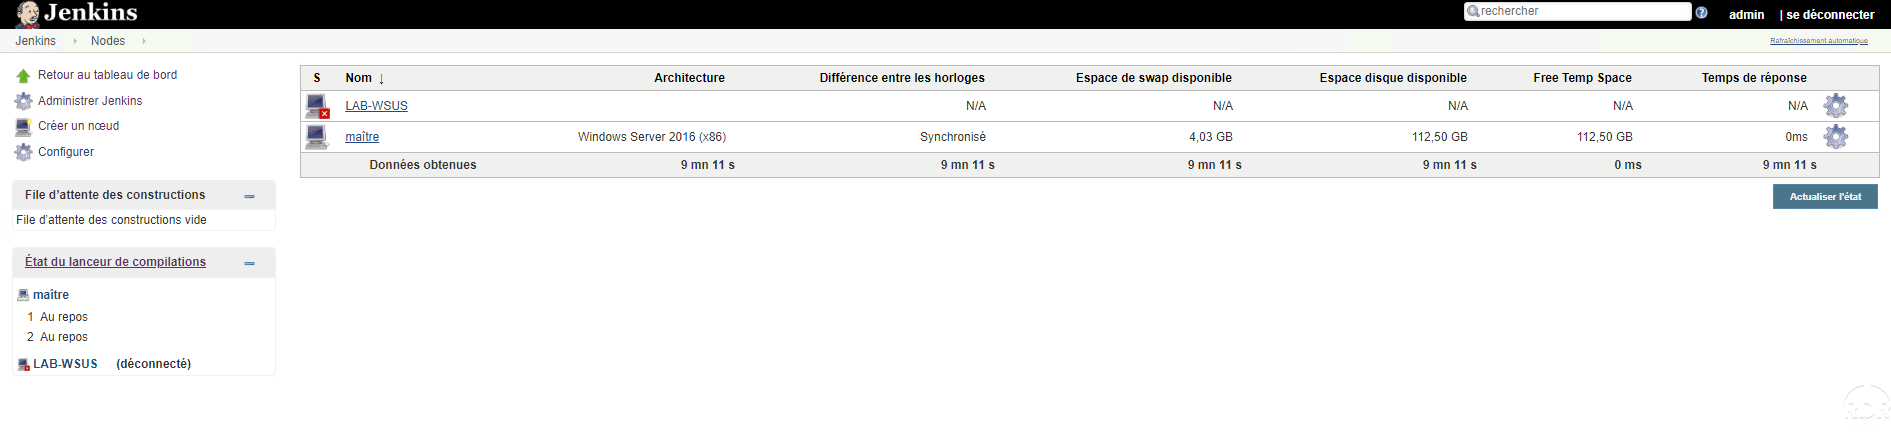
The agent is added, it is currently disconnected, it must be launched using Java on the remote server.
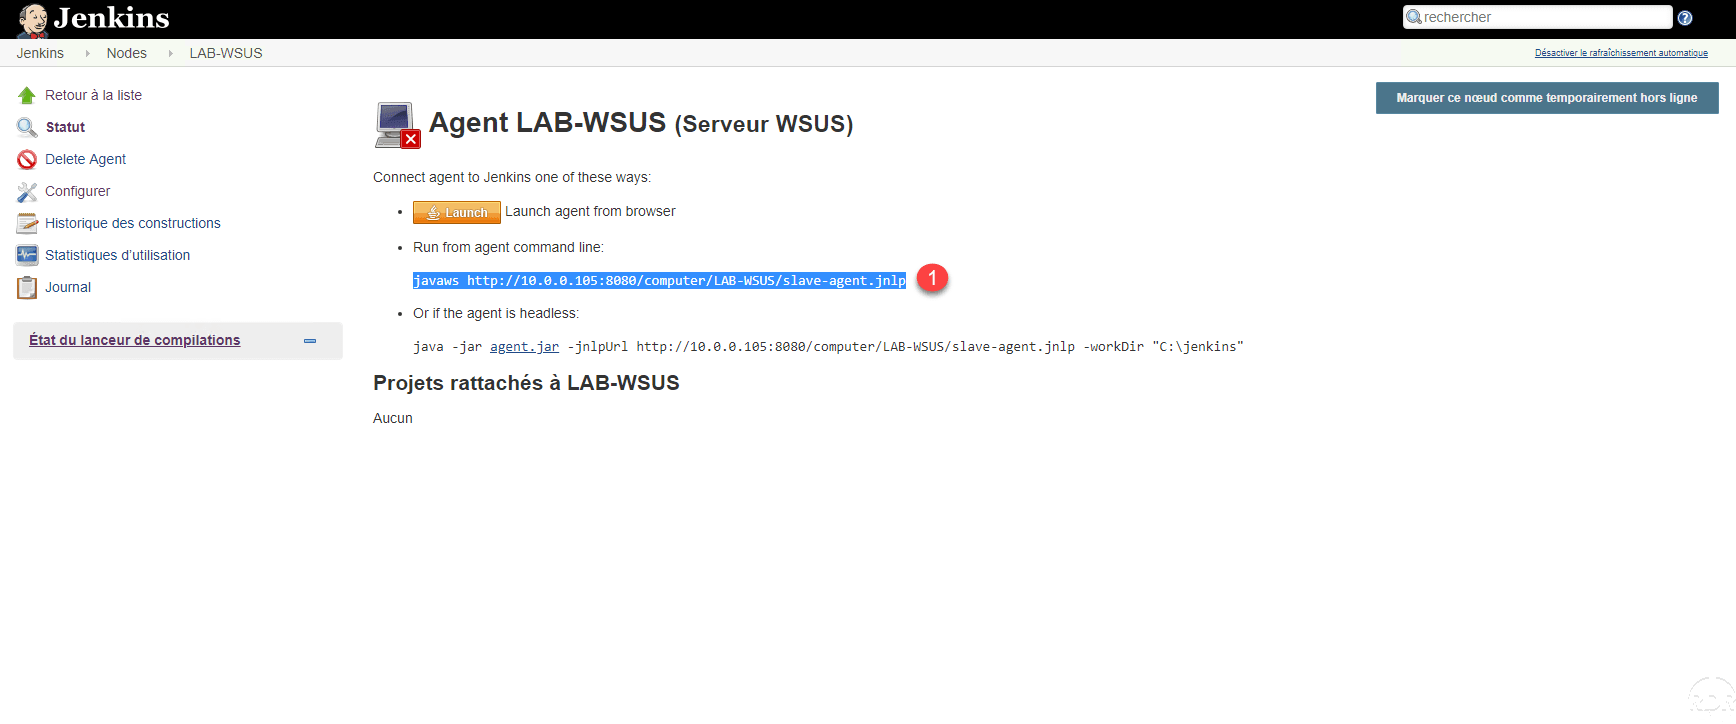
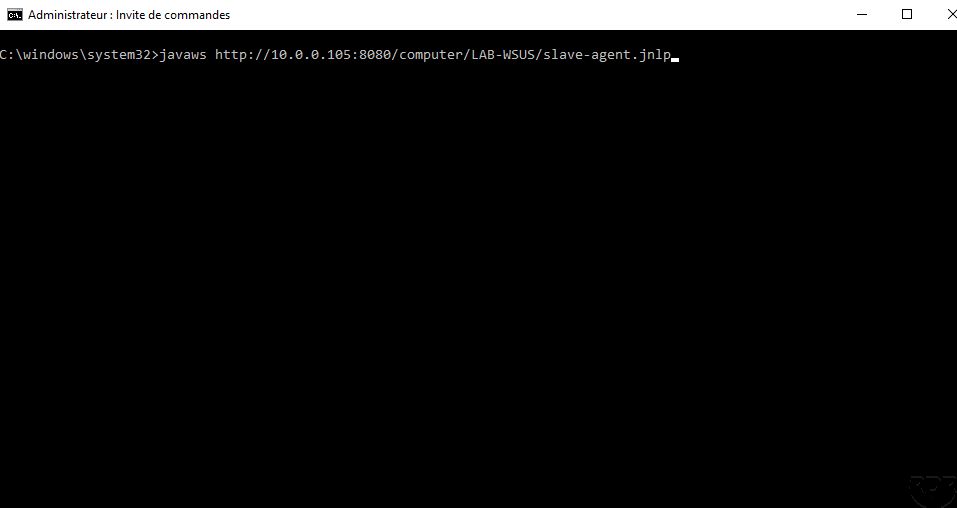
Now that the agent is configured, go to the remote server, with an internet browser connecting to the Jenkins server and go to the node’s detail page (Administer Jenkins / Manage Nodes / [NODE]). Copy line 1 corresponds to Run from agent command line.
Open a command prompt as administrator and paste the line and confirm by pressing Enter.
Click Run 1 to launch the agent.
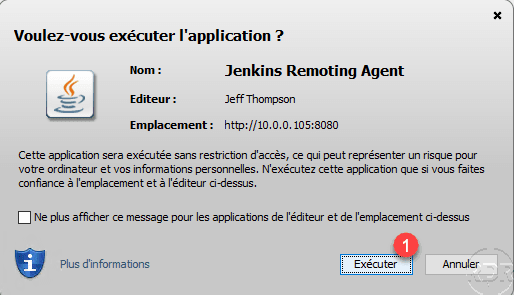
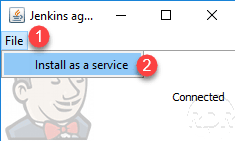
A java window opens with the connection status of the agent to the server.

The following part is optional, it allows to install the agent as a service so that it is started automatically. In the agent window click on File 1 and then on Install as a service 2 .
Click OK 1 to confirm the installation of the service.

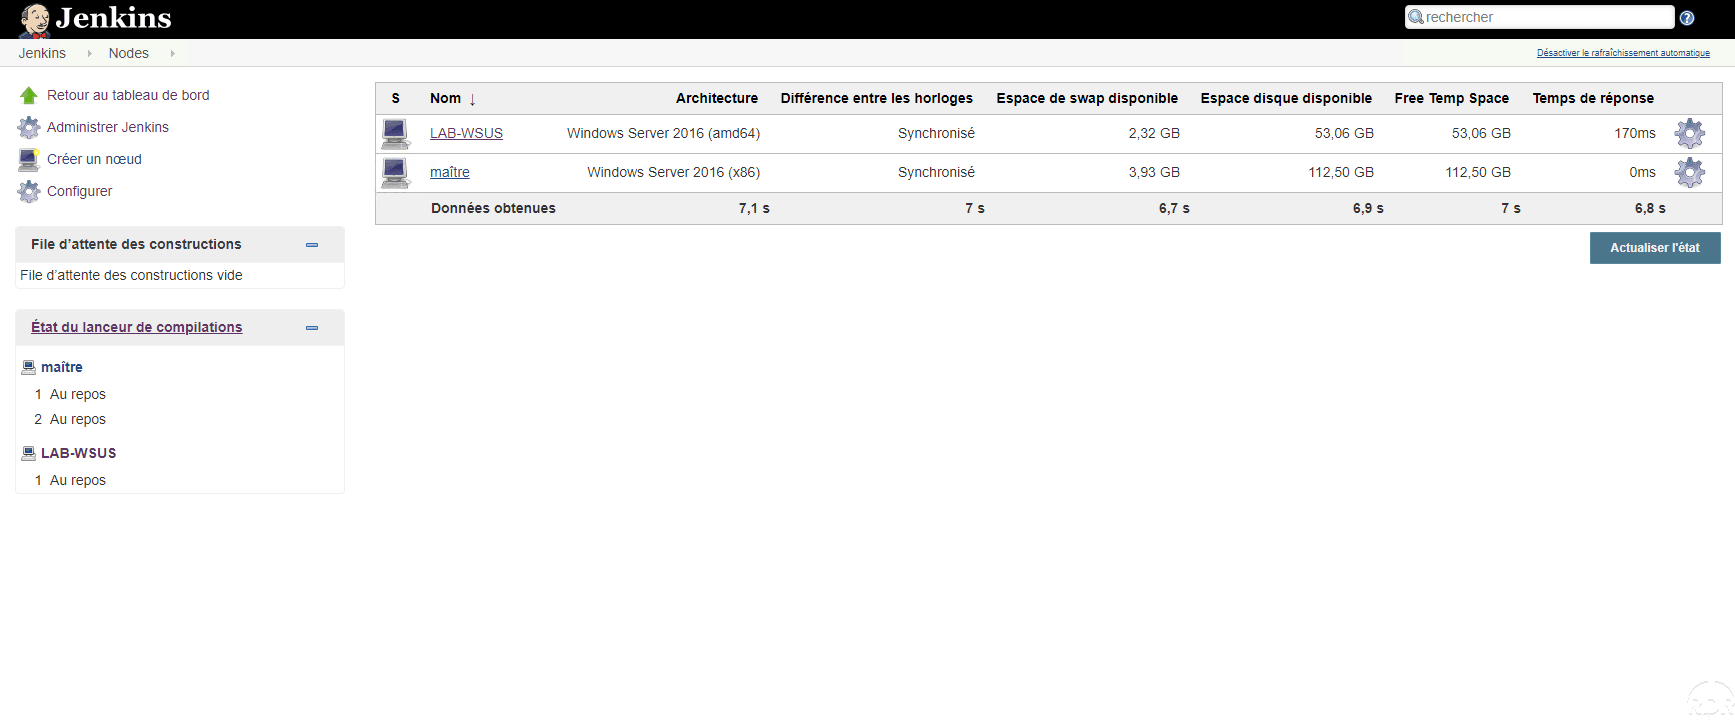
In agent management on the Web interface, the agent should appear as connected.

Now that the remote agent is configured, we’ll modify the task to run on it.
Run the task on remote node
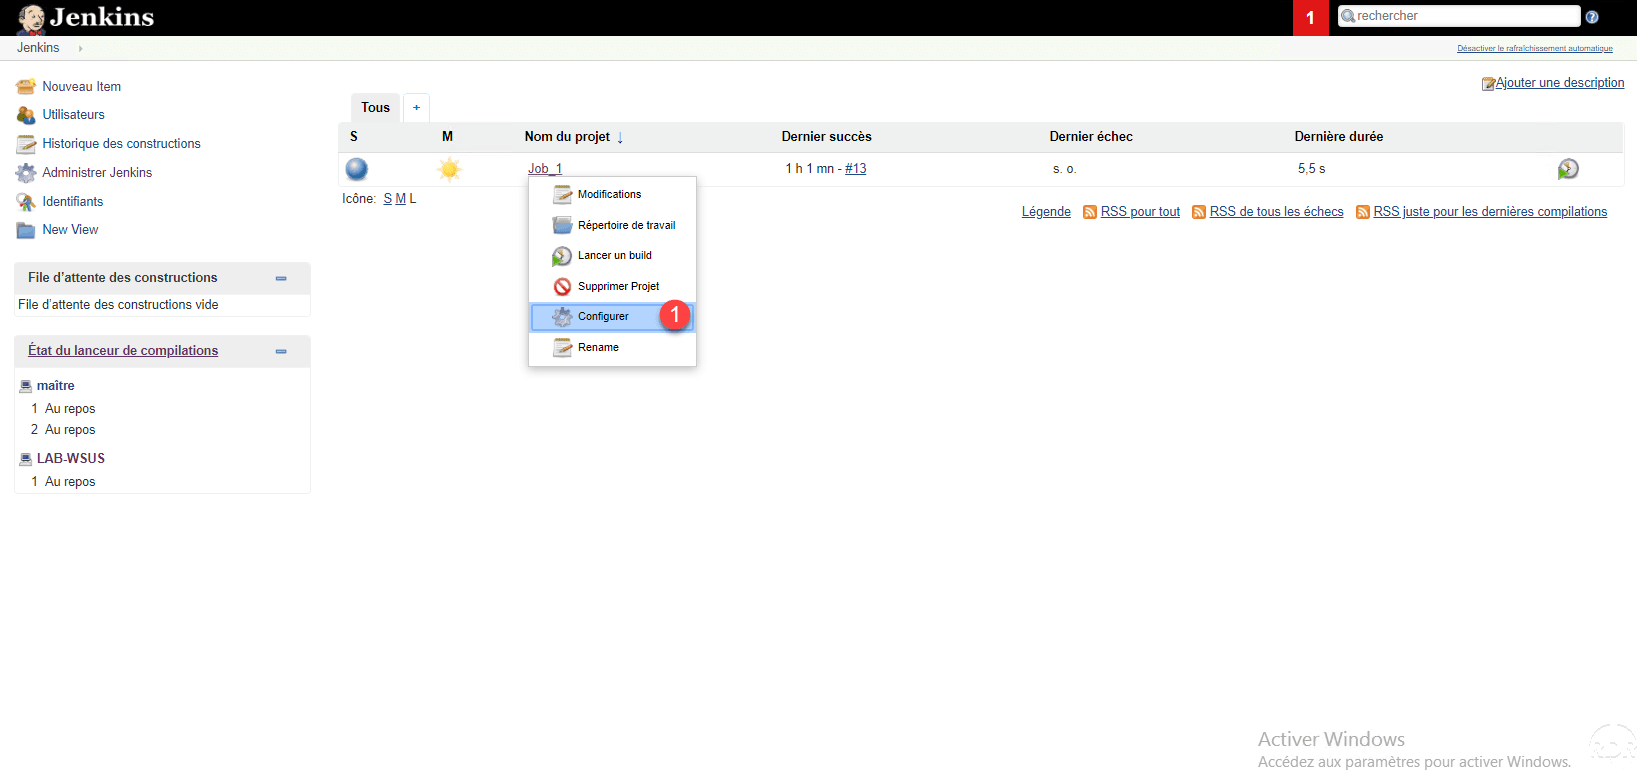
From the Jenkins home page, hover the mouse cursor over the project name, click on the arrow to pull down the menu and click on Configure 1.
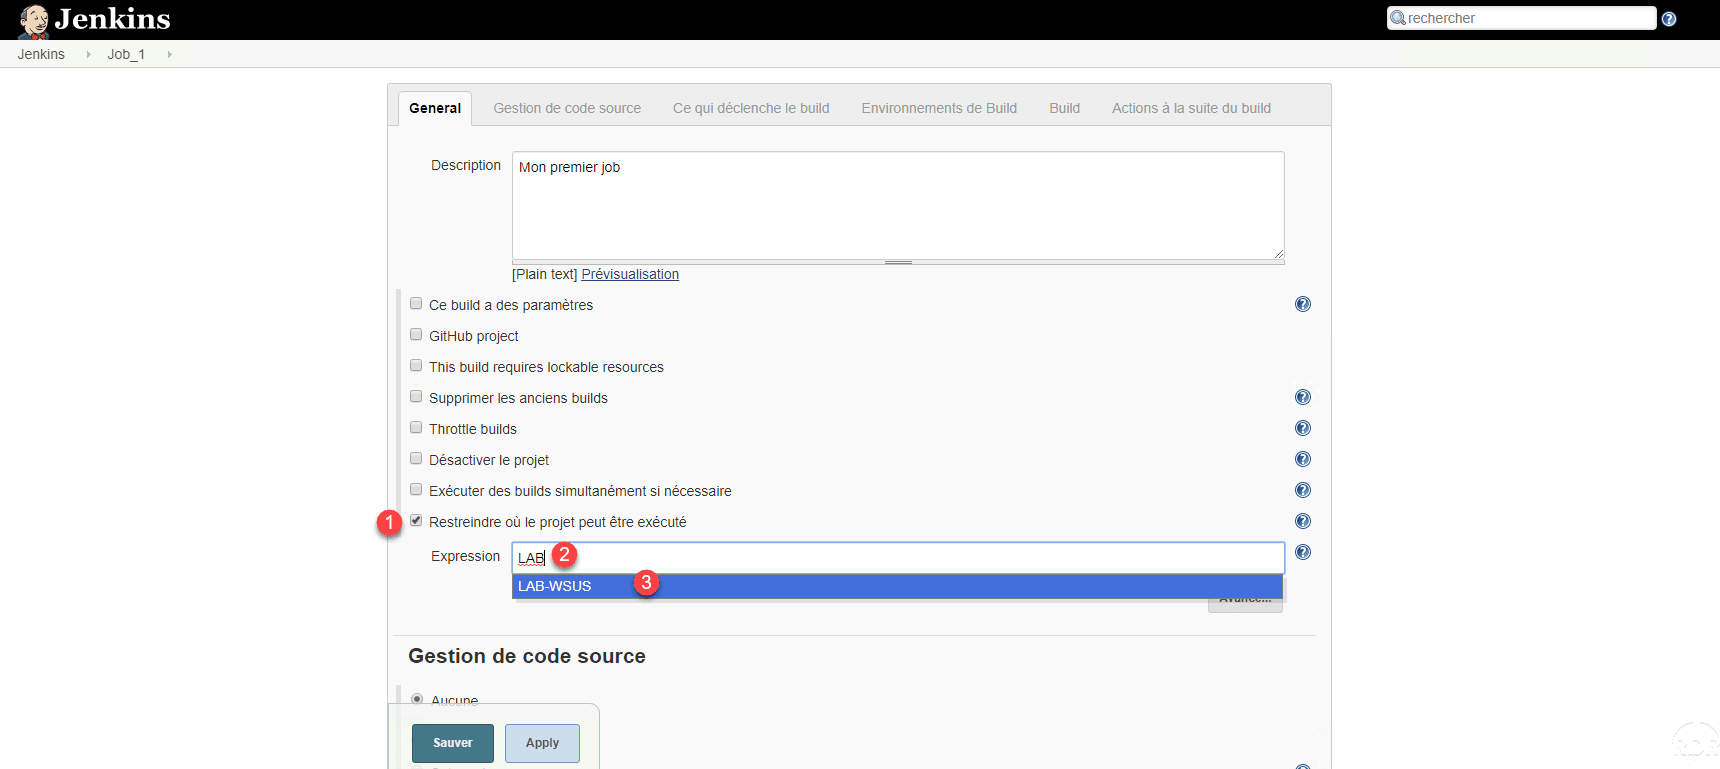
In the General section of the job, check the Restrict box where the project can be executed 1 , in the Expression field enter the name of the agent 2 and click on the proposition 3 for select the agent.
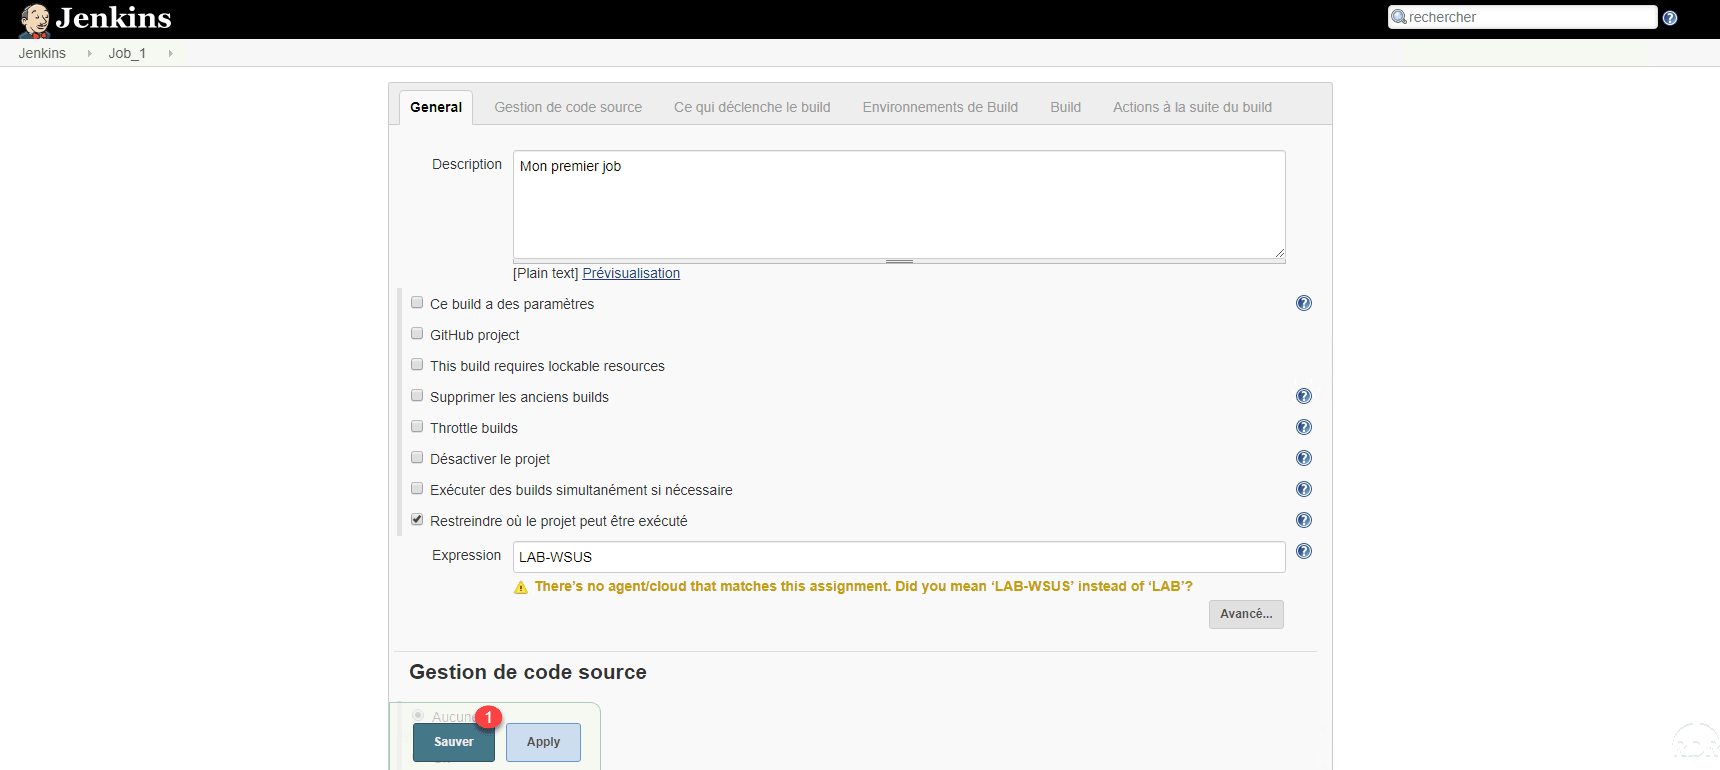
The selected agent, click on Save 1 .
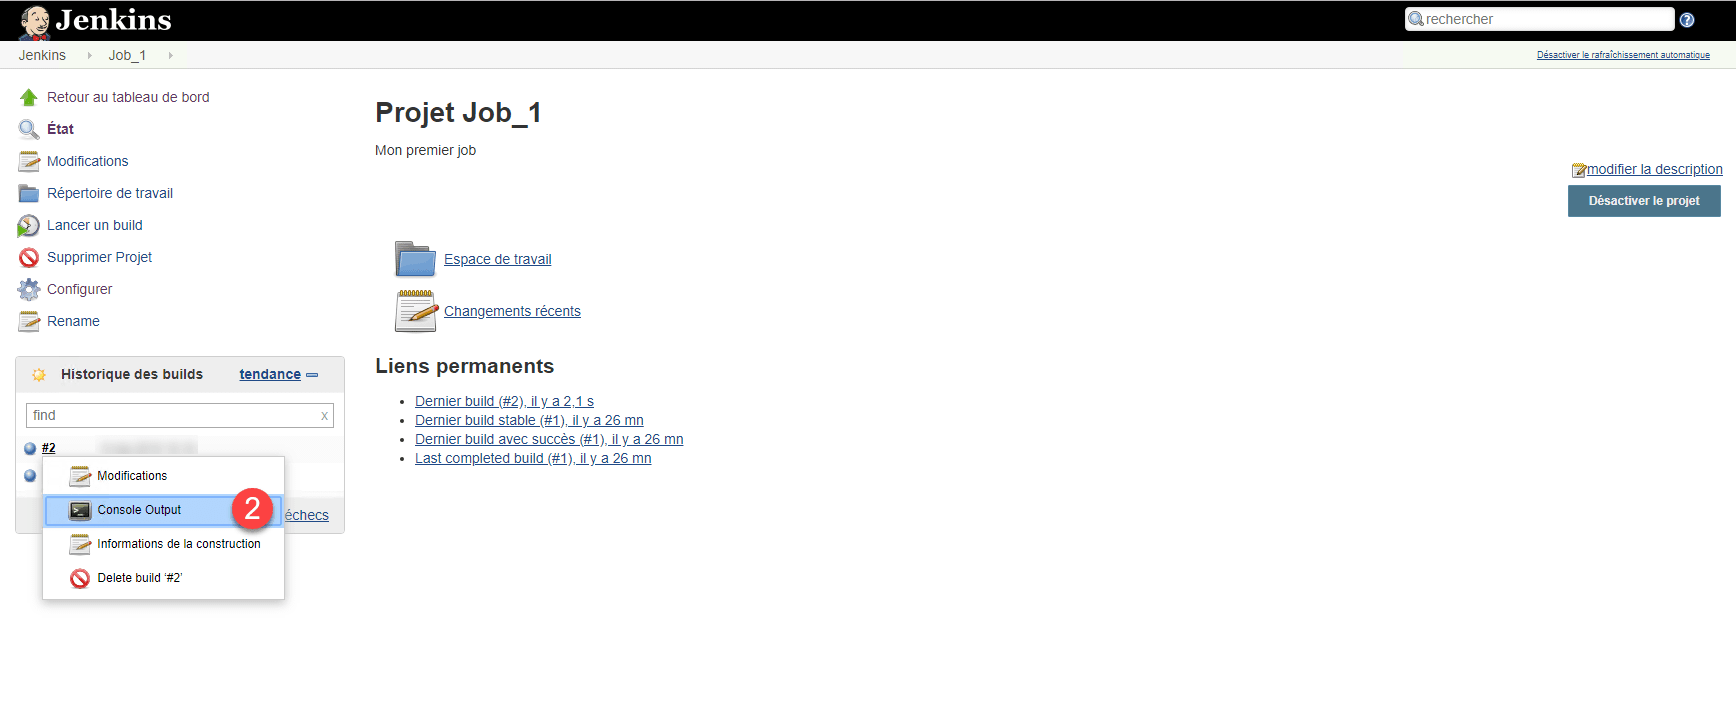
Click on Start a build 1 , when it is executed display the output 2 .
The console return displays the IP configuration of the agent.
Run multiple commands
It is possible to execute several commands afterwards as if a batch file is executed. In the Build part of the job the list of commands to execute.
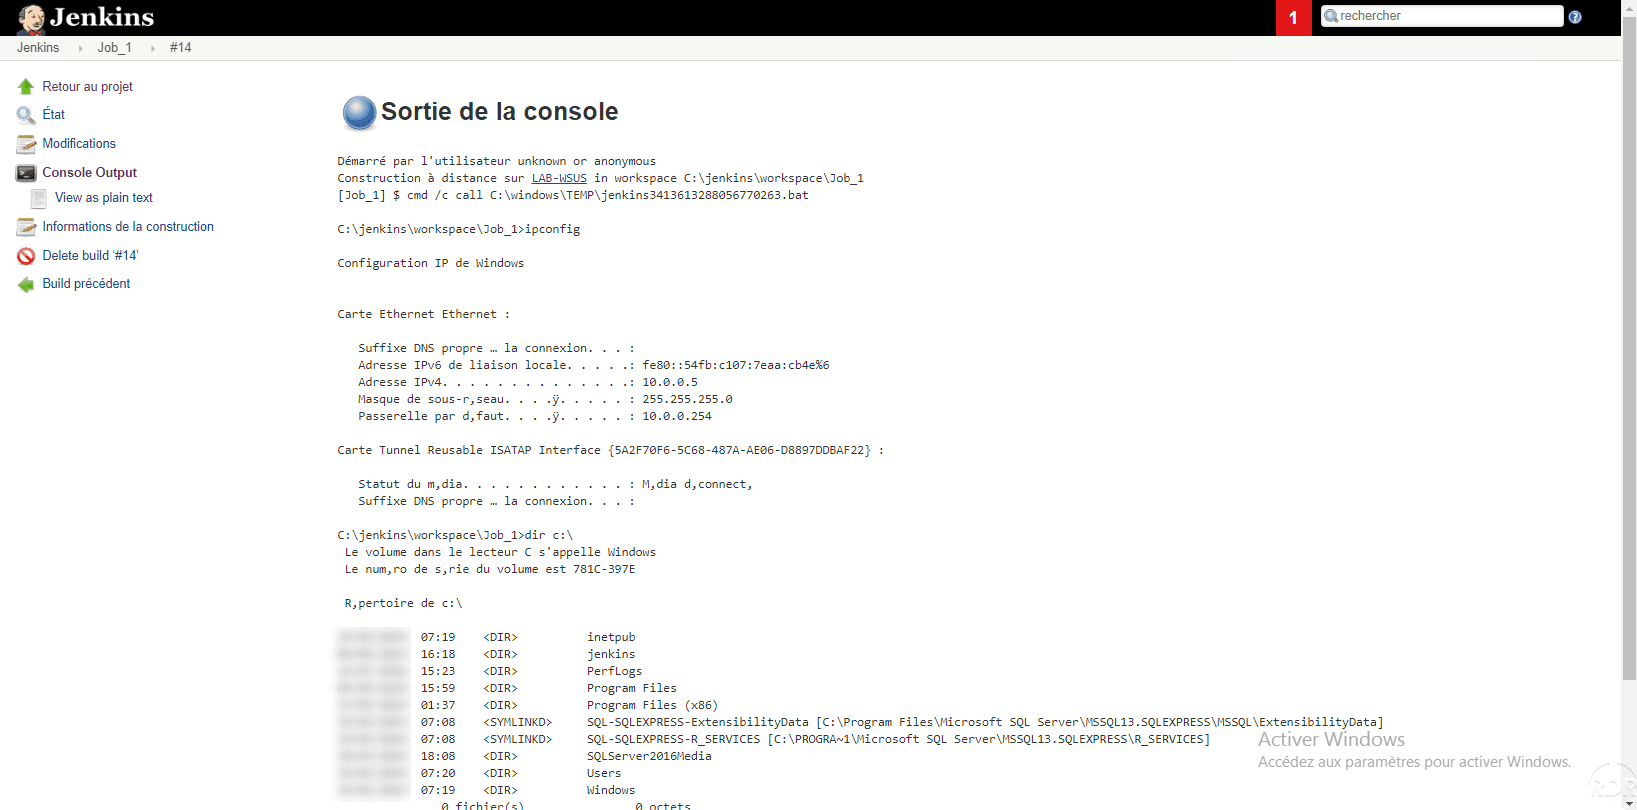
On the console output, we can see the execution of both commands.
Run a PowerShell command
At the beginning of the tutorial when installing the plugins, we installed PowerShell which allows the execution of PowerShell command.
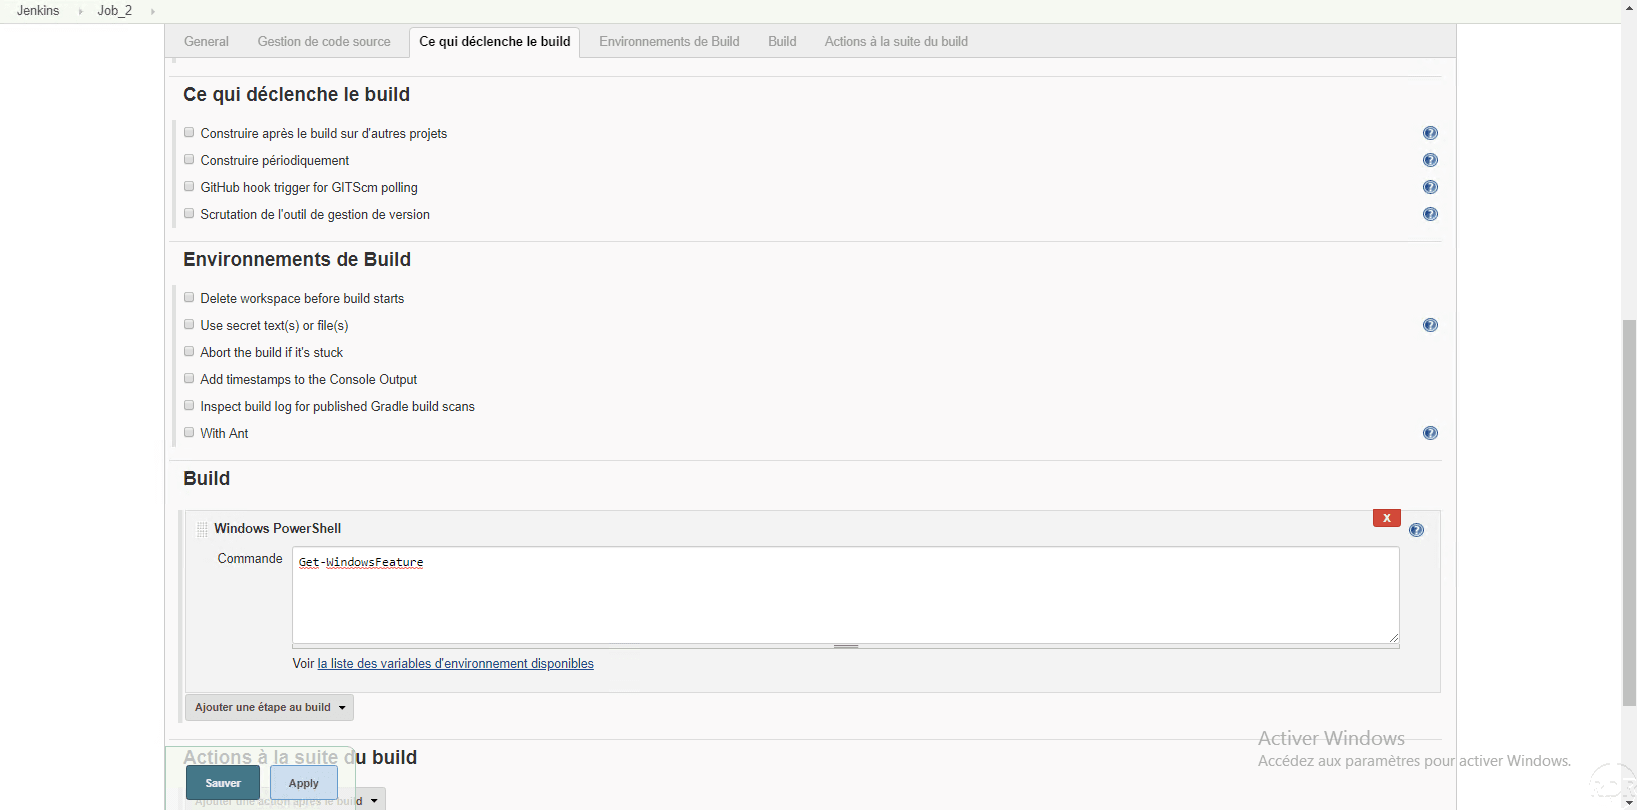
The operation is identical to the Windows batch command line, when adding a step to the Build, choose Windows PowerShell 1 .

Enter the PowerShell command (s) to execute.
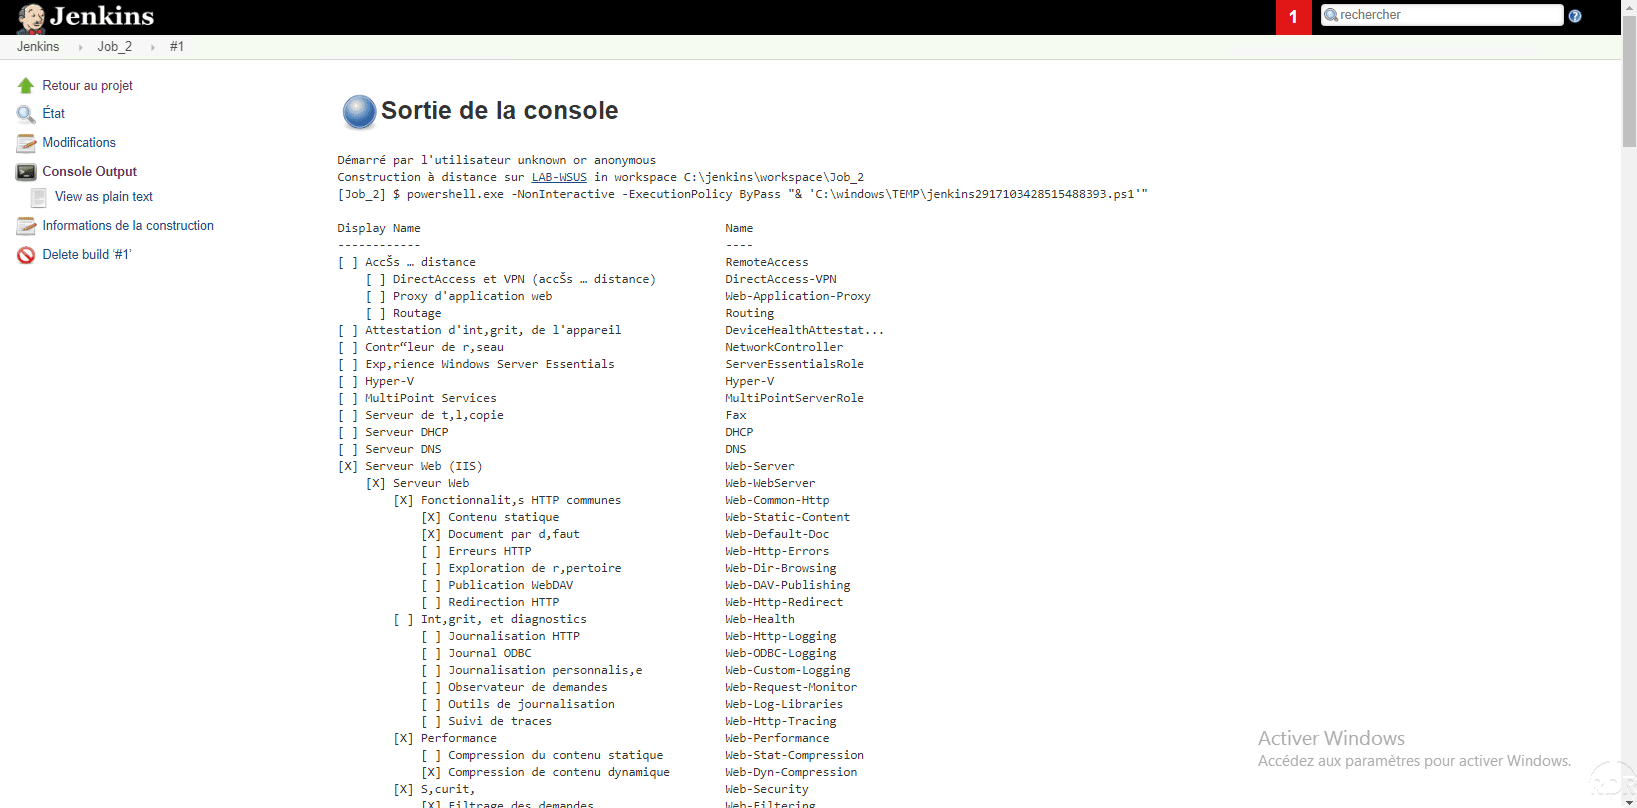
In the console output of the job, we find the result of the command.
Execution of a job by WinRM
WinRM is a protocol that allows remote administration of a Windows server. The use of job by WinRM allows batch and PowerShell commands to be run on remote servers without the need to install the agent.
The WinRM plugin must be installed.
To work, I had to join the server where Jenkins is installed on the domain.
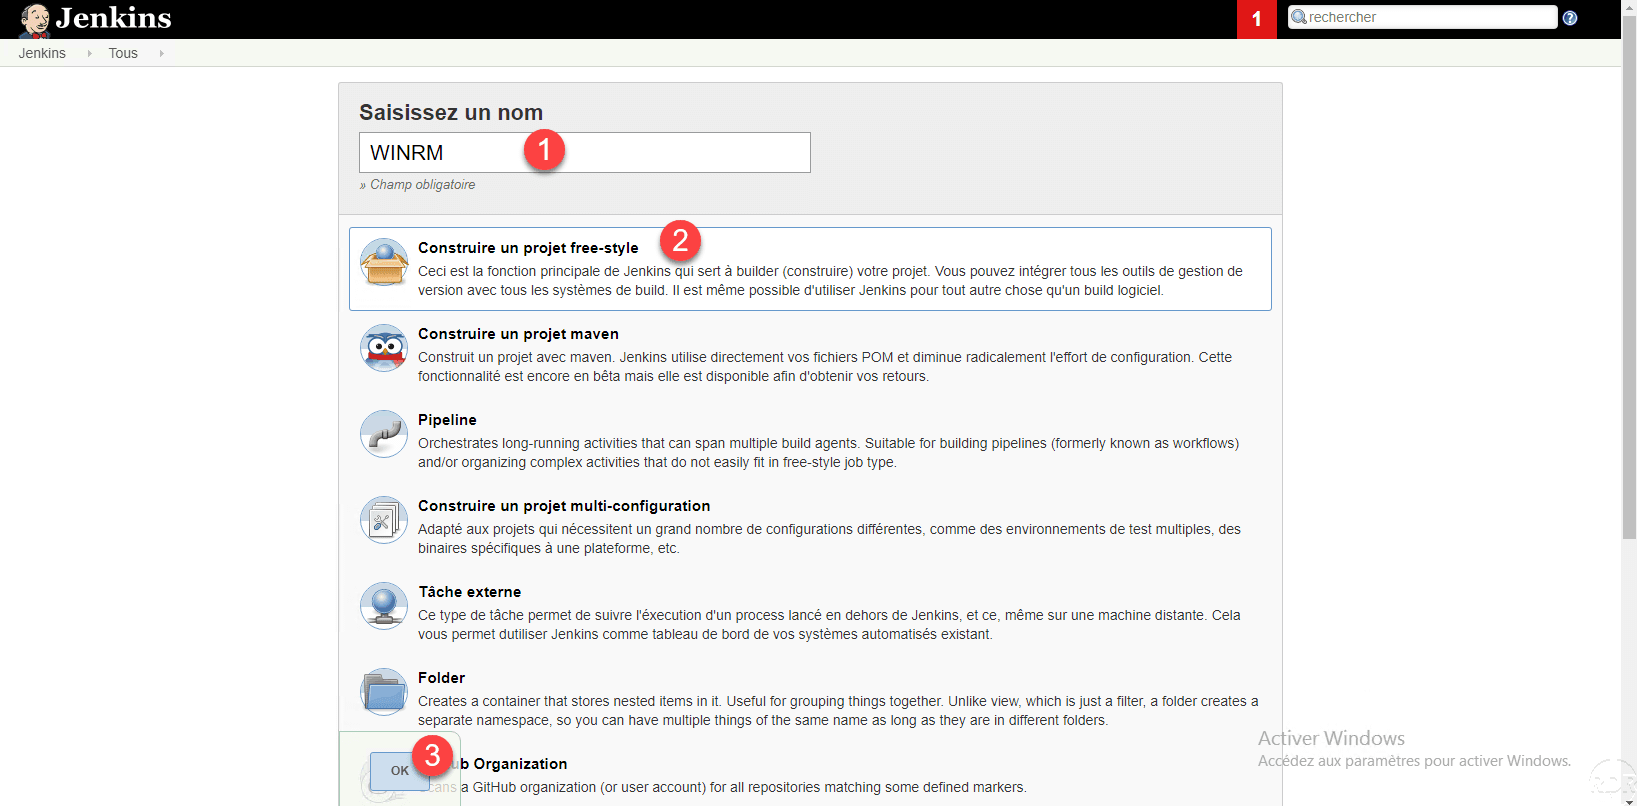
From the Jenkins home page, create a new project by clicking New Item 1 .
Name the job 1 , select Build a free-style project 2 and click OK 3 .
Give a description 1 to the project then click on Build 2 .
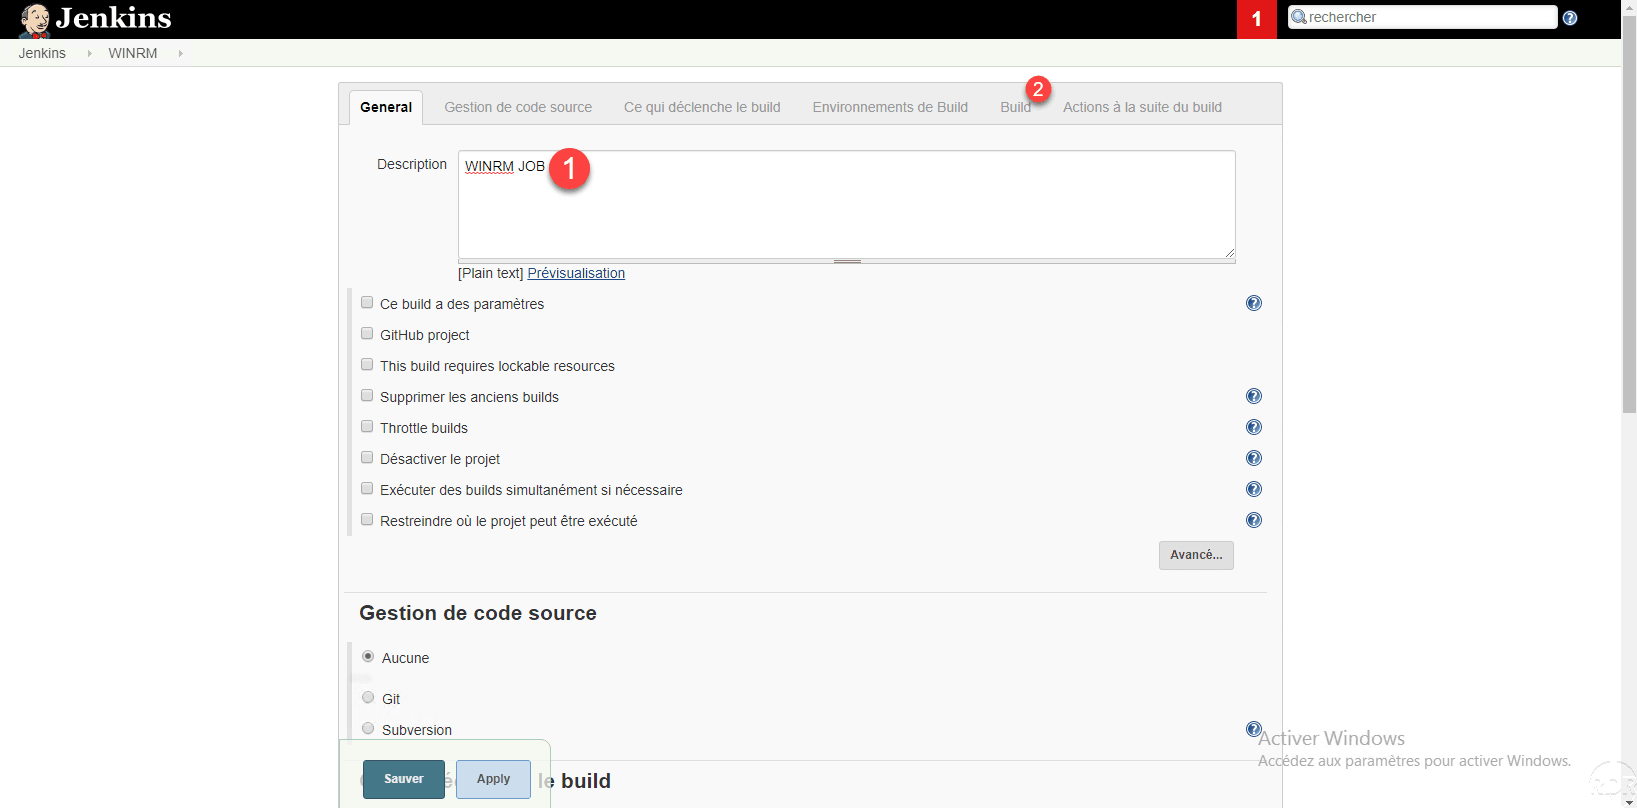
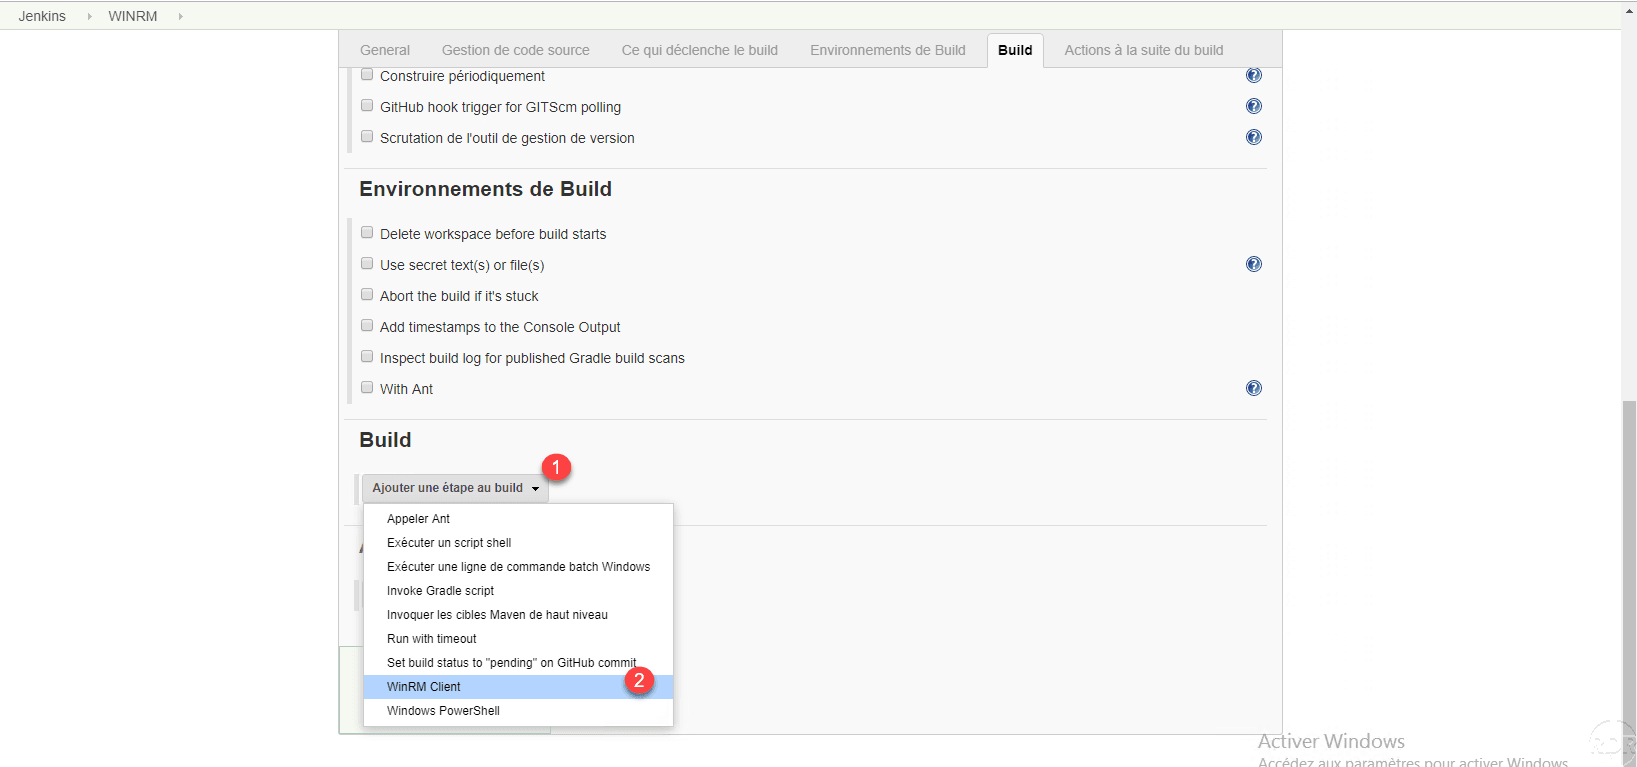
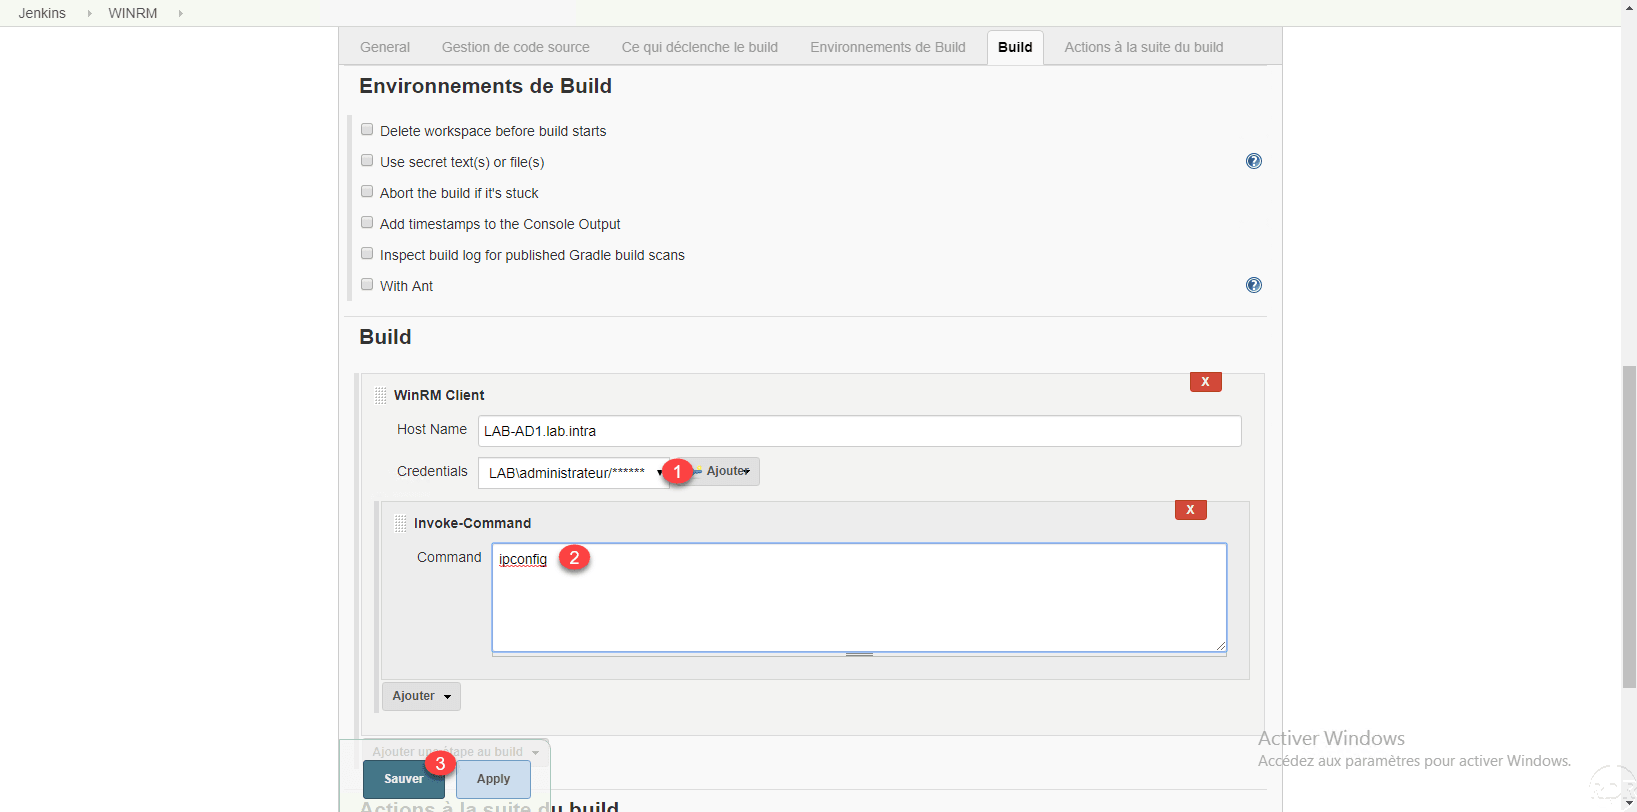
Click the Add a step to build 1 button and select WinRM Client 2 .
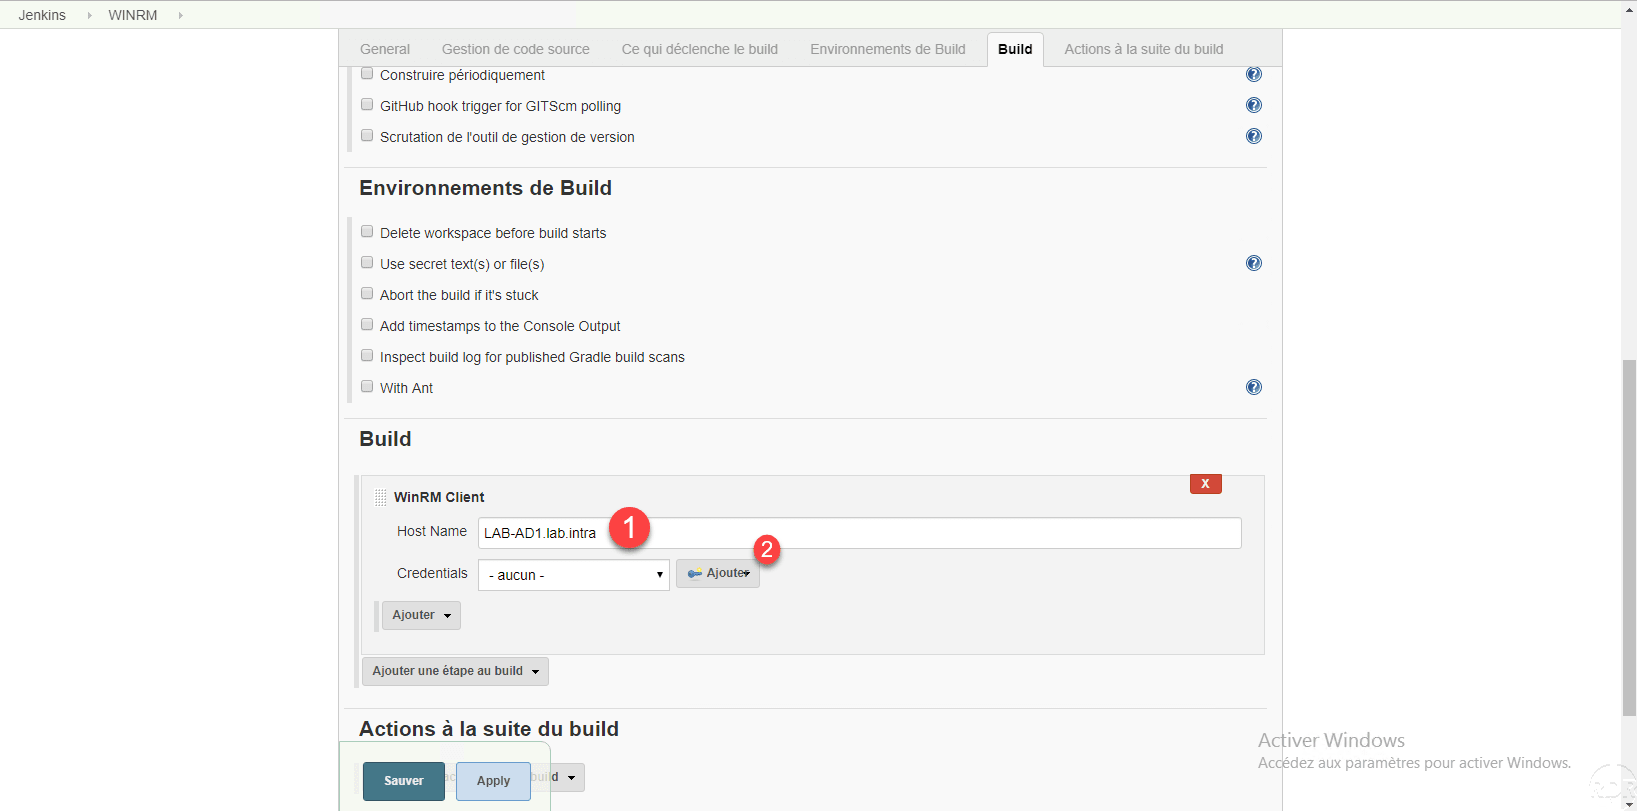
Enter the DNS name of the remote server 1 and click Add / Jenkins 2 to configure credentials.
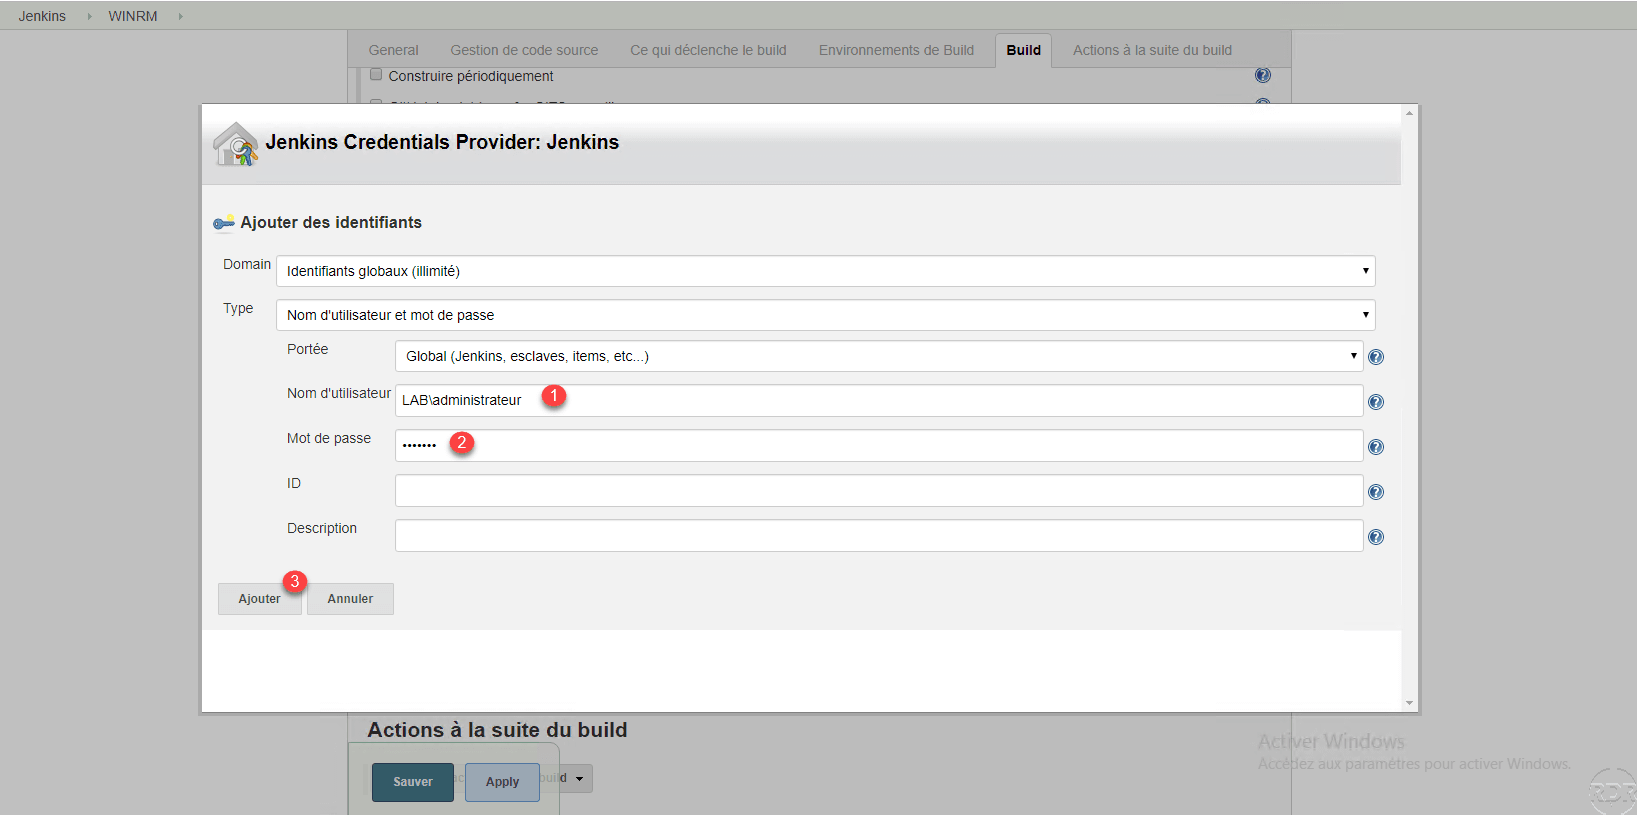
Enter the identifier 1 and password 2 allowing the connection to the remote server. Click Add 3 to save them.
Select the identifiers created. In the field Command 2 enter the command executed and click Save 3 .
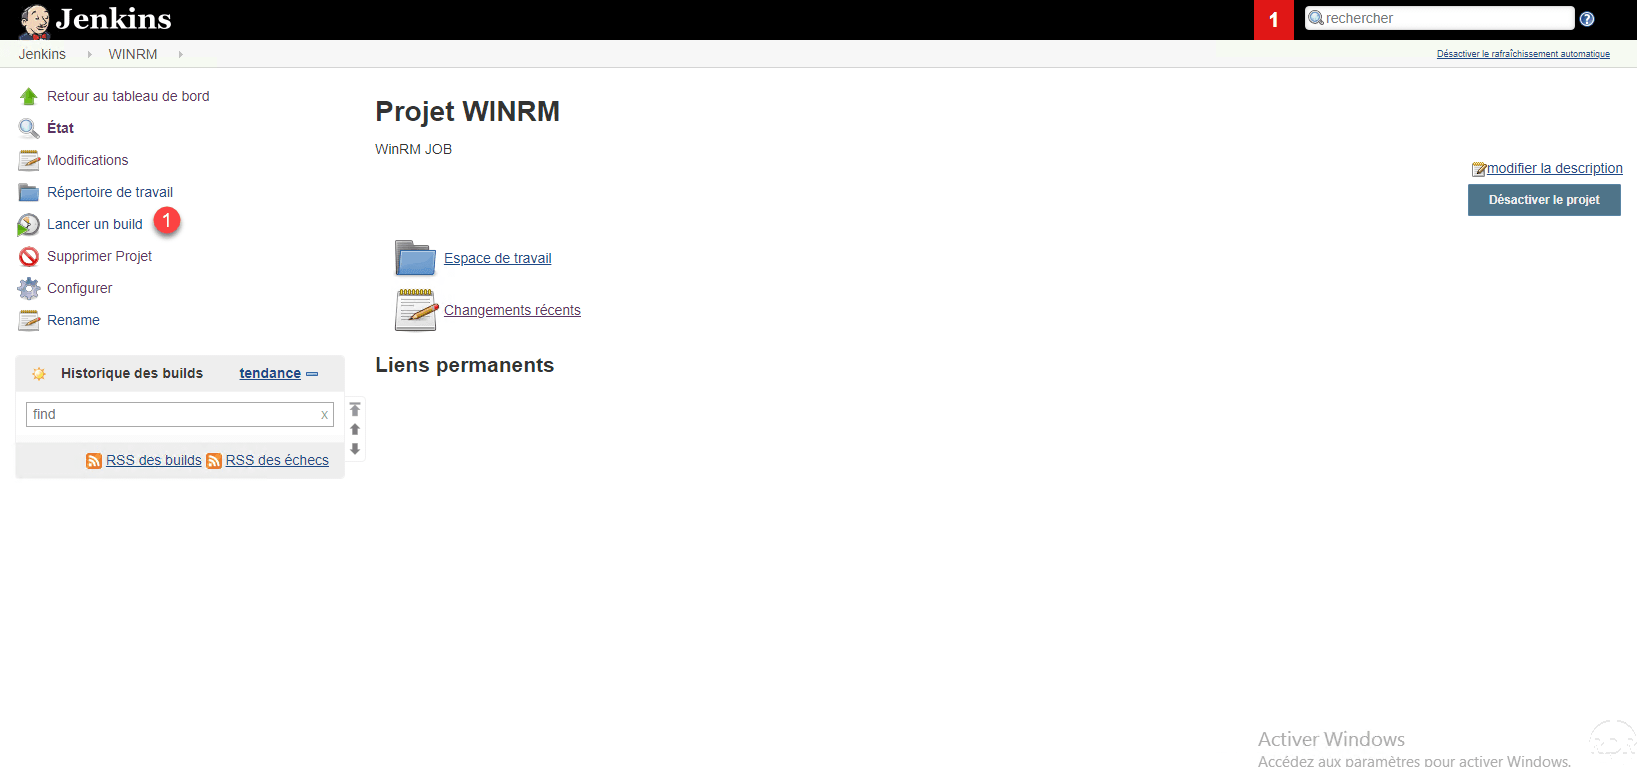
Now that the job is created, click on Start Build 1 .
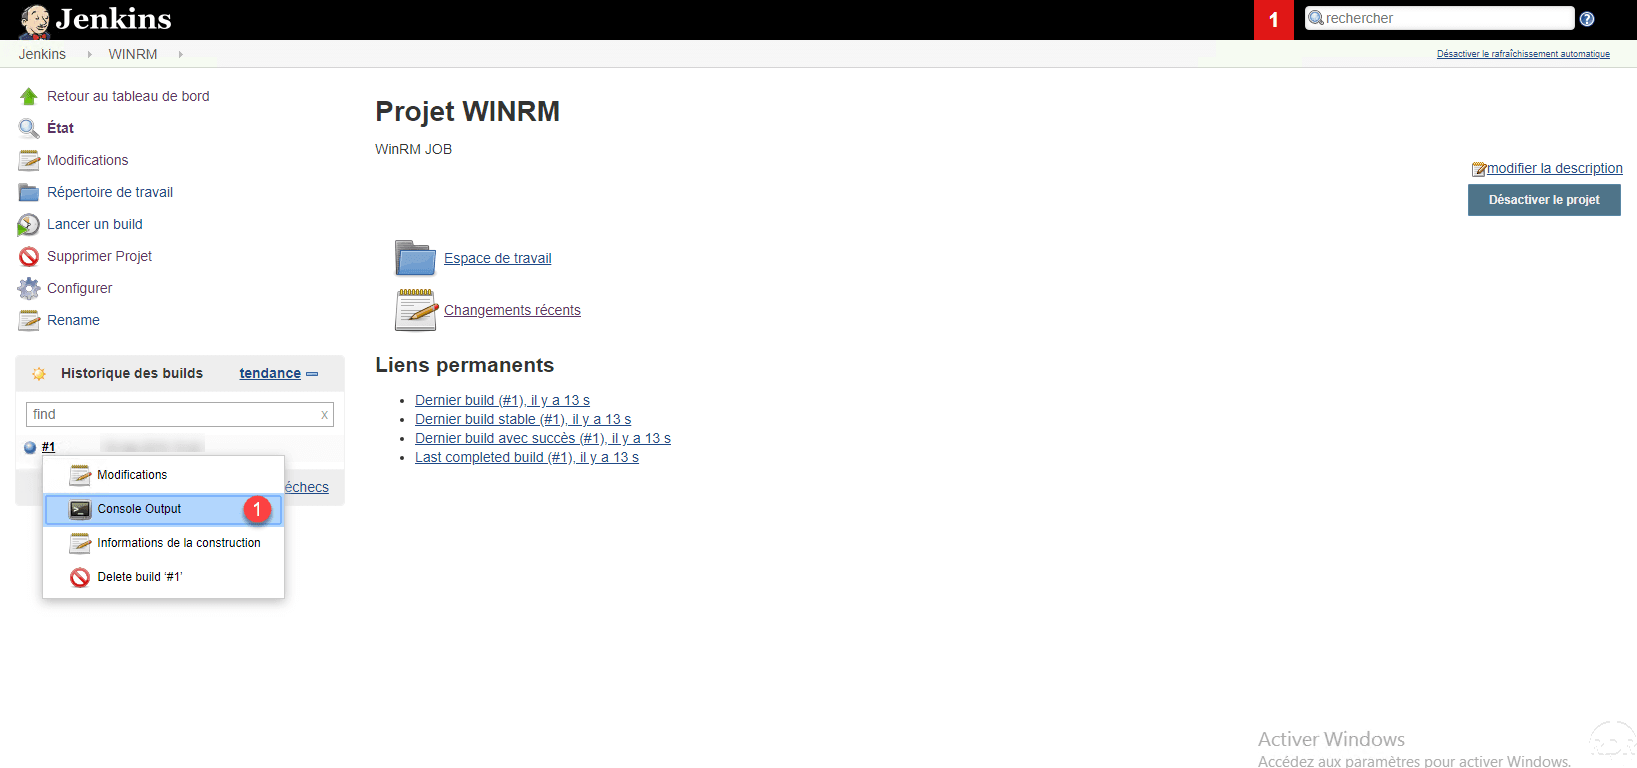
Once it is executed, display the console output 1 .
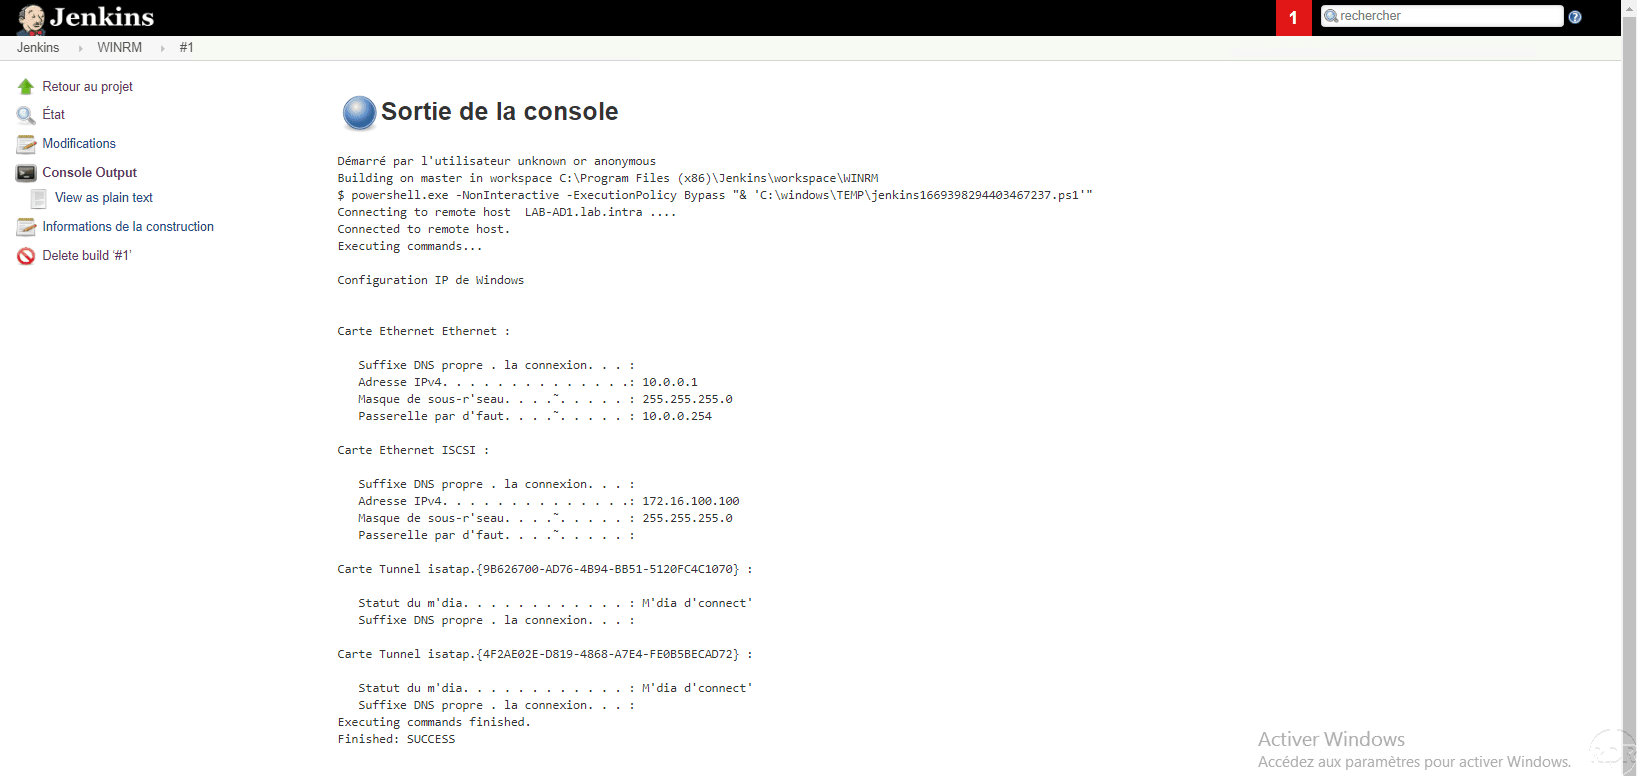
The console output displays the result of the ipconfig command. You can also see at the beginning the connection to the remote server by WinRM.
Configure the job schedule
Now that we know how to put a job in place, we will modify the first job to schedule it.
Under Jenkins the scheduling is configured with the cron syntax under Linux. The website Crontab Generator can help you generate the syntaxe.
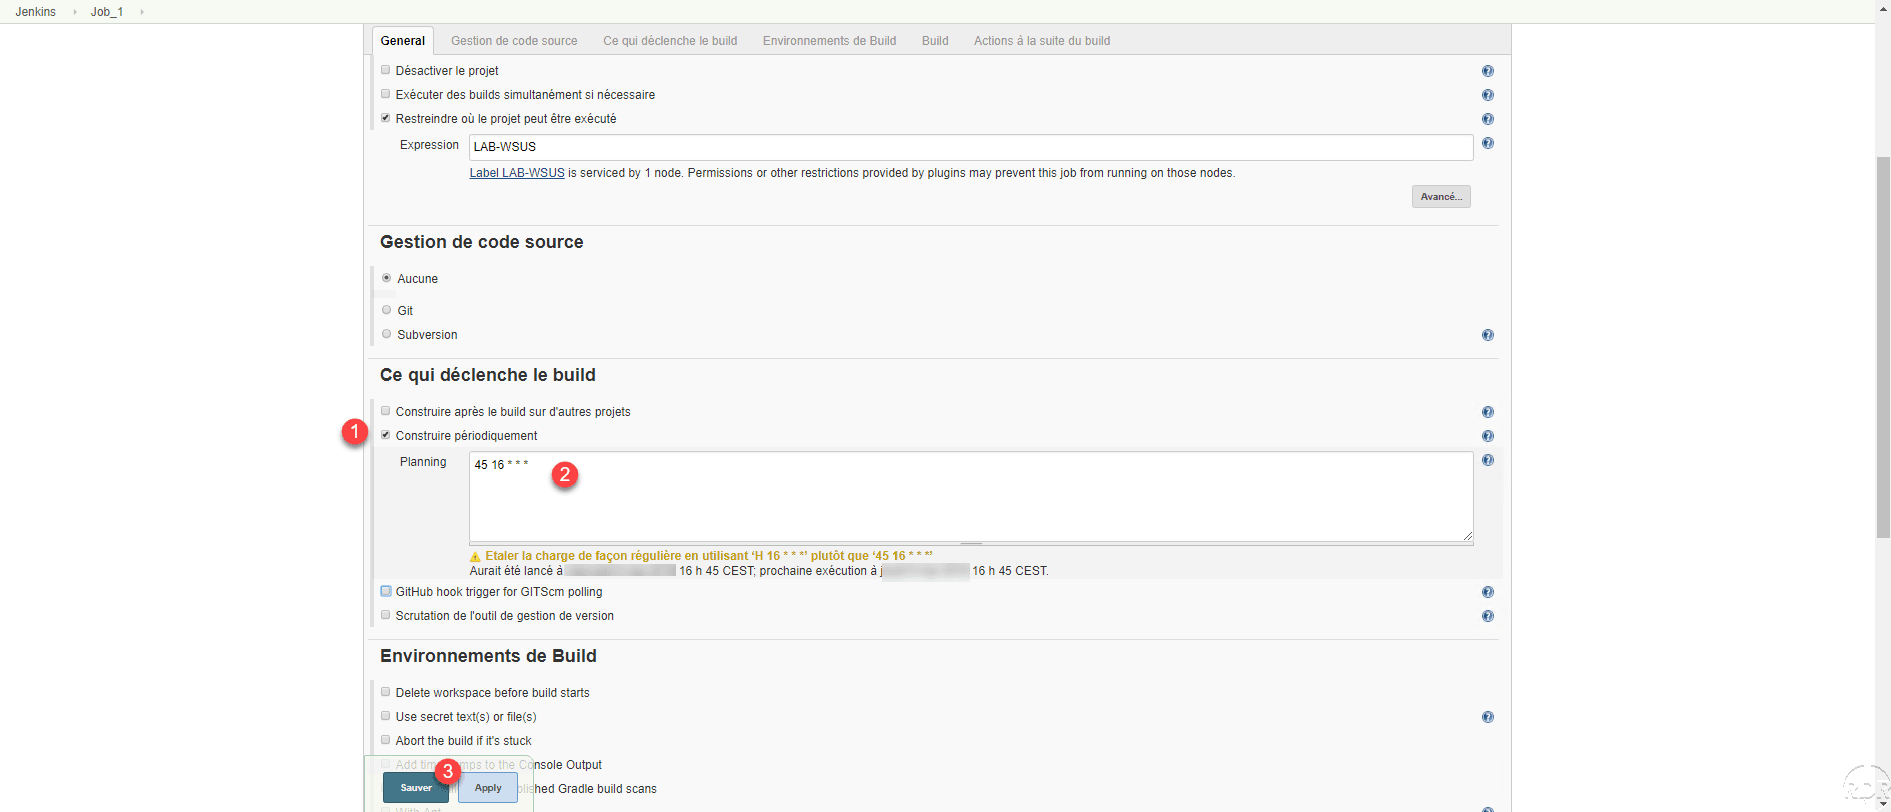
Go to the job configuration in the What triggers the build section, check the periodically Build 1 box then enter the schedule in the Planning 2 field and click Save 3 . When entering the schedule below the field, the date of the previous run as well as the next one is displayed.
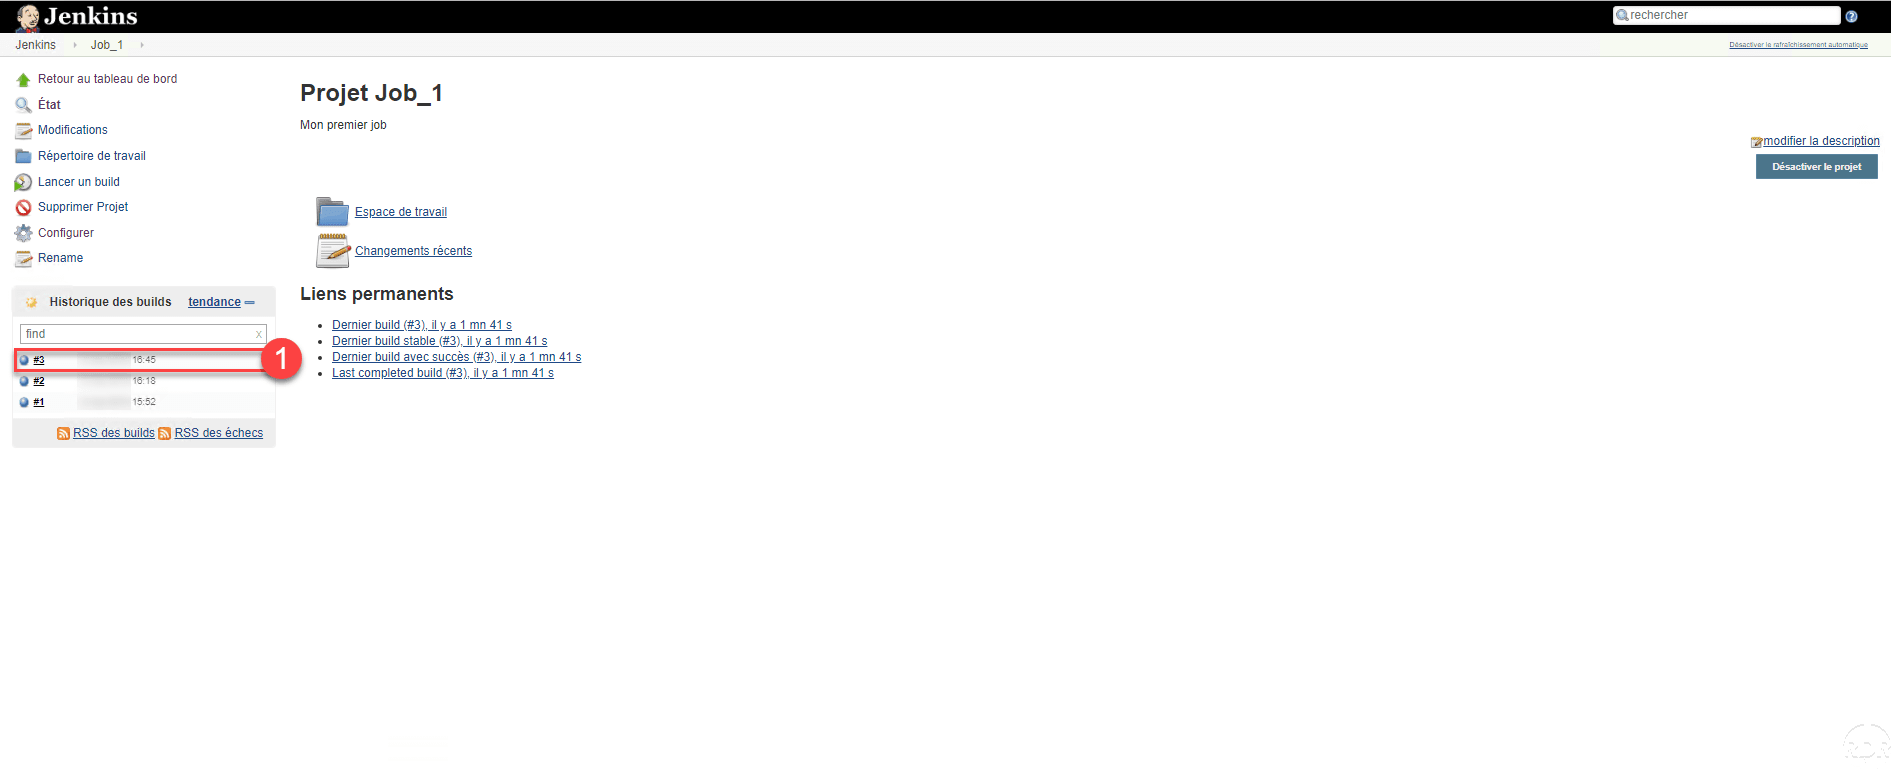
Check that the build is well executed at the scheduled time 1 .
View job calendar
Now that we have the jobs with a schedule, it would be interesting to be able to visualize the whole in a calendar.
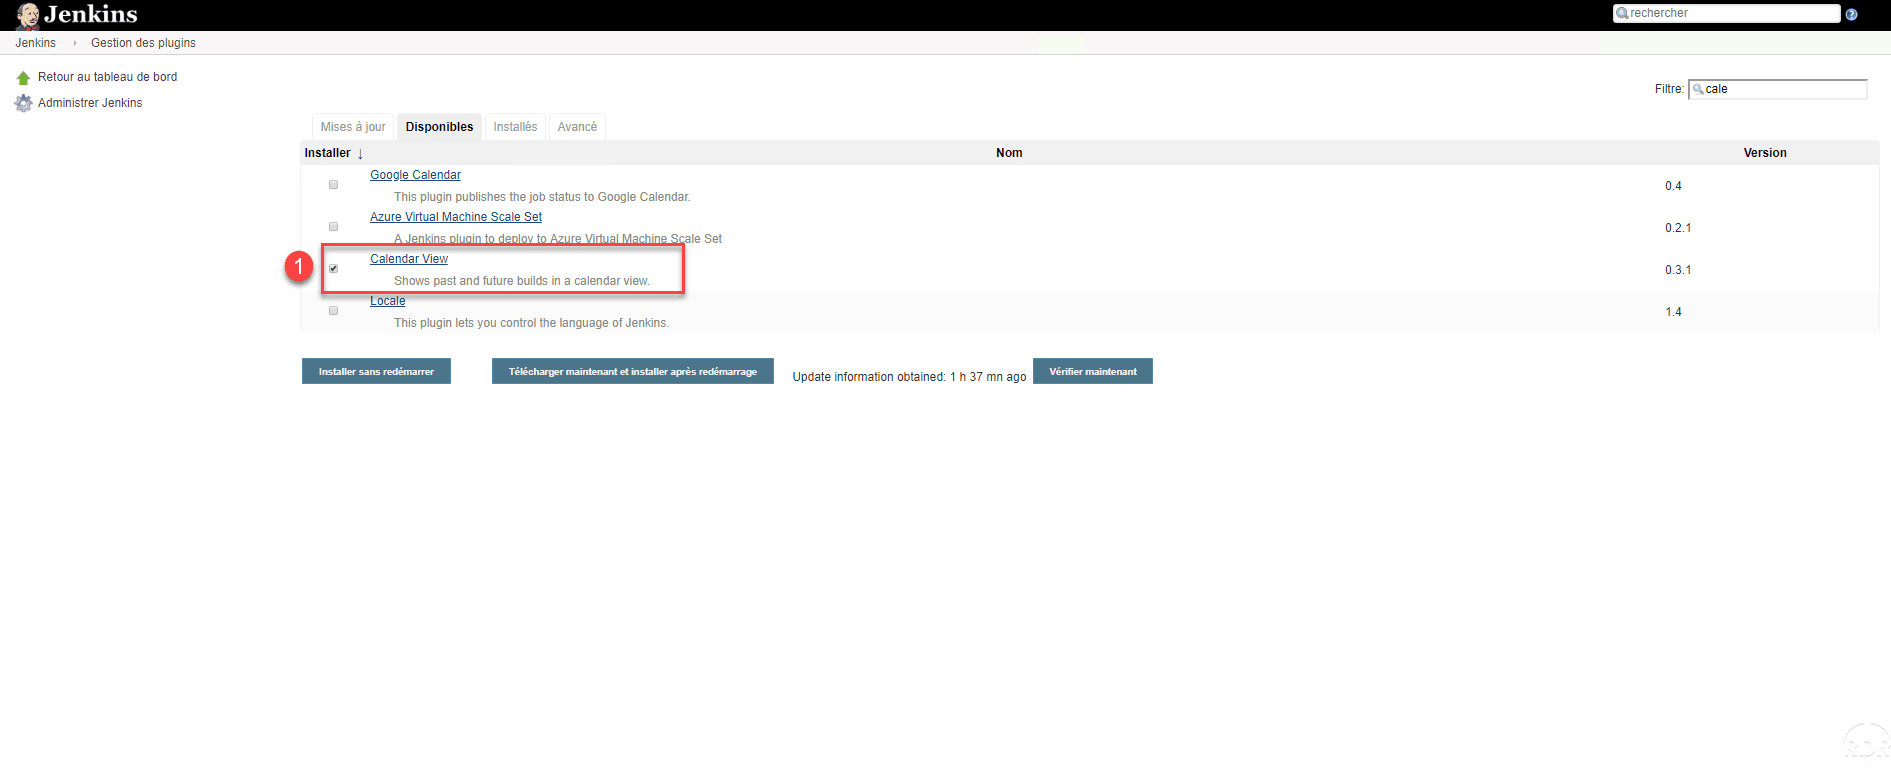
In plugin management, install Calendar View 1 .
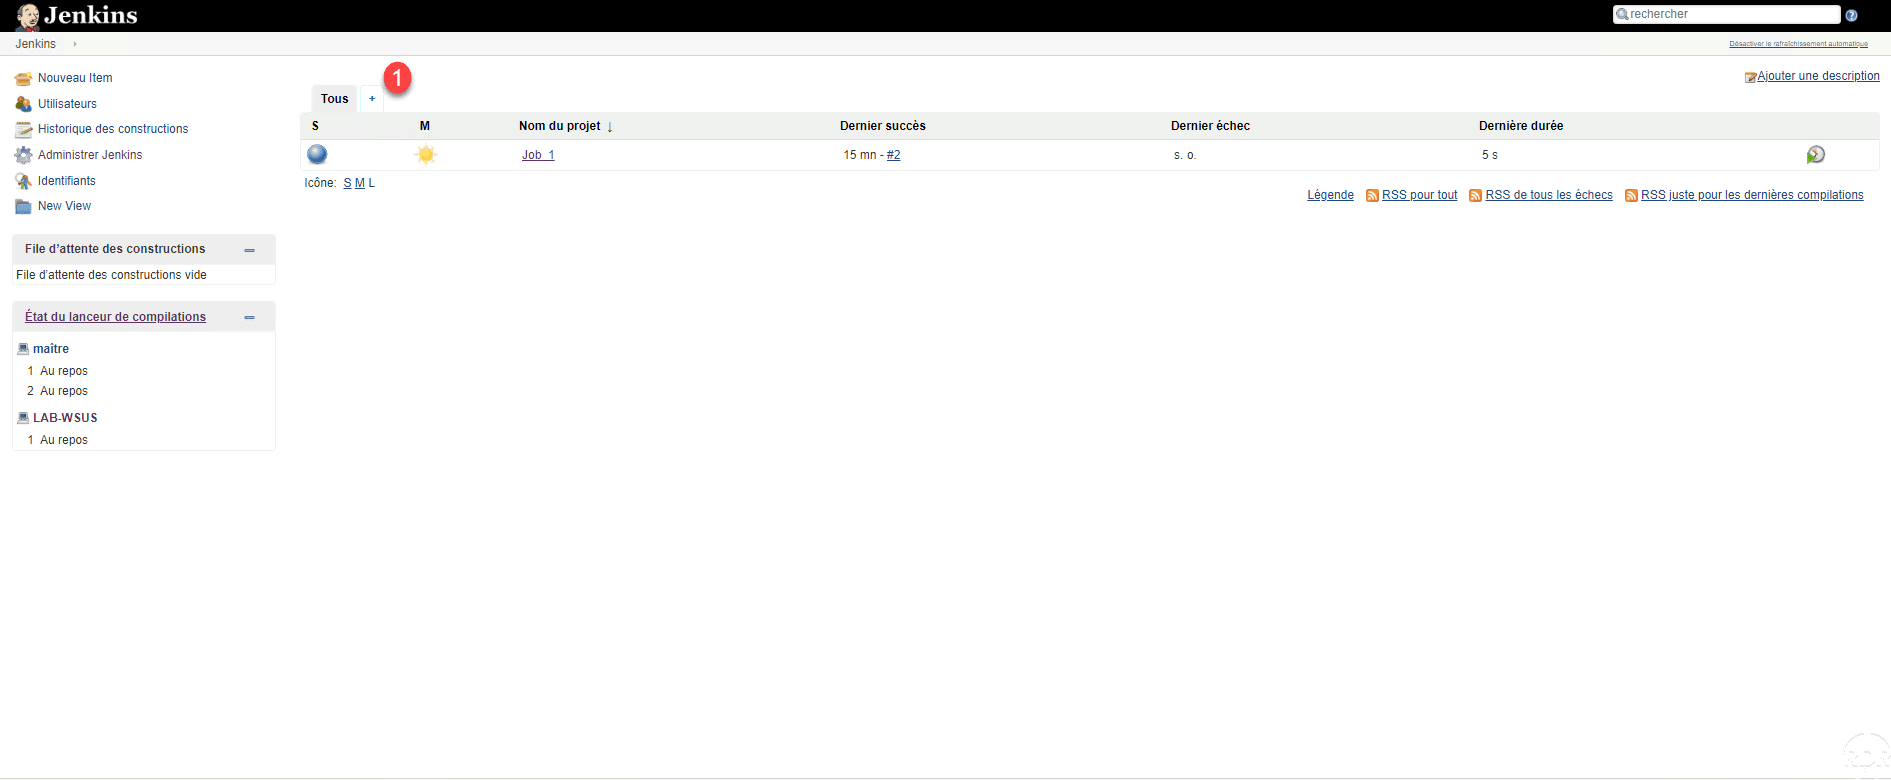
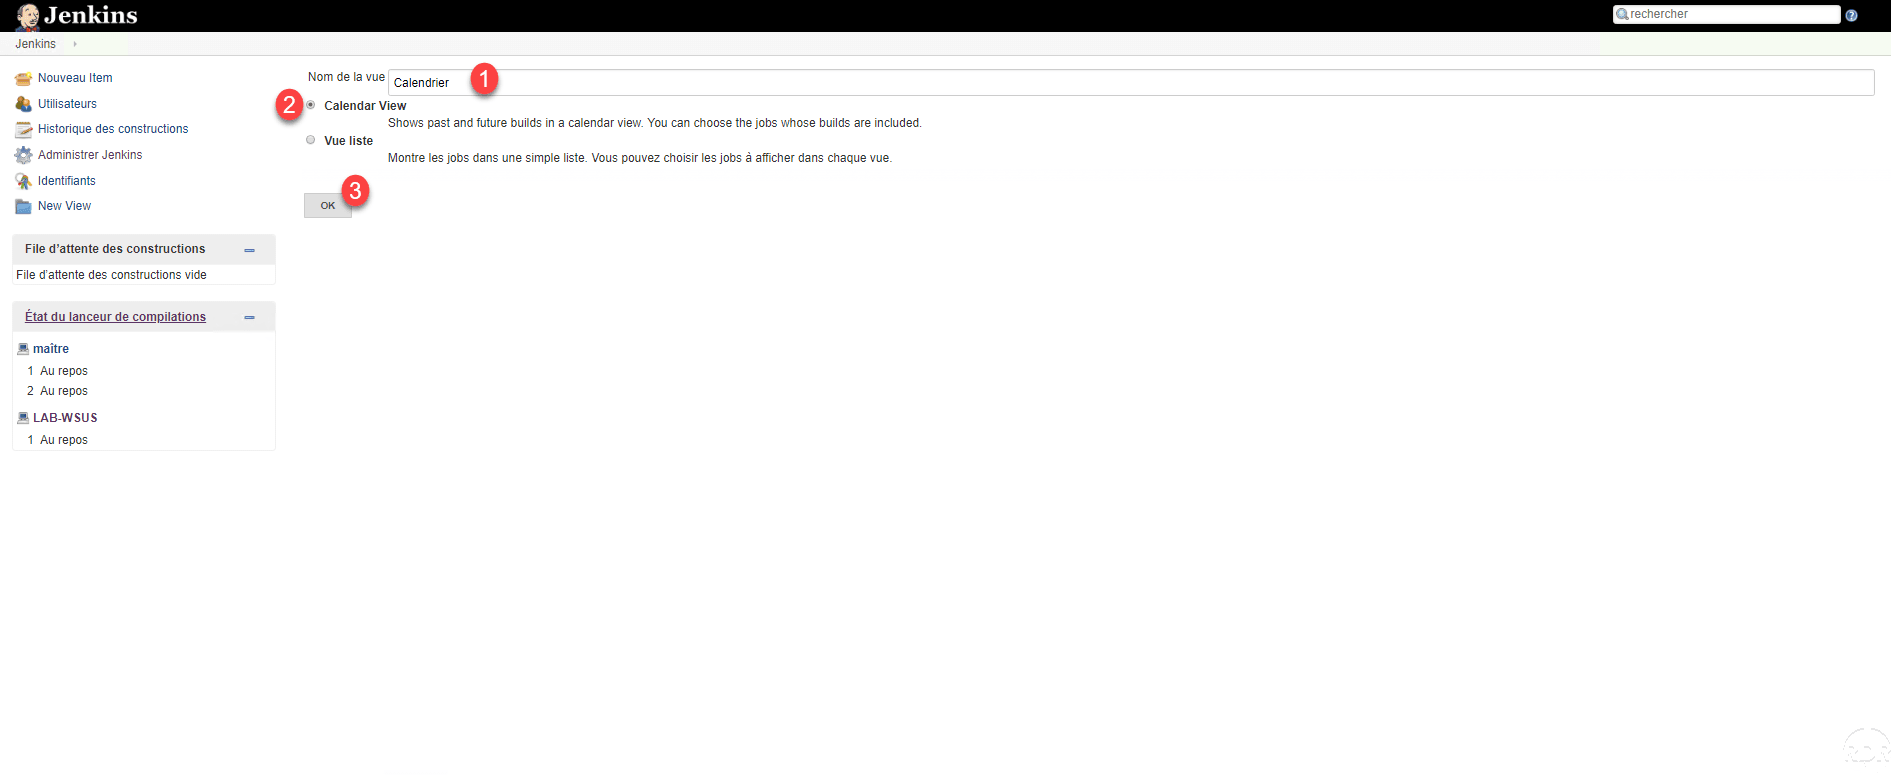
Once the plugin is installed, return to the Jenkins home page and click on the + 1 to add a view.
Name view 1 , select Calendar View 2 and click OK 3 .
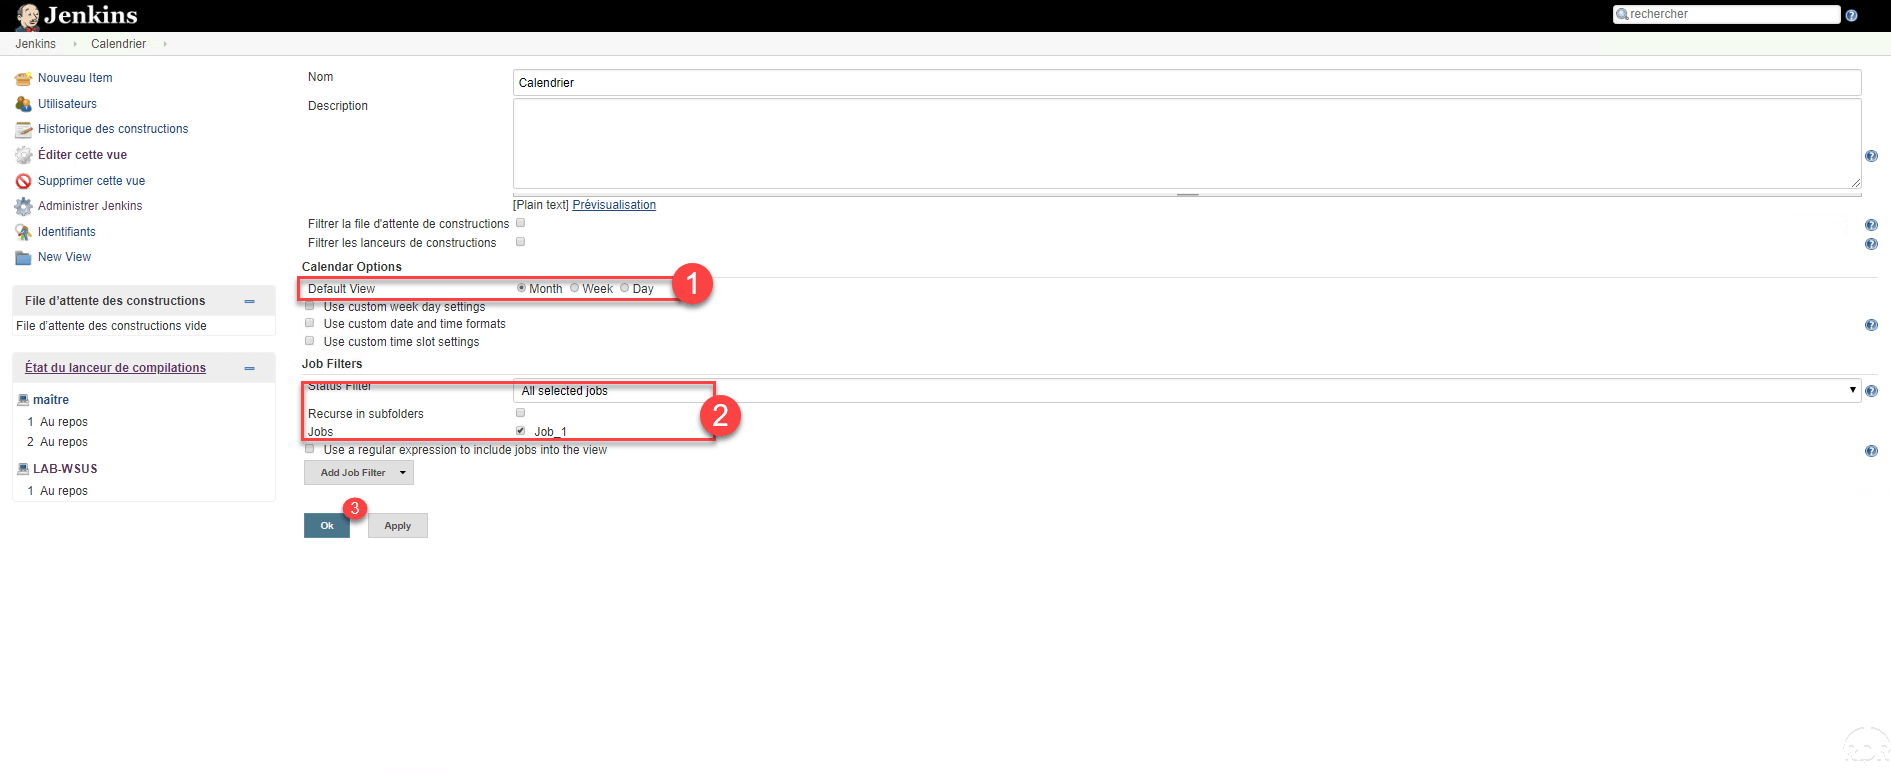
Configure the view according to your needs by selecting the default display 1 , the jobs to display 2 and finishing by clicking OK 3 .
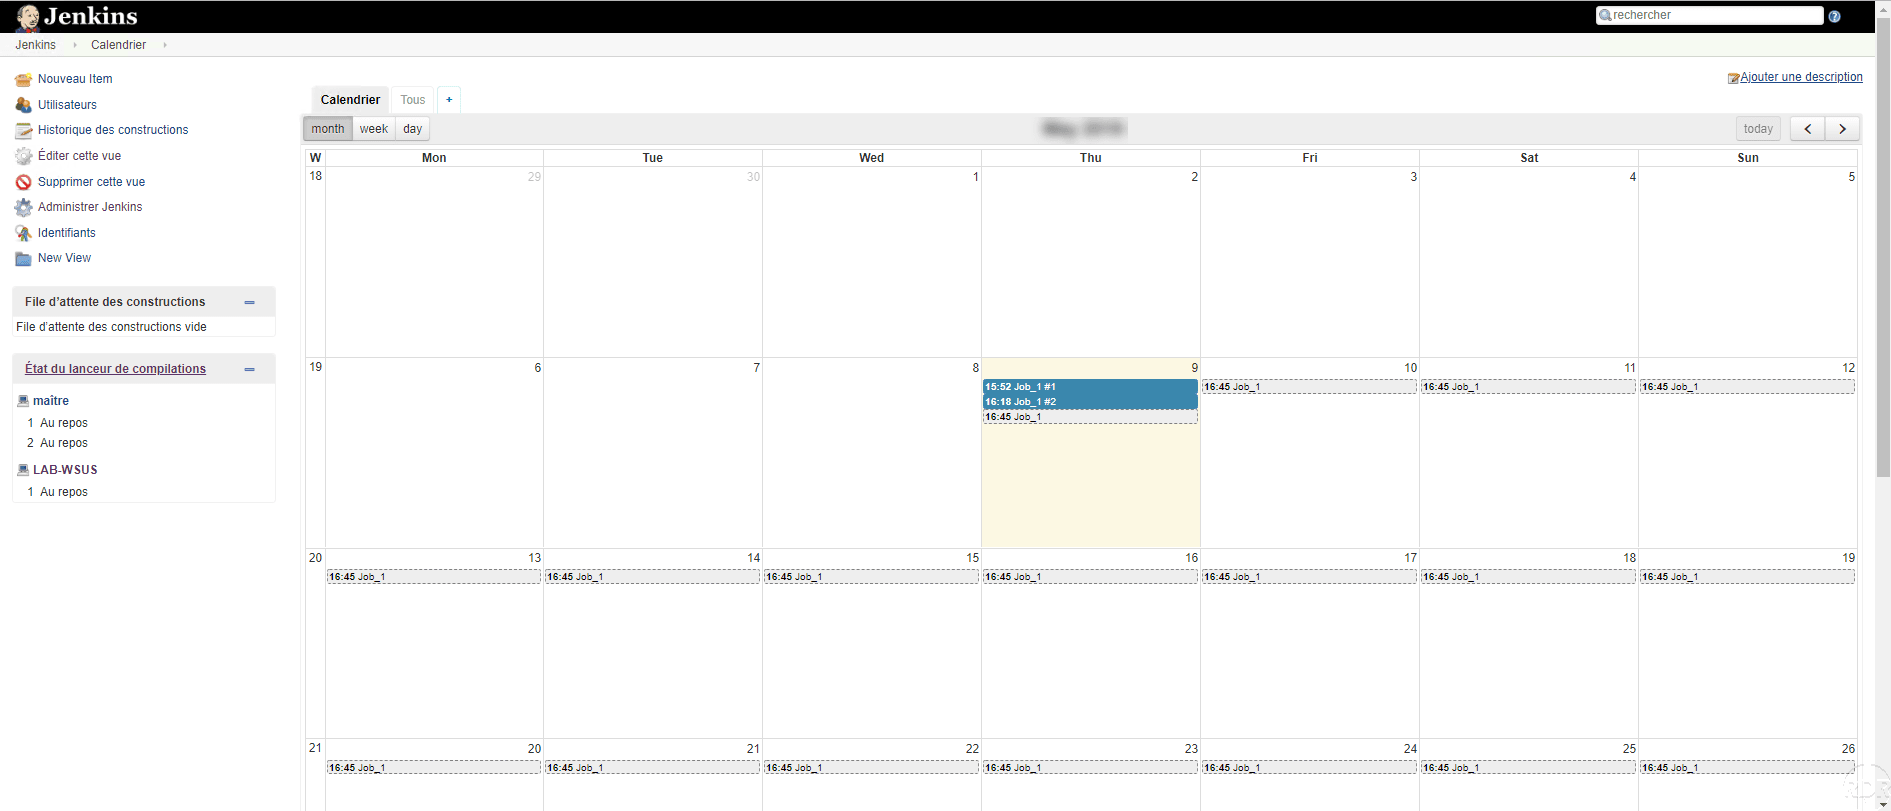
A schedule with job scheduling is displayed.
Conclusion
This tutorial stops here and I hope it will help you to schedule your scheduled tasks under Windows.
The tutorial only covers some of the features available with Jenkins, it is also possible to use it with Linux in SSH, configure notifications after running a Build …
Of all the solutions I have tried, Jenkins remains the easiest to take in hand and has a lot of documentation and an active community if you need help.