

Presentation of IPAM
IP Address Manager (IPAM) is a feature built into Windows Server that allows you to set up an administrator tool and analyze DHCP scopes and have an IP address base within a computer network.
In a server environment where multiple Windows DHCP servers are in use, IPAM provides a single interface to manage all servers.
Role installation
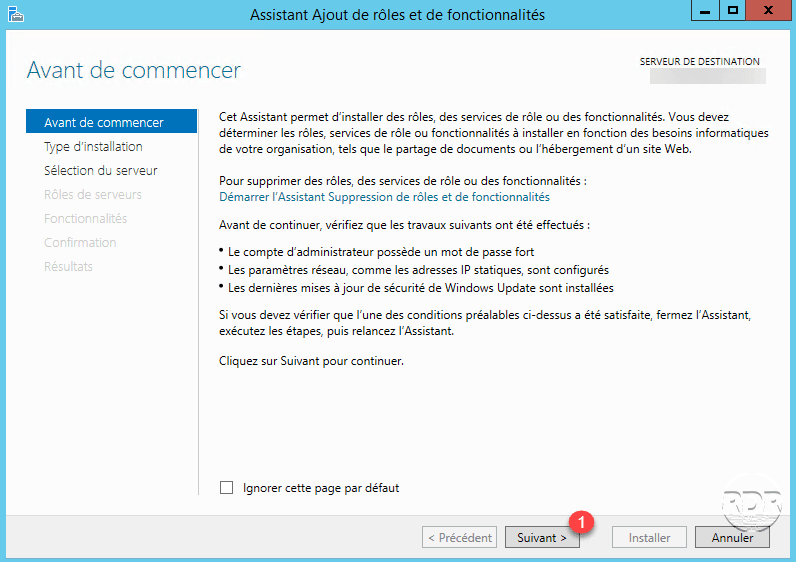
From the server manager, launch the Role Installation Wizard and feature.
When launching the wizard, click Next> 1 .
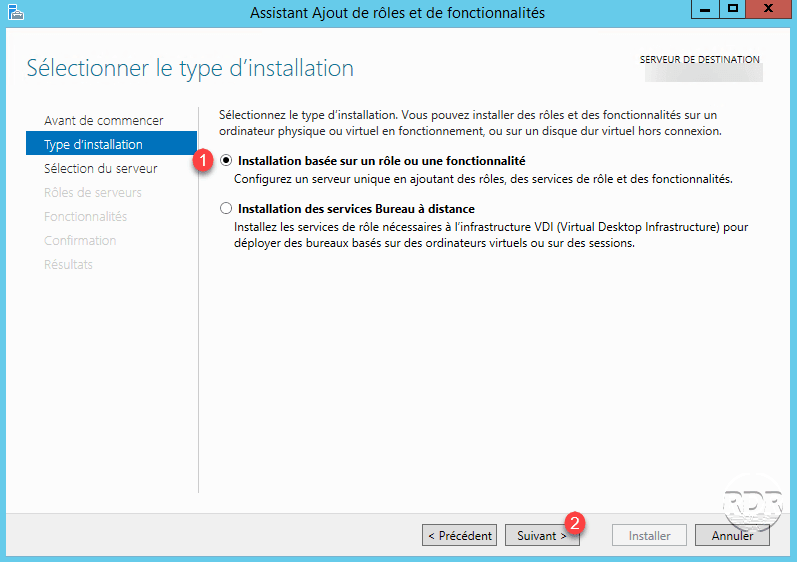
Installation Type: Select Role Based Installation or 1 Functionality and click Next 2 .
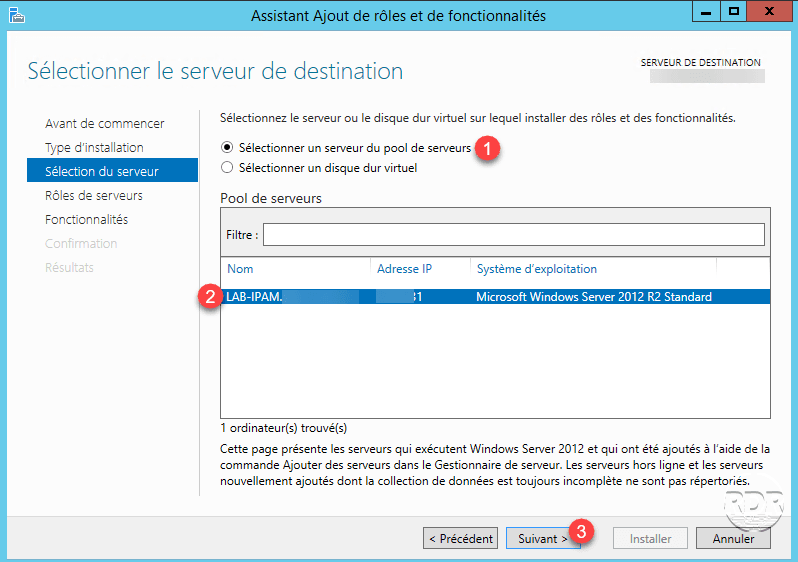
Select server: choose the option Select server from server pool 1 , select the server where IPAM must be installed 2 then click Next 3 .
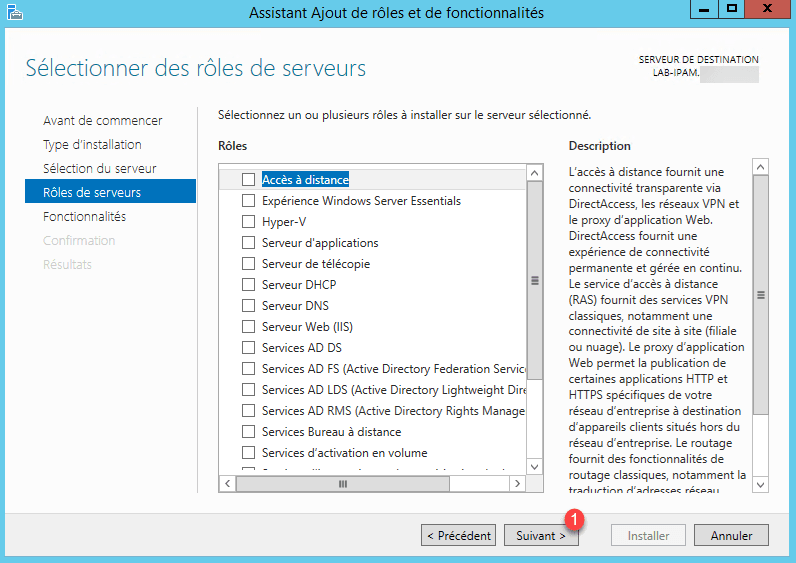
Server roles: Click Next 1 .
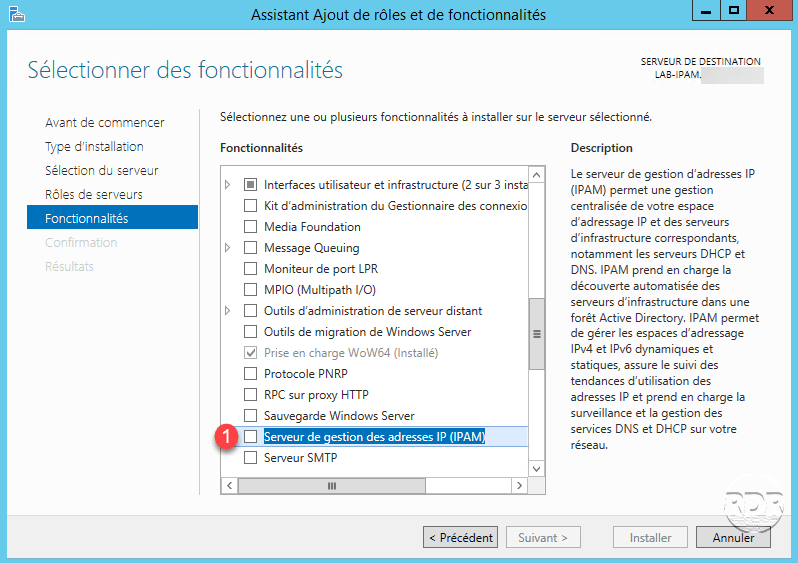
Features: search and check 1 IP address management server (IPAM).
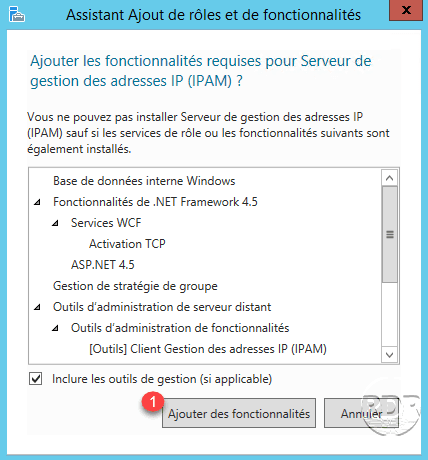
Confirm Add Dependencies by clicking Add Features 1 .
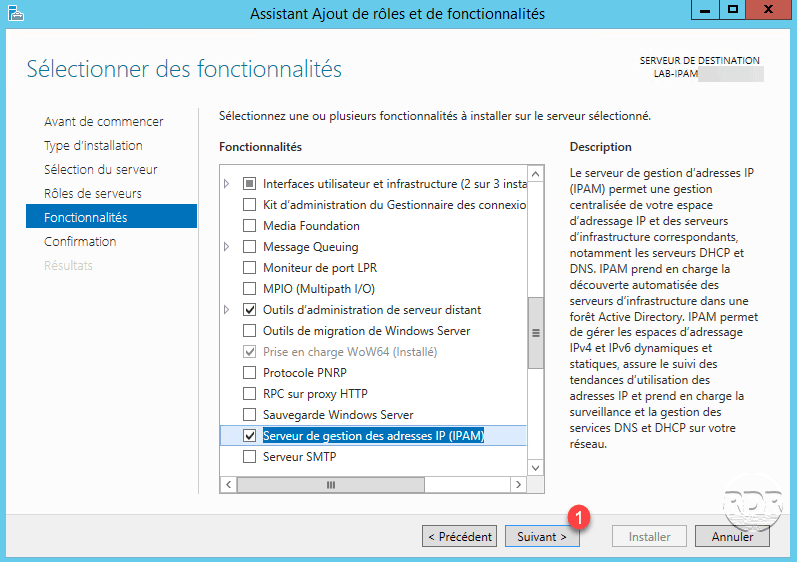
Click Next 1 .
Confirm by clicking Install 1 .

Wait during the installation …
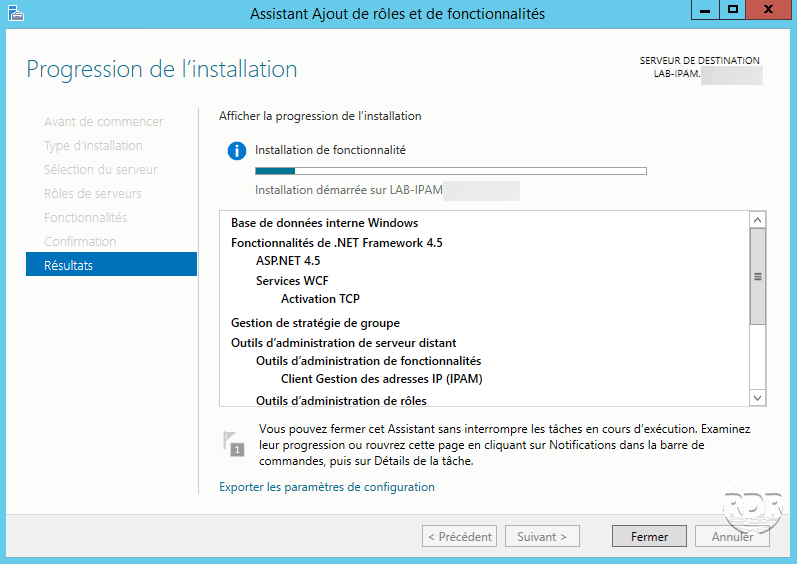
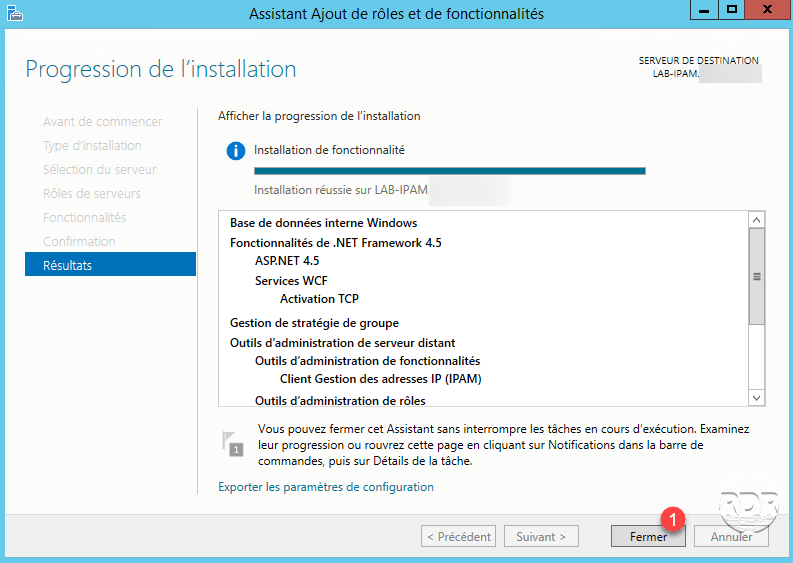
The installation is complete, click Close 1 to exit the wizard.
Now that all the components necessary for the proper functioning of IPAM are installed, we will proceed to the configuration.
Configuring IPAM and Server Discovery
Configure the IPAM server
In this part, we’ll see how to configure the IPAM server and DHCP servers to retrieve the organization’s addressing information.
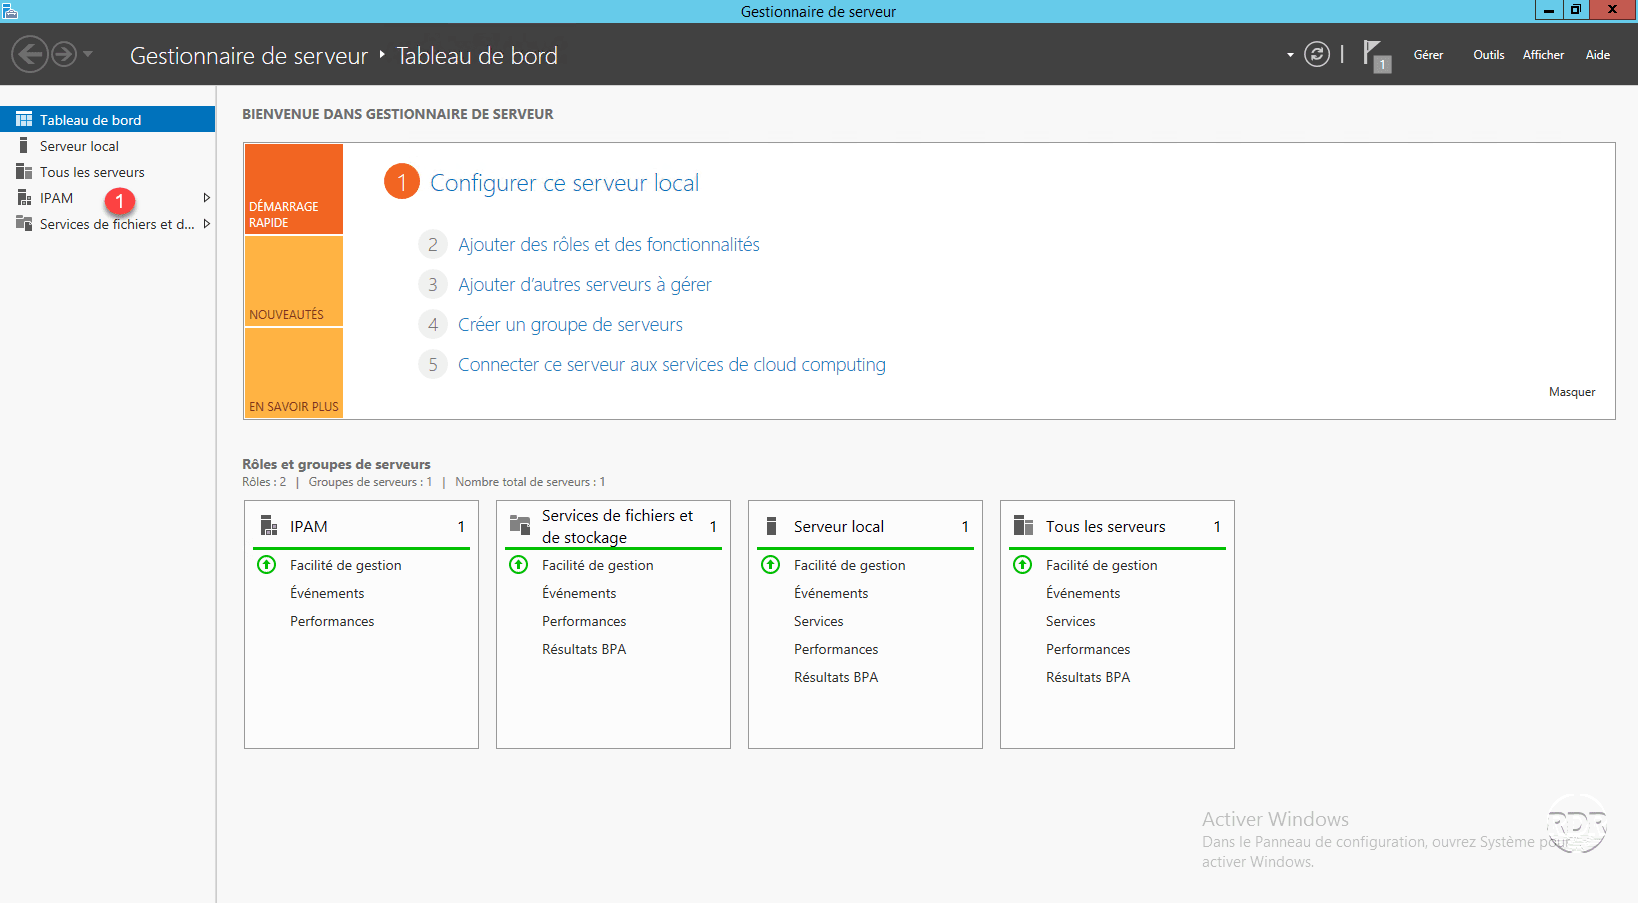
Go back to the server manager, the administration of IPAM is accessible through the menu on the left 1 , click on it.
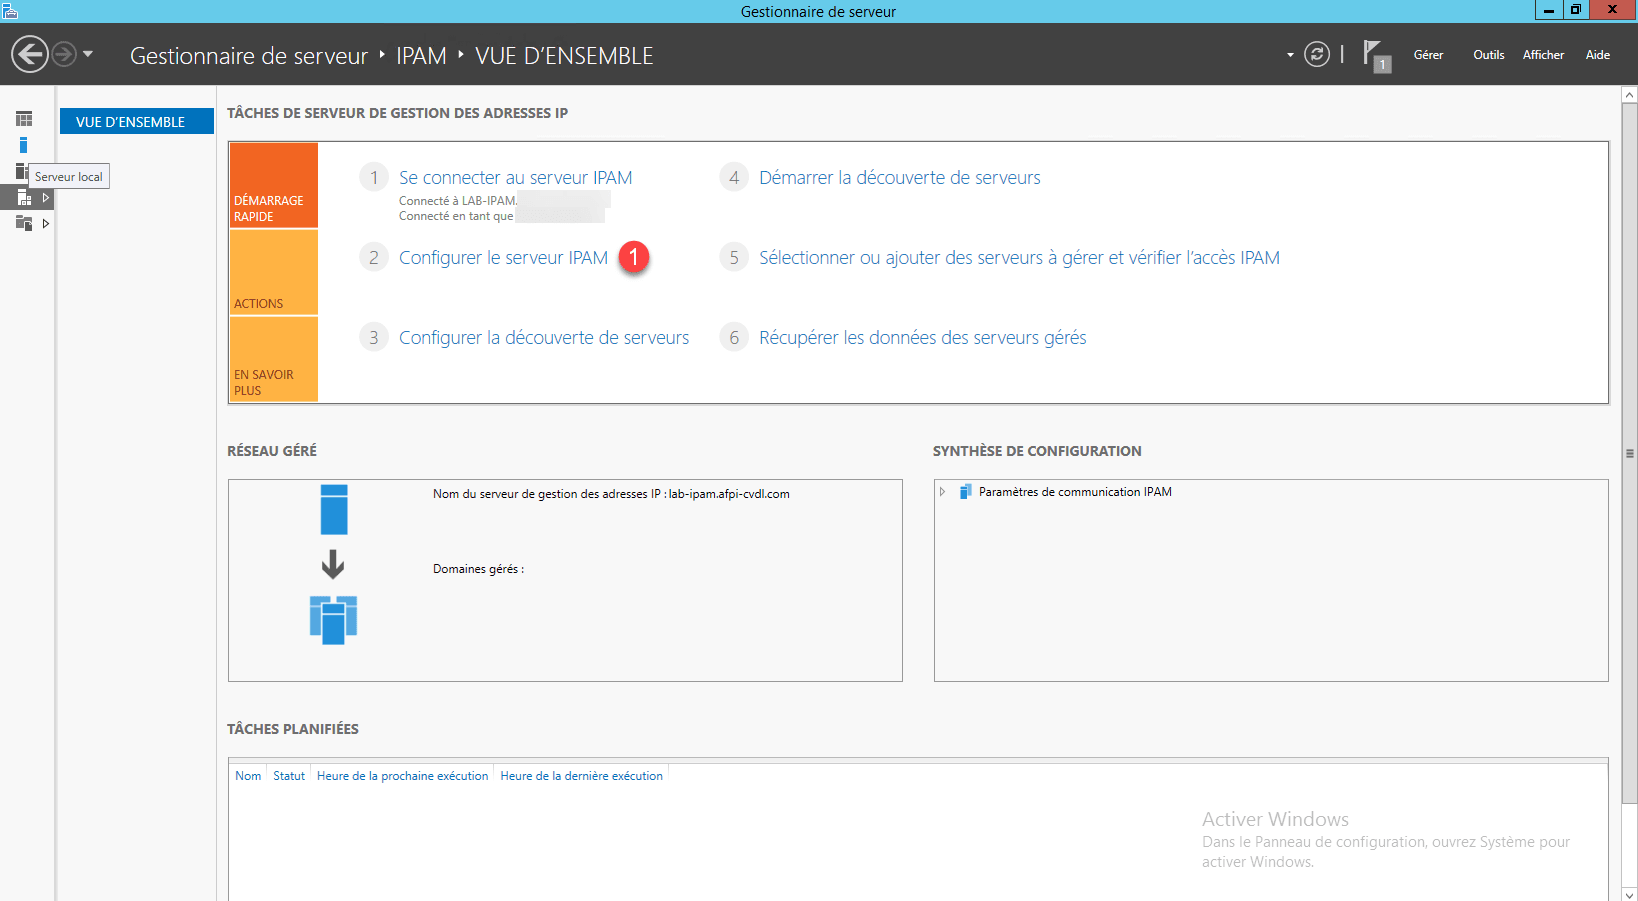
On the new page, click Configure IPAM Server 1 to launch the wizard.
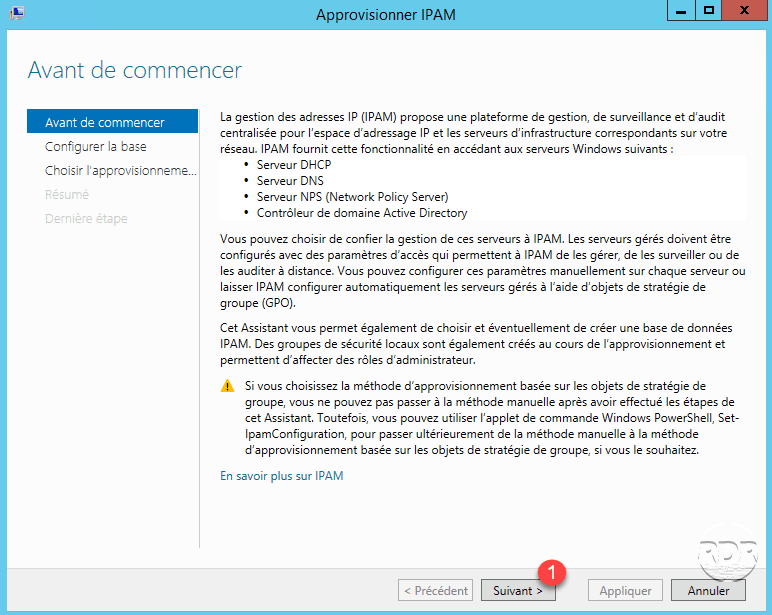
The first page of the wizard explains the information that IPAM can collect and the way it is used. Click Next 1 .
Configure the database: if necessary change the IPAM database storage path A and click Next 1 .
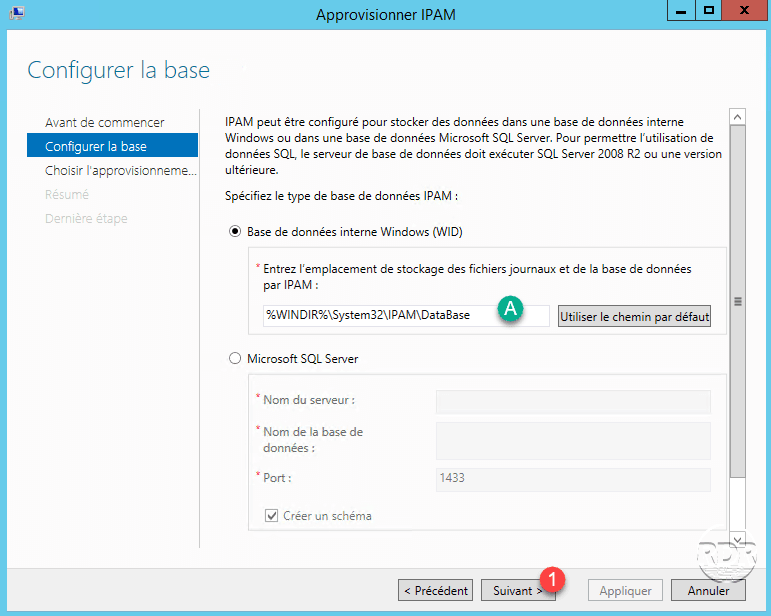
IPAM does not work with a SQL Express database.
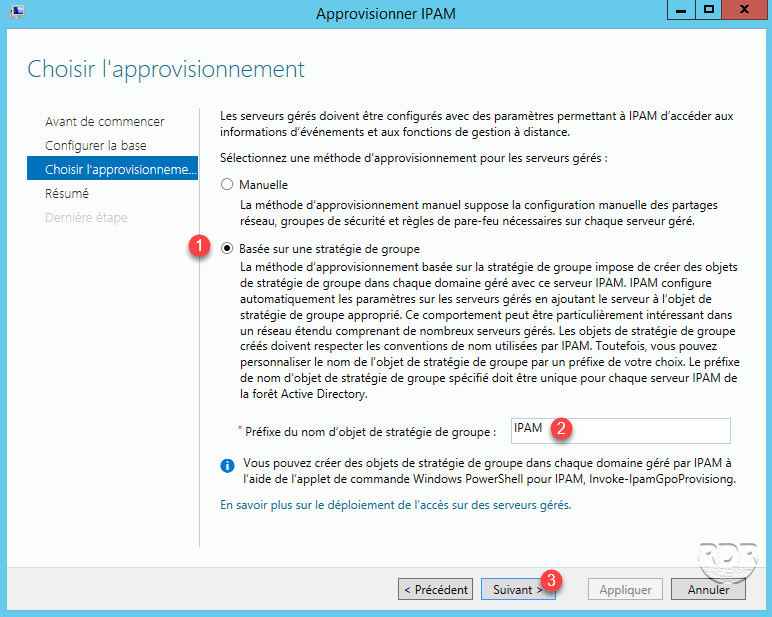
Choose Supply: select the option Based on Group Policy 1 , specify the prefix for GPO 2 and click Next 3 .
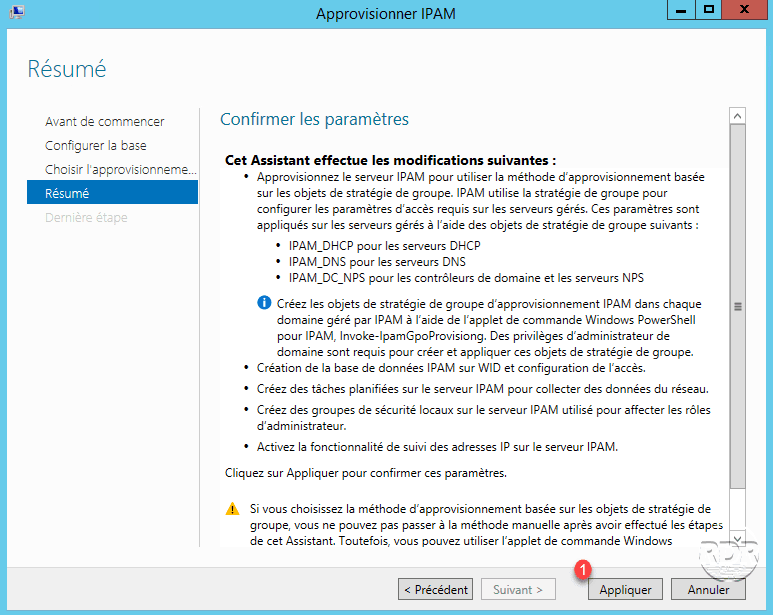
Summary: Confirm the configuration by clicking Apply 1 .
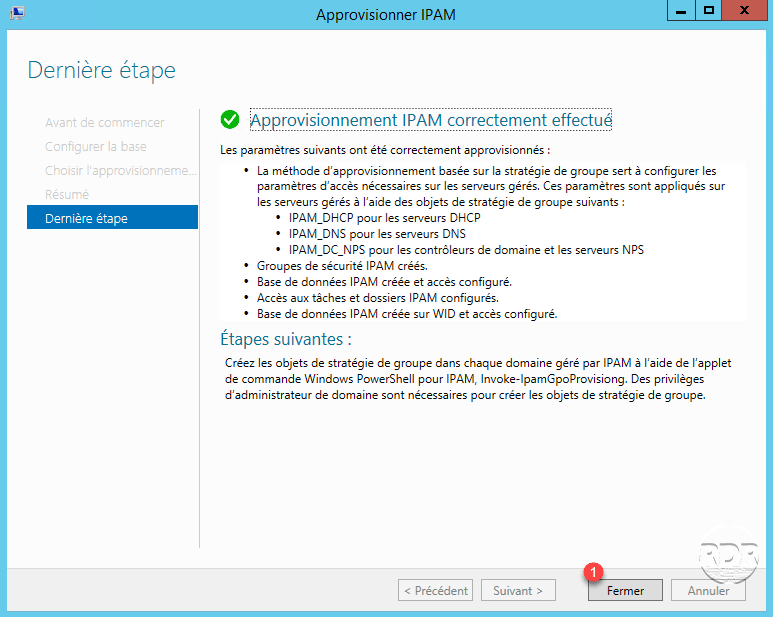
Wait while the wizard applies the configuration …
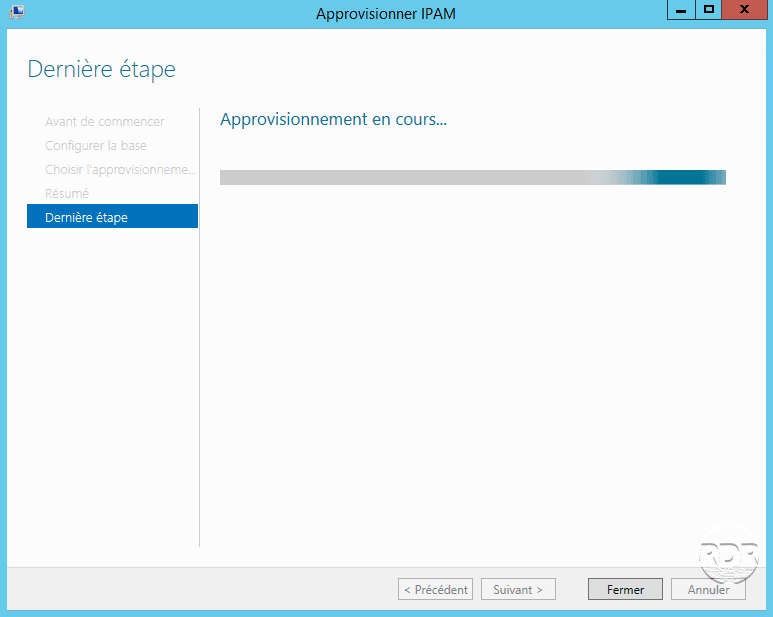
Leave the wizard by clicking on the Close button 1 .
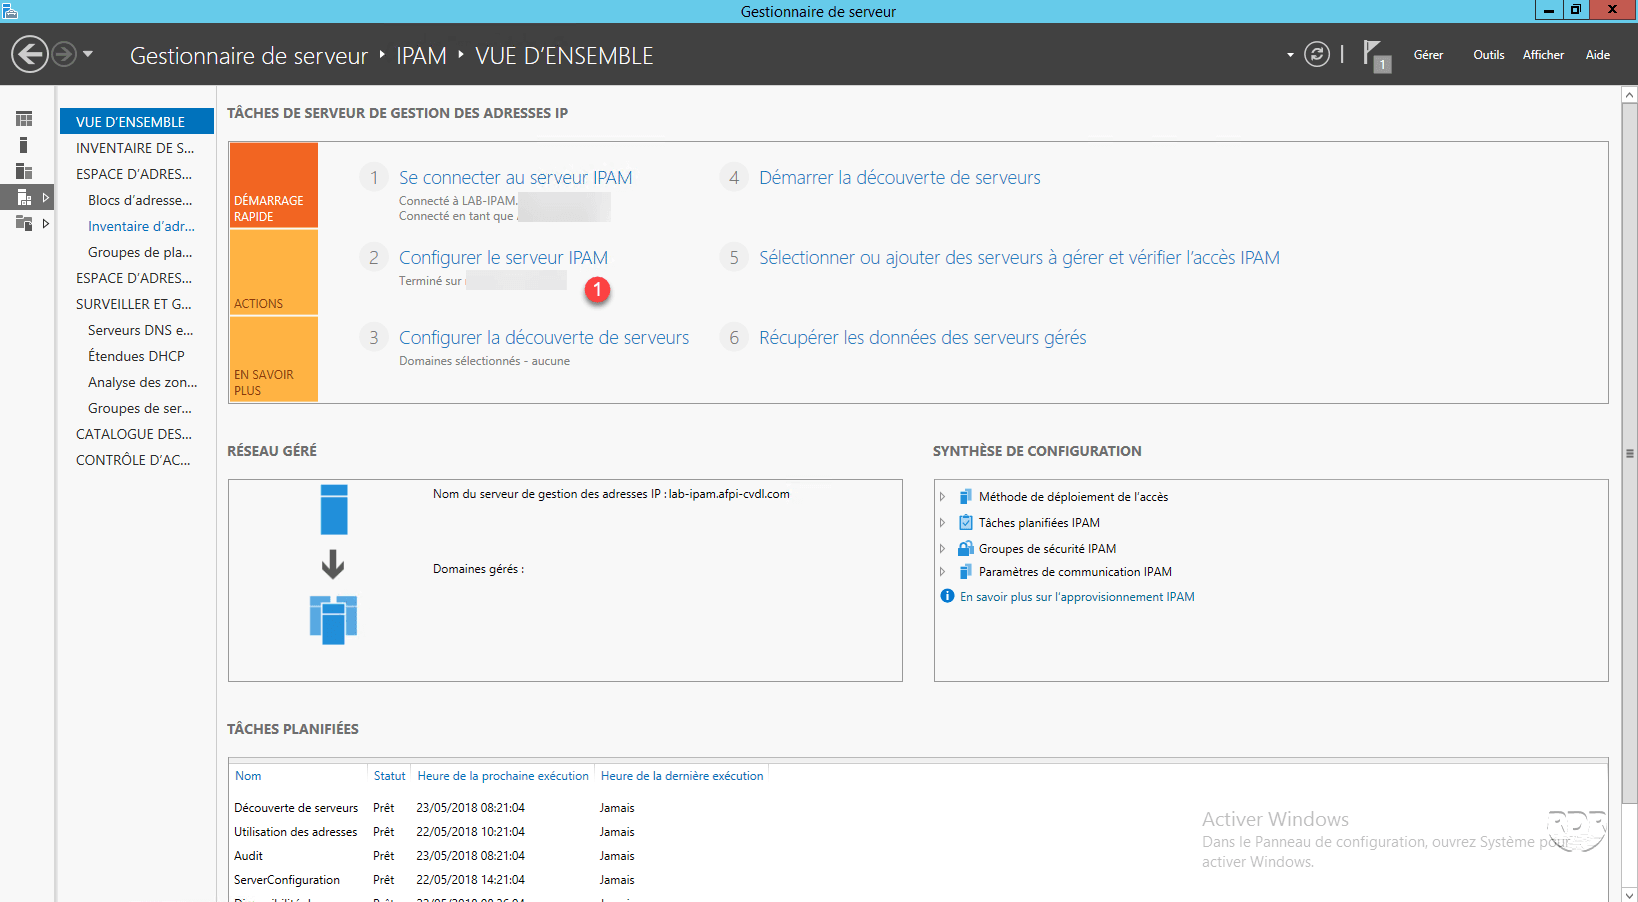
From the server manager, we can see that the action is complete and the date when it was done 1 .
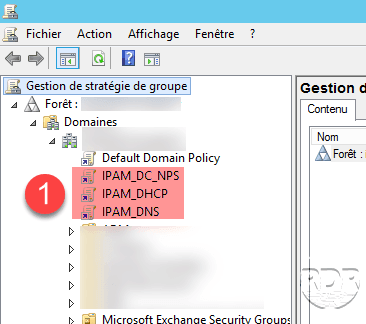
Open a PowerShell command prompt in administrator mode and enter the command below to create the GPOs:
Invoke-IpamGpoProvisioning -domain rdr-it.intra -gpoprefixname IPAM -Ipamserverfqdn lab-ipamLog on to a domain controller, launch the MMC Group Policy Management Console, and verify the creation of the 3 GPOs.
Configure server discovery
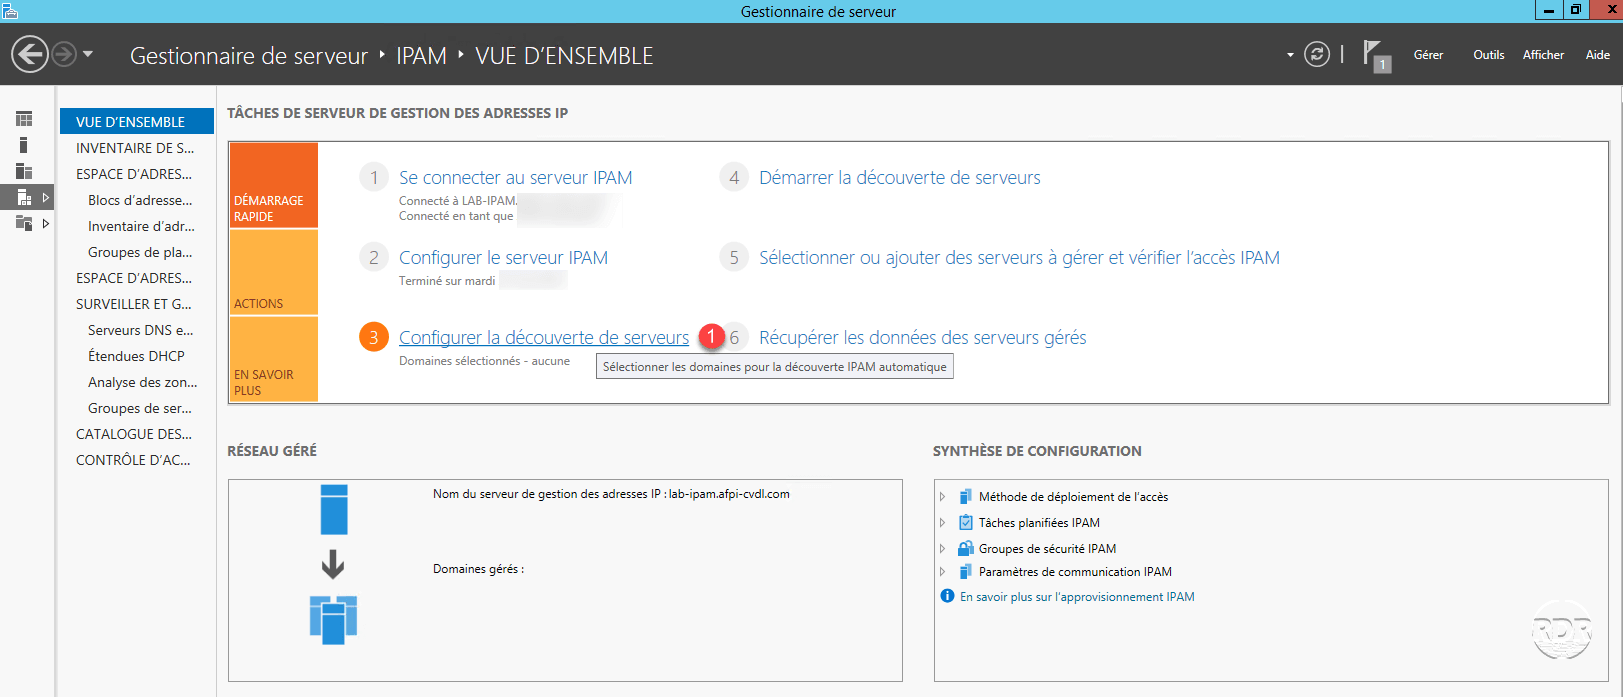
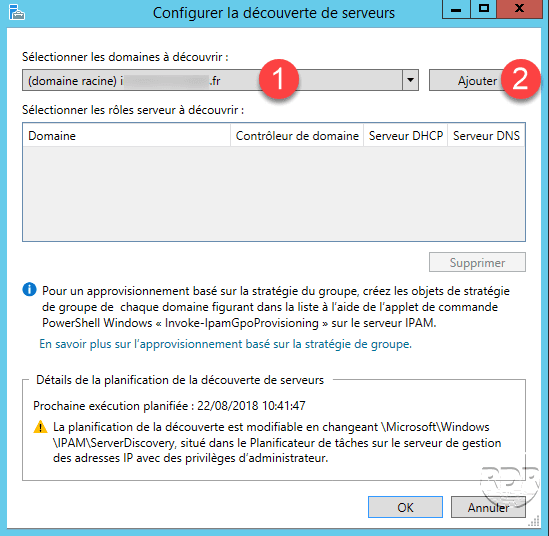
Go back to the server manager and click on Configure Server Discovery 1 .
Select domain 1 and click on Add 2 .
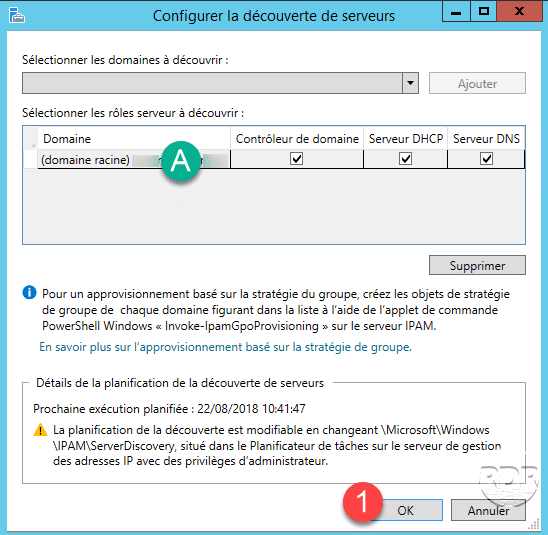
Select the roles to be inventoried A then click on OK 1 .
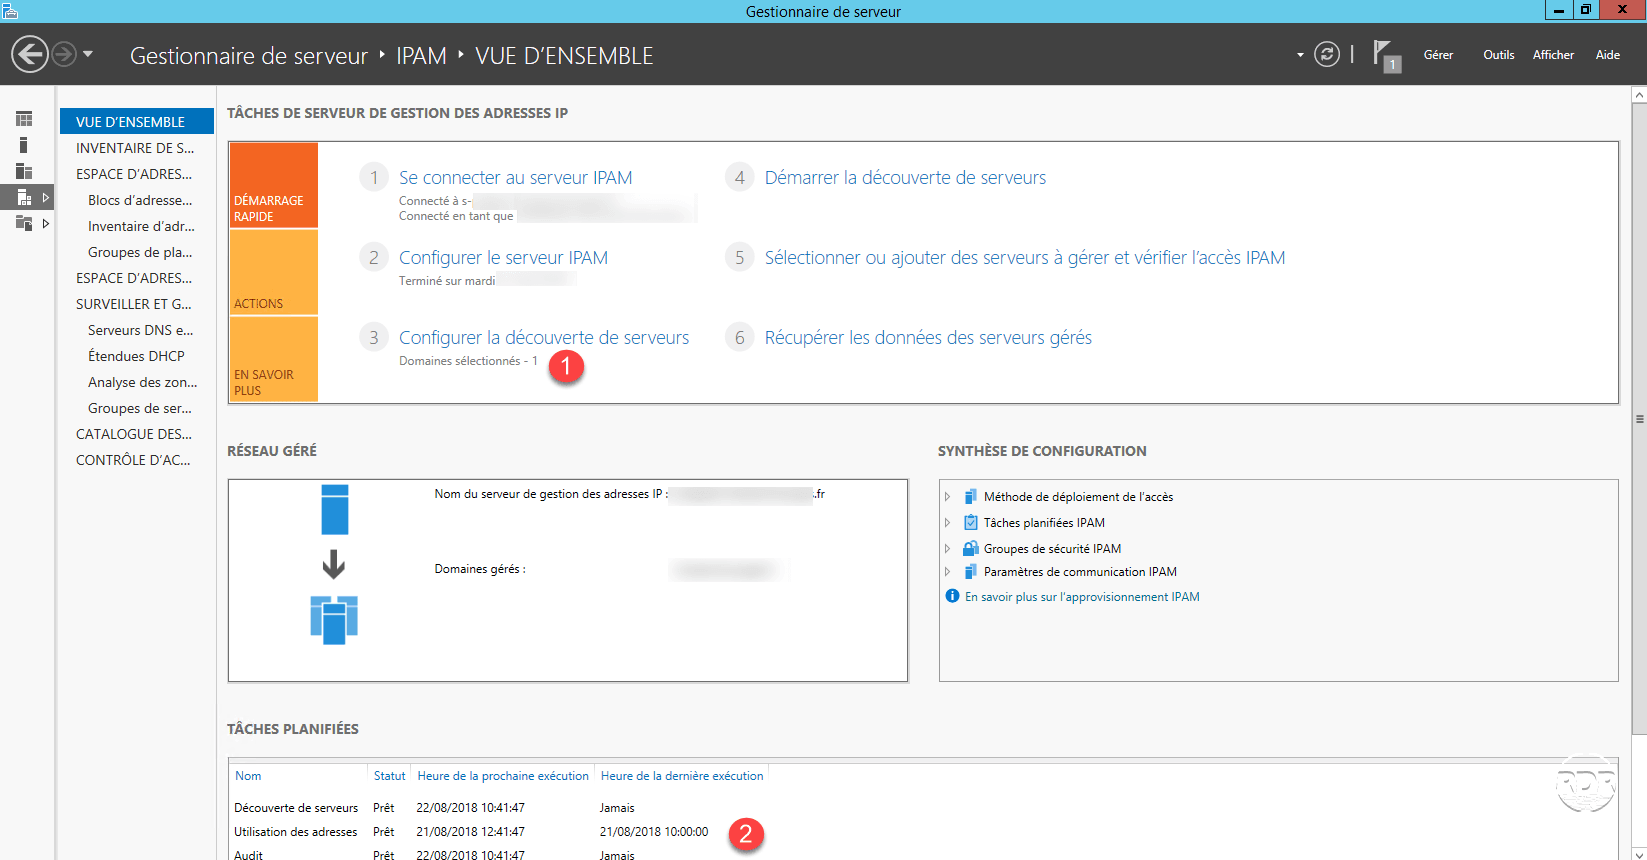
The configuration is complete, we see the number of managed domain 1 and the list of scheduled tasks 2 .
Now that the IPAM service is configured and functional, we will see how to populate the database with the servers in the organization.
Manage servers from IPAM
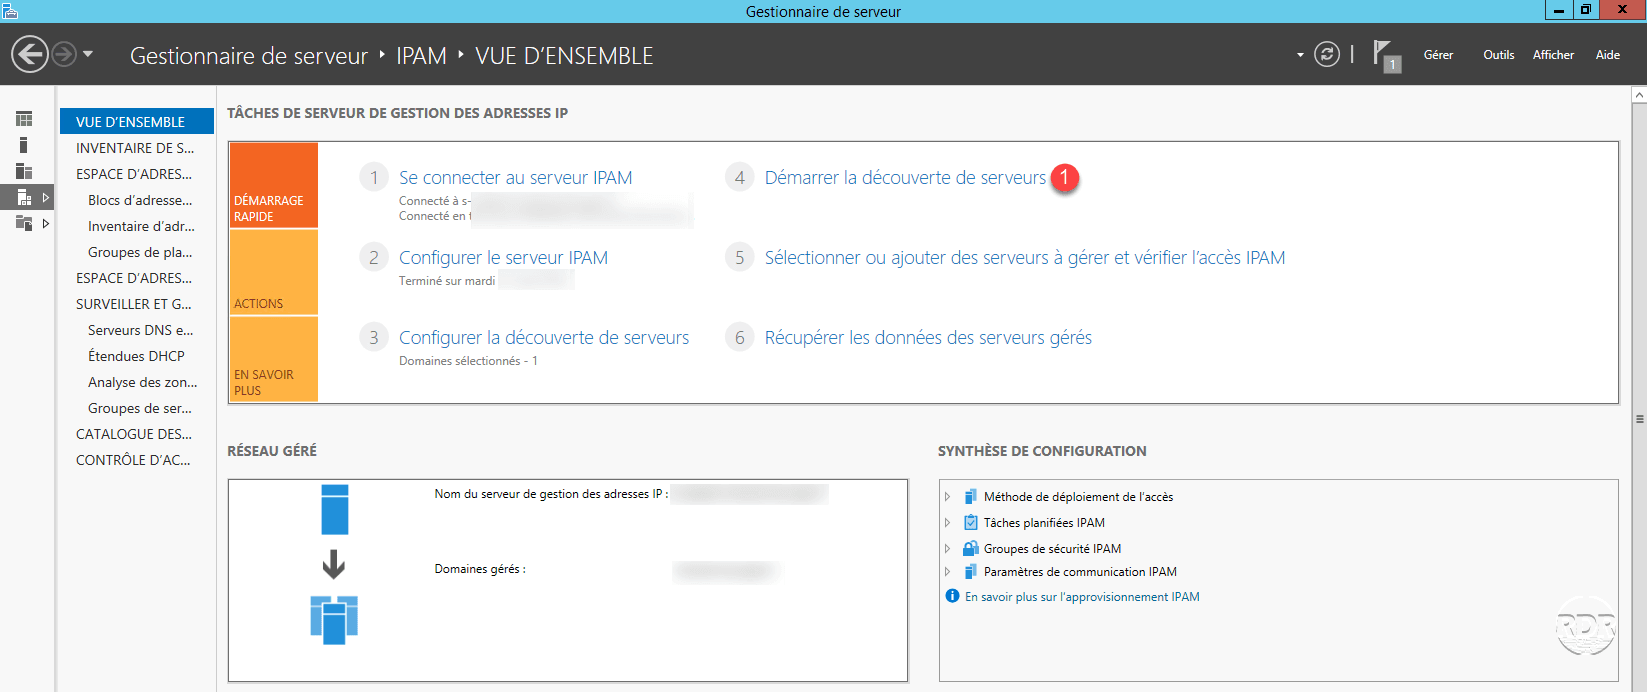
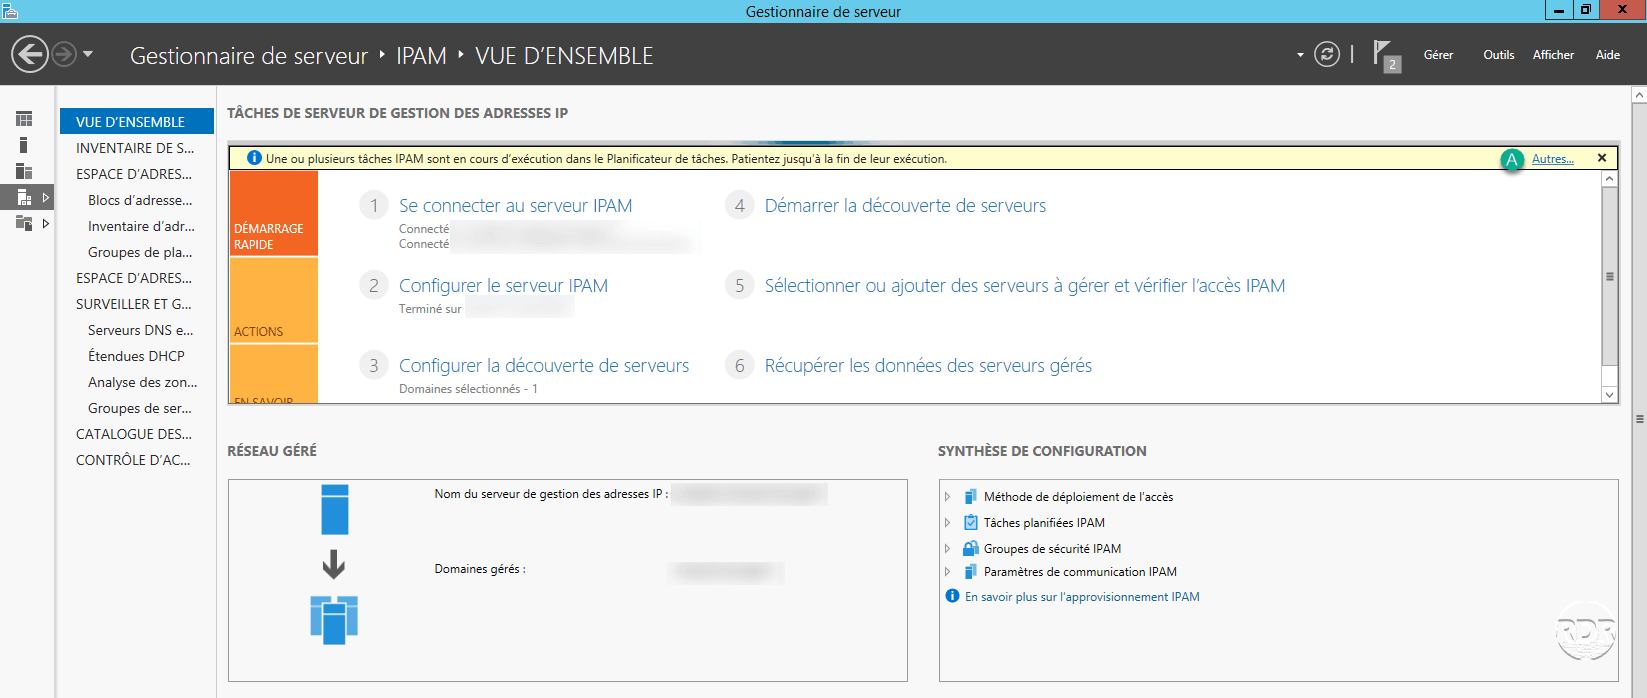
From the IPAM overview, click Start Server Discovery 1 .
A yellow banner appears in the box, wait while the task is running. You can have more information by clicking on More … A .
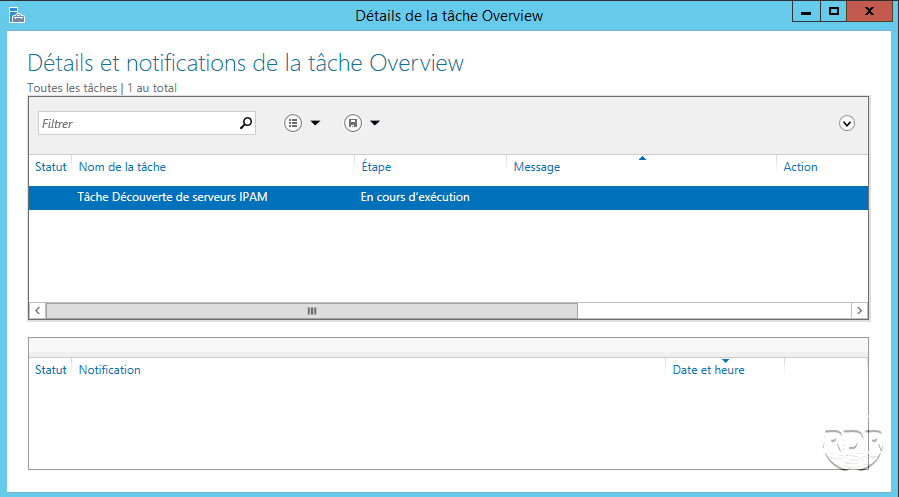
Detail of tasks …
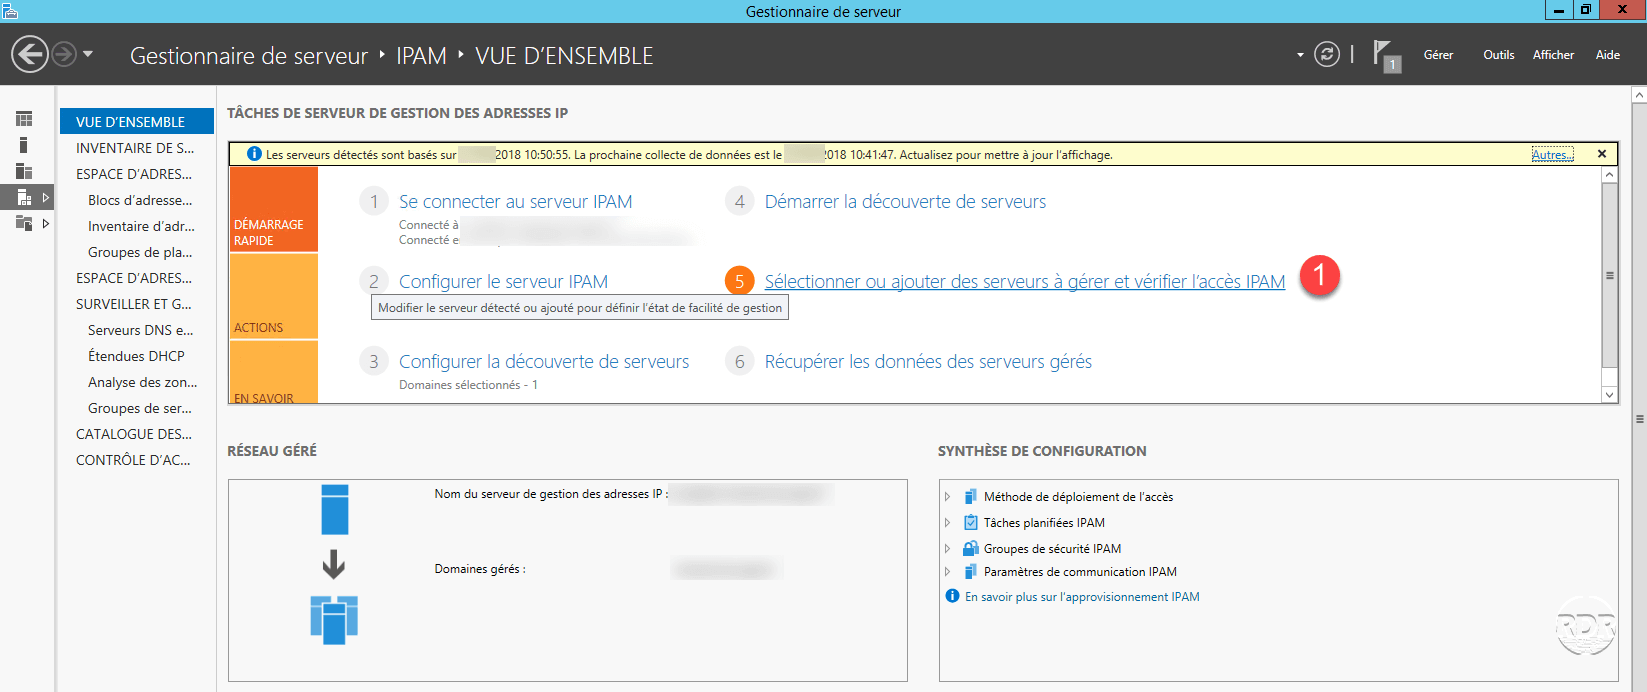
When the task is complete, click Select or add servers to manage and check IPAM access 1 .
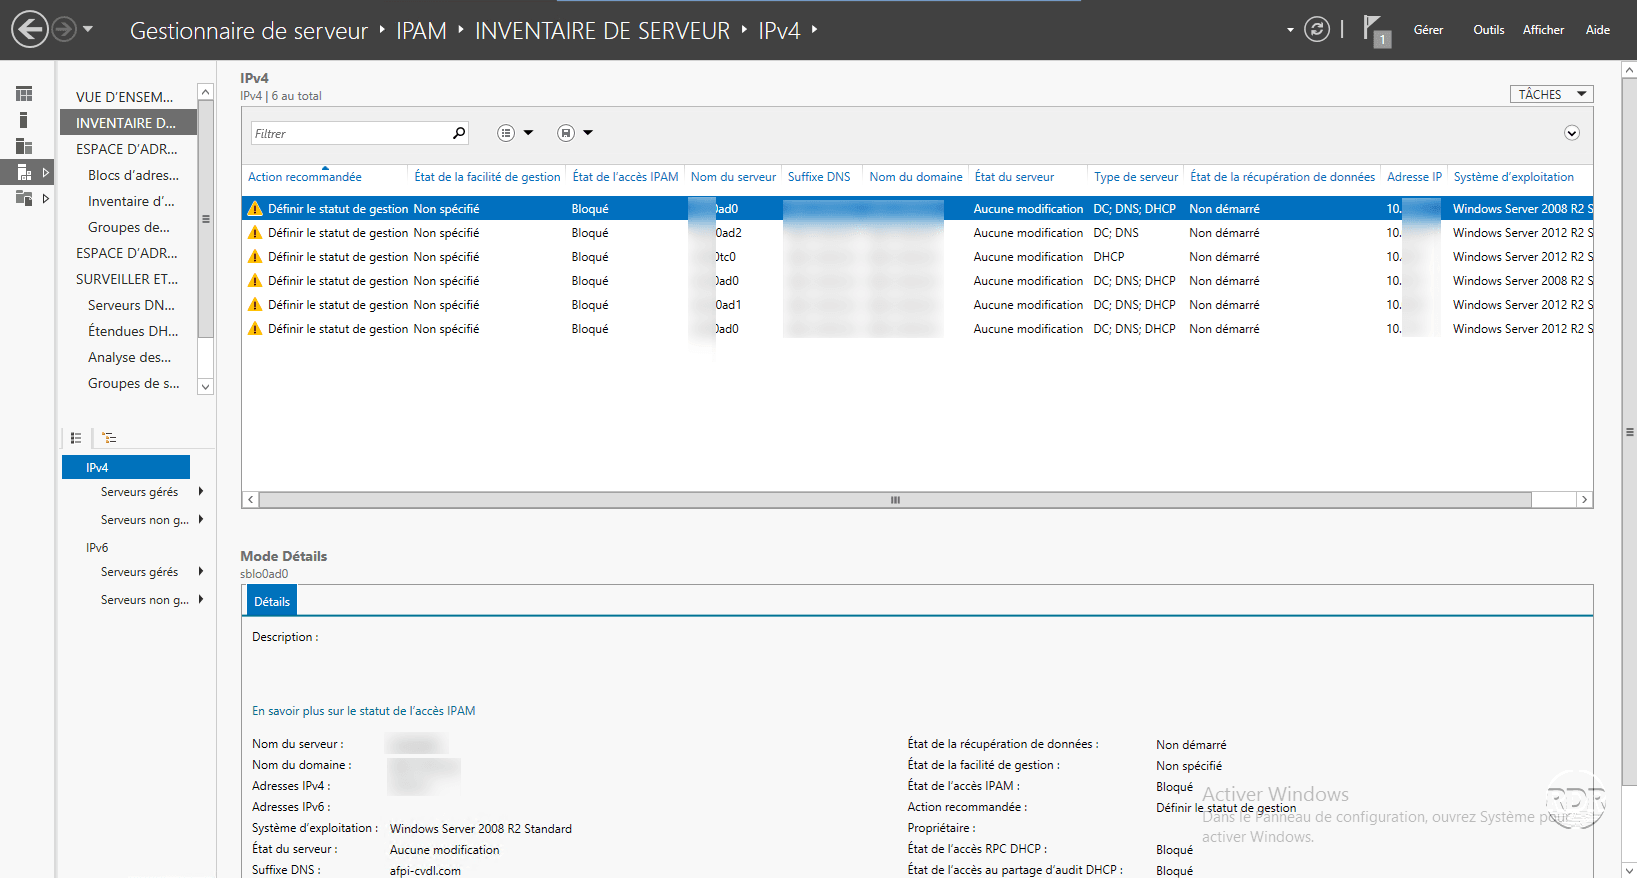
Since this view appears the servers discovered by the IPAM service, for the moment they are just inventorier in the console.
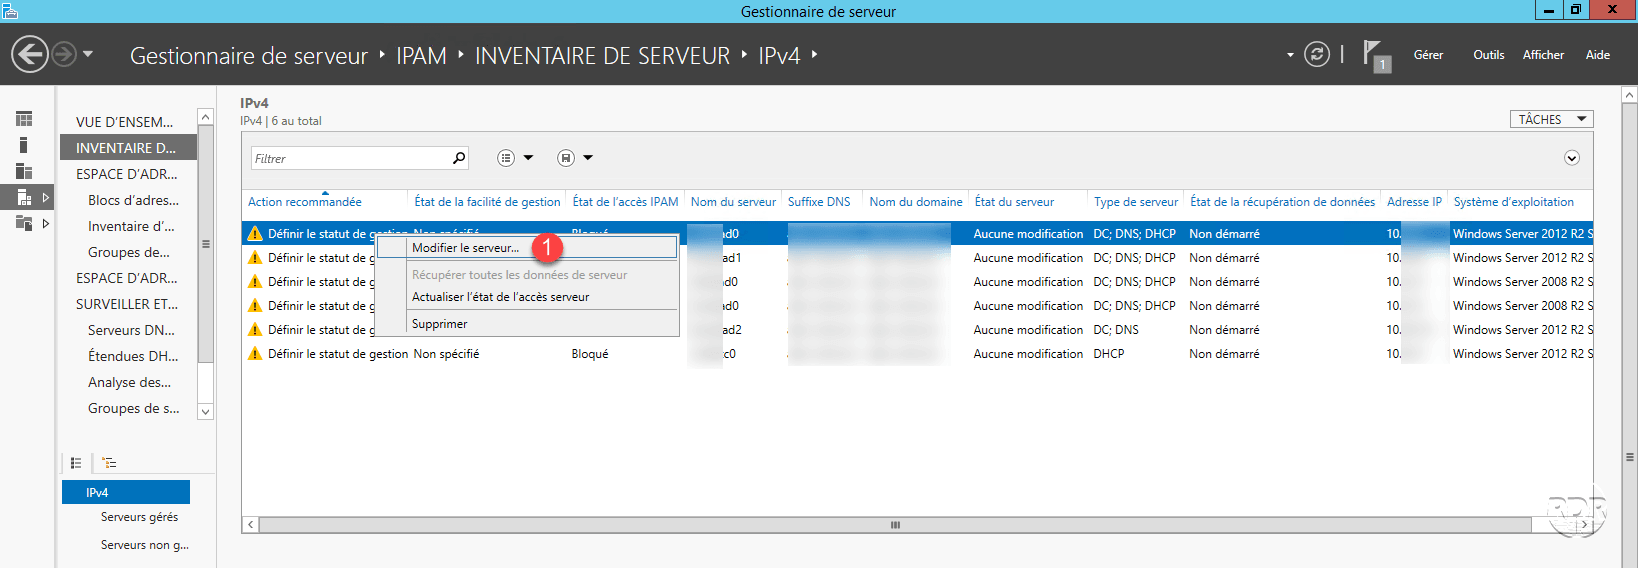
Right click on a server to manage and click on Edit server 1 .
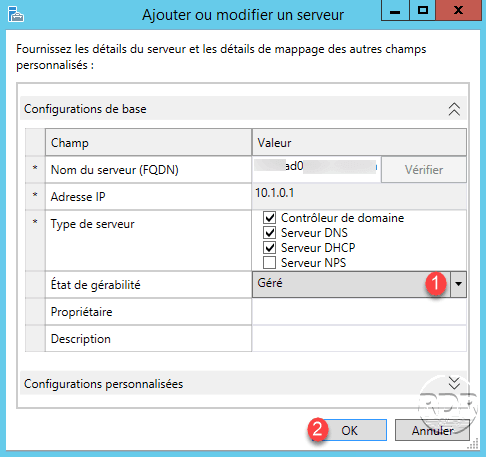
Change the Manageability Status field to Managed 1 and click OK 2 .
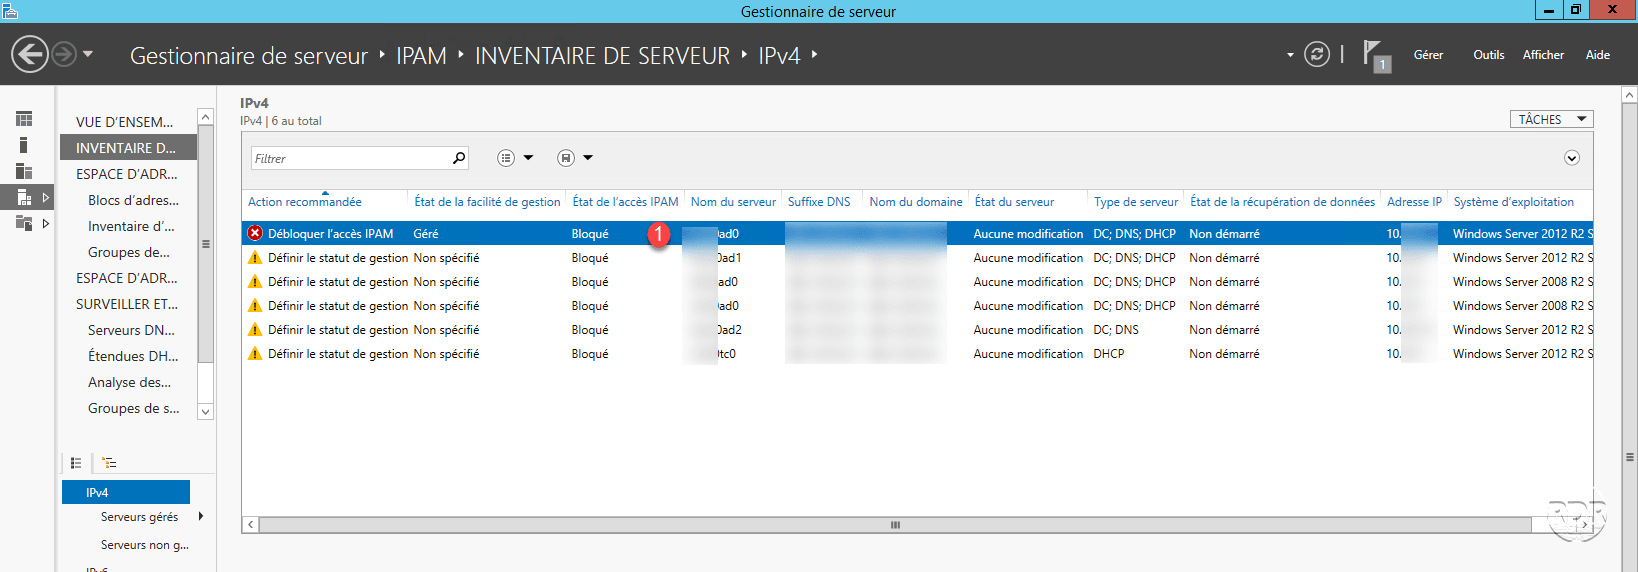
Back to the list of servers, we see that the state of management facility has been changed to “Managed” but access to IPAM is still blocked 1 . This is because the server still has not applied the GPOs.
Still on the IPAM server, open a PowerShell Administrator window and enter the commands below to force the Group Policy update.
Enter-PSSession nom-fqdn-du-serveur-modifier-dans-IPAM
gpupdate
exit
Wait a moment (30min to 1H), the time the server is updated that information is reported. Regularly refresh the task manager to check the server status change.
Repeat for all servers whose information must be present in the IPAM database.
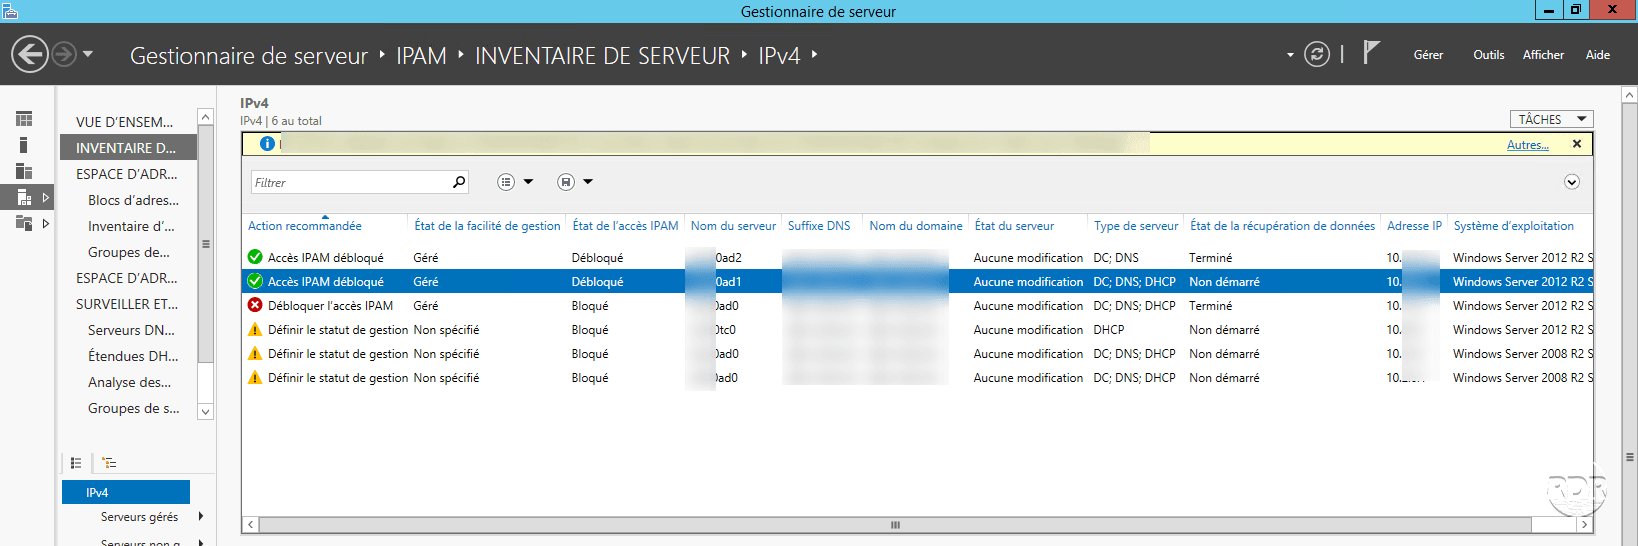
When the servers are unblocked, they are displayed as below, so that the data is available in IPAM, the state of the data recovery must be “Done”.
Now that IPAM services are able to trace network information, we will see an overview of possible actions.
Use IPAM
In this part, we will see different actions possible since the IPAM service, this is just a preview, I invite you to delve into the menus of the console and read the various help available.
Find a free IP address
This technique is valid for both DHCP and IPAM managed ranges.
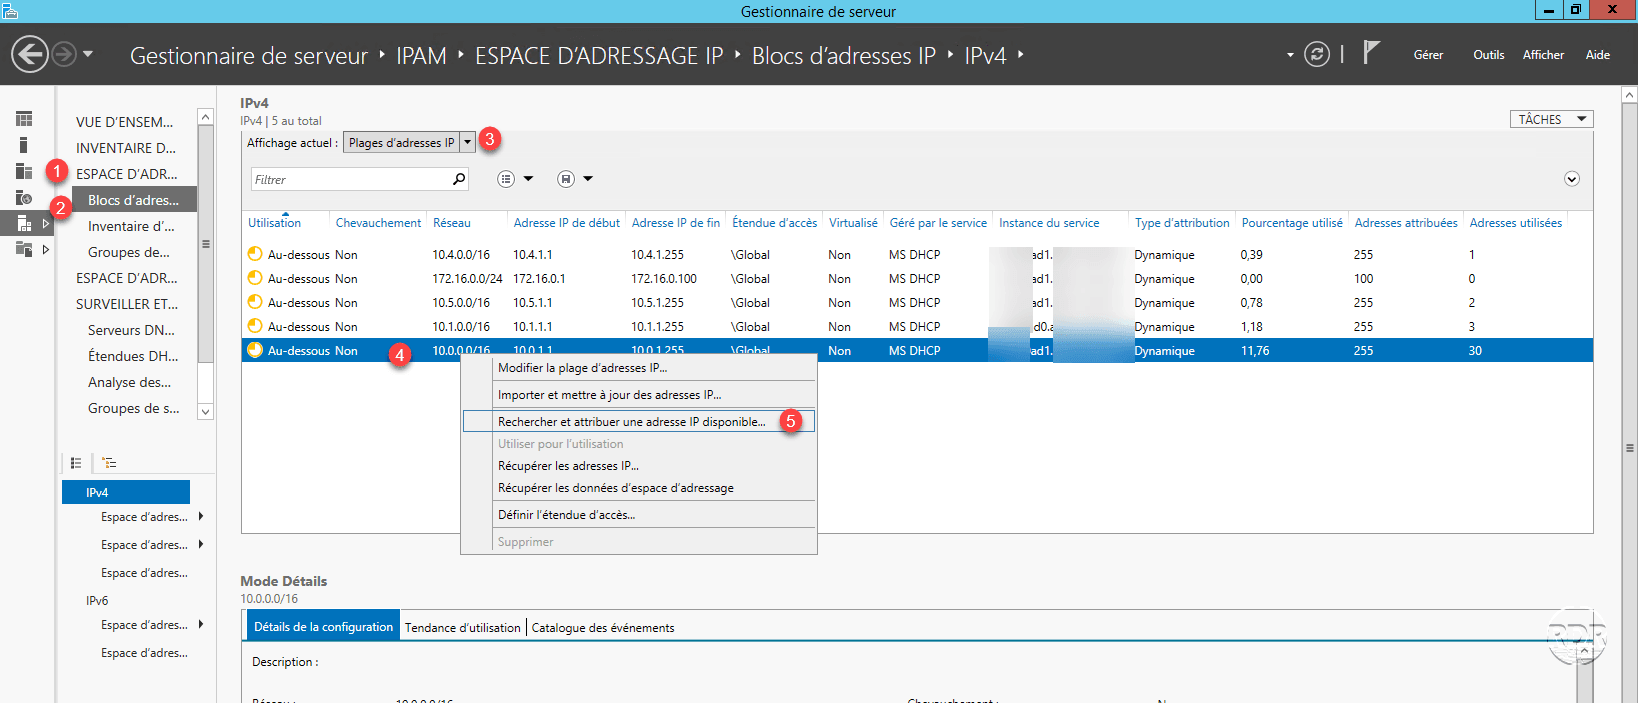
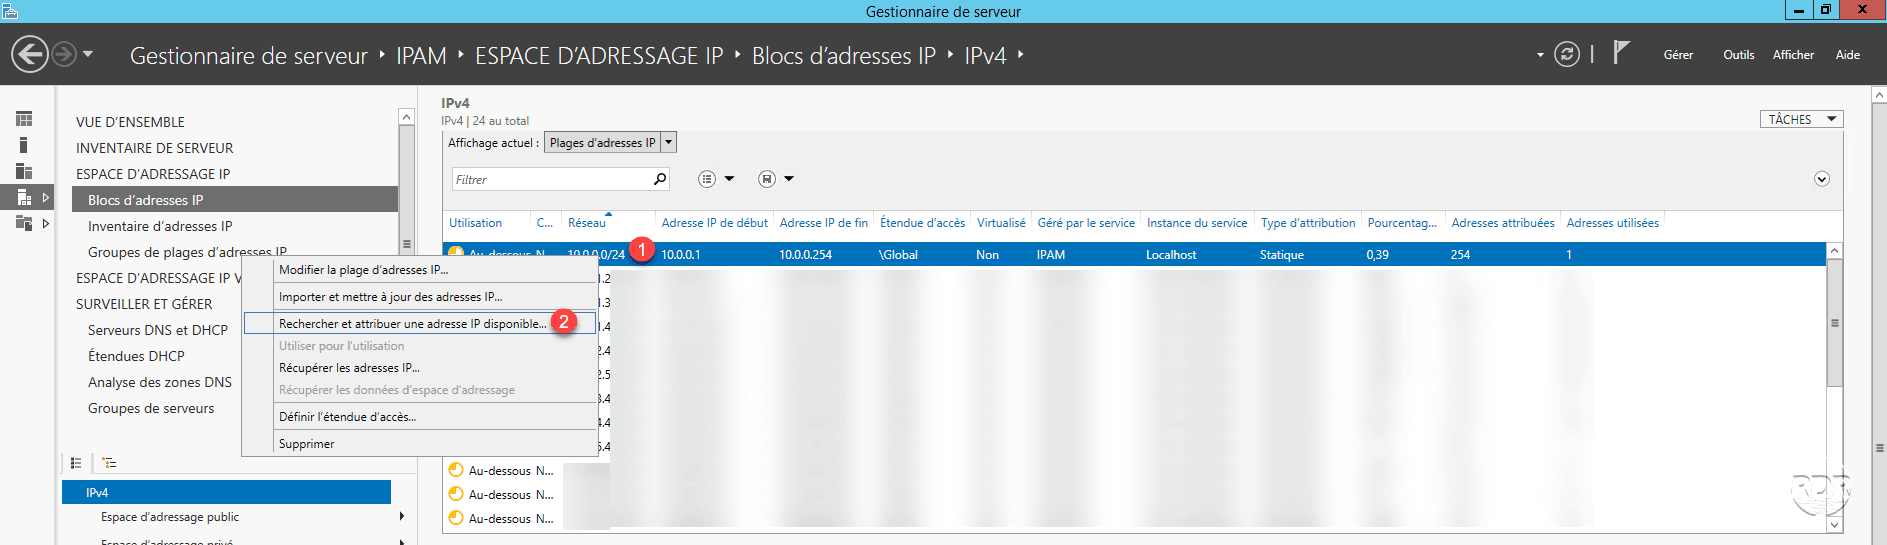
From the menu: IP ADDRESS SPACE 1 / IP address block 2 . Filter the result by selecting IP address ranges 3 . Right-click on a range 4 and click on Search and assign an available IP address … 5 .
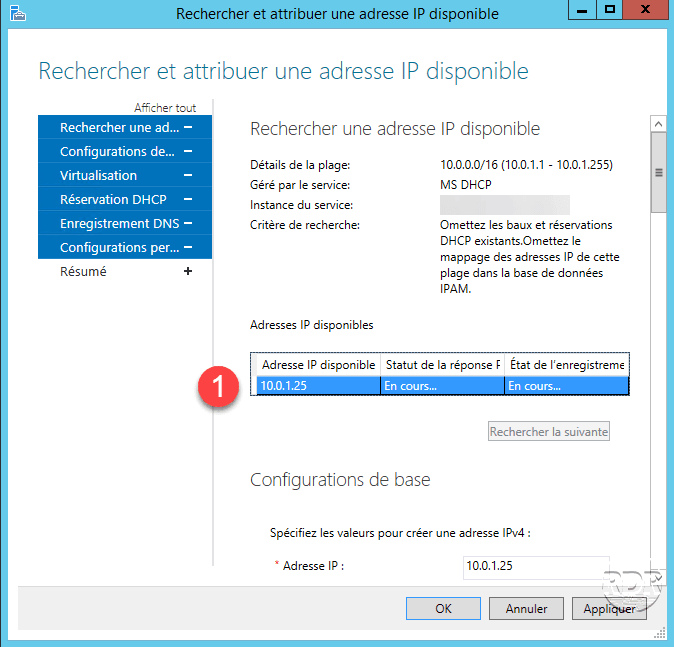
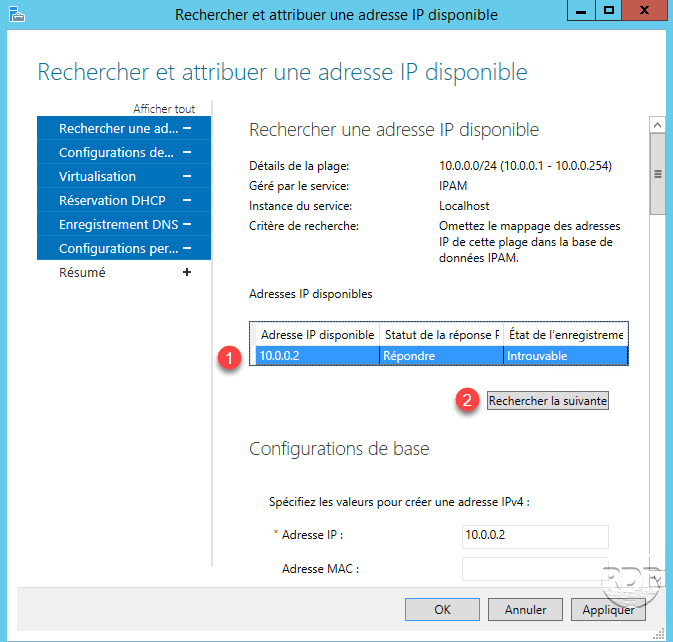
On the new window that opens, IPAM will attempt to retrieve an available IP 1 on the range, pinging.
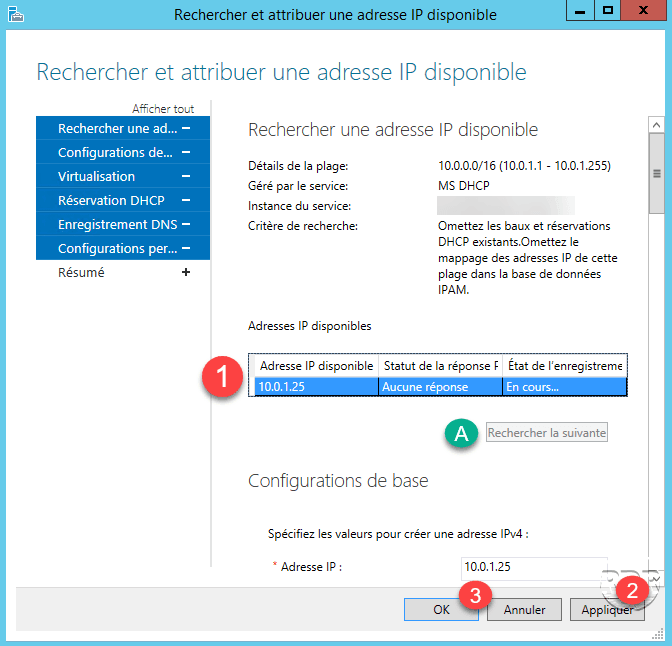
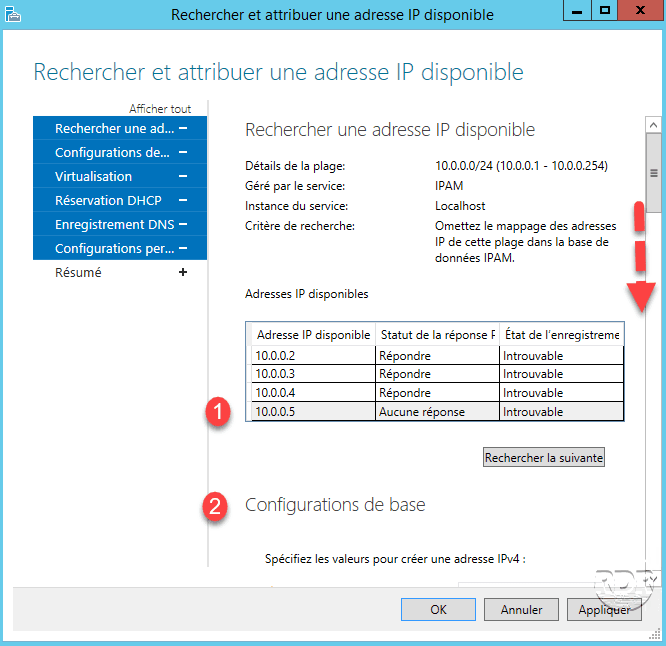
When an address is found 1 no answer to the ping, it is possible to go to the following address by clicking on A Find the next one. To reserve the IP, simply click on Apply 2 and OK 3 to add the address to IPAM.
For IP addresses that are in DHCP scopes, it is possible to directly create a reservation on the IPAM server provided that the MAC address to be associated with it.
Information about server-managed IP address scopes
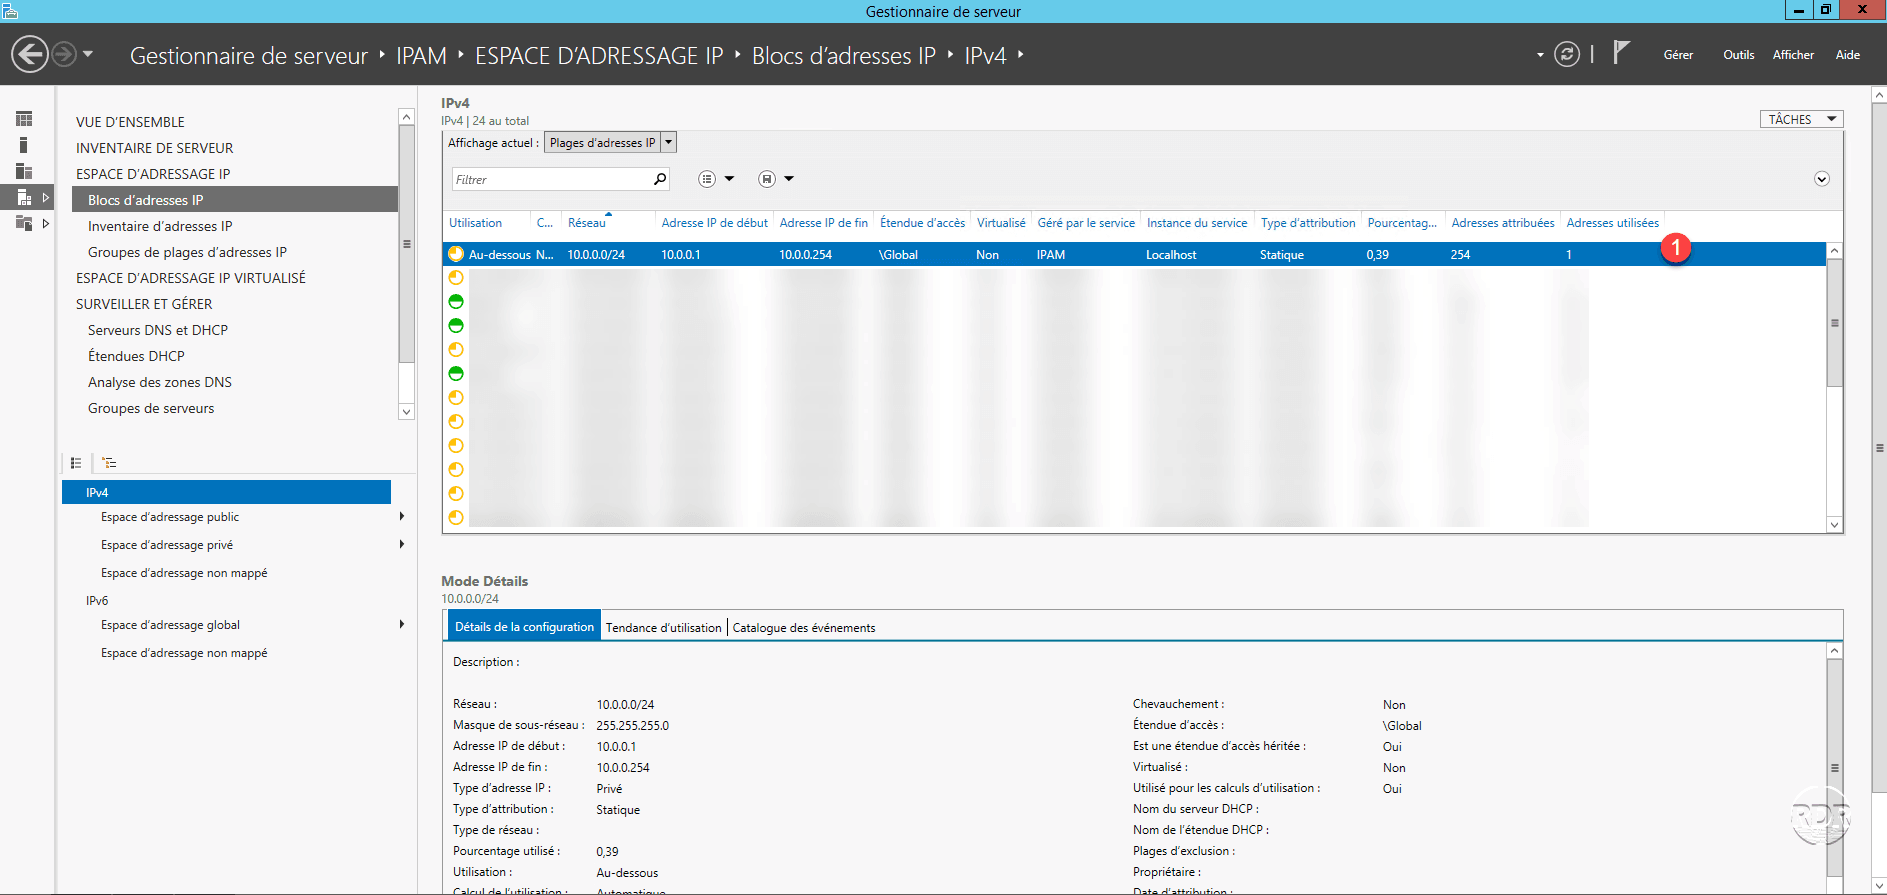
View IP address ranges
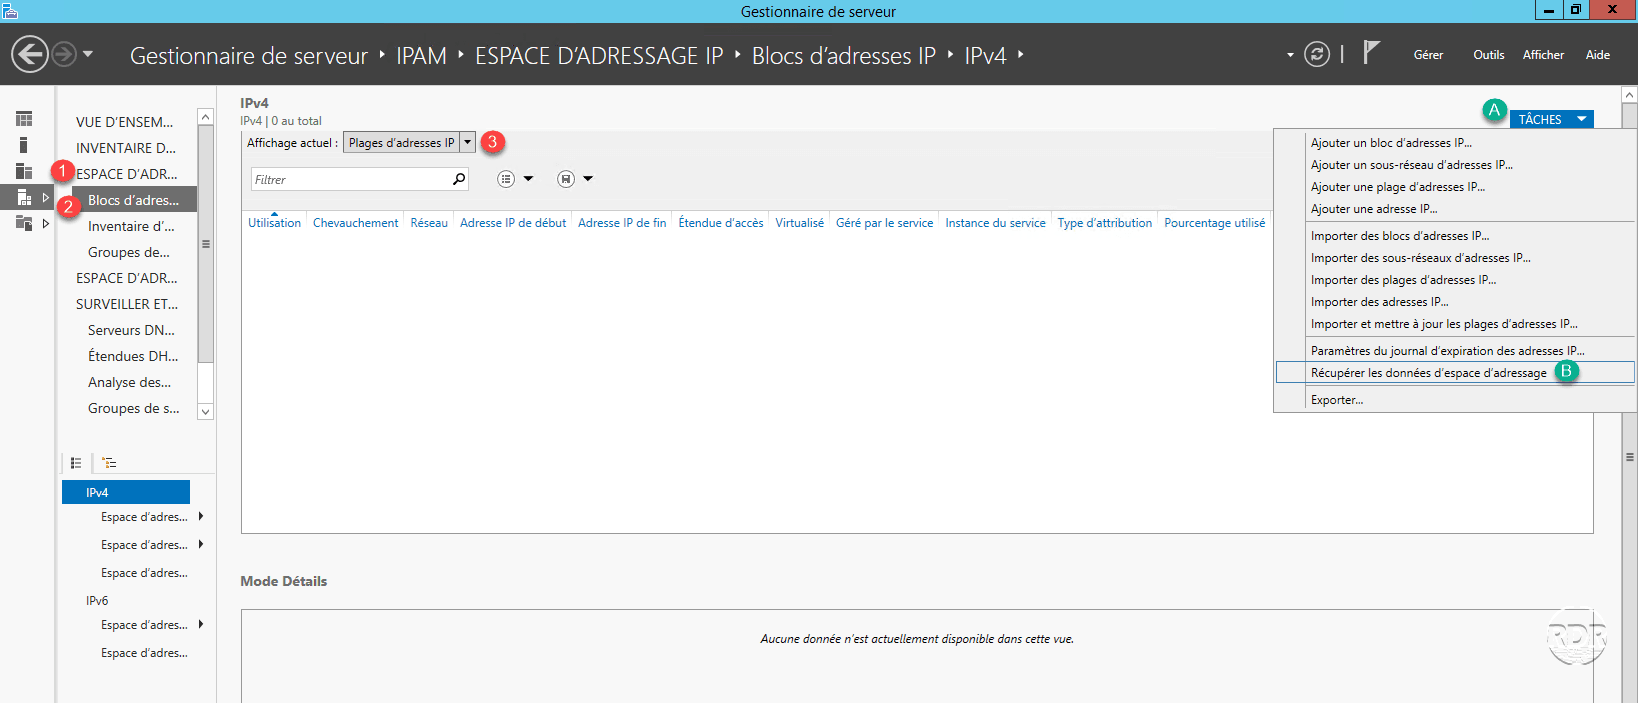
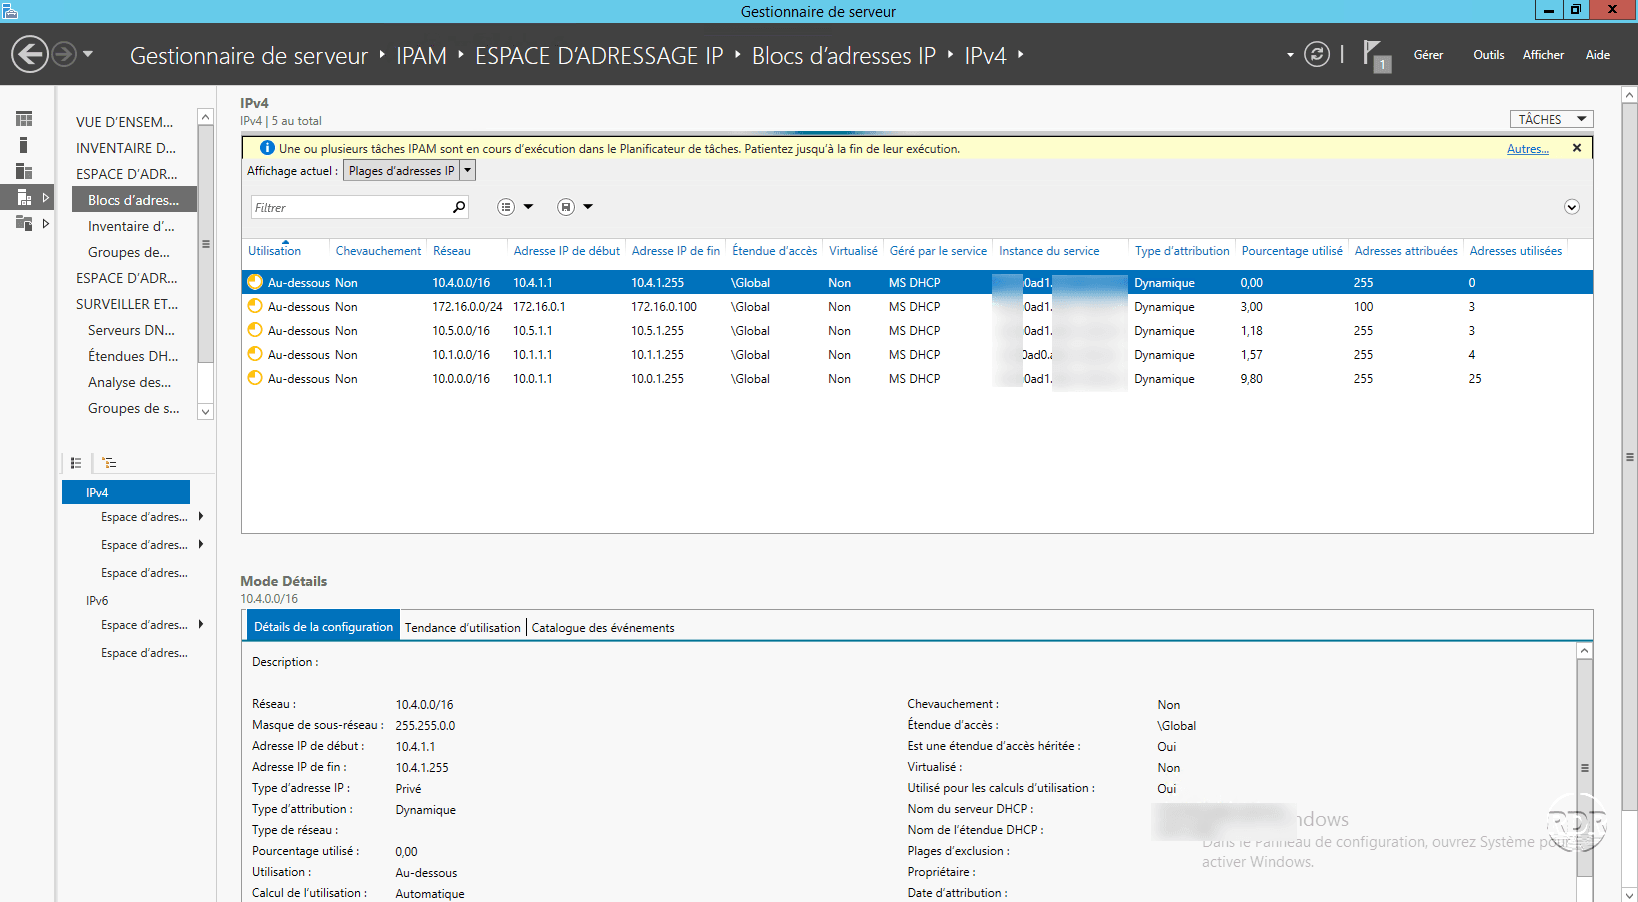
Go to IP ADDRESSING SPACE 1 / IP address block 2 . Select IP address ranges in filter 3 . If nothing is displayed, click on TASKS A and then Retrieve address space data B .
The list of address ranges is displayed with different statistical information for each.
DHCP server administration
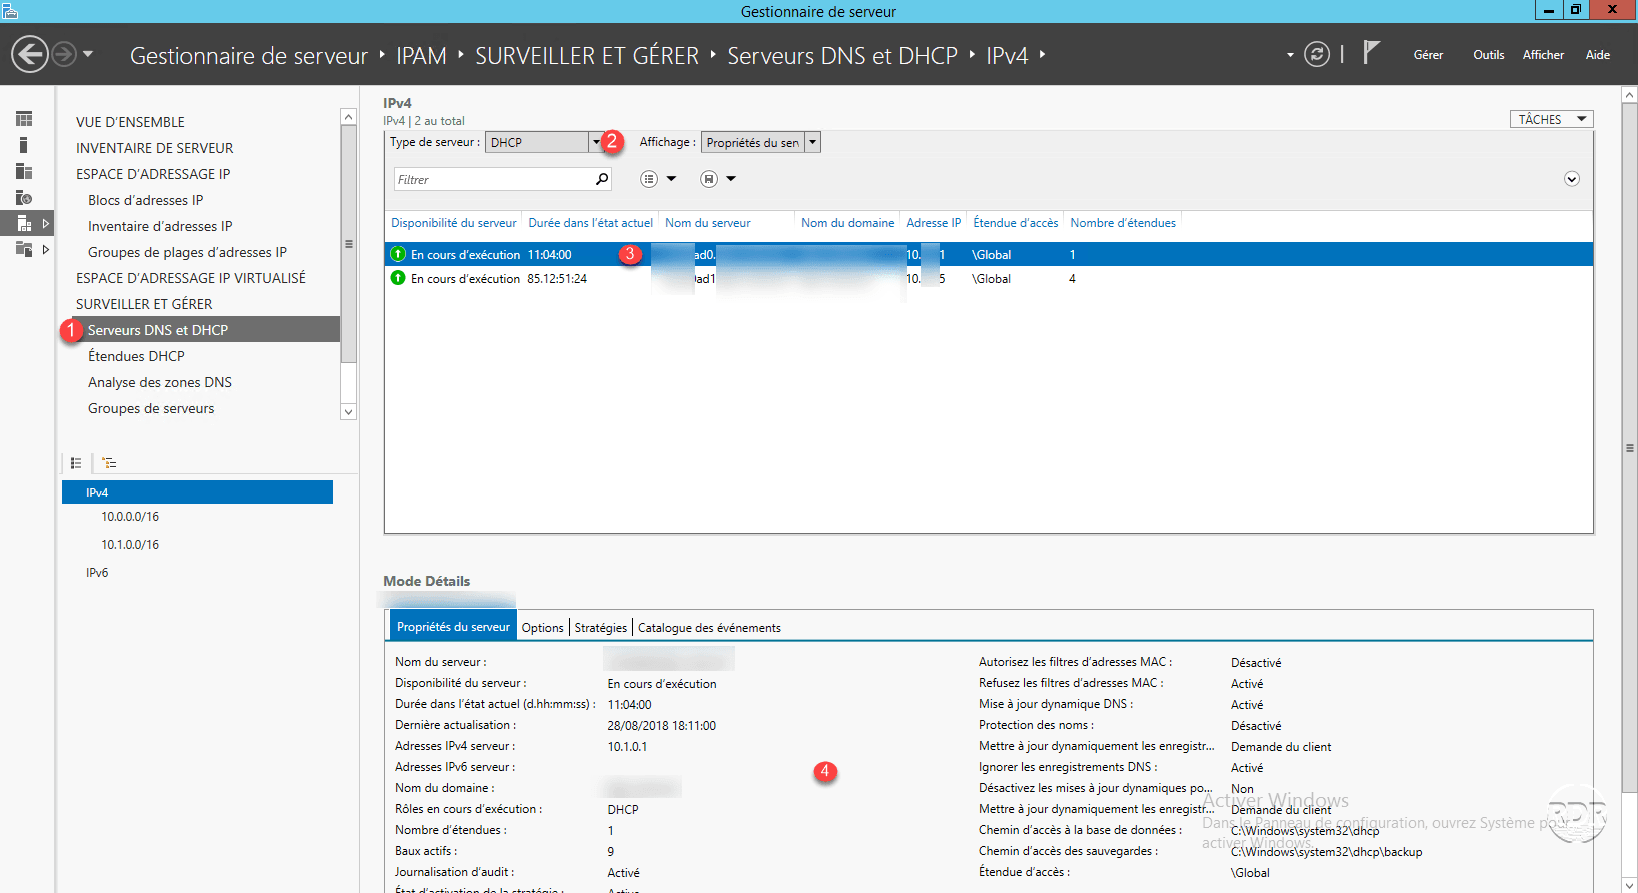
From the IPAM management page, go to DNS Servers and DHCP 1 , filter the type of DHCP server 2 . This will display the IPAM managed servers, select a 3 server to have the 4 properties.
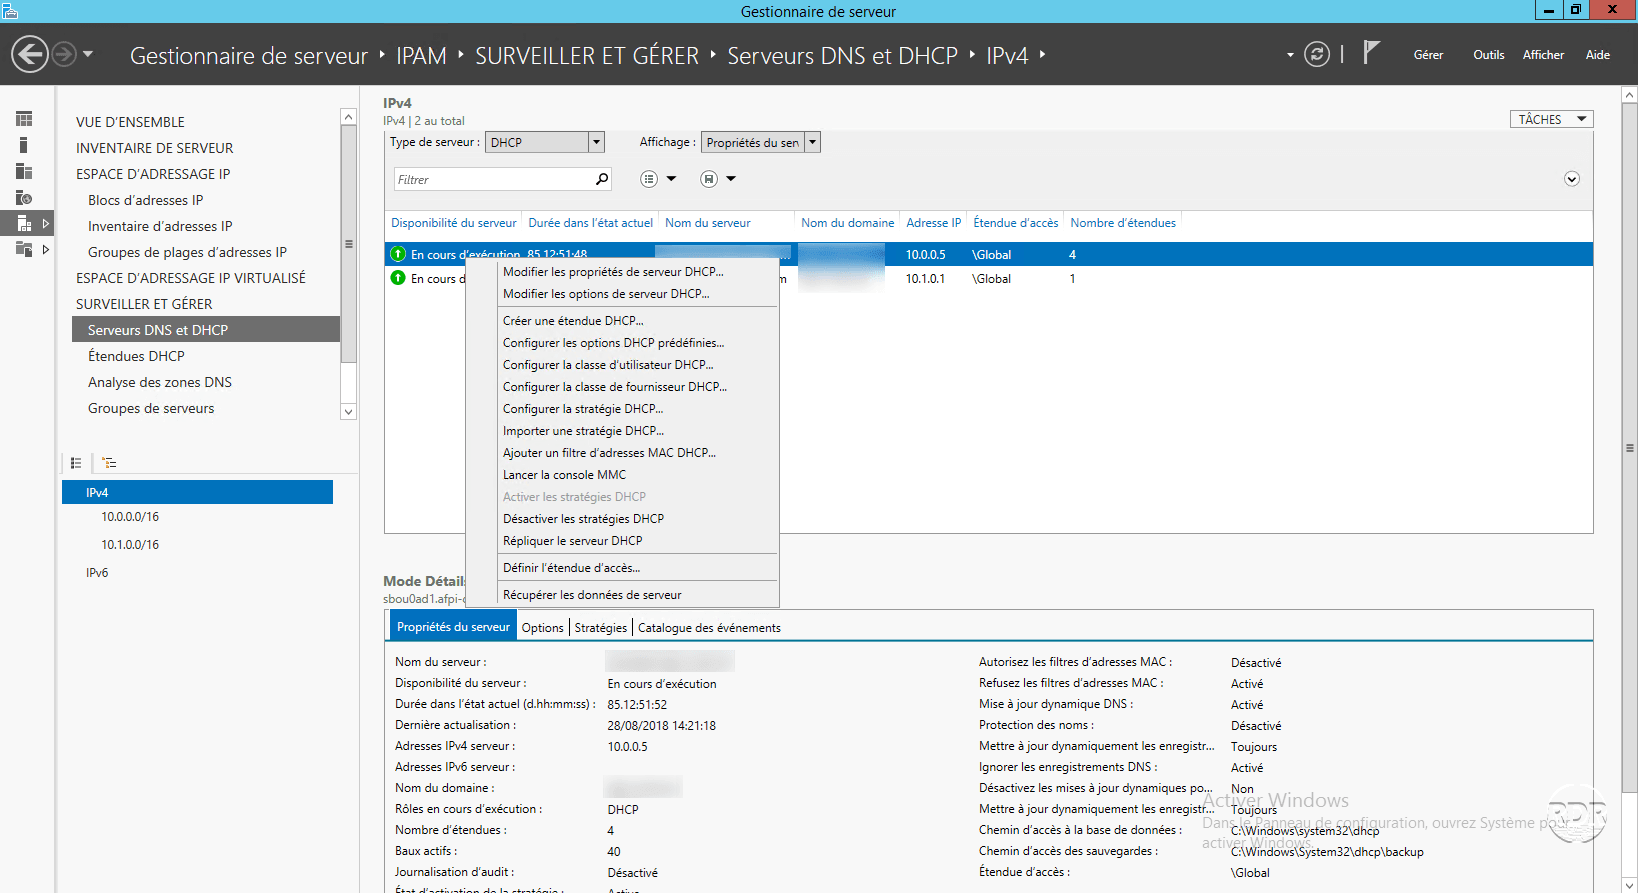
Right-click on a server, the various possible actions are displayed.
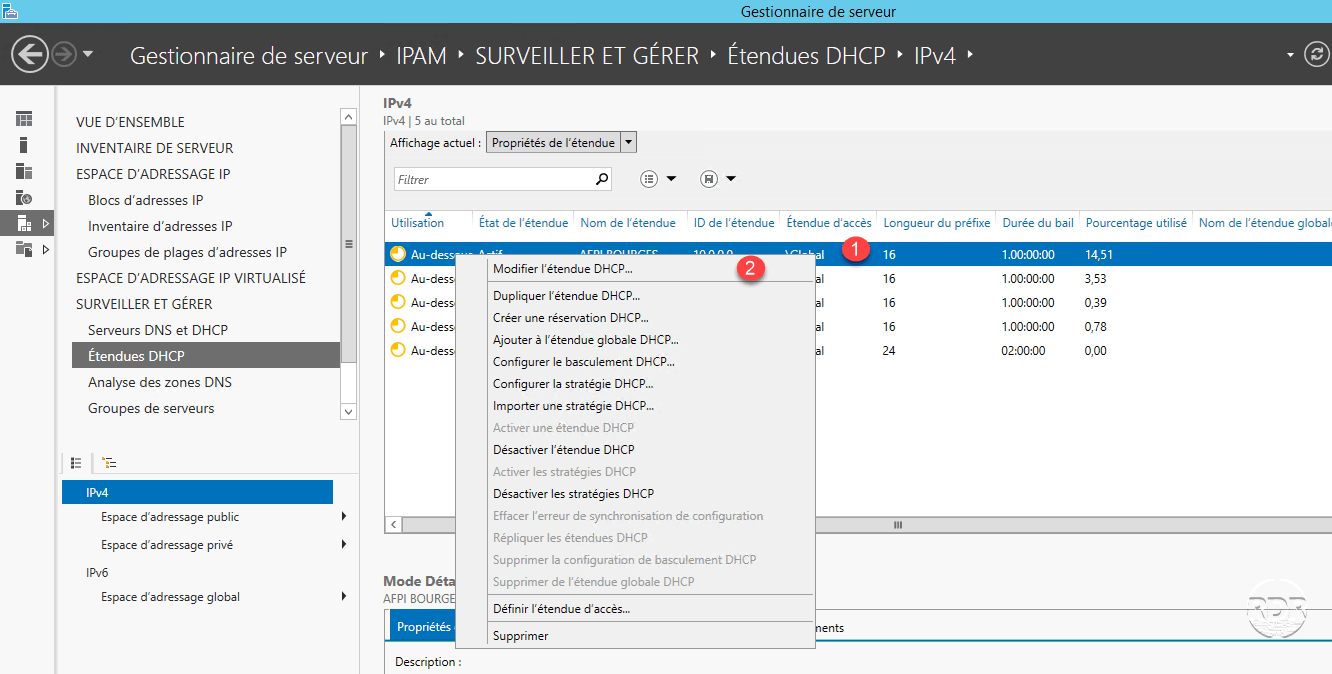
On the left menu click DHCP Extents 1 . As with servers, all DHCP scopes are displayed with the properties.

Modify a DHCP scope
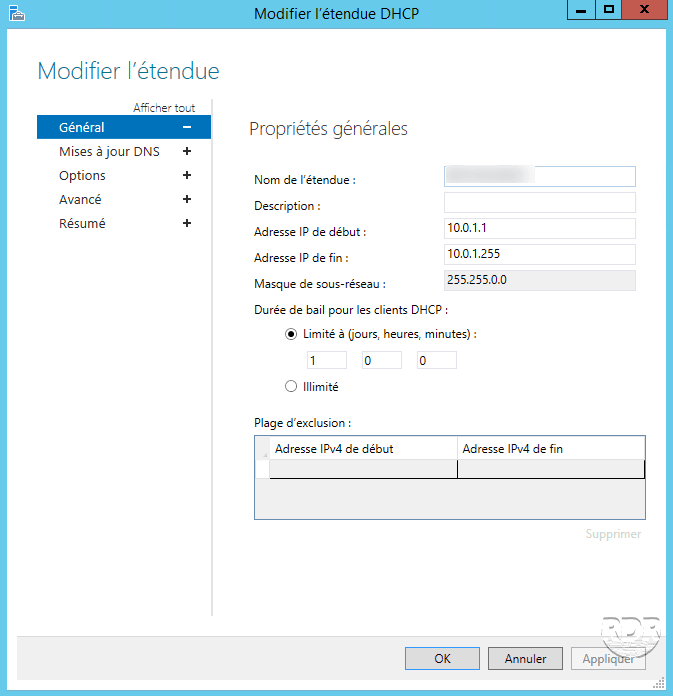
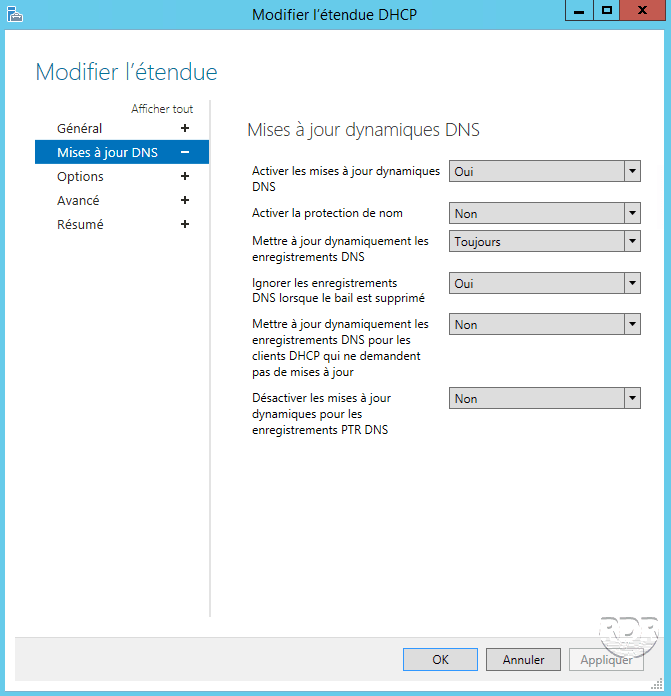
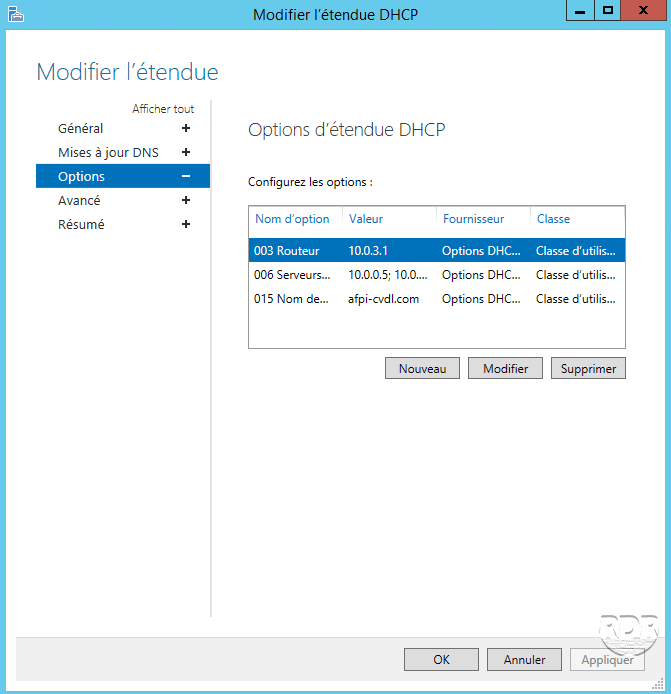
Select the scope to be modified 1 , right click on it and click on Change DHCP scope 2 .
Modify the parameters of the scope and validate by clicking Apply and OK.
Create a new DHCP scope
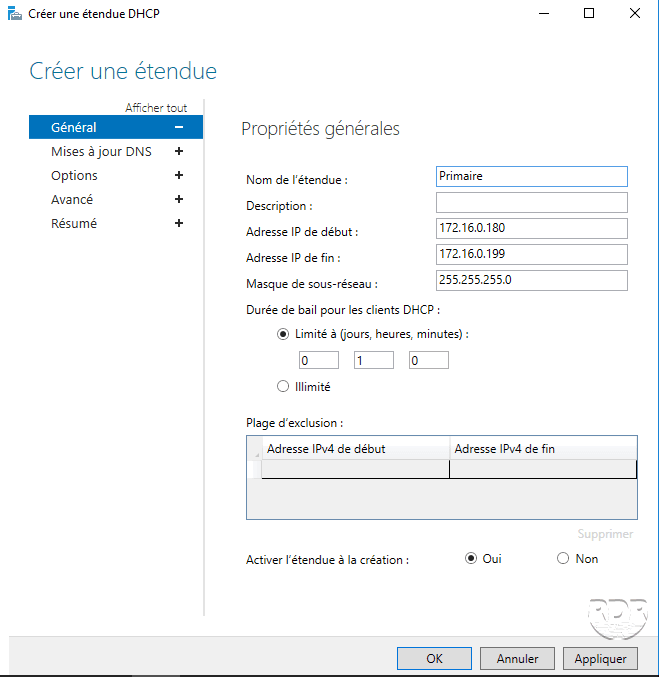
On the list of DHCP servers in IPAM, right-click on the server where the scope is to be added and click Create DHCP scope 1 .
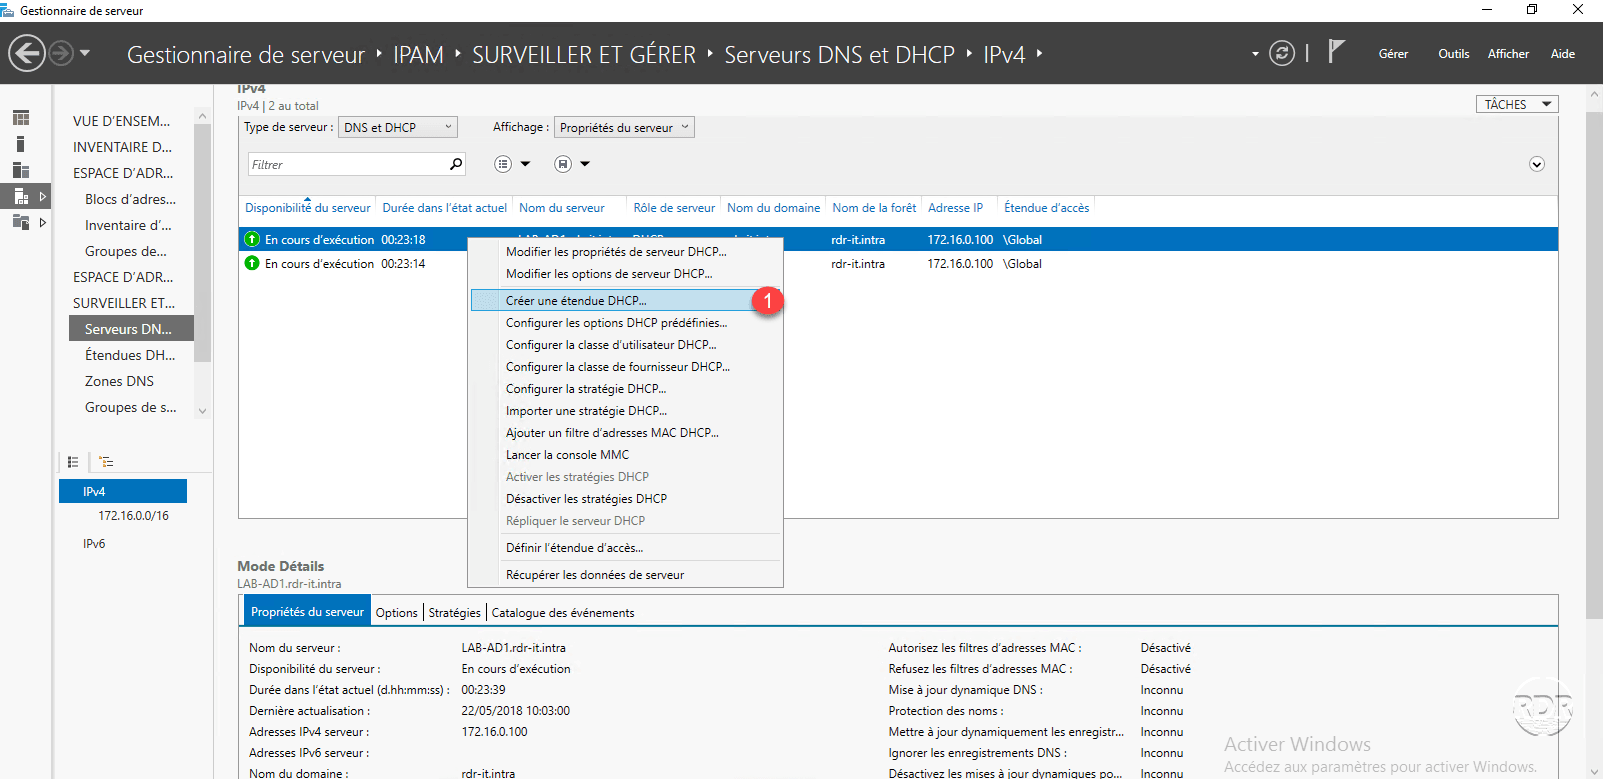
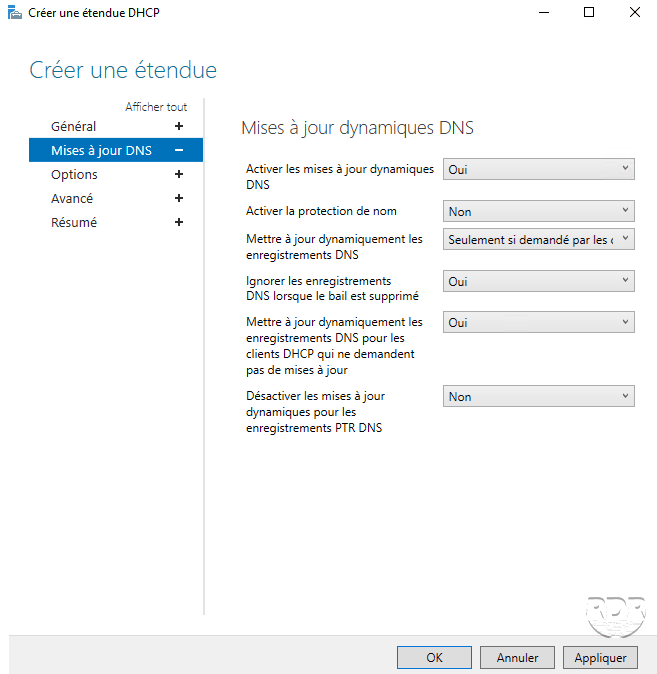
Fill in the scope information and click Apply and OK to start the creation.
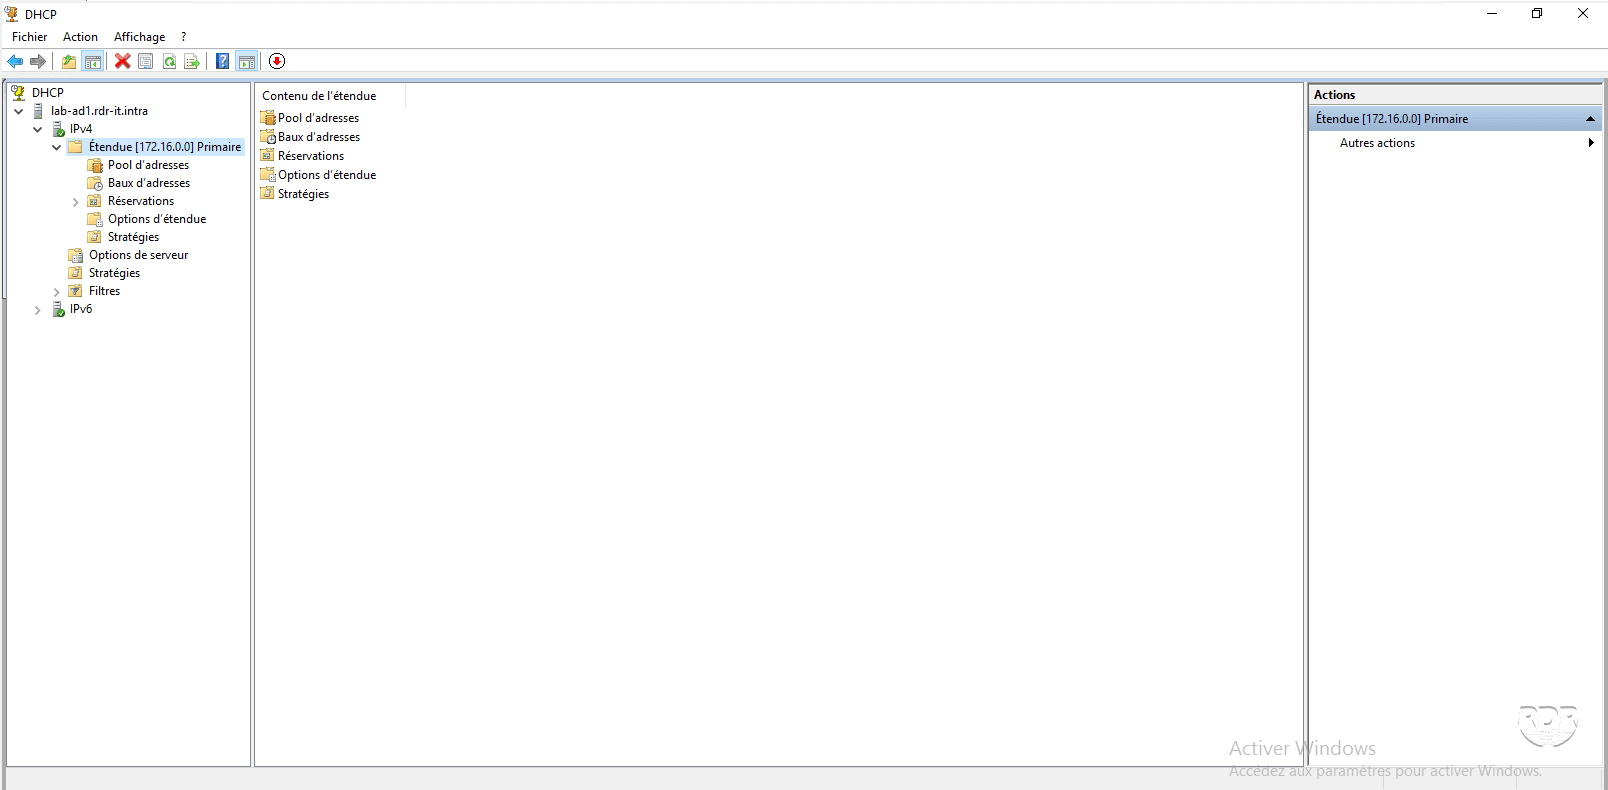
Go to the DHCP server and check the creation of the scope.
Create a DHCP reservation
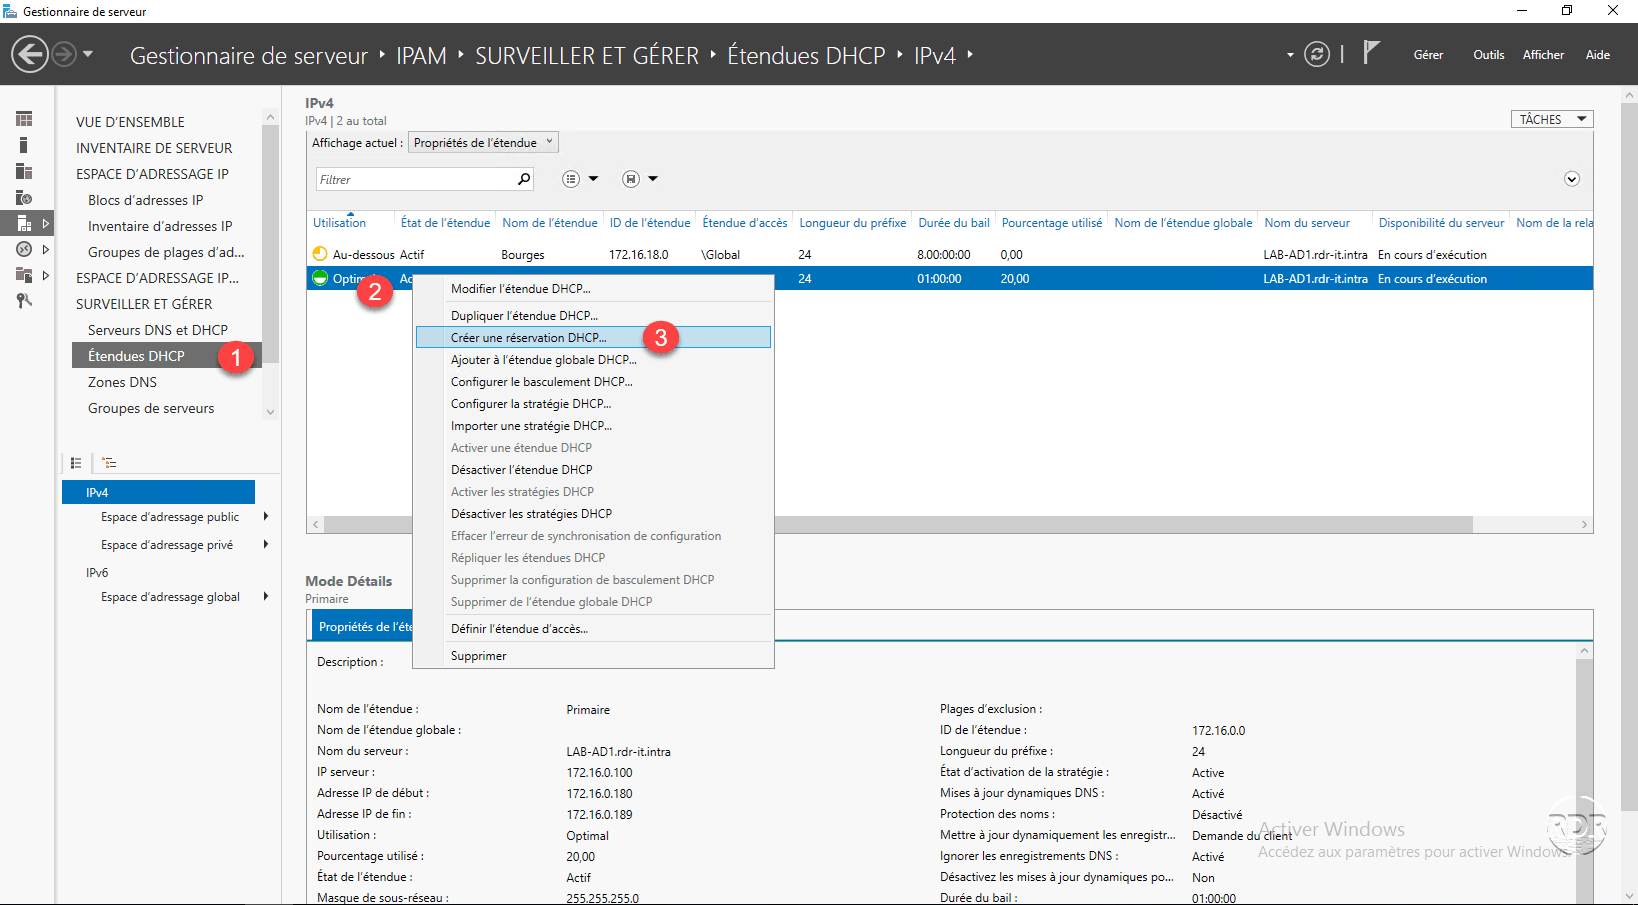
Go to the list of DHCP extents 1 , right click on the range 2 where the reservation must be added and click on Create a DHCP reservation 3 .
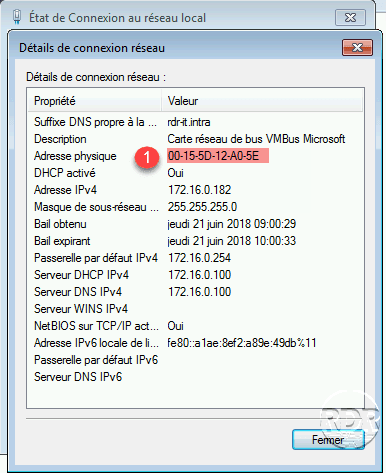
Before configuring the reservation, retrieve the MAC address 1 from the network card that will receive the IP address.
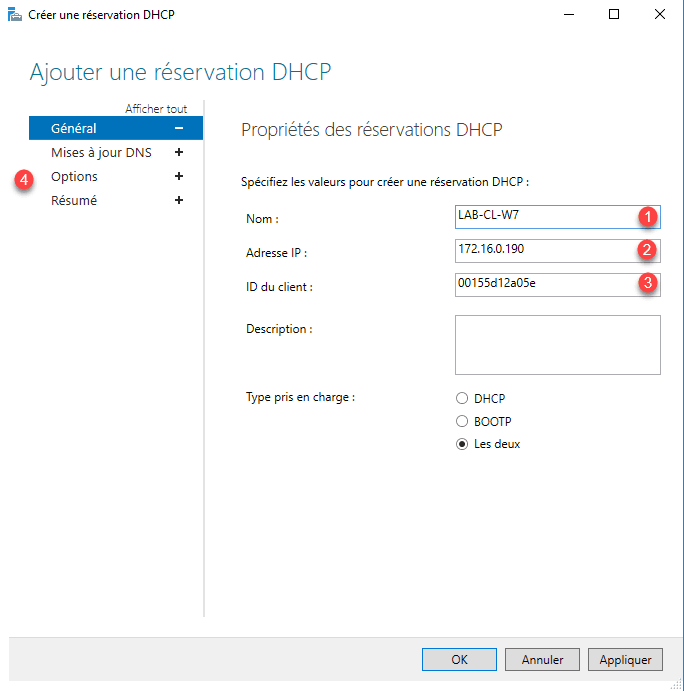
Set up booking, enter Name 1 , IP Address 2 and MAC Address 3 . Then click on Options 4 .
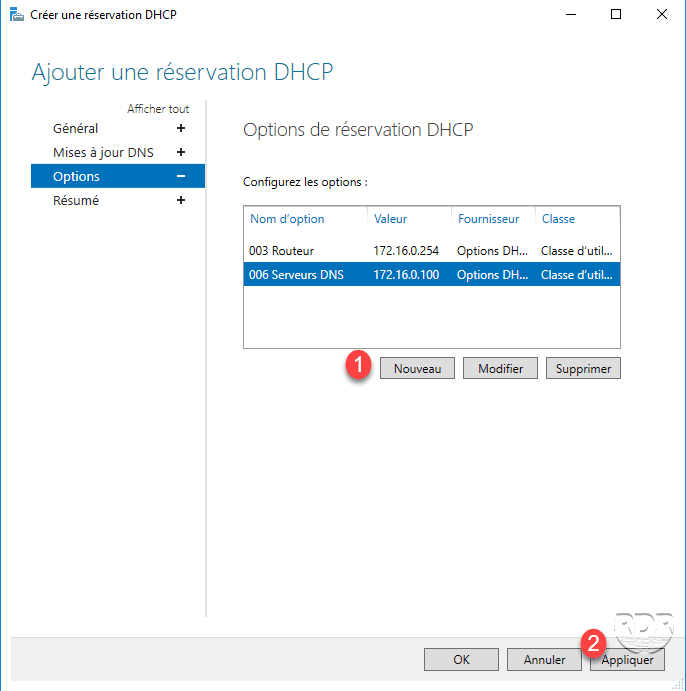
Configure the DHCP options, click the New 1 button to add. When done click on Apply 2 .
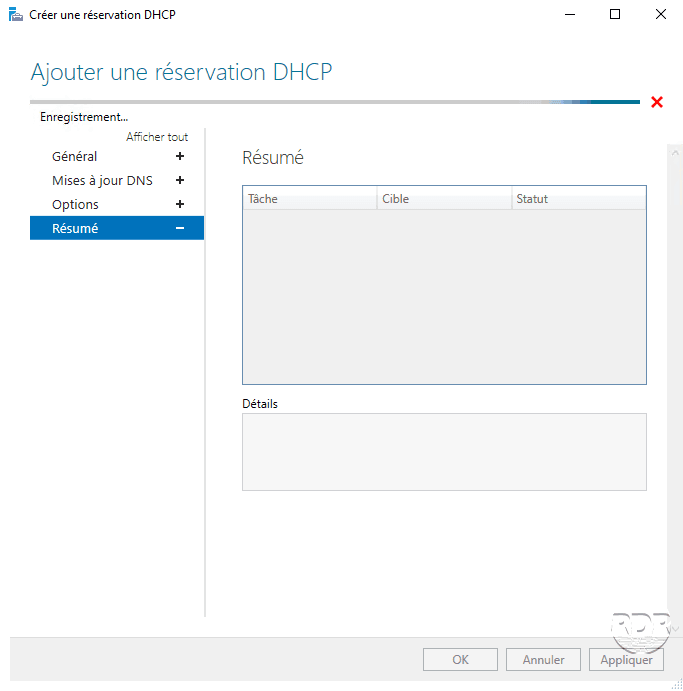
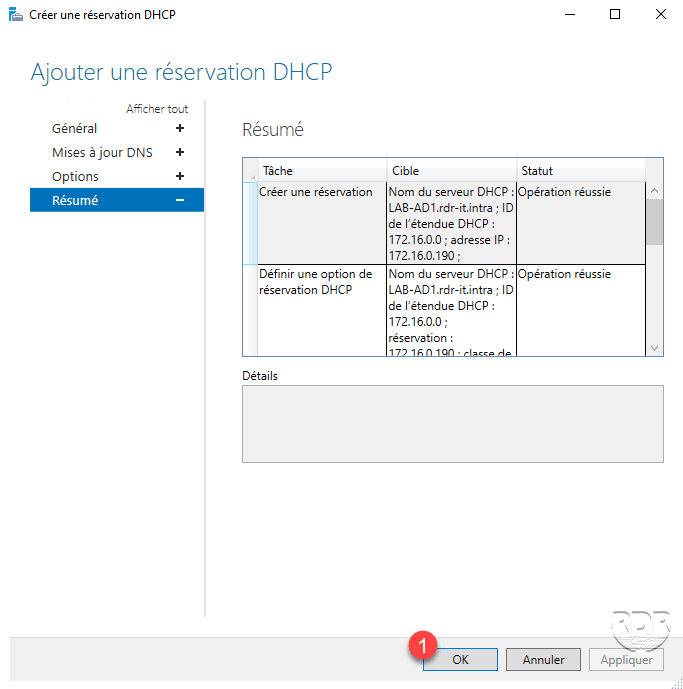
Wait while adding the reservation to the DHCP server.
Once the confirmation of the creation of the reservation, click on OK 1 to close the window.
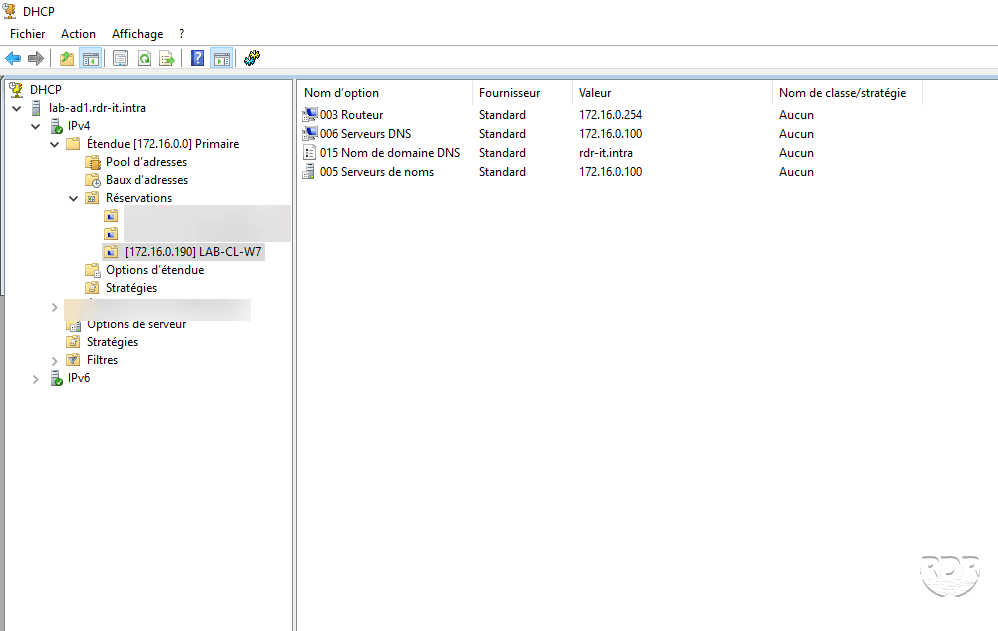
Go to the DHCP server and check the creation of the reservation.
Manually Managed IP Address Scope Information
It is possible in IPAM to add addressing blocks that are not managed by DHCP servers. Block management must be done manually.
The use of an IP address management tool requires great rigor so that it is properly informed.
Add an IP address range
IP ranges will allow IPAM to search available addresses using the console.
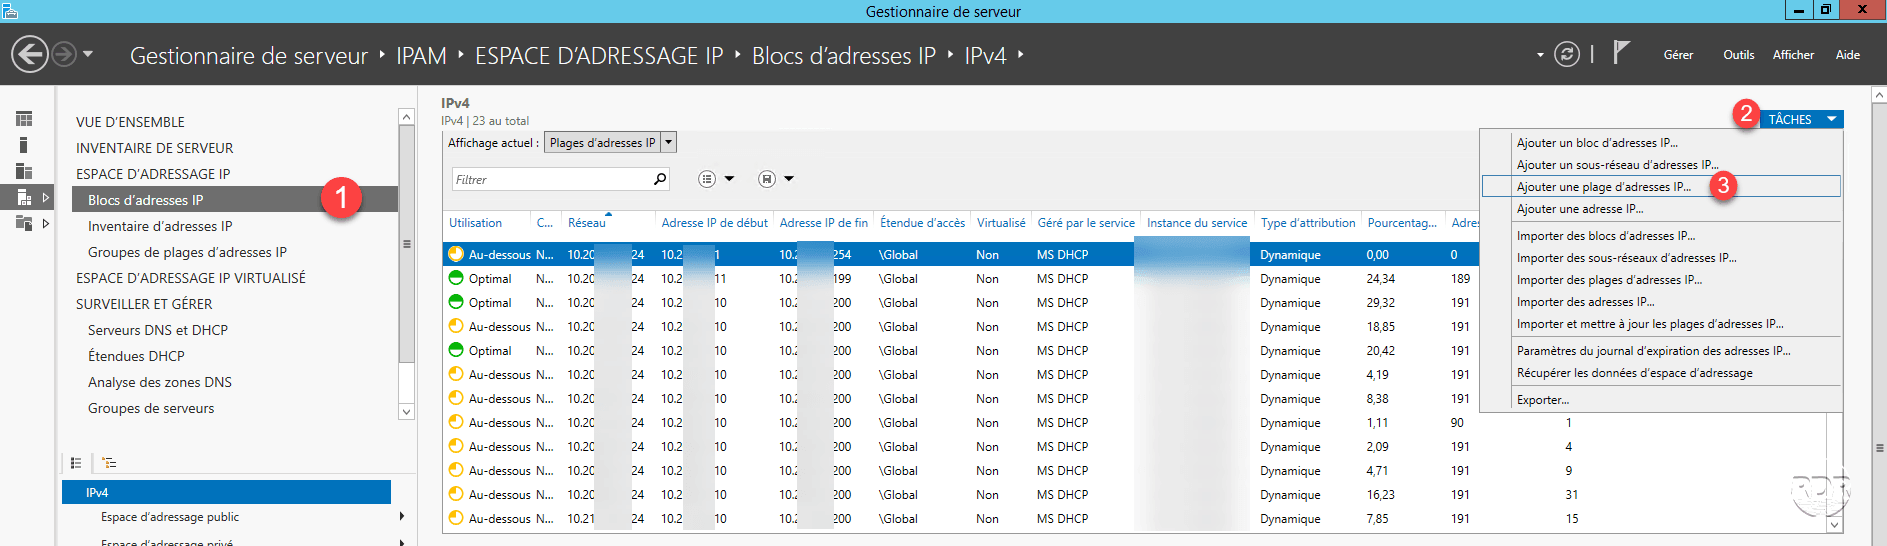
From the IPAM interface, go to IP Address Block 1 , click on TASKS 2 and then Add IP Address Range … 3 .
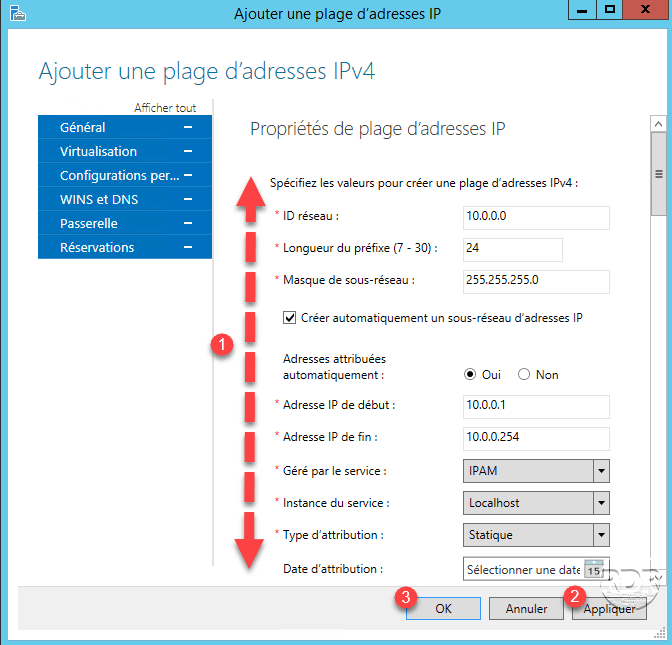
Enter the IP range information 1 then click on Apply 2 and OK 3 .
The range is added 1 .
Find an available IP address.
Right click on the range 1 and click on Search and assign an available IP address … 2 .
IP 10.0.0.2 is not available 1 , click Find Next 2 to find an address that does not answer the ping.
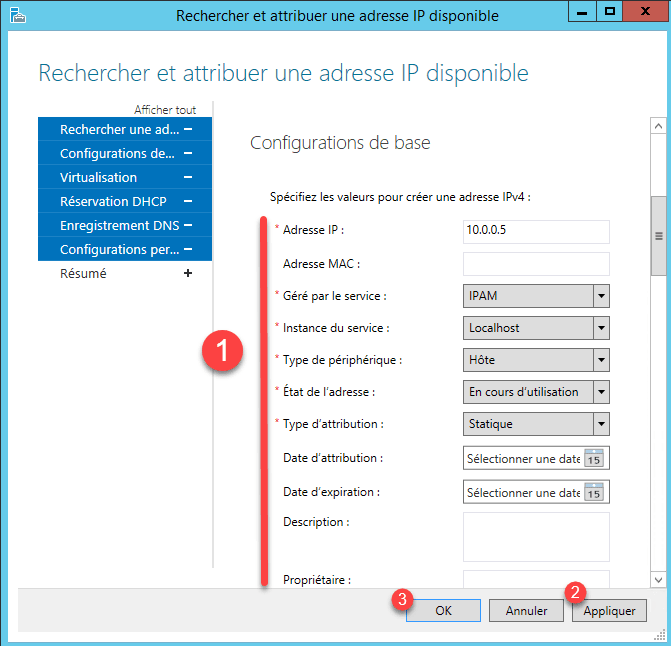
IP 10.0.0.5 is free 1 , move down the elevator to display Basic Configurations 2 .
Enter the configuration information 1 , then click Apply 2 and OK 3 .
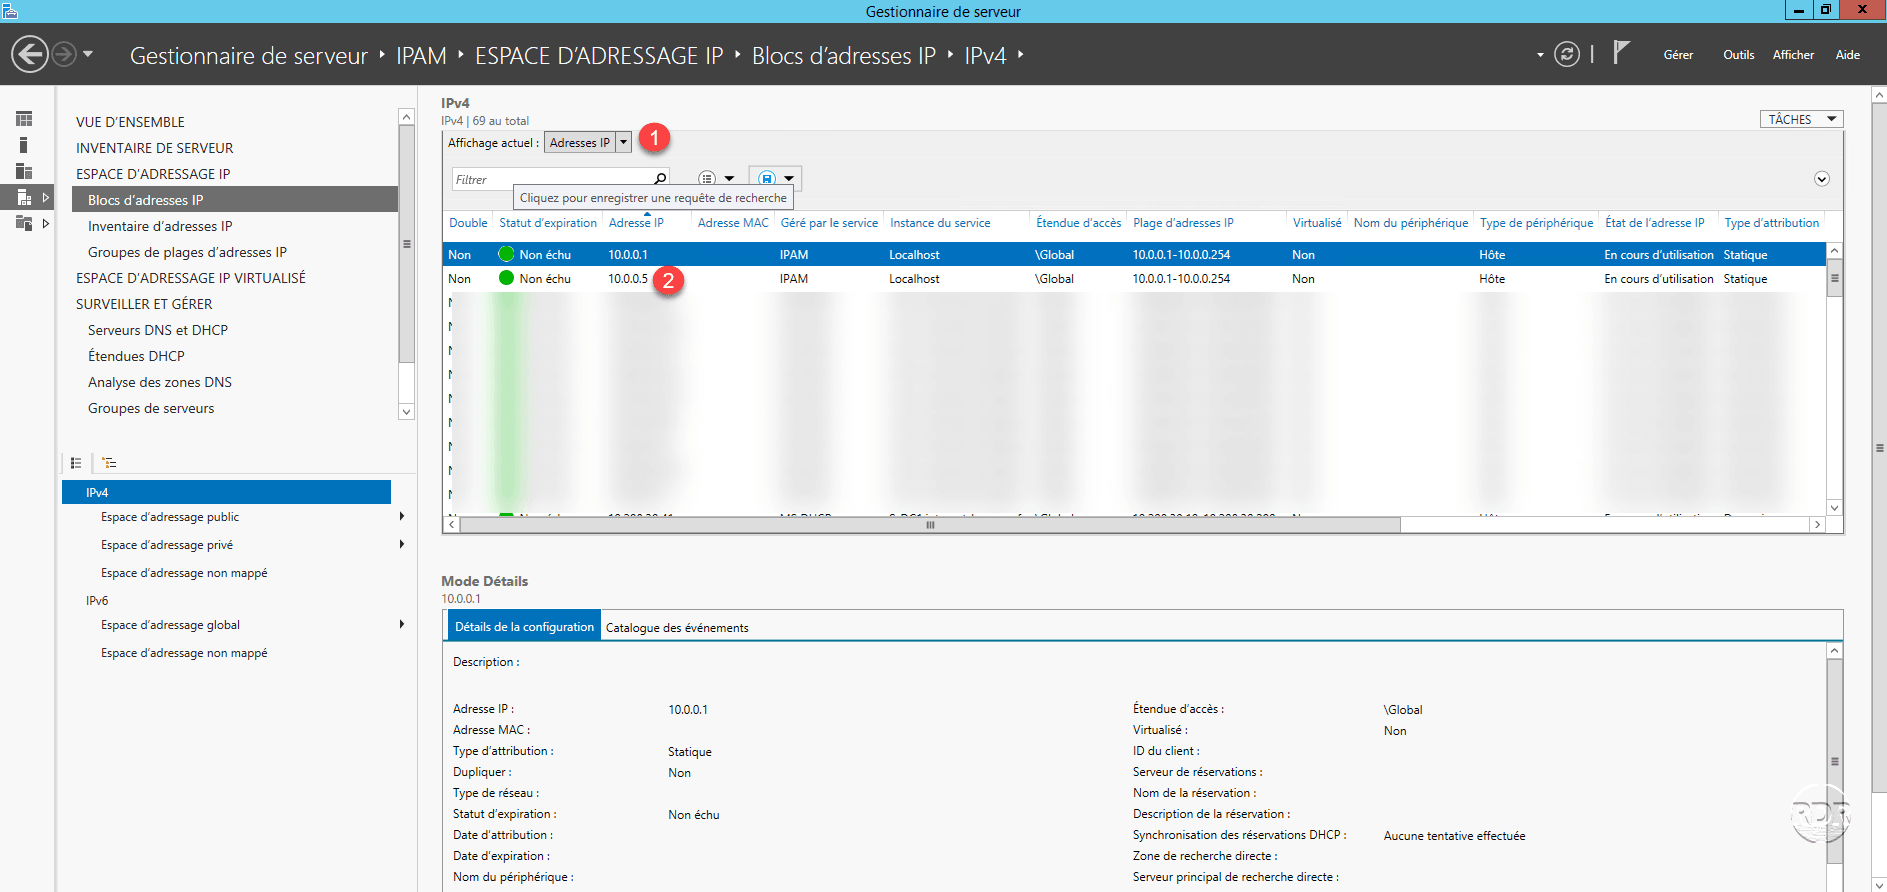
Show IP Addresses 1 by changing the filter, we find the address 10.0.0.5 1 .
Conclusion
How any database, the use of IPAM for static address ranges requires a great rigor of all people who can assign IP.
The functionality does not have a web interface, the daily use of the tool can be heavy for the IT department, it can be interesting to link with the tool with GLPI.
If you have several DHCP servers, the use of IPAM makes it possible to centralize the administration which is very practical in everyday life.
ps: there is another function not seen in this article as the management of DNS servers, access to the log of all DHCP servers …