


In this article, we will see how to set up Storage Spaces Direct under two VMs.
S2D is the solution hyperconverged of Microcrost arrival with Windows Server 2016.
I also took advantage of this lab to use Admin Center.
Prerequisites
- Have a domain controller
- Two servers (VM) under Windows 2016 Datacenter with 4 disks dedicated to S2D.
Due to the use of a cluster with two nodes, the storage pool will be mirrored.
With two servers, you can only create two-way mirrored volumes (compare with distributed RAID-1).
The 2 nodes of the cluster were installed without GUI.
Installing roles
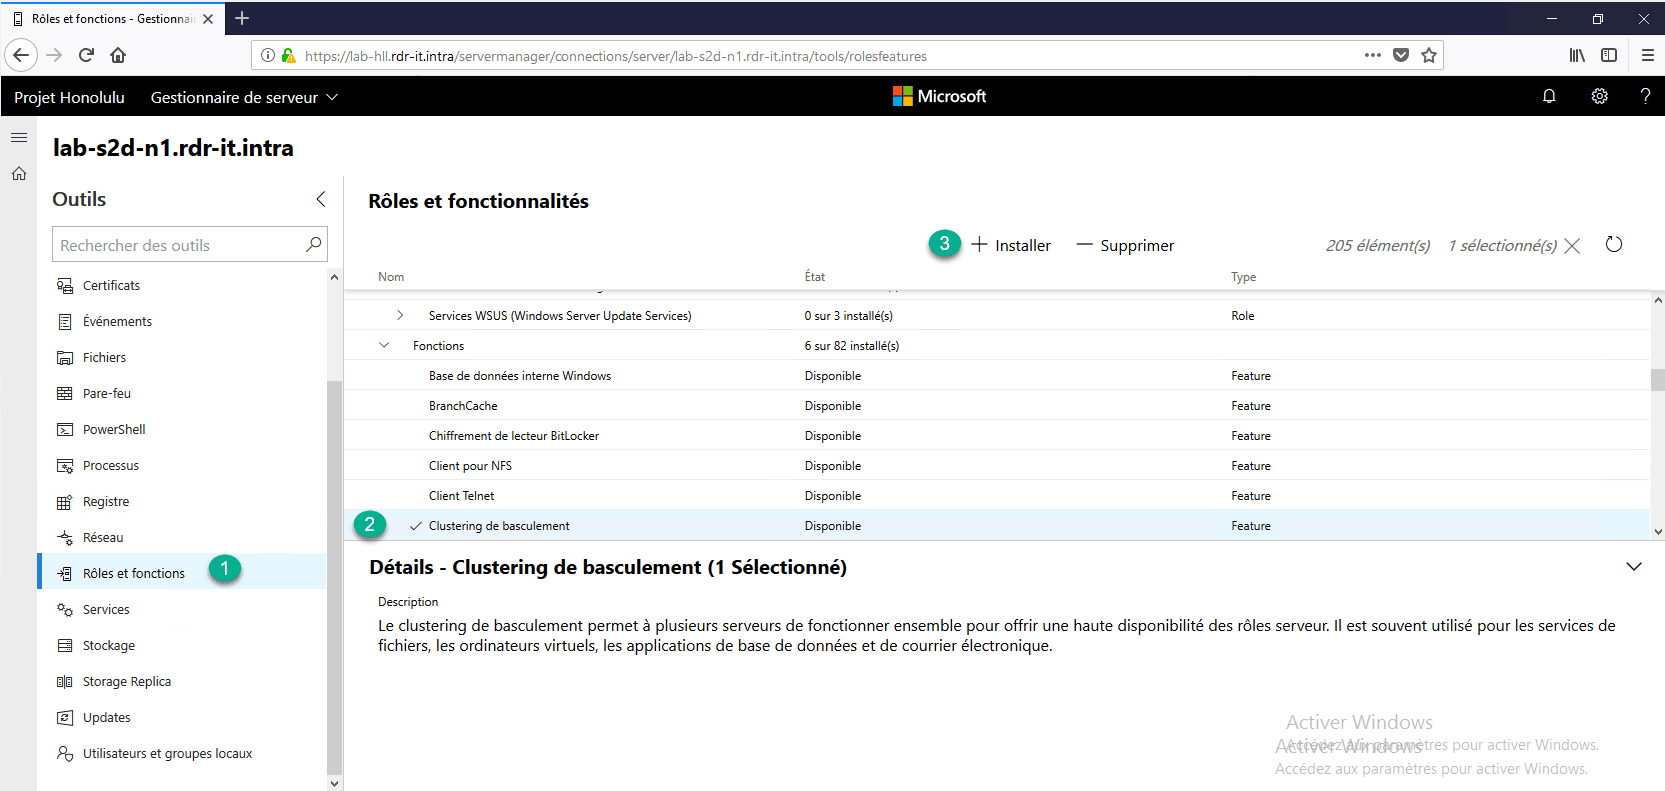
From the Admin Center interface, install the clustering feature. From the navigation menu, go to Roles and Features 1, check Failover Clustering 2 and click Install 3.
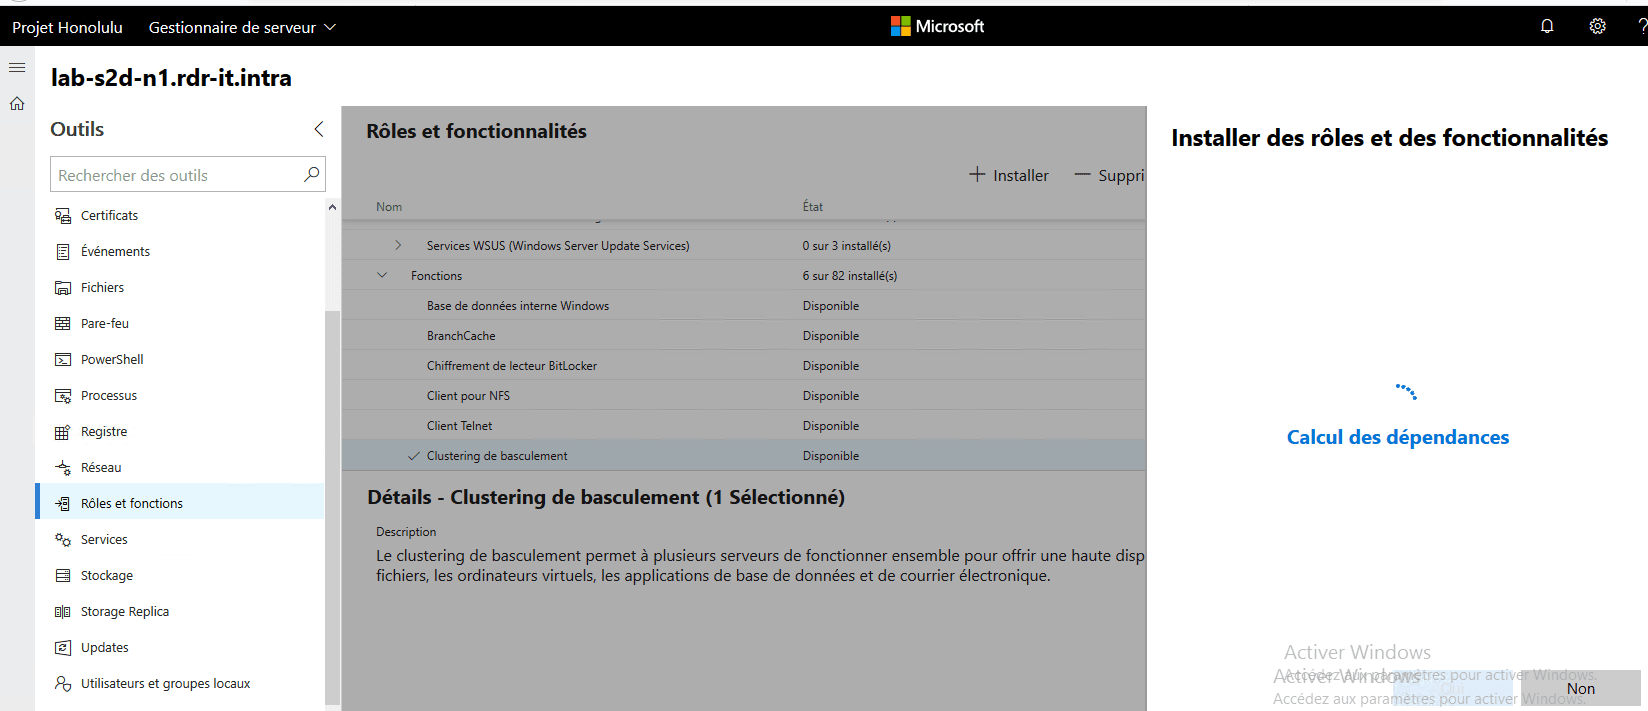
Search for dependencies
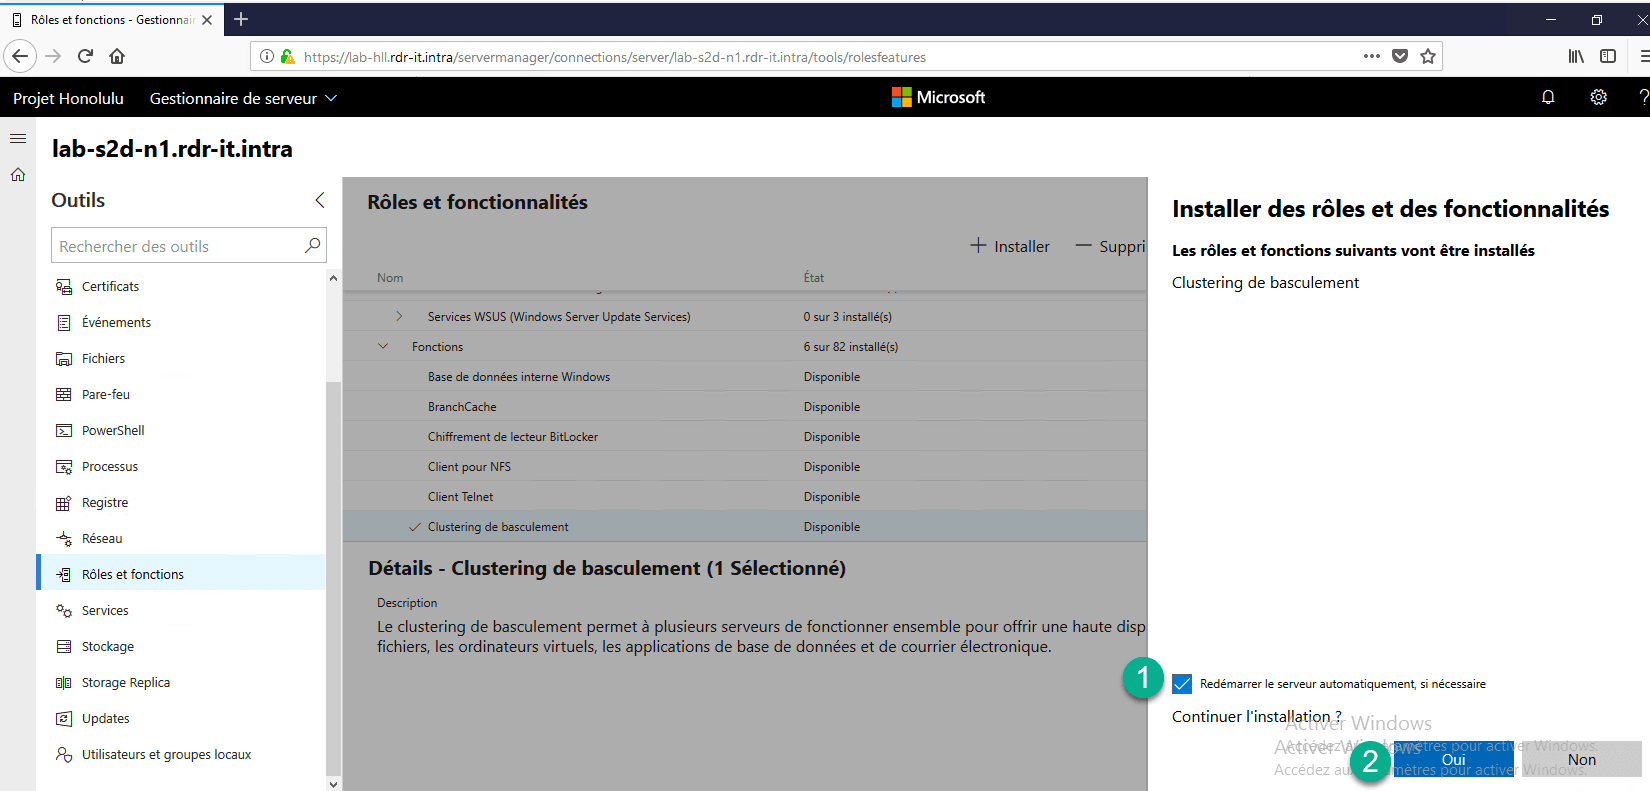
Check box 1 to allow automatic restart and click Yes 2 to start the installation.
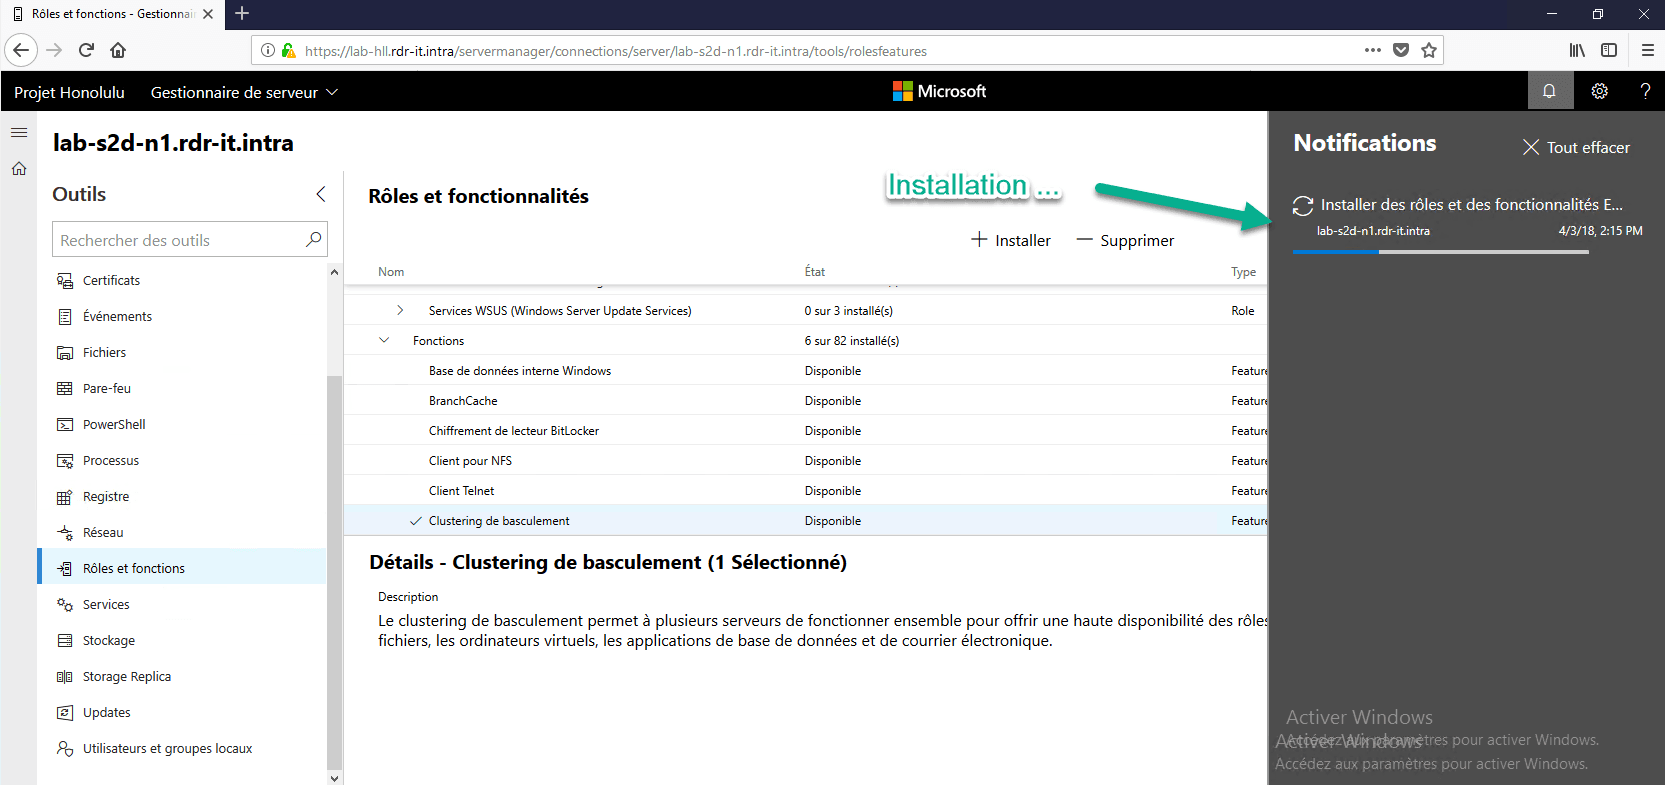
You can follow the status of the installation in the notification area.
You must also install the file server role. To do this, type the following command in PowerShell on the server.
Install-WindowsFeature -Name File-ServicesRepeat steps 1 to 5 on the second server.
Clustering
Now that both are ready, you have to create the cluster.
The powershell commands that follow are to be executed by connecting to one of the cluster nodes.
The commands will have to adapt according to your environment (name of the servers, ip …).
For ease of management, you can add the Clustering Management Console to your domain controller.
Clustering test
Test-Cluster –Node LAB-S2D-N1,LAB-S2D-N2 –Include “Storage Spaces Direct”

This command will generate a report on the validation of the nodes.

Creating the cluster
New-Cluster -Name LAB-S2D-CLUSTER -Node LAB-S2D-N1,LAB-S2D-N2 -NoStorage -StaticAddress 172.16.0.120

Check the creation of your cluster with the following command:
Get-Cluster

Enabling S2D on Cluster.
Enable-ClusterS2D


Confirm cluster creation


The cluster is now ready.

Configuration
To facilitate cluster administration, you can install the clusteting management tools on a server.
Cluster overview
Pools of disks: One finds the disk pool 1 to create during the clustering which gathers all the available disks 2 on the nodes of the cluster.

Physical disks that make up the s2d pool.

Enclosure 1: The servers 2 that make up the cluster are considered disk enclosures.

Creating a volume
Graphic mode
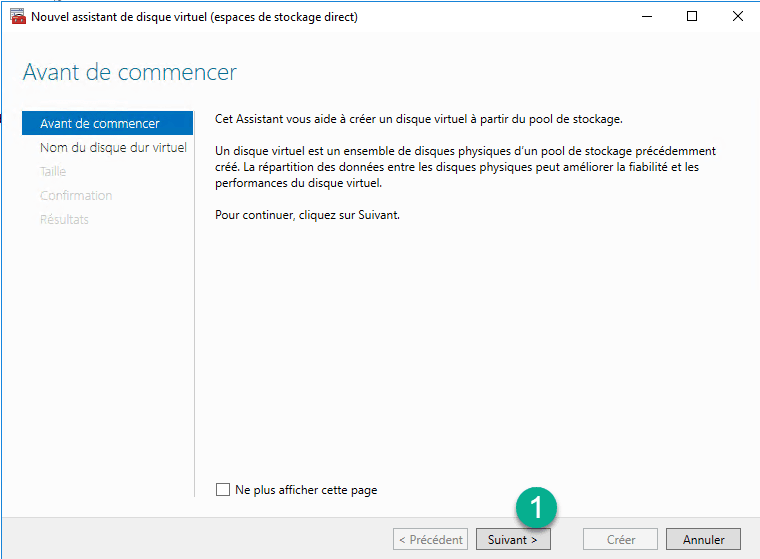
Creating a volume in graphical mode requires first creating a virtual disk and then creating the volume.
From the cluster management interface click New Virtual Disk 1, select the pool 2 and click OK 3.

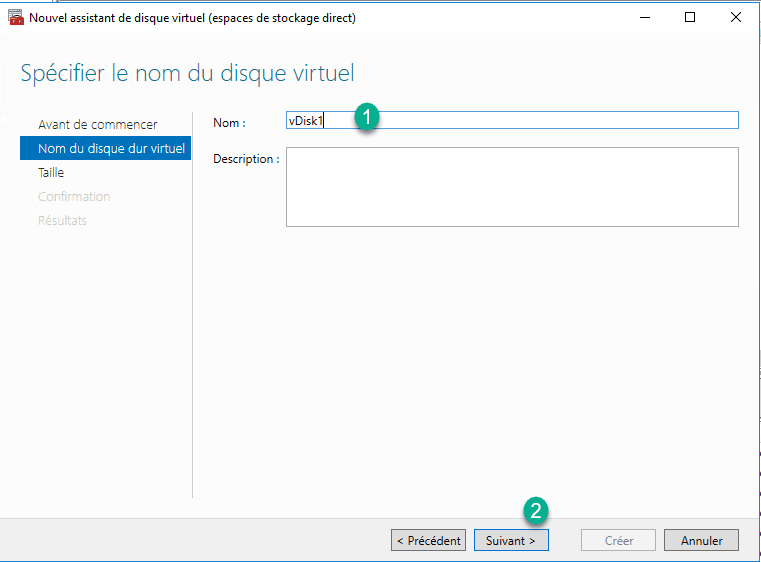
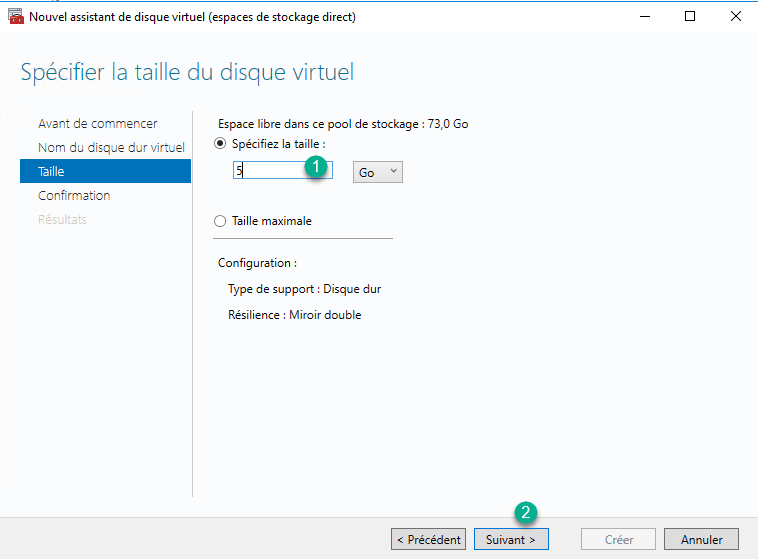
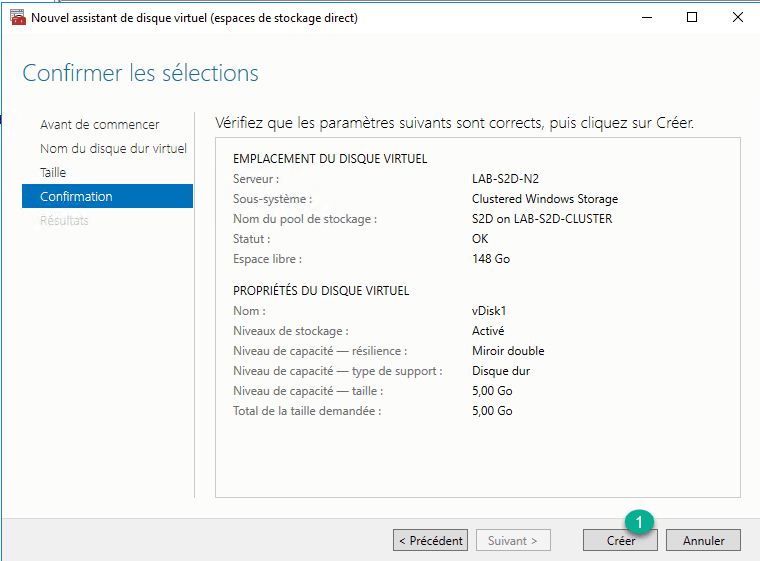
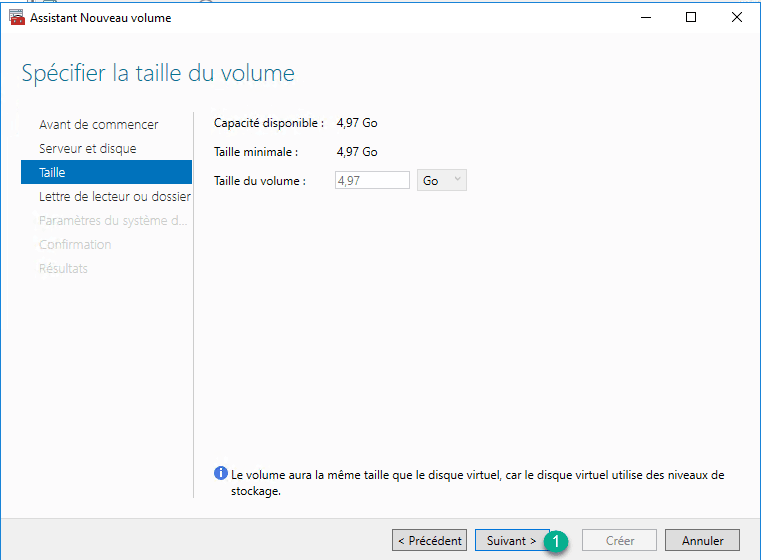
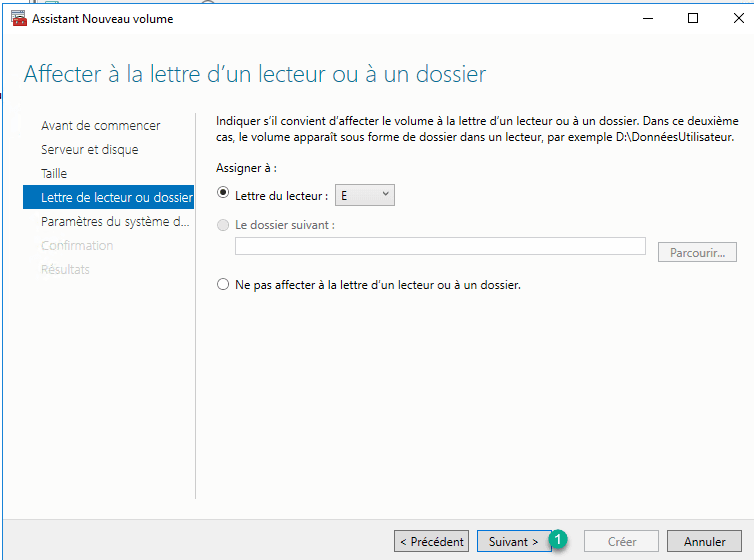
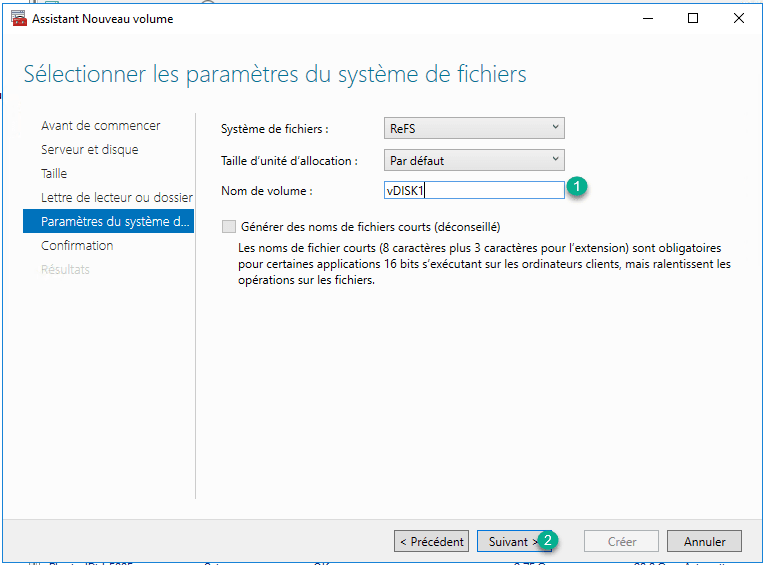
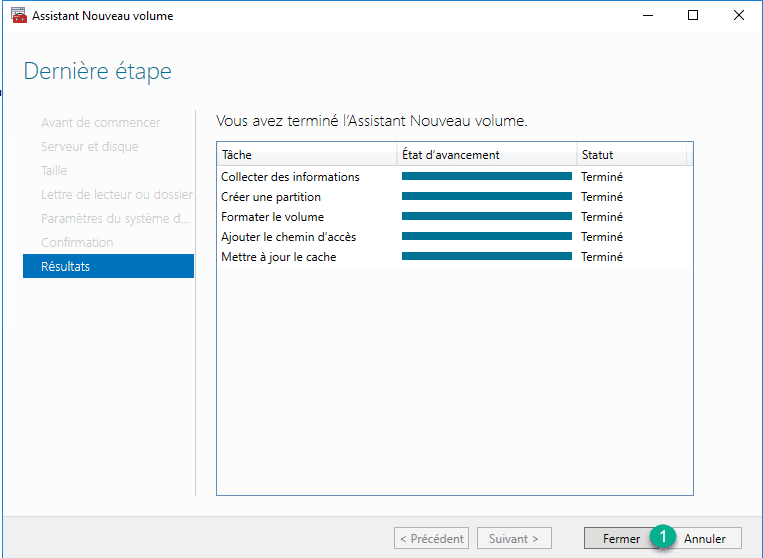
Create the virtual disk (the captures present the steps for creating the virtual disk).
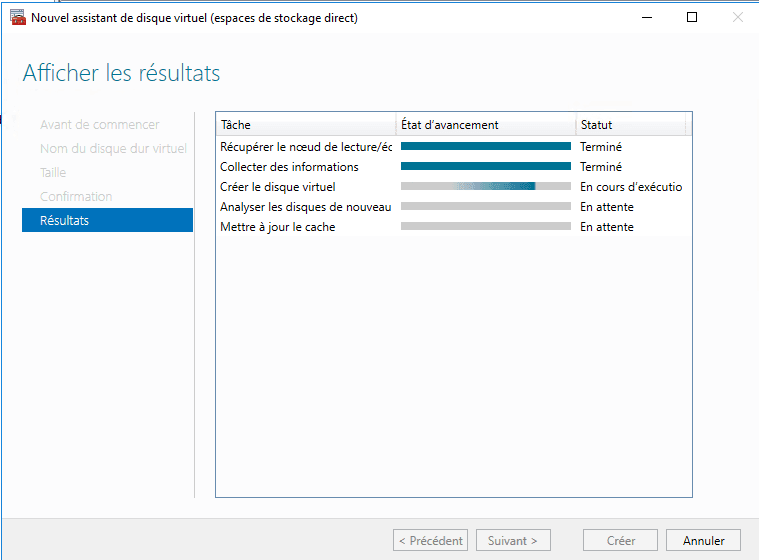
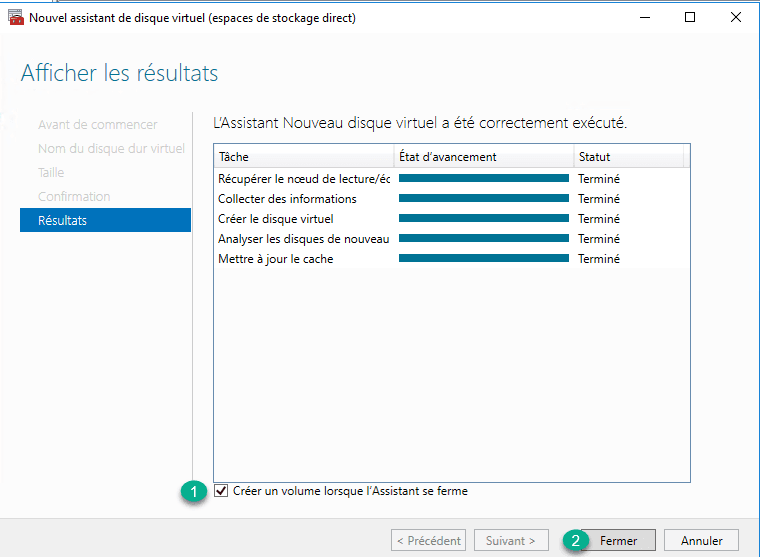
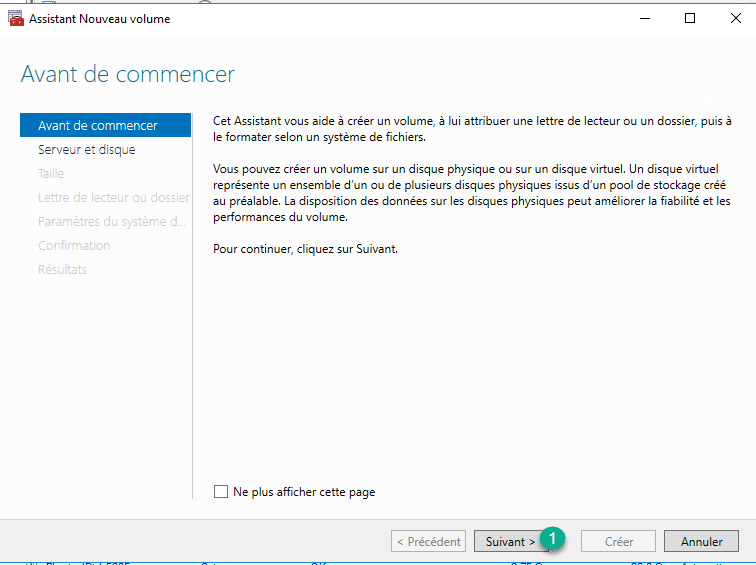
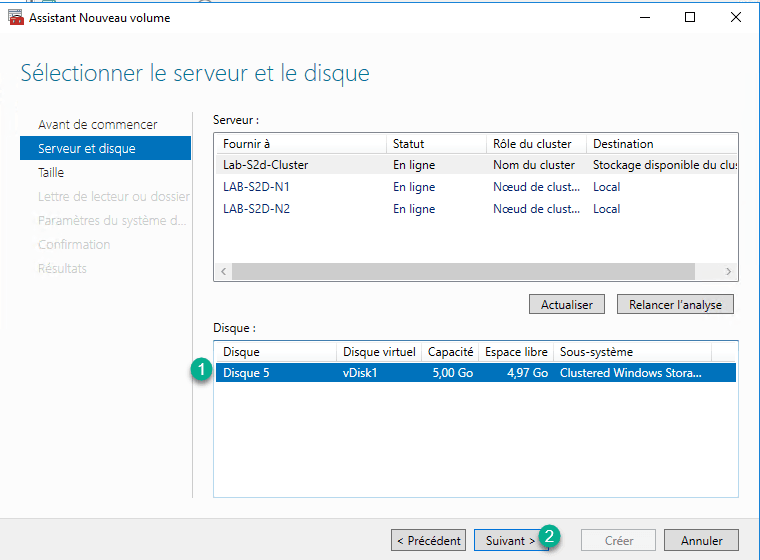
Creation of the volume, how for the creation of the virtual disk the catches present the creation of the volume.

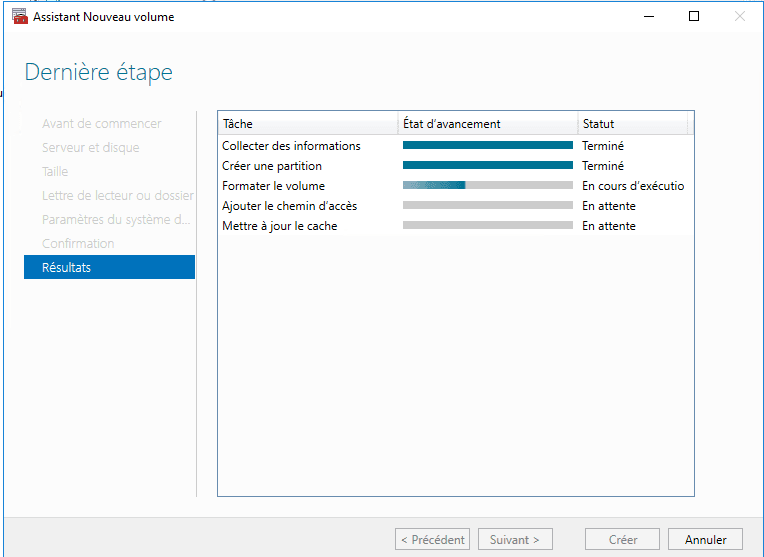
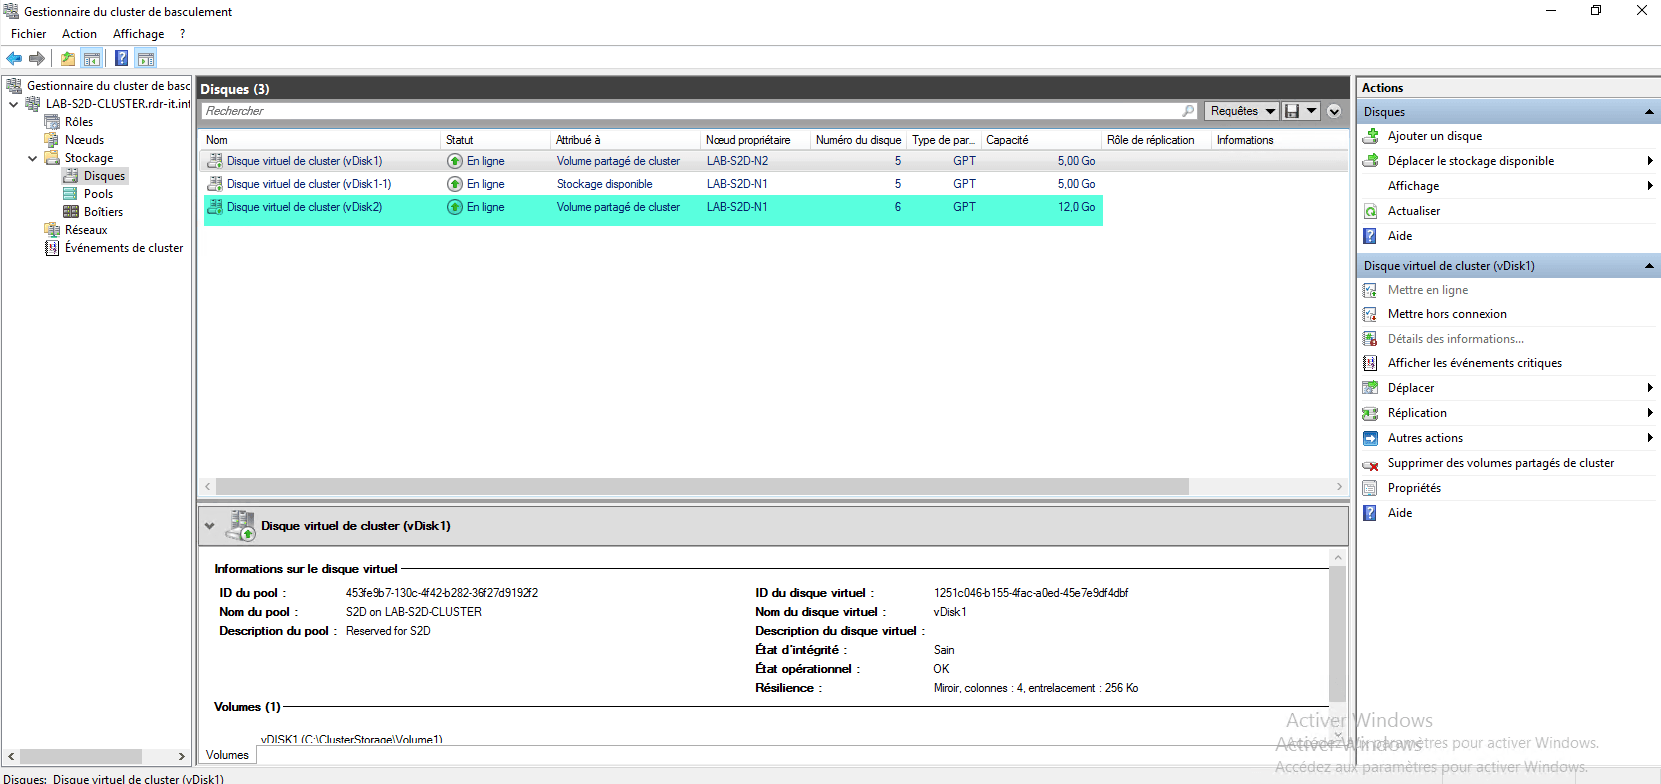
The volume is visible in the cluster disk list.
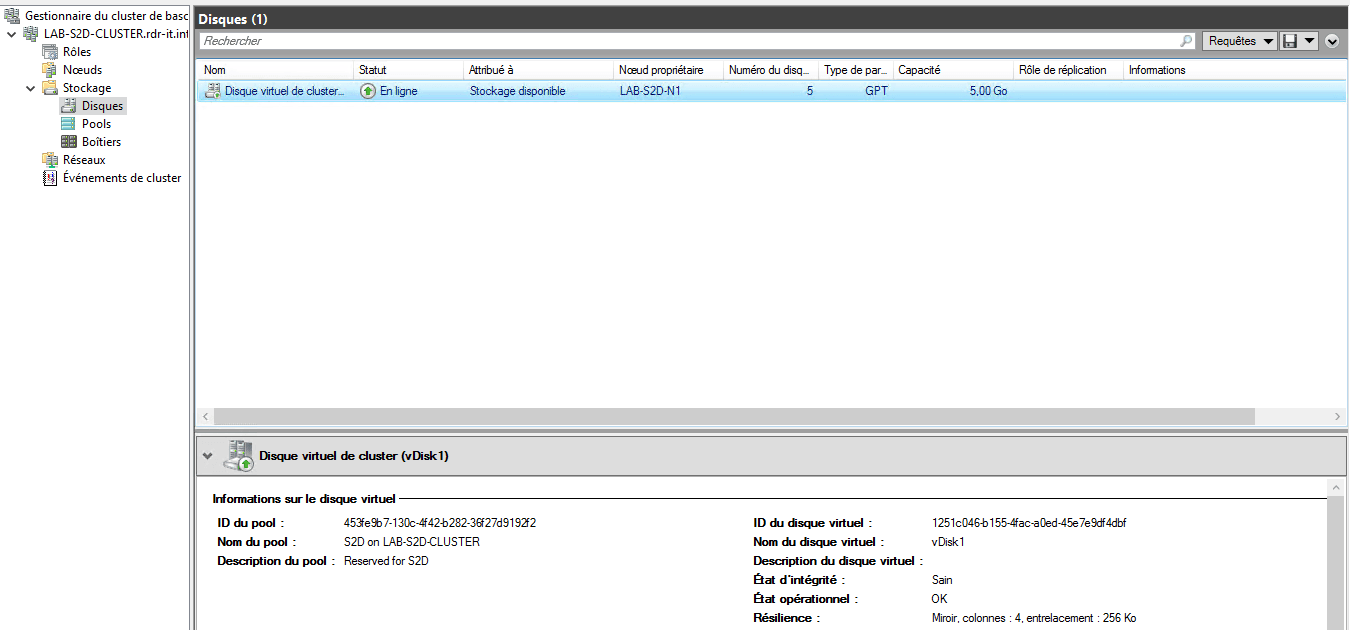
Right-click on the disk to add it to the cluster.

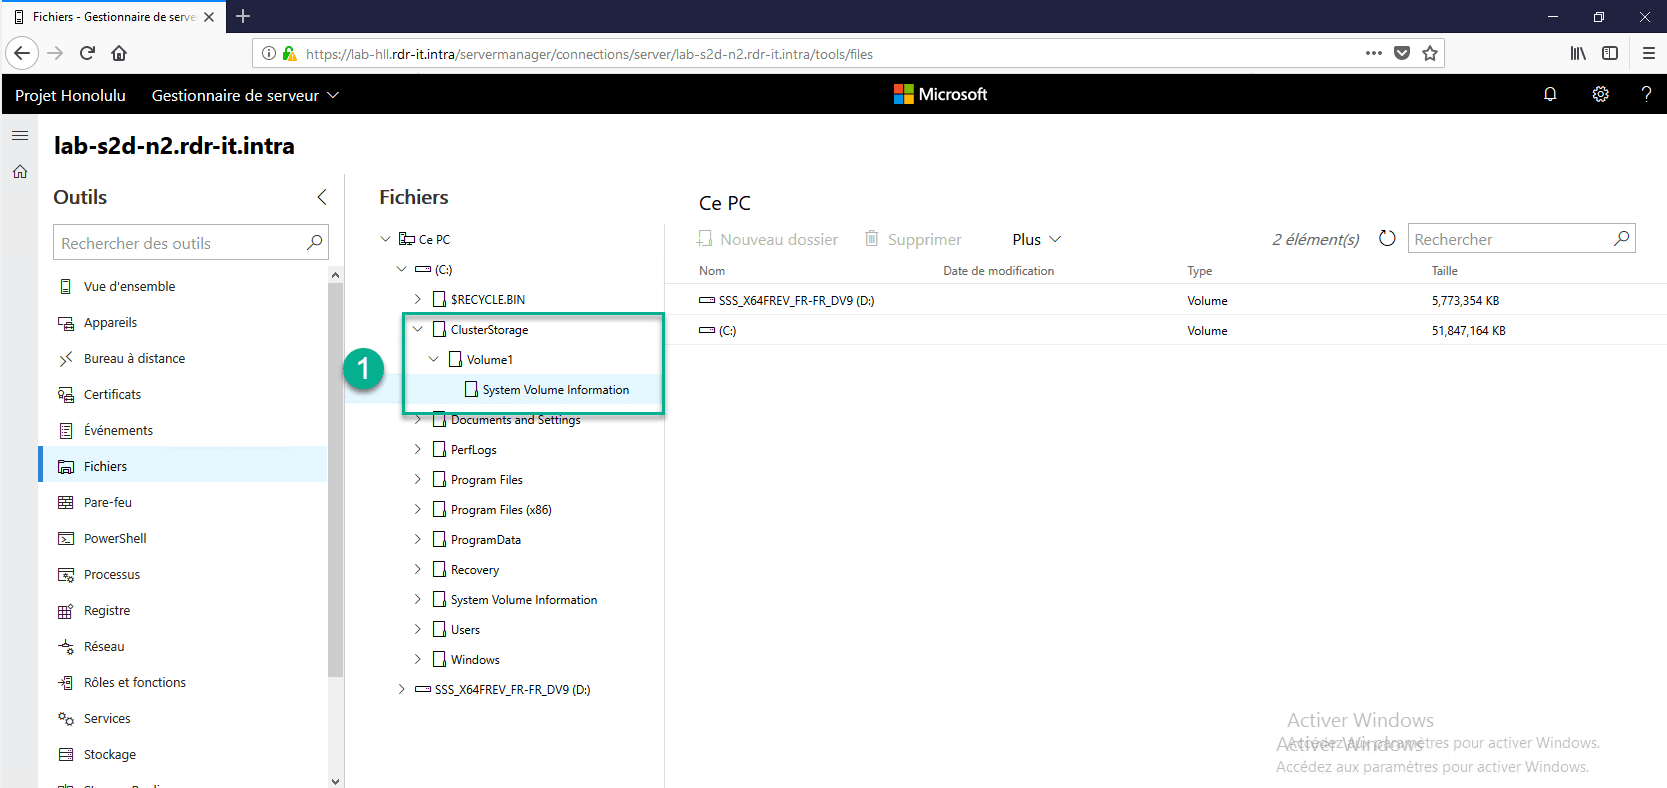
Return to Admin Center in the Files menu, the volume should be visible.
PowerShell
Enter the following command (to be adapted according to your configuration).
New-Volume -StoragePoolFriendlyName “S2D*” -FriendlyName vDisk2 -FileSystem CSVFS_ReFS -Sizes 10GB –CimSession LAB-S2D-CLUSTER
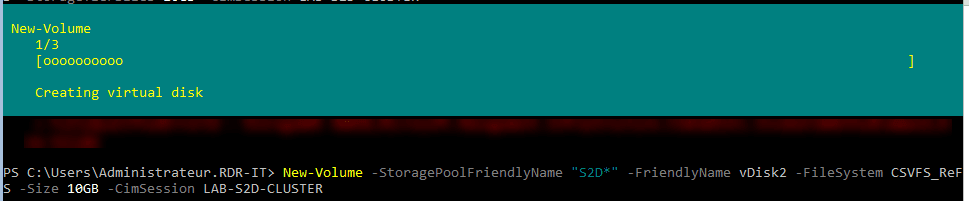
The volume is created.

The volume is also visible from the GUI. It is also directly scaled to the cluster.
Complement to help you understand or set up an S2D cluster.