In this tutorial, I will explain how to add the X-Forwarded-For field in the IIS logs, in order to retrieve the real IP address of a visitor when a reverse proxy is upstream of the IIS server.
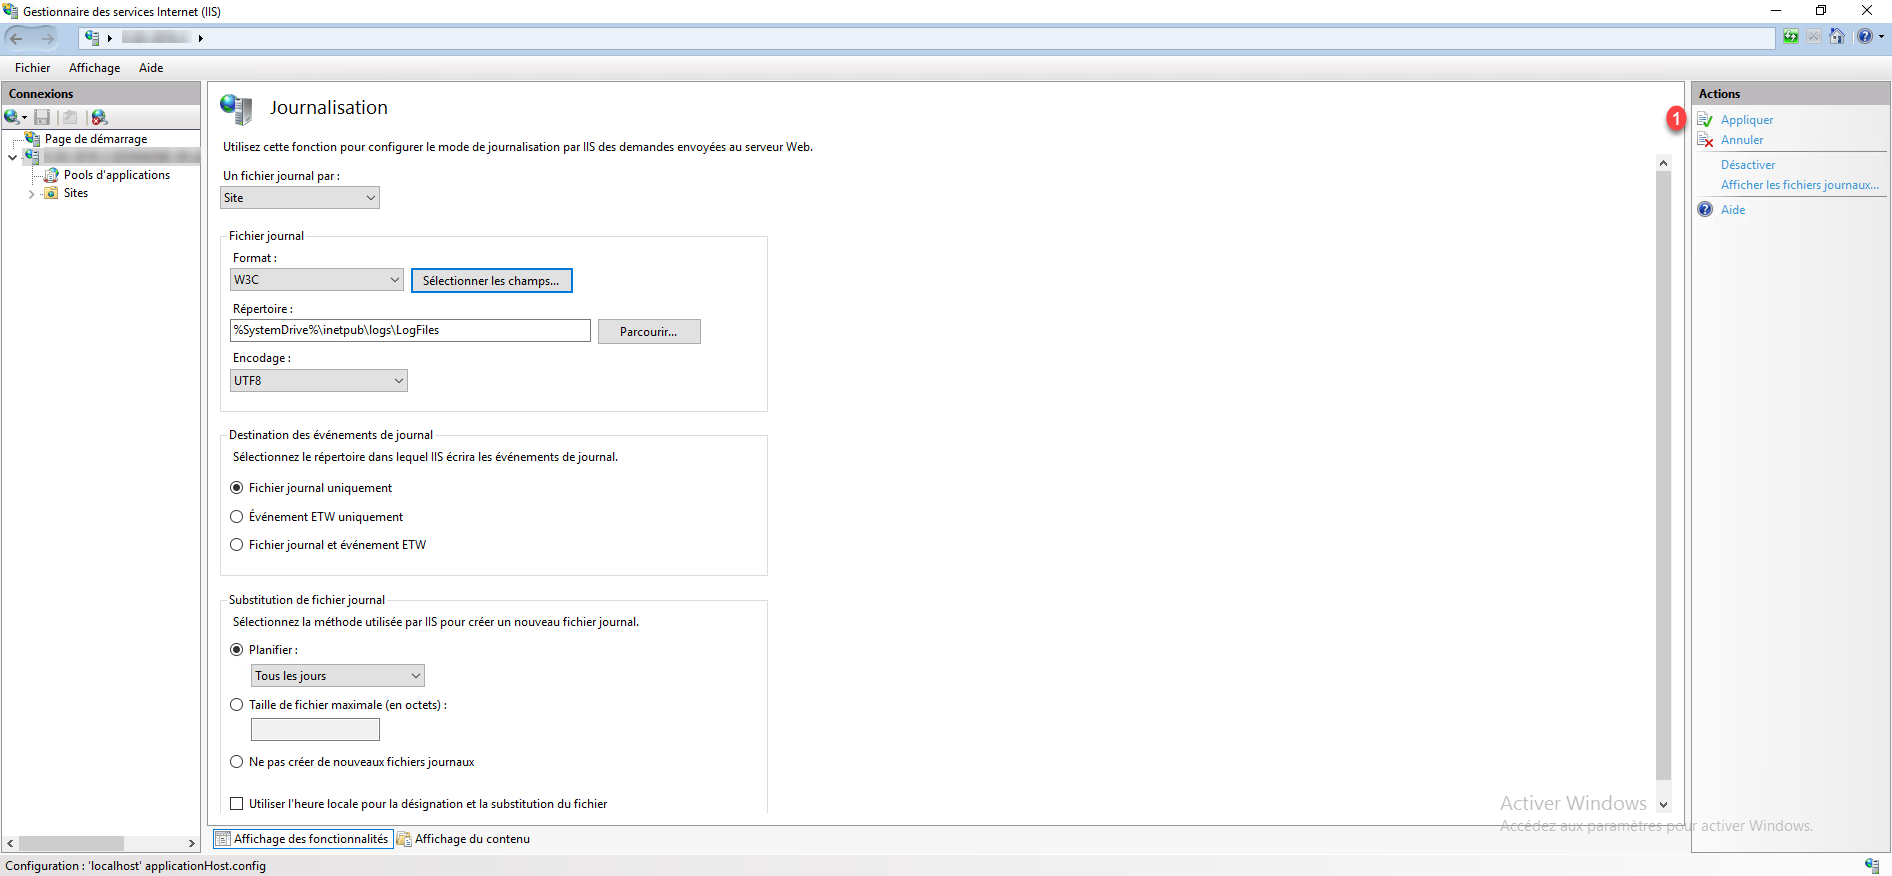
On the IIS Web server, open the Internet Services Management console.
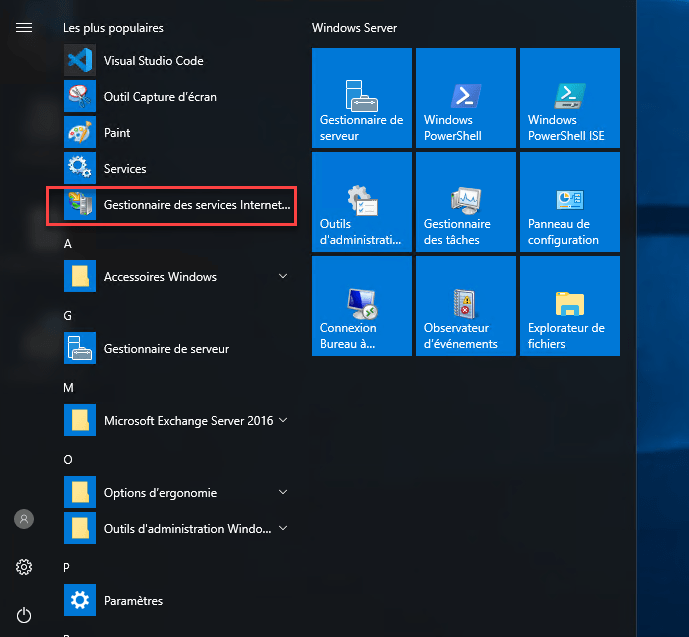
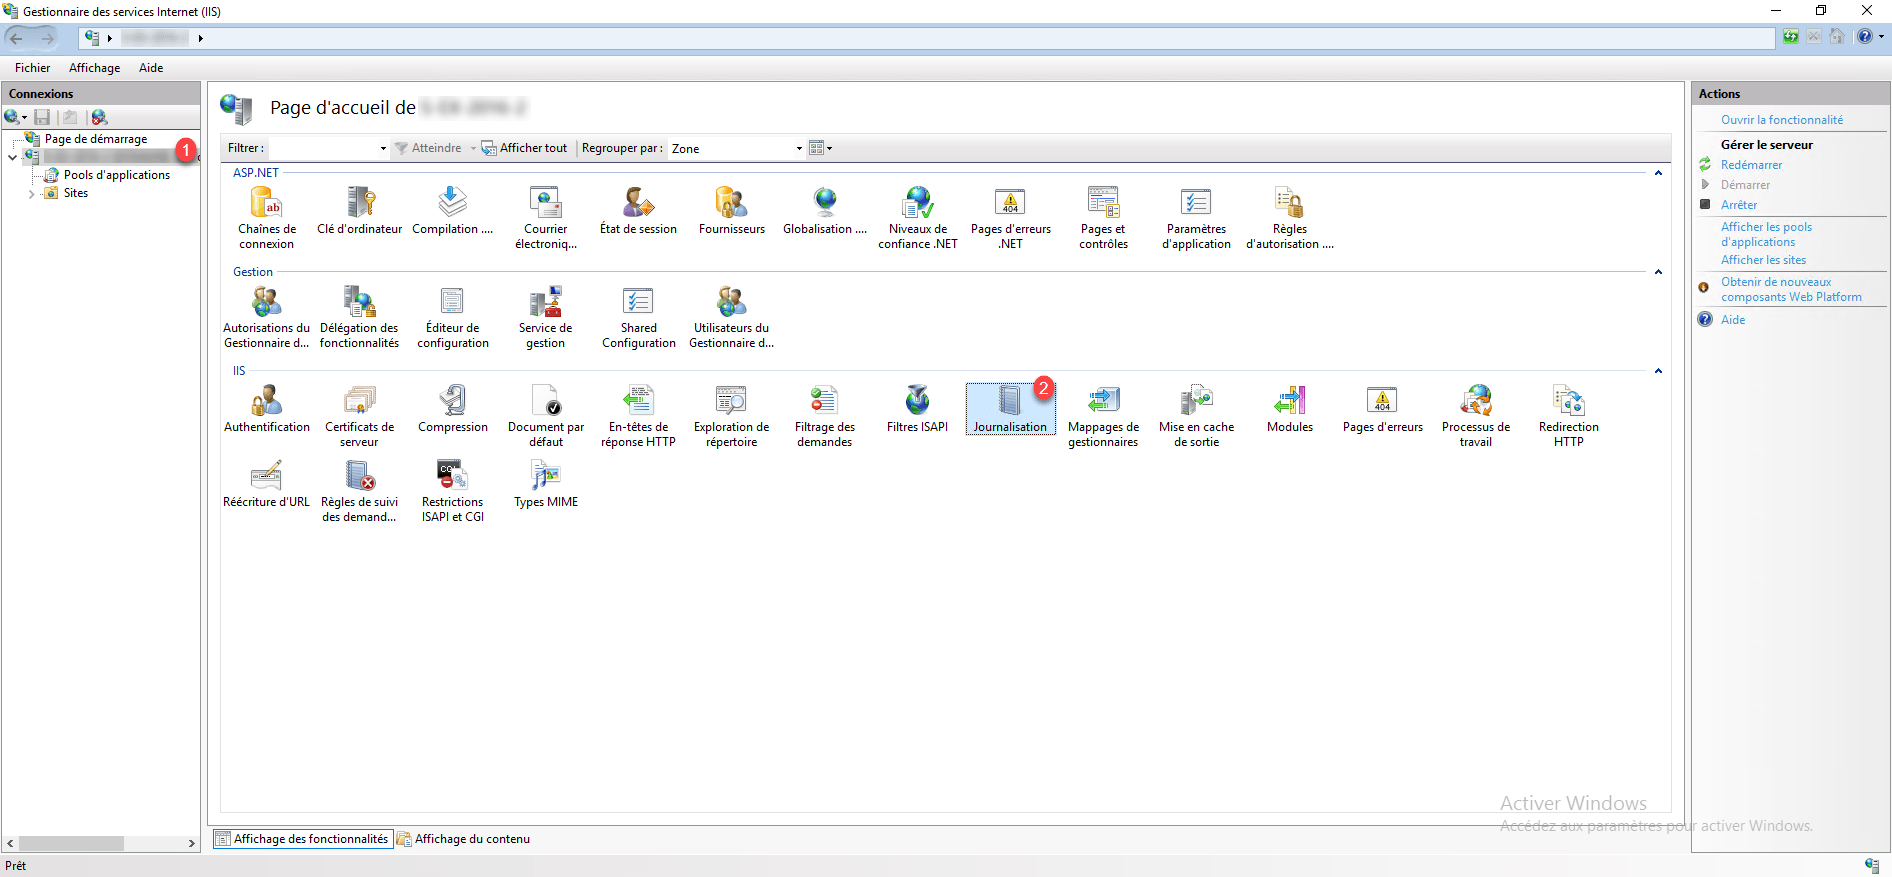
Select server 1 and click Logging 2.
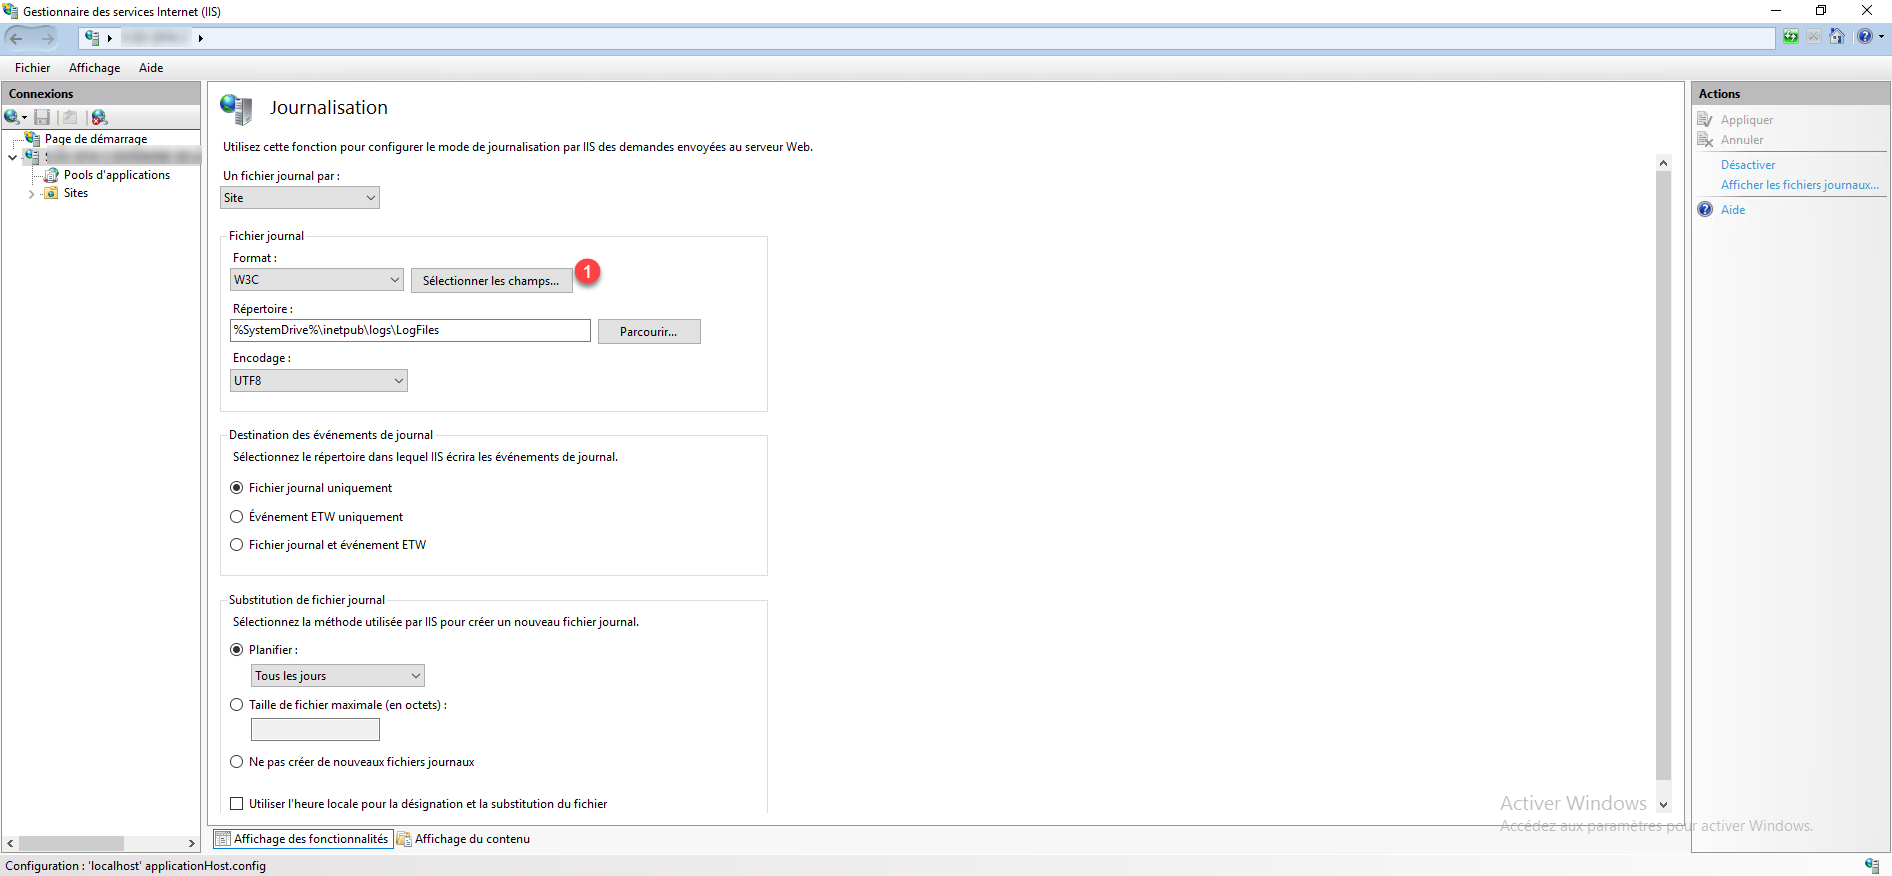
On the Logging configuration page, click on Select fields 1.
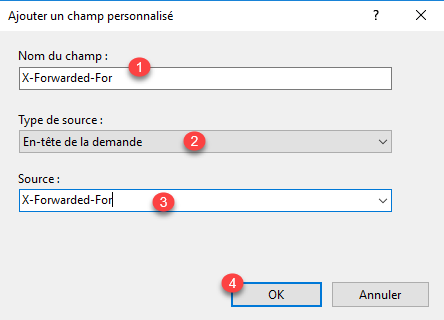
A new window opens with the list of available fields, the X-Forwarded-For field is not present by default, so we will add it, click on the Add a field 1 button.
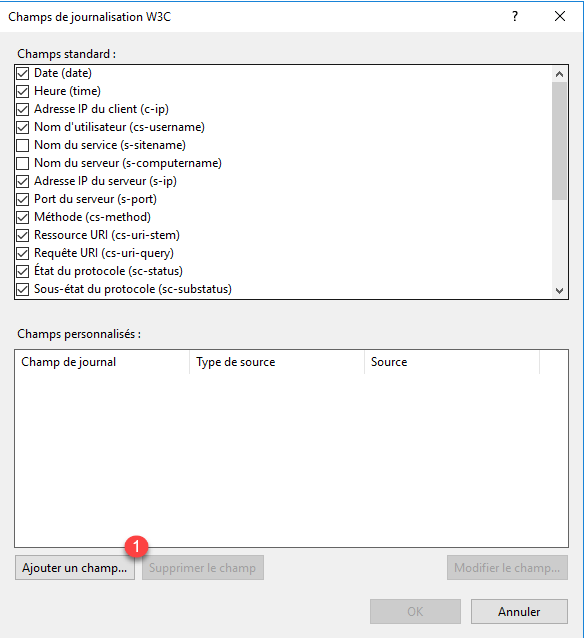
Field Name 1, enter X-Forwarded-For, Source Type 2, select Request Header and in Source 3 enter X-Forwarded-For again. Add the field by clicking on the OK button 4.
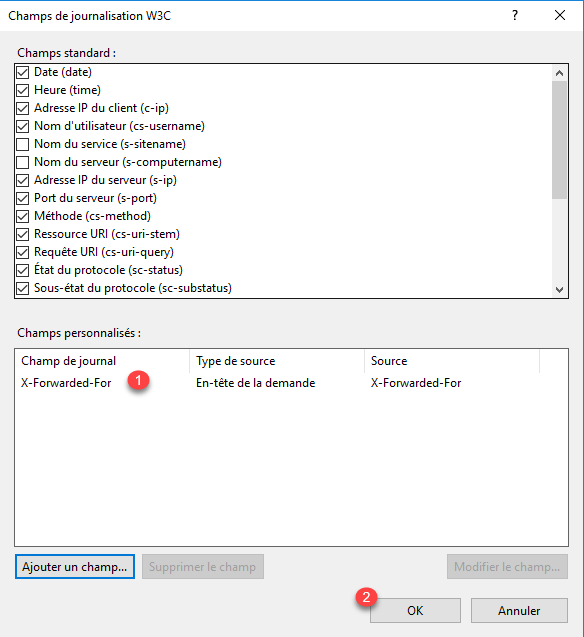
The field 1 is added in Custom Fields. Click on OK 2 to validate and close the window.
Click on Apply 1 to take the modifications at the IIS level.
From now on, if the X-Forwarded-For field is transmitted to the IIS server, the ip it contains will be recorded in the logs.
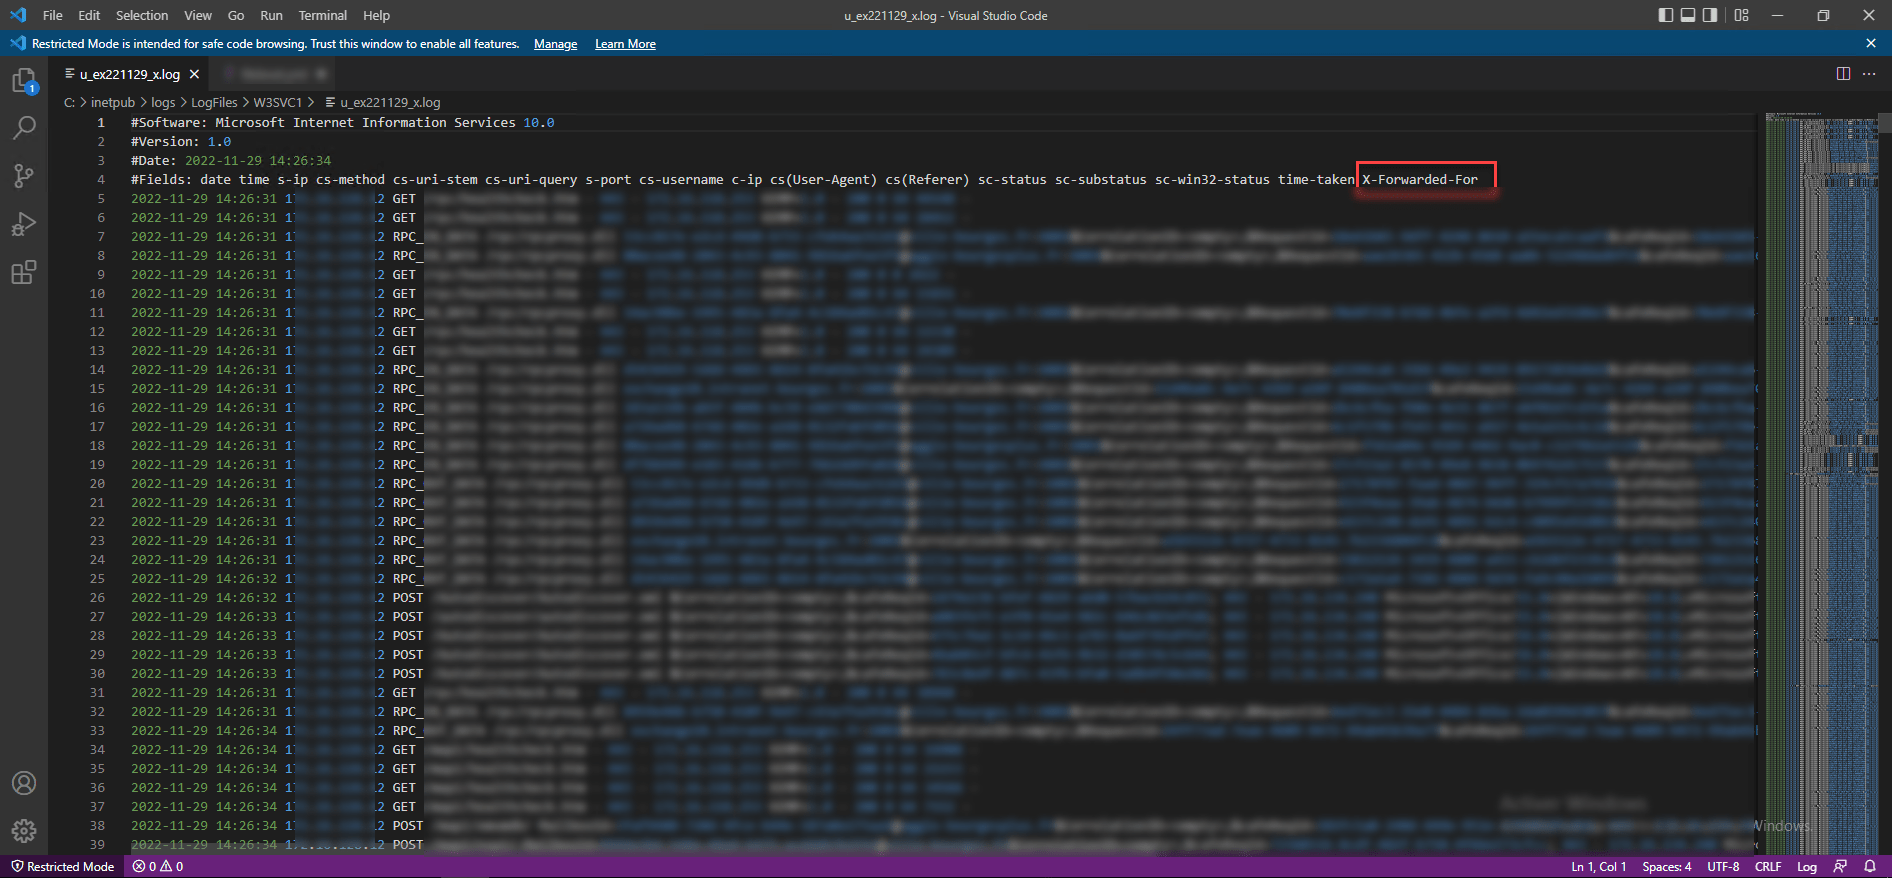
To verify this, go to the location of the logs, by default C:\inetpub\logs\LogFiles\W3SVCX and open the most recent file in the editor.
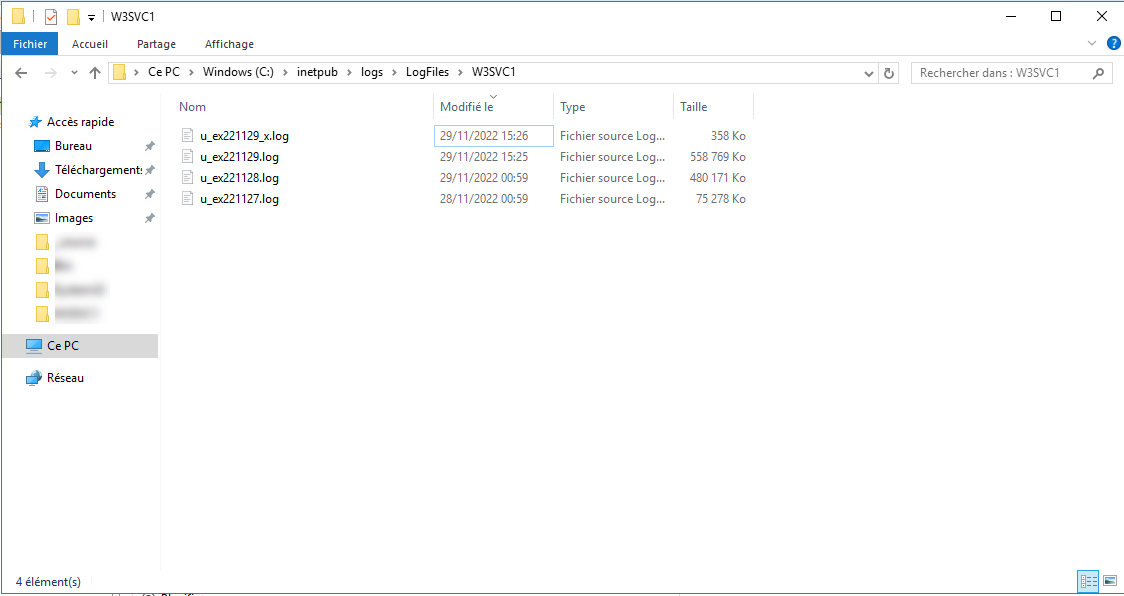
As can be seen from the capture, I have a second file dated 29 (_x) that was created because the logging configuration was changed.
As a reminder, IIS writes the logs at 1 minute intervals, so you have to wait a bit to get content.
On the capture below, we can see that the X-Forwarded-For field has been added to the definition of the logs.
If we look at the end of the lines, we find the real IP address of the visit in addition to the IP address of the Proxy server (c-ip).
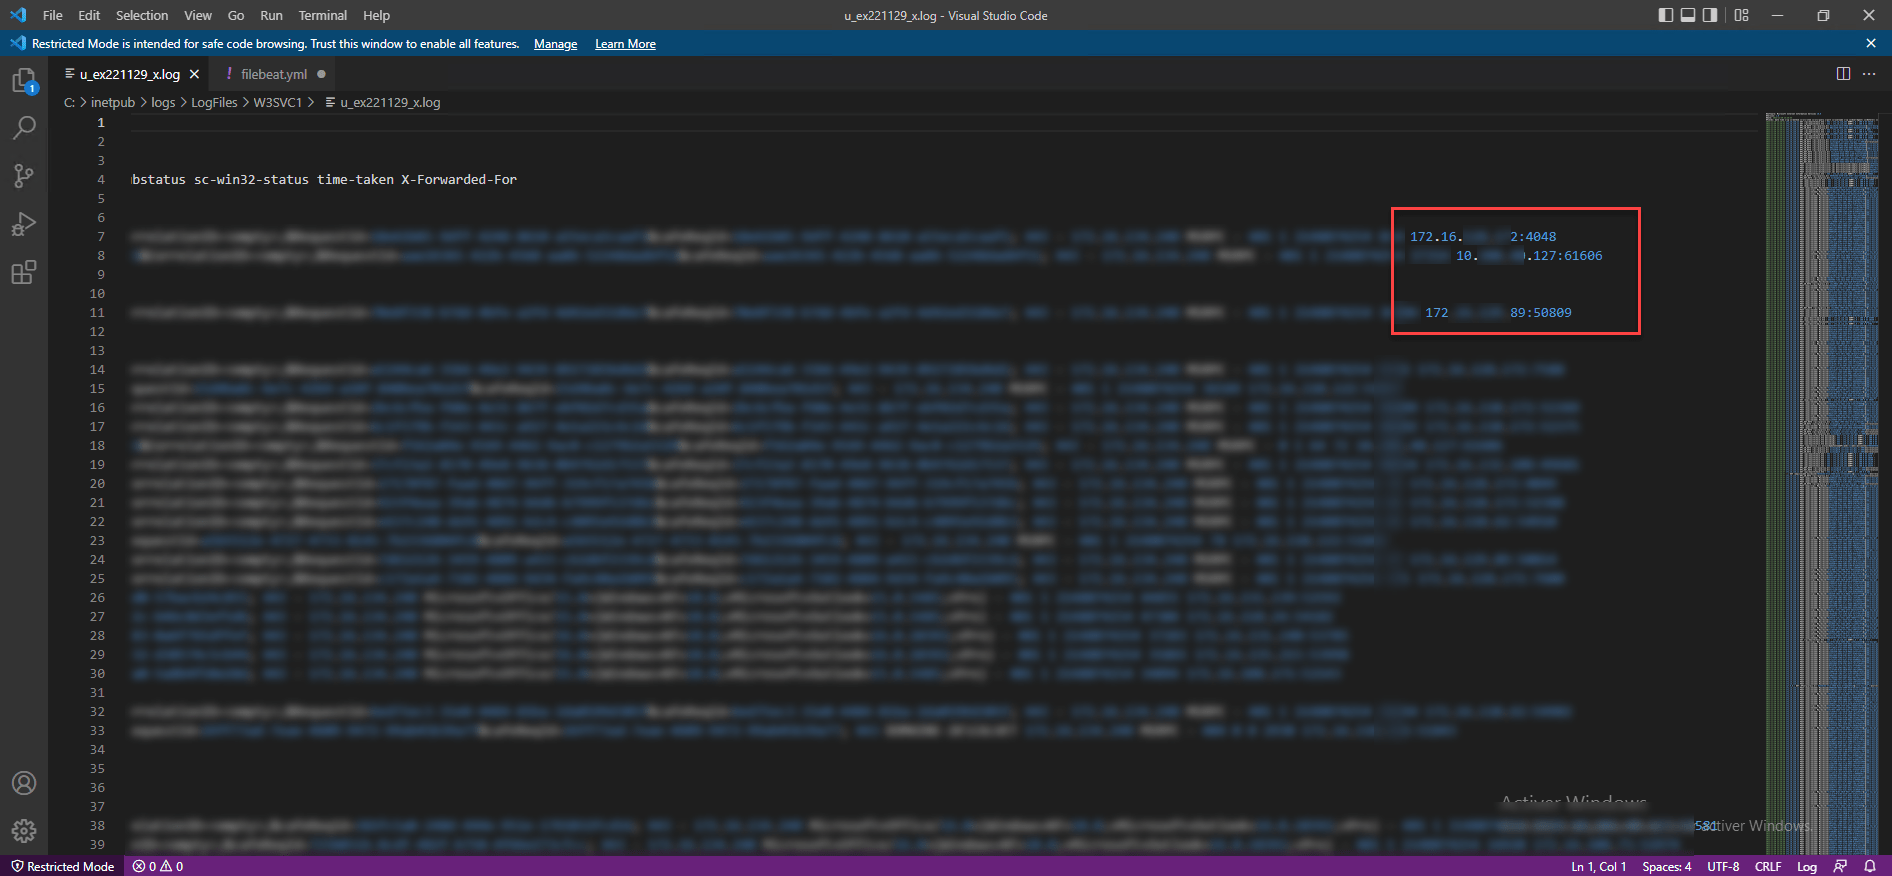
The reverse proxy here is ARR and we can see that we also have the source port in the logs.
You now know how to configure the IIS logs to have the real ip of a visitor when a reverse proxy is in front.