IIS: add a site based on the DNS name
This “How to” tutorial explains how to add a site to an IIS web server based on the DNS name.
Step 1
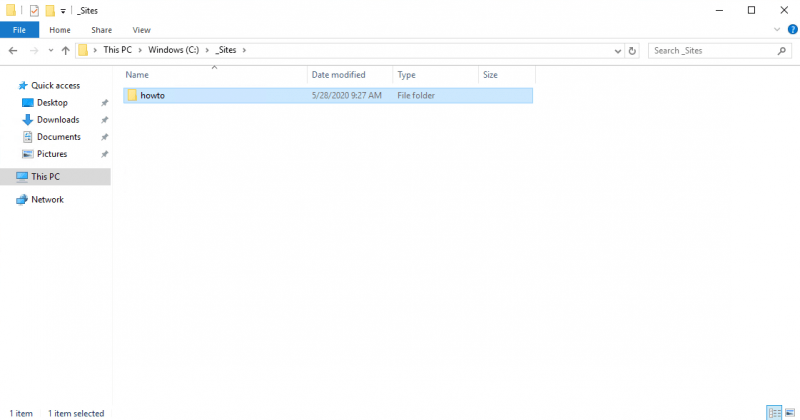
On the IIS server, create a folder that will contain the site files.
Open the IIS Administration Console – Internet Service Manager.

On the server, open the Internet Information Services (IIS) Manager console.
On the Sites folder, right click and click on Add Website
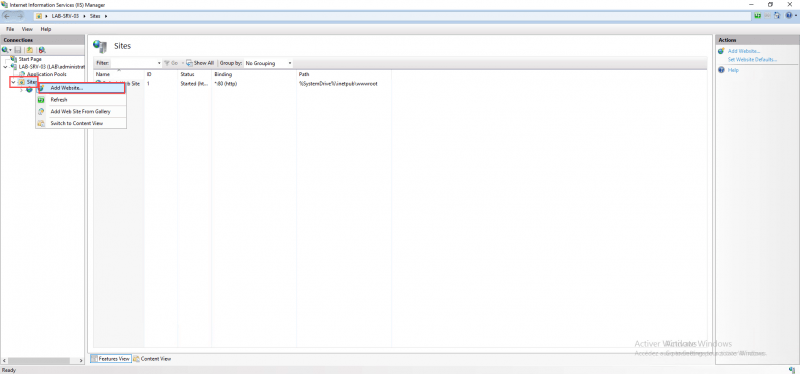
In the navigation panel, unfold the server, in the Sites folder, right click and click on Add website.
Configure website settings.
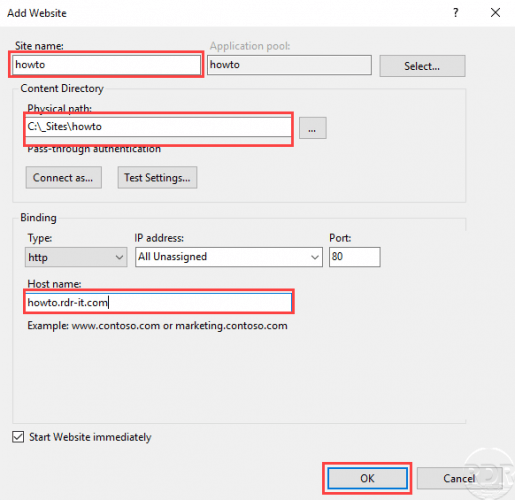
Enter the name of the site, the physical path (folder created at the start), indicate the DNS name (site url) and click OK to create the site.
The site is created
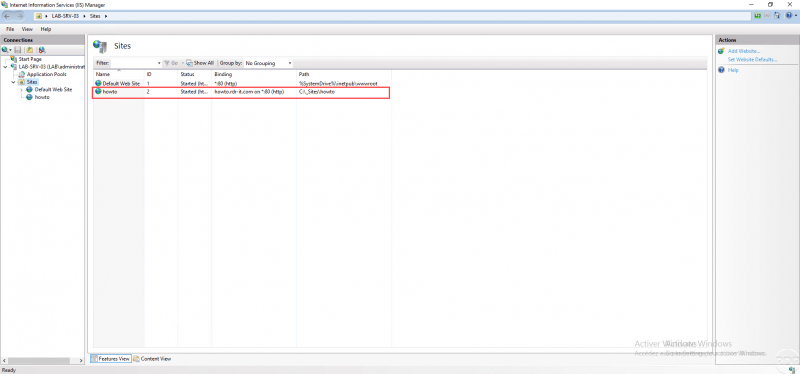
The site is created, managed by the IIS console and accessible by its url on port 80 by default.
In order for the site to be available, it is necessary to create a record on the DNS server which manages the domain name.