Introduction
Through this tutorial, we will see how to set up a Hyper-v cluster under Windows Server (2012R2 / 2016/2019) step by step.
Each step requires it, will take you on a tutorial to guide you in setting up a Hyper-V cluster.
Prerequisites
- Be in an Active Directory environment, ideally having a server-side domain controller that is not a member of the Hyper-V cluster.
- Have at least 2 identical servers (identical hardware configuration: cpu, ram, network card, bios …) under Windows 2012R2 / 2016/2019 members of the same domain.
- Have a storage type SAN (iSCSI / FC / SAS) and control its operation.
Since Windows Server 2016, it is possible to create a WorkGroup cluster without an Active Directory domain. This configuration is not recommended with the Hyper-V role because dynamic migration is not supported.
Preparation of the environment
On each server that will be in the cluster:
- Have the same version of bios and firmware of the different hardware components (RAID controller, network card, FC card …).
- Install the same version of Windows Server with the same level of update.
- Install the drivers of the different hardware components.
- Prepare at least two LUNs for the cluster
- Disk 1 to 10 GB for Quorum.
- Disk for storing computers to virtual.
- Prepare network configurations
- Management network
- Network live migration dedicated to the cluster
- Network of virtual machines
- Configure VLANs on assets if necessary.
Lien :
- Prepare the Quorum for the cluster. (page 1)
Installing roles
A Hyper-V cluster relies on several elements:
- The Hyper-V role that is the hypervisor for running virtual machines.
- The Failover Cluster feature that will enable high availability of the Hyper-V role.
- The MPIO feature that allows you to manage multi-way to storage.
The 3 elements can be installed simultaneously.
Links to the different tutorials:
- Hyper-V: installation on Windows Server 2012R2/2016/2019
- Installing the Failover Clustering feature (page 2)
- Installation of the MPIO if necessary according to the SAN (page 2).
Configuring roles and features
MPIO
On each server, it is necessary to configure the MPIO functionality to take into account multiple paths.
Before the configuration, present to each server the LUNs.
Link:
- MPIO configuration (page 3 et 4).
Hyper-V: network configuration
The network configuration is an important step in setting up the Hyper-V cluster.
There are two main types of configurations that are detailed after, so choose the one that suits you best.
Personally, I prefer the converged solution that offers more flexibility and less configuration on assets.
For failover to occur from one node to another in the cluster, the virtual switches must have the same name on each host in the cluster.
Since Windows Server 2016, it is possible to create a virtual switch with aggregate (SET) without the need to create a network adapter association in Windows.
Classic configuration
The classic mode is to dedicate one or more network cards to a dedicated function: management, live migration, cluster, virtual machines …
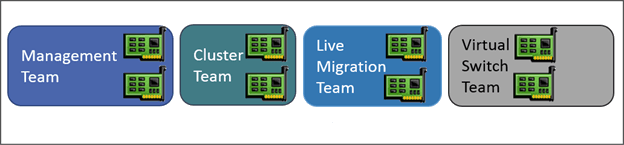
- Creating network card teamings (facultative)
- Creating Virtual Switches
- Set IP addresses for management cards and live migration.
Virtual configuration (converged team)
This mode consists of creating an aggregate with all network adapters provided for management, live migration, cluster, virtual machines and then creating virtual network adapters on the Hyper-V host for the functions.
For performance reasons, it is advisable if an iSCSI storage is configured for dedicated network cards.
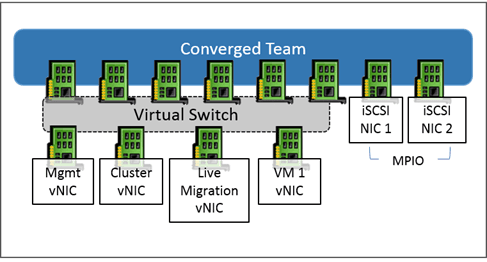
It is possible to use this solution with a single physical network adapter.
- Create a teaming with all network cards except iSCSI storage cards if necessary, if you want to create a virtual switch with SET aggregate, create the SET virtual switch with the option -AllowManagementOS $ true and go to the point 3.
- Create an external virtual switch by leaving the Allow operating system to share check box checked.
- Create virtual cards on Hyper-V hosts.
- Set IP addresses for management cards and Live Migration
Creating the failover cluster
Now that the environment is ready, it is possible to create the failover cluster to make high-availability virtual machines. After the creation of the cluster, you must configure the disk or disks dedicated to the storage of clustered virtual machines (CSVFS).
Link :
Configuring the update adapted to the cluster
This feature, introduced with Windows 2012 R2, makes it easy to install Windows updates on a cluster by taking care of role switching and node maintenance.
Link :
- Configuring the Update for Windows Server Clusters (page 1 and 2).
Management and Administration of the Hyper-V Cluster
Now that the cluster is ready, let’s see how to administer it.
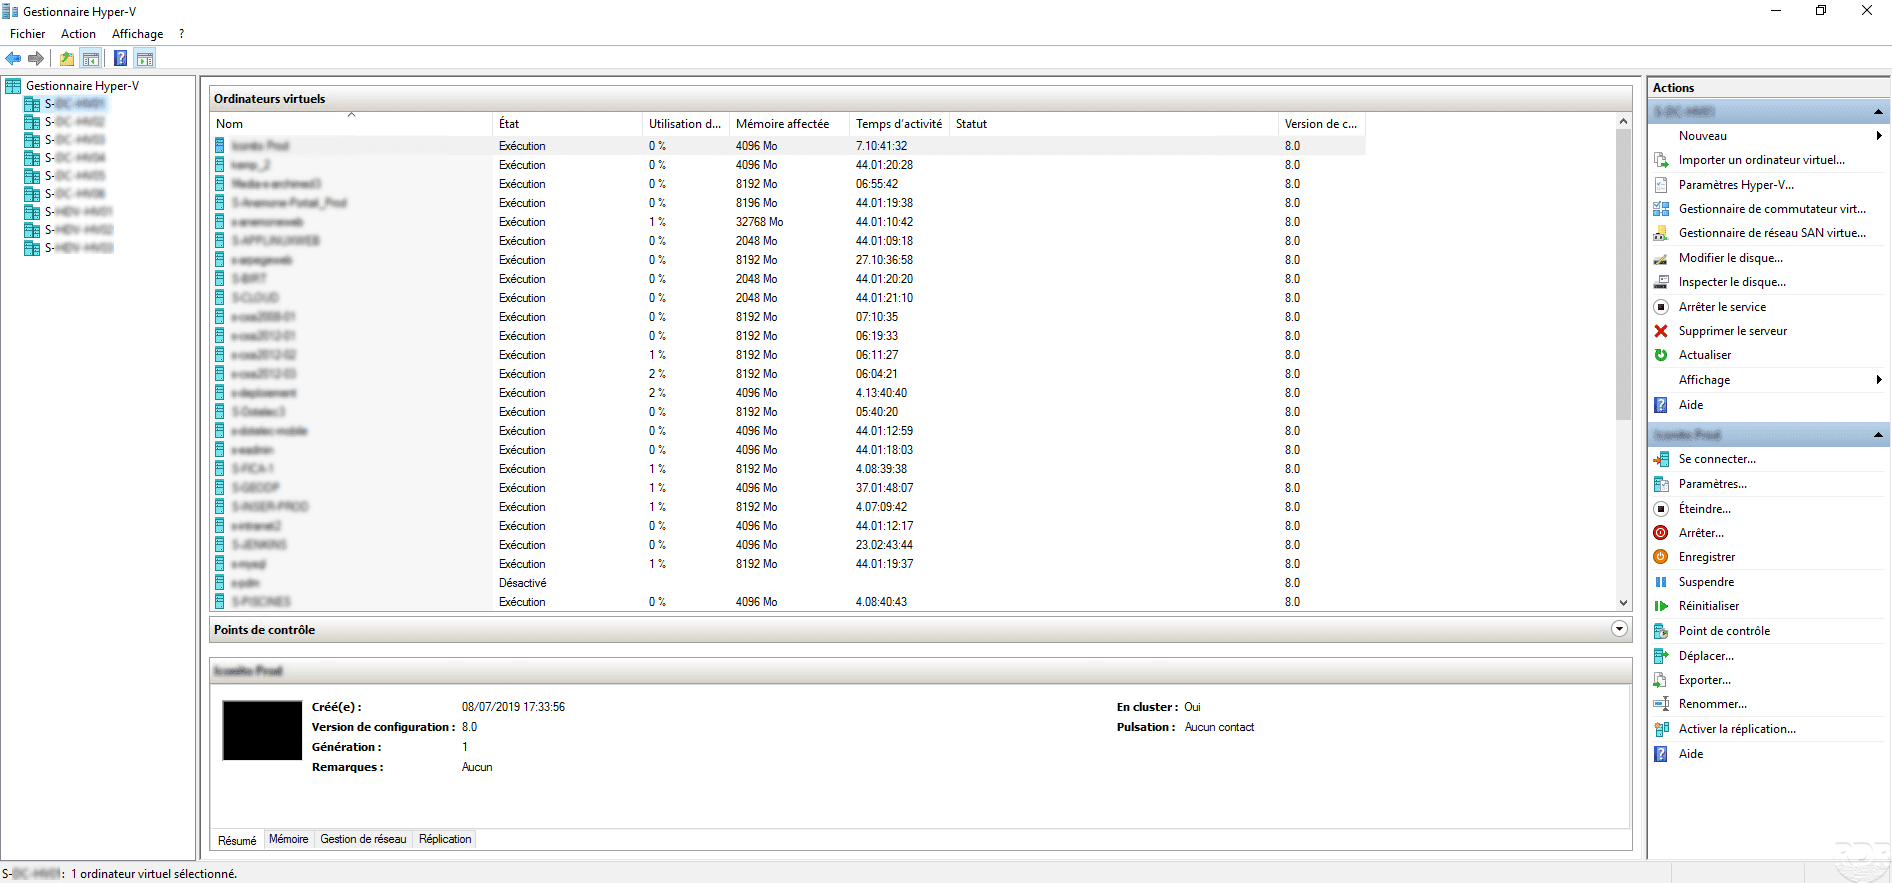
Consoles of administration
There are several tools for administering and managing a Hyper-V cluster.
- The Virtual Machine Manager console that allows the administration of virtual machines directly to the Hyper-V node.
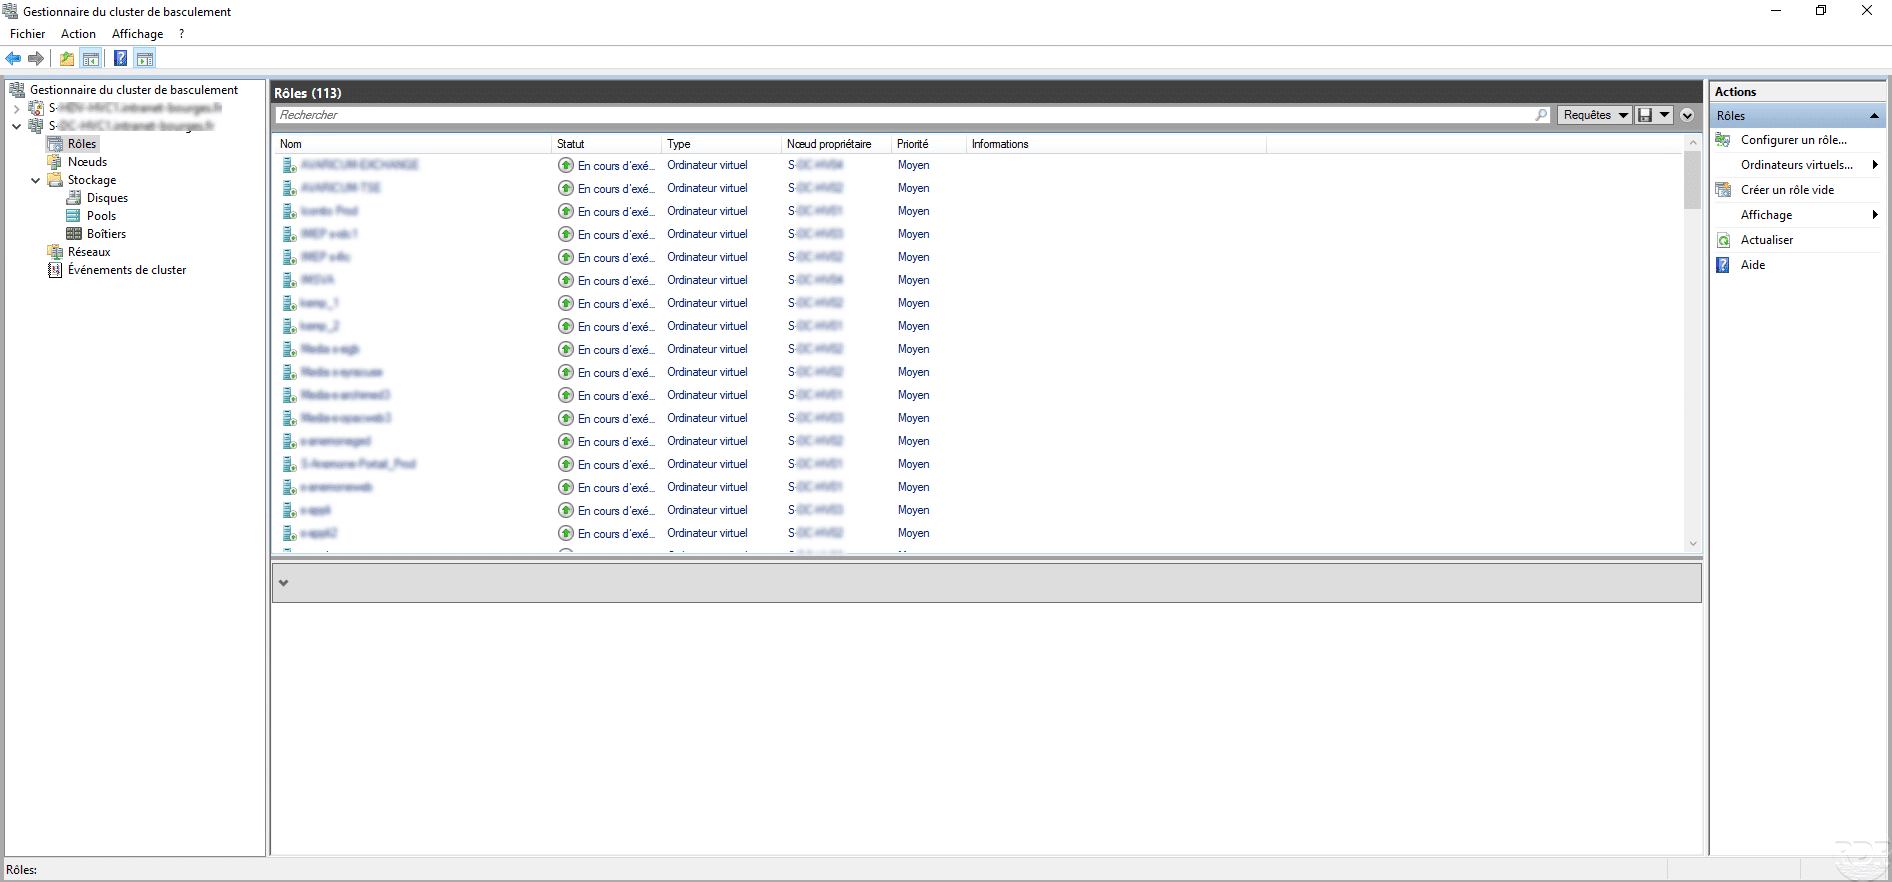
- The Failover Cluster Manager console that enables management of virtual machines and the cluster.
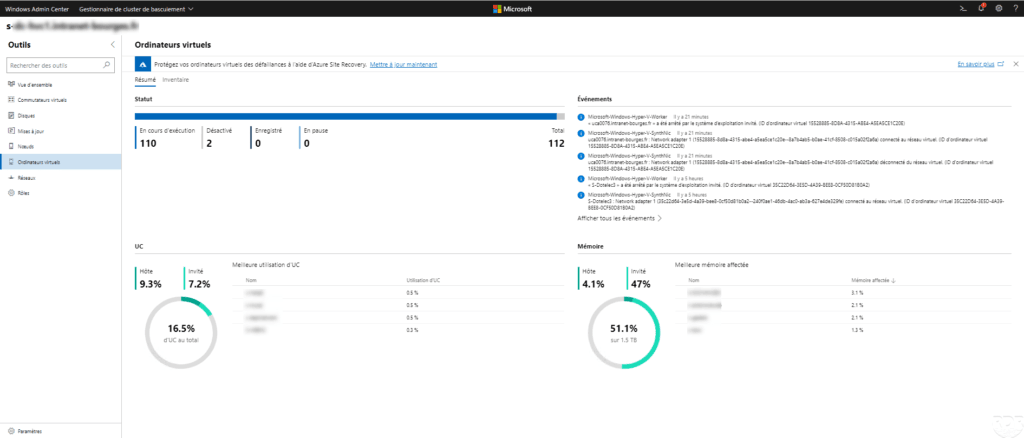
- The Admin Center which is a web console that allows the administration of Windows servers.
Overview of different consoles :
Virtual machine management
The administrator of the virtual machines and Hyper-V settings is using the different consoles seen above.
Snapshots are manageable using the Hyper-V Manager Console and the Admin Center. The Failover Cluster Manager console does not support snapshots.
Liens :
- Managing virtual machines in a Windows Server Hyper-V cluster
- Admin Center: Create a Virtual Machine on a Hyper-V Host
Cluster update
Link :
- Update a failover cluster (page 3 and 4)
Compléments
Voici une liste de liens vers des tutoriels traitant d’Hyper-V :
Here is a list of links to tutorials about backup with Hyper-V: