Add a virtual hard disk to a virtual machine
In this “How” tutorial, we will see how to add a virtual hard disk to a virtual machine that works with Hyper-V.
The tutorial is done with a generation 2 virtual computer
Open the virtual machine settings in the Hyper-V administration console
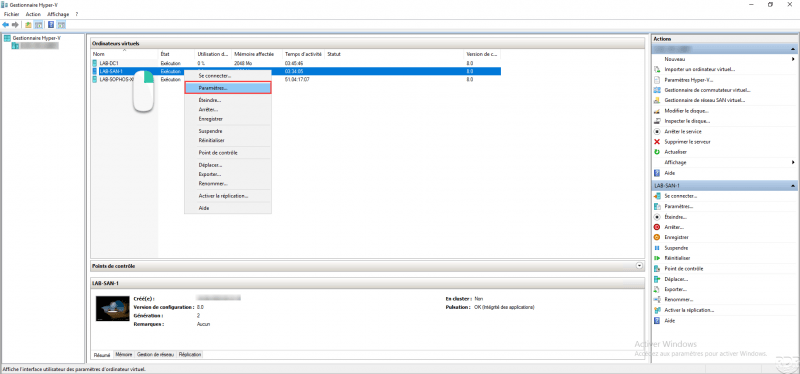
From the Hyper-V Manager console, right click on the virtual machine and click on Settings …
Add a hard drive to the SCSI controller
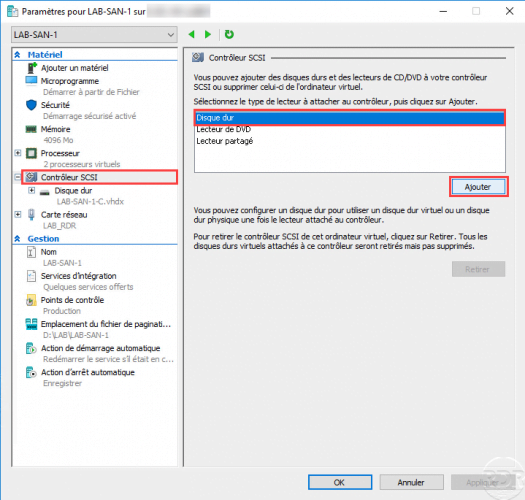
In the settings, select the SCSI controller, choose the type of hard disk drive and click Add.
Open the wizard for creating a virtual hard disk
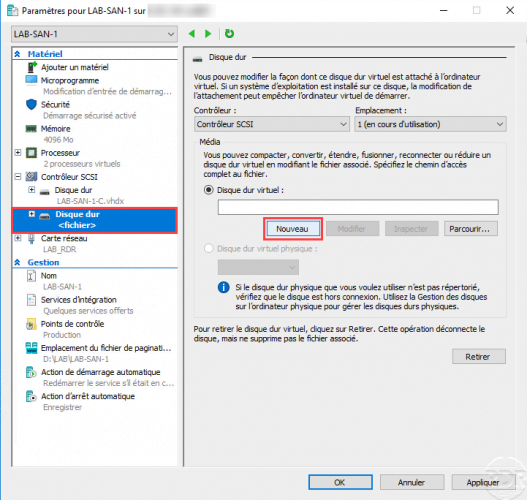
The hard disk is added to the SCSI controller, click on the New button to launch the wizard.
Skip the first wizard window
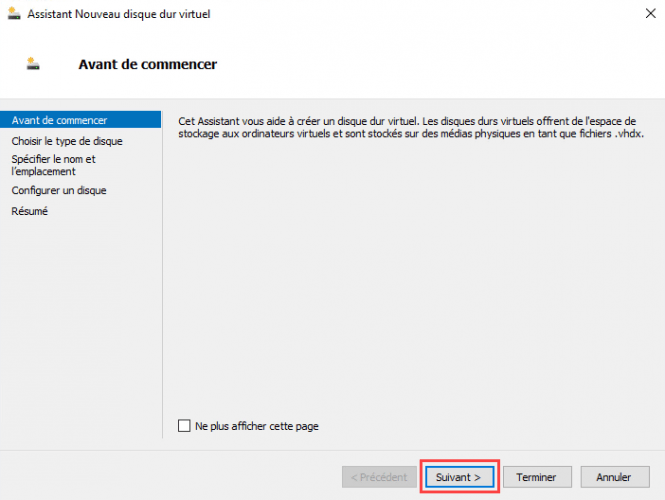
When the wizard for creating a new virtual hard disk is launched, click on Next.
Choose the type of hard drive
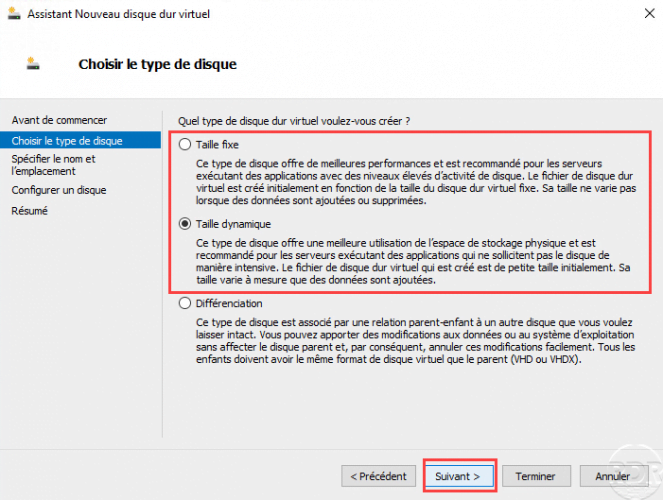
Choose the type of virtual hard disk: fixed size or dynamic size and click Next.
Specify the location and name of the file
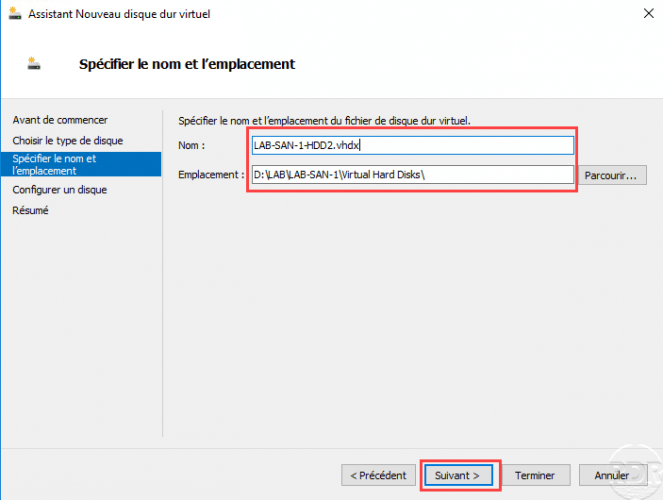
Indicate the location and file name of the virtual hard disk and click Next.
Configure the size of the virtual hard disk
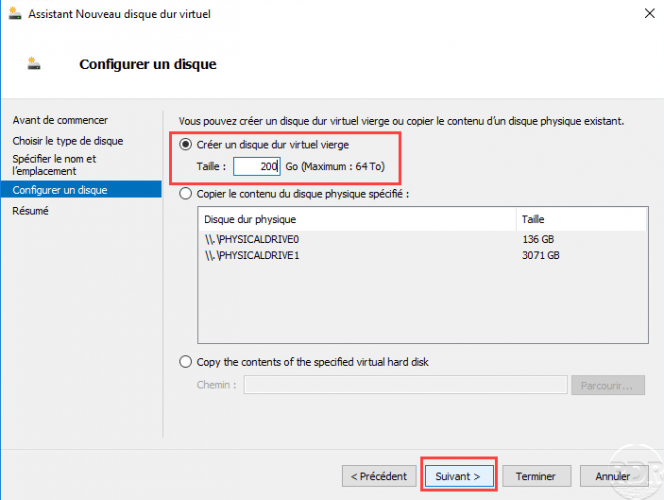
Indicate the size of the virtual hard disk in GB and click on Next.
Confirm creation of hard drive
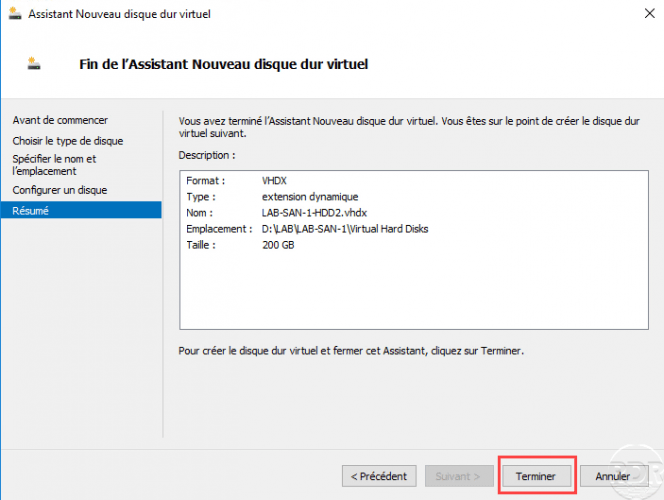
A summary of the hard drive settings is displayed, click Finish to create it.
Save virtual machine settings
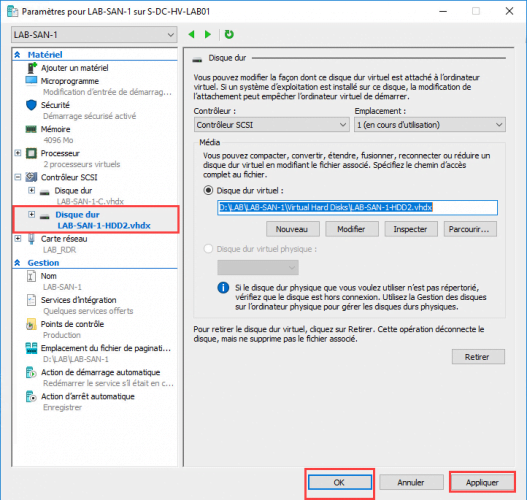
The virtual hard drive is added to the virtual machine setting, click Apply and OK to link the hard drive to the virtual machine.
It only remains to configure the hard disk on the virtual machine, this operation will depend on the operating system. On the tutorial video, we can see how to do it on Windows.