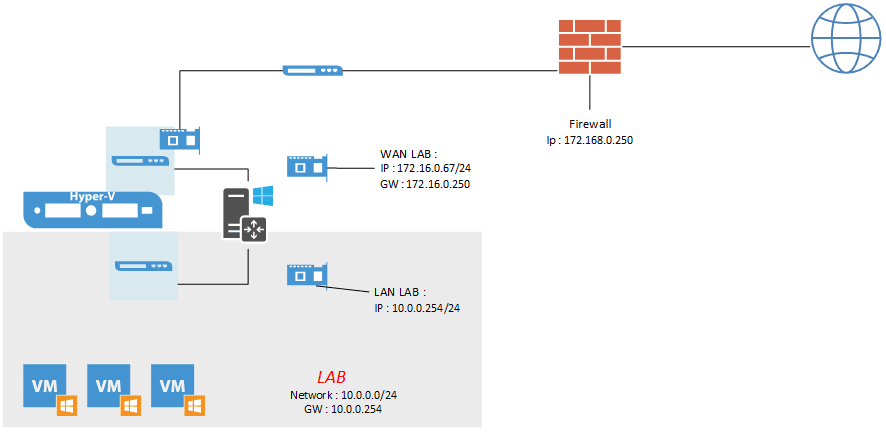
In this tutorial, I will explain how to set up routing with Windows Server. I regularly use this role in the different labs that I put in place under Hyper-V. I isolate the test platform with a private switch and I use a virtual machine with two network interfaces. One card is connected to the private switch (LAN) and the second on the network which is also internet (WAN).
Prerequisites:
- A server with at least two network cards.
- Identify network cards
- Notion of routing
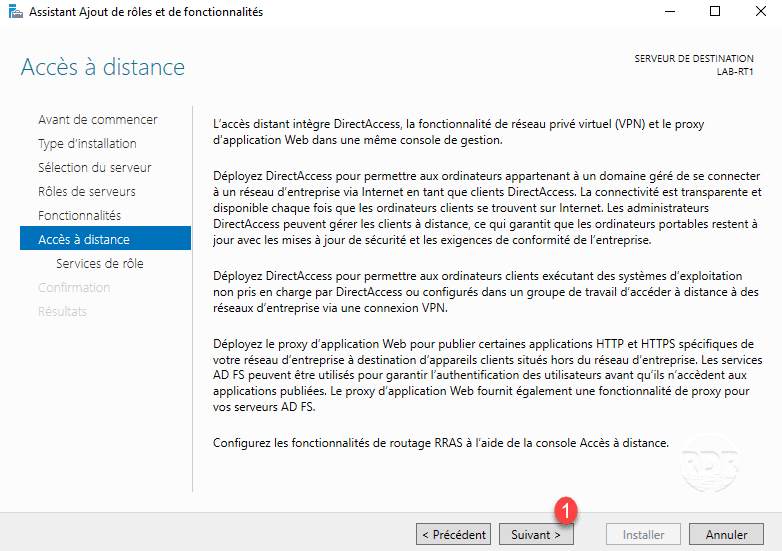
Installing the Remote Access role
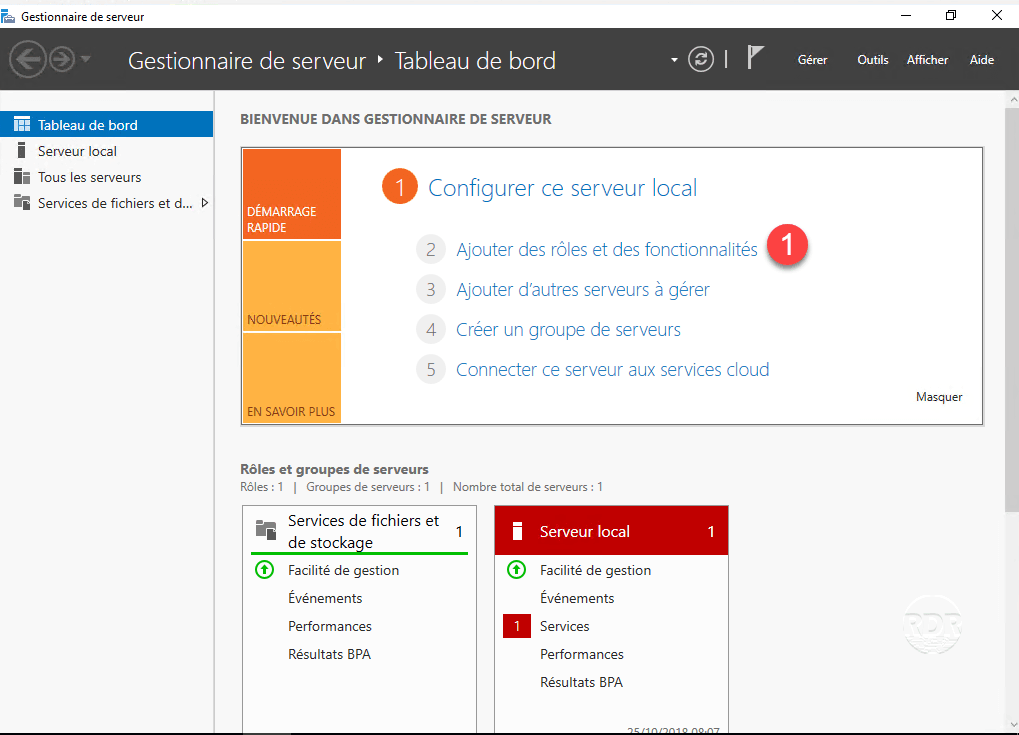
1. From Server Manager, click Add Roles and Features 1 .
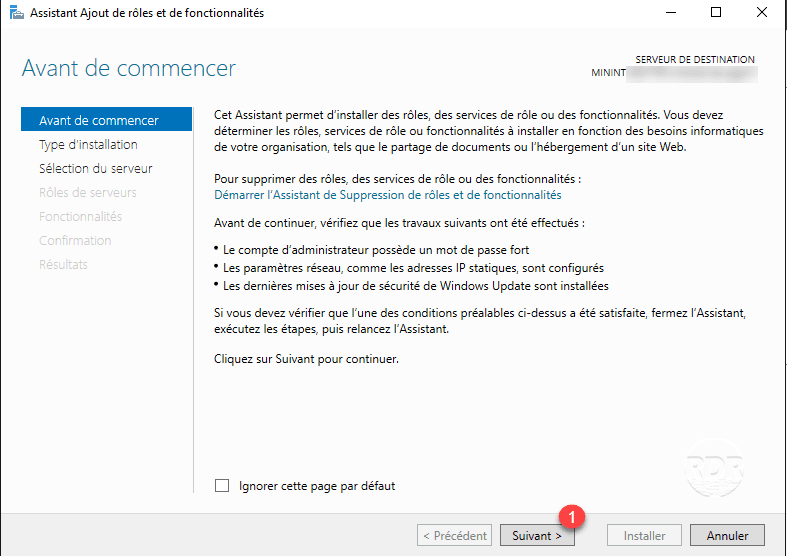
2. Skip the first window of the wizard by clicking Next 1 .
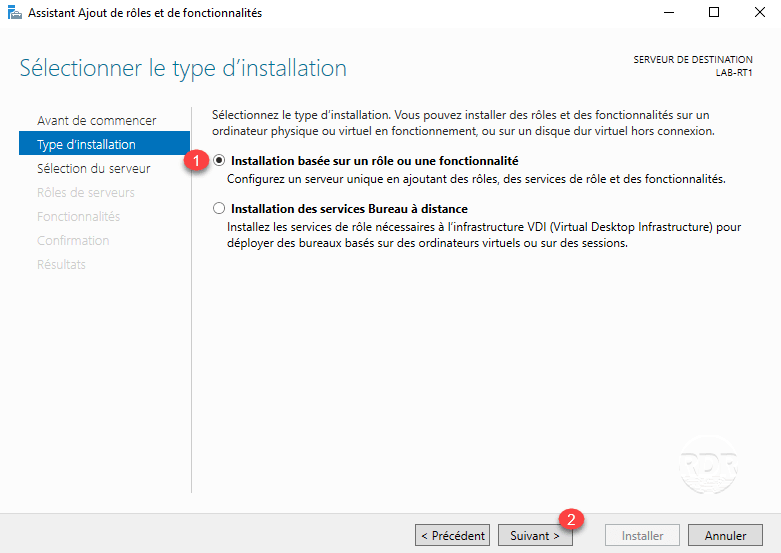
3. Choose Role Based Installation or 1 Functionality and click Next 2 .
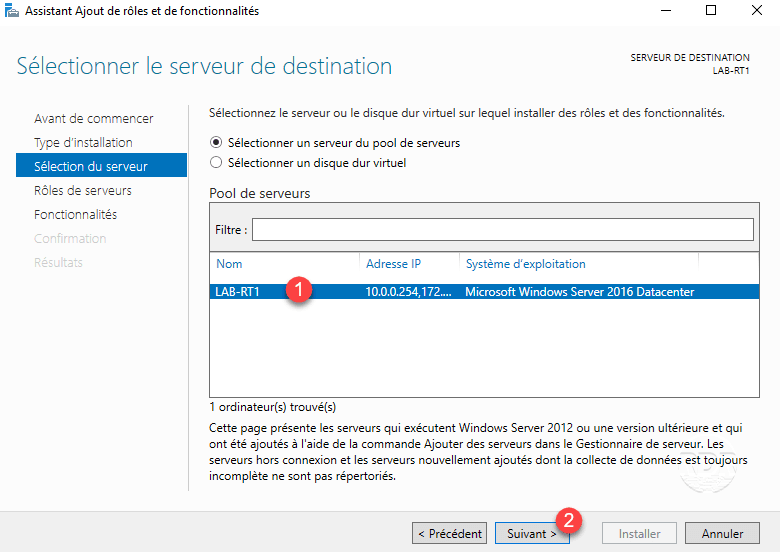
4. Select the server where the role is to be installed 1 and click Next 2 .
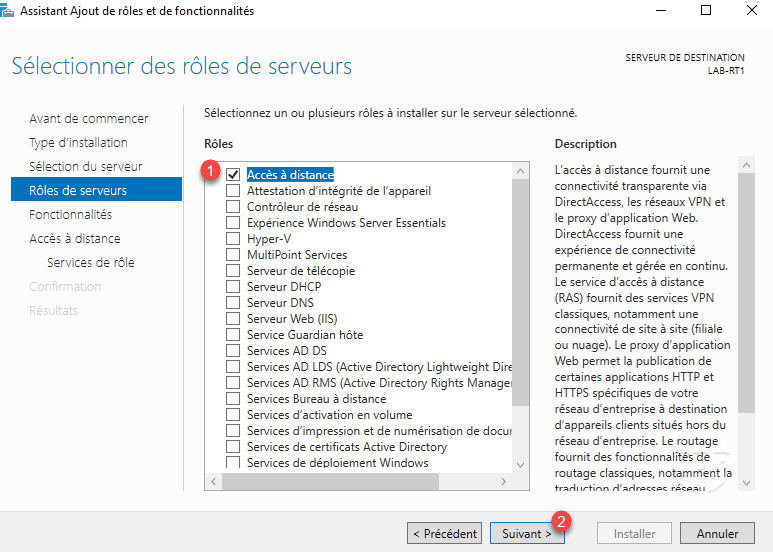
5. Check the Remote Access role 1 and click Next 2 .
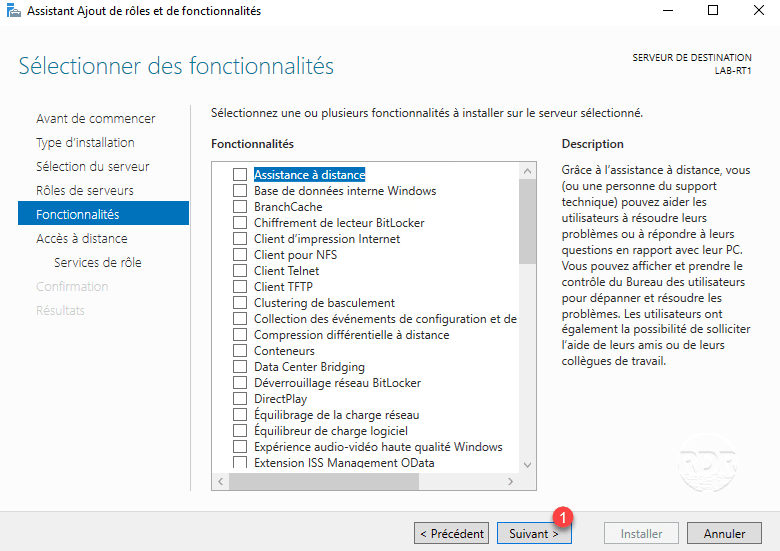
6. Skip the features by clicking Next 1 .
7. Click Next 1 to skip the Remote Access role summary.
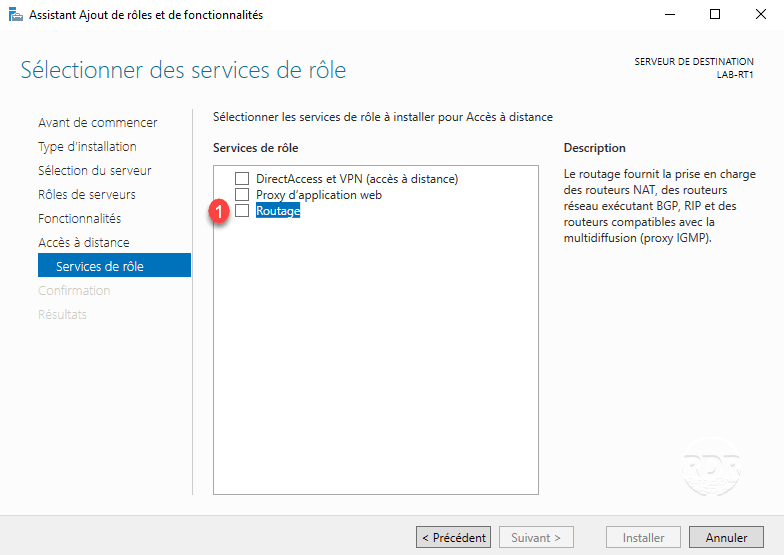
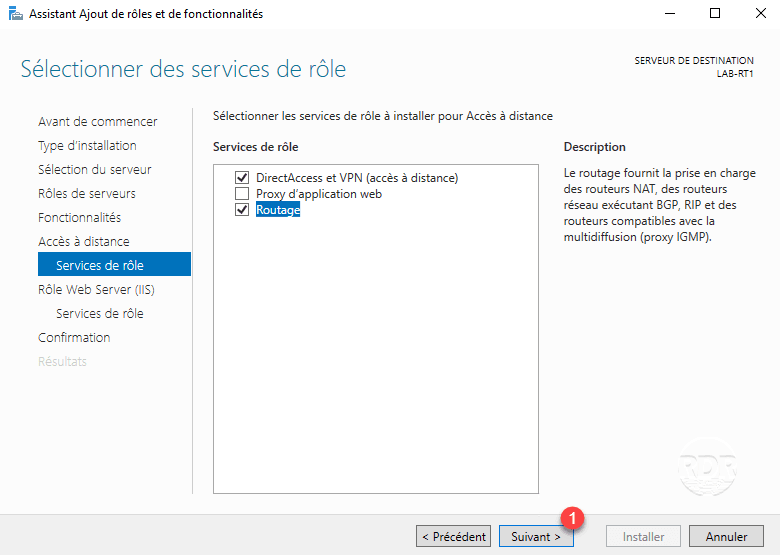
8. Check the Routing 1 service.
9. Click Add Features 1 to confirm the addition of dependencies.

10. Click Next 1 .
11. Skip the IIS role summary by clicking Next 1 .
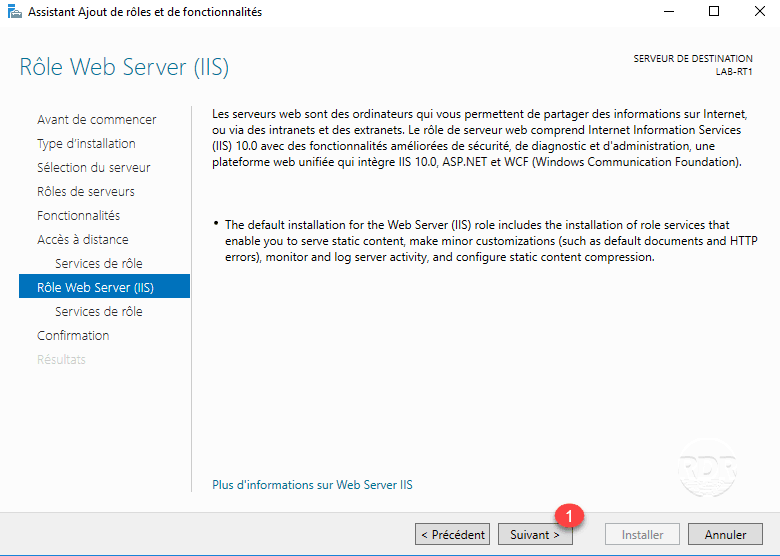
12. Validate IIS services by clicking Next 1 .
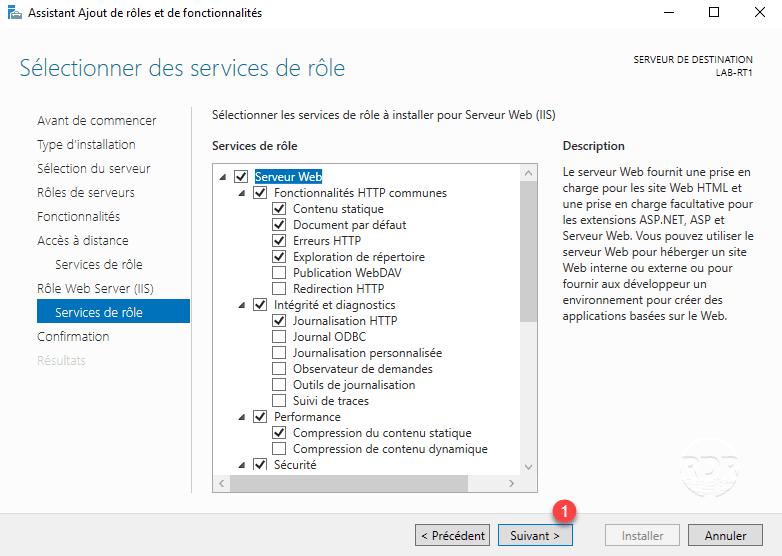
13. Click the Install 1 button.
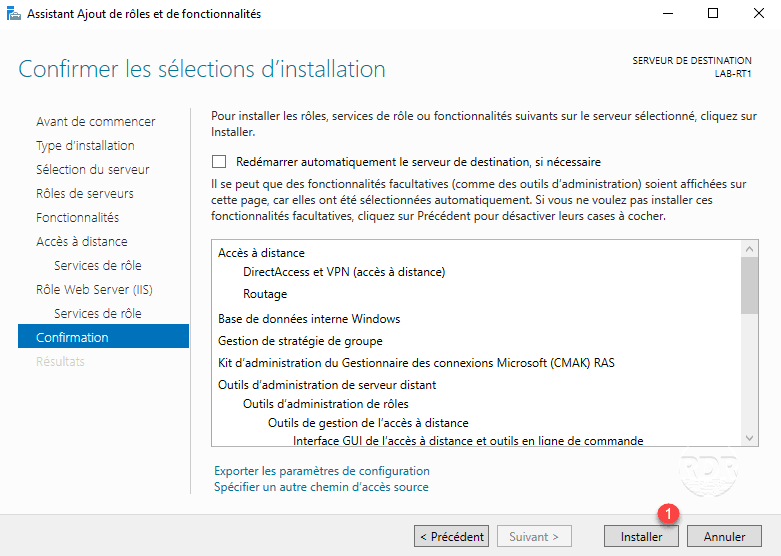
14. Wait while installing roles …
15. The installation completed, exit the wizard by clicking Finish 1 .
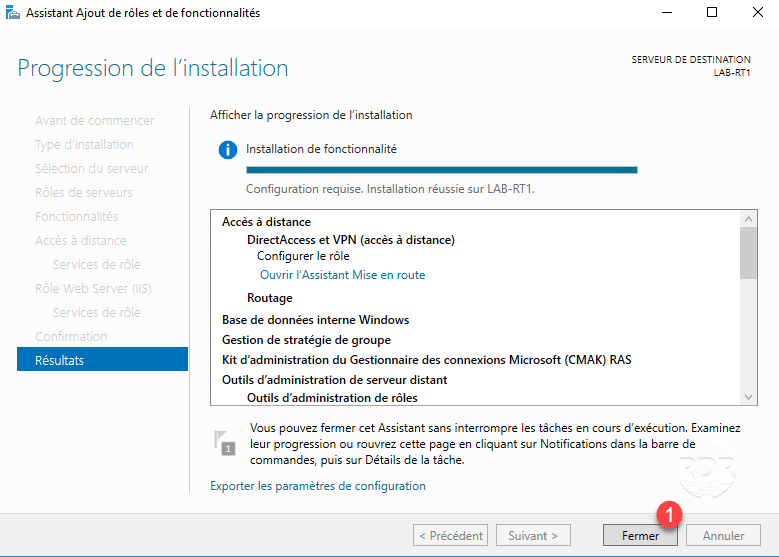
Now the roles and services are installed, we will see how to configure the routing.
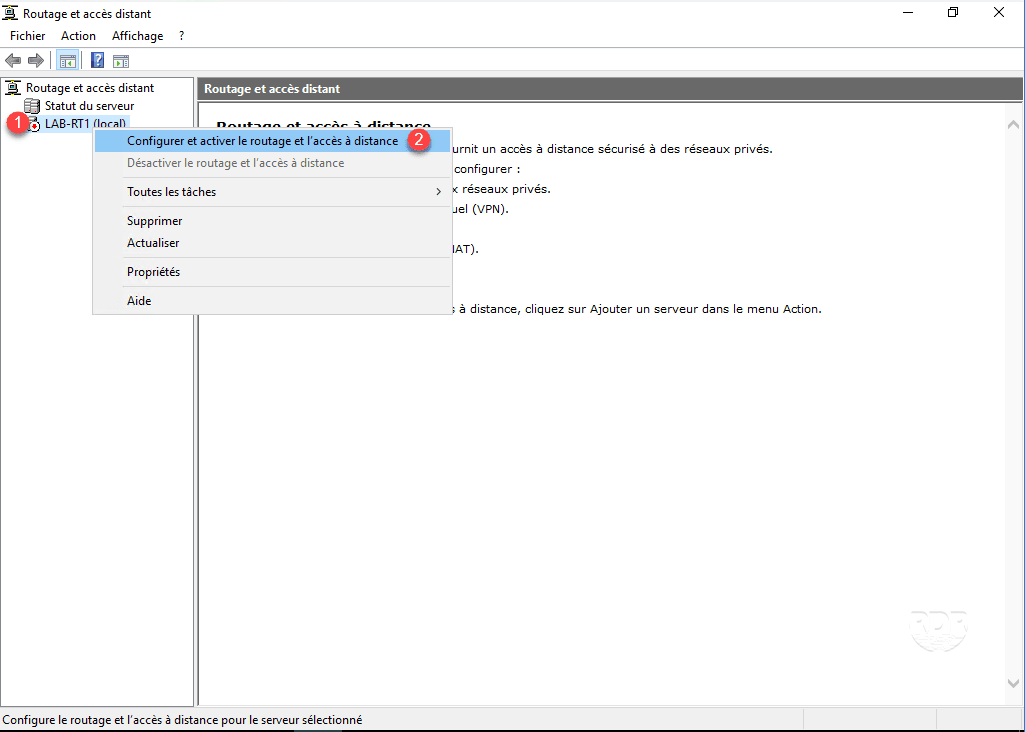
Routing configuration
1. Open the Routing and Remote Access console.

2. Right-click on server 1 and click Configure and enable routing and remote access 2 .
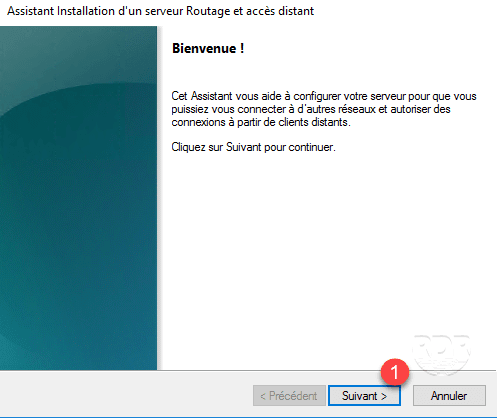
3. When launching the wizard, click Next 1 .
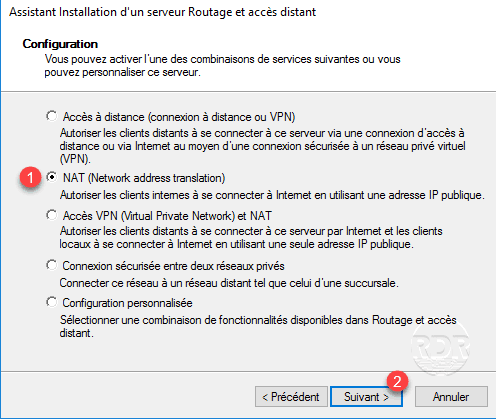
4. Choose NAT (Network address translation) 1 then click Next 2 .
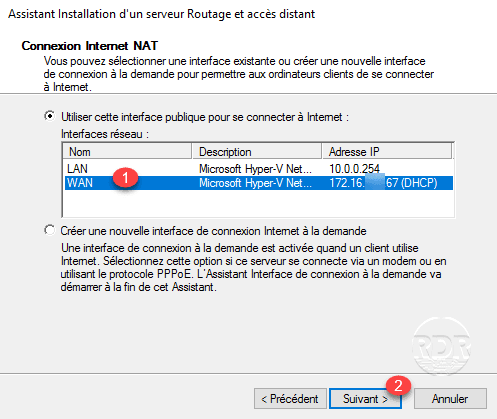
5. Select WAN interface 1 and click Next 2 .
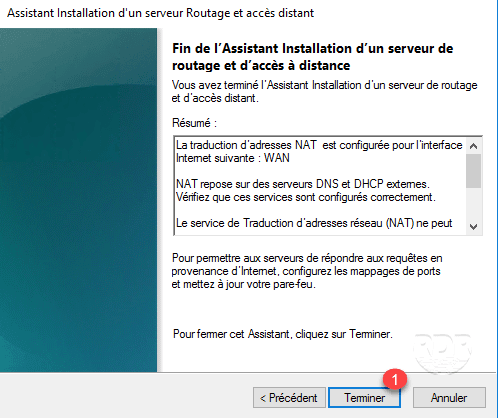
6. The configuration is complete, exit the wizard by clicking Finish 1 .
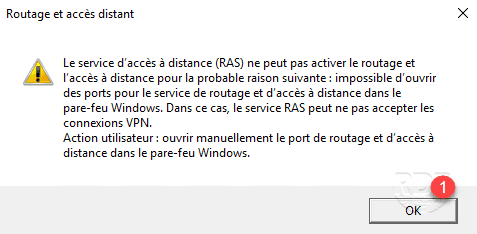
7. Optional: If the following message is displayed, click OK 1 .
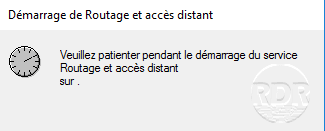
8. Wait while services start …
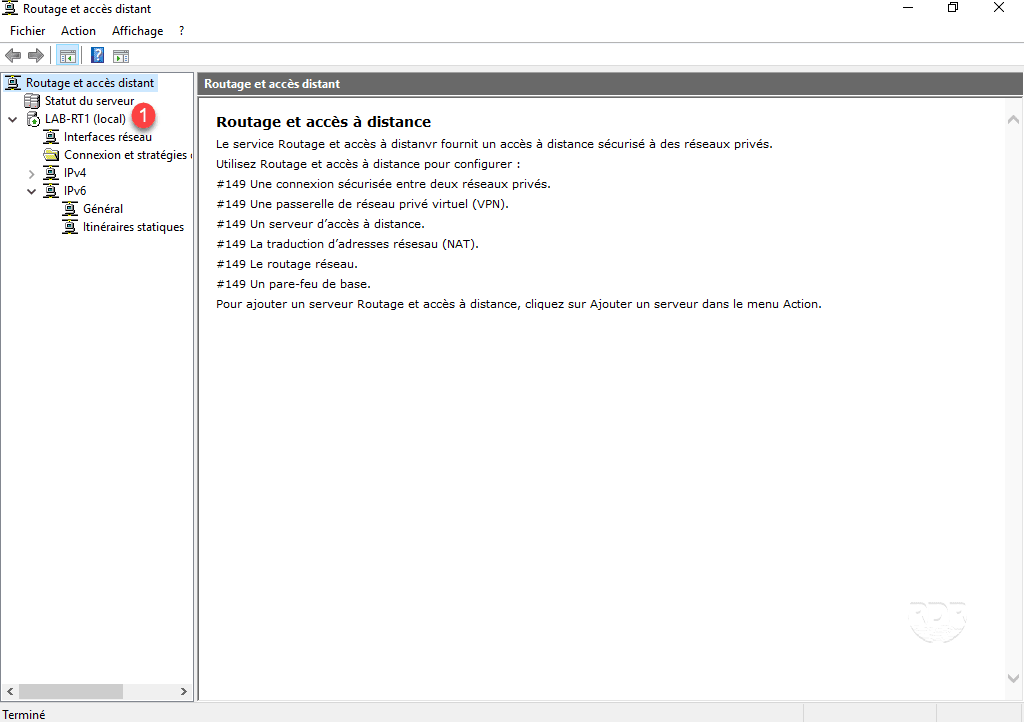
9. The service is enabled on server 1 , it has gone green.
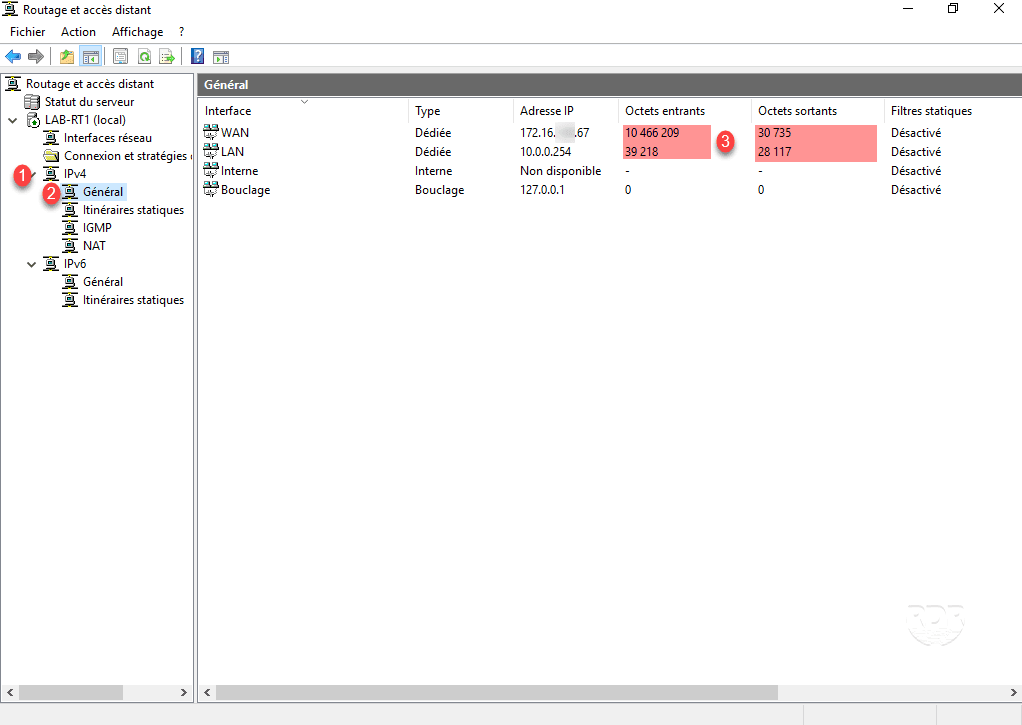
10. Go to IPv4 1 / General 2 . If the extensions on your network are properly configured, the Incoming / Outgoing Bytes values should increase by 3 .
Now we will see how to configure the port transfer to access to publish services (www / rds …).
Configuring port forwarding
In this part, we will see how to access an RDP machine in the LAN of the LAB.
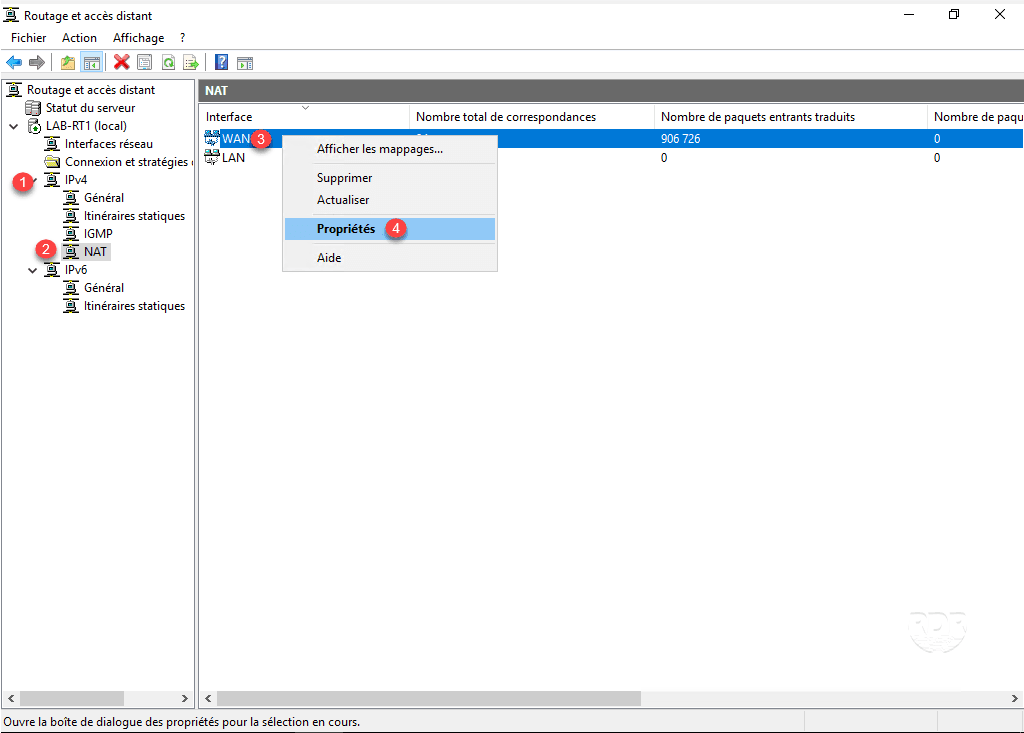
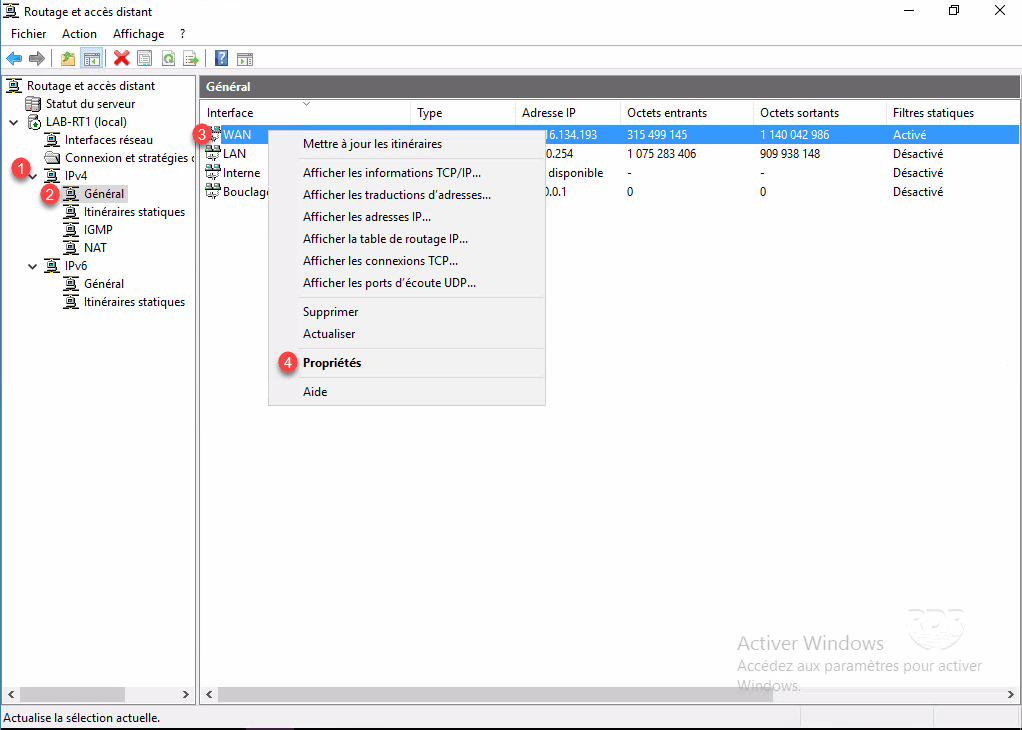
1. Go to IPv4 1 / NAT 2 . Right click on WAN 3 and click on Properties 4 .
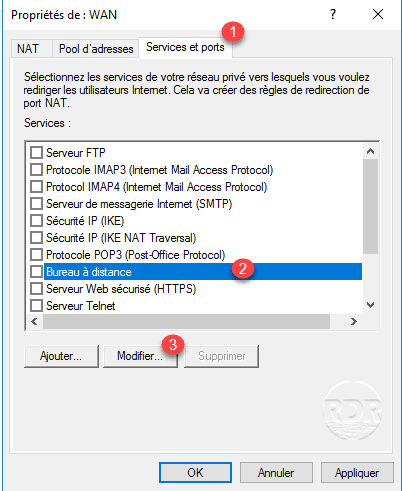
2. Go to the Services and Ports 1 tab, select Remote Desktop 2 and click on Edit 3 .
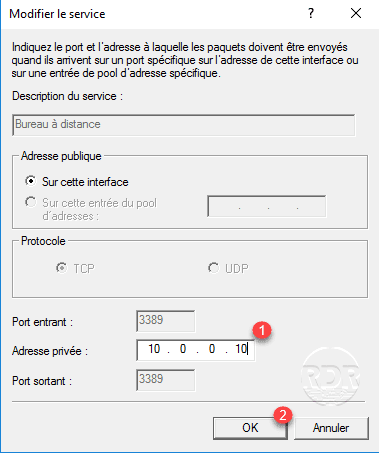
3. Enter the IP address 1 of the server that you want to make available and click OK 2 .
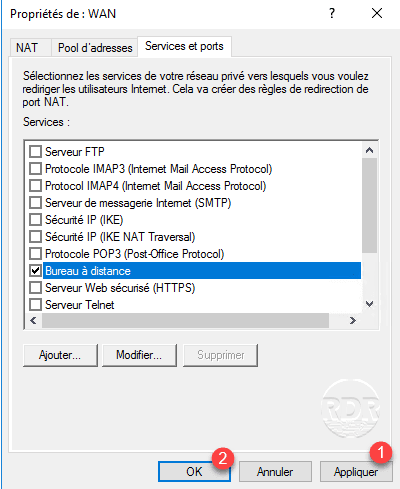
4. Click Apply 1 and OK 2 to activate the rule.
To connect from the production LAN to the LAB LAN, enter the IP address of the WAN interface (172.16.0.67).
Follow the connections
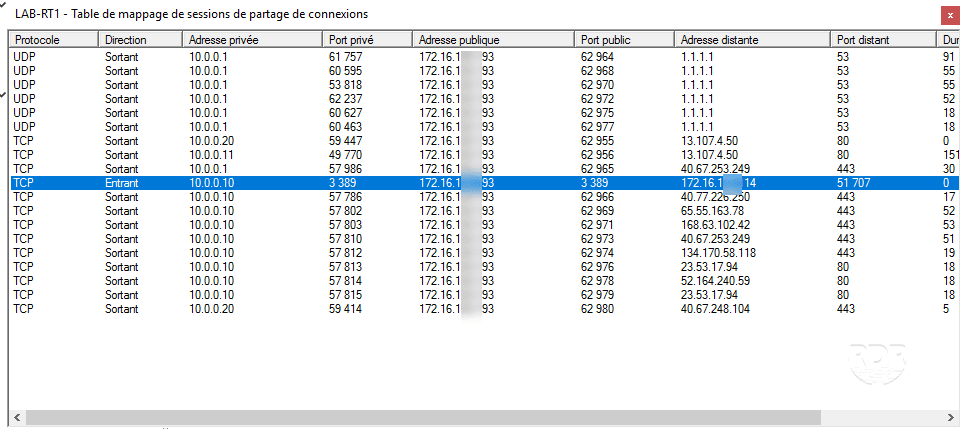
It is possible to see the outgoing and incoming connections.
1. Go to IPv4 1 / NAT 2 , right click on interface 3 and click on Show mappings 4 .
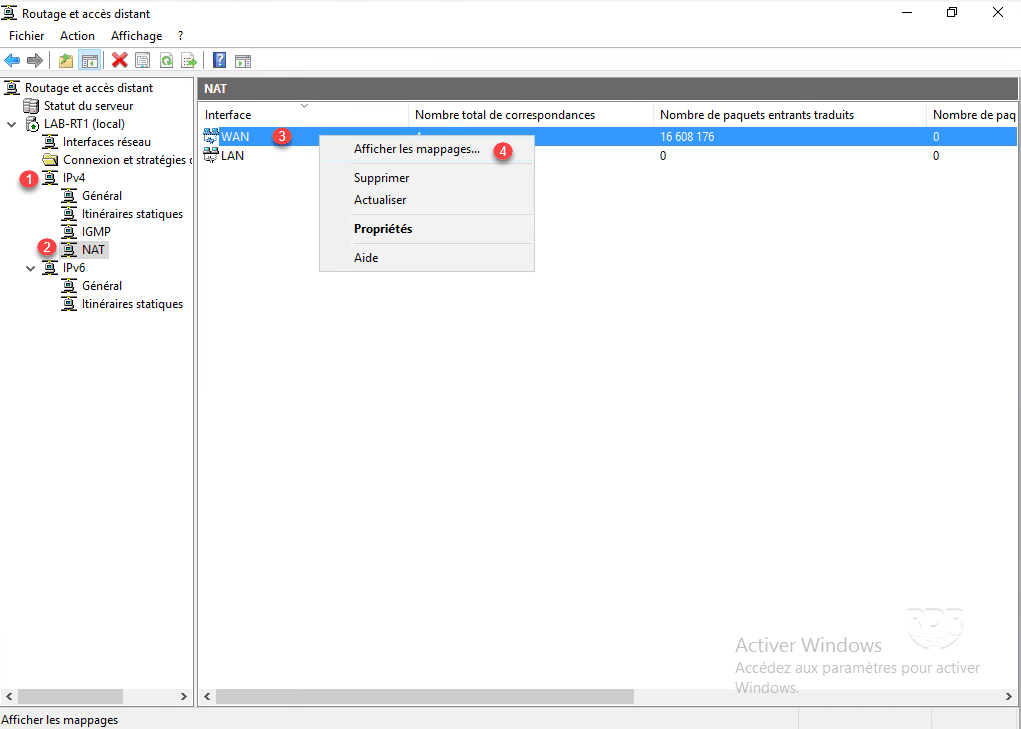
2. A window opens with the list of current connections.
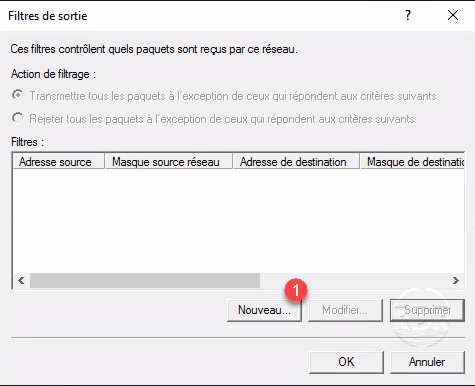
Filtering outgoing connections
In this part, we will see how to filter the outgoing connections per port. To illustrate the functionality, we will let all the internet connections except port 80.
1. Go to IPv4 1 / General 2 , right click on the WAN interface 3 and click on Properties 4 .
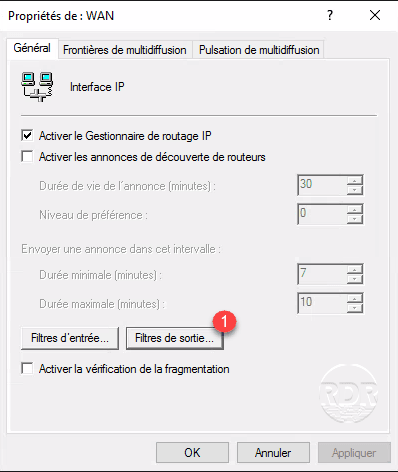
2. Click Output filter 1 .
3. Click on New 1 .
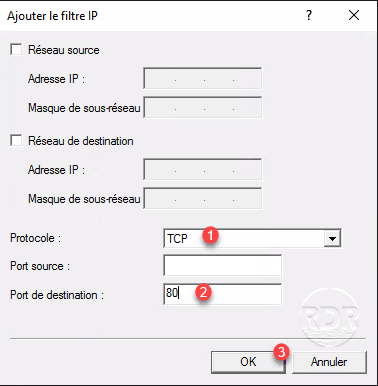
4. Select TCP 1 , destination port 80 2 and click OK 3 .
5. Filter action choose Transmit all packets except those that meet the following 1 criteria and then click OK 2 .
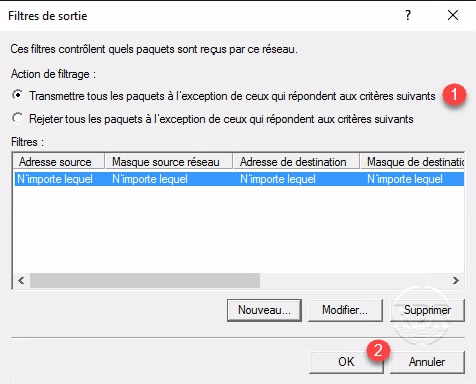
6. Click Apply 1 and OK 2 .

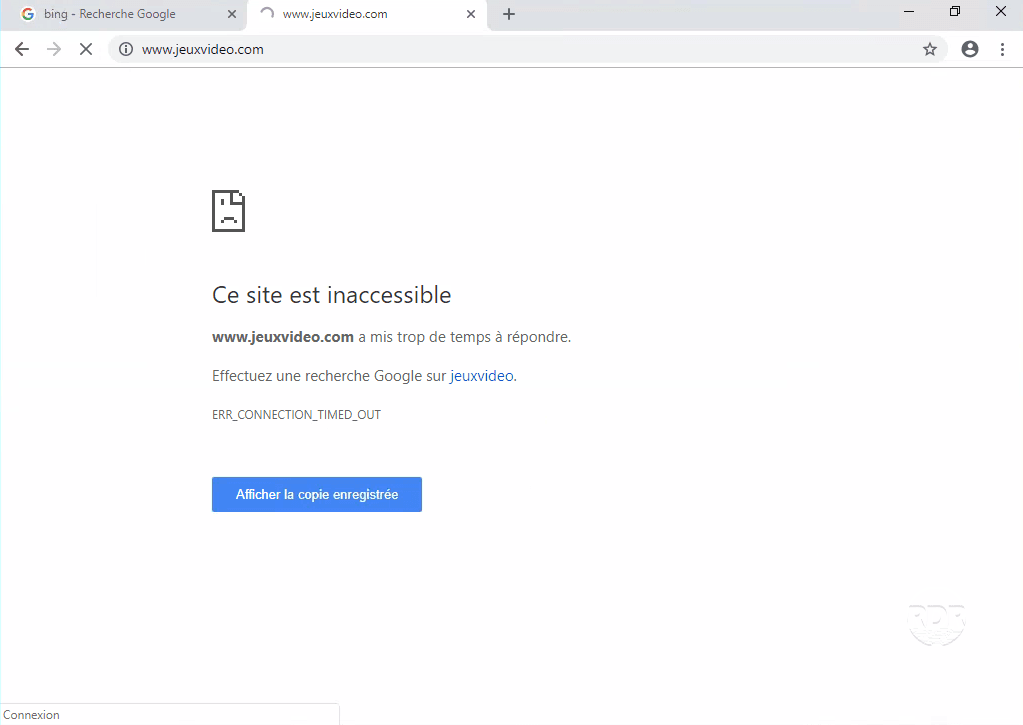
7. Launch a browser and try to access a website in http (http://www.jeuxvideo.com), the page should not load.