In this tutorial, we will see how to set up an Active Directory domain by installing the first domain controller.
In summary, an Active Directory environment is a directory in the form of a database (LDAP) which contains a set of objects (users, computers, etc.) and which delivers several services:
- Centralization of objects on the network in a single database
- User Authentication
- Rights management
- Policy Application (GPO)
- …
The AD architecture is based on:
- Domain: which can be registered or not.
- Tree: consisting of a domain and subdomain (child domain)
- Forest: consisting of linked trees with an approval relationship.
- Global Catalog: A domain controller that contains information about the entire forest.
- FSMO role that are 5 in number.
- …
In this tutorial, we will create a forest with a tree made up of the lab.lan domain.
What you need to complete this tutorial:
- A Windows server (2012 / 2012R2 / 2016) with a fixed IP address
- A client (Windows 7 or +) with an IP address, it must also have how server dns Windows server.
According to Microsoft best practices, it is recommended that you have at least 2 domain controllers (global catalog) per domain.
Role Installation: ADDS (Domain Controller) / DNS
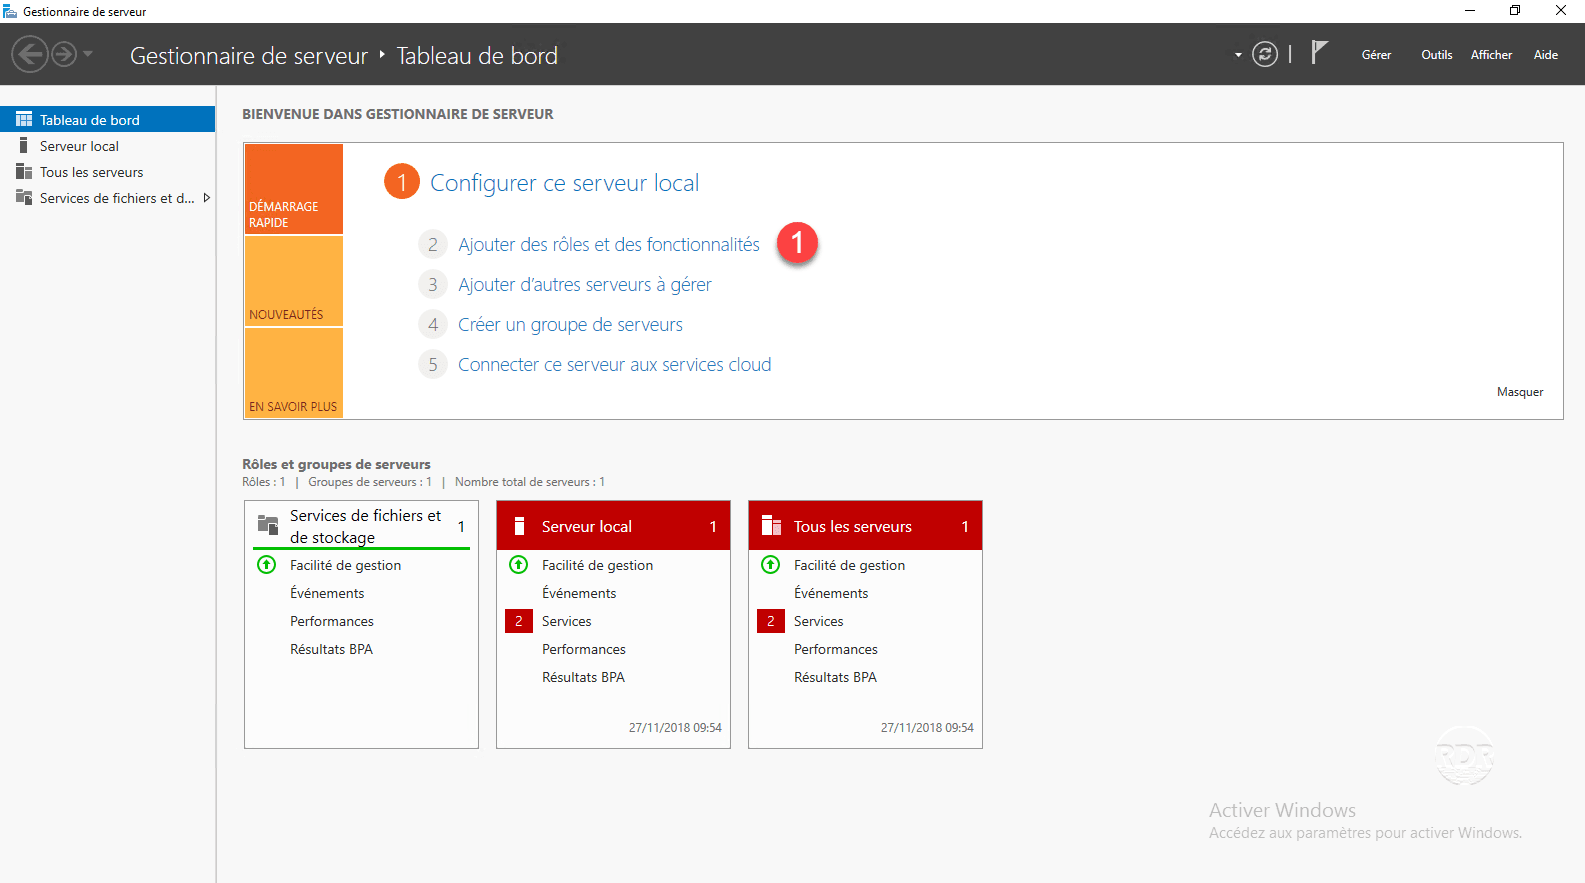
1. From the server manager, click Add Roles and Features 1 .
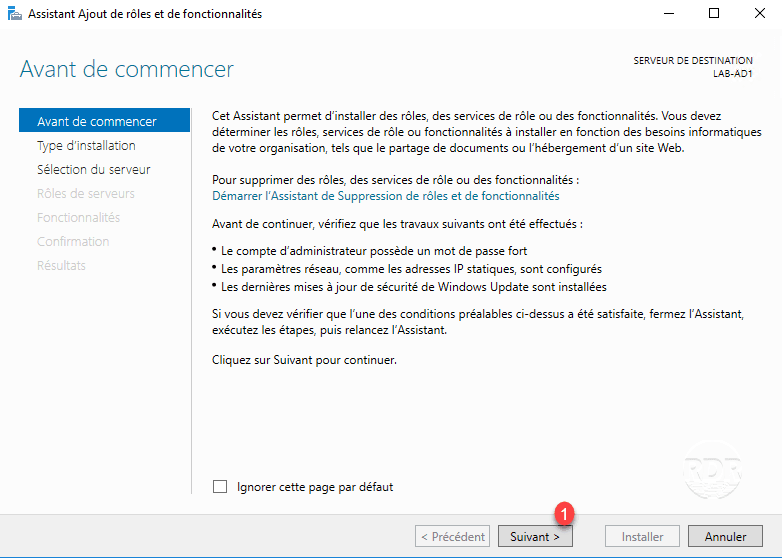
2. When launching the wizard, click Next 1 .
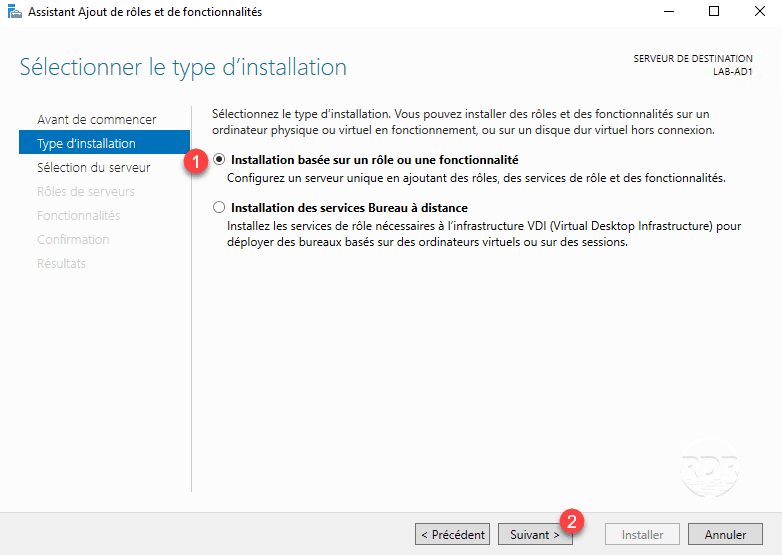
3. Choose Role Based Installation or 1 Functionality and then click Next 2 .
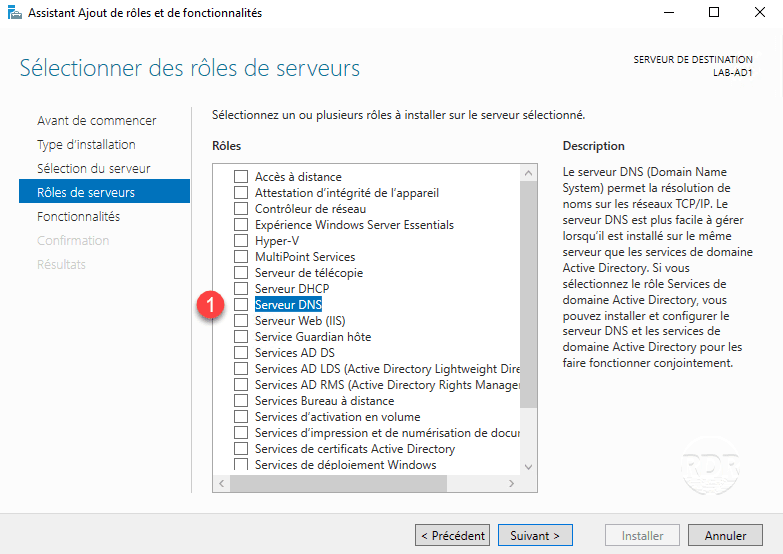
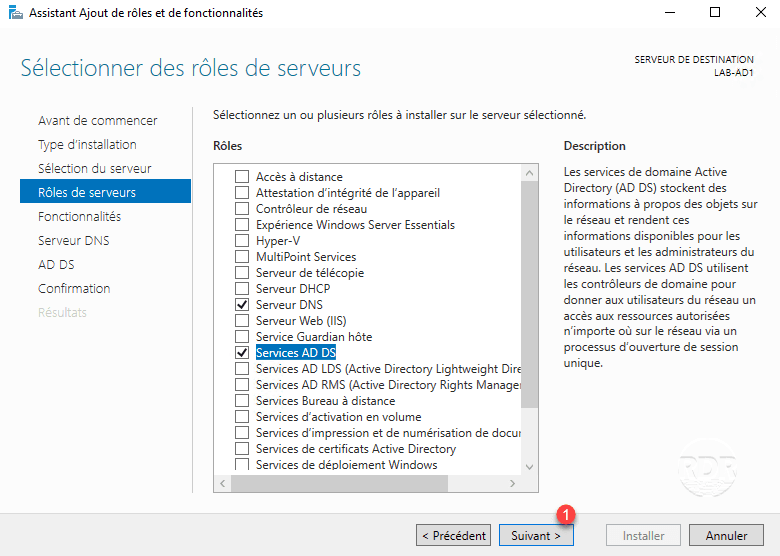
4. Check the DNS Server 1 role.
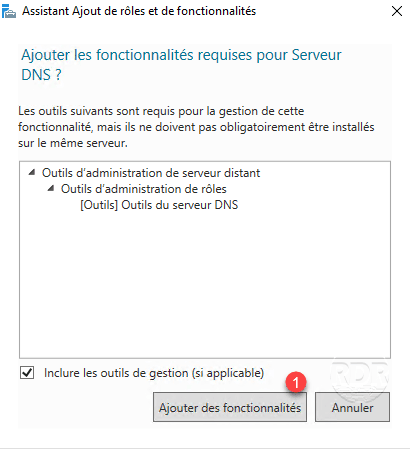
5. Click Add Features 1 .
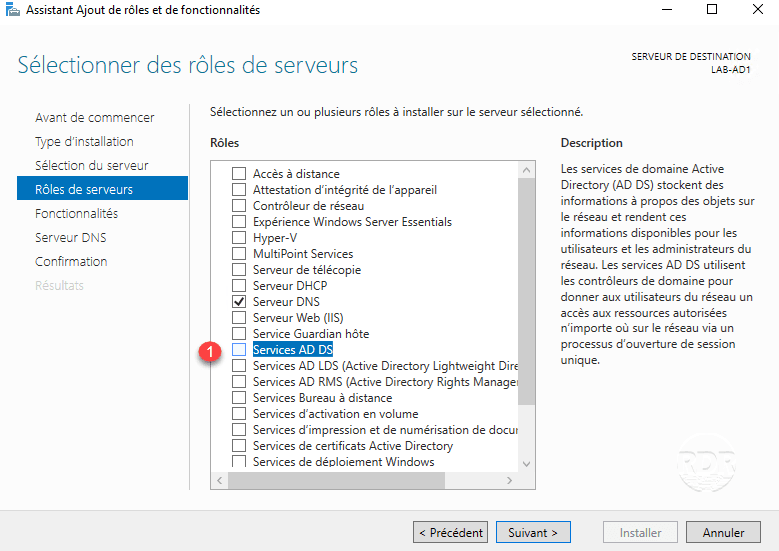
6. Check the AD DS Services 1 role.
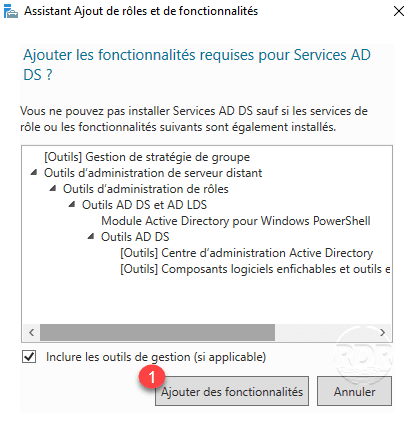
7. Click Add Features 1 to add the management consoles.
8. Click Next 1 .
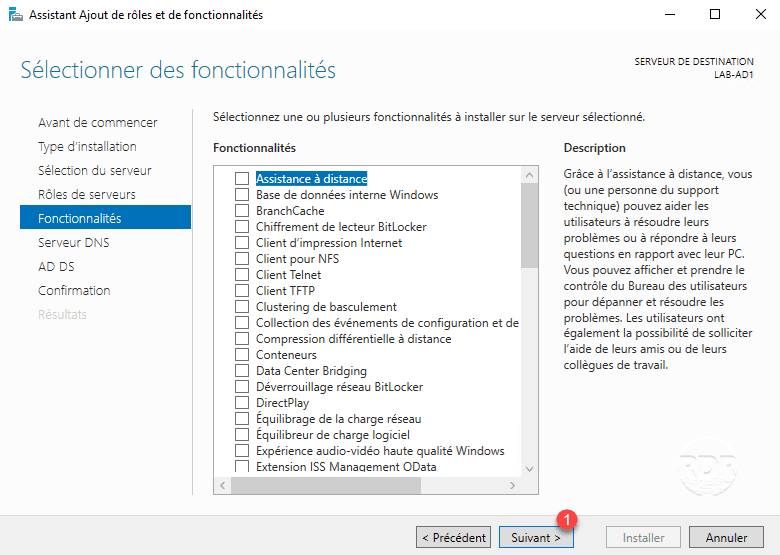
9. Pass the features by clicking Next 1 .
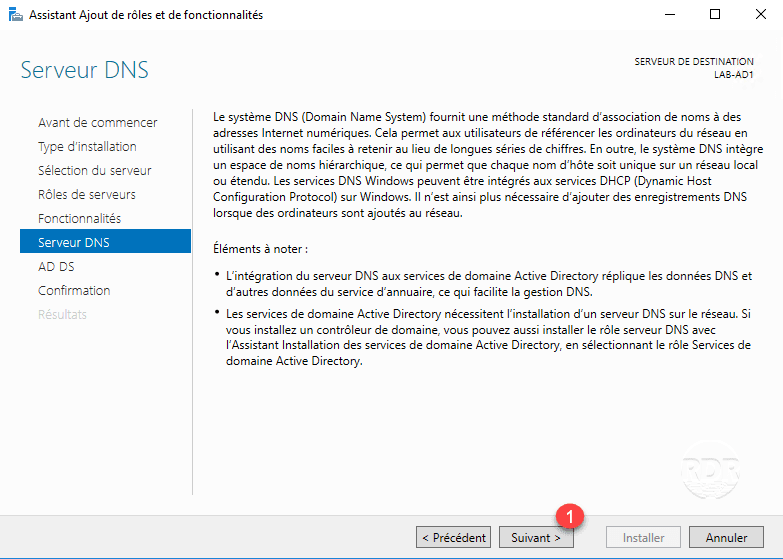
10. Click Next 1 to skip the summary of the DNS role.
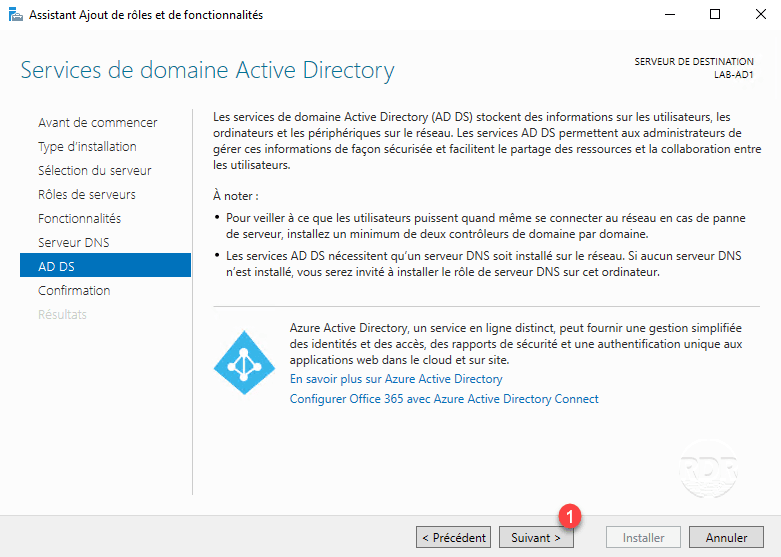
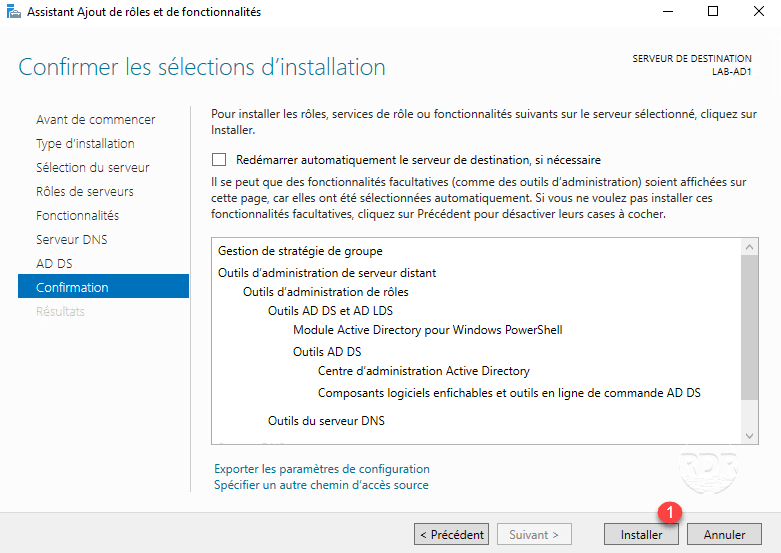
11. Review the summary of the Active Directory Service by clicking Next 1 .
12. Click the Install 1 button.
13. Wait during the installation of the different roles …

14. The installed roles, exit the wizard by clicking Close 1 .
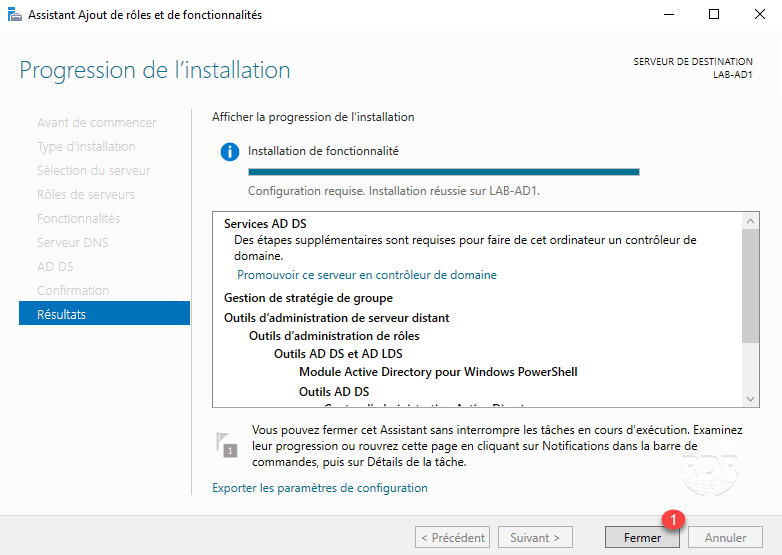
Now that the roles are installed, you have to promote the server to a domain controller.
Promote the domain controller server
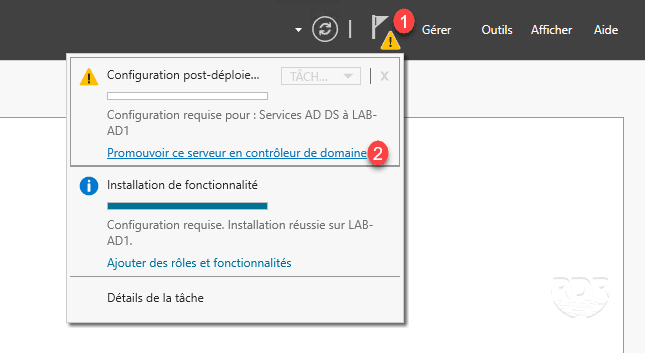
1. From the server manager, click on the notification icon 1 and then on the link Promote this server into a 2 domain controller to launch the wizard.
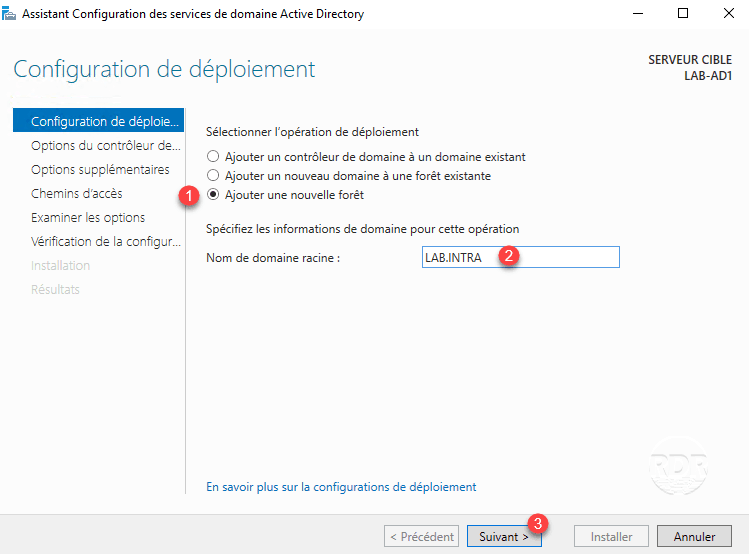
2. Select the Add new forest 1 option, enter the domain name 2 and click Next 3 .
3. Enter the recovery mode password 1 and click Next 2 .
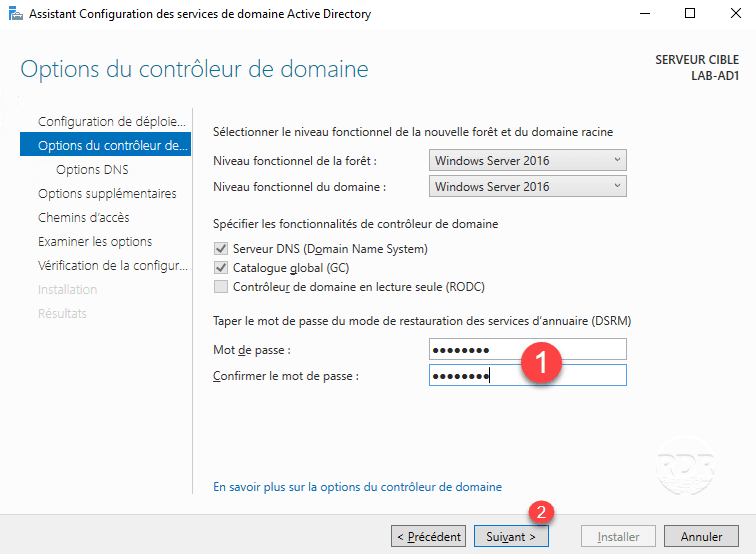
Note the password, in case of restoration AD, it is necessary to carry out maintenance operations.
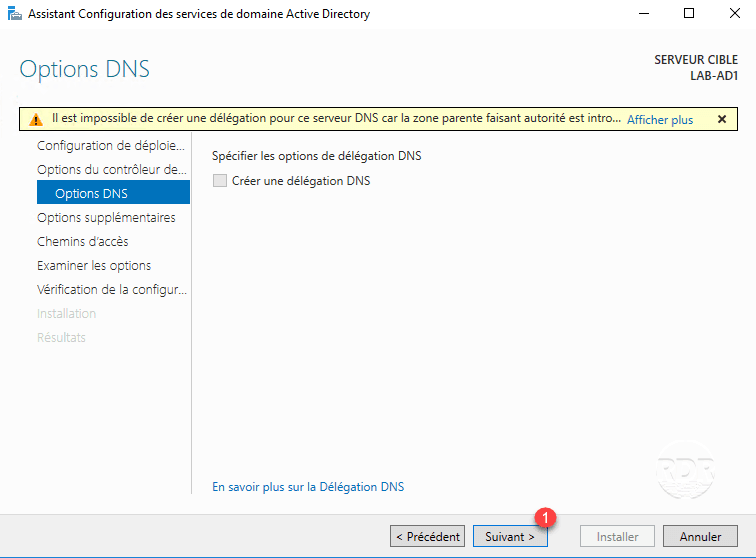
4. Click Next 1 to change the DNS options.
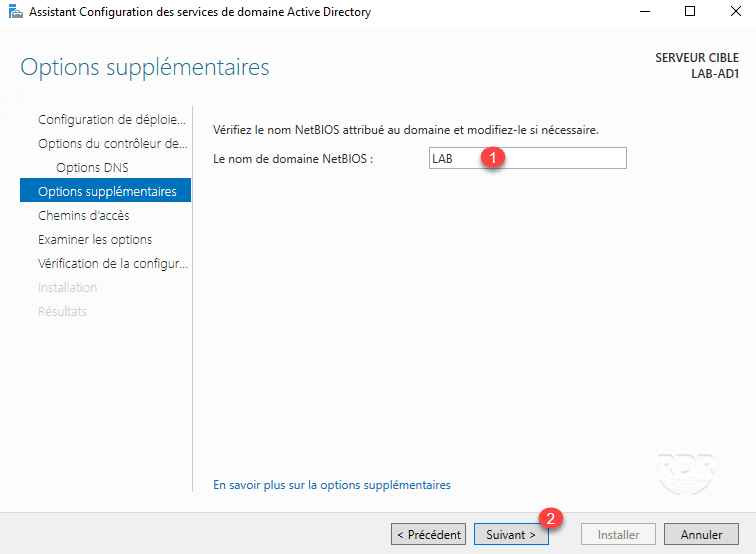
5. Validate the name NETBIOS 1 then click Next 2 .
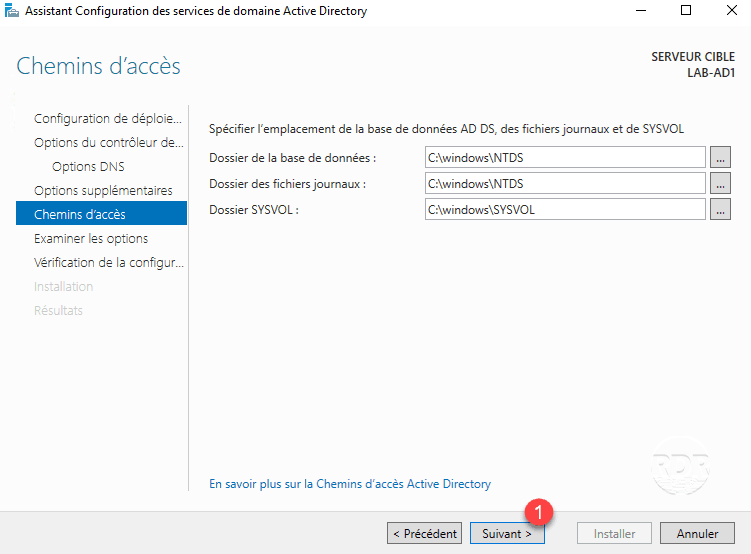
6. Validate the paths and click Next 1 .
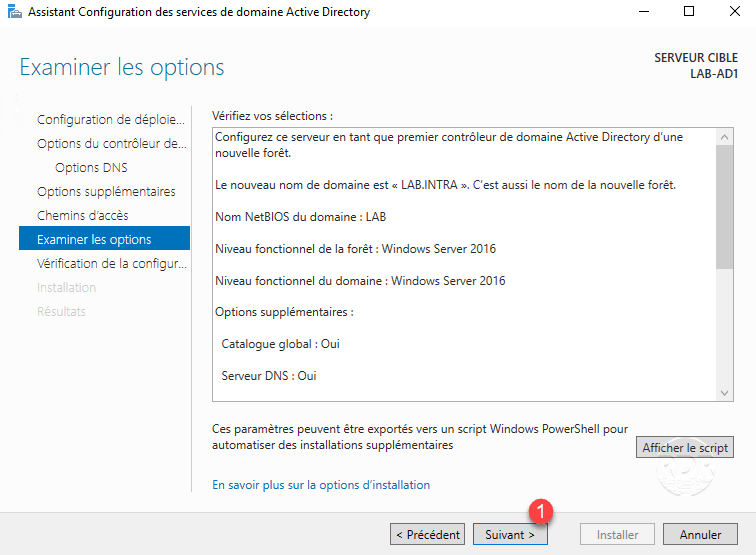
7. Validate the configuration by clicking Next 1 .
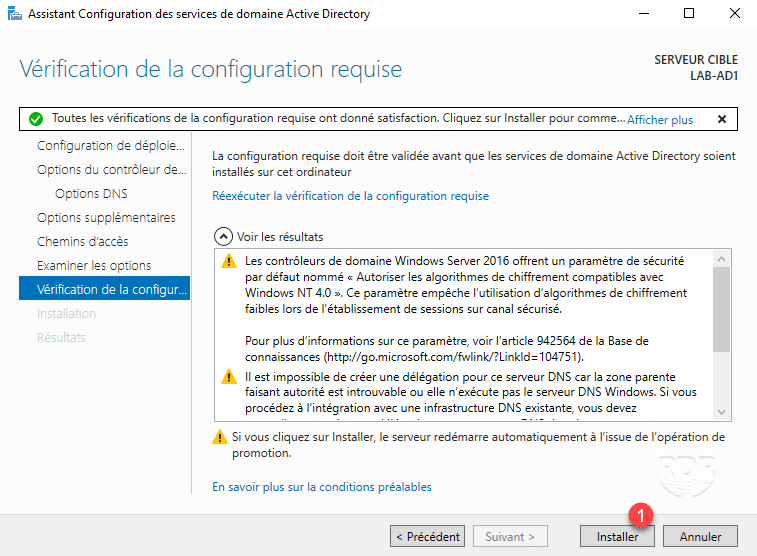
8. Once the tests are validated, click on Install 1 .
9. Wait during the installation …
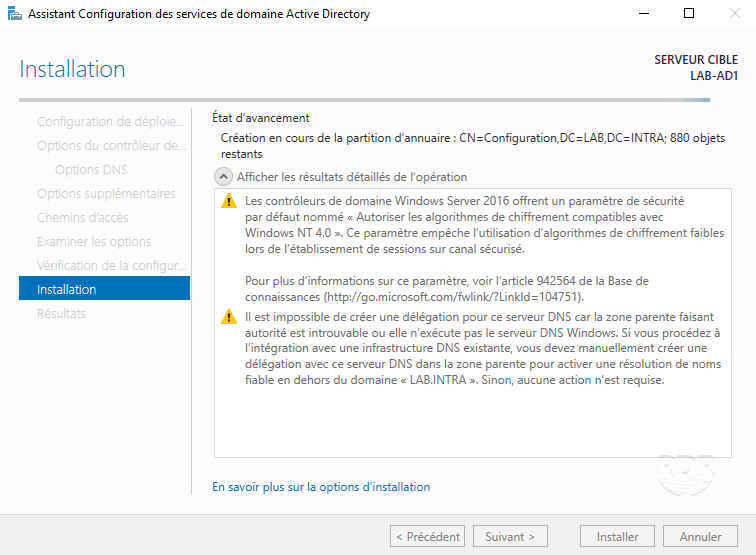
At the end of it, the server restarts automatically.
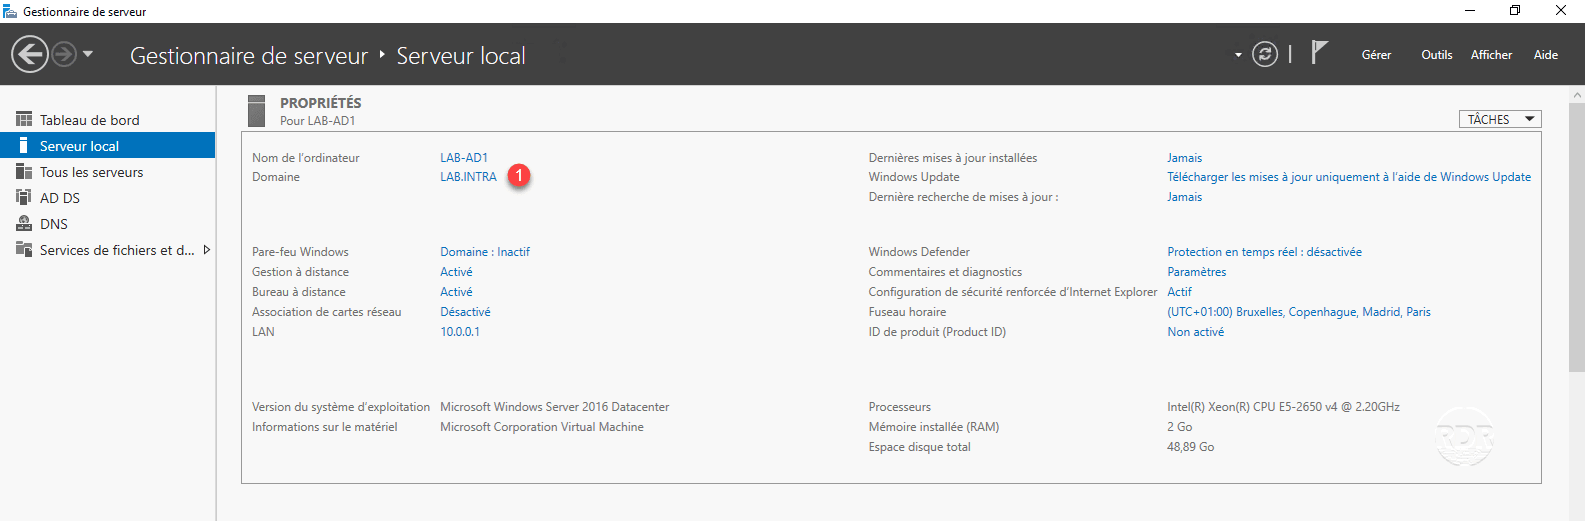
When the installation is complete and the server is restarted, log in with the administrator account.
From the server manager, verify that the server is a member of domain 1 .
Now that we have a domain controller, we will have a look at the different consoles.
Active Directory Management Consoles
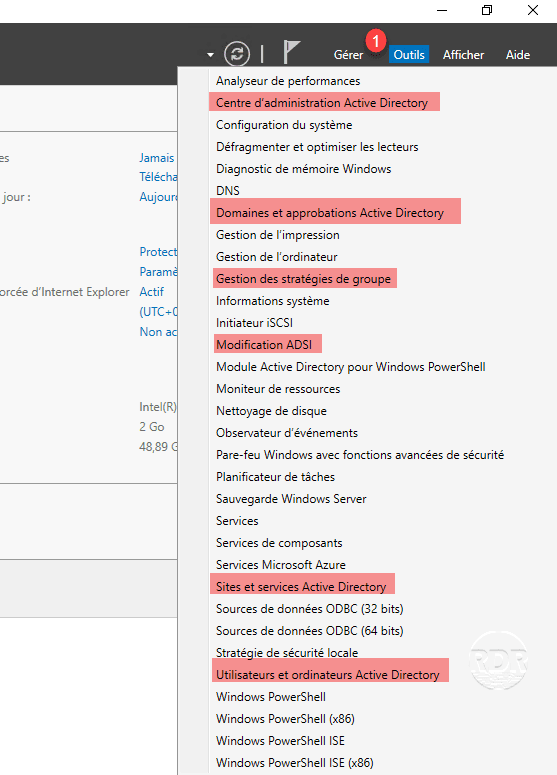
The set of administration consoles can be accessed by the Server Manager by clicking Tools 1 .
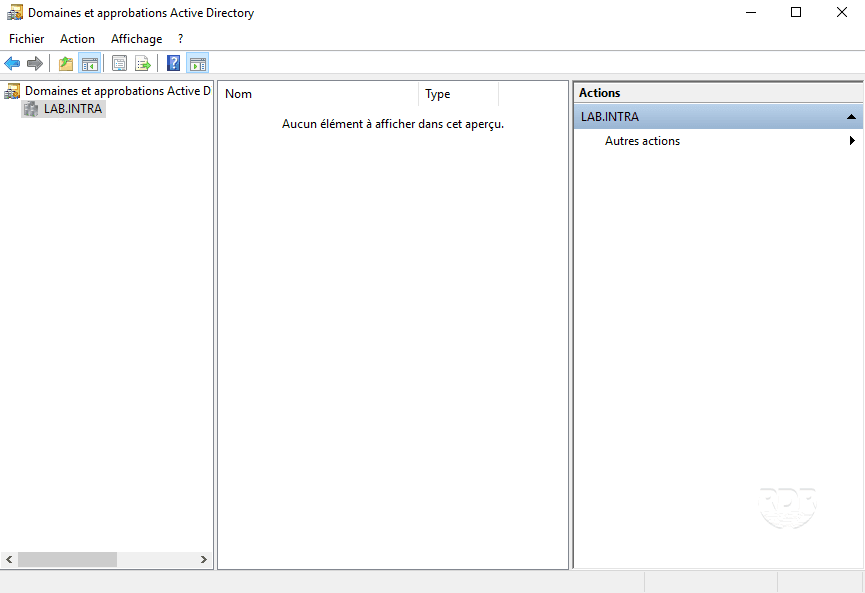
Domains and Active Directory Trust
This console is used primarily for the trust relationship between domains and forests.
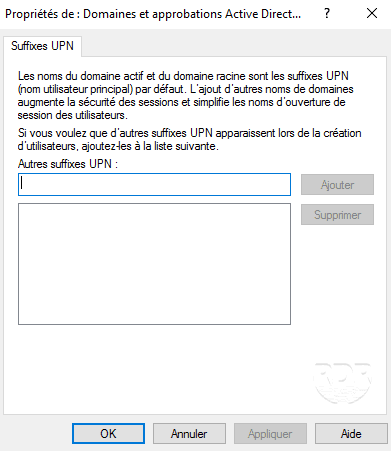
If you want to add a UPN suffix to your domain this is done through this console. If your domain is your-company.local and you want to allow your users to connect with their email address (your-company.com), you must add the suffix using this console.
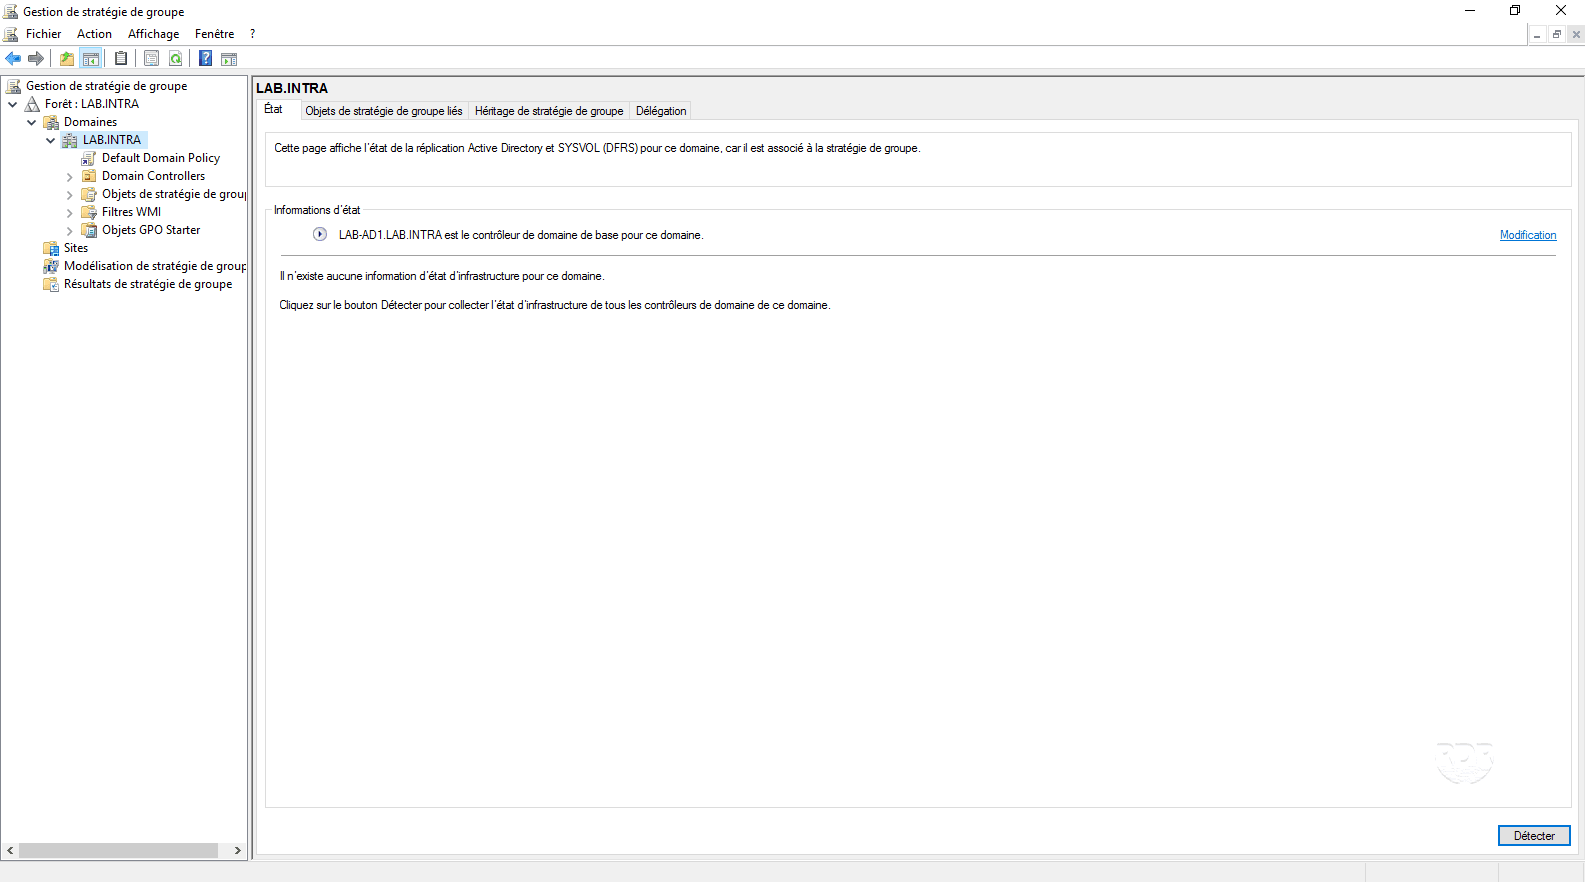
Group Policy Management
This console is used to administer the GPOs, this is where you can configure network drives, Windows settings …
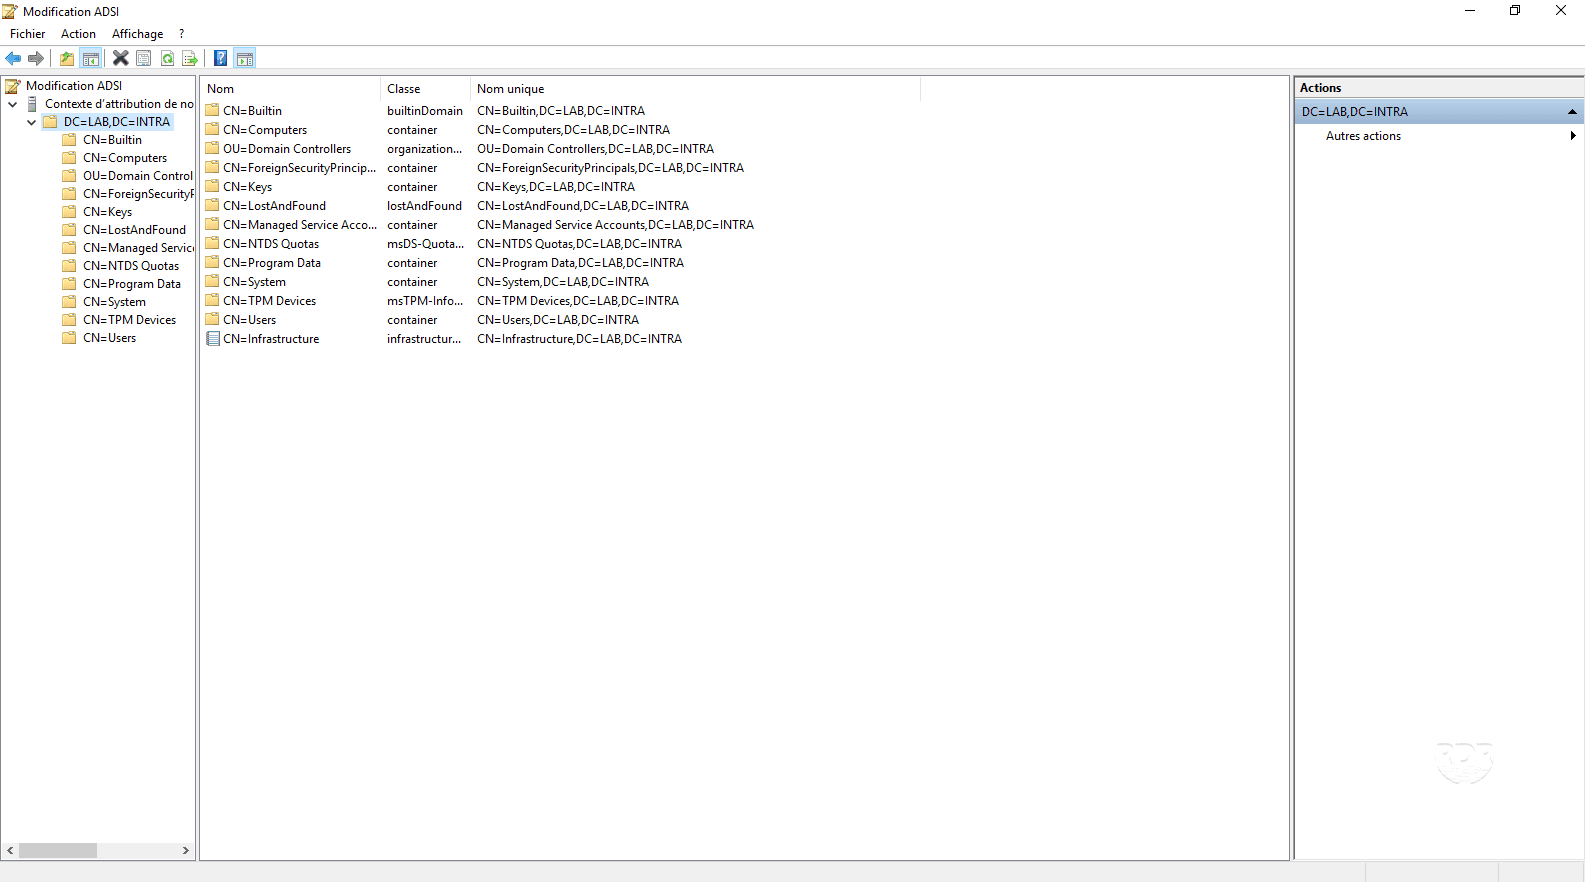
ADSI modification
This console is to be used with great care, it allows to act directly the records of the LDAP database and modify its structure.
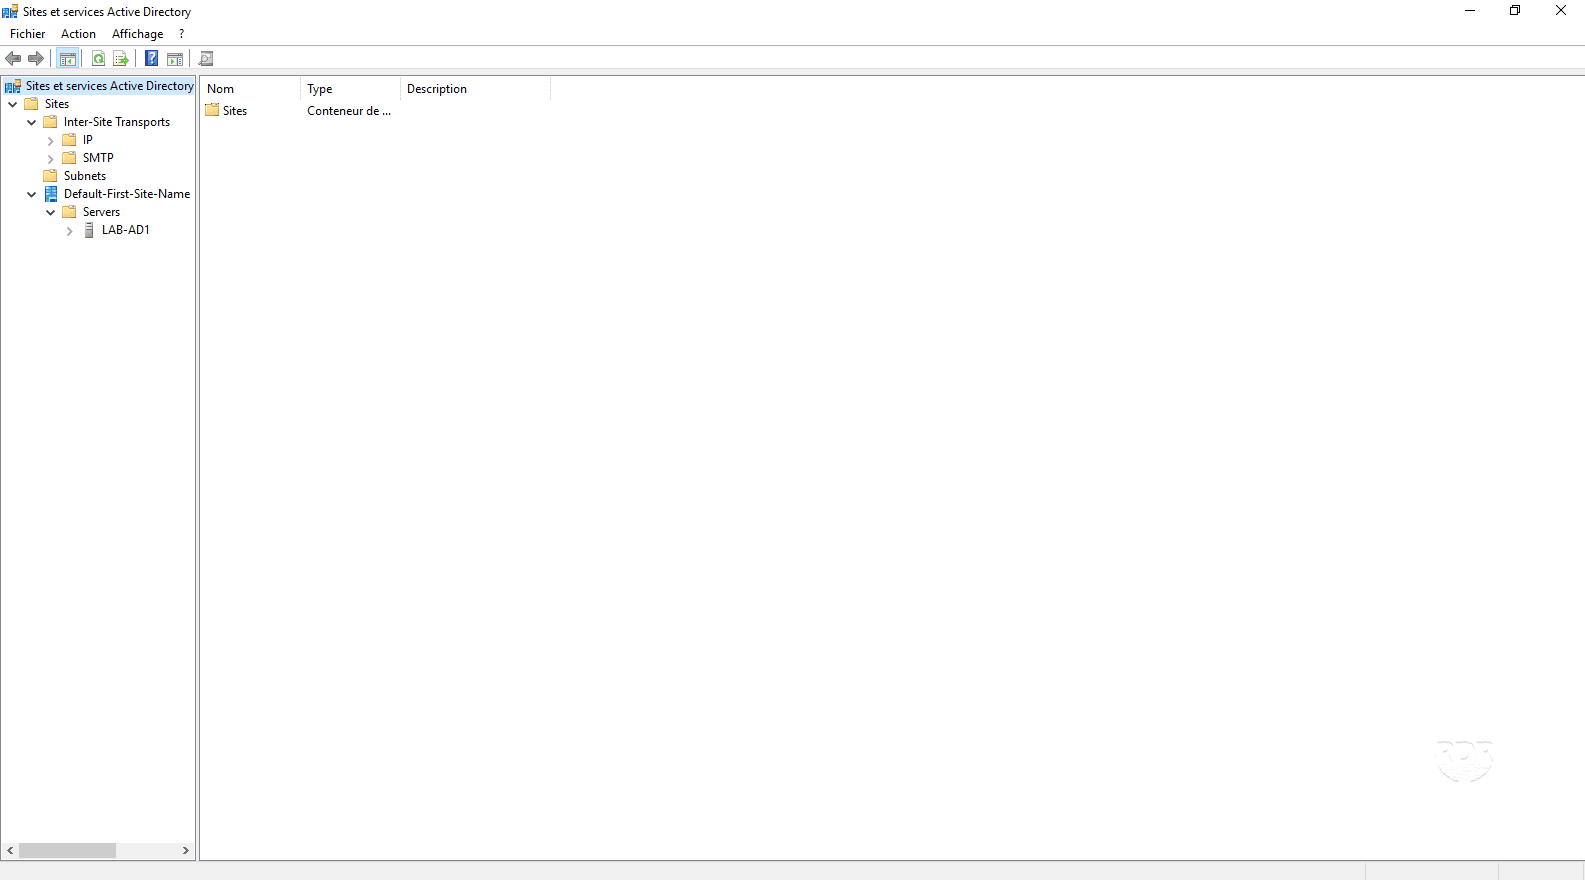
Active Directory Sites and Services
This console is mainly used in the multi-site environment. It makes it possible to declare the sites and the IP addresses, to manage the replication between the controllers of domains …
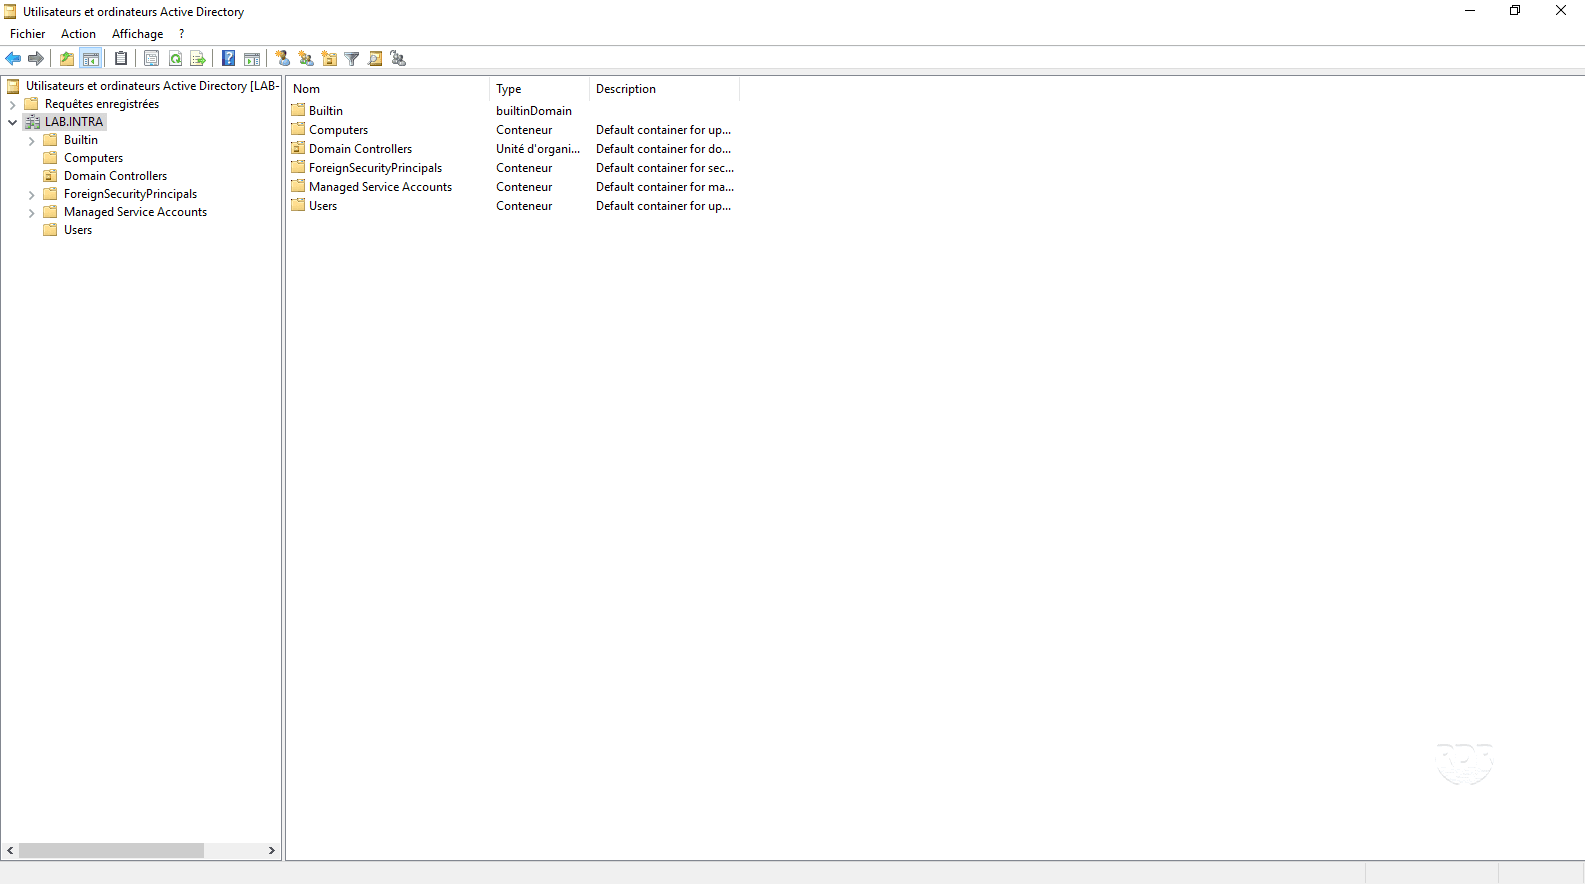
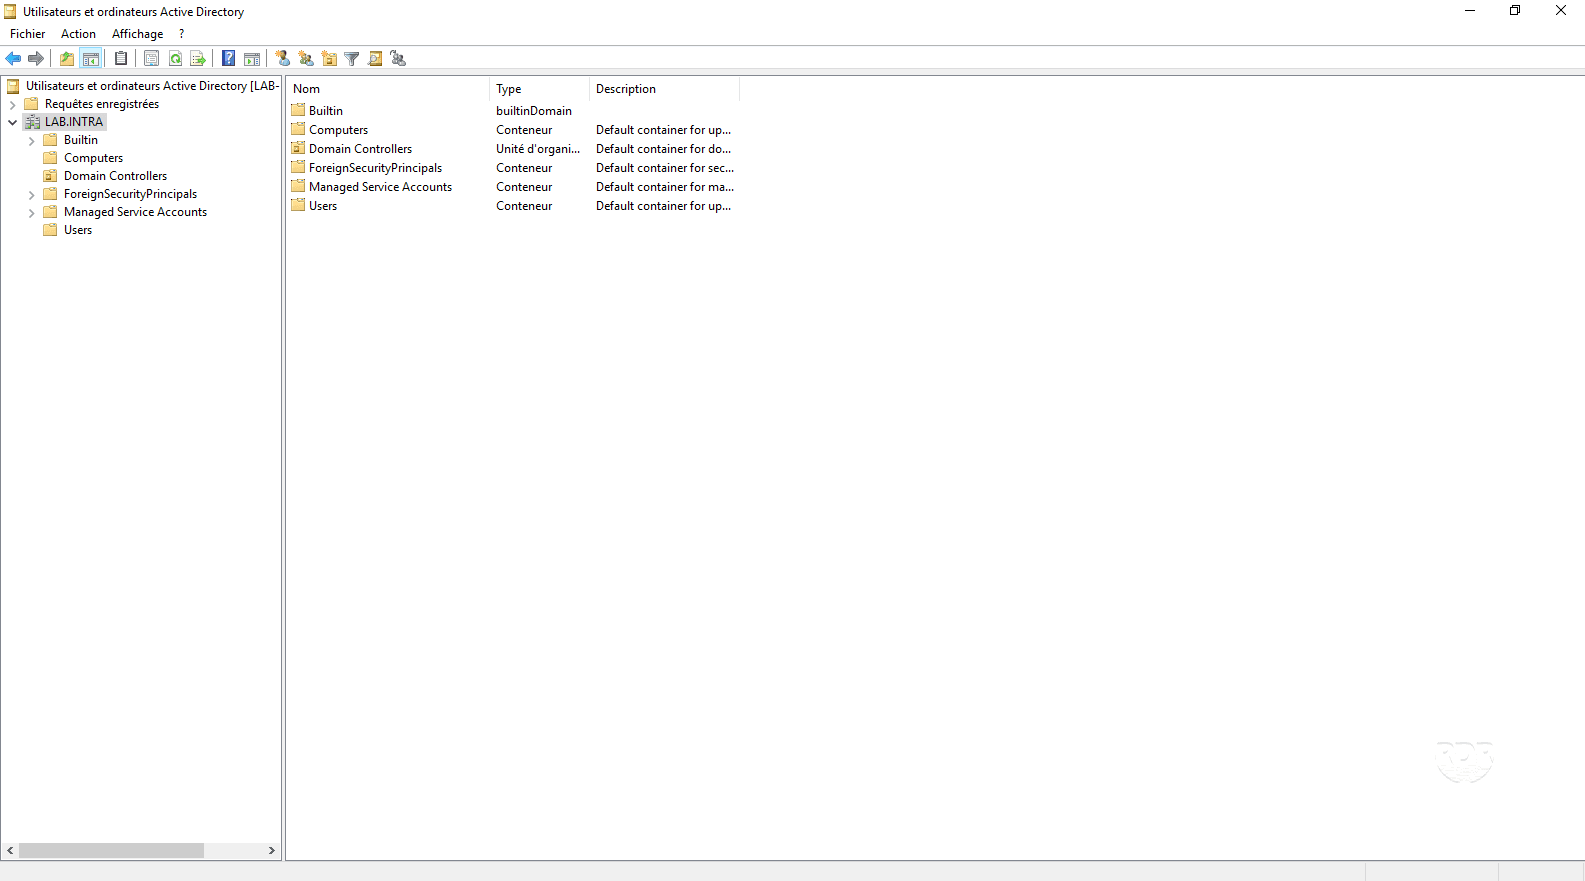
Active Directory Users and Computers
This console is certainly the best known and the most used, it allows the management of users, computers and groups.
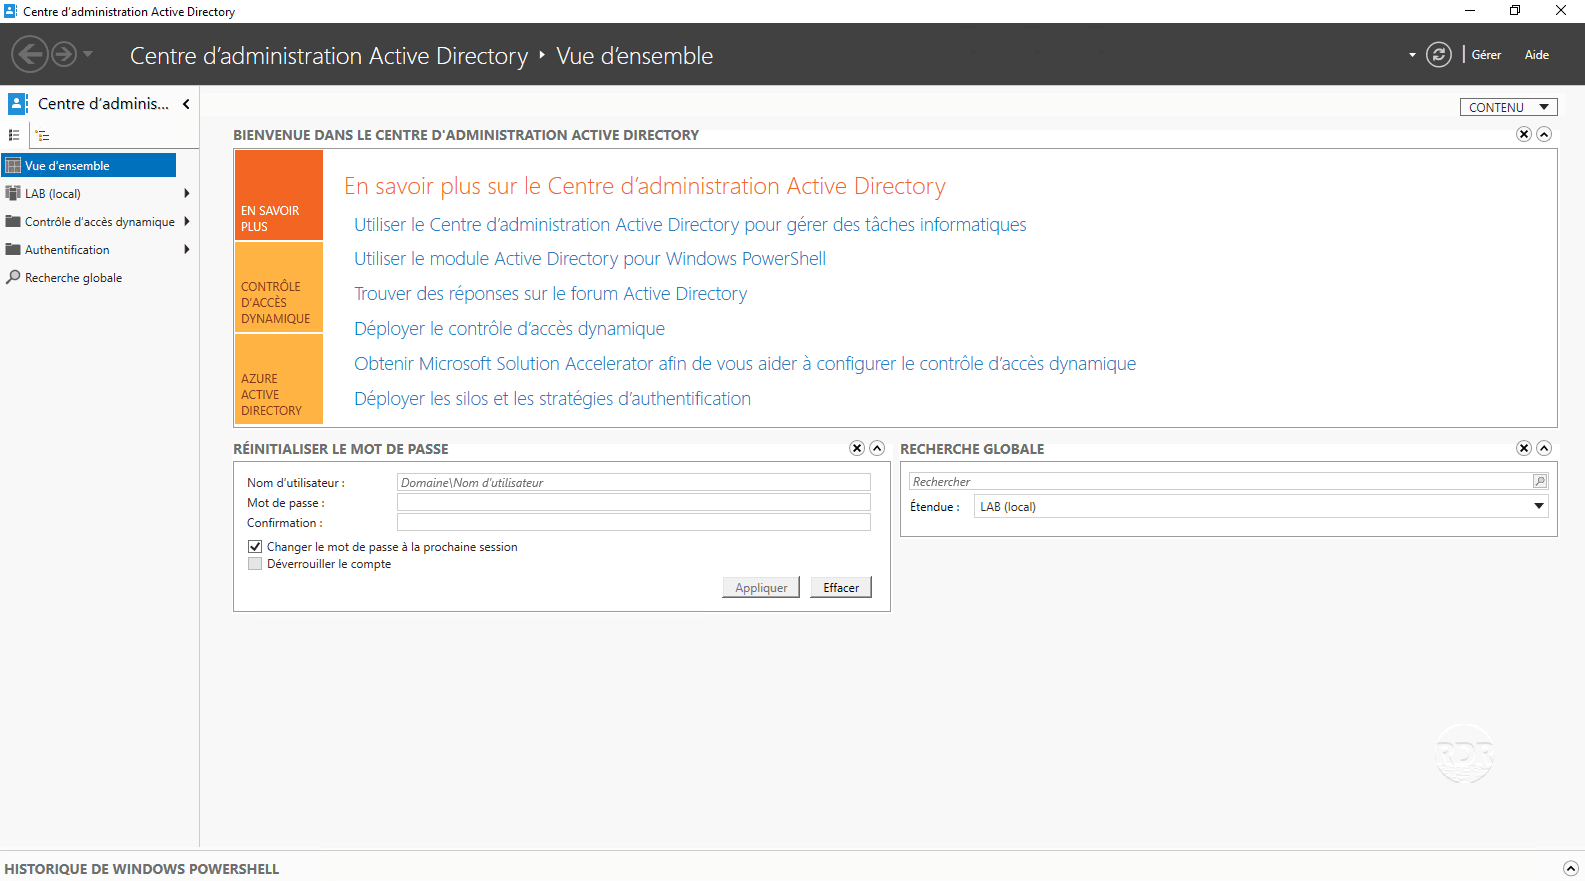
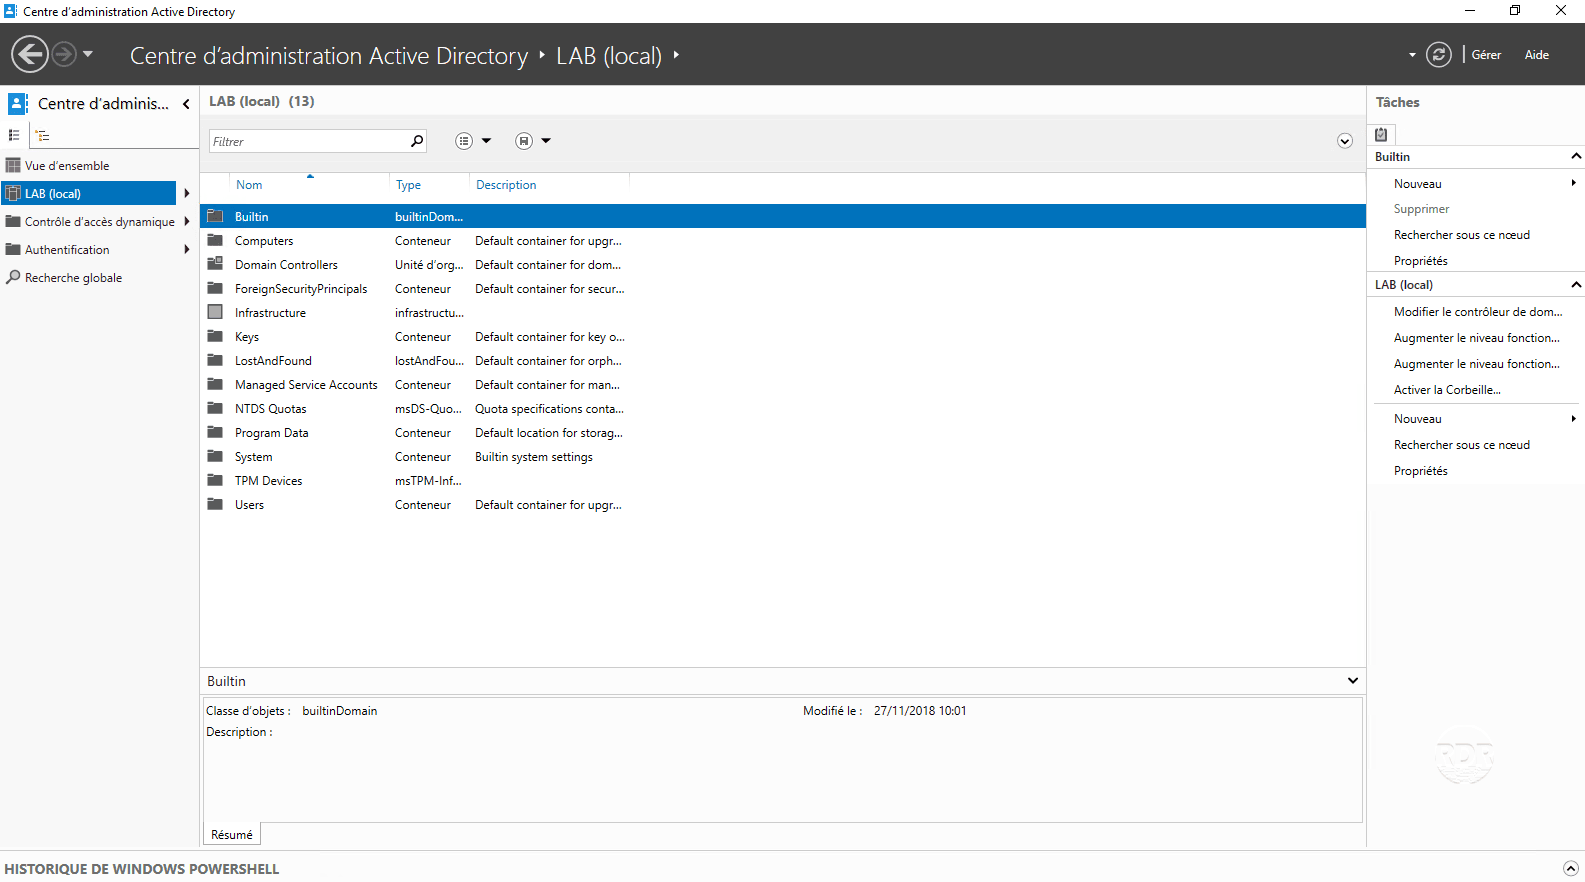
ADAC Active Directory Administration Center
This is the latest console developed by Microsoft to replace the Active Directory Users and Computers console.
It allows the management of users, groups and computers, to the Active Directory recycle bin, to dynamic access controls …
Now that we have gone through the administration tools, we will see how to add an OU, a user and a computer.
First step with the Active Directory
In this part, we will see several things:
- Organizational Units (OUs) that are similar to folders that will allow us to organize the directory.
- Creating a user
- The joining of a post to the domain
- Connect with the previously created user to the computer.
The term object is used to define the different elements that can be stored in the Active Directory.
All manipulations will be performed on the Active Directory Users and Computers console.
1. Open the Active Directory Users and Computers console.
Creation of Organization Units OU
In this part, we will create 3 OU. The first IT in which we will create two other OU (users and computers), which will be used to store the objects of the IT department.
There are also OU in the Group Policy Management console that allow you to apply GPOs to some of the AD objects.
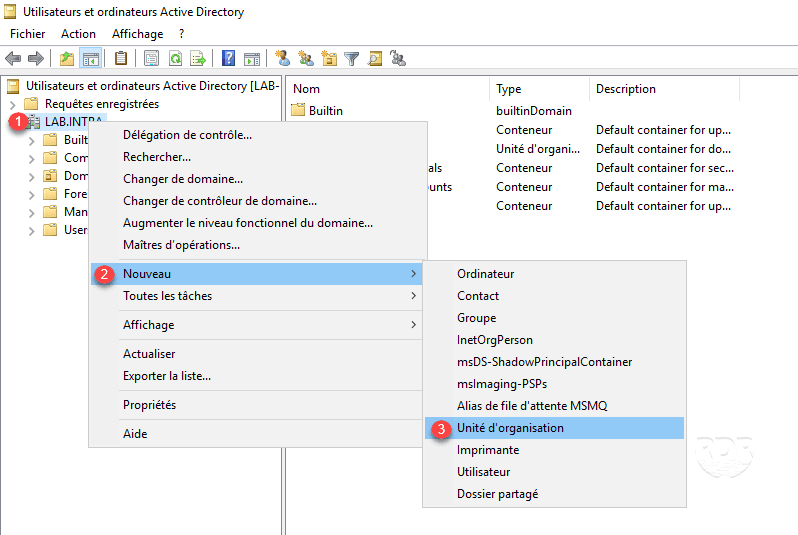
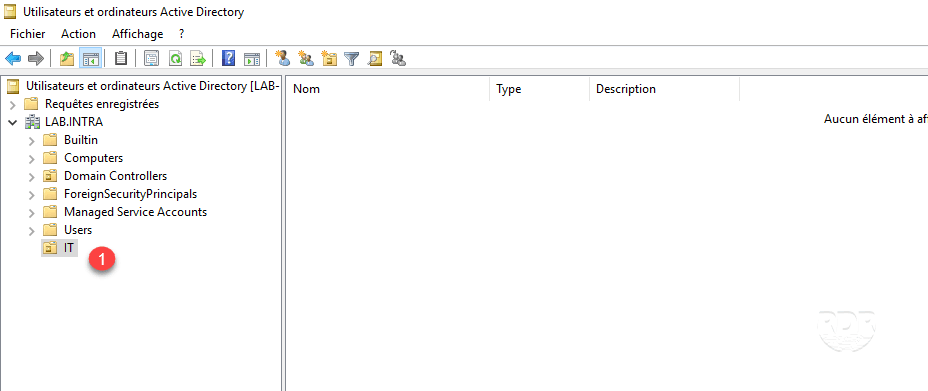
1. Right-click on domain 1 , go to New 2 and click on Organization Units 3 .
2. Enter the name of the OU 1 and click OK 2 .
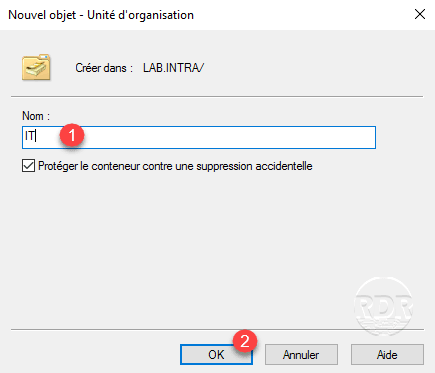
3. The OU is created 1 .
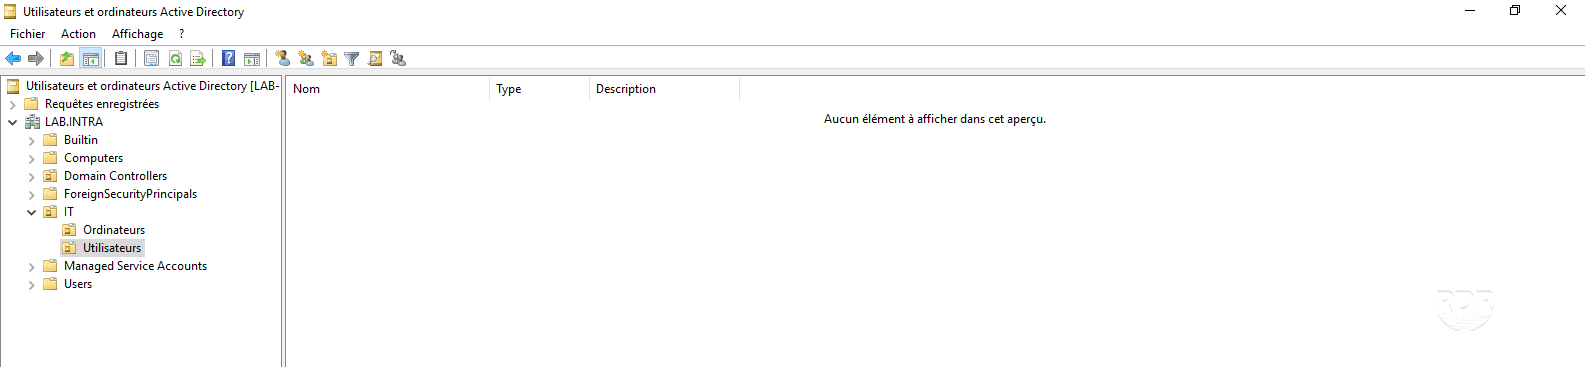
4. Create two OU (Users and Computer) in IT.
Creating a user
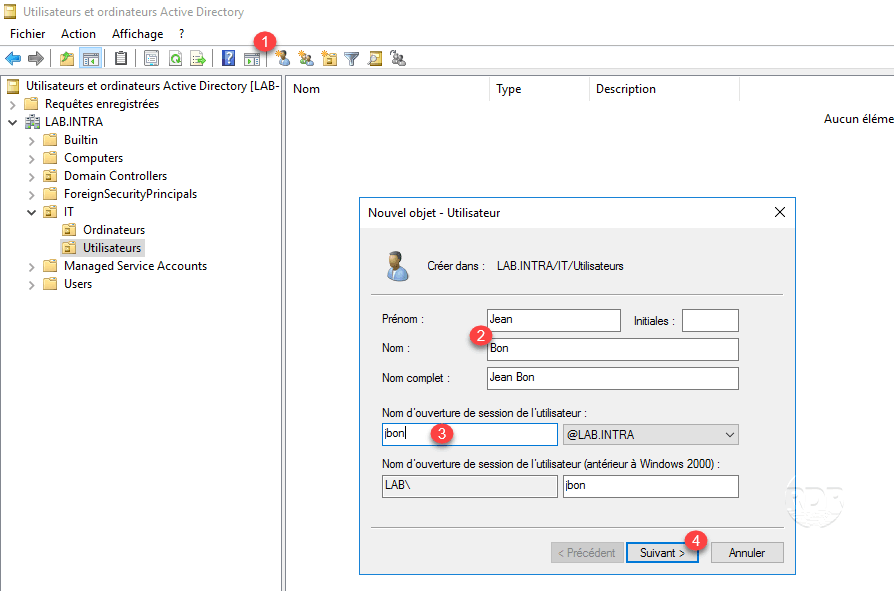
1. Click on the user icon 1 , enter the first and last name 2 , the identifier 3 then click Next 4 .
2. Enter the password 1 and click Next 2 .
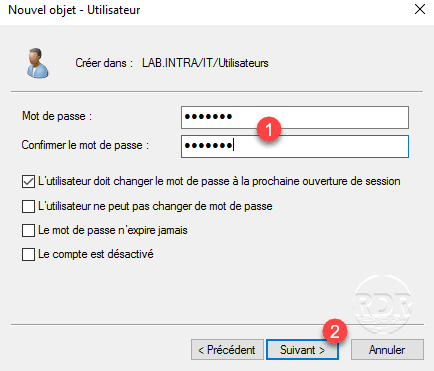
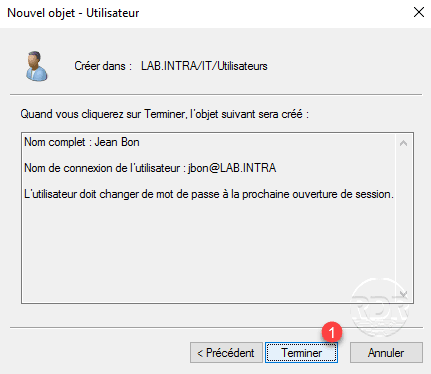
As you can see in the screenshot below, I left check User must change password at next logon.
3. Click Finish 1 to add the user.
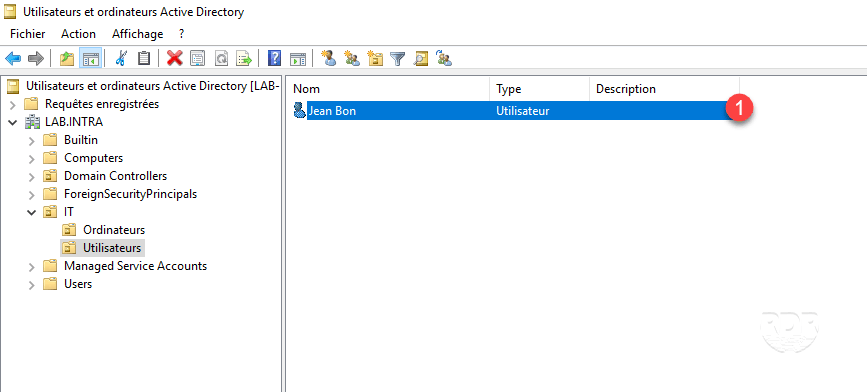
4. The user is added to the directory 1 .
Join a computer at the domain
Prerequisites
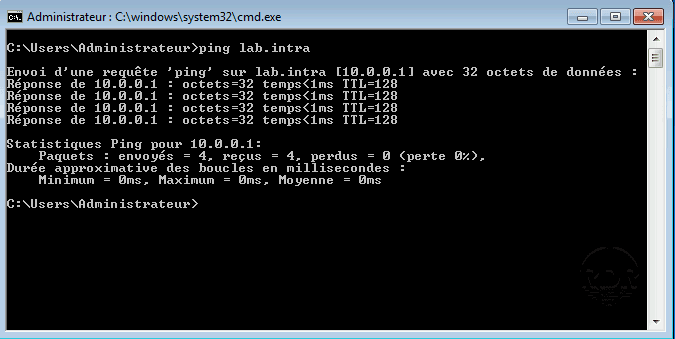
To join a computer to the domain, it must be ensured that it can contact him, open a command window and ping the domain name.
If you do not have a response to ping, you must configure the IP settings of the computer with DNS as the domain controller.
To resolve external domain names, you need to set up DNS forwarders.
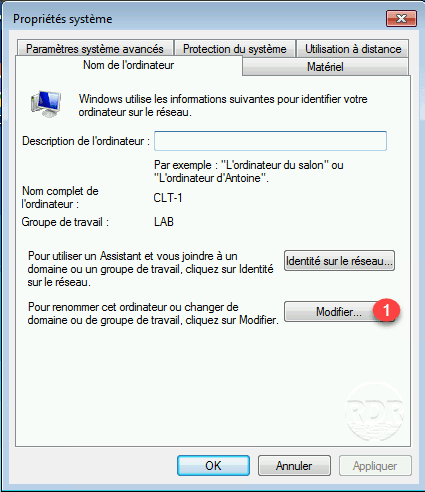
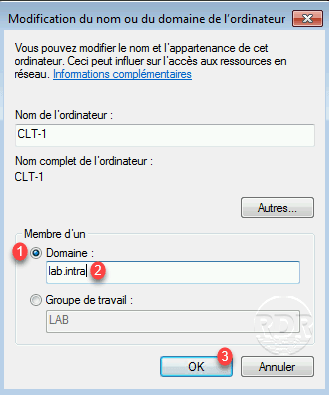
1. Open the system properties and click Edit 1 .
2. In the Member of a section, select Domain 1 , enter the domain name 2 and click OK 3 .
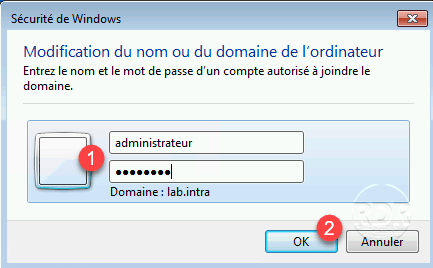
3. Enter the information 1 from an authorized account to join extensions to the domain and click OK 2 .
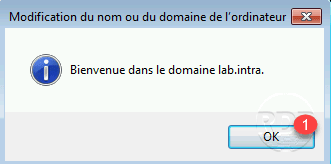
4. Close the confirmation window by clicking OK 1 .
The firewall may be blocking communication with the domain controller.
5. Restart the station for the application of the entry in the domain.
6. Return to the Active Directory Users and Computers console and go to the Computers 1 folder where the computer counter 2 should be located.
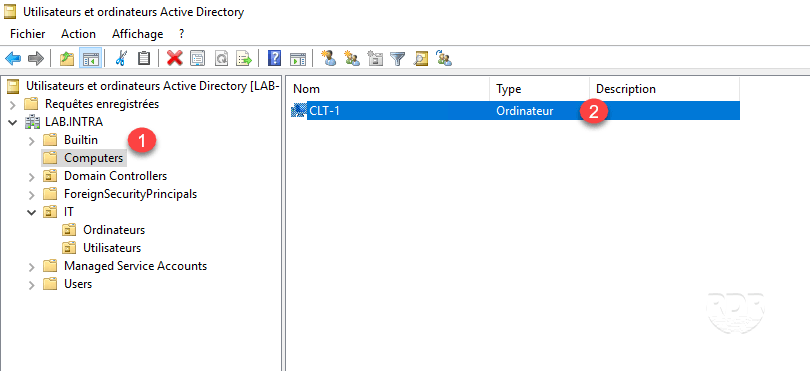
7. Select the object and drag and drop into the IT / Computers OU.
Connect to the computer
1. Go back to the computer and do a CTRL + ALT + DELETE.
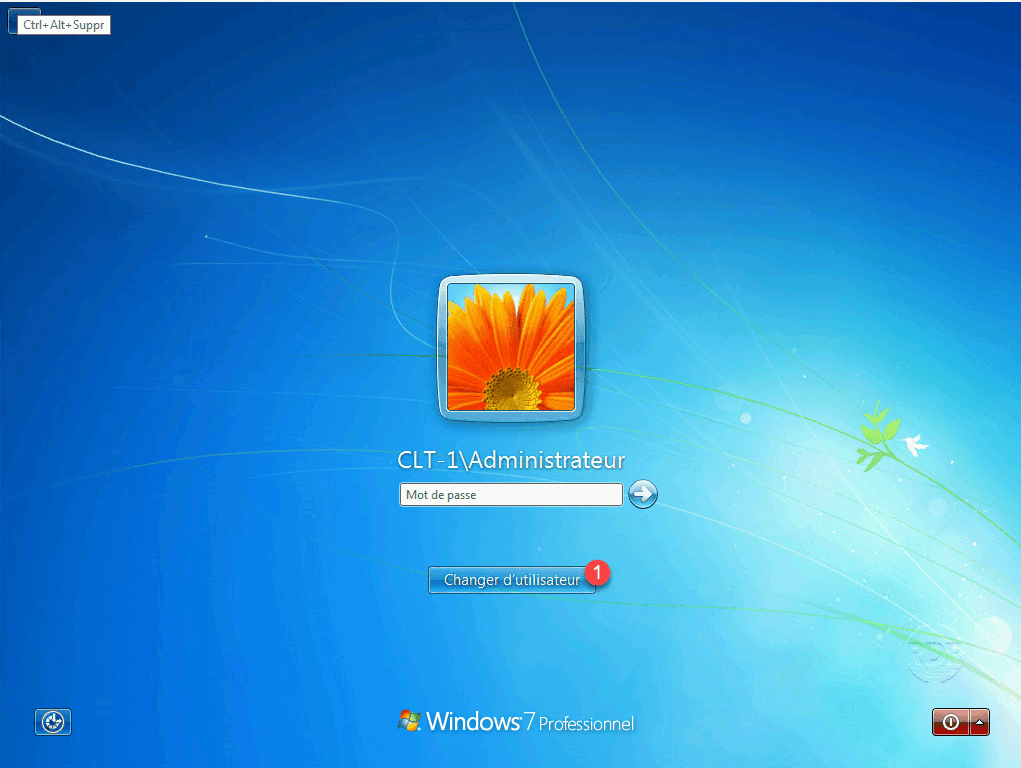
2. Windows offers to connect with the last used account, click Change User 1 .
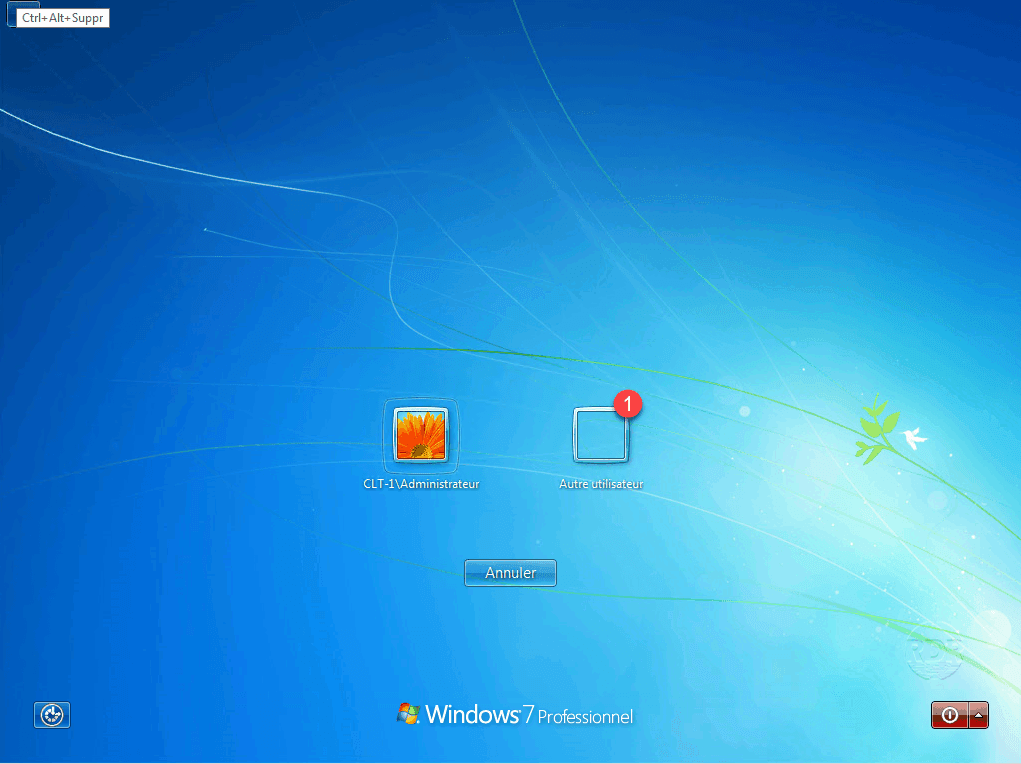
3. Click on Other user 1 .
4. Enter the identifier and pass mode 1 of the account that was previously created and confirm by pressing Enter.
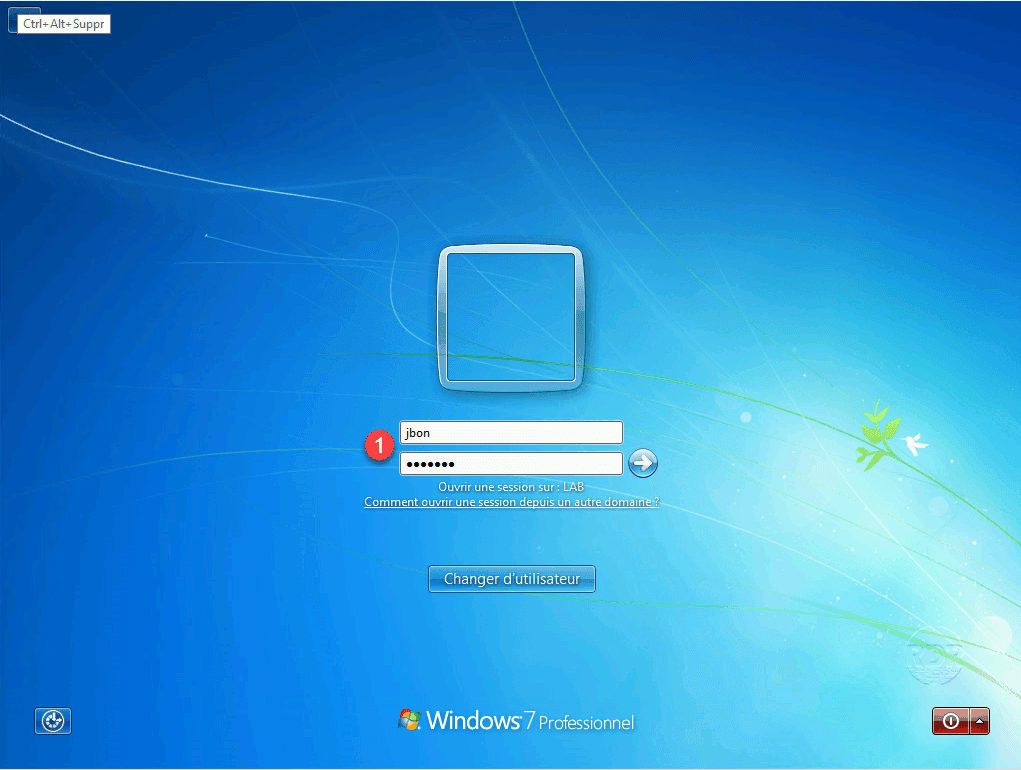
Under the password field, we see that the session opens on the LAB domain.
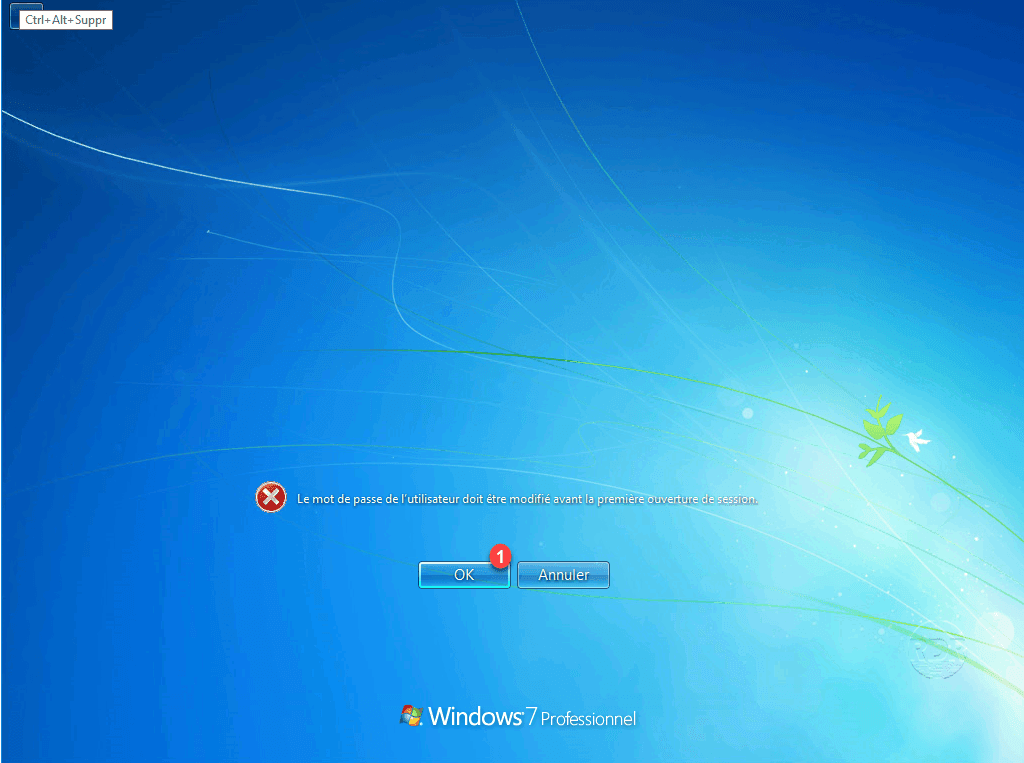
5. A message appears indicating that the user must change his password, click OK 1 .
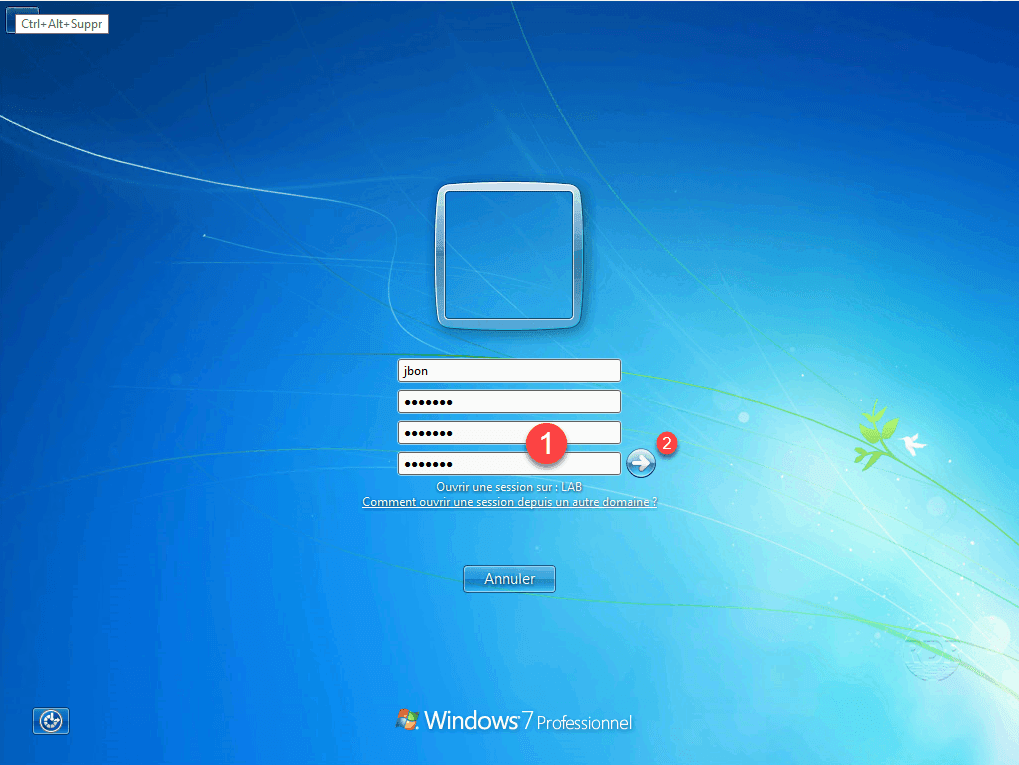
6. Enter the password name (x2) 1 and confirm 2 .
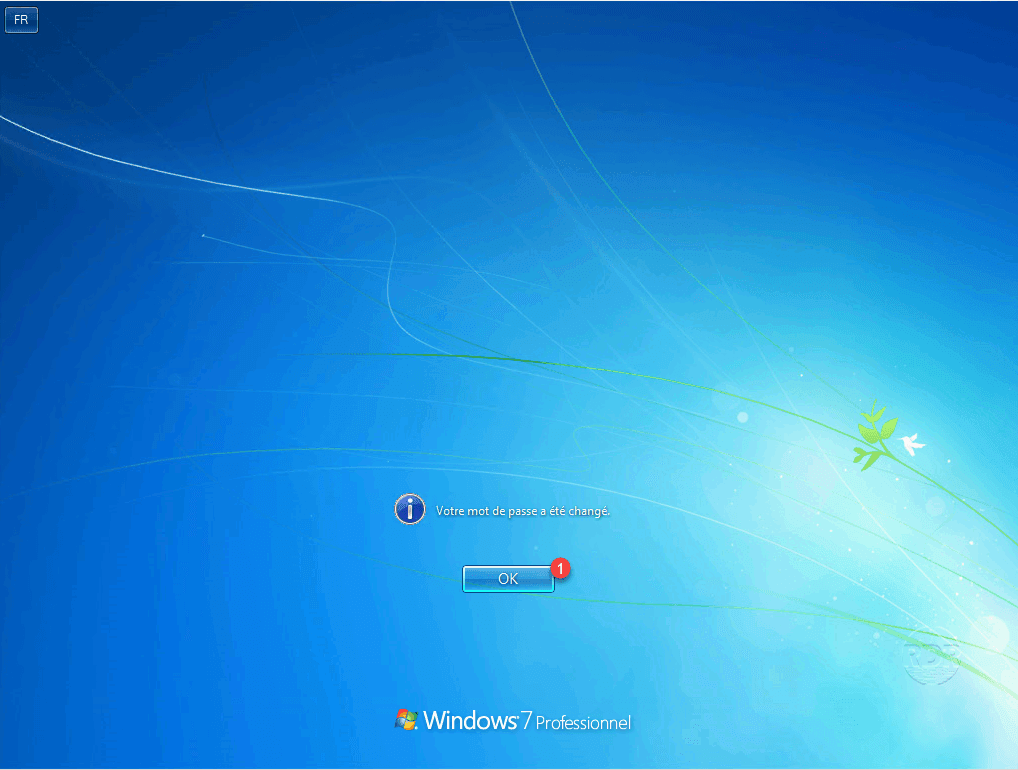
7. Click OK 1 on the confirmation message.
8. Wait during the opening session …

9. The session is open with the user created in the Active Directory.
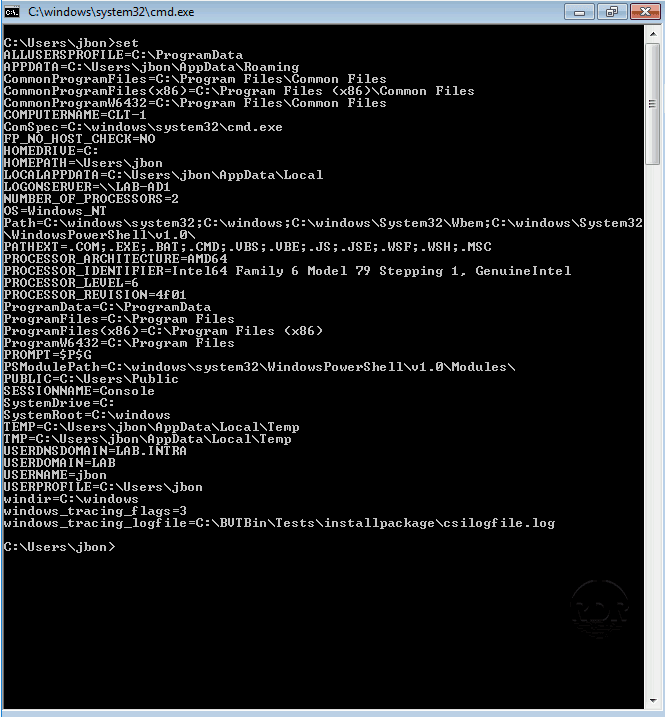
10. (optional) Open a command window and enter set. The command returns the environment variables of the system, it allows to see on which domain controller the session has been validated LOGONSERVER and the domain with USERDNSDOMAIN and USERDOMAIN.