Presentation
In this tutorial, I’ll walk you through how to configure Guacamole to use Keycloak with OpenID to authenticate users.
Using Keycloak with Guacamole will give us additional features such as:
- Password strategy (complexity/lifespan…)
- OTP configuration
- Forgotten password, the user can change it themselves
- SSO portal if several applications in the realm
- …
With Keycloak and OpenID, there are two ways to manage users in Guacamole:
- Users are only created in Keycloak, in this case, users are not provisioned in Guacamole and the assignment of connection rights is done using groups, which involves managing the groups in Guacamole.
- Users are created in Keycloak and Guacamole and in this case the linking between the two is done with user id, email address
In this tutorial, I’ll cover both.
Concerning the environment Guacamole and Keycloak are deployed with Docker.
Configuring Keycloak
The configuration of Keycloak will be done in several steps.
Creation of a realm dedicated to Guacamole
We will start by configuring Keycloak, for management reasons, the Guacamole client will be configured in a dedicated realm.
This step is not mandatory, it is entirely possible to configure the client in an existing realm.
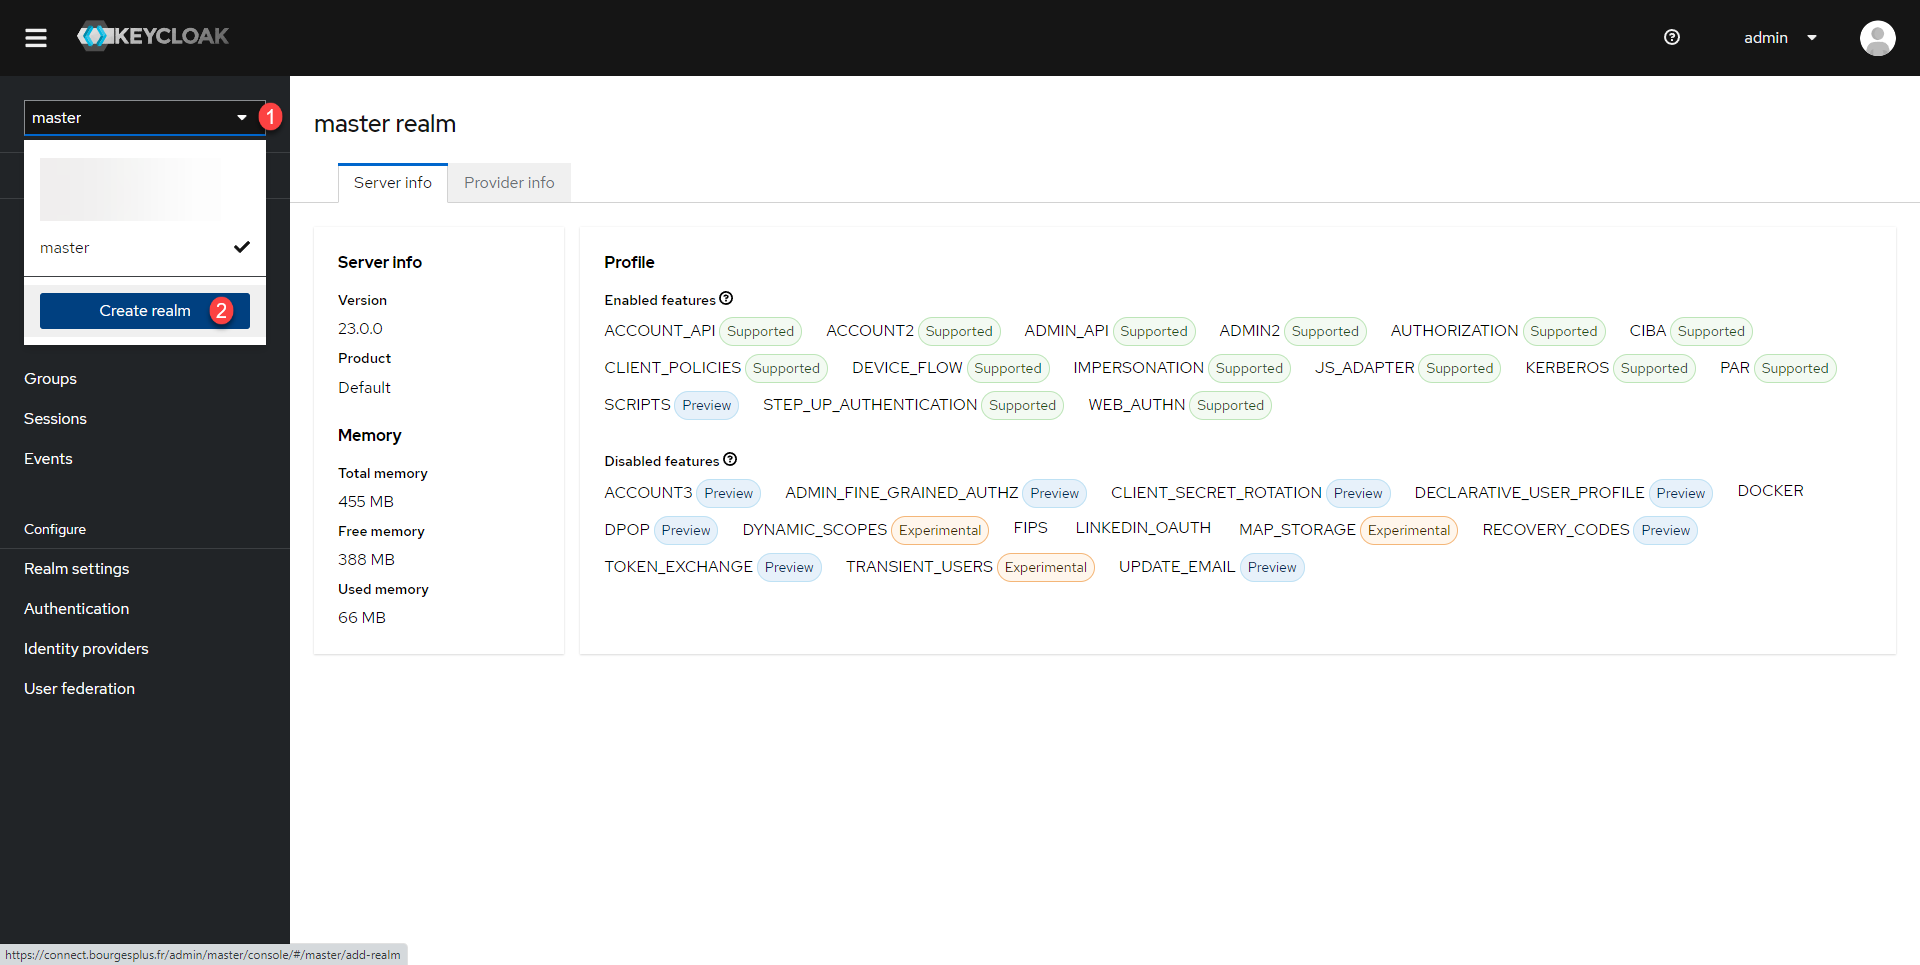
From the Keycloak administration interface, click on the list of realms 1 and click on Create realm 2.
Name the kingdom 1 and click on the Create 2 button.

The kingdom is created and we are redirected into it.

Realm setup
To make user management easier, we will configure the realm to use the email address as an identifier.
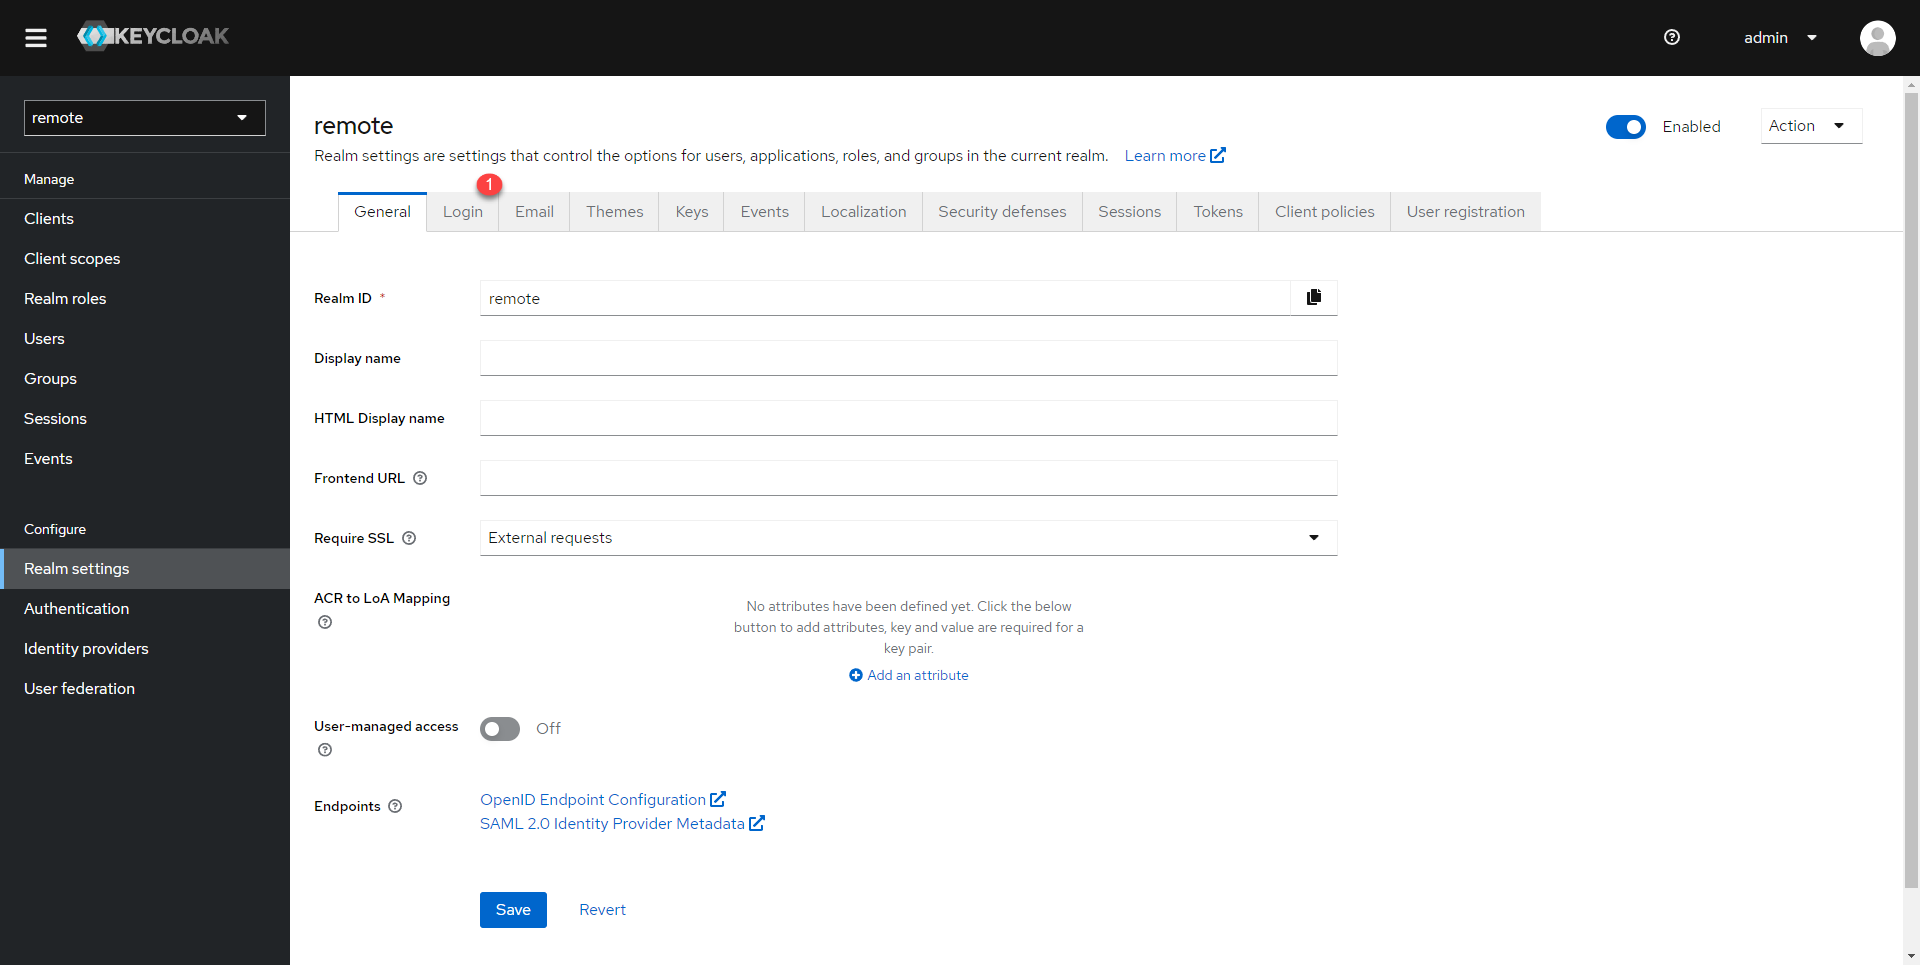
In the navigation menu click on Realms settings 1.

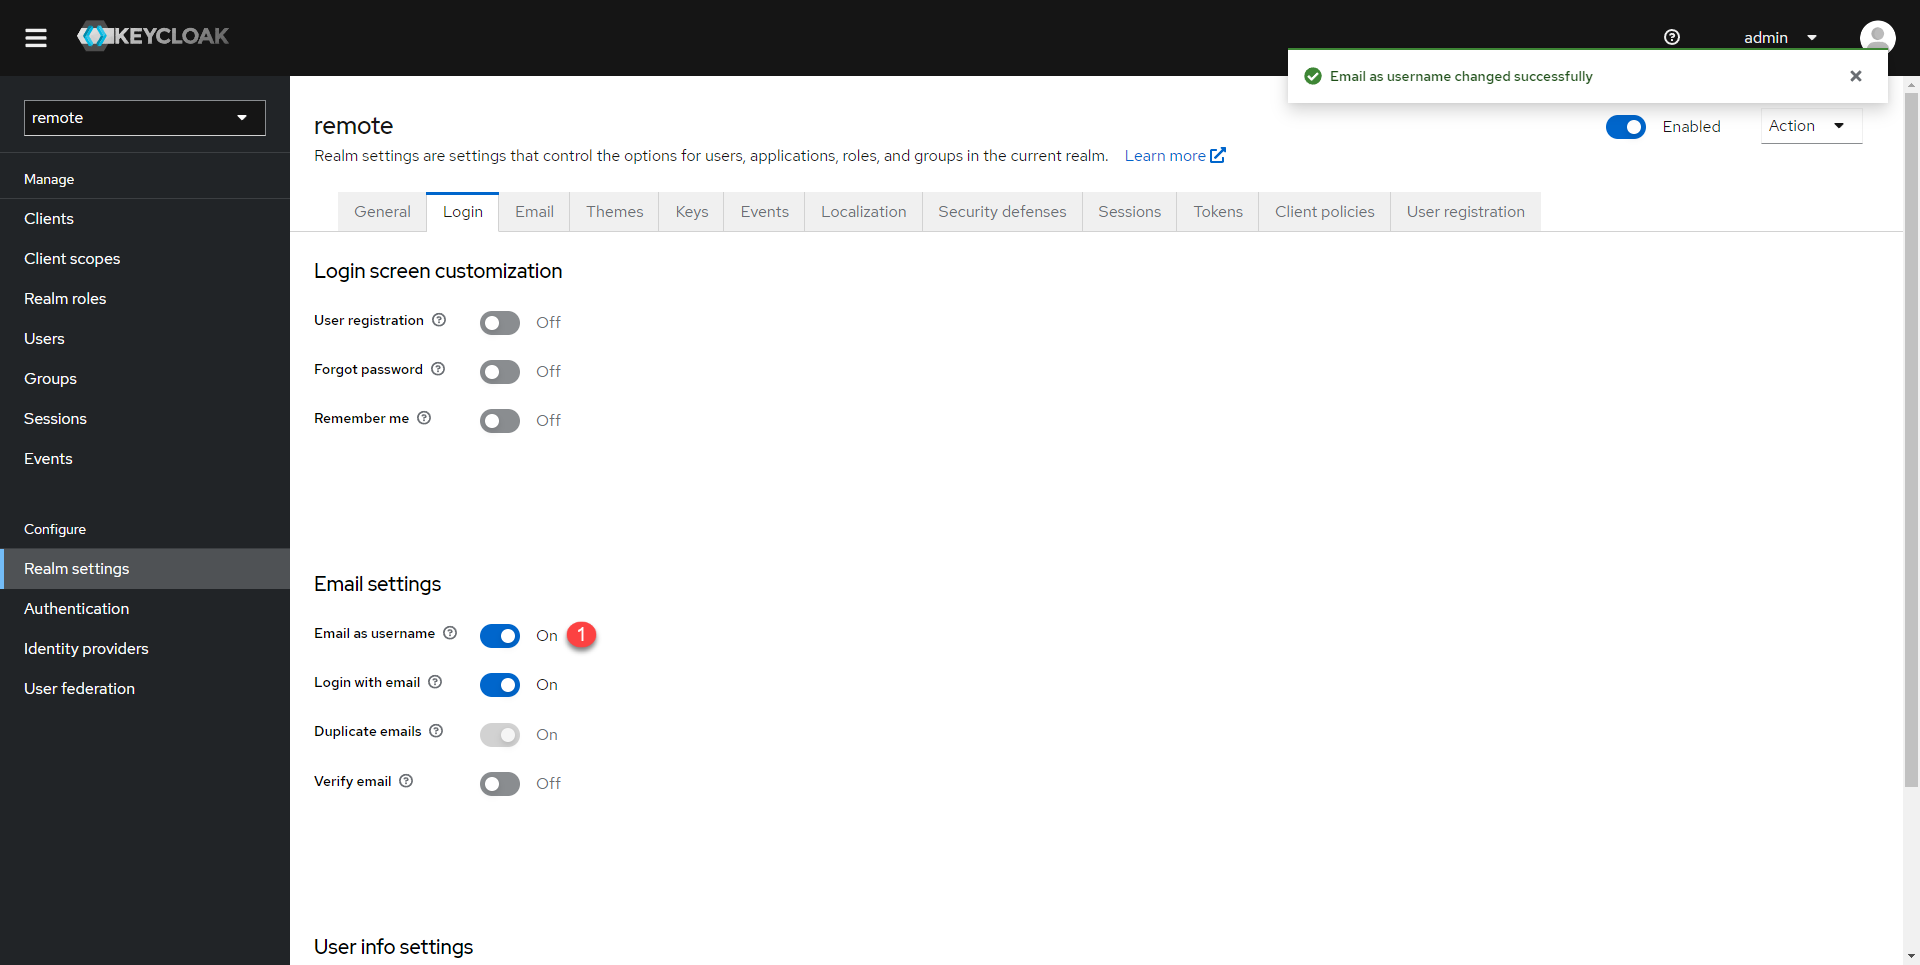
Go to the Login 1 tab.
Change the setting to On: Email as username 1.
Realm level setup in Keycloak is complete.
Add the Guacamole client in Keycloak
We will now move on to configuring the client for Guacamole in Keycloak.
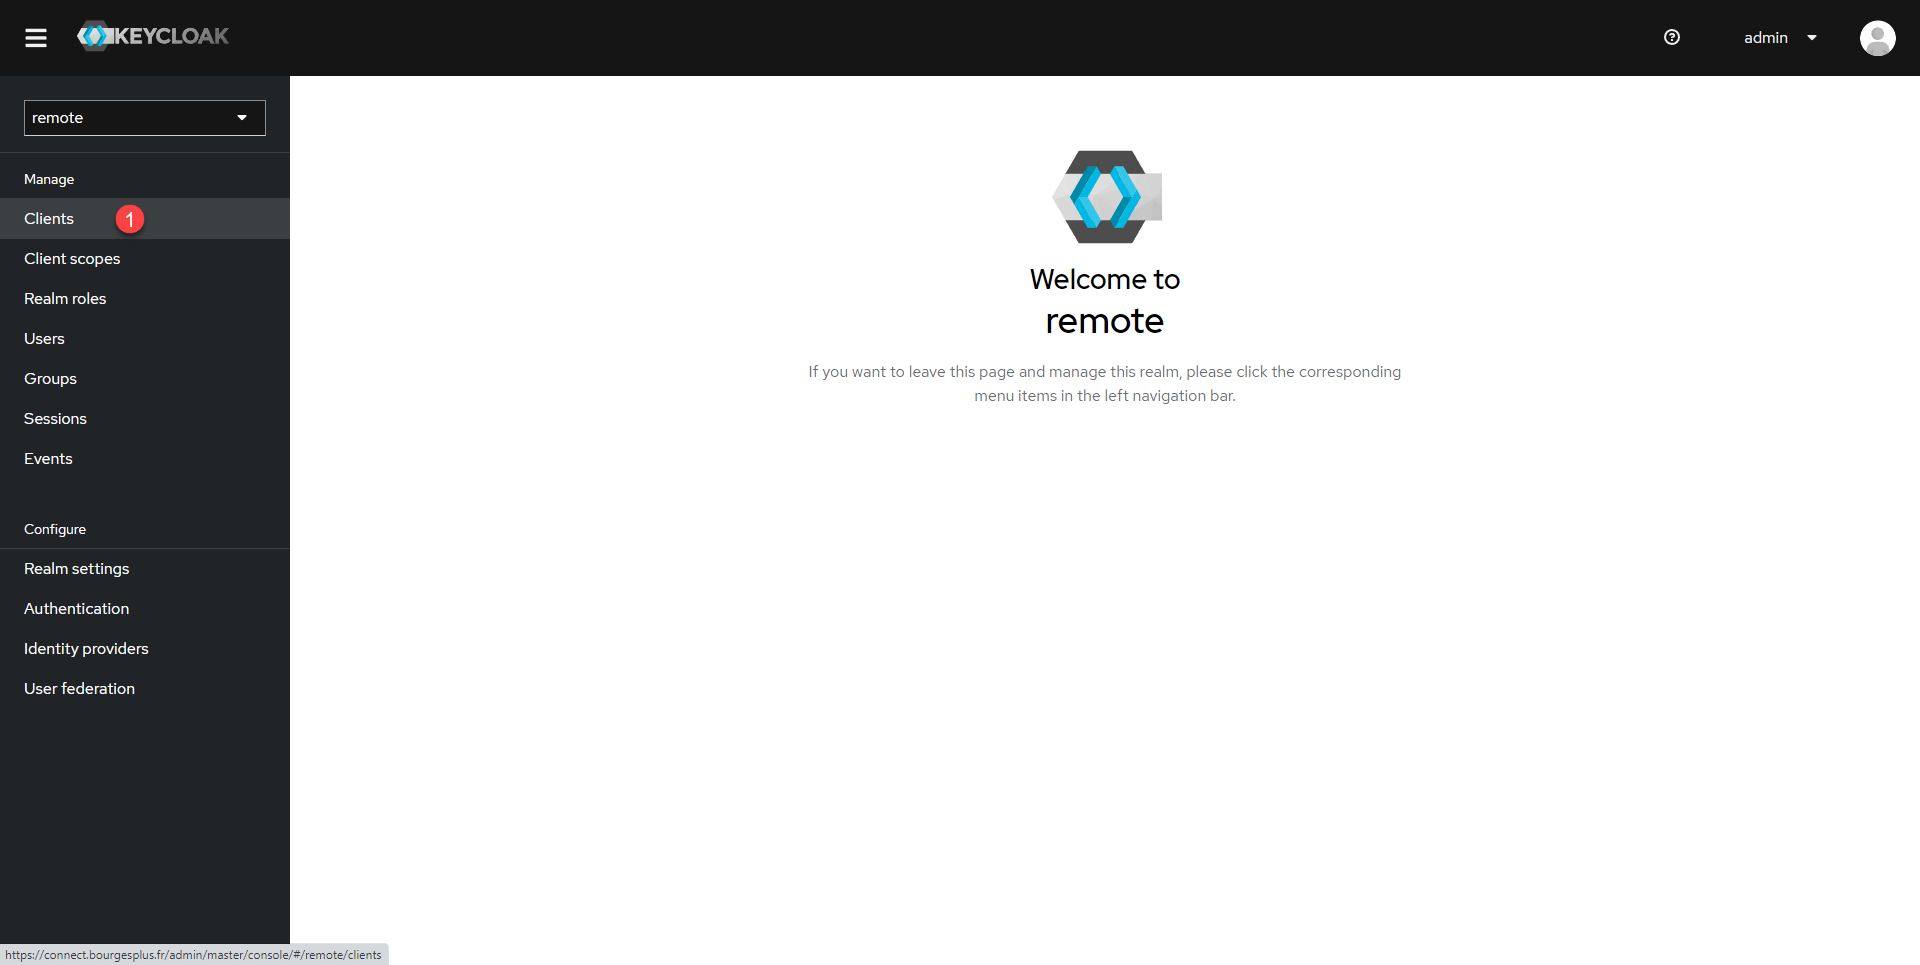
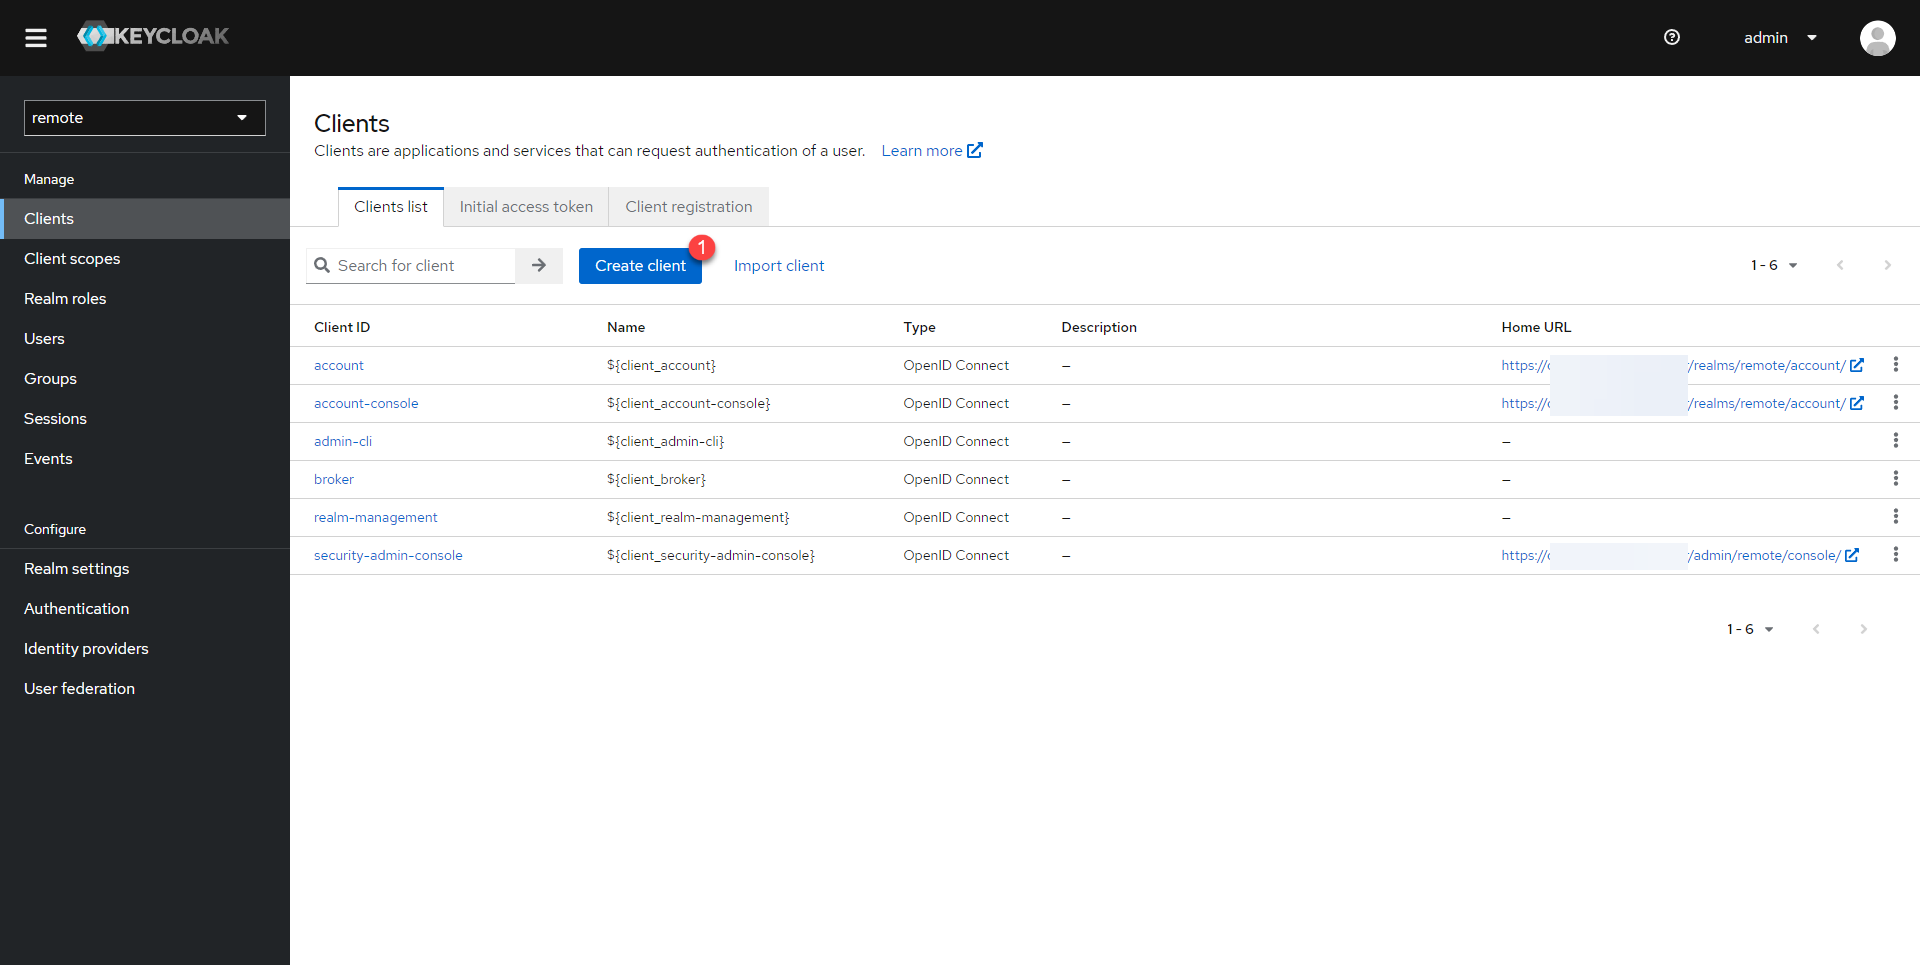
From the navigation menu on the left, click on Clients 1.
From the Clients list in Keycloak, click on Create client 1 to add a new client.
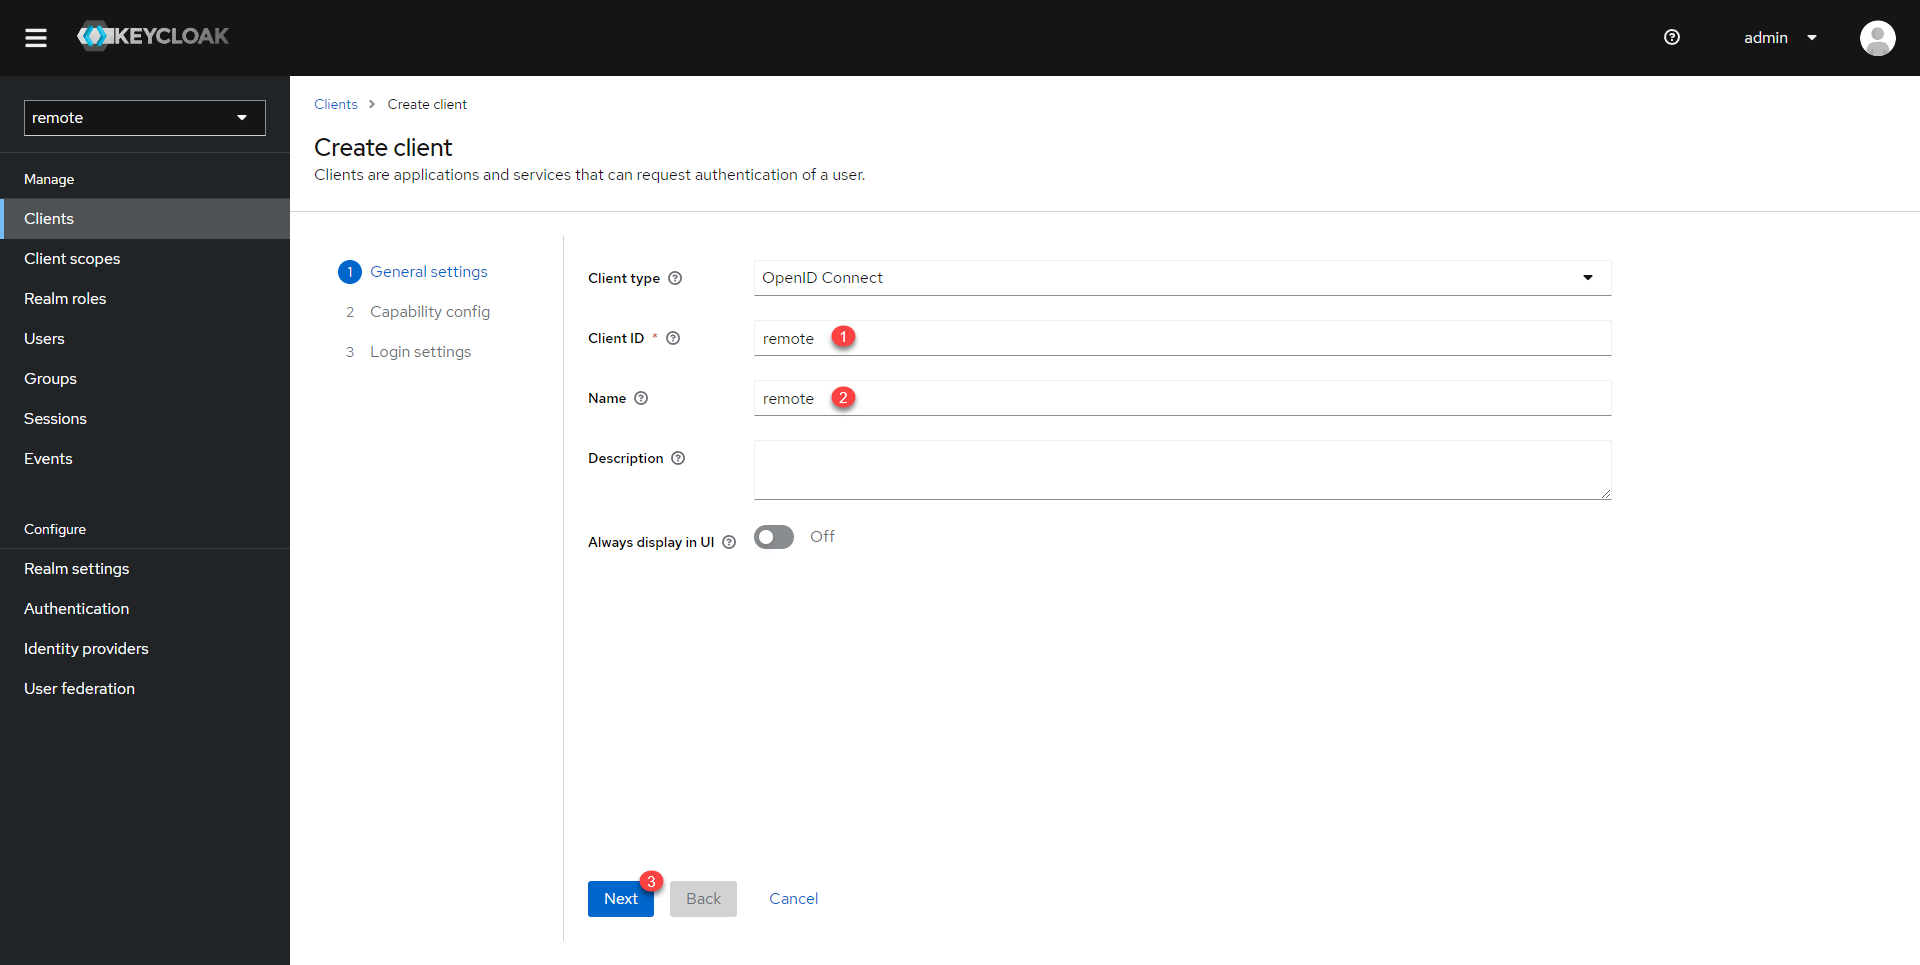
Enter the Client ID 1 and Client Name 2 and click the Next 3 button.
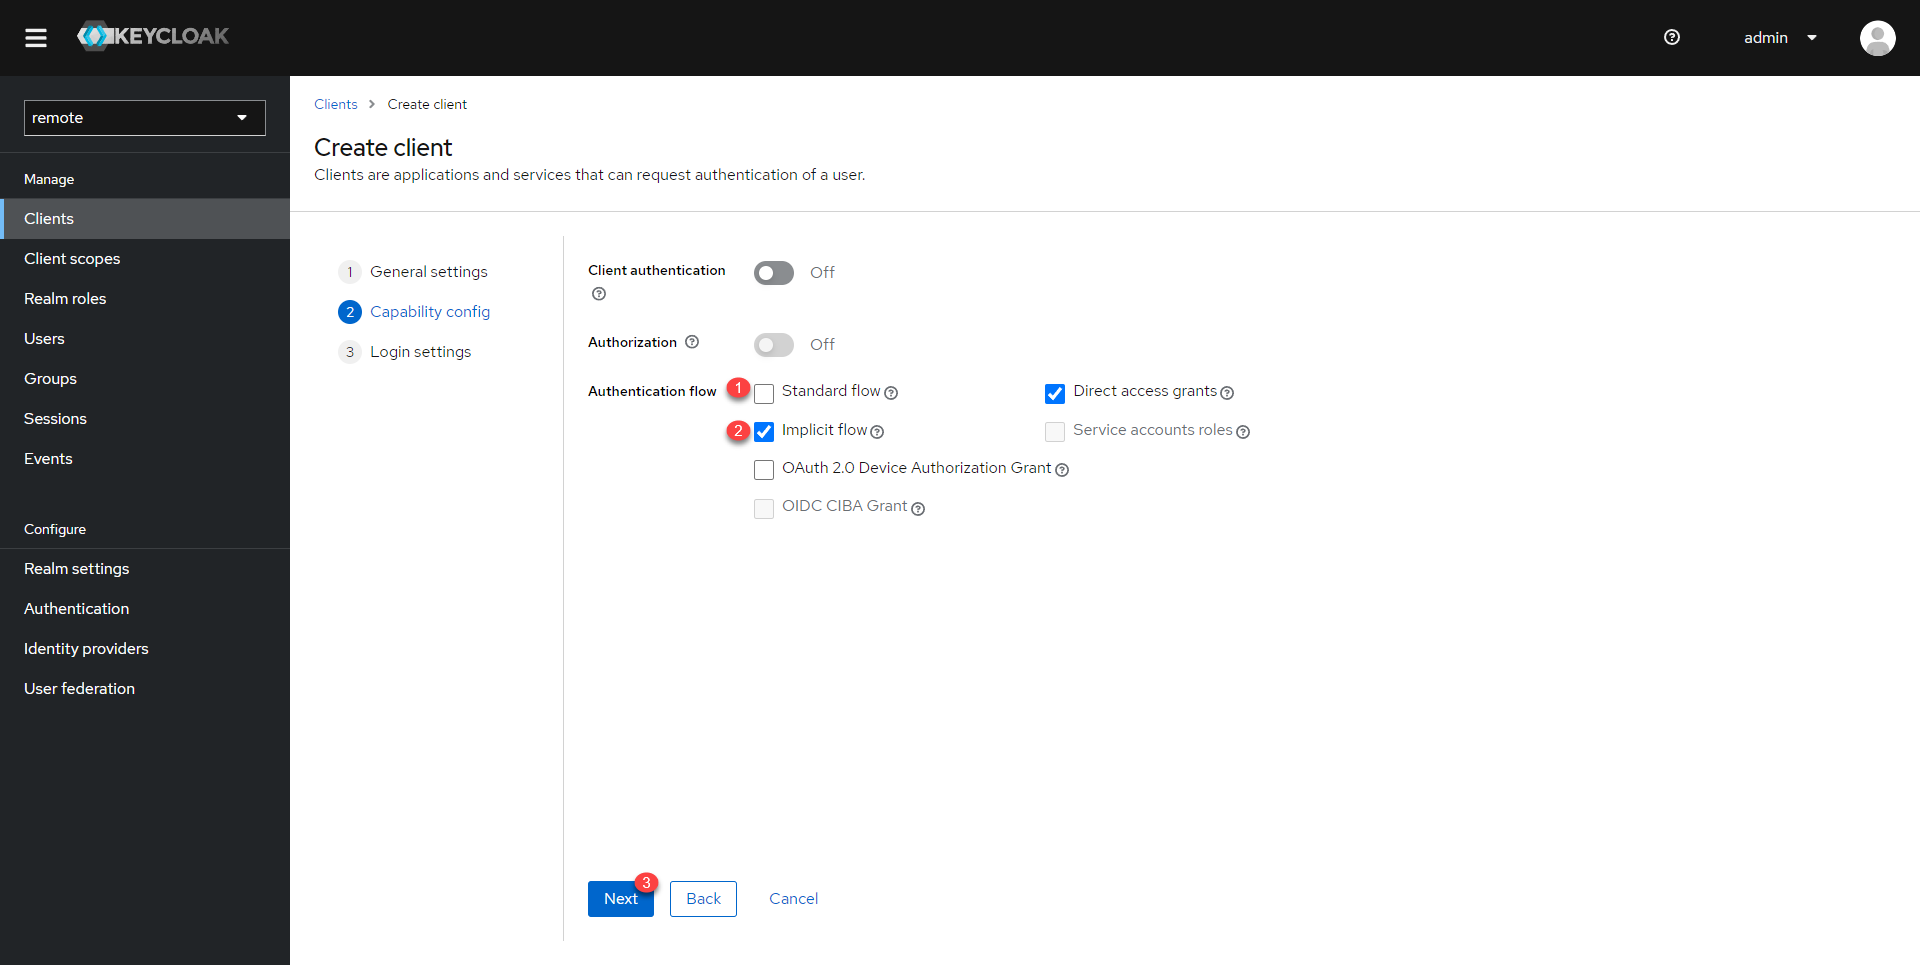
Configure flow authentication by unchecking the Standard flow 1 box and checking Implicit flow 2 then click on Next 3.
In the Root URL 1 and Home URL 2 fields, indicate the Guacamole URL then click on Save 3 to create the client in Keycloak.

Once a client has been added, you are redirected to its configuration page.

Client configuration is complete.
Configure Guacamole to use Keycloak as an OpenID provider
In order for Guacamole to use Keycloak as its authentication provider, we will modify the docker-compose.yml file to add variables in environment:
Before you begin, make a copy of your docker-compose.yml file.
sudo cp docker-compose.yml docker-compose.yml.backupHere are the lines to add, which must be adapted with your urls and realm name:
Once the container configuration file for Guacamole has been modified, restart the containers to take the new configuration into account.
sudo docker compose down -v && sudo docker compose up -d && sudo docker compose logs -fIn the logs displayed in the terminal, check that the OpenID Extension is loaded.

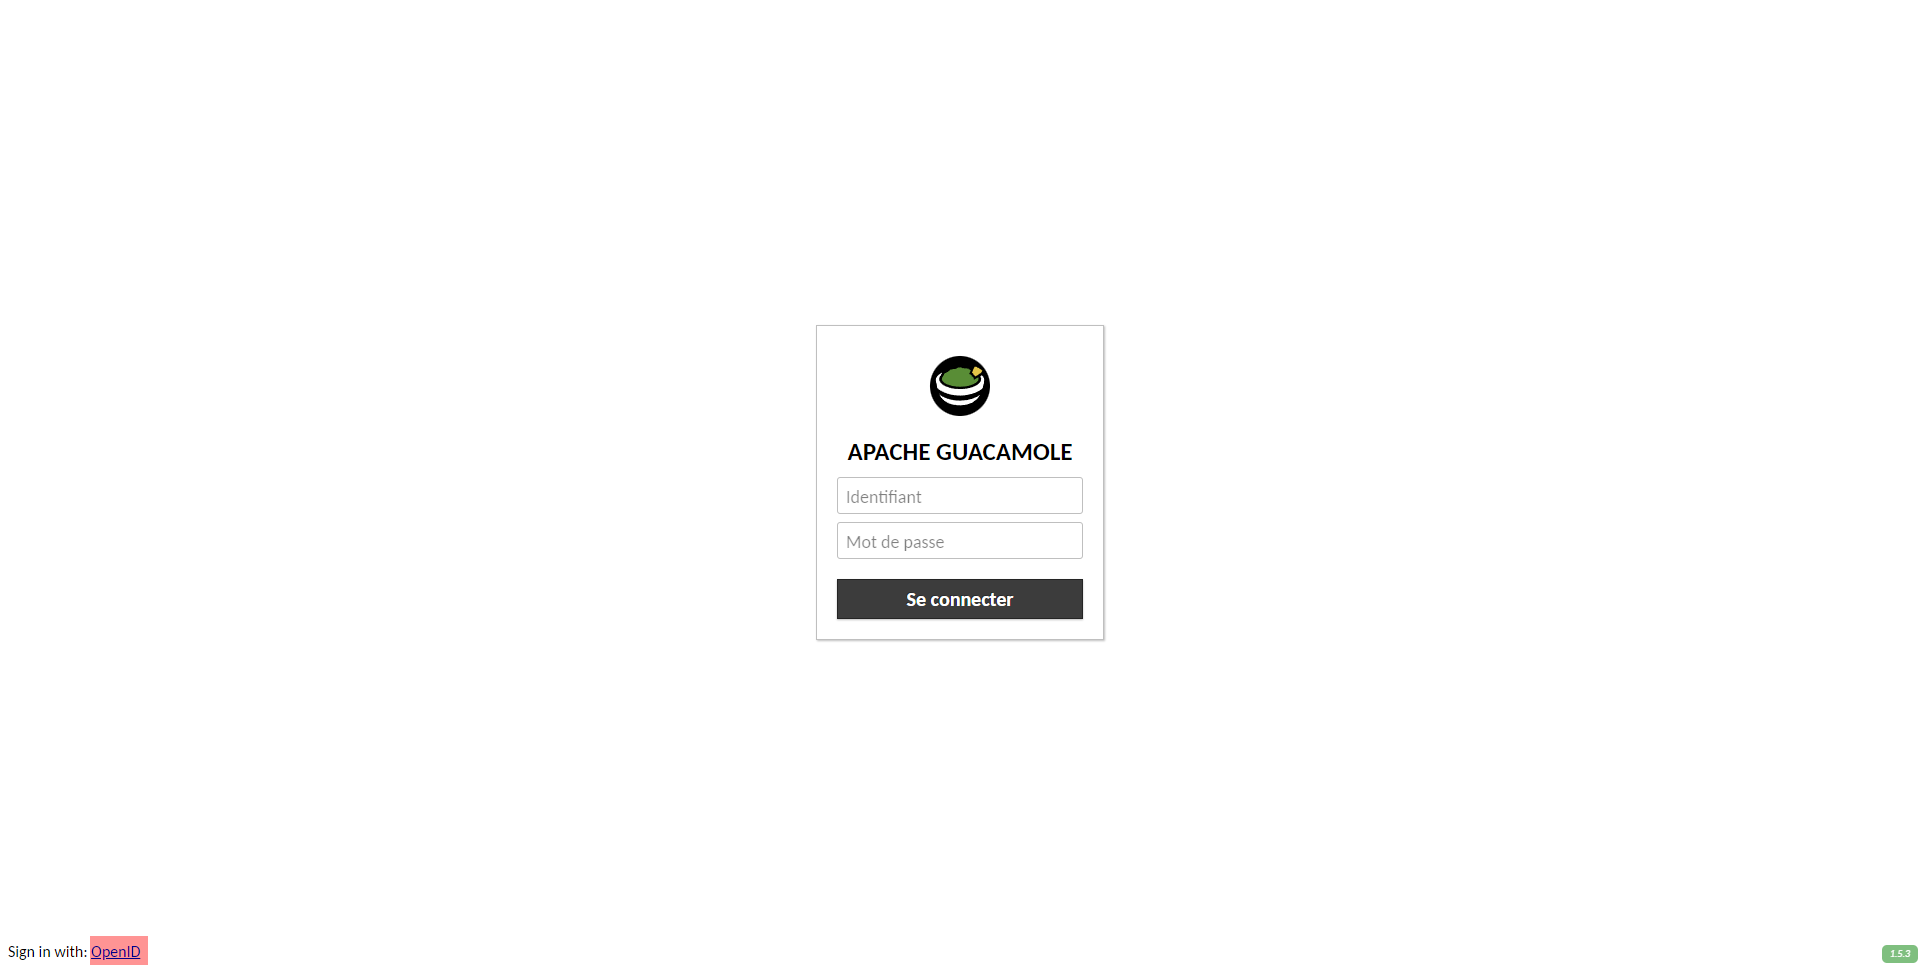
You can also check the change of the OpenID extension from the Guacamole authentication form. At the bottom left of the page, a new link appears Sign with: OpenID.

If everything is configured correctly, by clicking on OpenID, you arrive at the Keycloak authentication form.

The Guacamole setup is complete.
User management in Guacamole with Keycloak
As explained in the introduction to this tutorial, there are two ways to manage users in Guacamole with Keycloak, we will now see this.
User present in Guacamole
We will start with the users that are created in both software.
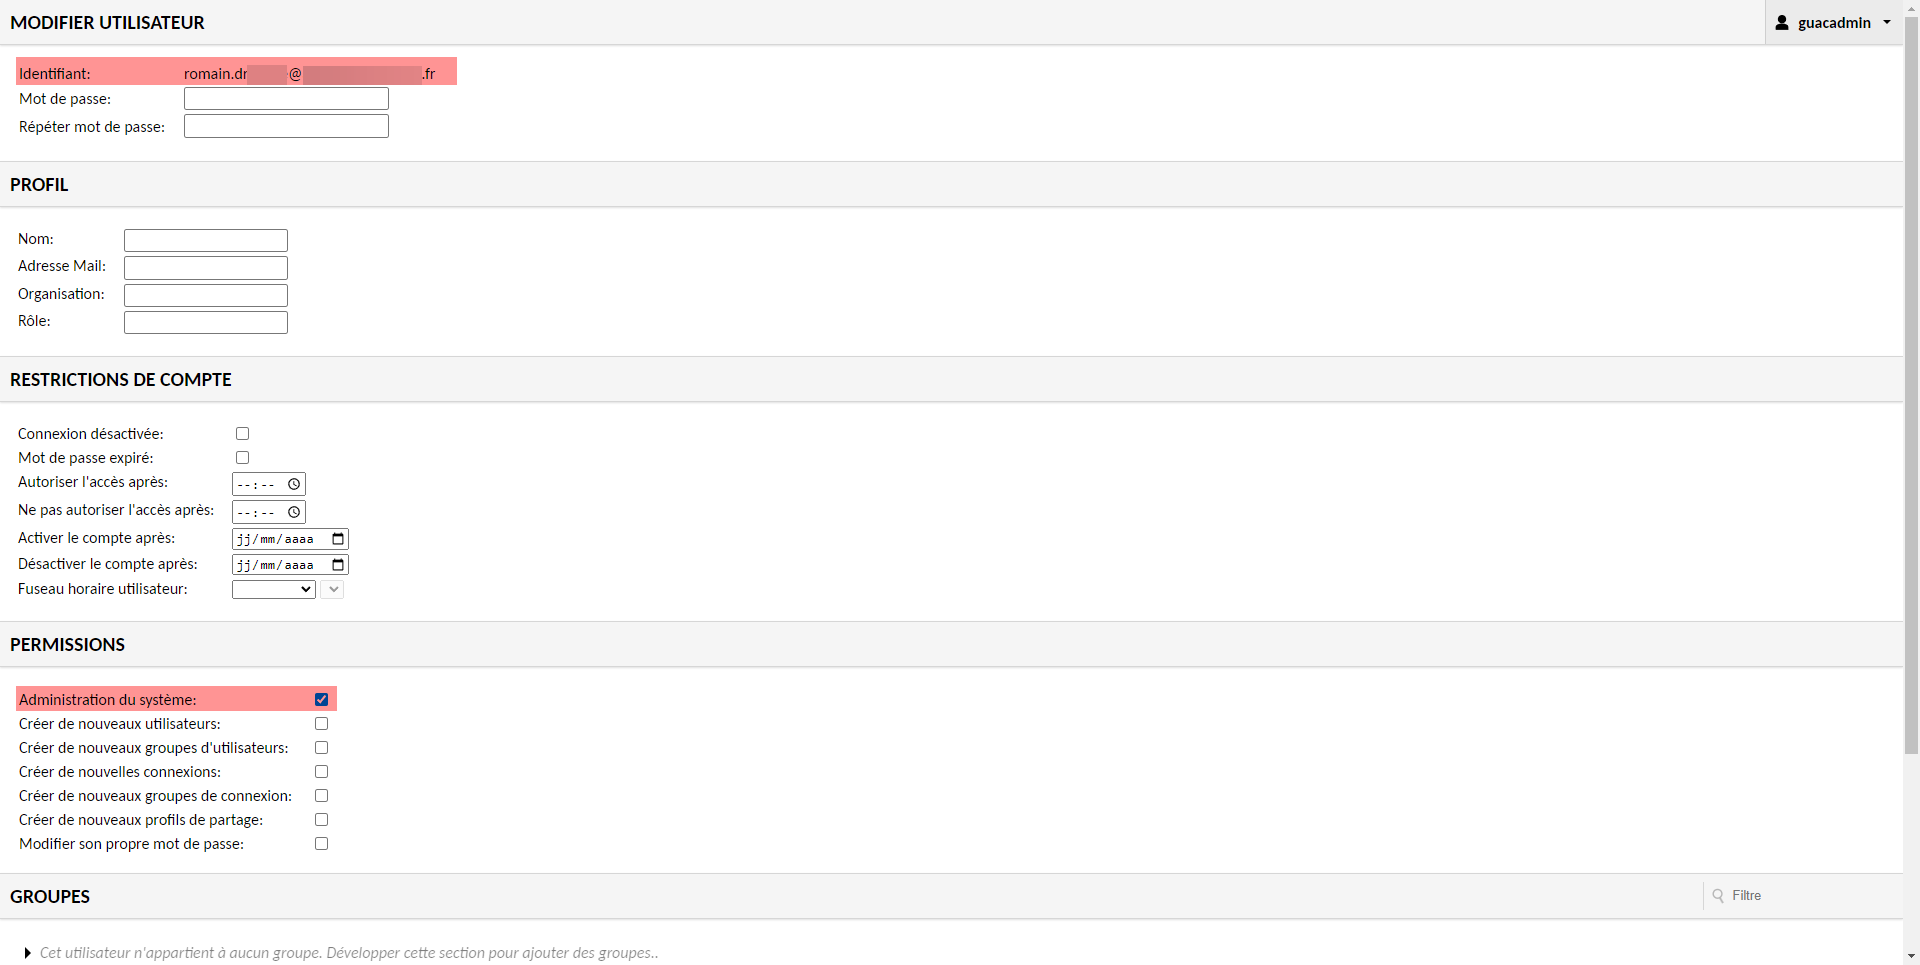
In this situation, the parameters present in the Guacamole user will be applied, the connection between the two software is made by the user identifier, for this it is necessary that in Guacamole the user is as identifier his e-mail address .
Below here is my user in Guacamole who has an email address as an identifier and we can see that he is an administrator in Guacamole.
We will now create a user with the same email address in Keycloak.
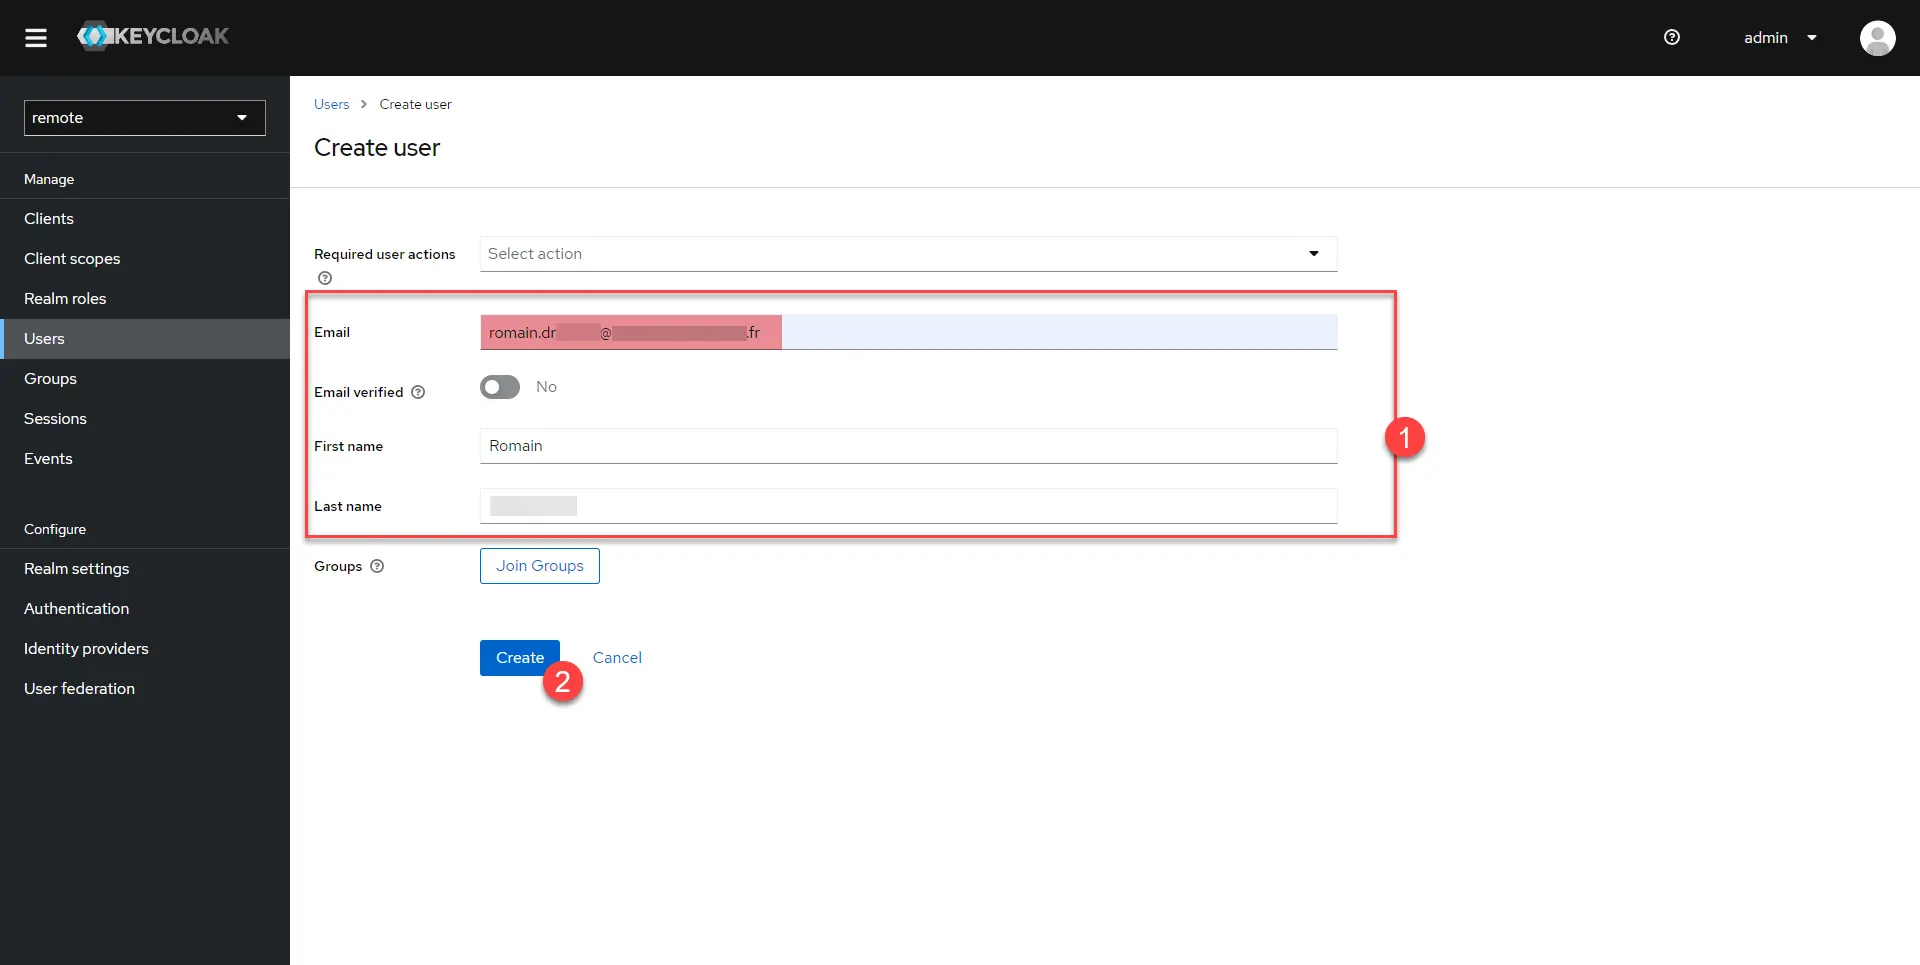
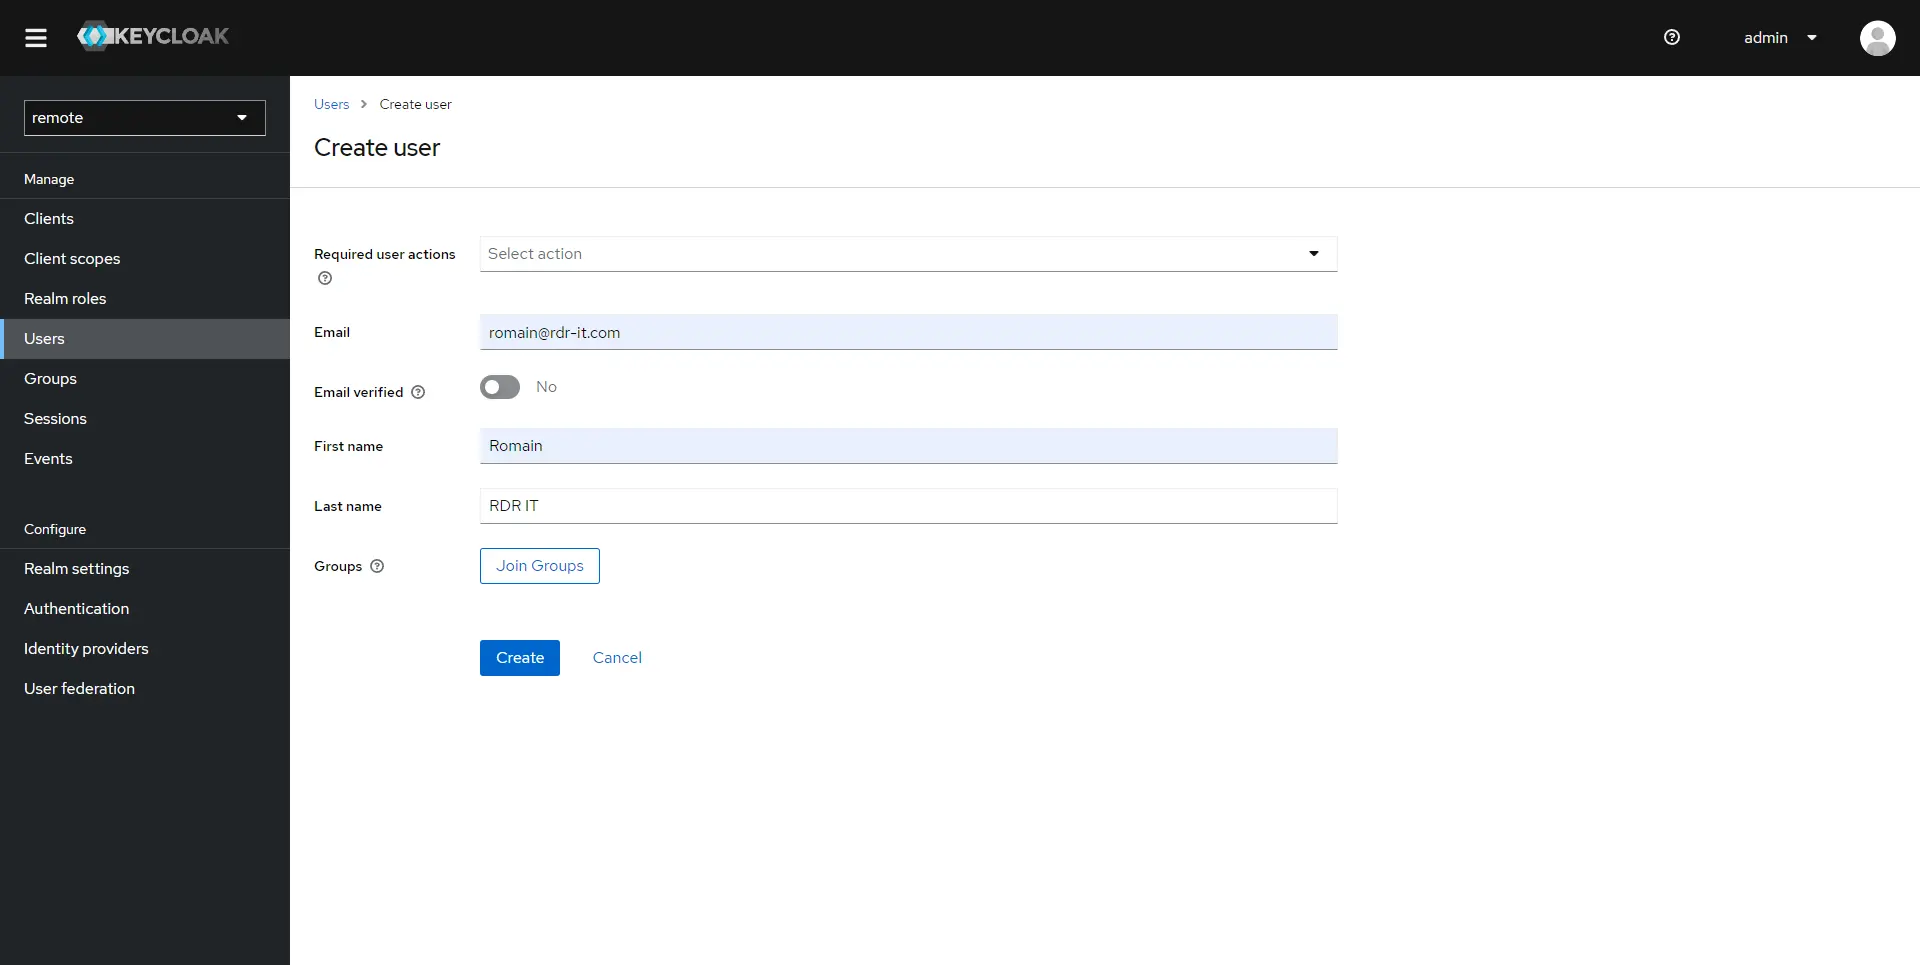
In the navigation menu, go to Users 1 and click on Add user 2.

Complete the user creation form 1, taking care to indicate the email address which was used as an identifier in Guacamole, then click on the Create 2 button.
The user is created in Keycloak, we will now assign him a password, go to the Credentials 1 tab.
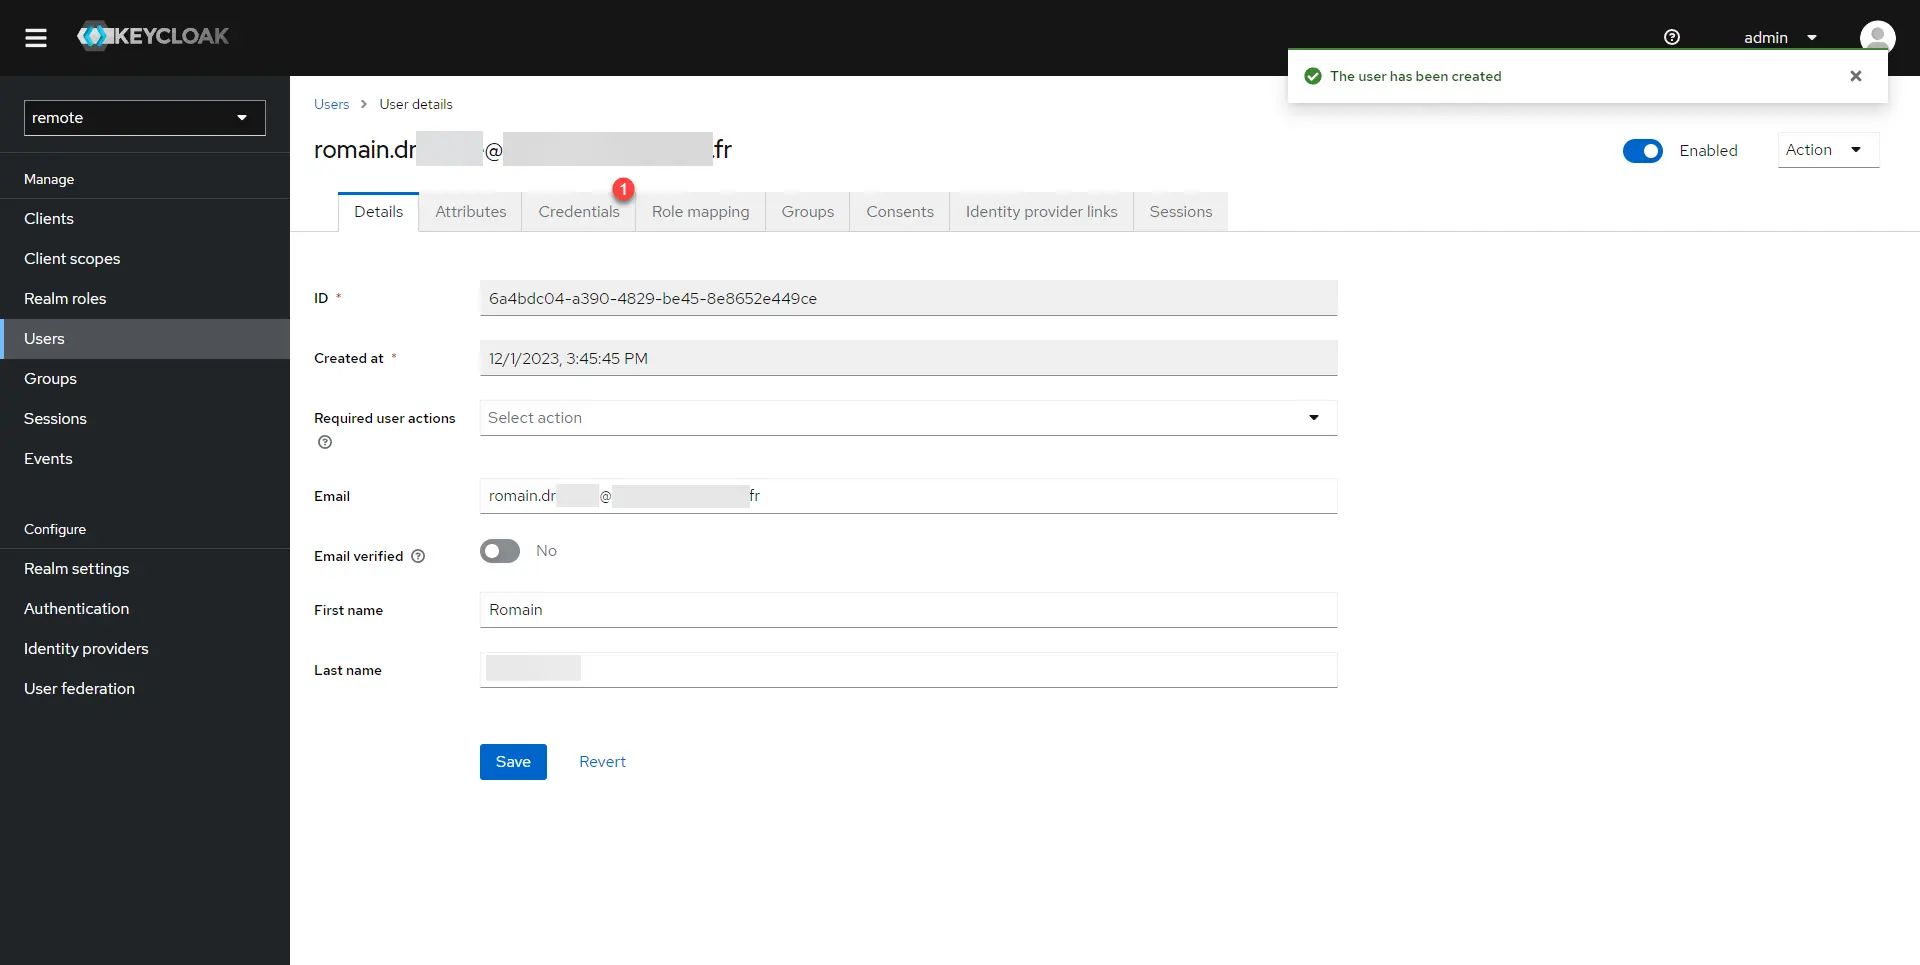
In production, if an SMTP server is configured in Keycloak, users must use the forgotten password procedure to create their password.
On the Credentials tab, click Set password 1.

Enter the password and confirm 1, indicate if the password must be changed at the next connection 2 and click on Save 3.
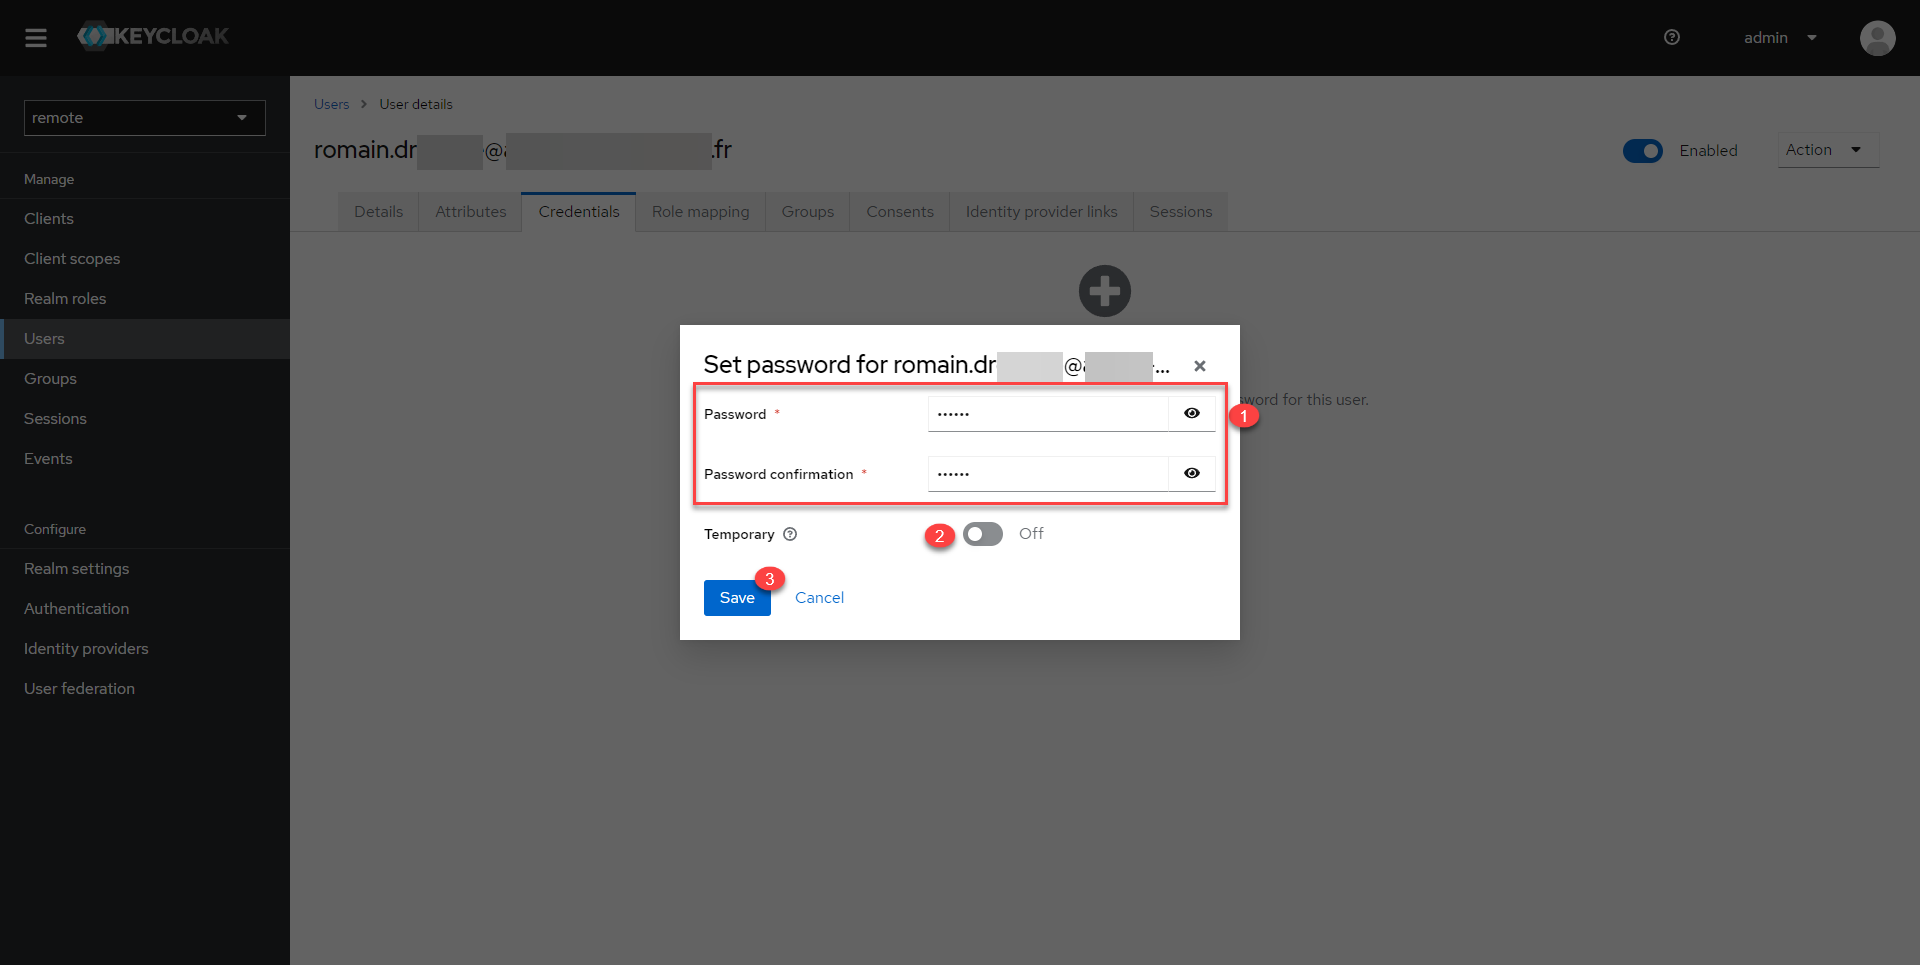
Being an account that I will be using and in a test environment, I have disabled the change at the next login.
Click on the Save password 1 button.
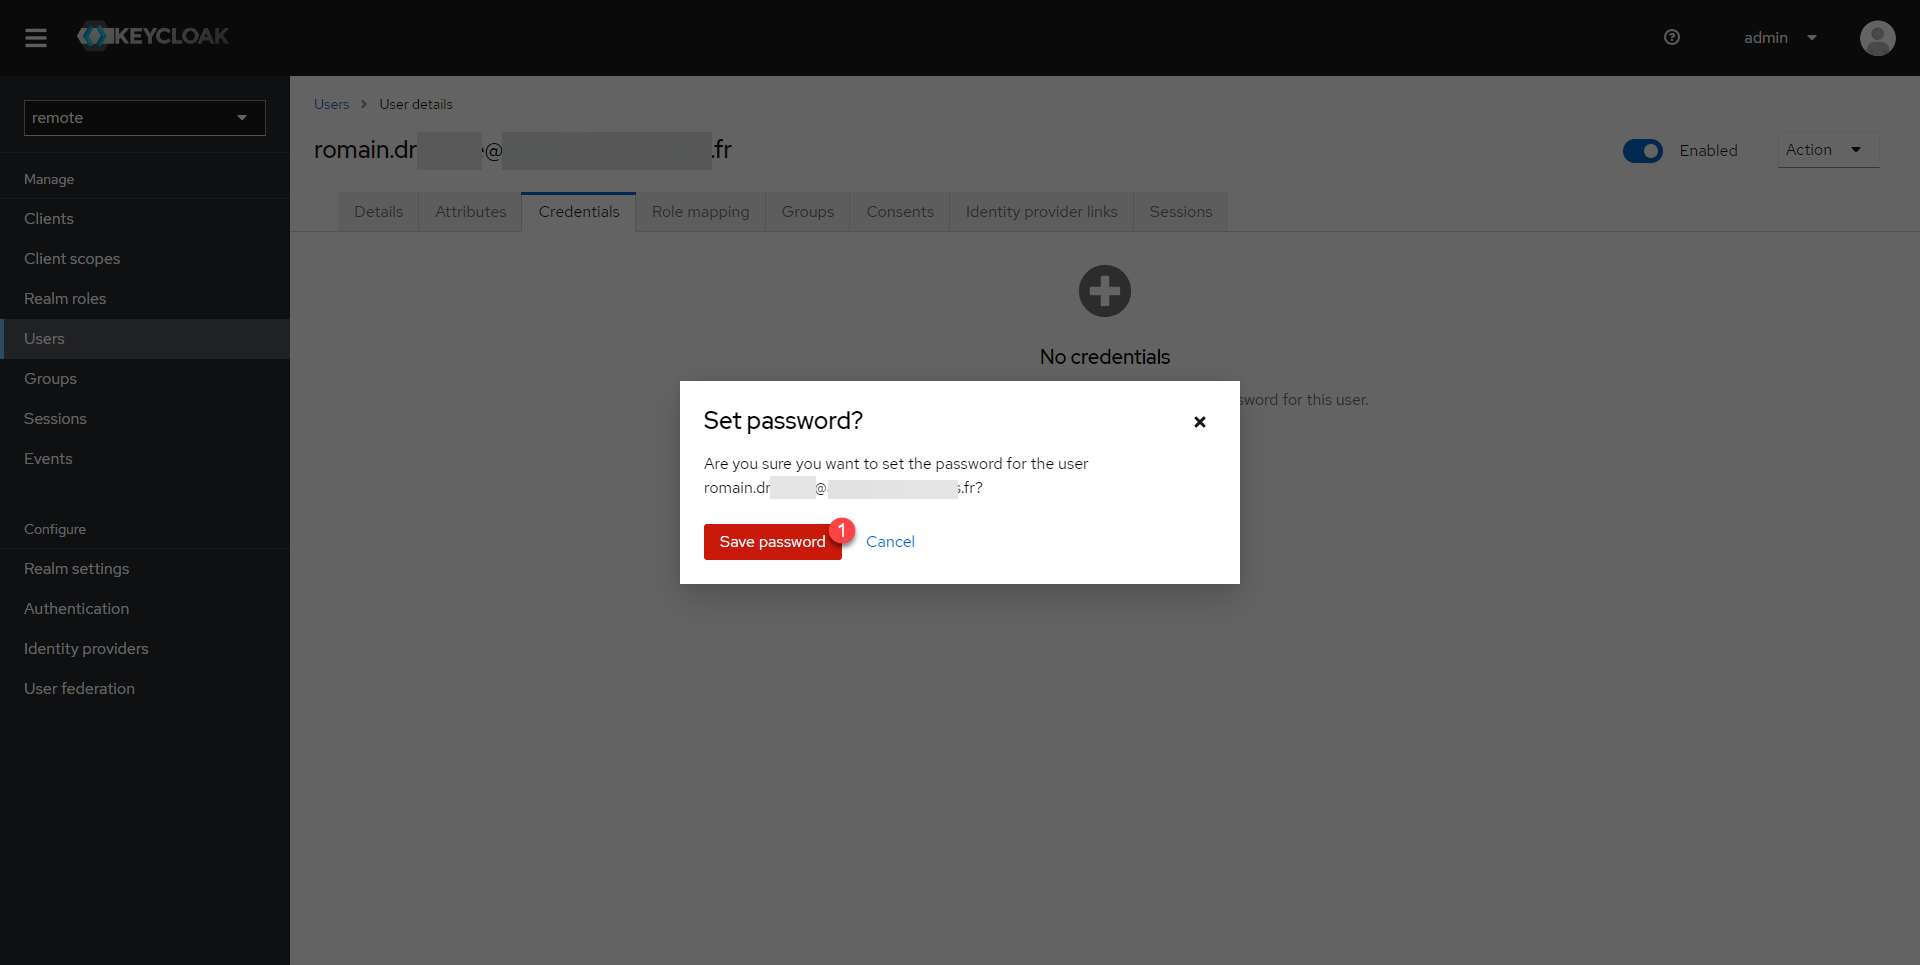
The user account is created and configured.

Now, go to Guacamole, on the authentication form, click on the OpenID link.
On the Keycloak identification form, enter the information for the account you have just created.
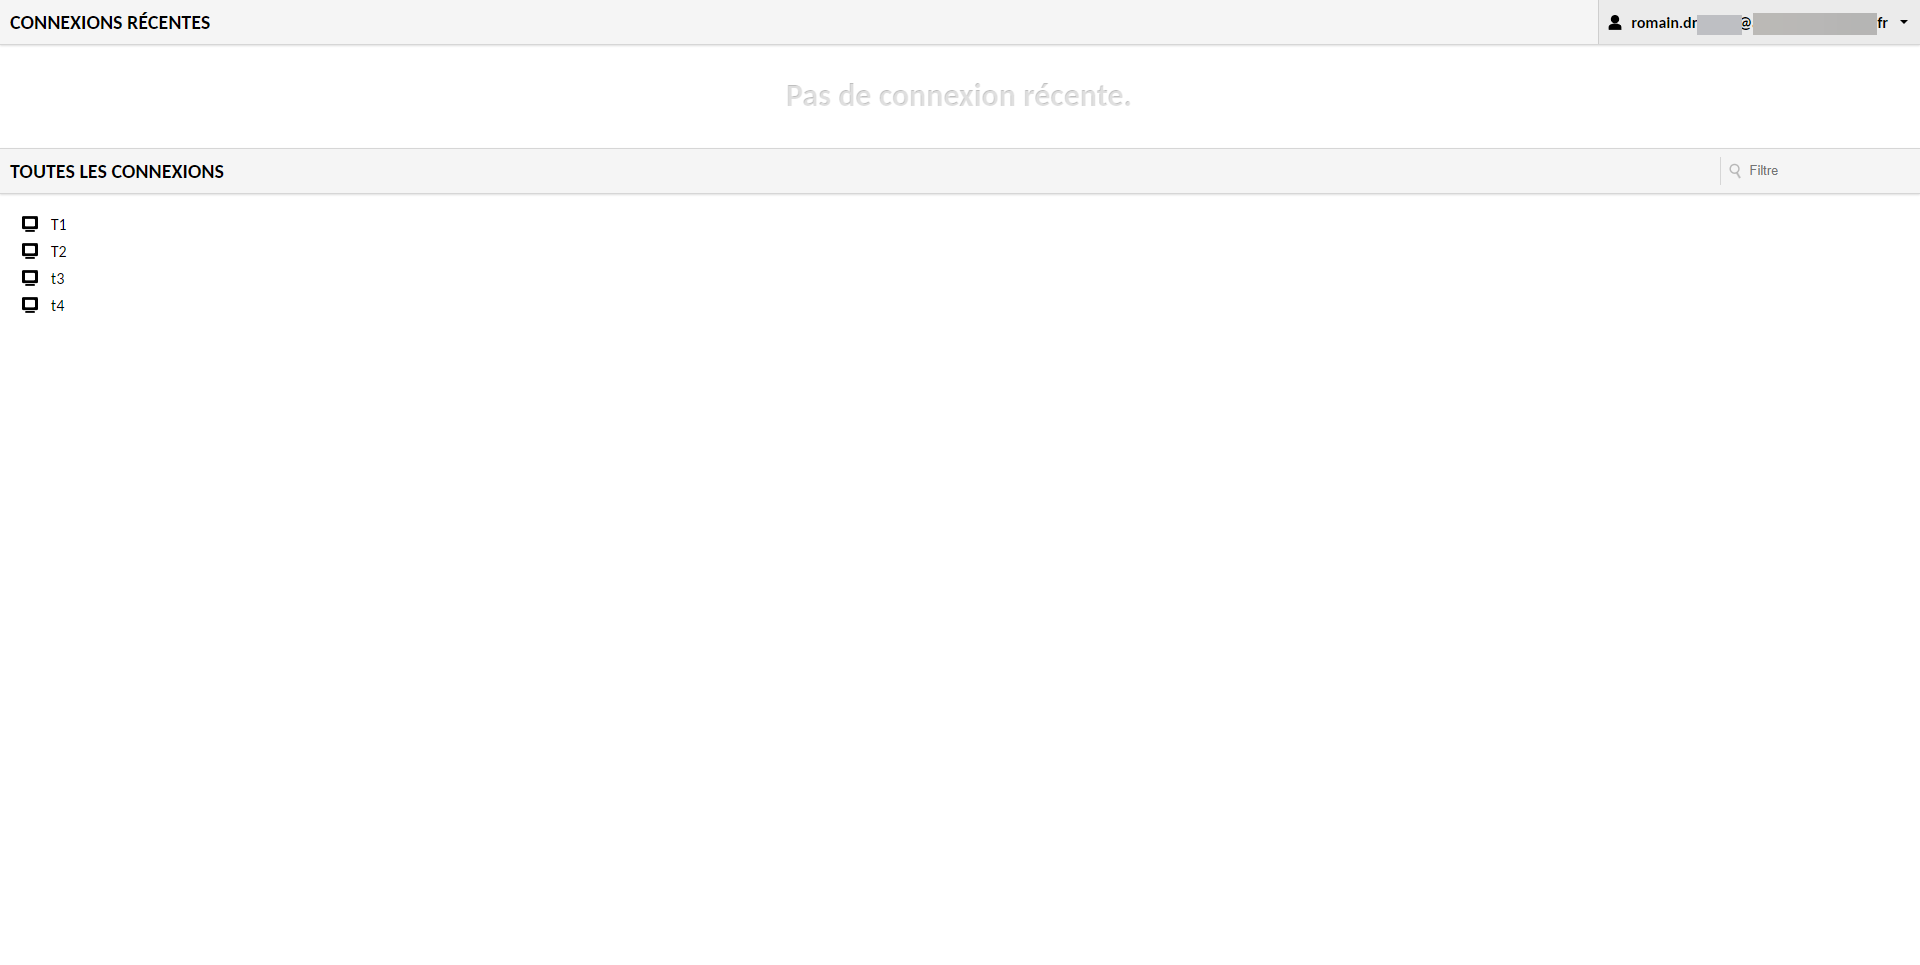
We are connected to Guacamole, as my account is administrator, I see all the connections.
Keycloak user only
In order to avoid double account creation, it is possible to create users only in Keycloak, the assignment of rights is done using groups which must be created in Guacamole and Keycloak with the same names.
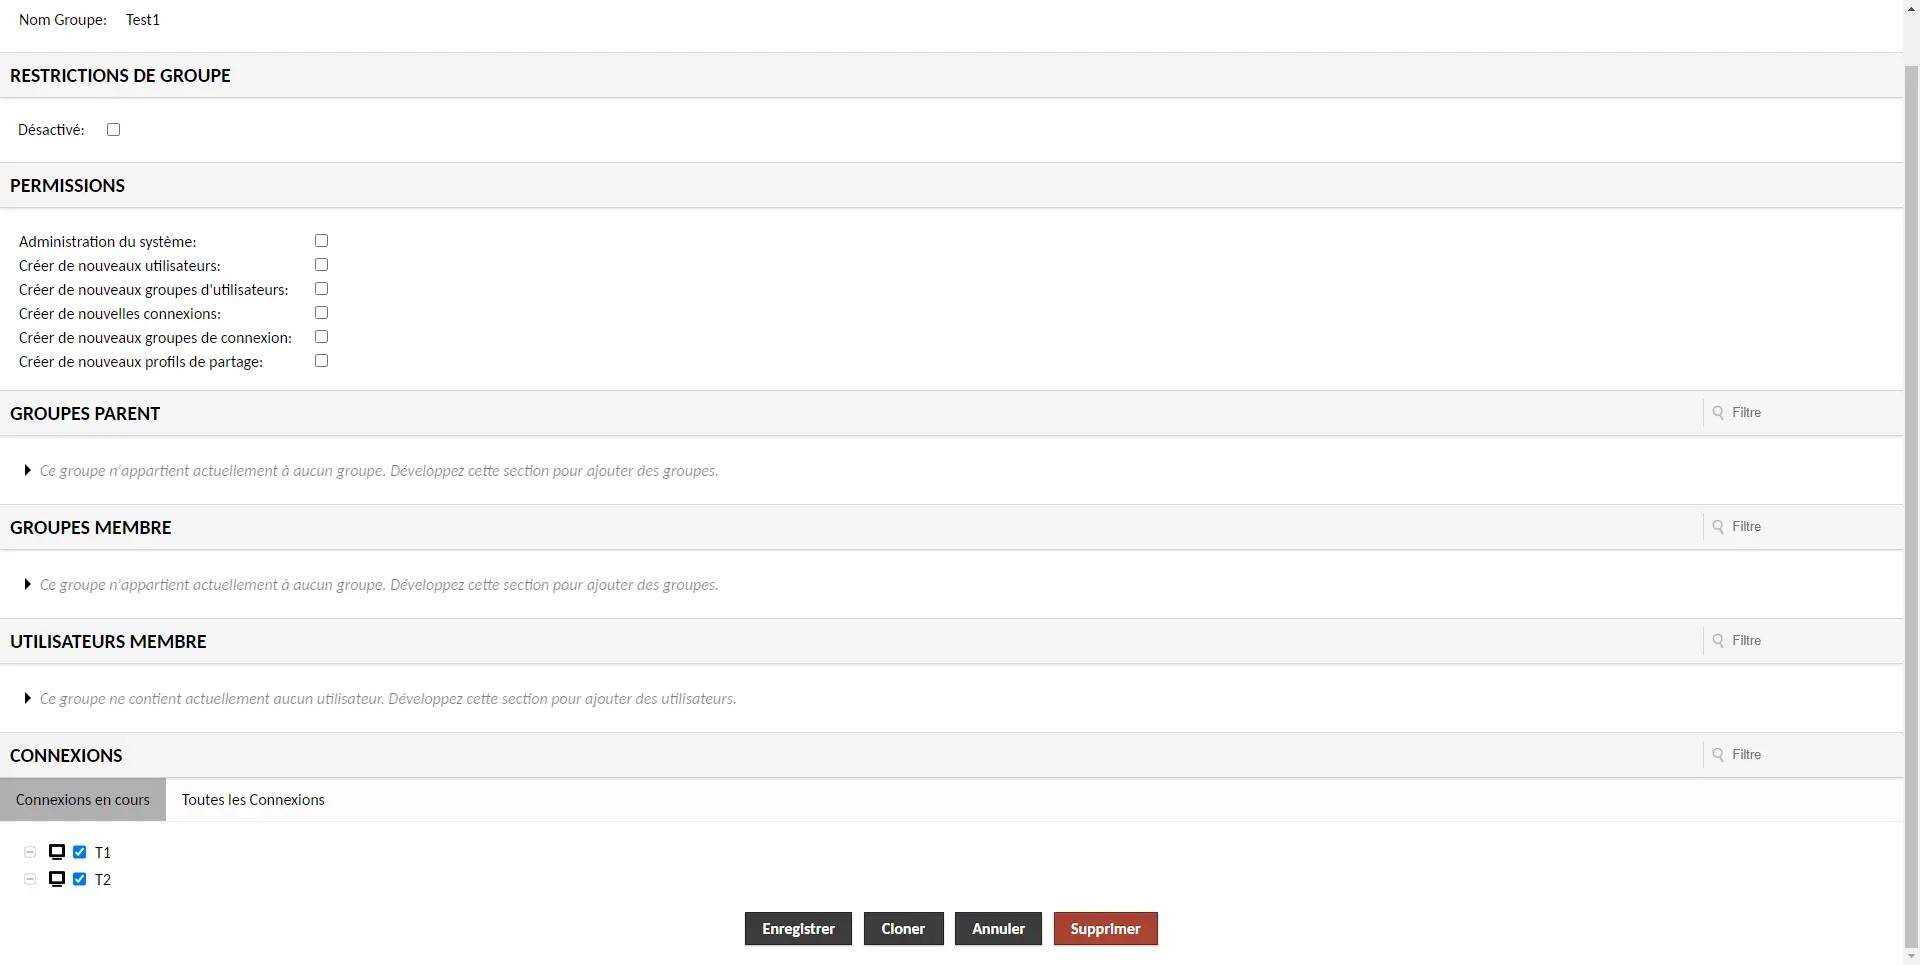
In Guacamole, I have 3 groups as we can see in the screenshot below:

The Test1 group allows access to the T1 and T2 connection.
Configure Keycloak to pass groups to the client
In order to pass the groups as a claim in Keycloak, we will need to add them.
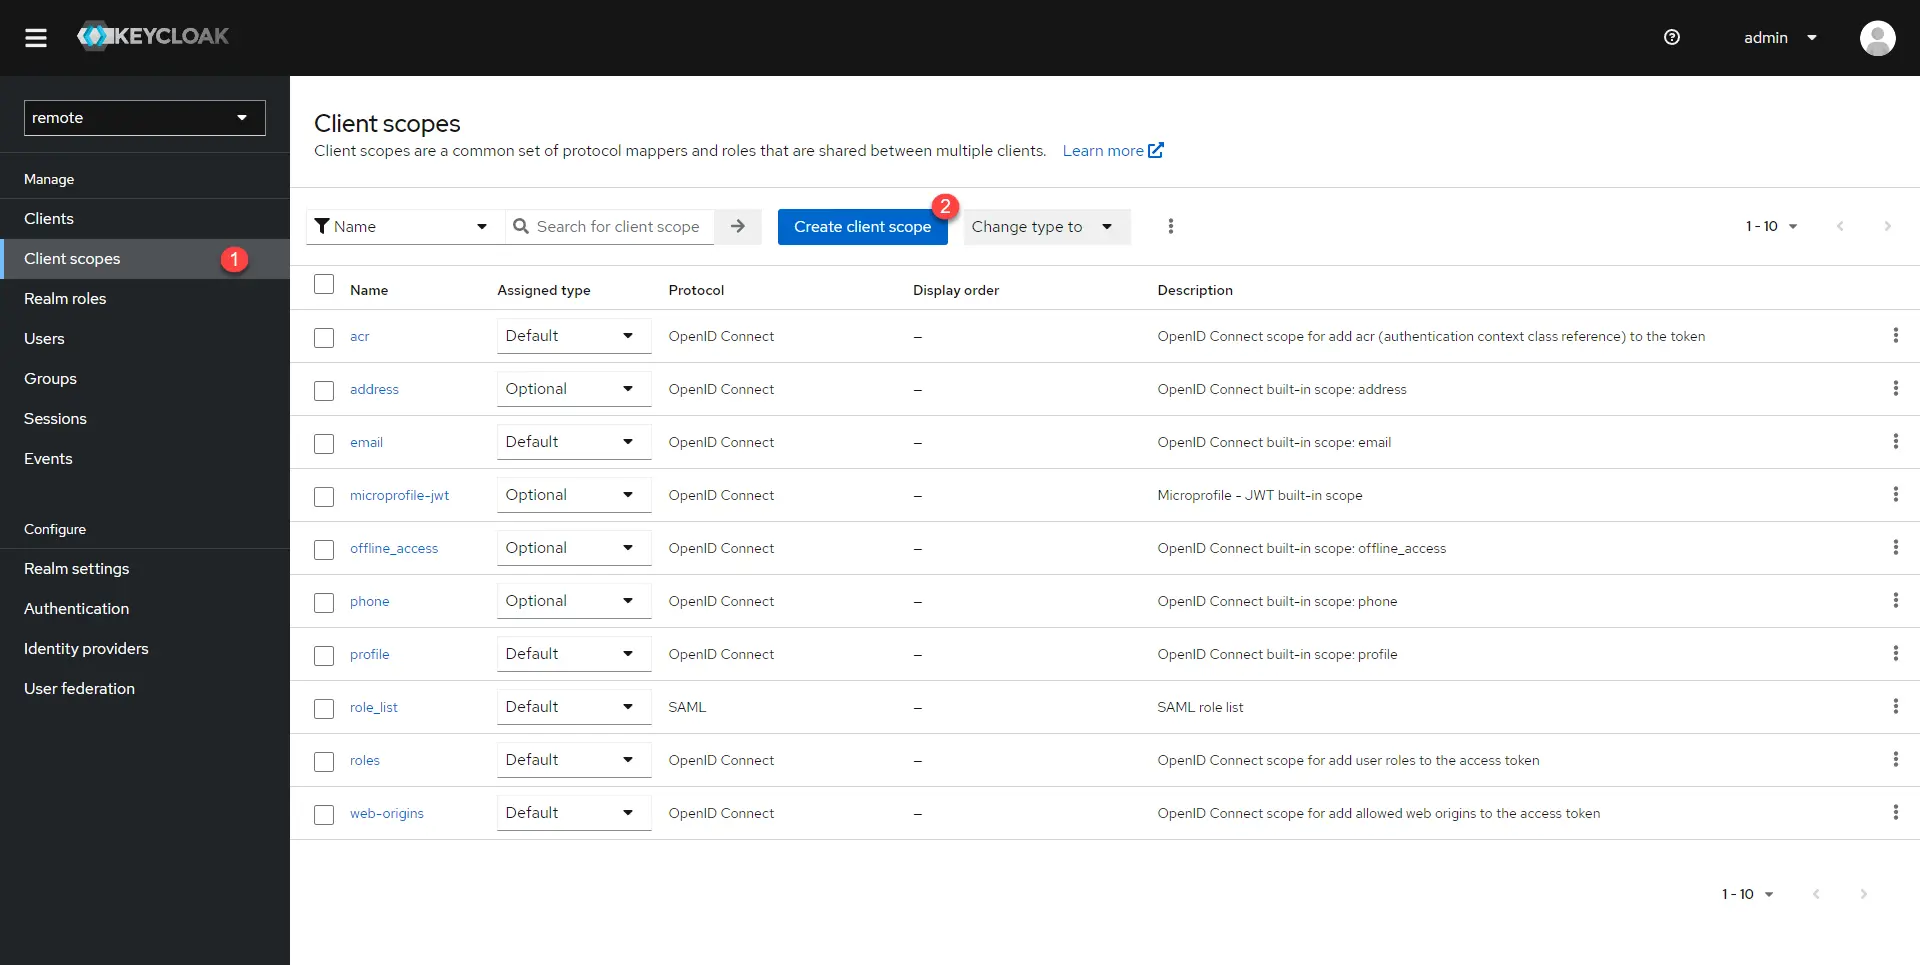
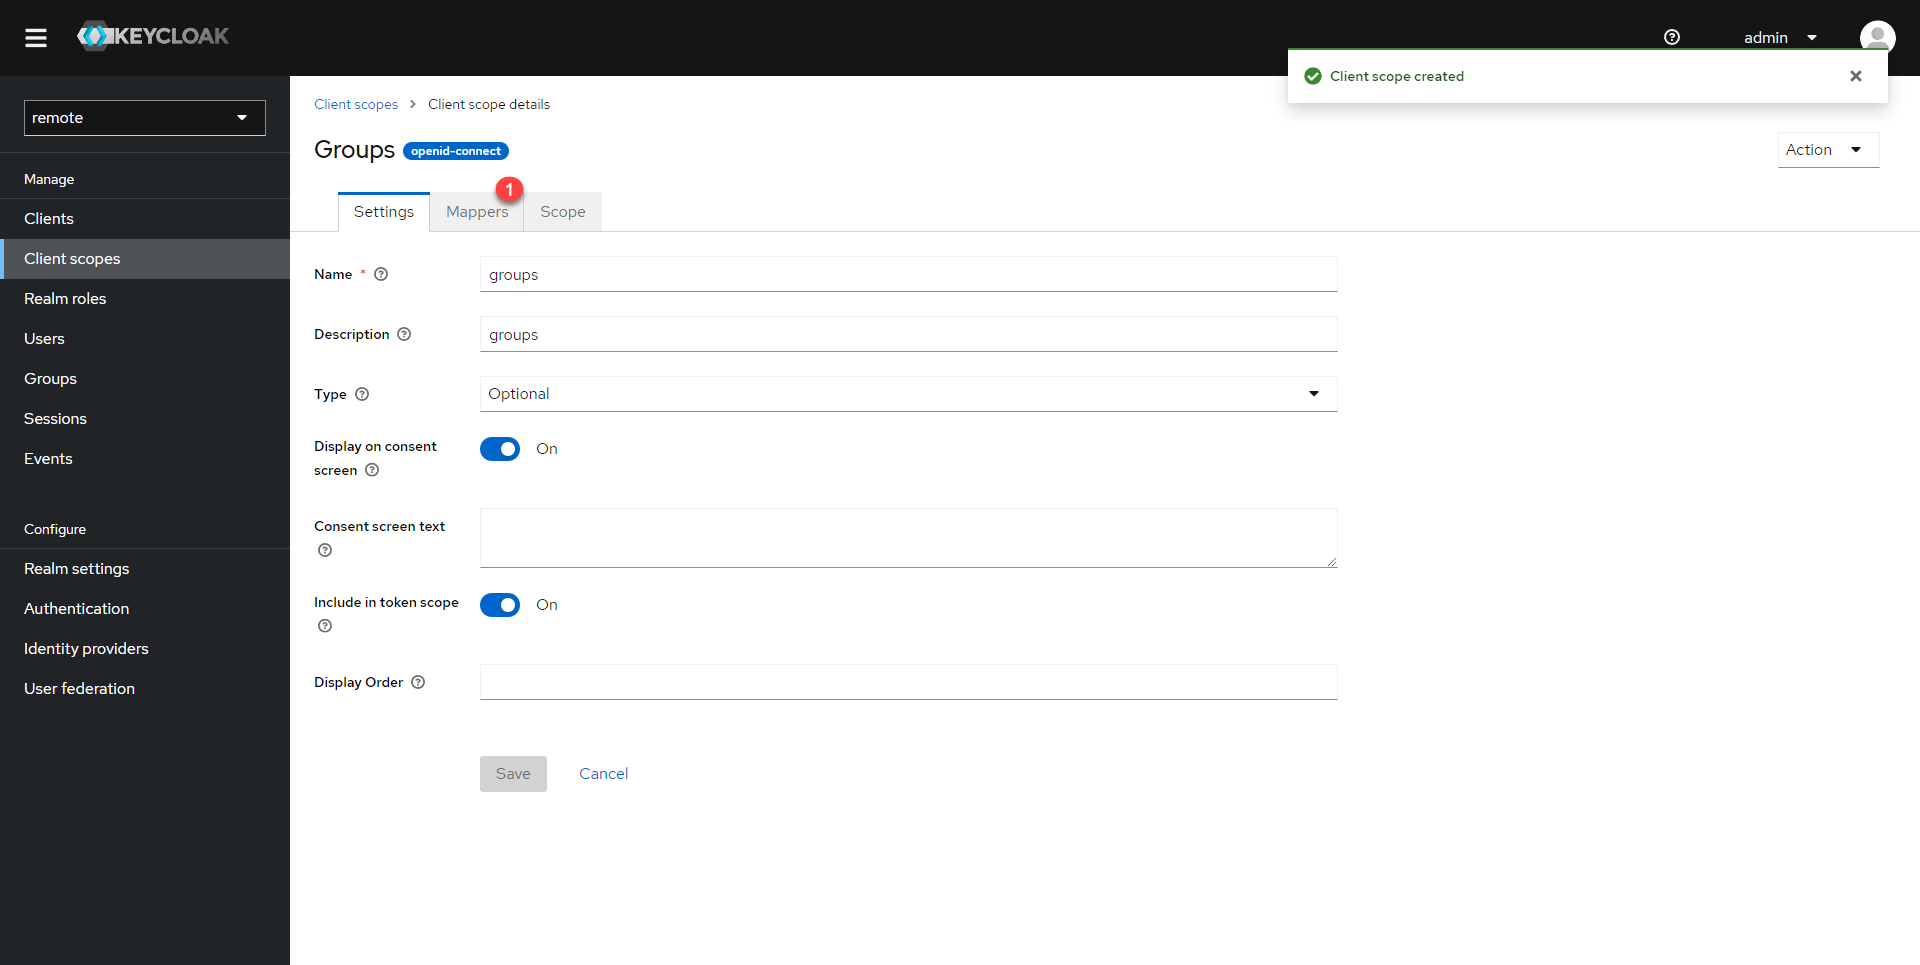
In Keycloak, go to Clients scopes 1.
In the Name 1 field enter groups, if necessary give a description and click Save 2.

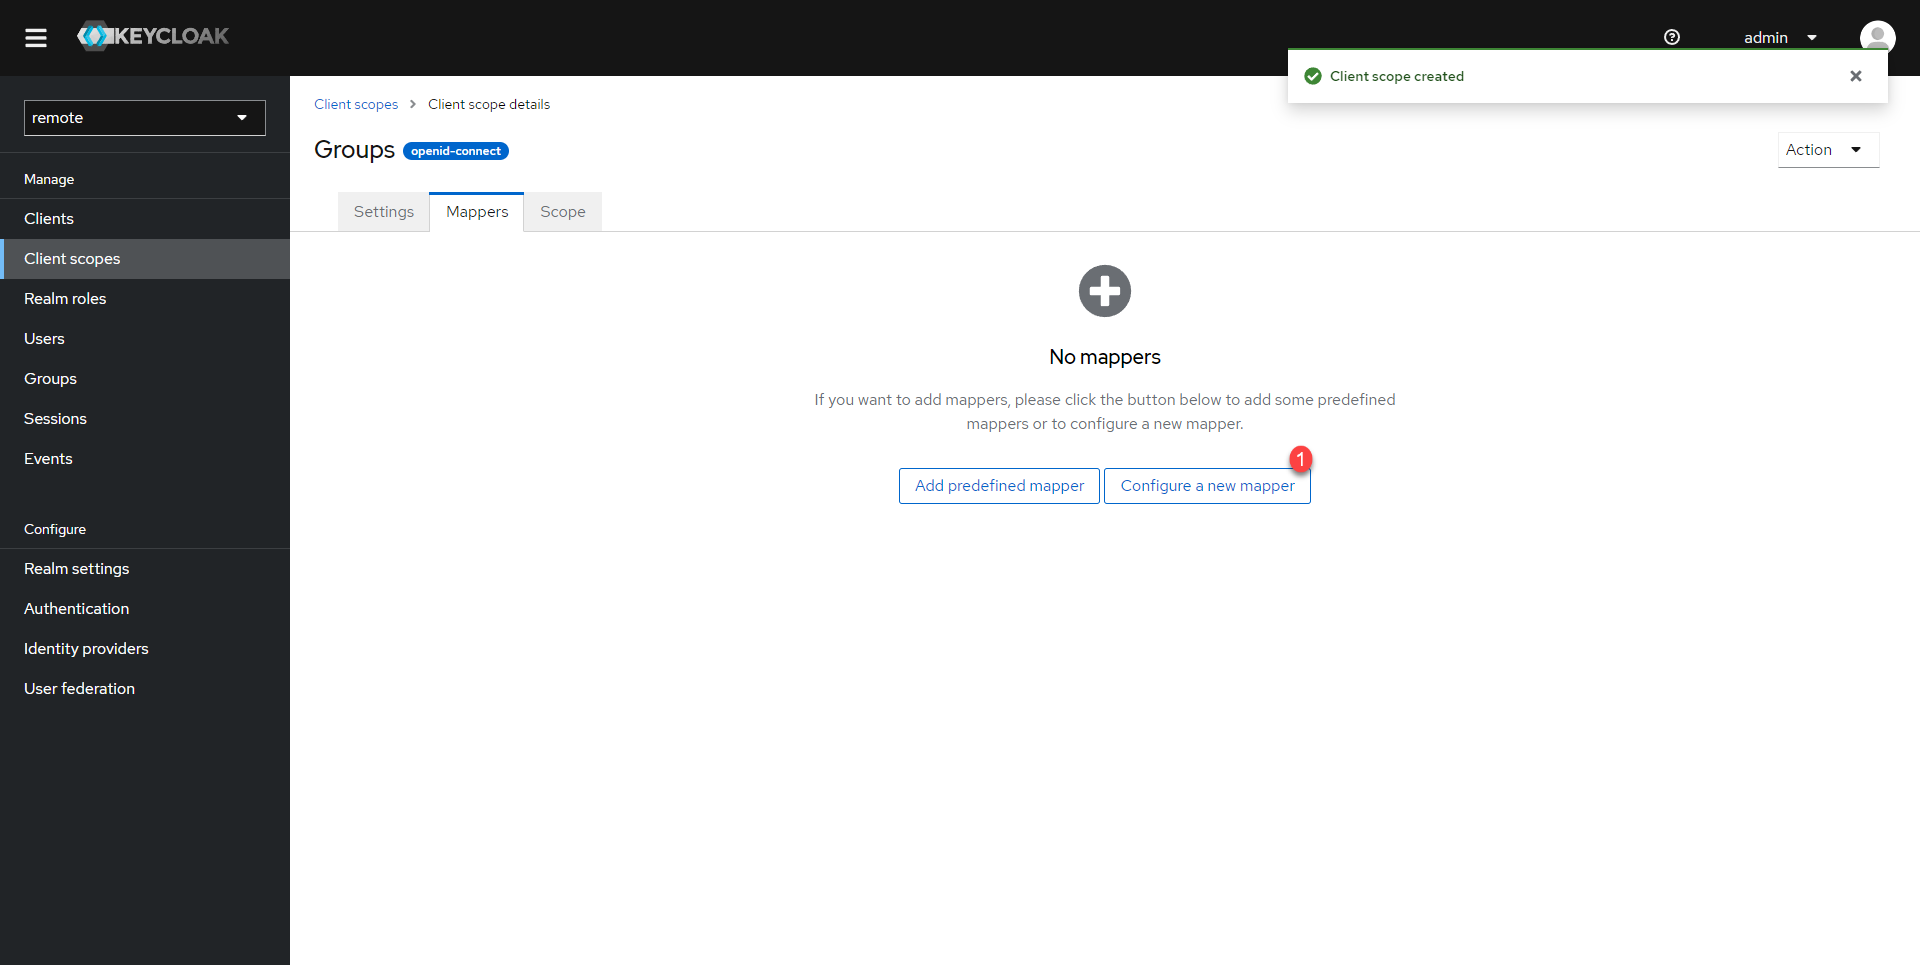
The Client scope is created, we will now do the mapping, go to the Mappers 1 tab.
Click on the Configure a new mapper 1 button.
Click on Group Membership 1 to select it.

Turn the Full group path 1 selector to Off and click the Save 2 button.

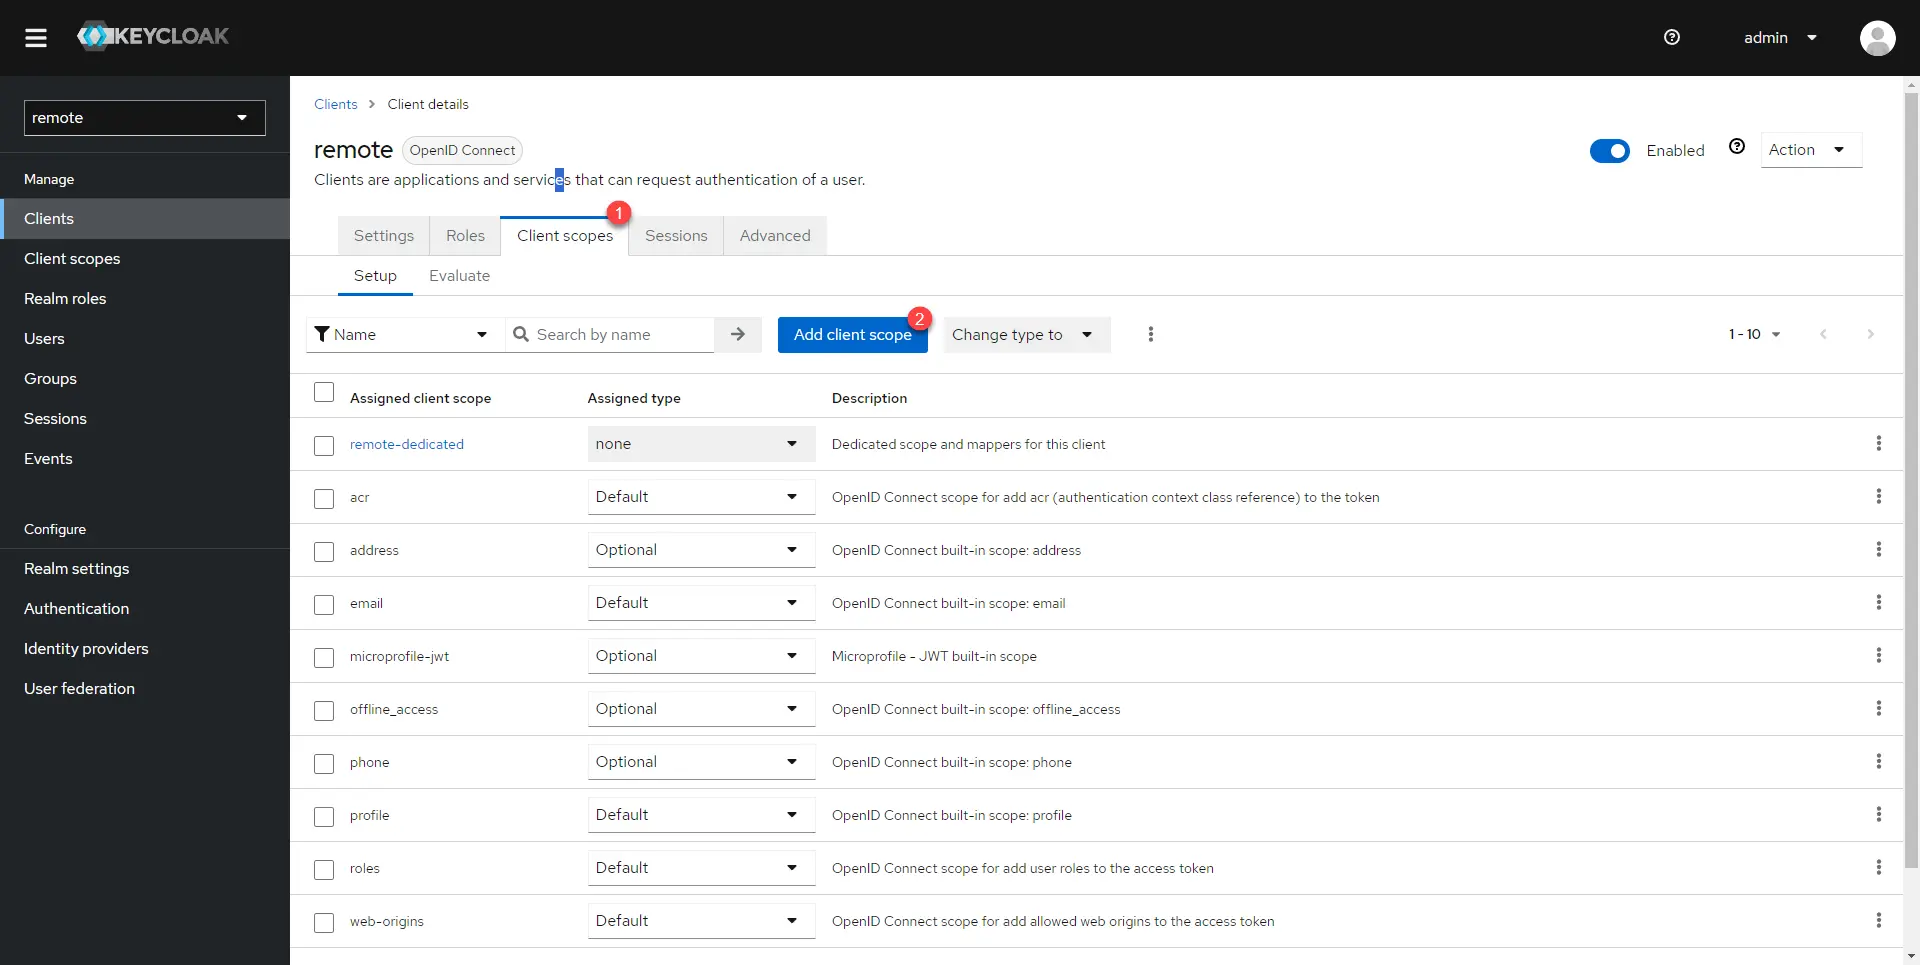
You must now add the Client scope that you have just created to the client, go to Clients 1 and click on the client 2 configure for Guacamole.

Go to the Client scopes 1 tab and click on the Add client scope 2 button.
Select the client scope groups 1, click on Add 2 then on Default 3.
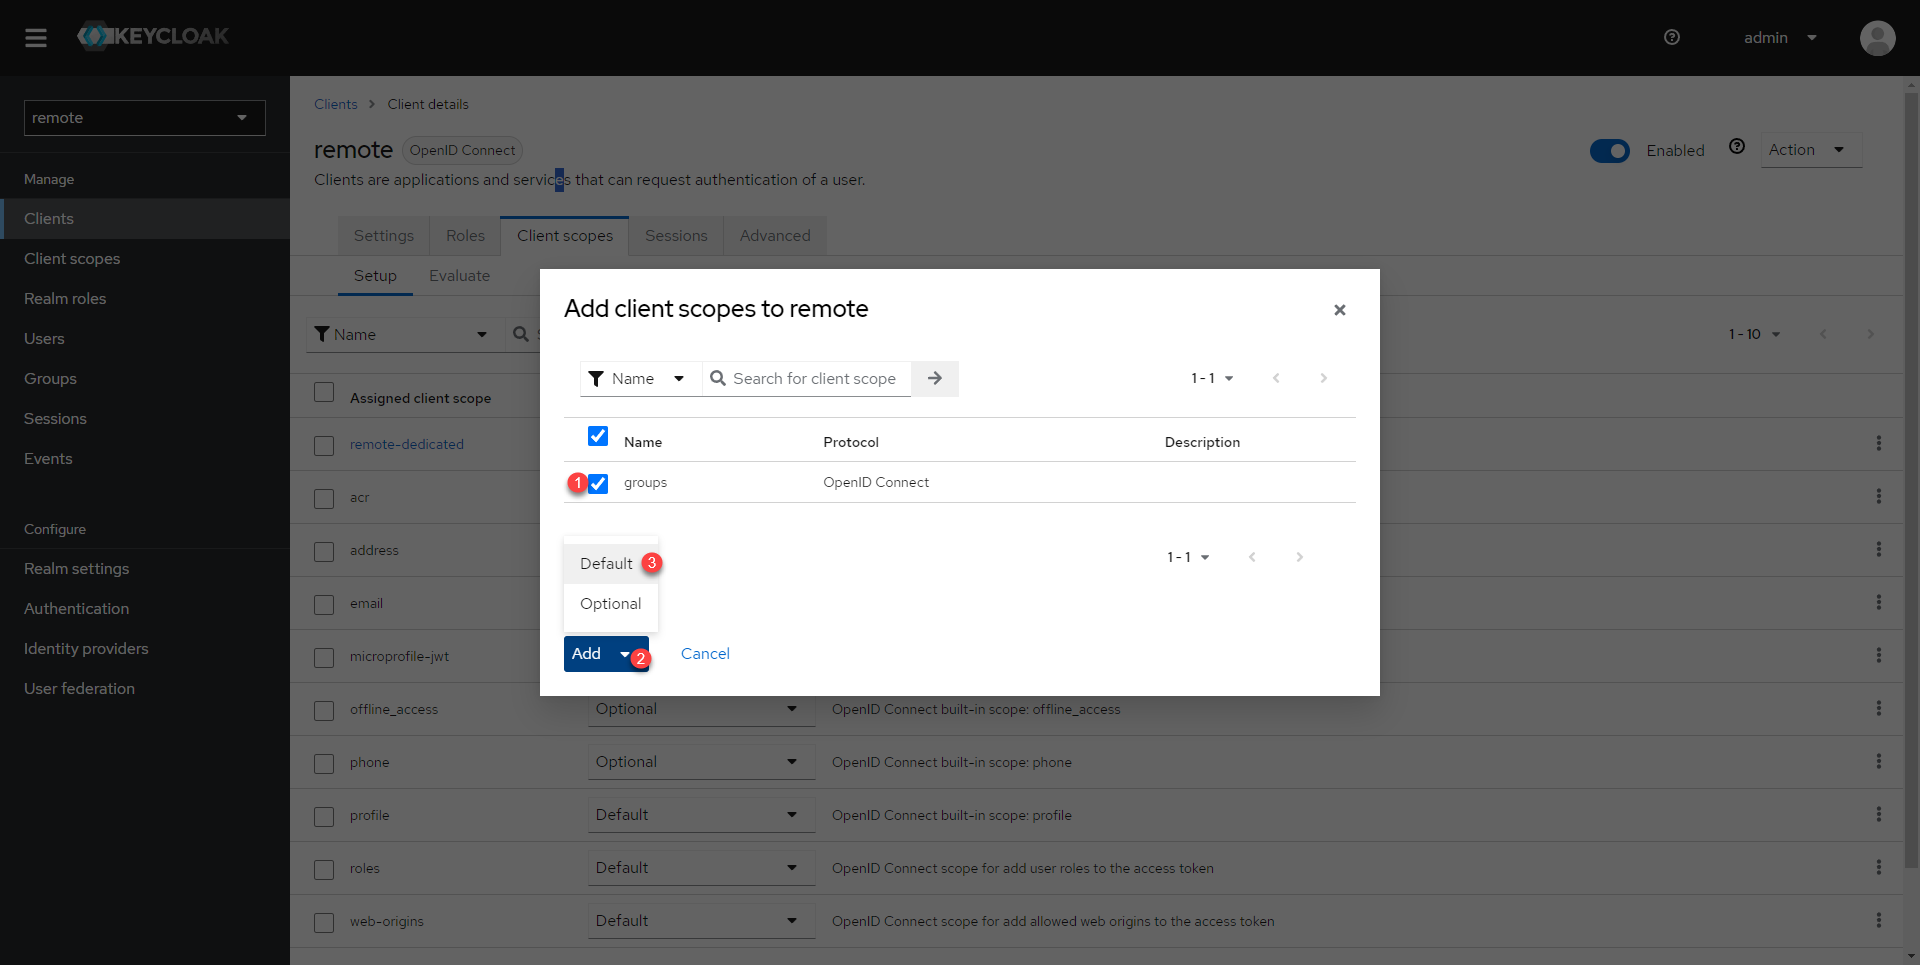
The client scope is added to the client for Guacamole.

Creating the user in Keycloak
Here, I am not going to repeat the entire creation of a user, this has already been seen above. Here for the tutorial I will create a new user whose account is as follows:
It is possible to assign the user to a group as soon as it is created by clicking on the Join Groups button then checking the group(s).
Since we have not yet created a group in the tutorial, we will do the assignment by the group.
Creating the group in Keycloak
We will now create the Test1 group in Keycloak.
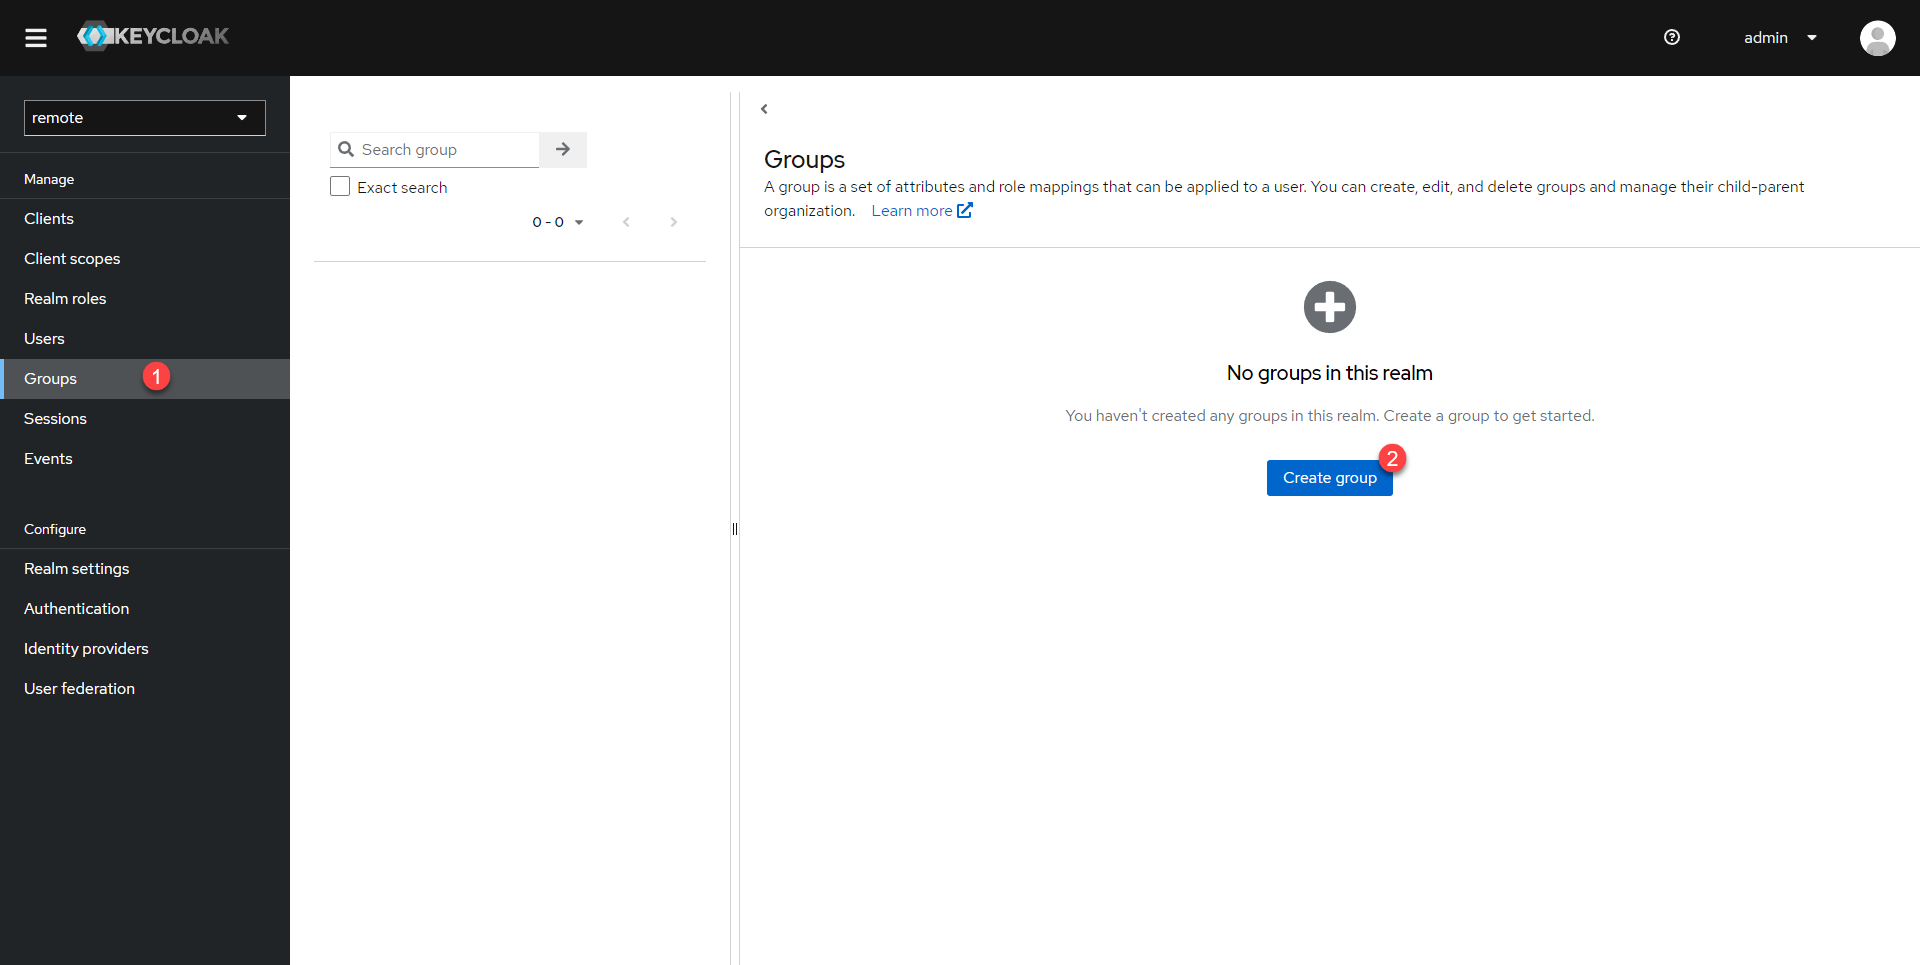
From the menu, go to Groups and click on Create group 2.
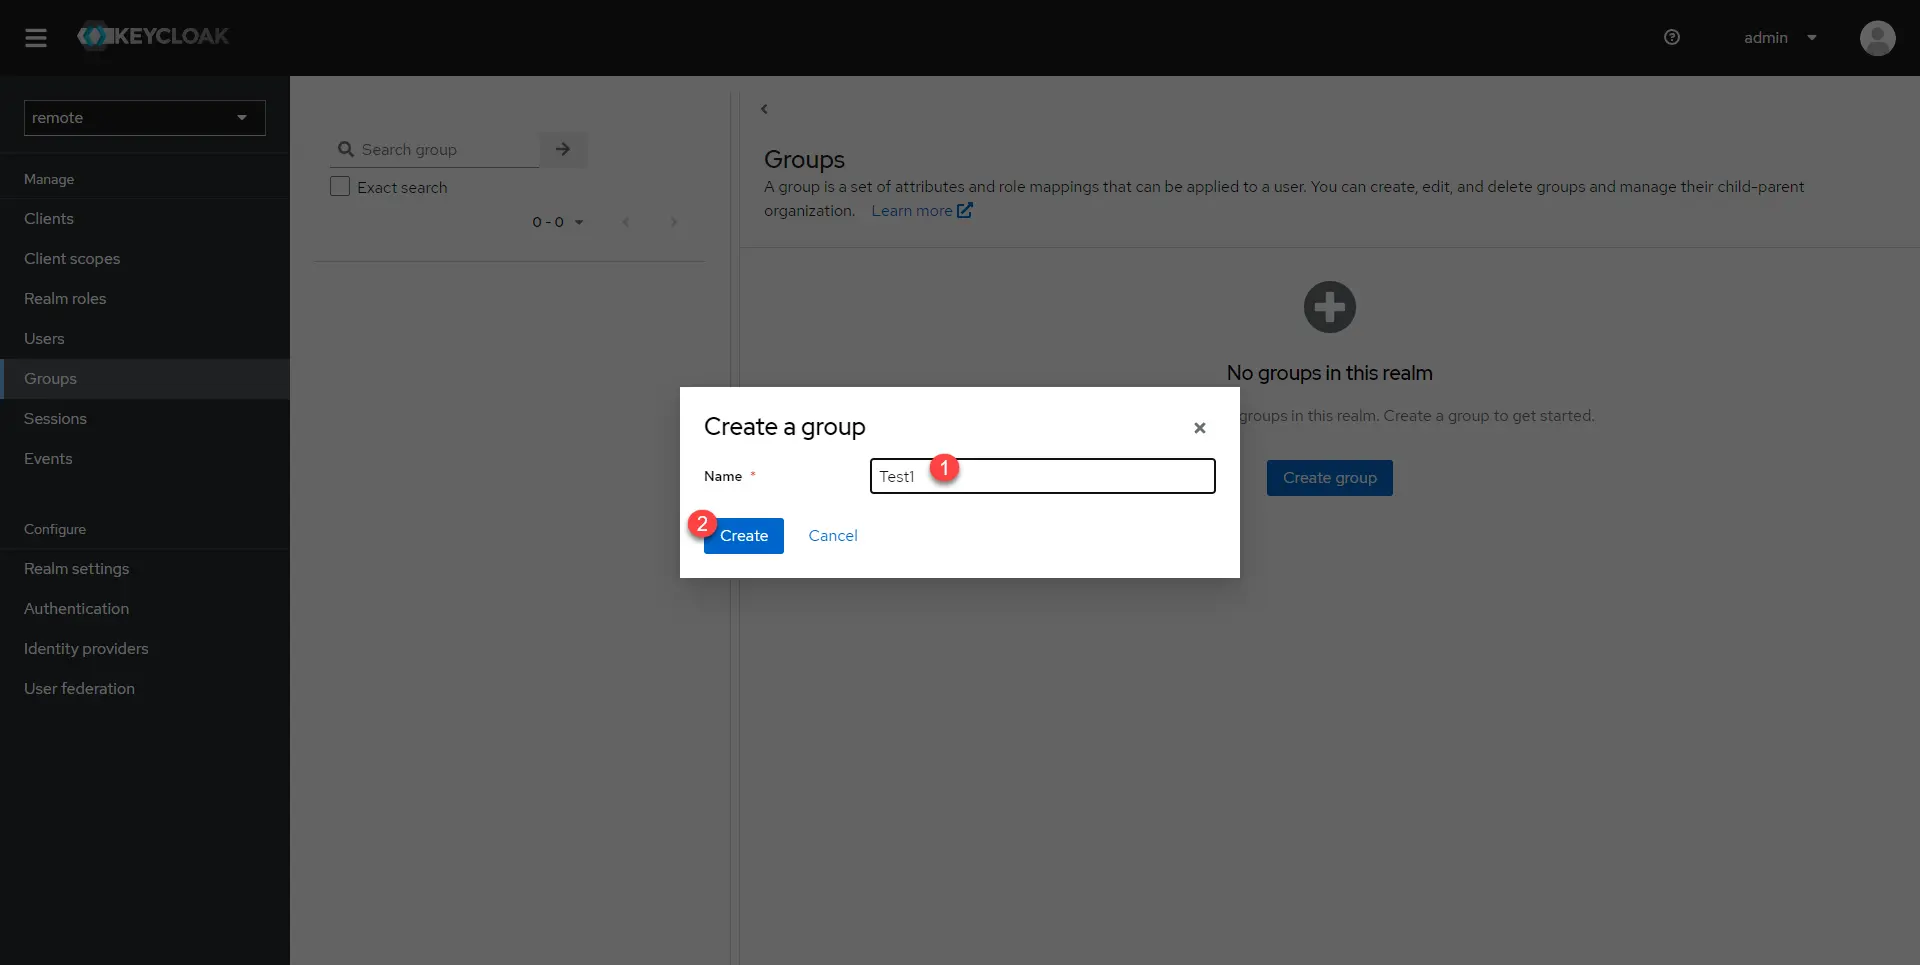
Name the group 1 then click on Create 2. As a reminder, the group in Keycloak must have the same name as the group in Guacamole.
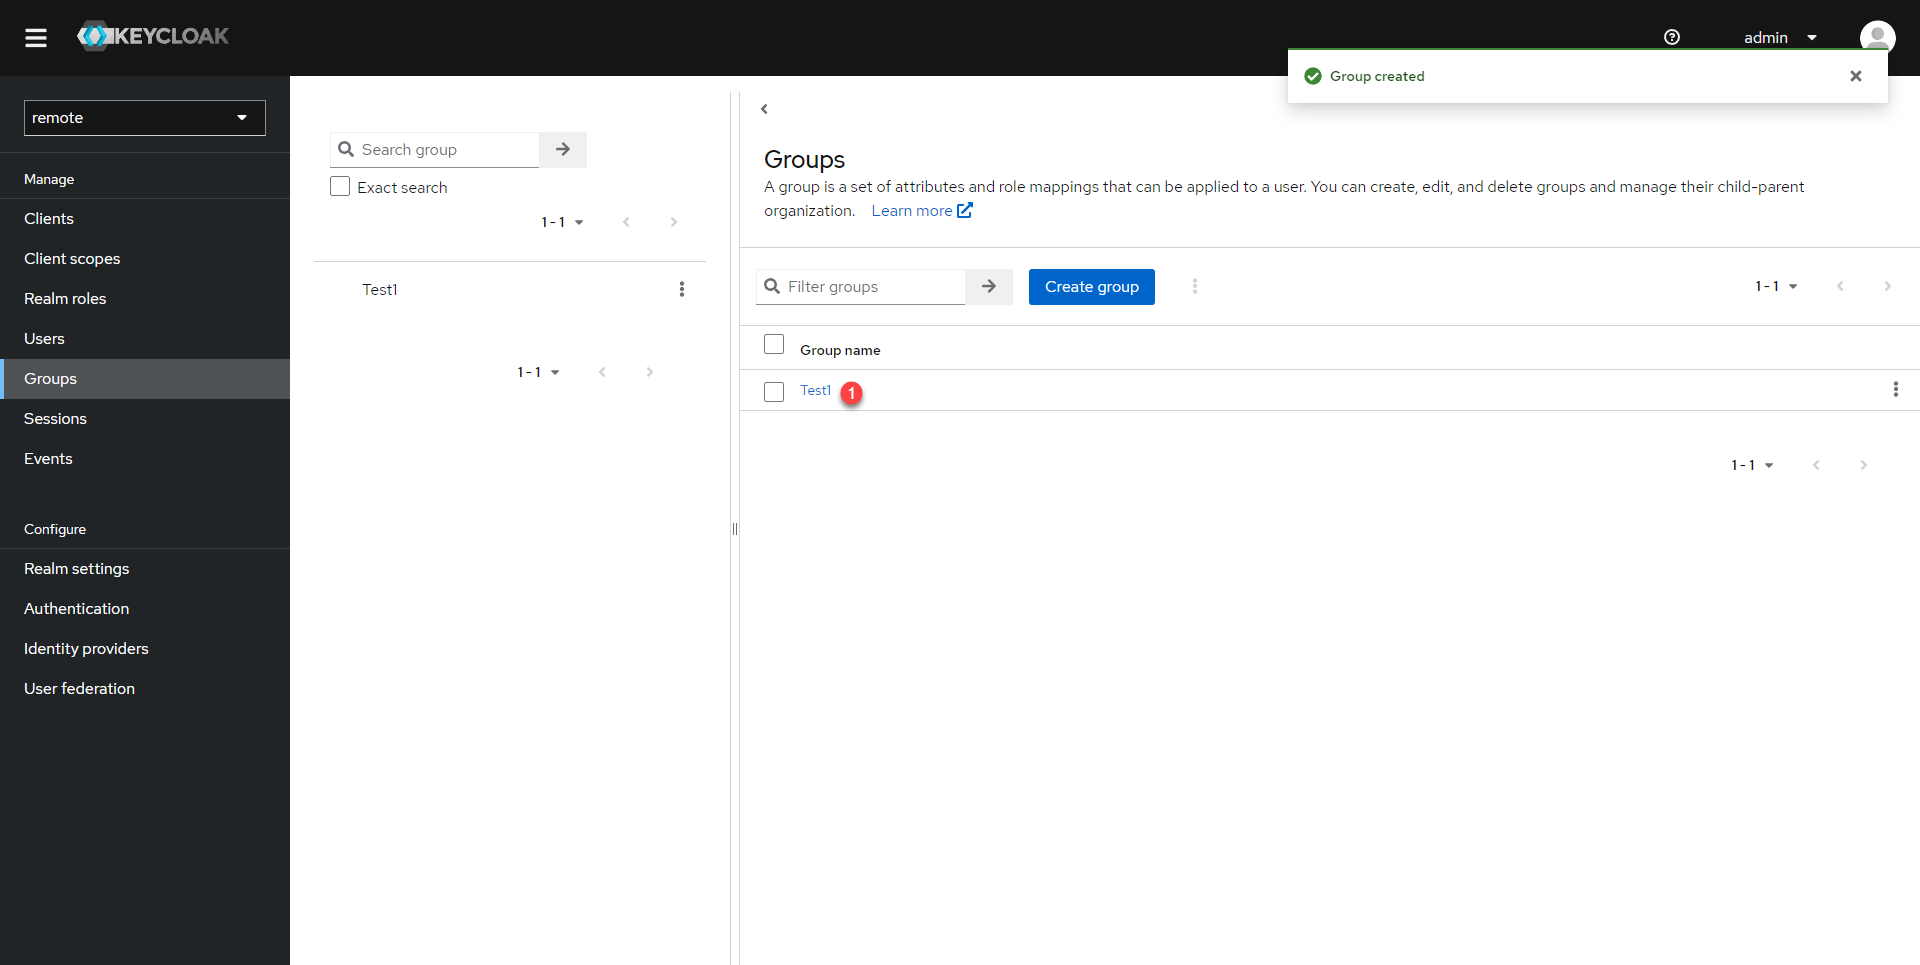
The group is created.

Add users to the group
You must now add the user groups, this manipulation can be carried out in different ways:
- When creating a user
- From the user’s page
- From the group page
This fairly simple operation does not require going into detail, in the tutorial, I will assign the user to the group from the group page.
Click on the group 1 that has just been created.
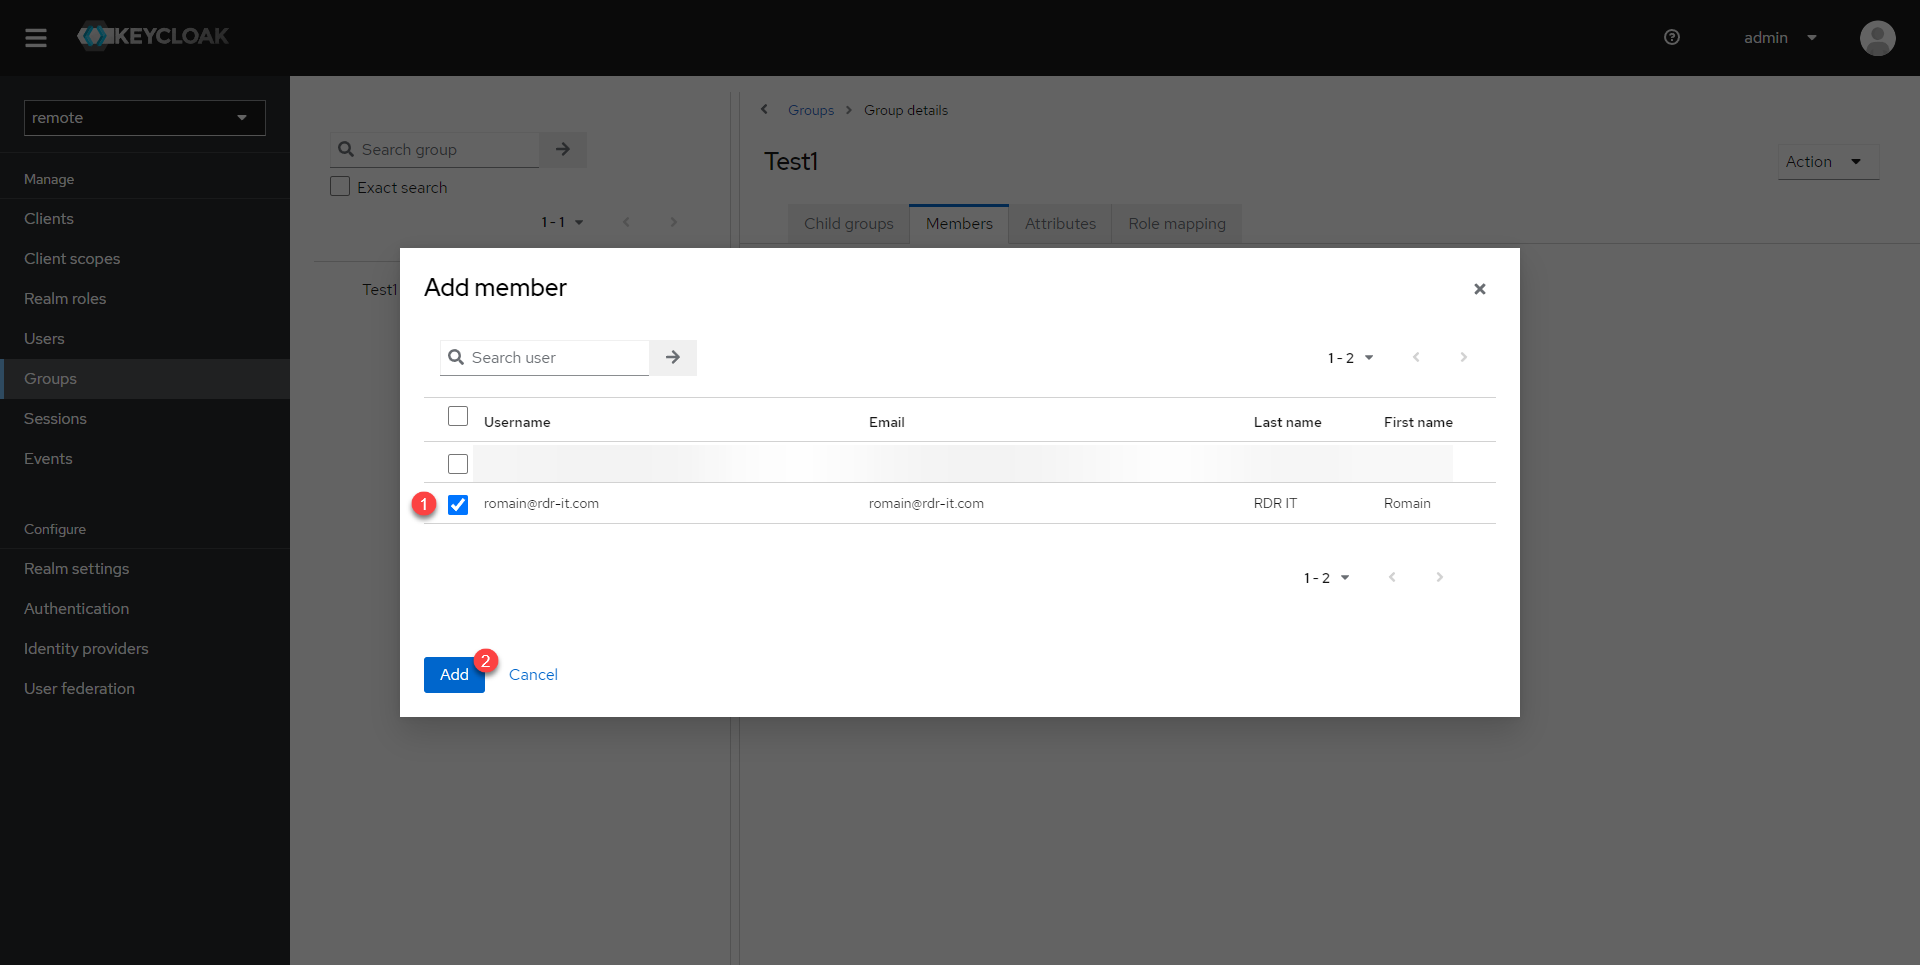
Go to the Members 1 tab and click on the Add member 2 button.

Select the user(s) 1 who need to be added and click on the Add 2 button.
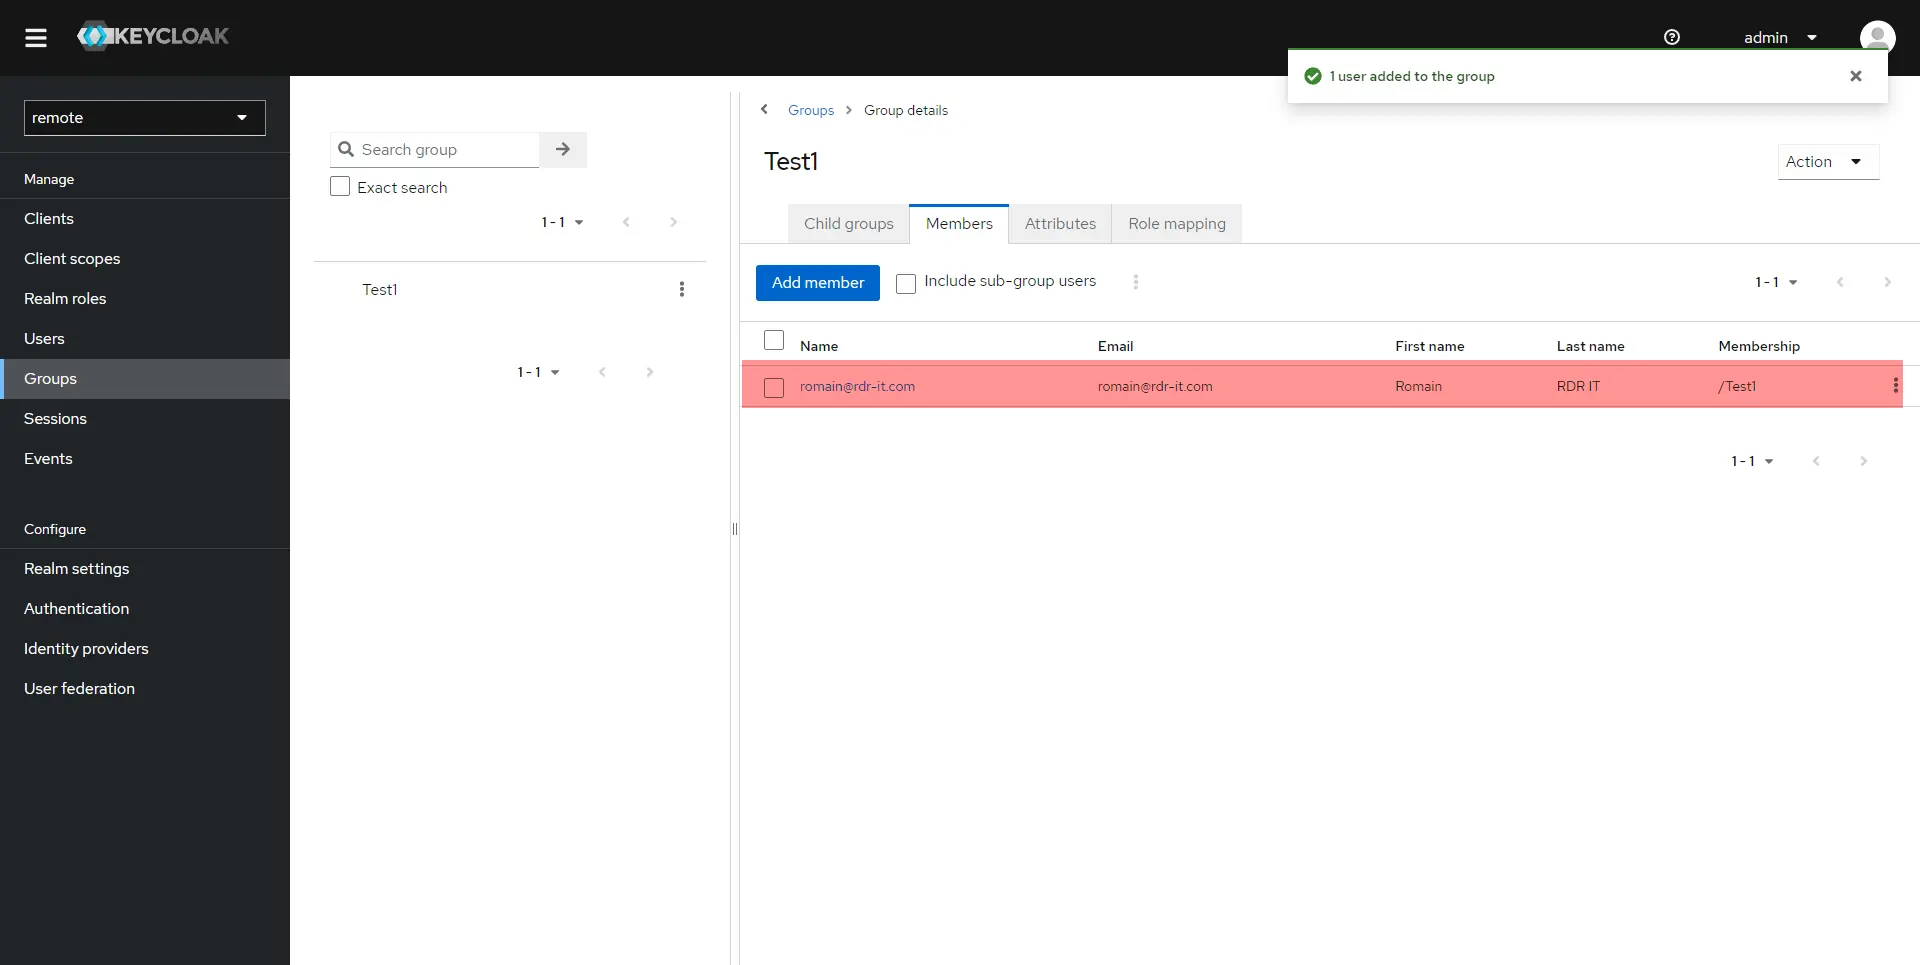
The user is added to the group.
Connection to Guacamole
To perform the tests, use the browser’s private mode.
On the Guacamole authentication page, click on OpenID.
Enter user account credentials.

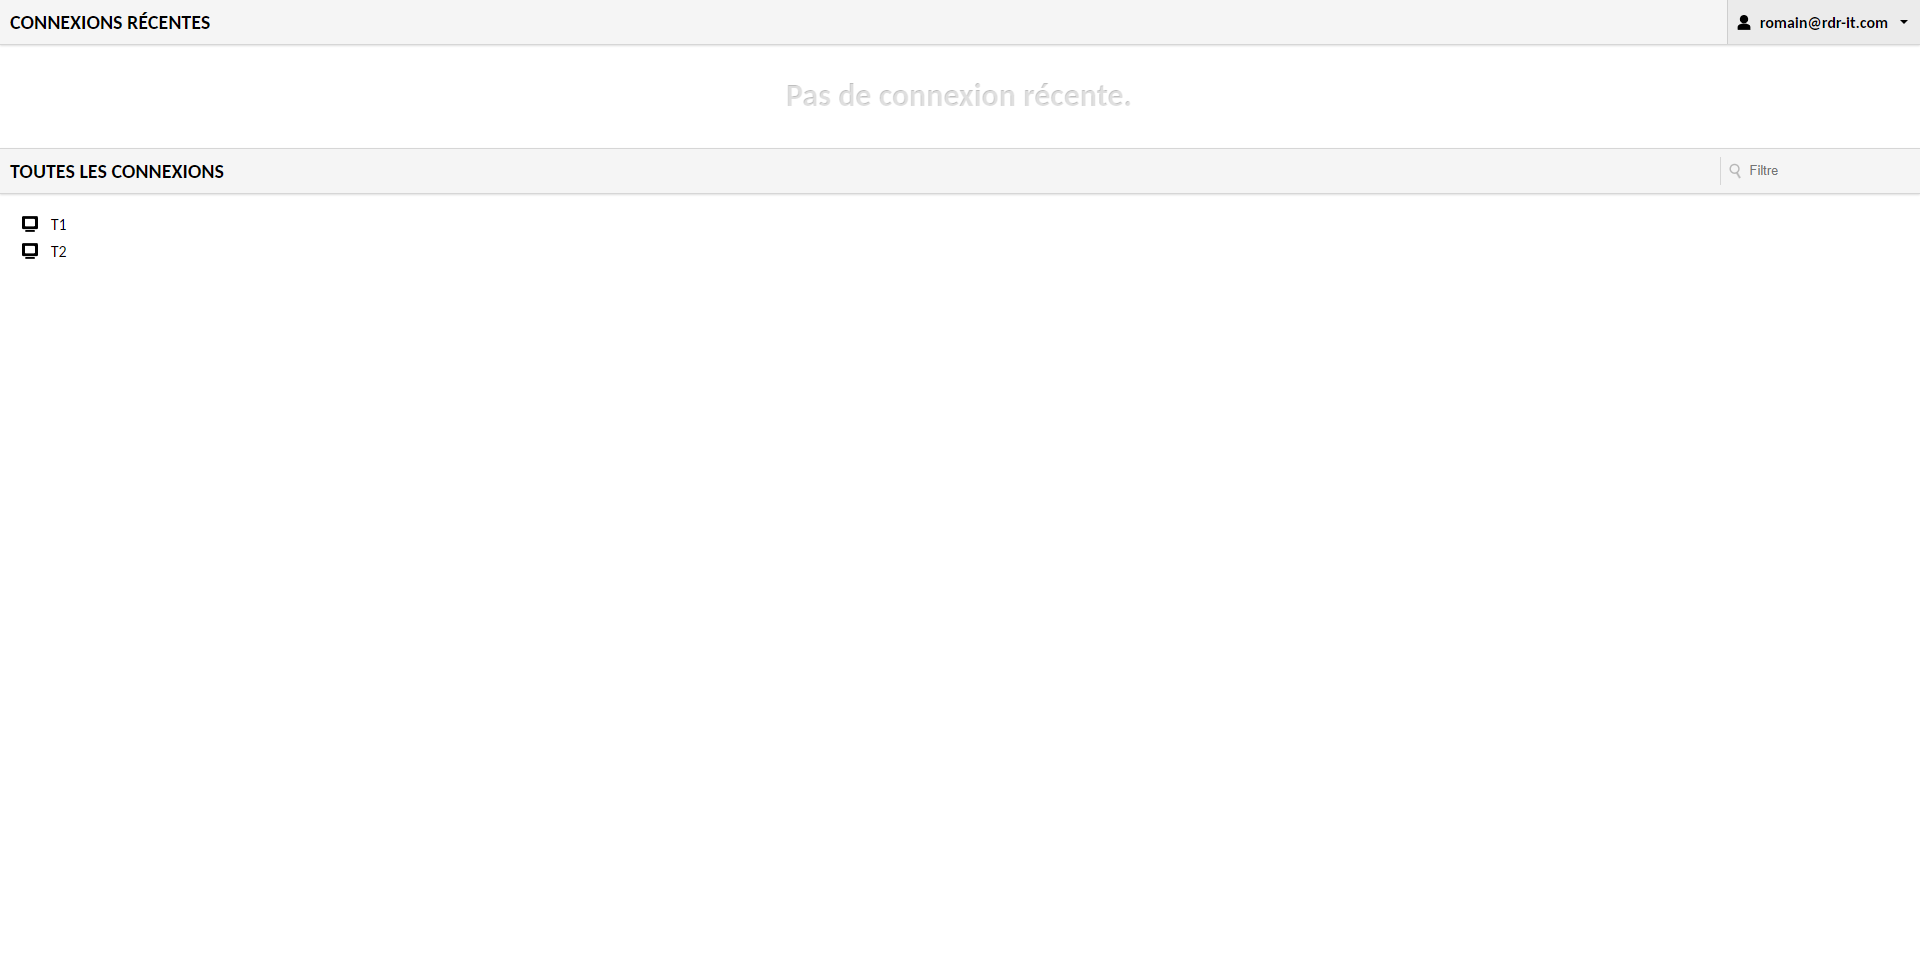
We are connected to Guacamole and the connections configured in the group are available.
Automatic creation of Keycloak users in Guacamole
If necessary, it is possible to create Keycloak user accounts in Guacamole automatically by adding the following option:
environment:
  - MYSQL_AUTO_CREATE_ACCOUNTS=true
By activating account provisioning in Guacamole, you can, if necessary, activate time access restrictions, for example, or deactivate the account to prevent access to connections.
Now you know how to configure Guacamole with Keycloak. to configure OpenID authentication and enable SSO if you use multiple clients in the same realm.
Très bon guide ! Il m’a bien aidé, merci beaucoup 🙂