In this tutorial, I will explain how to prepare the Windows environment to install GLPI under IIS and how to configure GLPI to send email using an SMTP server.
Prerequisites
- Have the IIS role installed on a server.
- Install PHP on IIS.
- A MariaDB or MySQL server.
- Download the latest version of GLPI.
- Have an internal DNS server (Windows).
Preparing the environment for GLPI for IIS
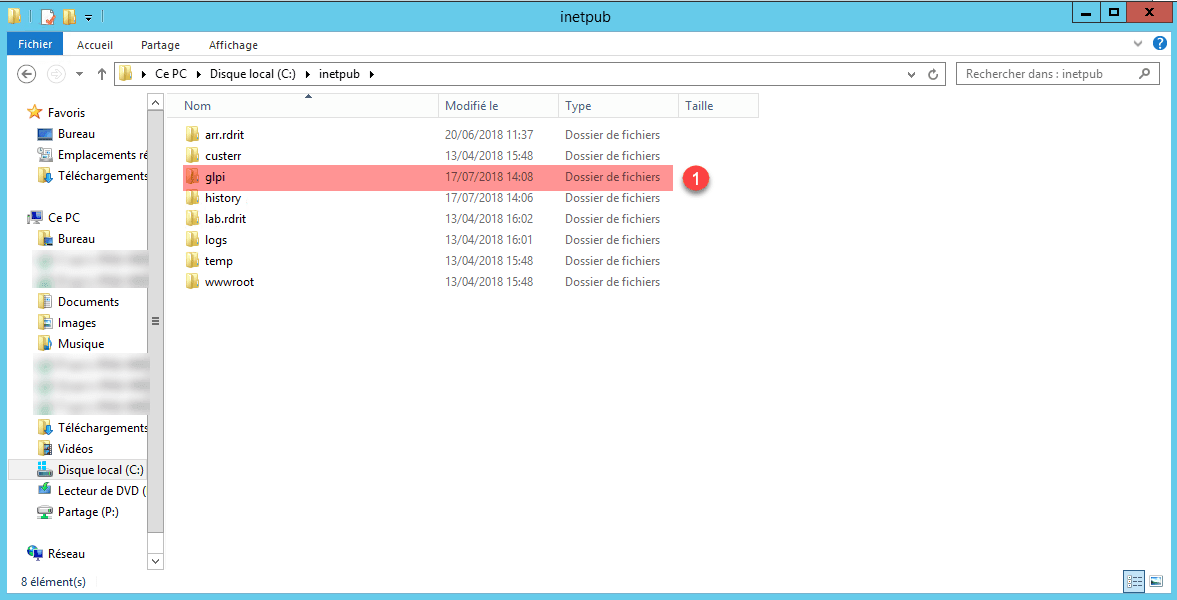
On the IIS server, create a 1 folder that will receive GLPI.
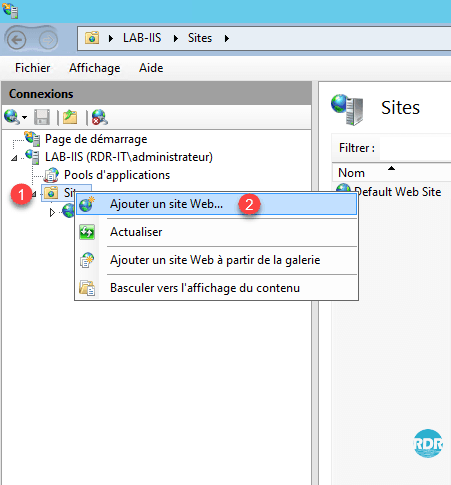
Open the IIS Management Console, select the Sites 1 folder, right click on it and click on Add Web Site … 2 .
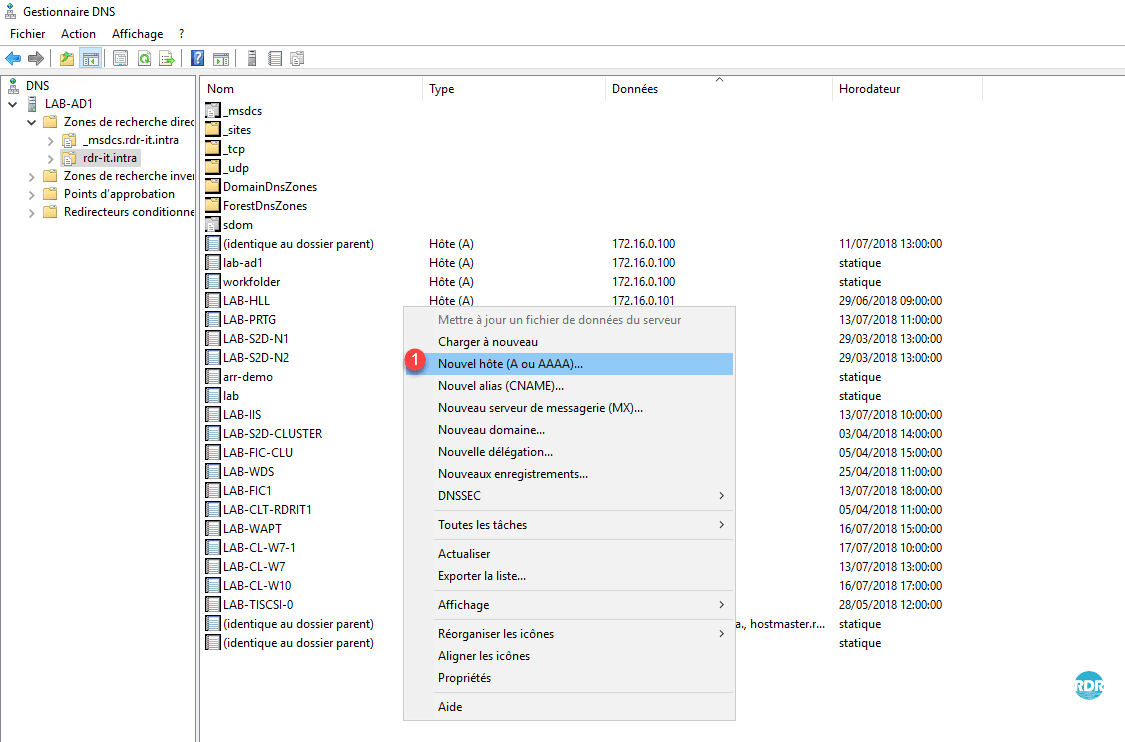
Go to the server where the DNS role is installed, open the console and add a new record A 1 by right-clicking in the box.
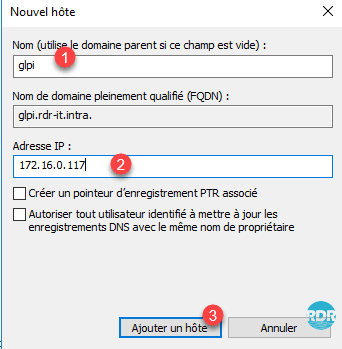
Enter the name of the host 1 defined when creating the site, enter the IP address of your IIS server 2 and click on the button Add a host 3 .
Click OK 1 to close the registration confirmation message.
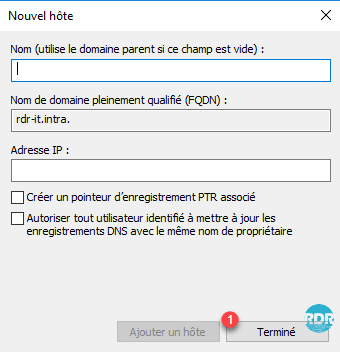
Click Done 1 to close the window.
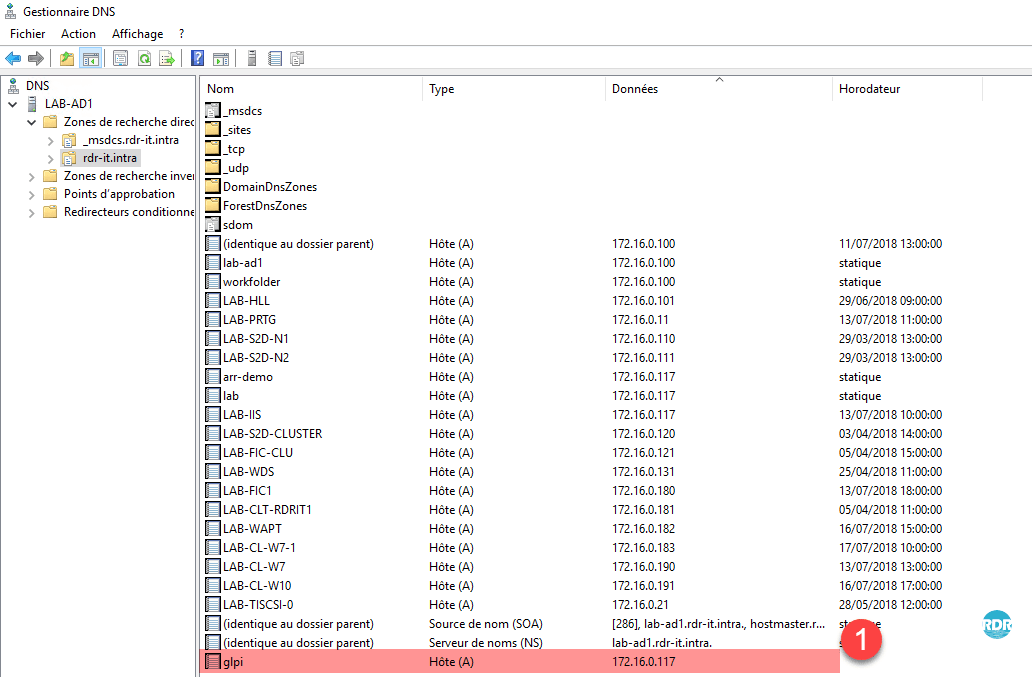
The record is created 1 .
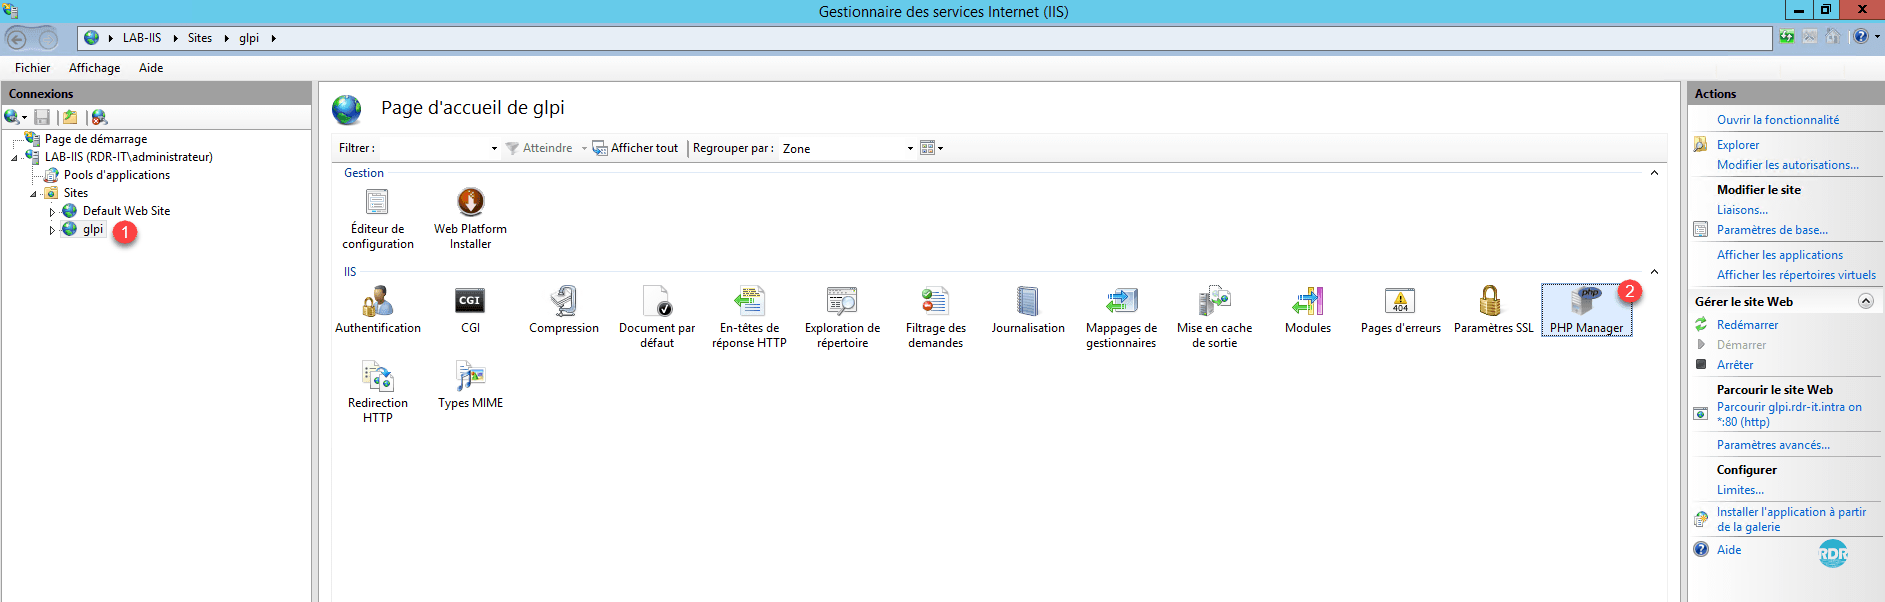
Return to the IIS console, go to glpi 1 and click on PHP Manager 2 .
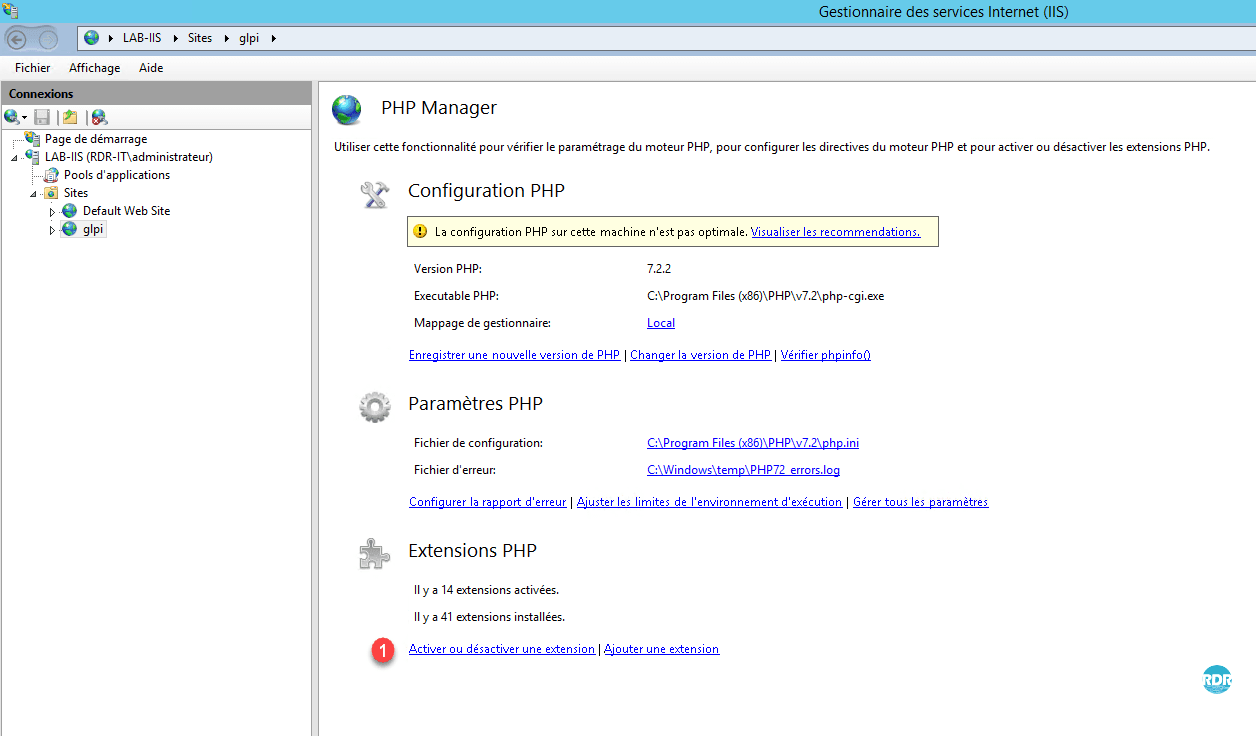
To work properly GLPI needs some PHP extensions to be enabled. Click Enable or disable a 1 extension.
Activate the php_ldap extension, select 1 then right click on it and click on Activate 2 .
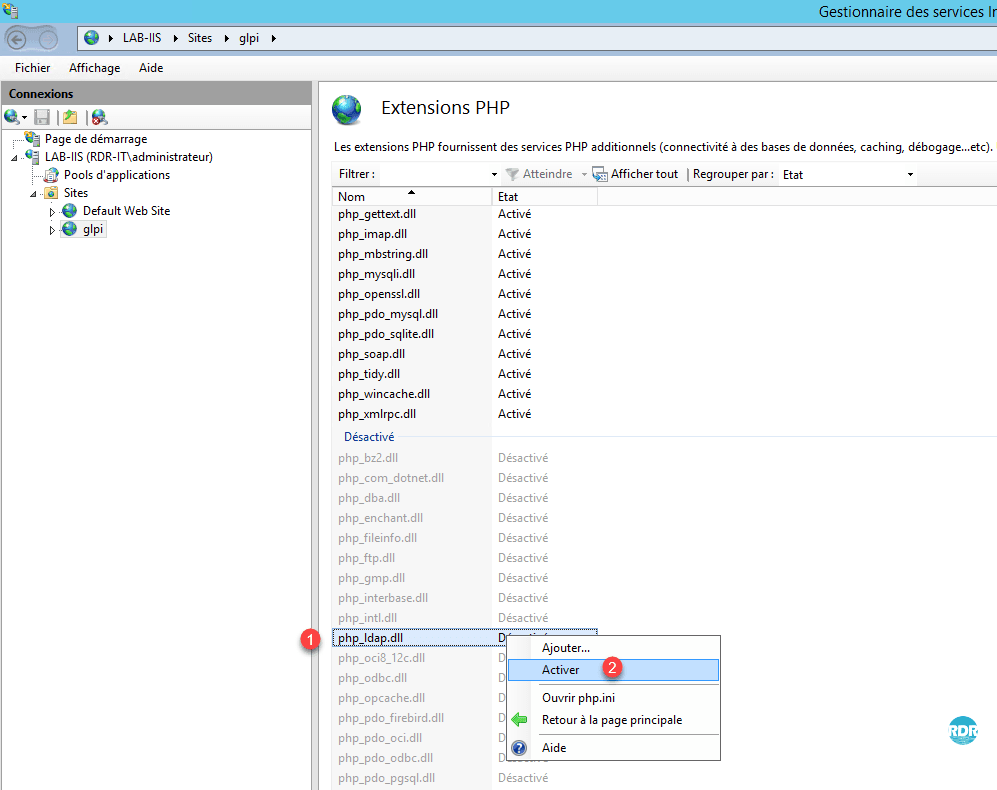
Do the same with the php_fileinfo extension.
The fileinfo and ldap extensions are enabled.

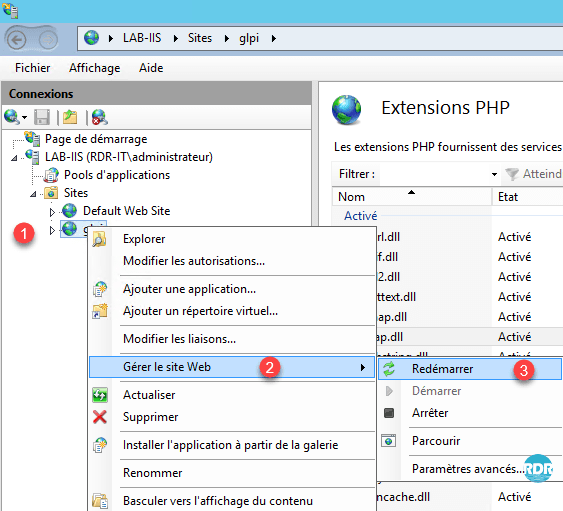
Right click on the glpi 1 site, go to Manage the 2 website and click on Restart 3 to take the PHP extensions into account.
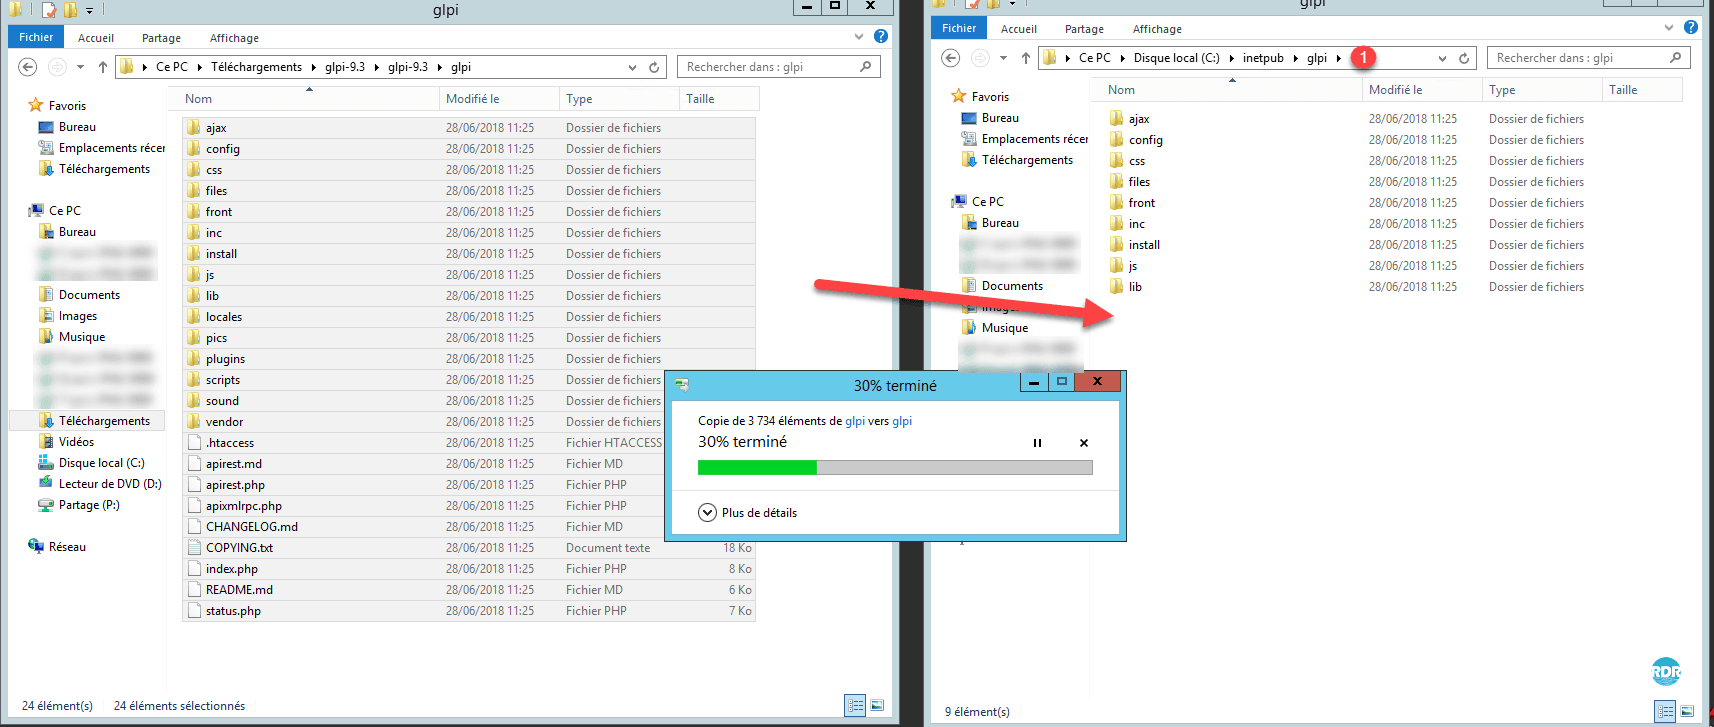
Copy the contents of the download archive to the on-site directory on IIS 1 .
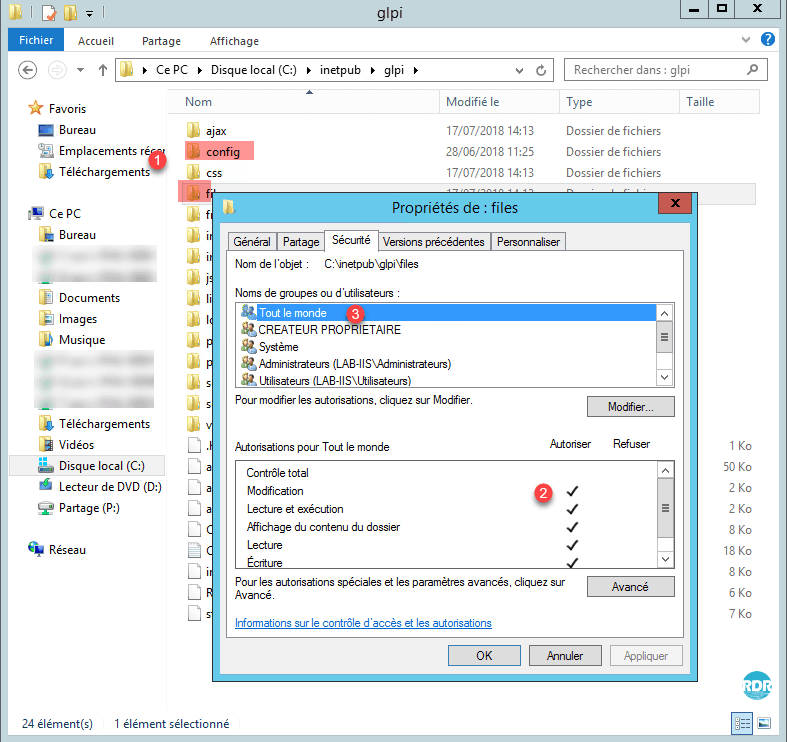
Modify the rights of the config and files folders 1 to give the access Modify 2 to the group 3 .
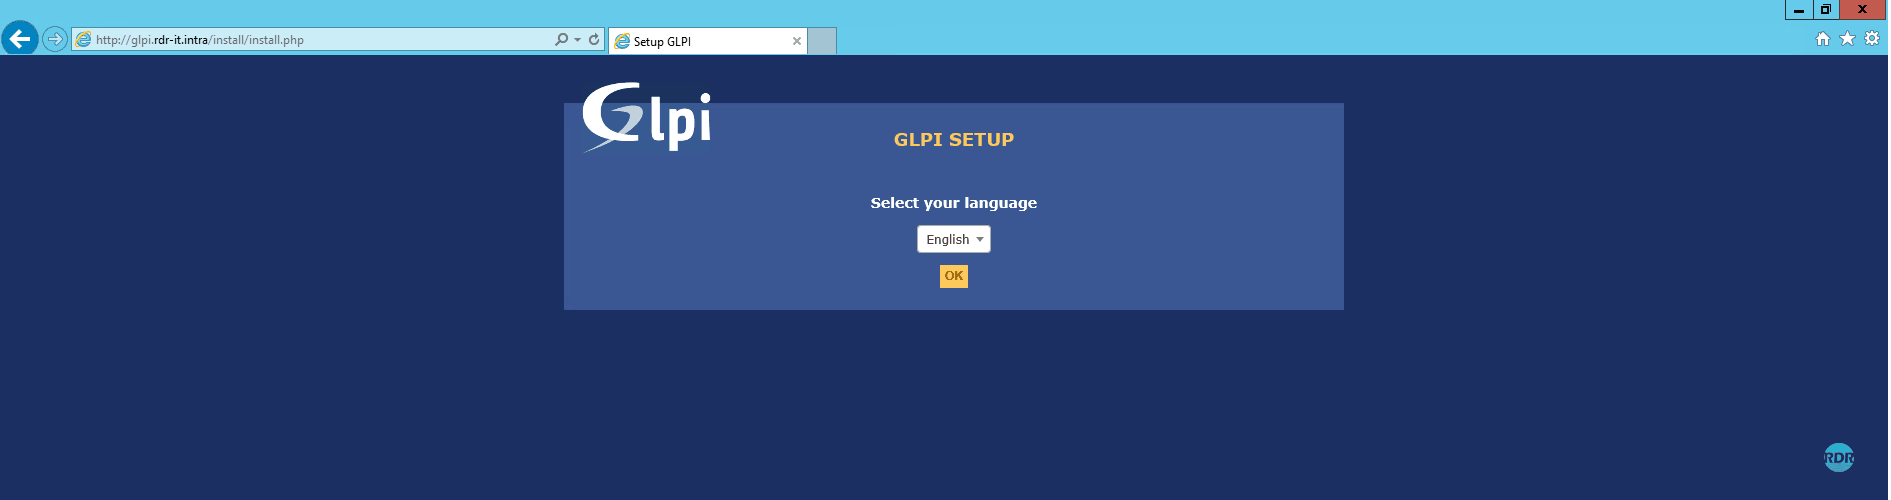
Start an internet browser and enter the dns address defined at the beginning.
The following tutorial GLPI: Installation and Basic Configuration will guide you through the installation.
After installation
Rename / Delete the install folder
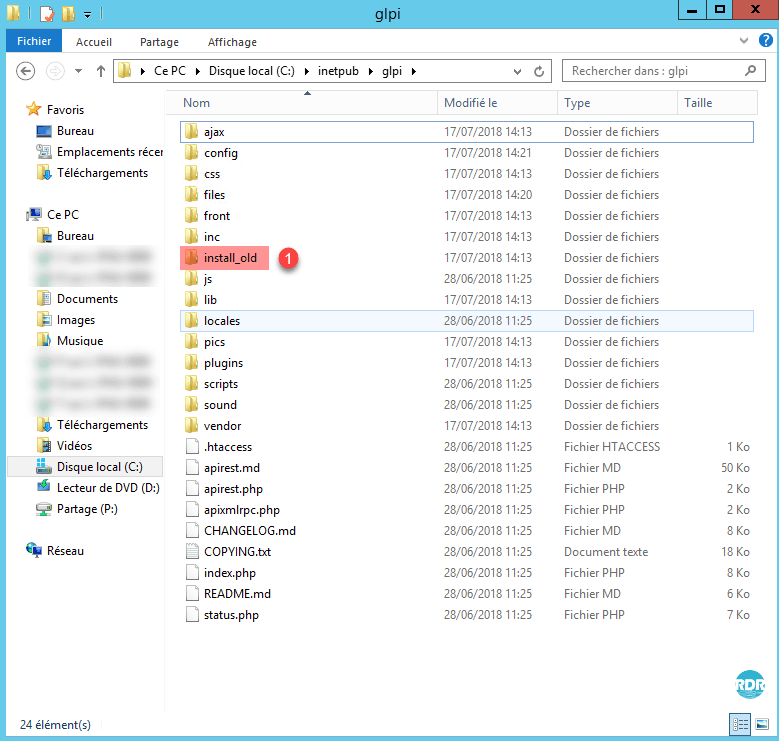
Go to the folder where GLPI was copied and delete or rename the install folder 1 .
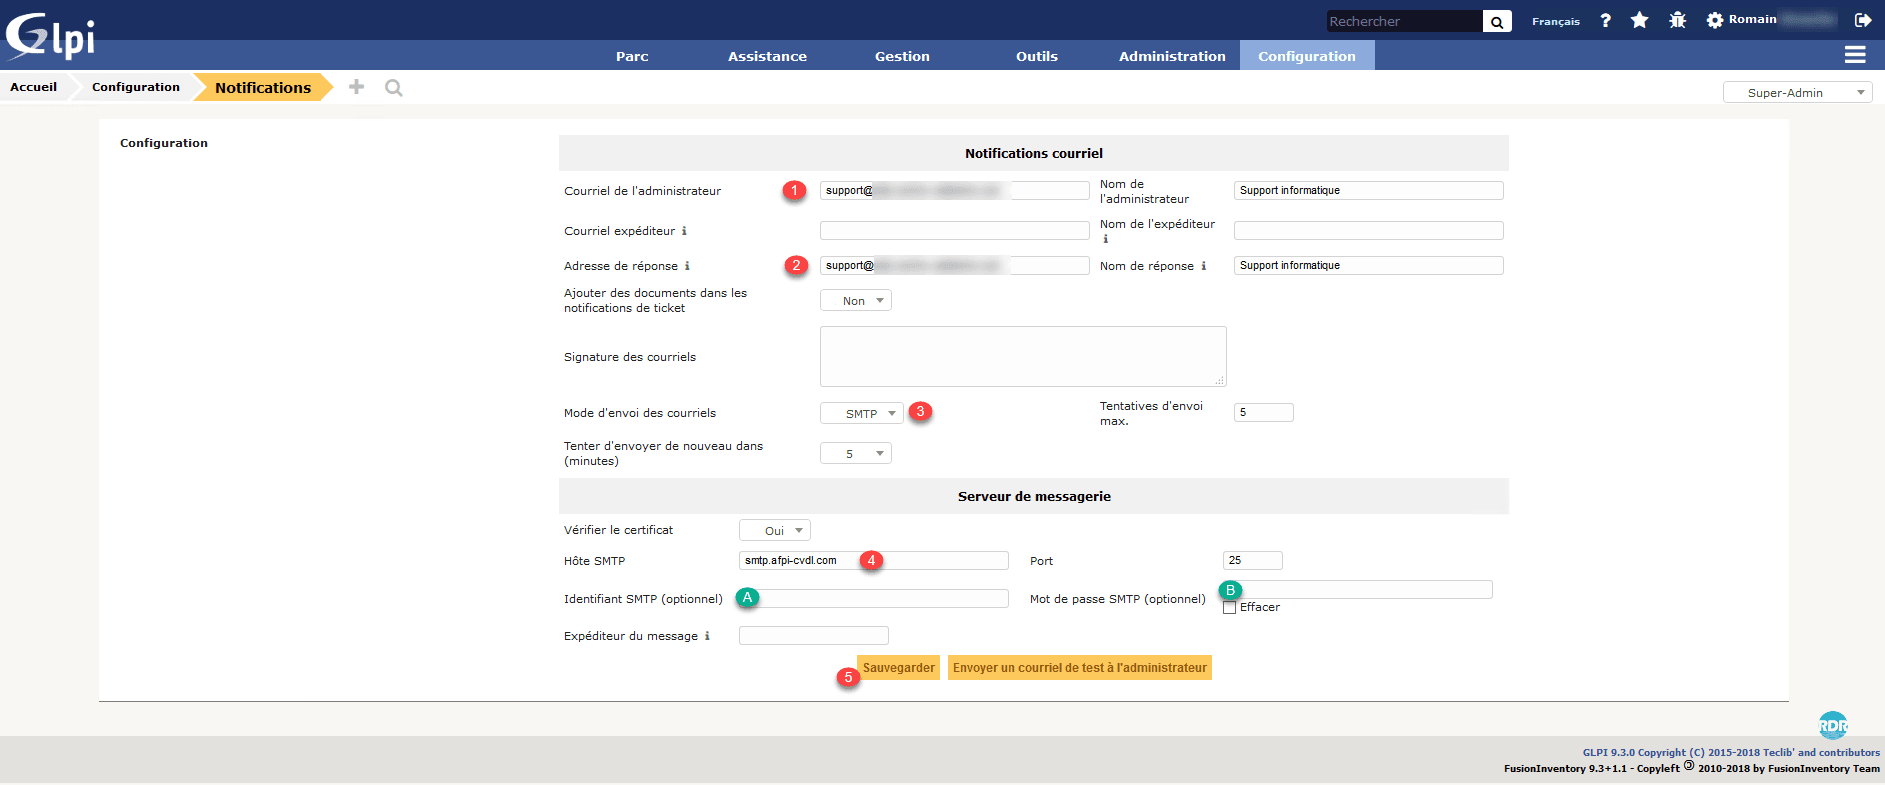
Send email
Under IIS the configuration to send e-mails with PHP not being as simple as you linux to set up, I advise you to directly inform an SMTP server (internal / fai) in the configuration of GLPI.
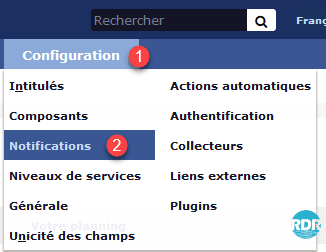
From the navigation menu, go to Settings 1 / Notifications 2 .
Click on Configuration of Email Tracking 1 .
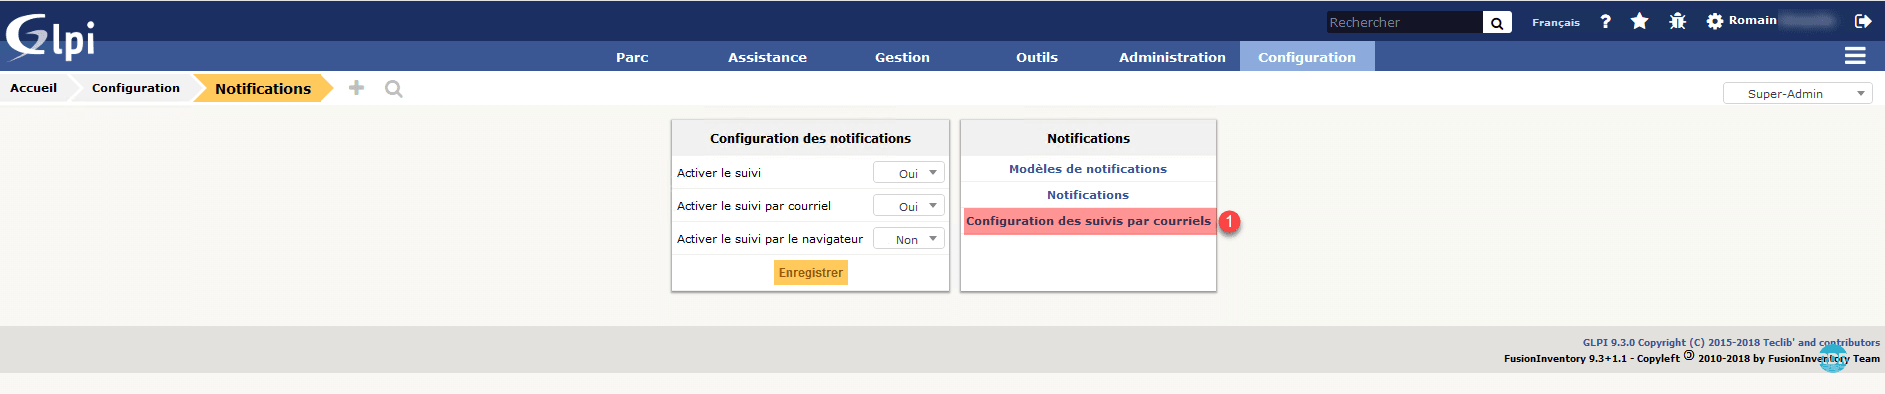
If Email Tracking Setup is not available, go to Yes Enable Tracking and Enable Email Tracking. By saving, the page will be reloaded and it will be possible to configure the tracking by emails.
Enter the email address of the sender 1 and answer 2 . Sending mode choose SMTP 3 . Enter the server address 4 and if necessary Identifier A and password B . Click the Save button 5 to save the configuration.