

In this tutorial, we will see how to add custom fields using the Fields plugin.
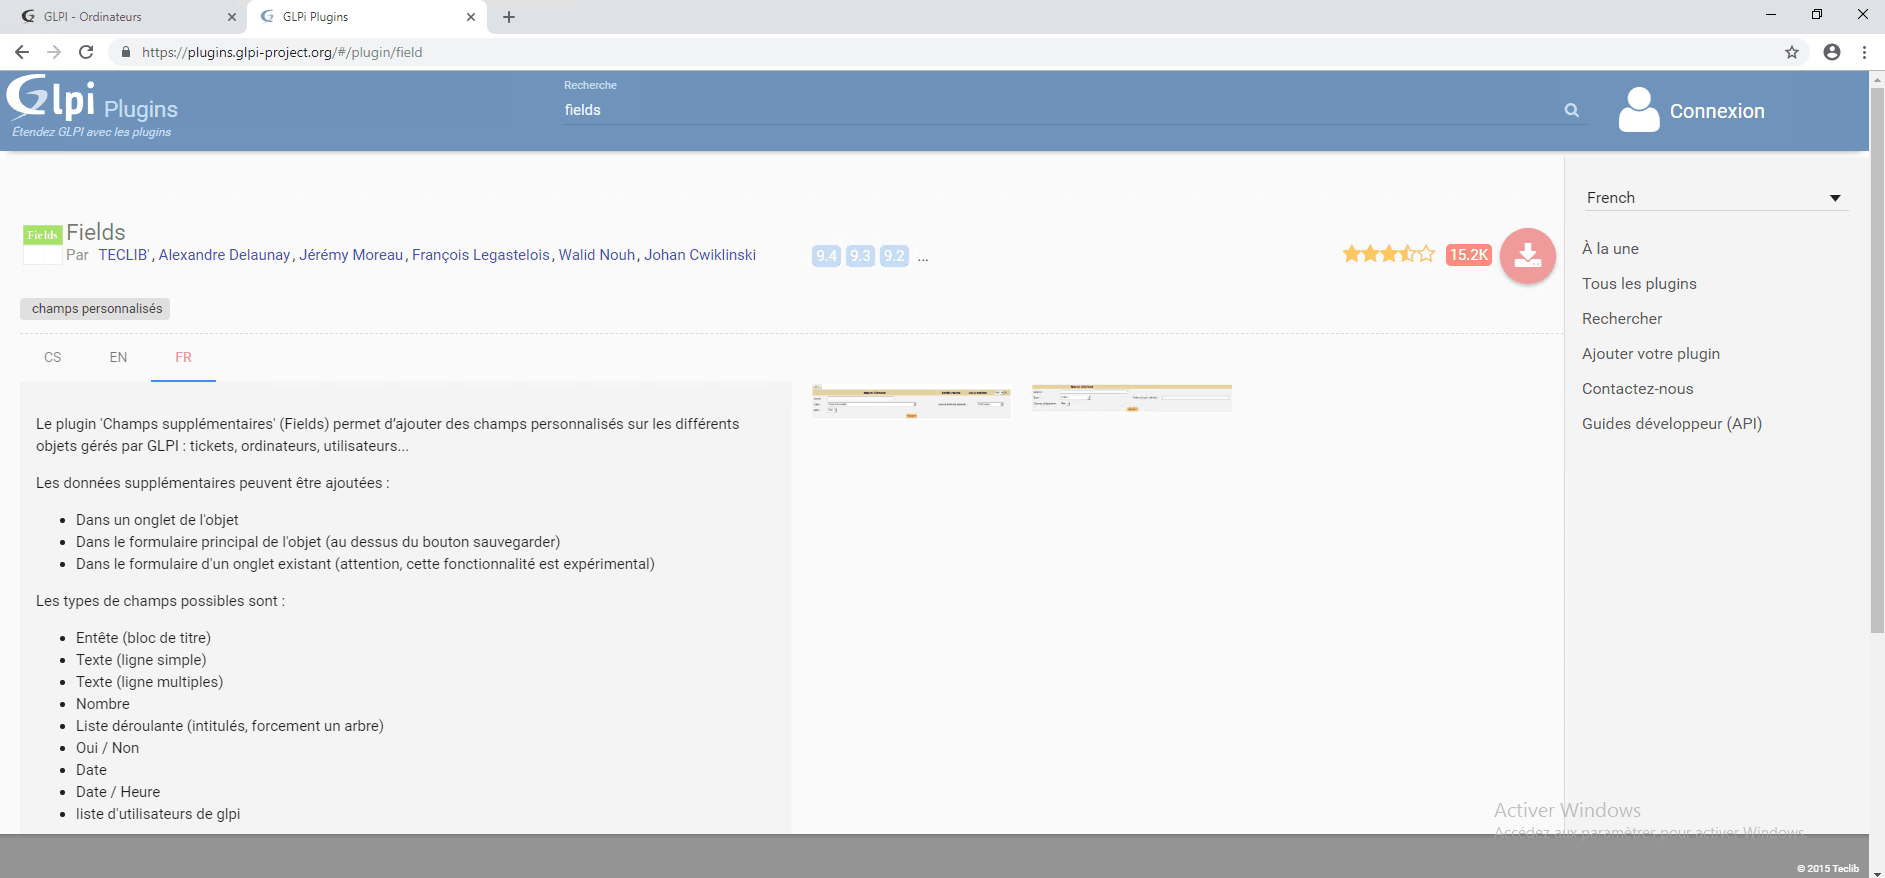
Fields allows you to add custom field blocks in the different elements of GLPI to customize the information.
To illustrate this tutorial, we will add fields to the computers to save the backup information.
For the fields, I relied on the Veeam software. Here are the fields to create:
- Repository
- Frequency
- Restoration point
Plugin installation Fields
1. Go to https://plugins.glpi-project.org/#/ and download the plugin Fields.
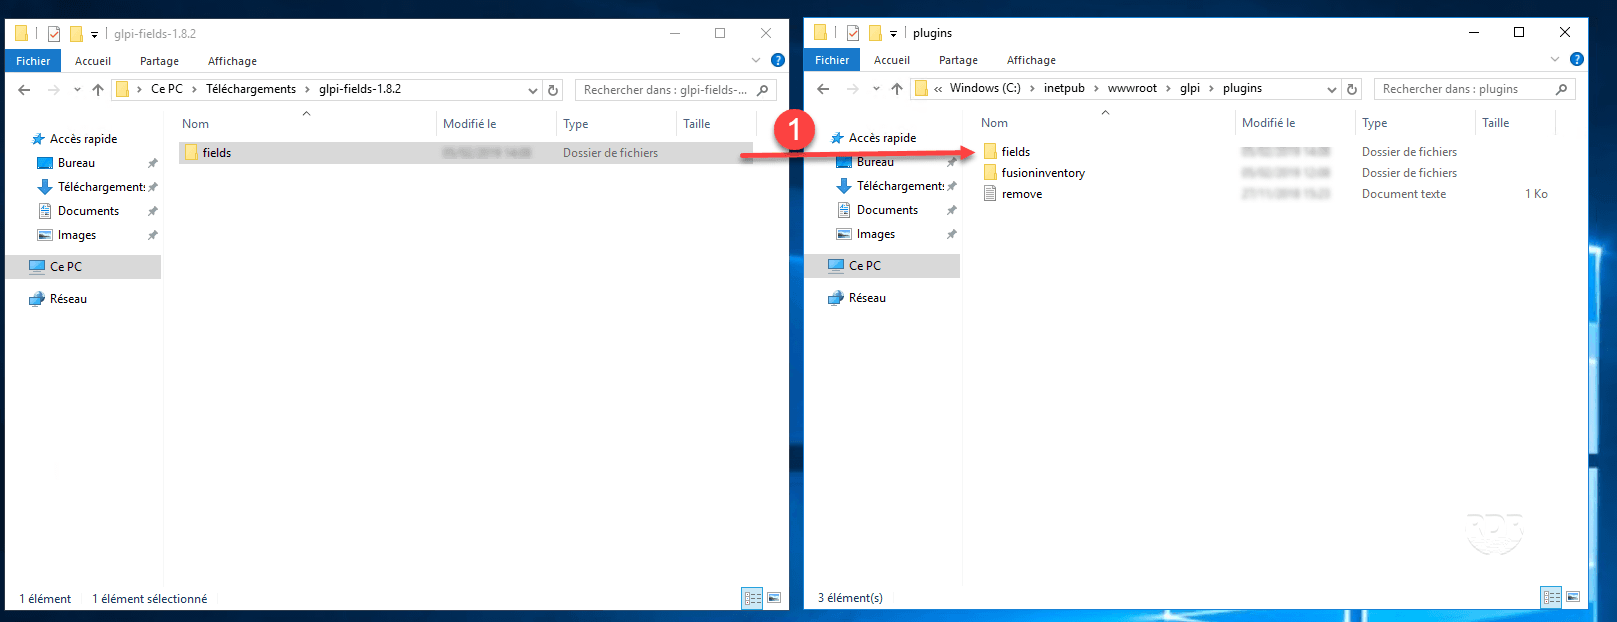
2. Unzip the archive and copy it to the plugins folder of GLPI 1 .
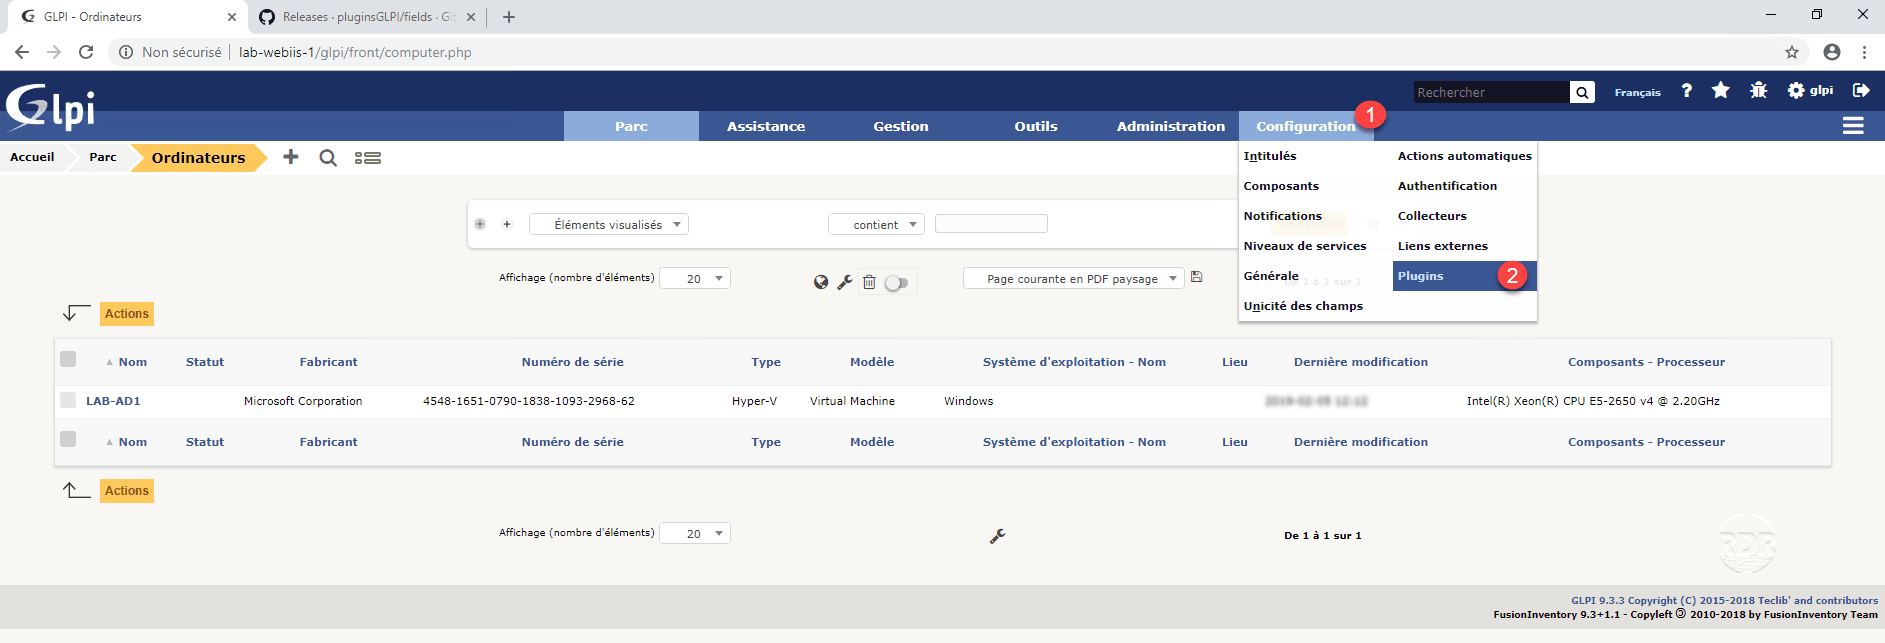
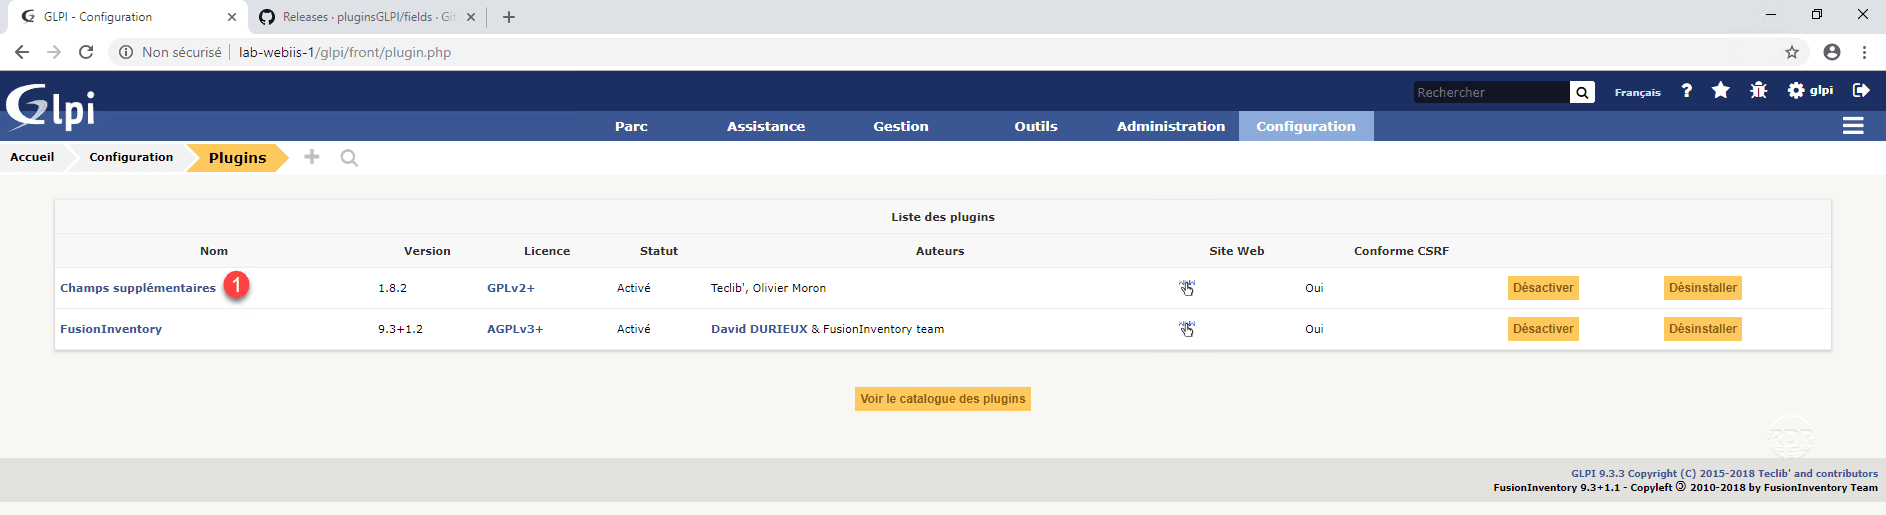
3. Go to the GLPI interface in Configuration 1 / Plugins 2 .
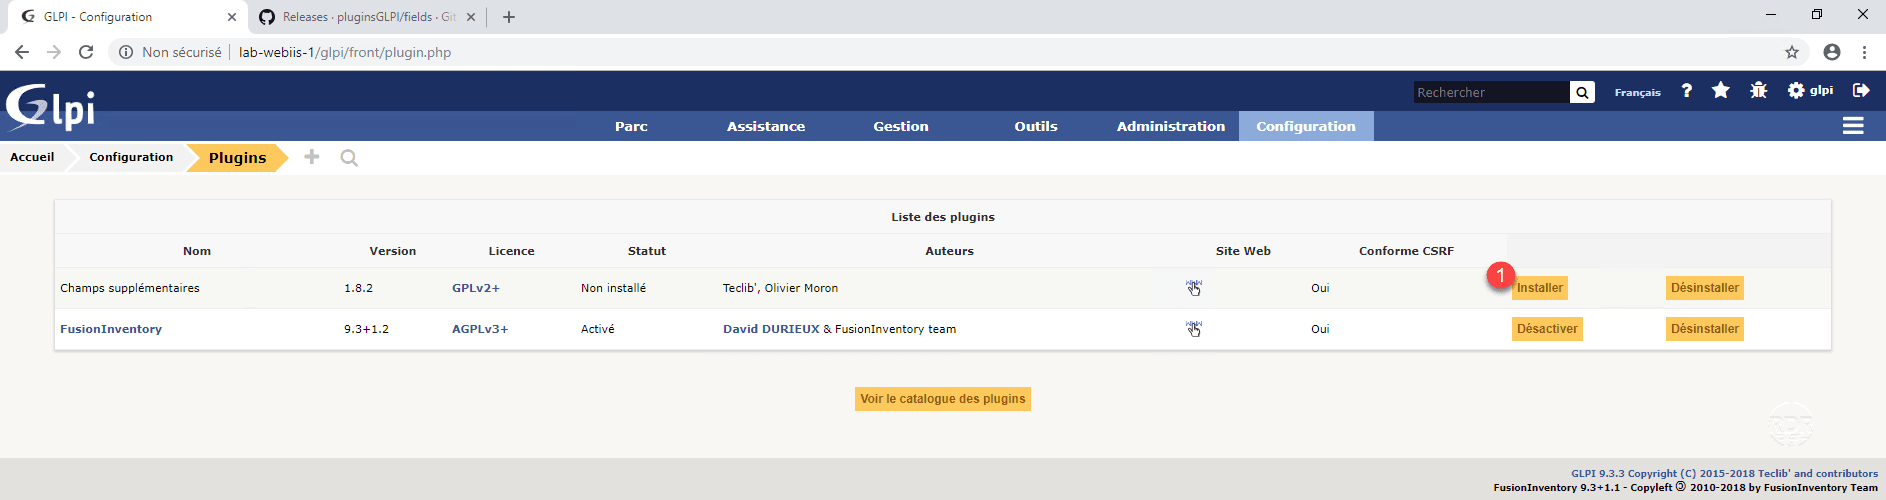
4. Click the Install 1 button corresponding to the Fields plugin.
5. Once the plugin is installed, it must be activated in the administration interface. Click on the Activate 1 button.

6. The plugin is now operational, click on name Additional fields 1 or by the menu Configuration / Additional fields.
Now that the plugin is installed, we will pass the field addition, but before we must declare the blocks.
Add a block of fields
A block is a set of fields linked to an element with a position.
A block can have 3 positions:
- Adding a tab in a form
- Add block before the Save button, this block is unique.
- Add before the block before the Save button in a specific form (example: creating a ticket).
For the management of backups, we will add a block of type tab in the form of a computer.
1. From the Additional Fields Management page, click on 1 .

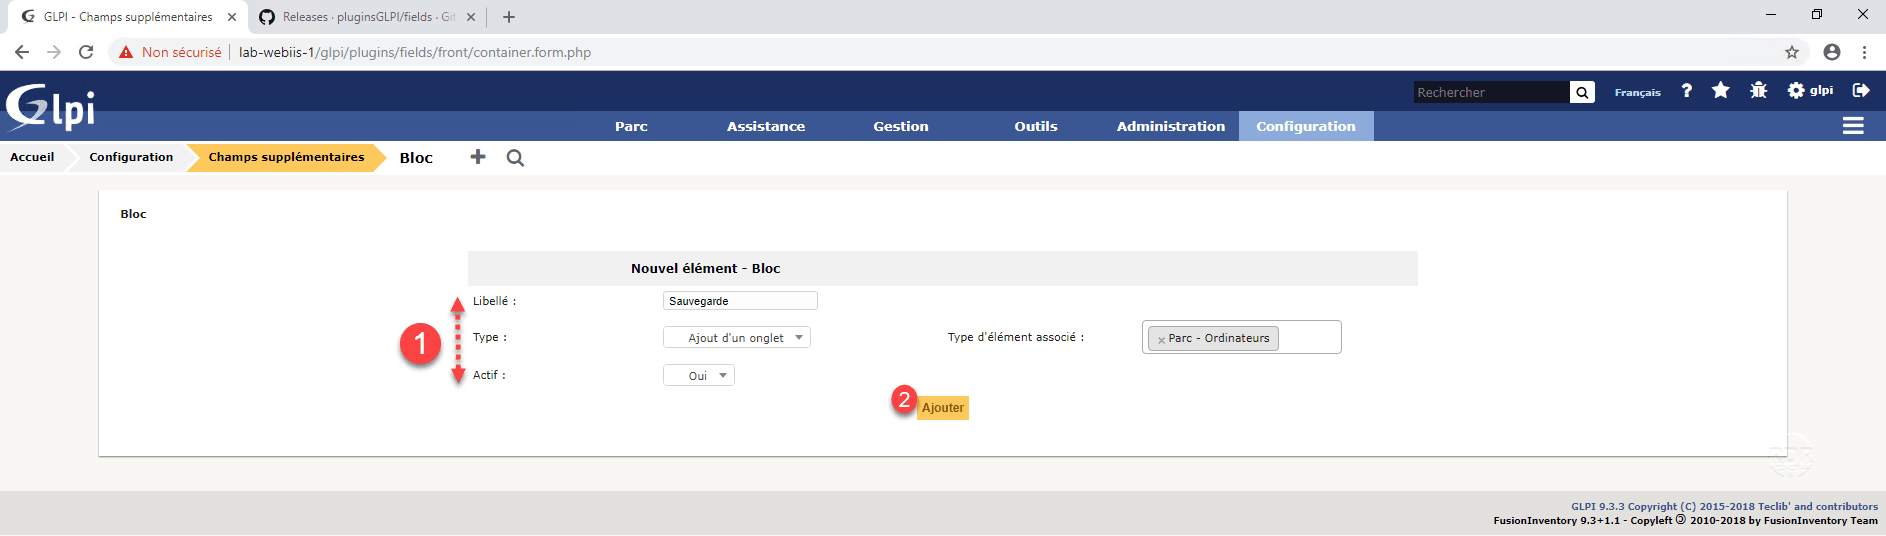
2. Fill in the form 1 and click on Add 2 :
- Label: name of the block that will be this one of the tab
- Type: Adding a tab, it is not possible to change it after.
- Associated item type: choose Park – Computers.
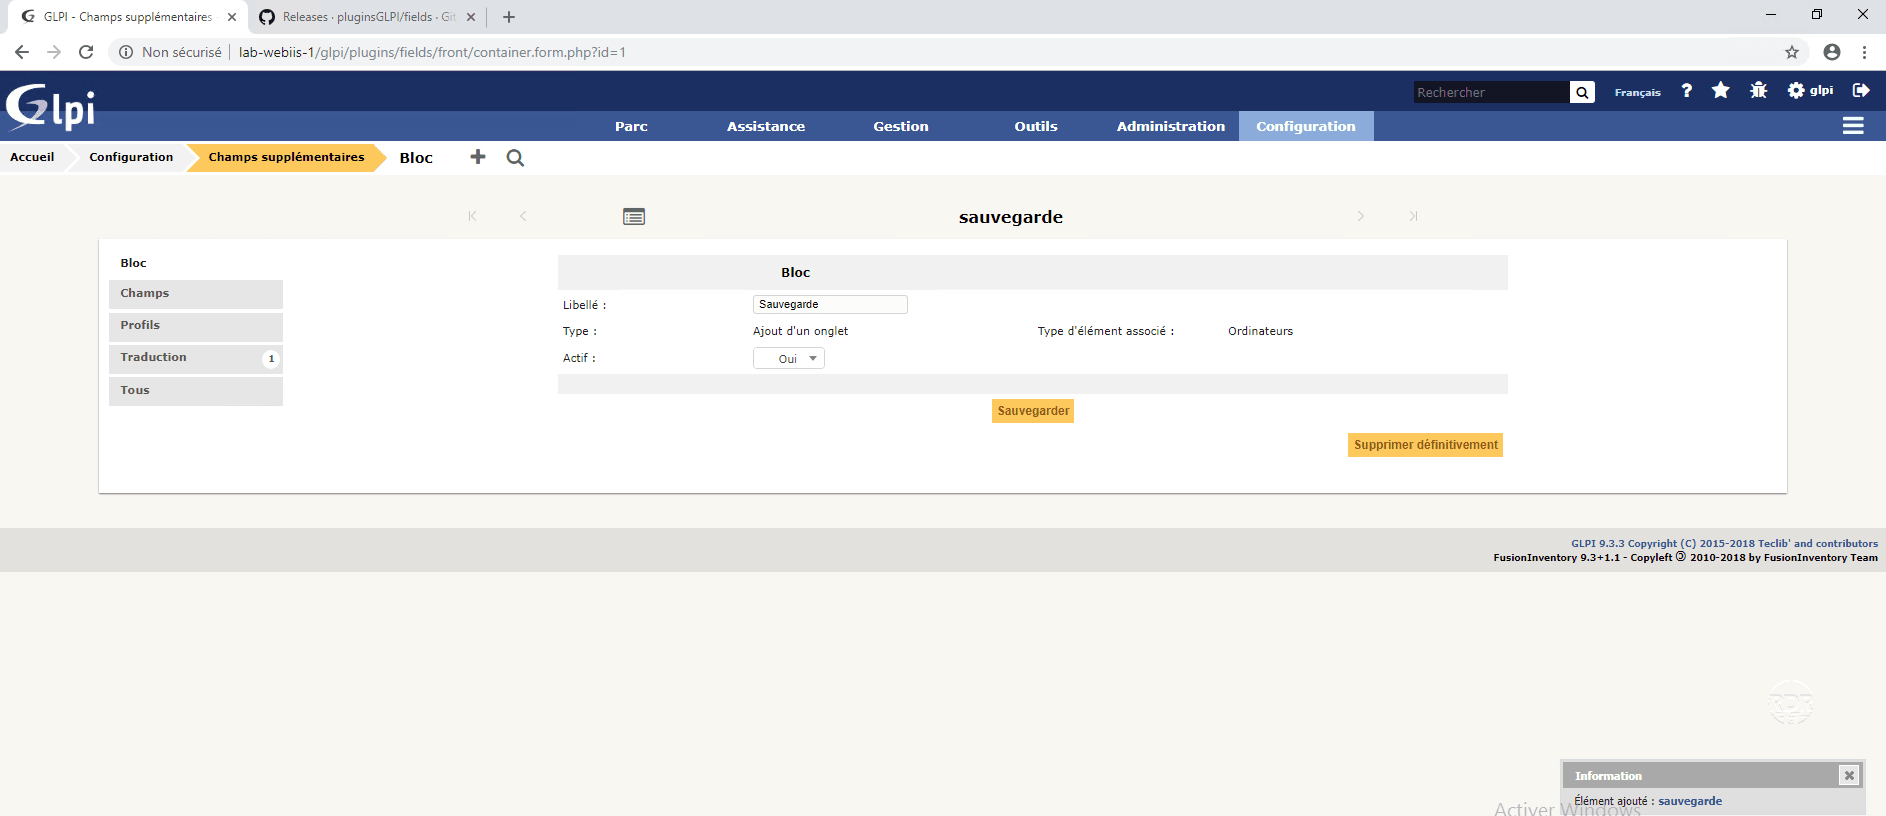
3. The block is added, how most of the GLPI elements, the different actions are available via a tab list available on the left of the details of the item.
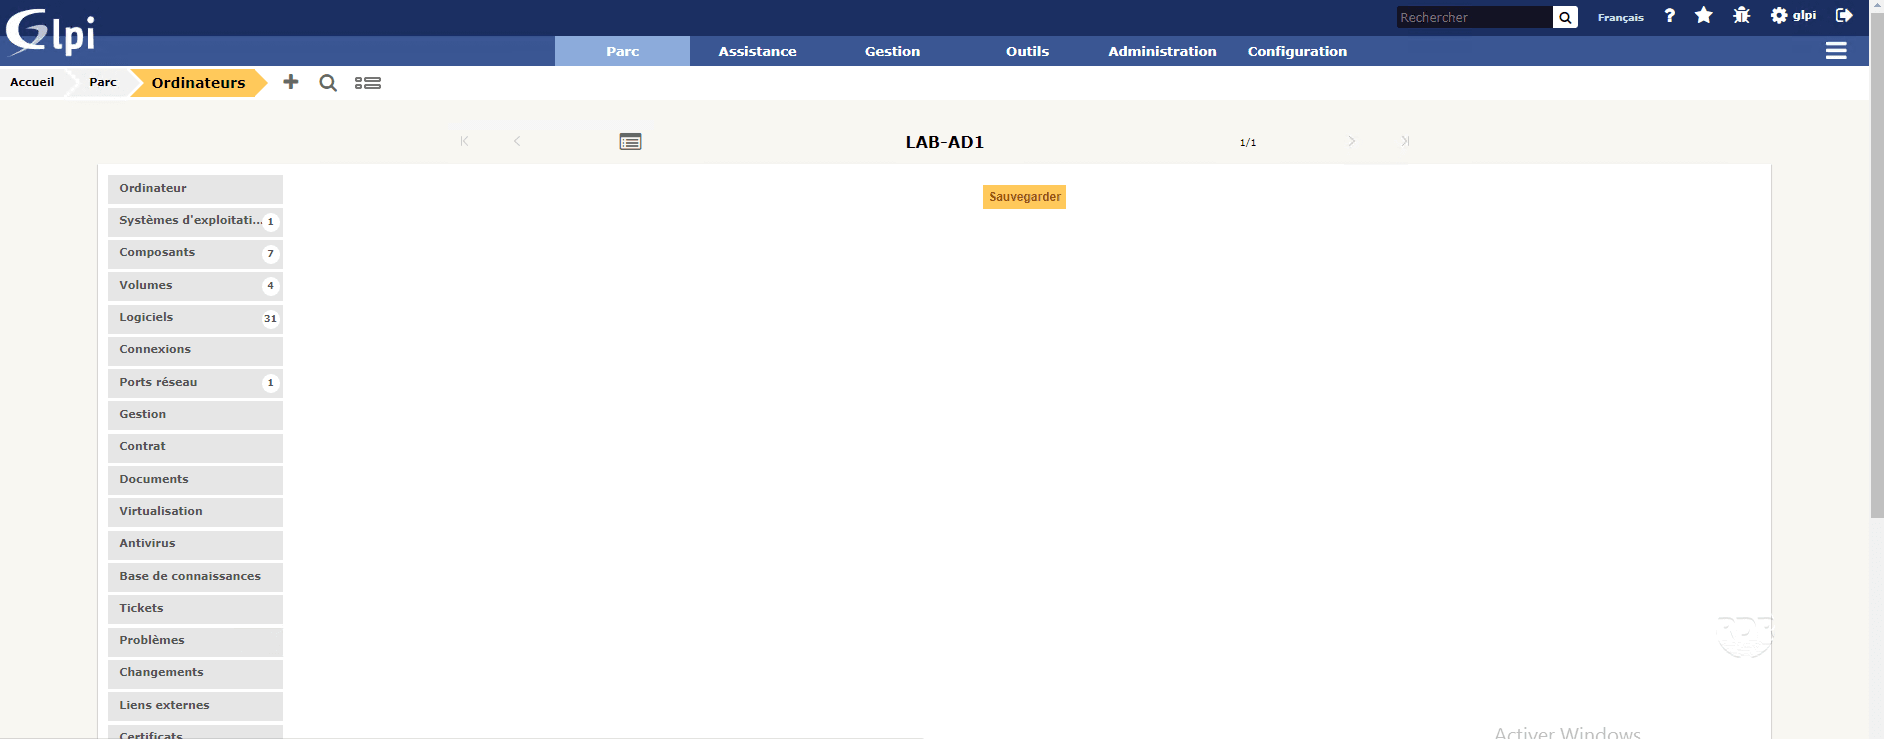
4. Go to the details of a computer and check that the Backup tab 1 is present and click on it.
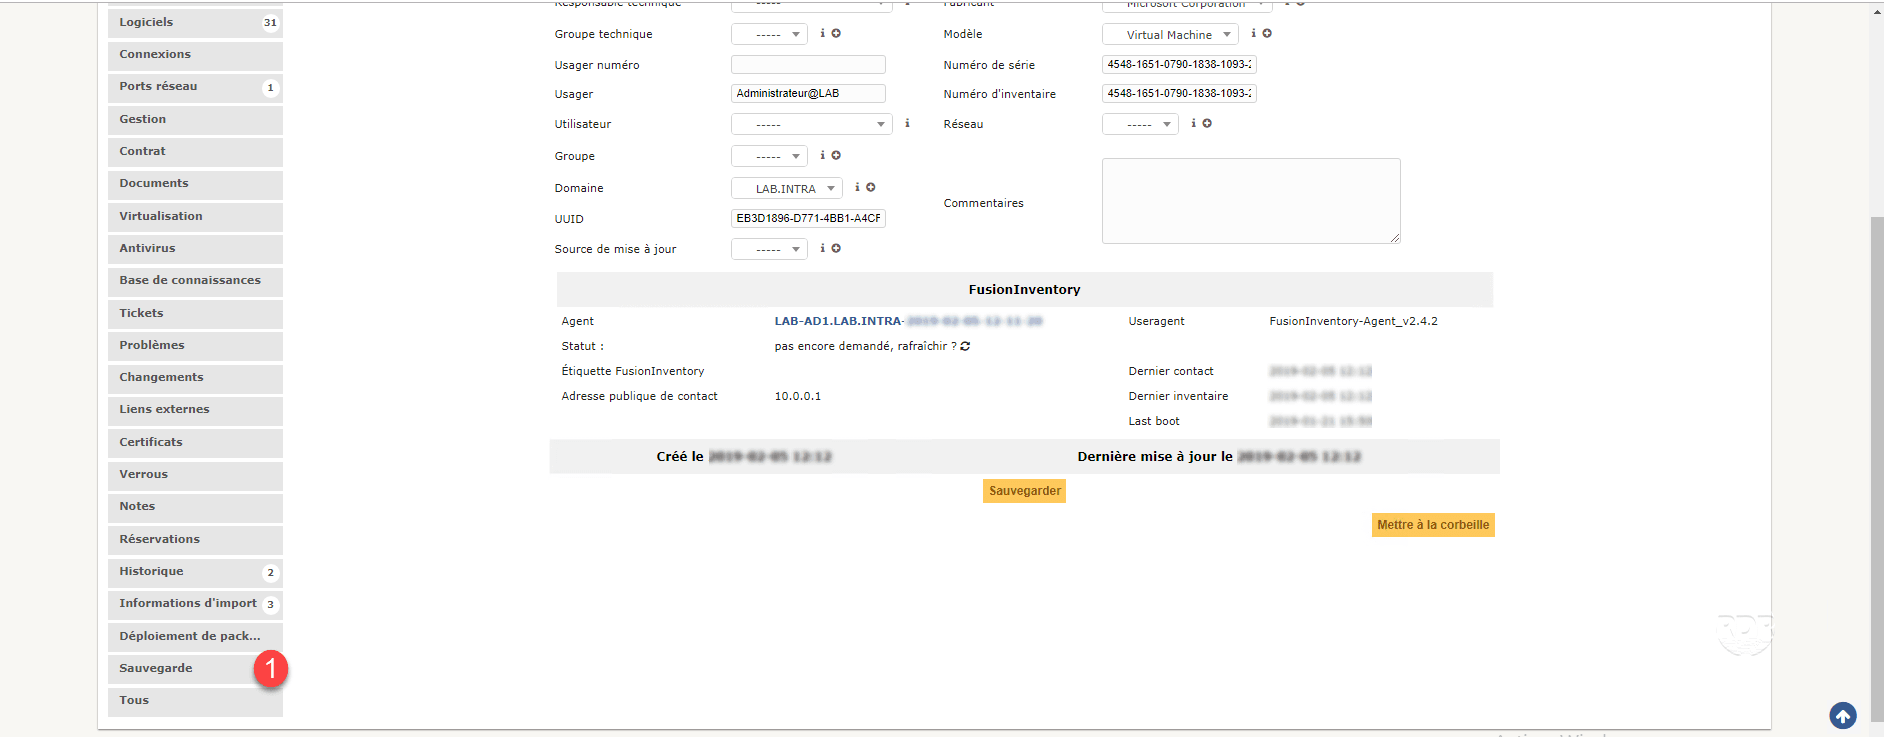
5. For the moment no field is available but the block is present.
Now that the block is available, we will add the necessary fields for managing backups in GLPI.
Add fields to a block
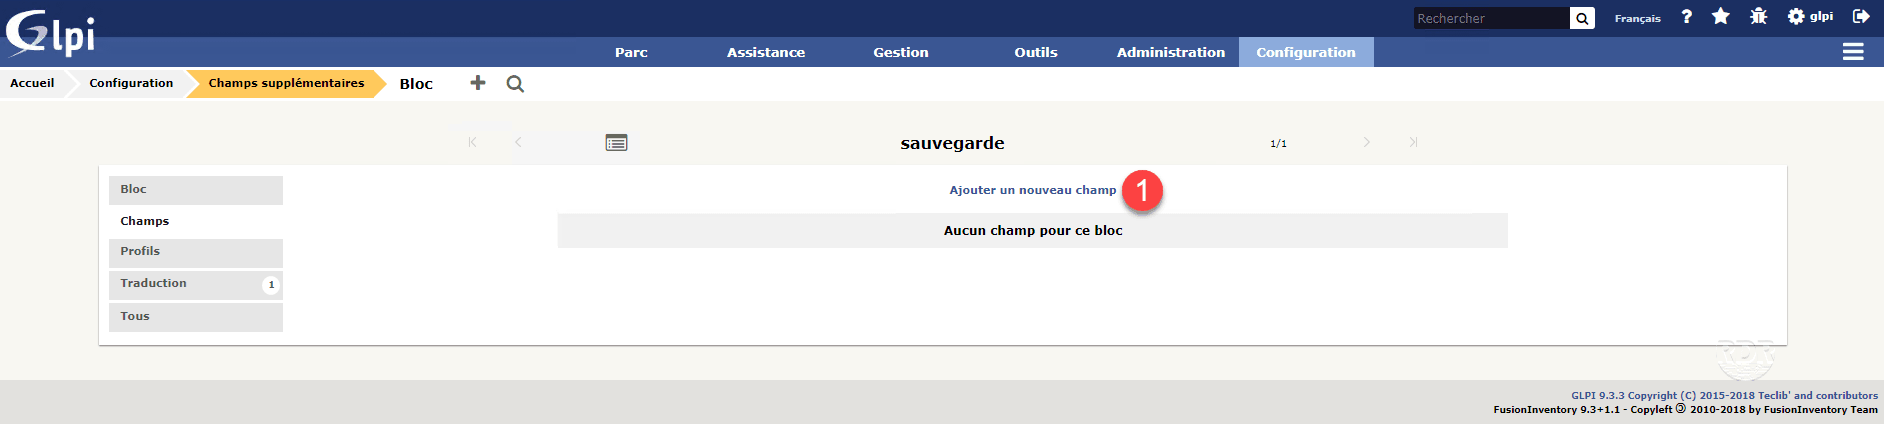
1. Go back to the block’s sheet, go to the Fields tab. This page displays all available fields. To add a field, click Add to a new 1 field.
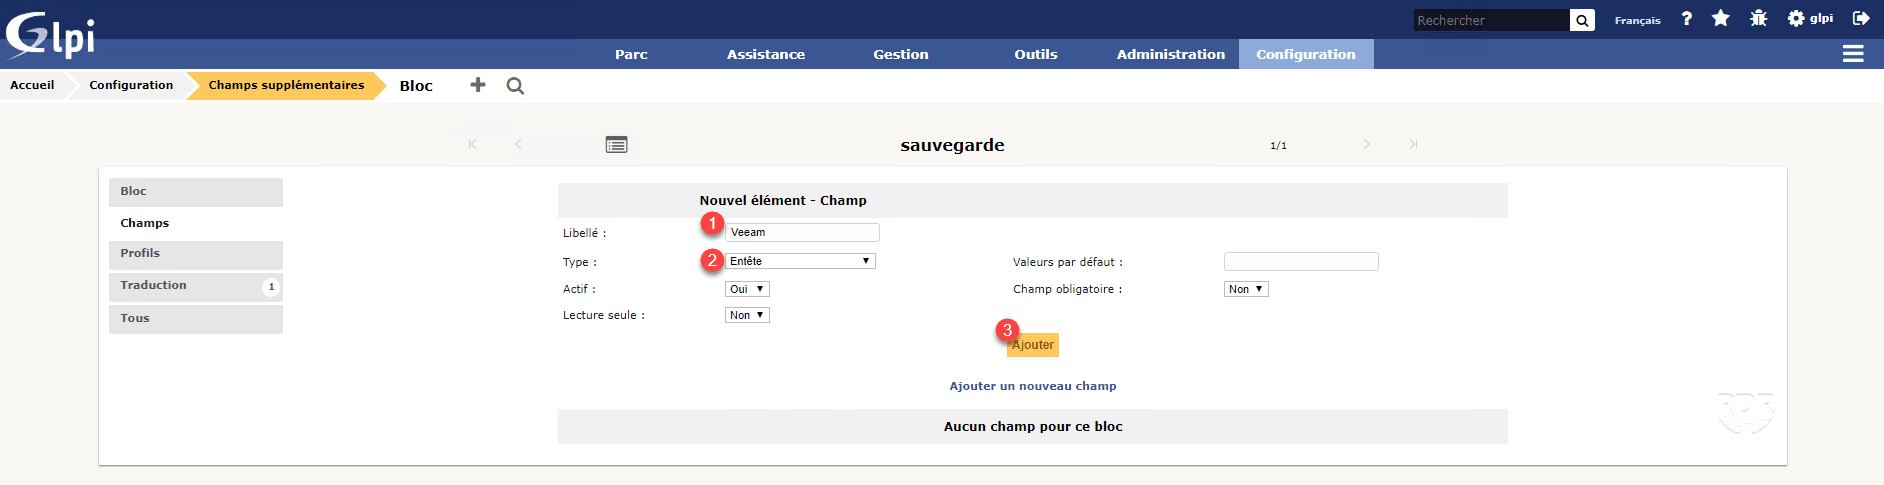
2. First, we will add a header field, which displays a title. Enter the caption 1 then choose as Type Header 2 and click on Add 3 .
3. The field is added 1 .
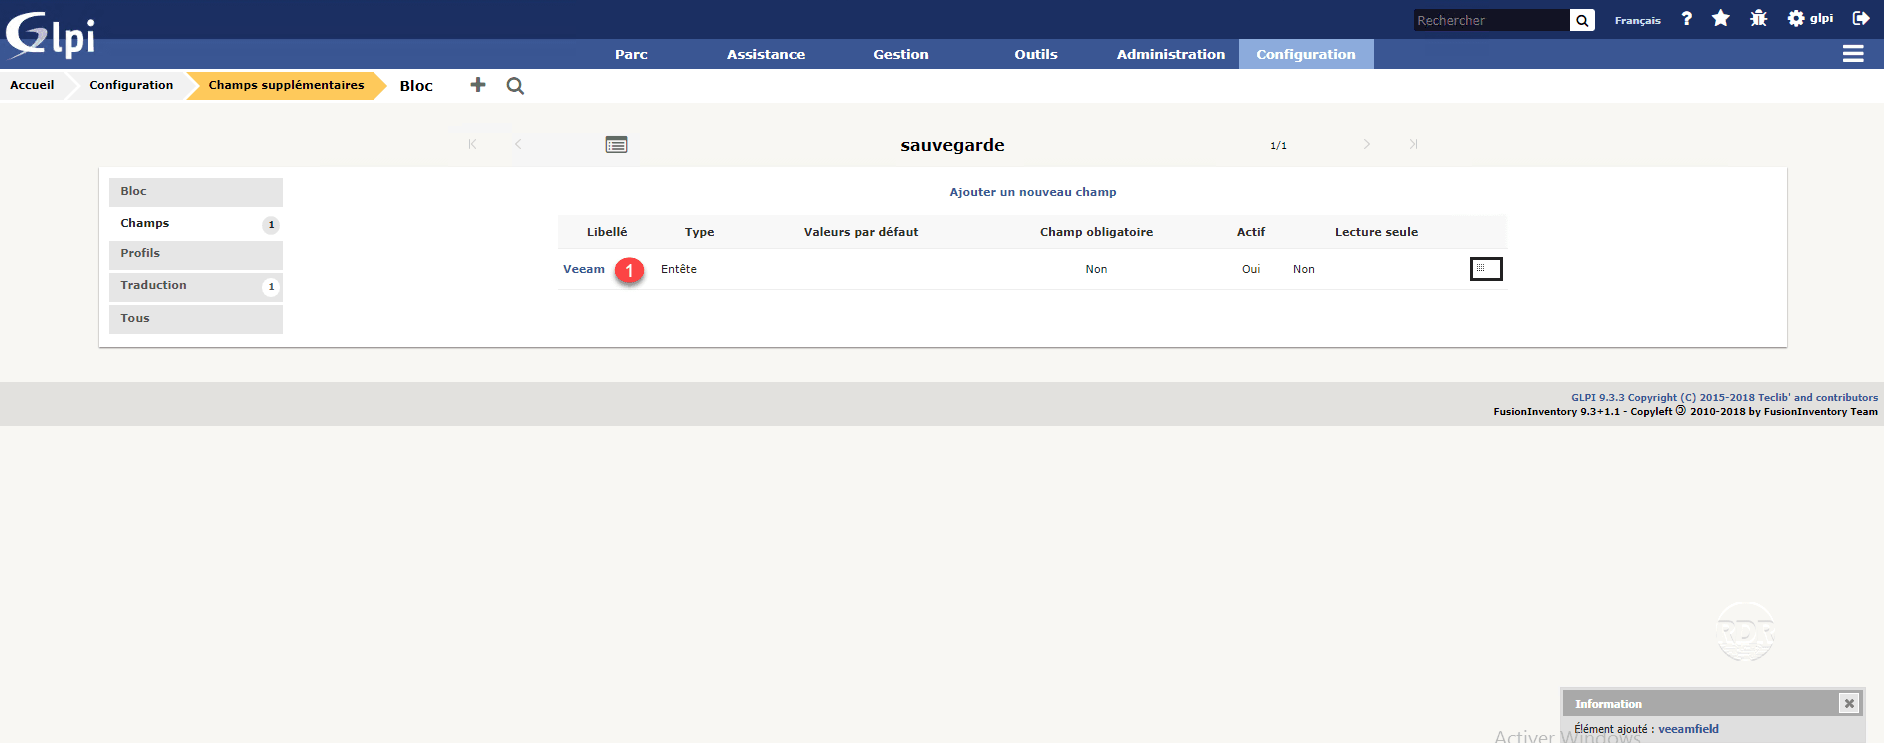
4. Go back to the computer card and refresh the page to see the heading ““.
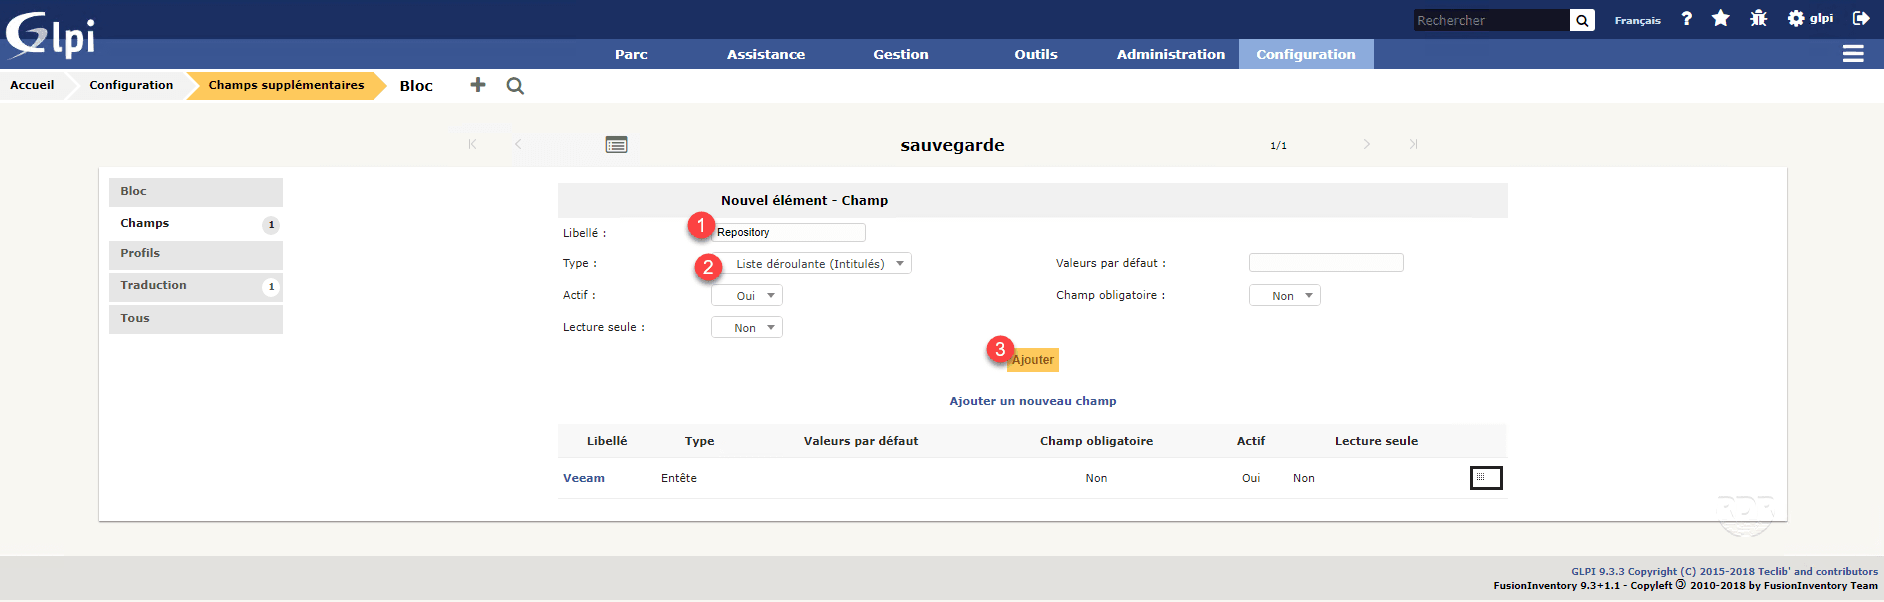
5. Return to the field management and add a new field, this field will be used to indicate on which repository is stored the backup. Name the field 1 , choose the type 2 drop-down list and click on Add 3 .
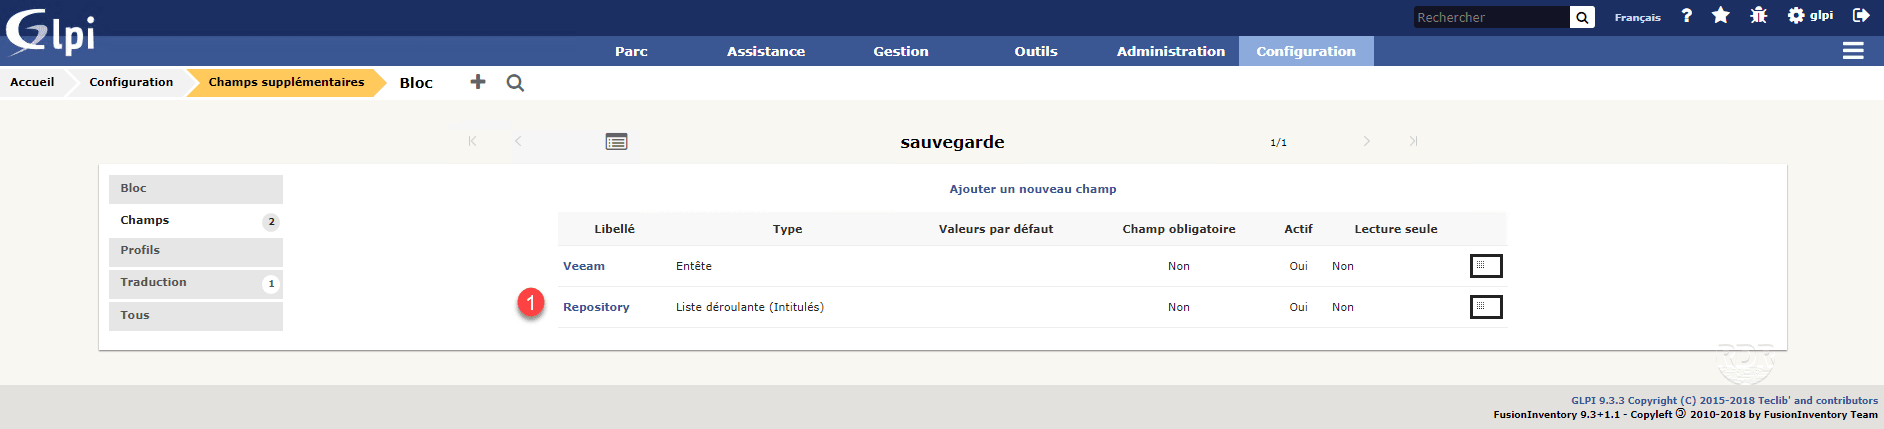
6. The field is added, it is now necessary to define the values of the drop-down list, to click on the name of the field 1 to reach the detail.
It is possible to modify the display order of the fields by drag and drop.
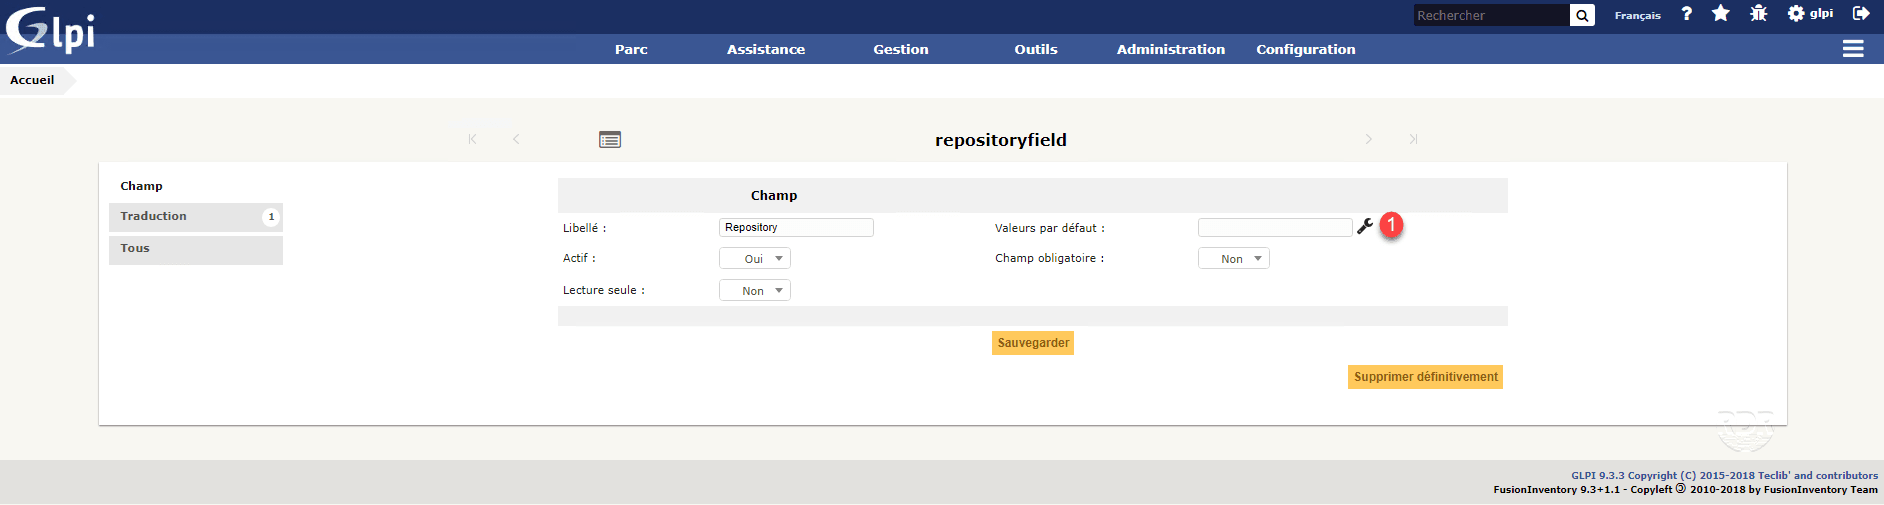
7. Click 1 to add the choices.
8. On this display page the values available for the field, click 1 to add one.

9. Enter the value of the field 1 then click on Add 2 .
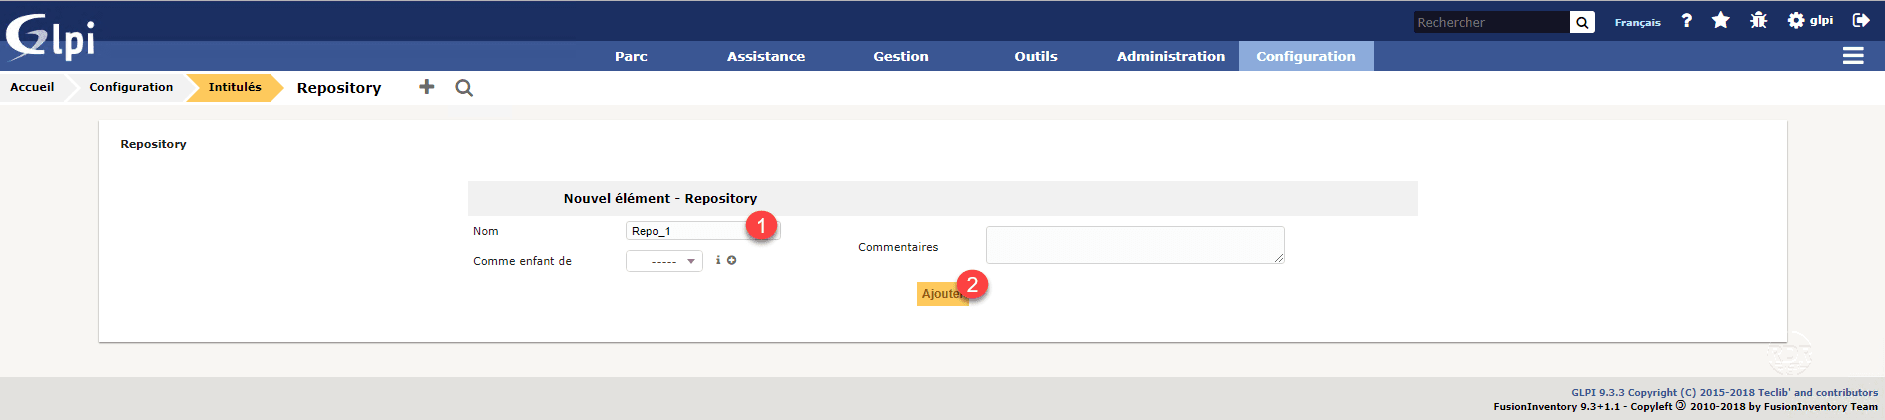
When adding the value, the form to add another value is automatically displayed.
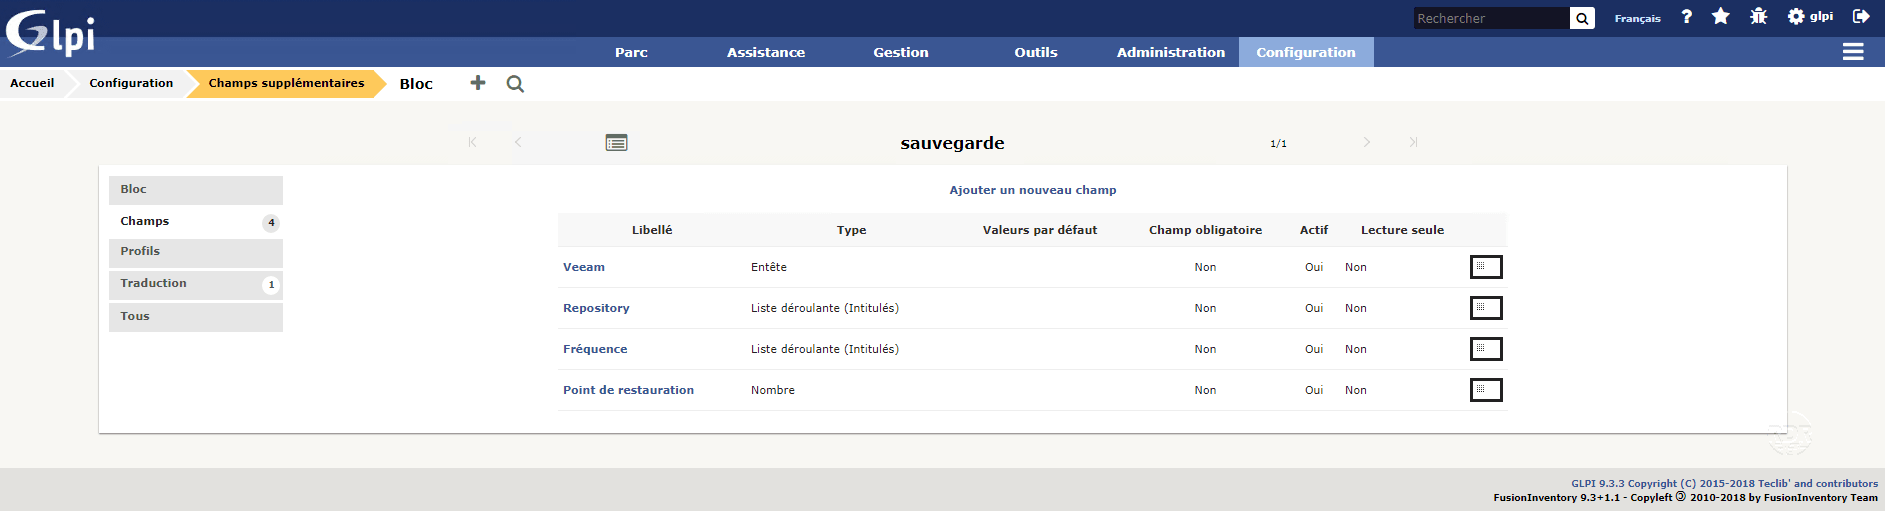
10. The choices are added. Return to the block (Configuration / Additional fields).
11. Add the other fields needed to manage backups.
Now that all the fields are added, we will see how the exploited.
Use additional fields
Utilization
How for the whole of the elements of GLPI, the visualization and the edition of the elements are done directly via the forms.
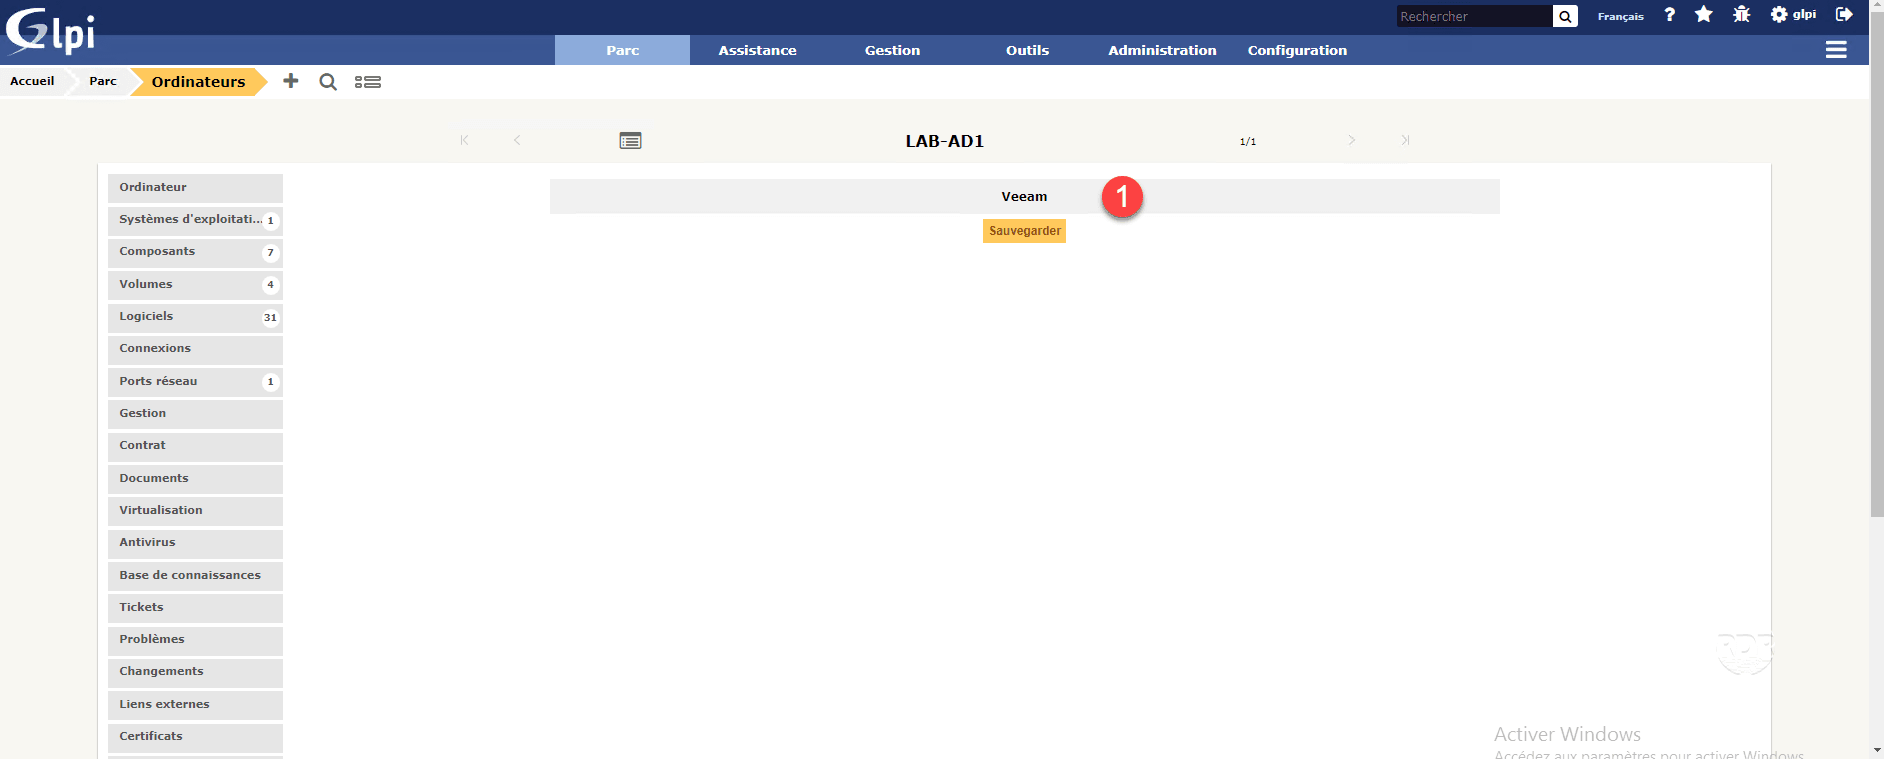
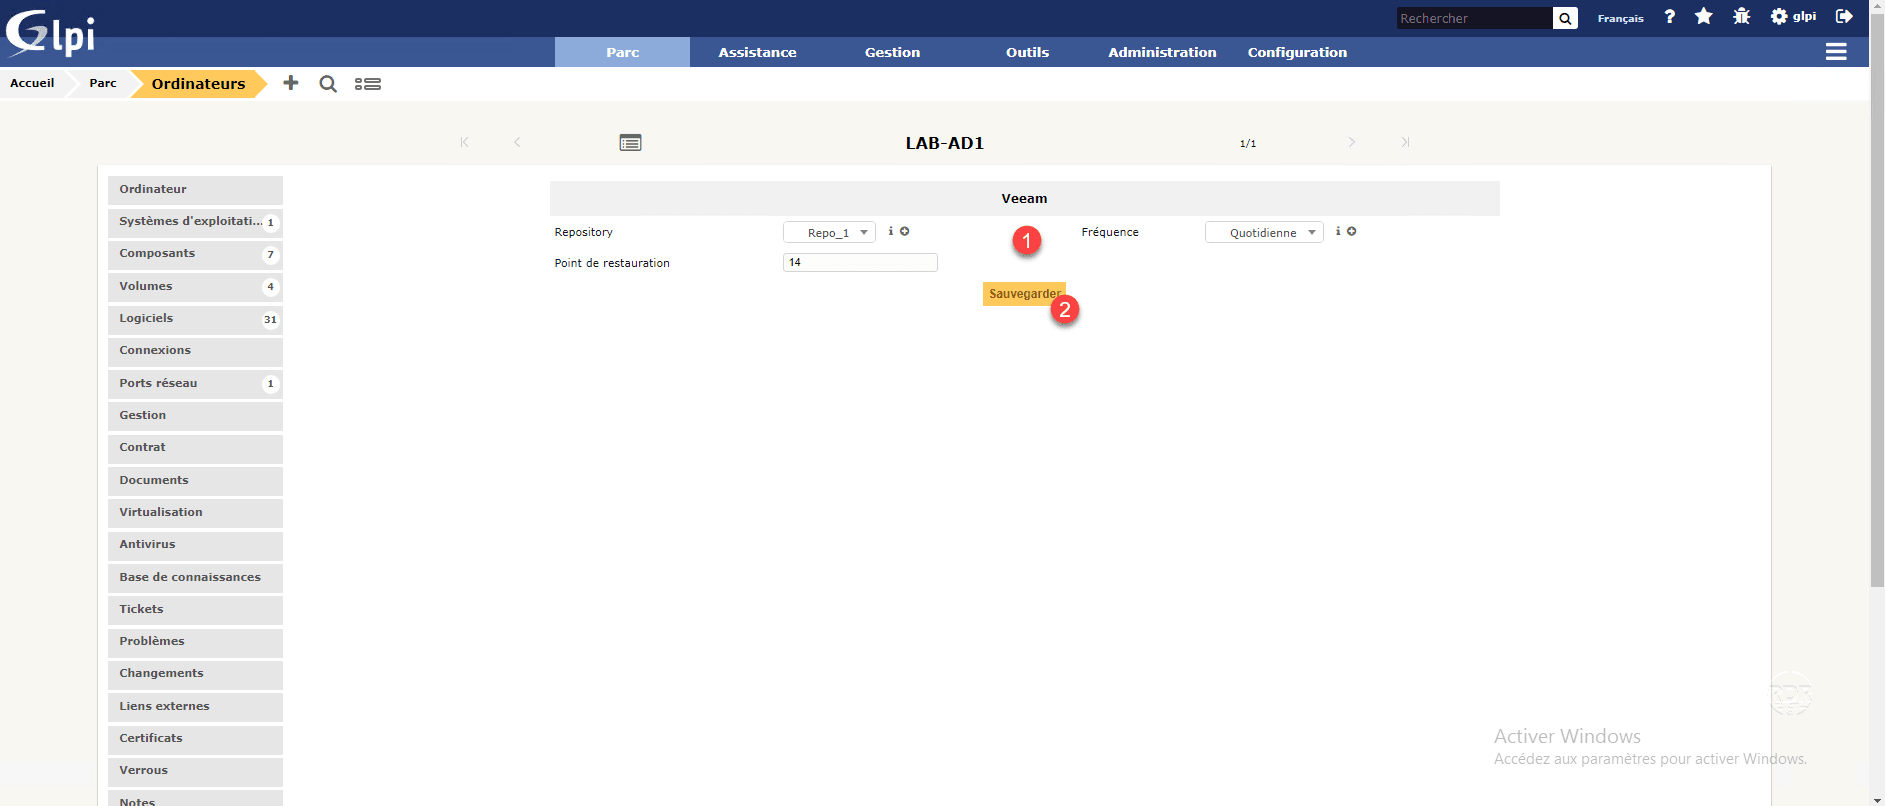
Go to the detail of a computer and go to the Backup tab. Fill in the information of previously created fields 1 and click Save 2 to save the information.
Research
One of the strong point of this plugin and to be able to search on the added fields.
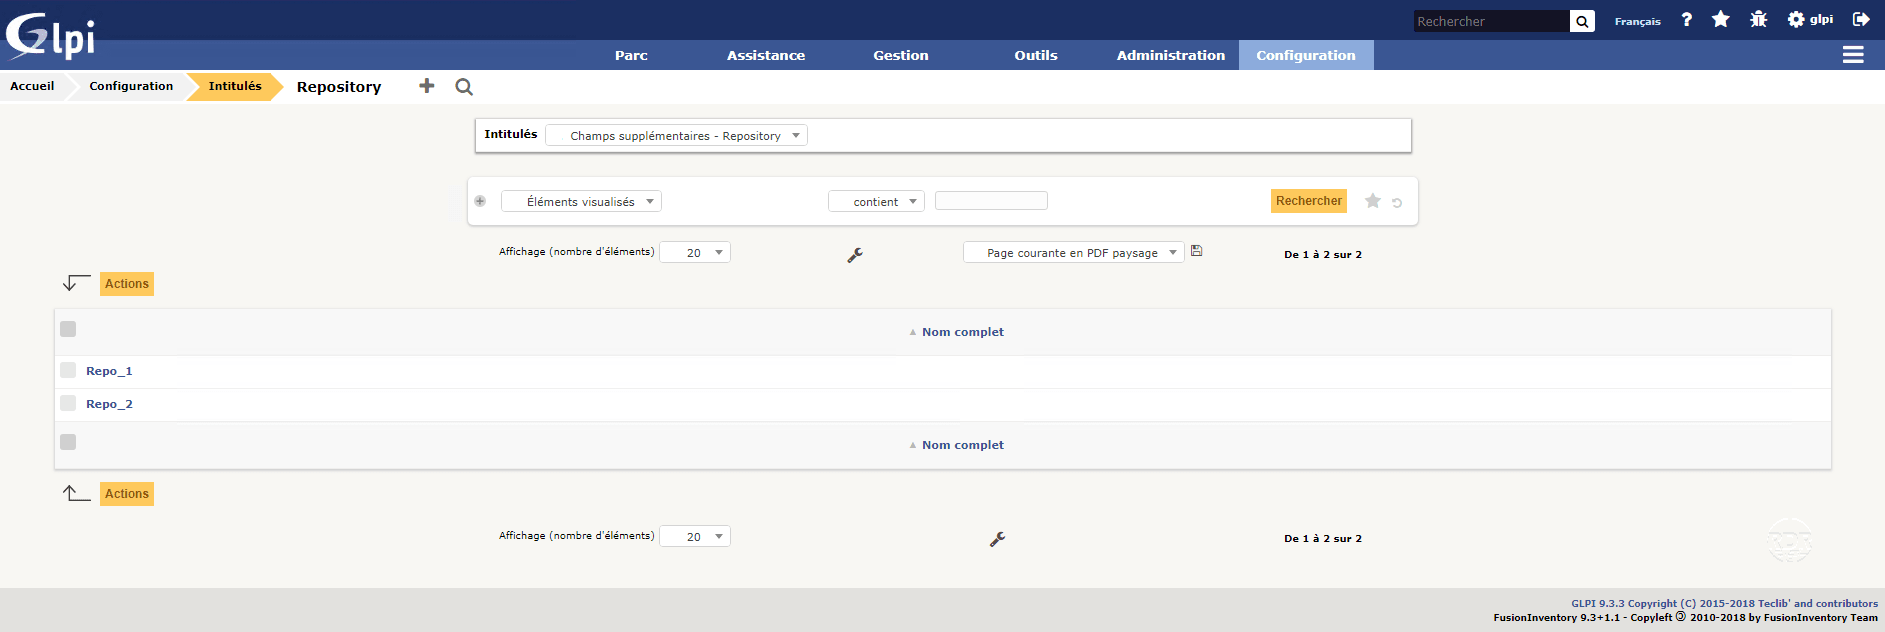
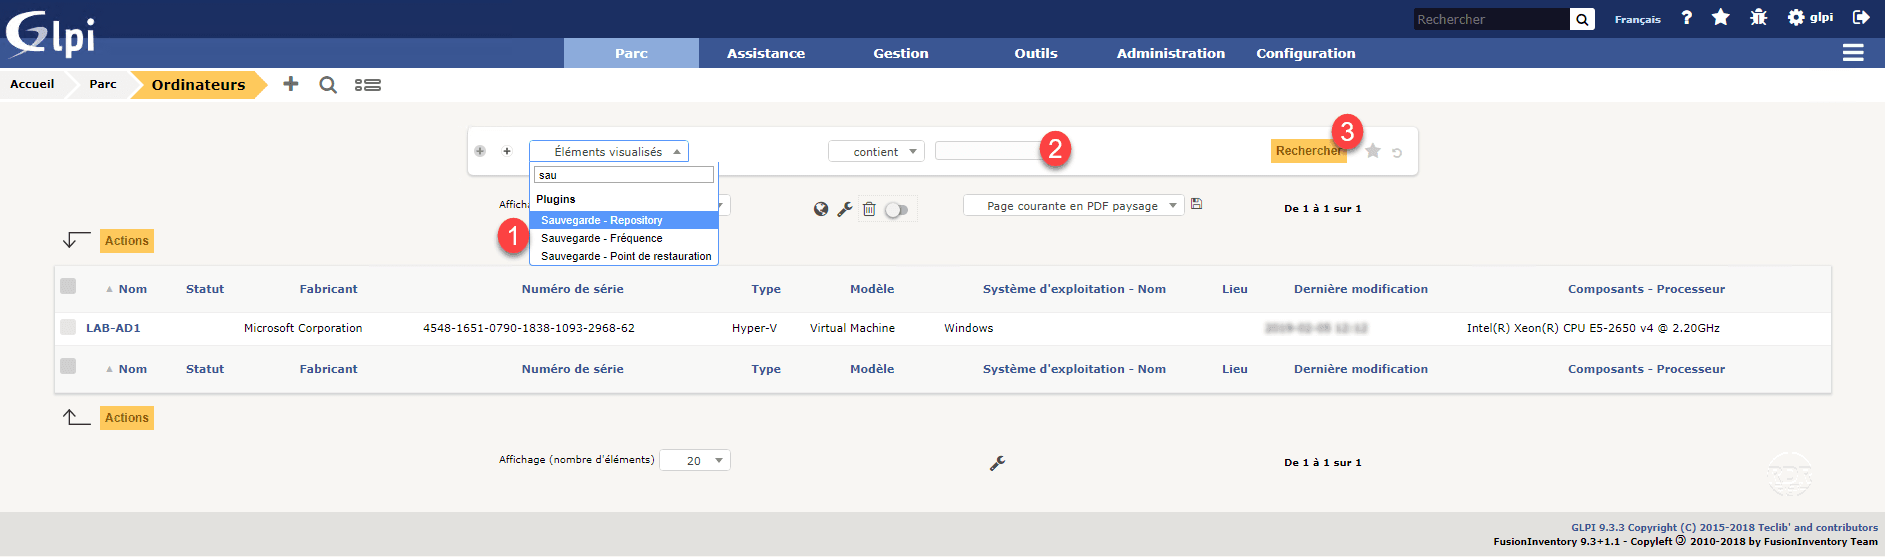
1. From the list of computers select a search criteria on by selecting an additional field 1 , enter the search value 2 and click on Search 3 .
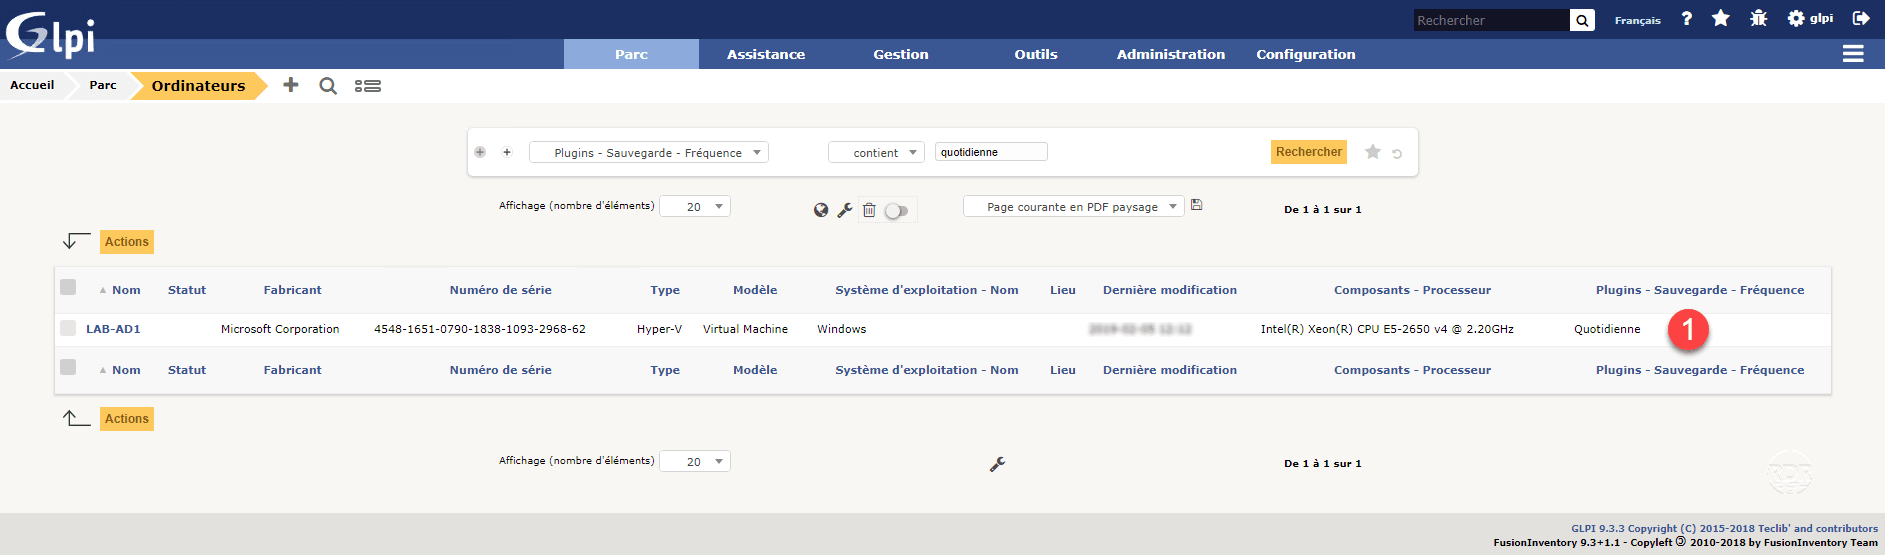
2. The result is displayed taking into account the filter and displaying the search domain 1 .
Conclusion
The Fields plugin is useful because it allows you to add missing fields in GLPI or to replace plugins that are no longer available like the one for managing backups.
Personally, I also use the plugin to add fields on the programming of server restart tasks.
It still lacks functionality like filtering the block to display according to criteria, the backup tab added during this tutorial will be available on all computers or it would have been nice to make it visible only on the servers.
Similarly it would be nice to have conditional fields, that is to say that depending on a value of a field can display other or not.
The blocks of type “insertion in the form” are unique compared to a type of associated elements, so if you wish to group various information, it is necessary to play with the fields of the type header.
I hope this tutorial will help you in customizing your GLPI.