In this tutorial, I will explain to you how to set up network inventory in GLPI 10 with GLPI Agent.
This is the functionality equivalent to network discovery and inventory with FusionInventory: Fusion Inventory: Configuring Discovery and Inventory Tasks – 247-IT
Presentation of network inventory with GLPI Agent
The network inventory allows you to discover and collect information about equipment located on a network.
The equipment can be of different types:
- Computers
- Network equipment such as switches, routers, etc.
- Printers
- …
If you are used to FusionInventory, you will see that the main difference with GLPI Agent is the configuration. with GLPI Agent, we no longer do the configuration in GLPI which then sends the configuration to the Agent, the configuration is done directly at the GLPI Agent level.
Install GLPI Agent for network inventory
In this part, we will see how to install GLPI Agent to have network inventory options.
I will not go over this part step by step, I will only address the points which differ from a classic installation.
Before installing GLPI Agent to carry out a network inventory, you must ensure that the computer will have access to the equipment it will scan using SNMP, so if you use separate networks (VLAN) make sure that the computer will have access to this network in SNMP (161/UDP).
During installation choose the Complete 1 type.
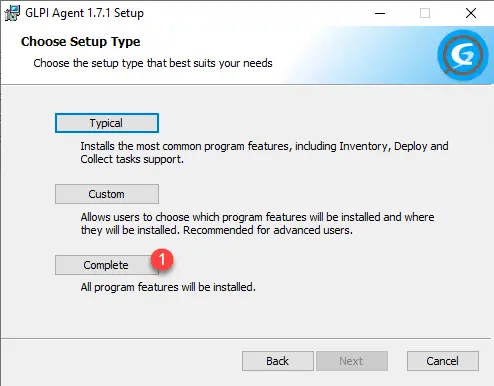
Make sure all components will be installed.

Install GLPI Agent as a Windows service.

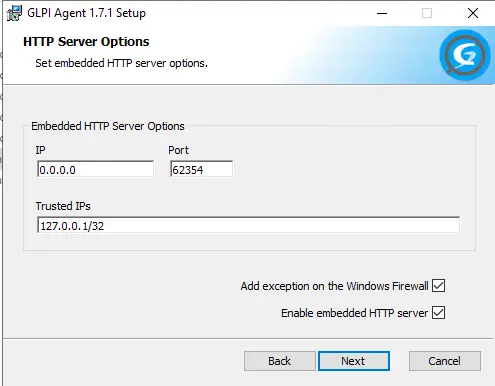
Enable embedded web server.
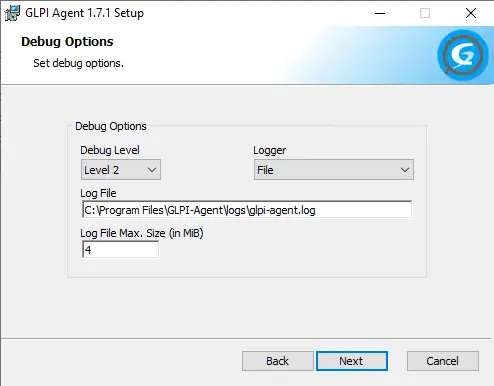
Also enable log recording in the event of a problem.
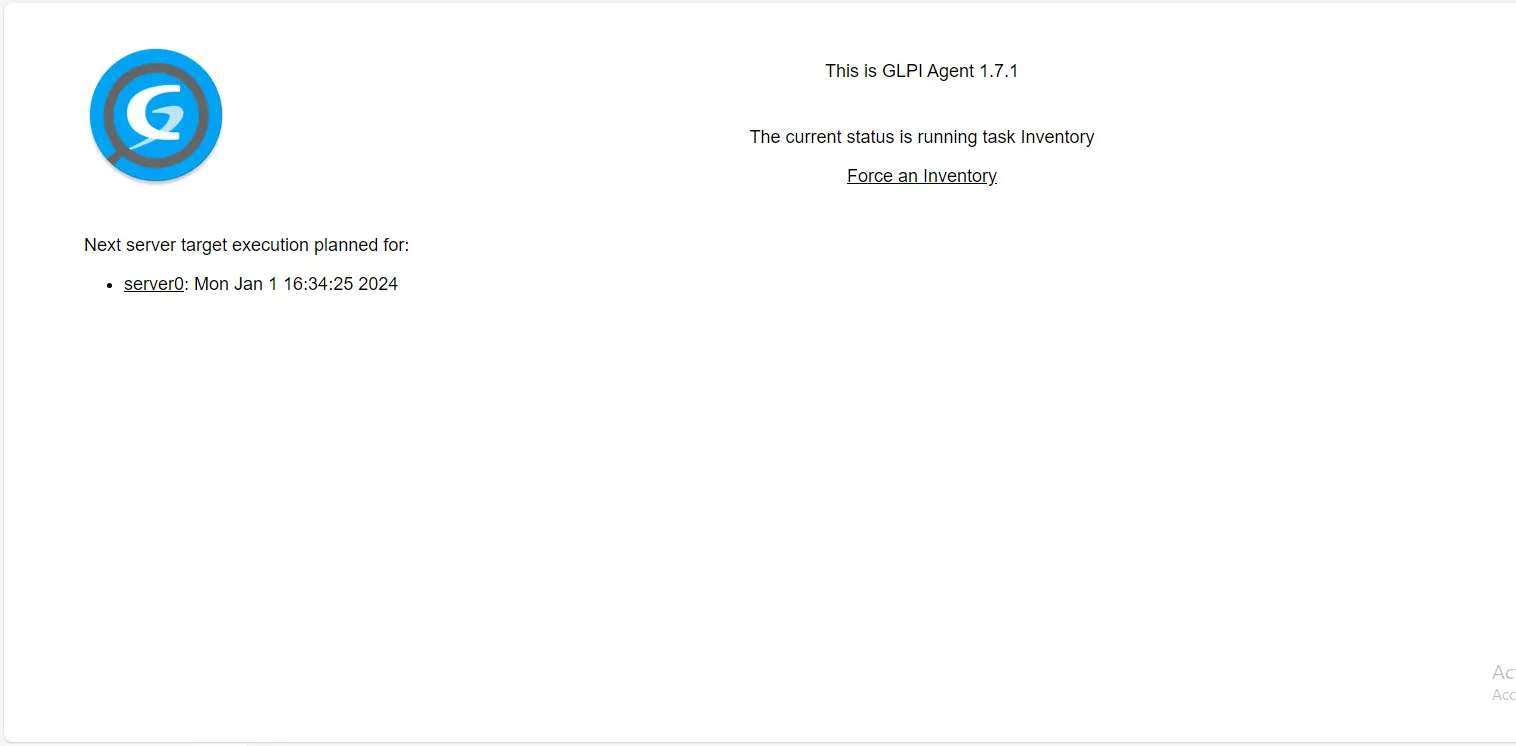
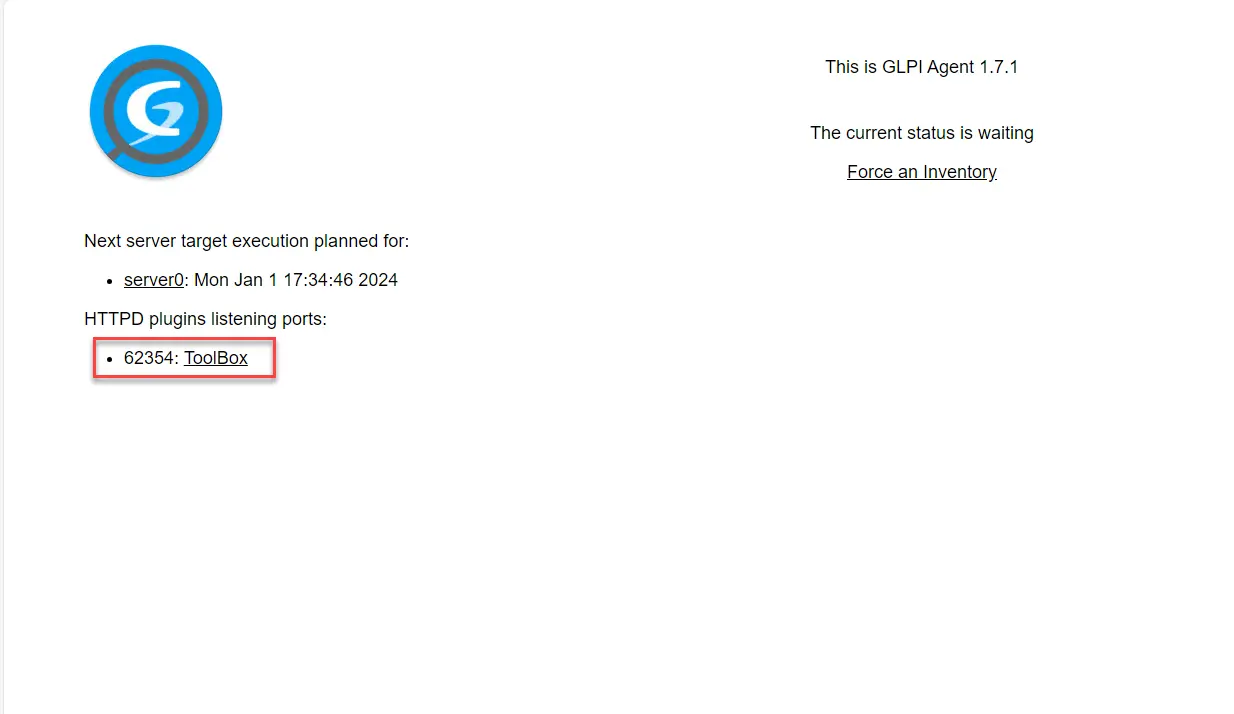
Une fois installé, vérifier l’accès au serveur web embarqué : http://127.0.0.1:62354
Configure access to network inventory in GLPI Agent
Although the components are installed, access to network discovery and inventory must be configured.
Go to the GLPI Agent installation folder then in the etc folder.
Copy the toolbox-plugin.cfg file, naming it toolbox-plugin.local.
Then open the toolbox-plugin.local file
Uncomment the disabled = no line.
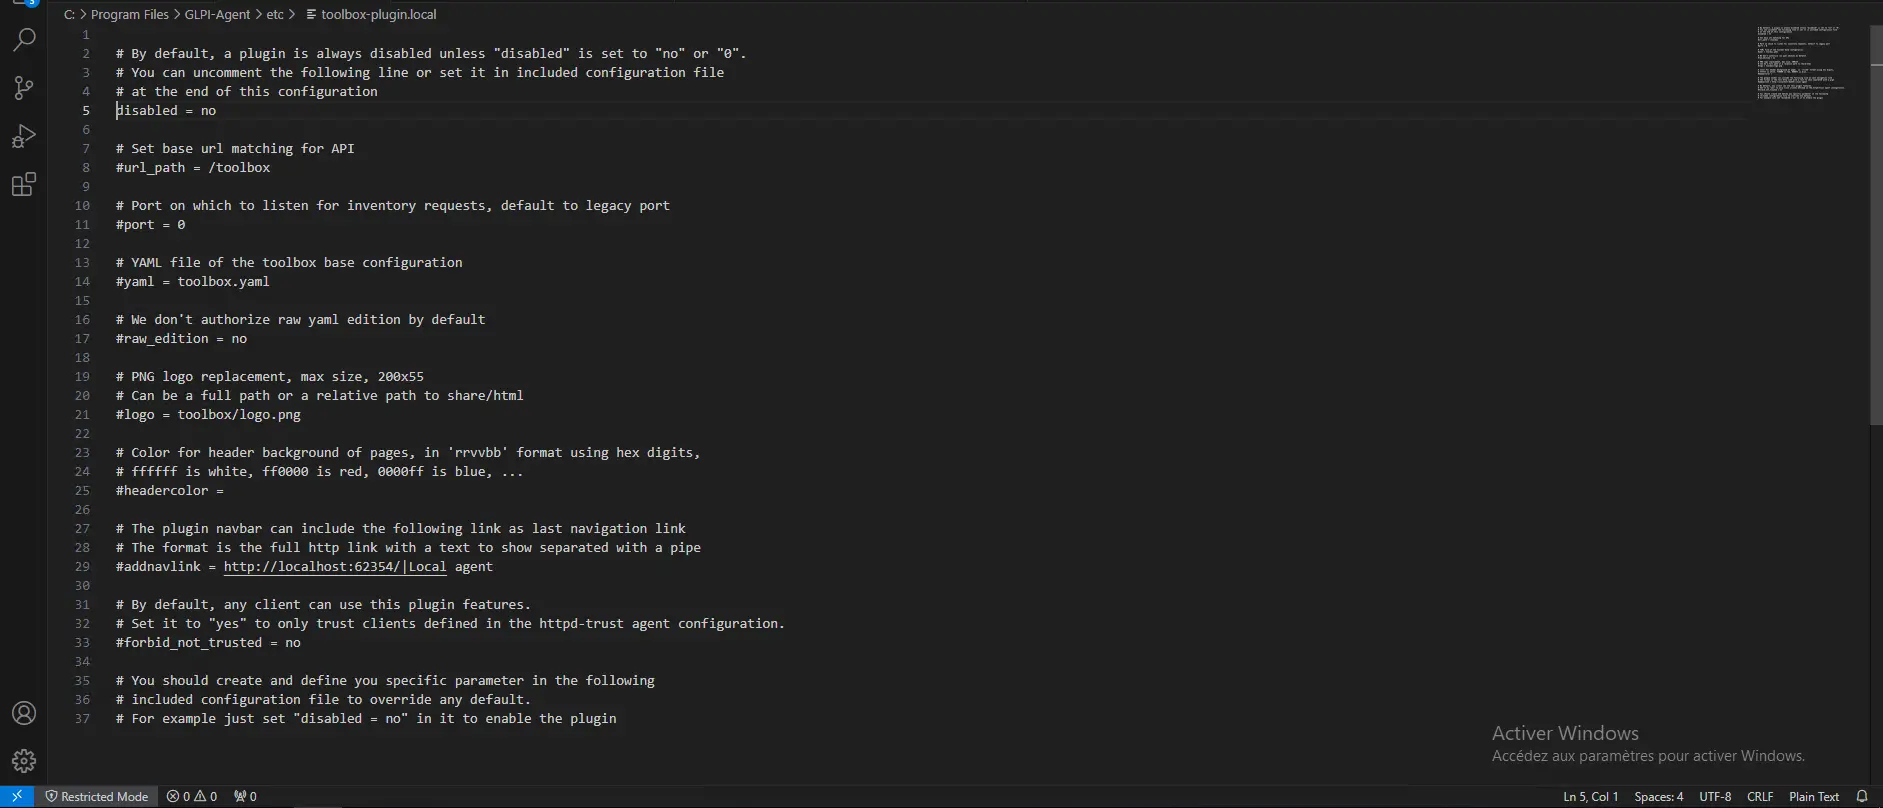
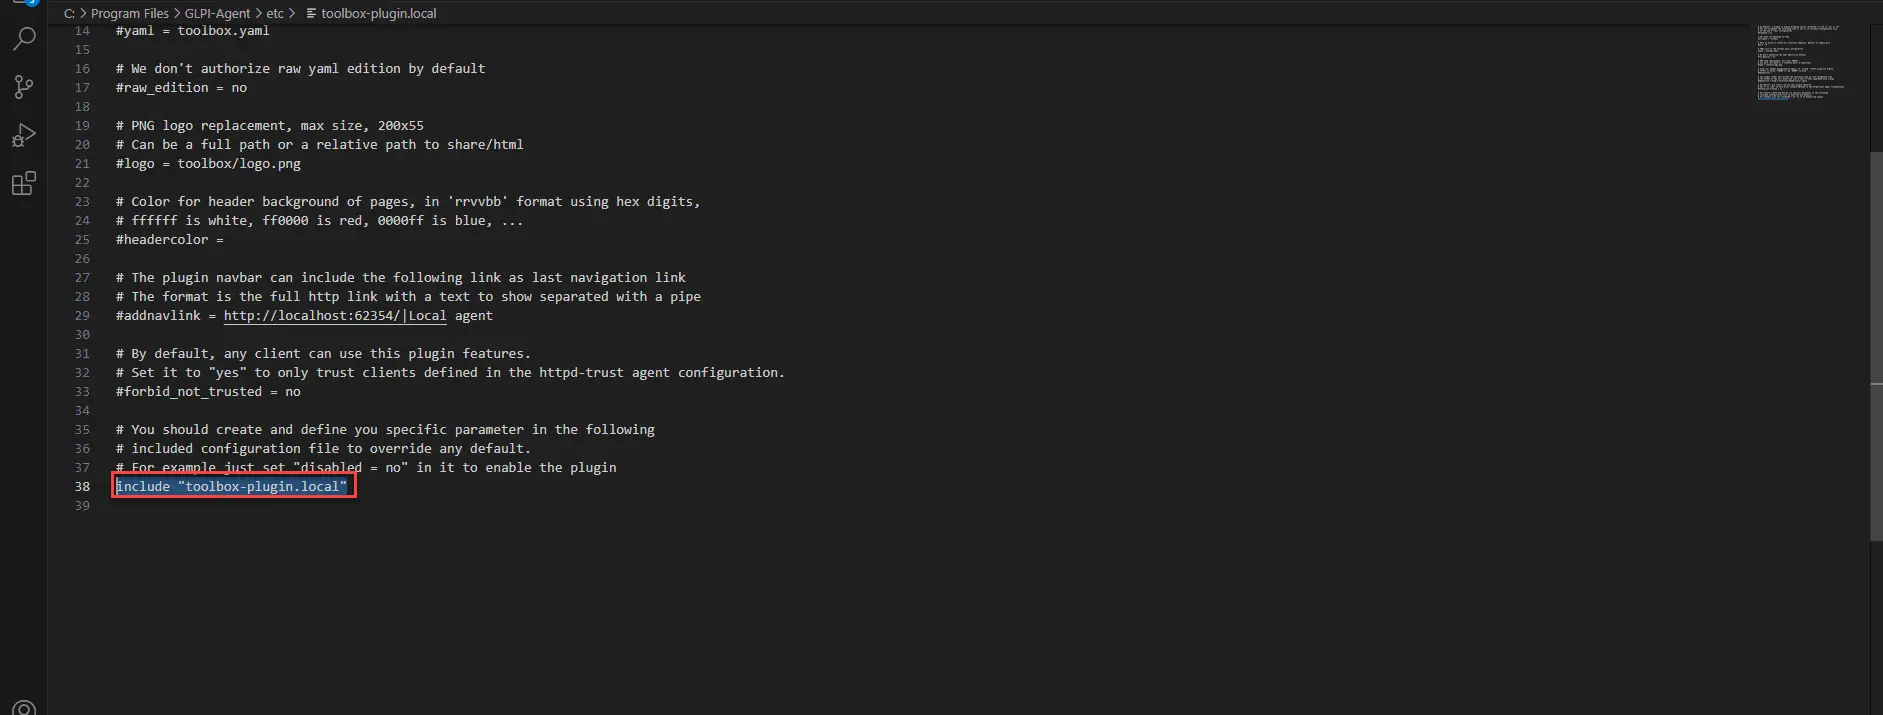
Remove or comment out the last include line “toolbox-plugin.local”.
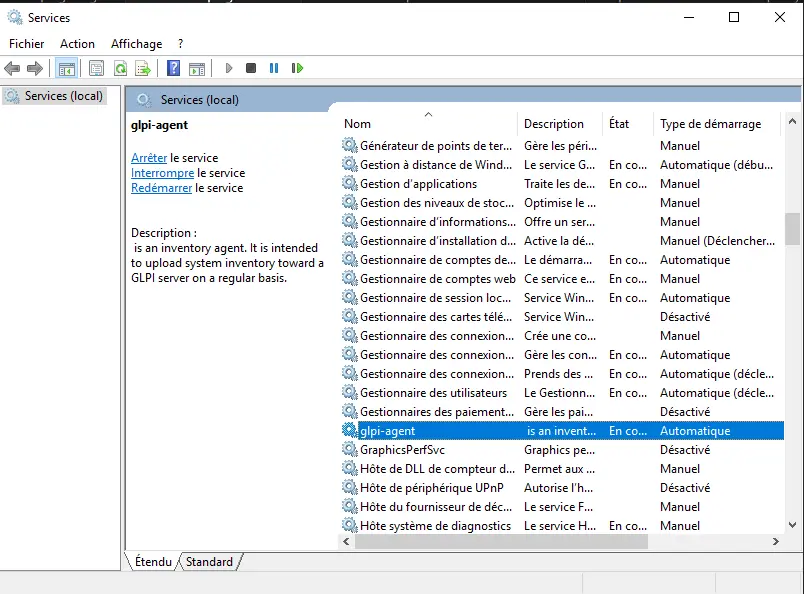
Restart the glpi-agent service.
Return to the embedded Web server, after refreshing the page, an additional link to the ToolBox is available.
Click on the link to access the ToolBox, on the new page, click on the gear at the top right 1.
In the Navigation bar section, check all the boxes then save.
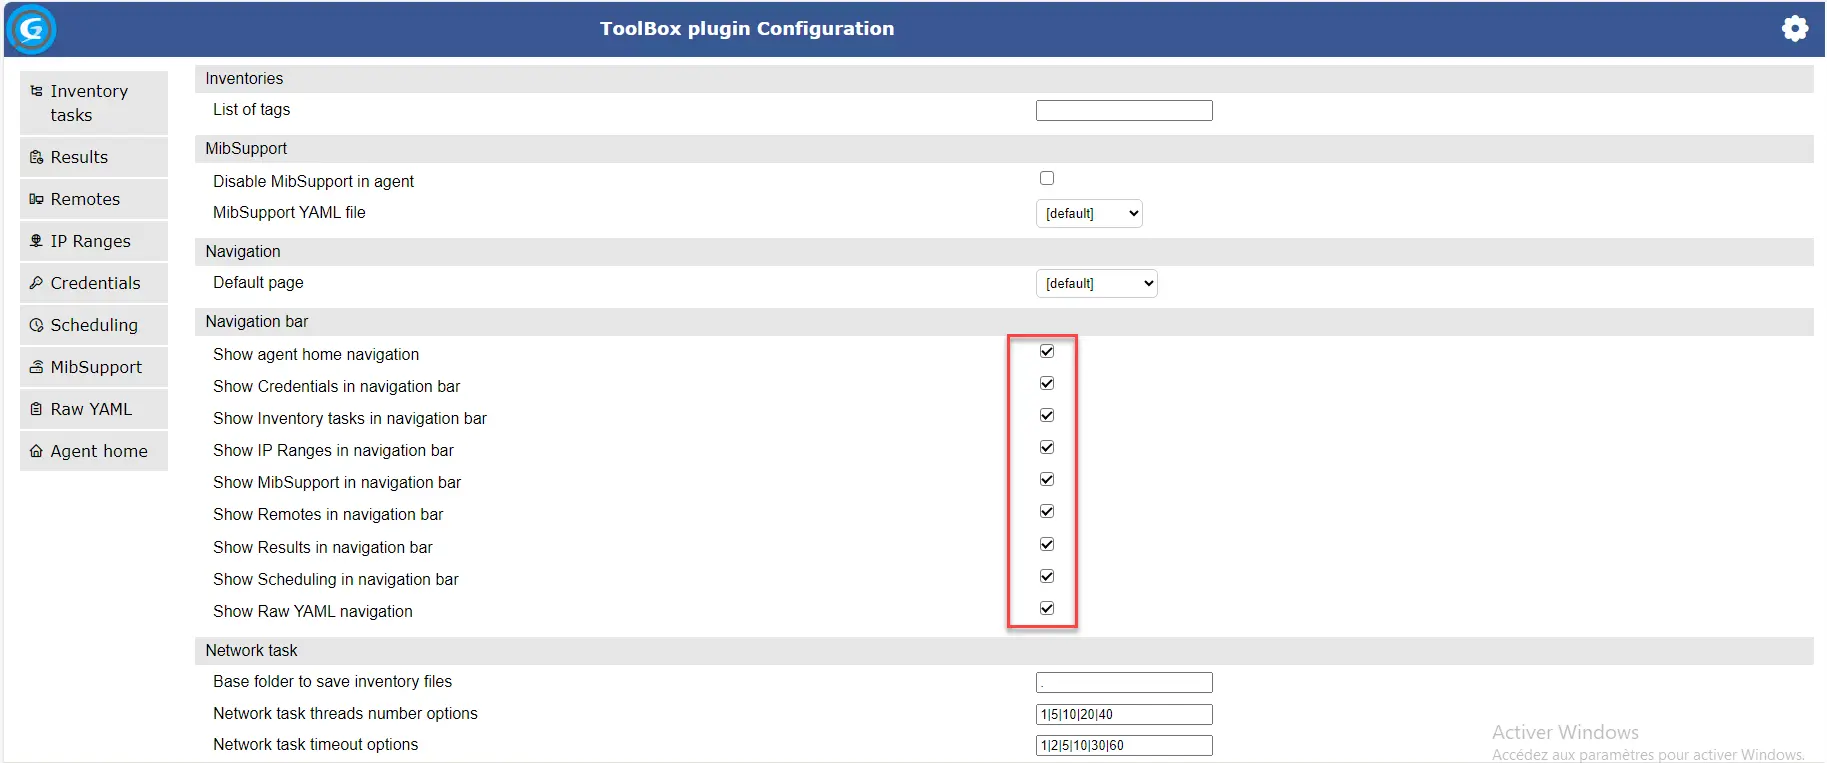
We now have access to all configuration settings.
Configuring network inventory in GLPI Agent
We will now configure the network inventory, here are the elements that we will configure:
- Credential (SNMP configuration)
- IP Ranges: IP address range to scan with a link to credentials
- An inventory task
Adding a credential
To begin, we will configure one or more SNMP communities.
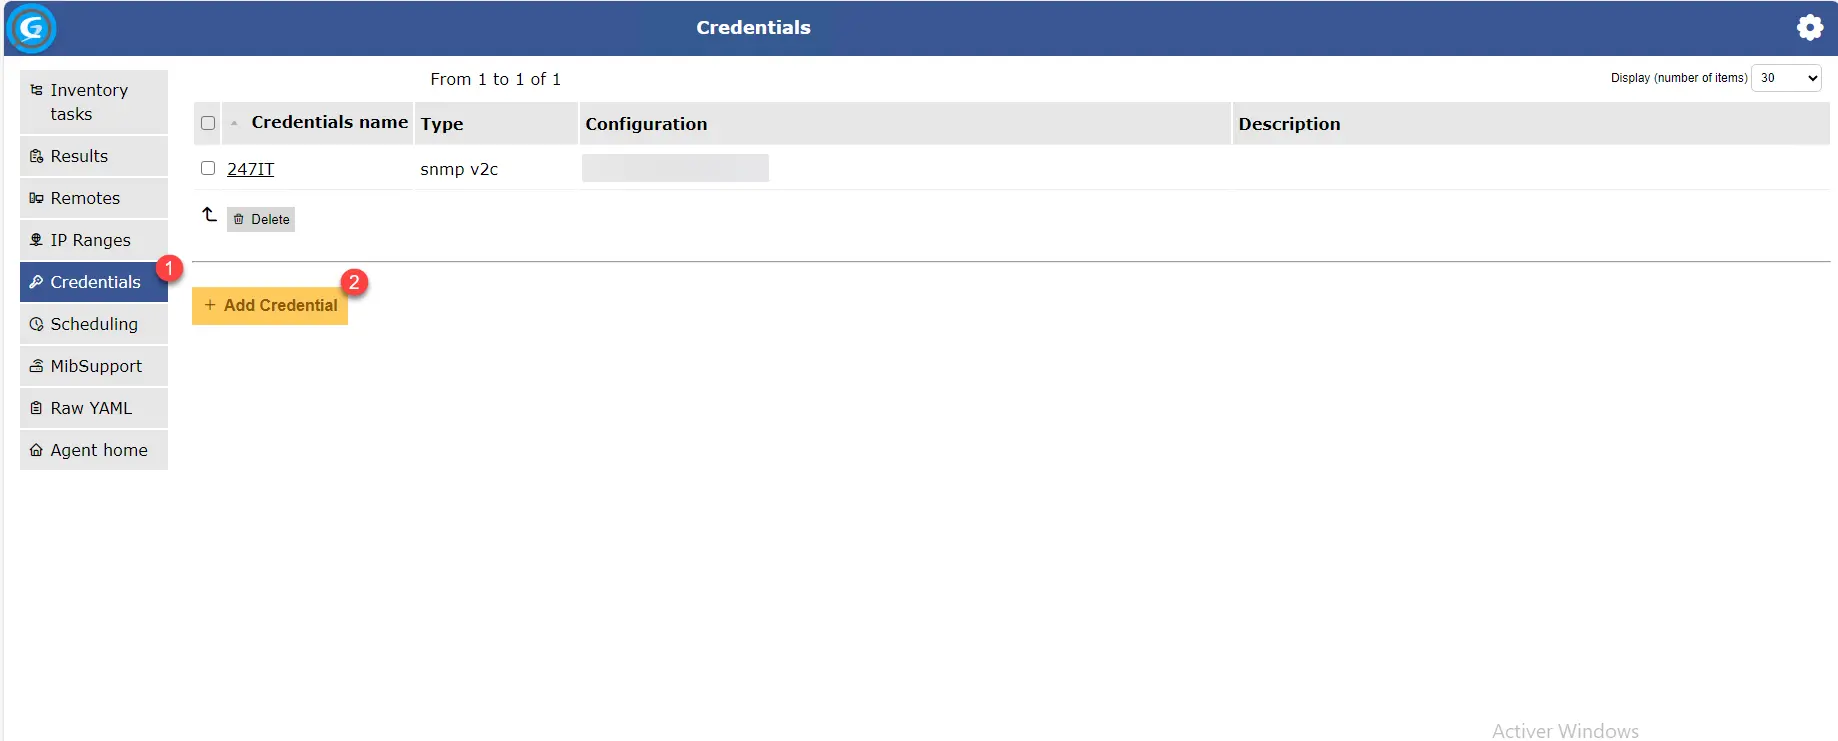
Aller sur Credentials 1 puis cliquer sur Add Credential 2.
Configure the authentication parameters, start by naming it 1, choose the snmp type 2 with the version 3. Enter the name of the community 3 and click on the Create Credential 4 button.

The community is case sensitive.
Adding the network range to scan
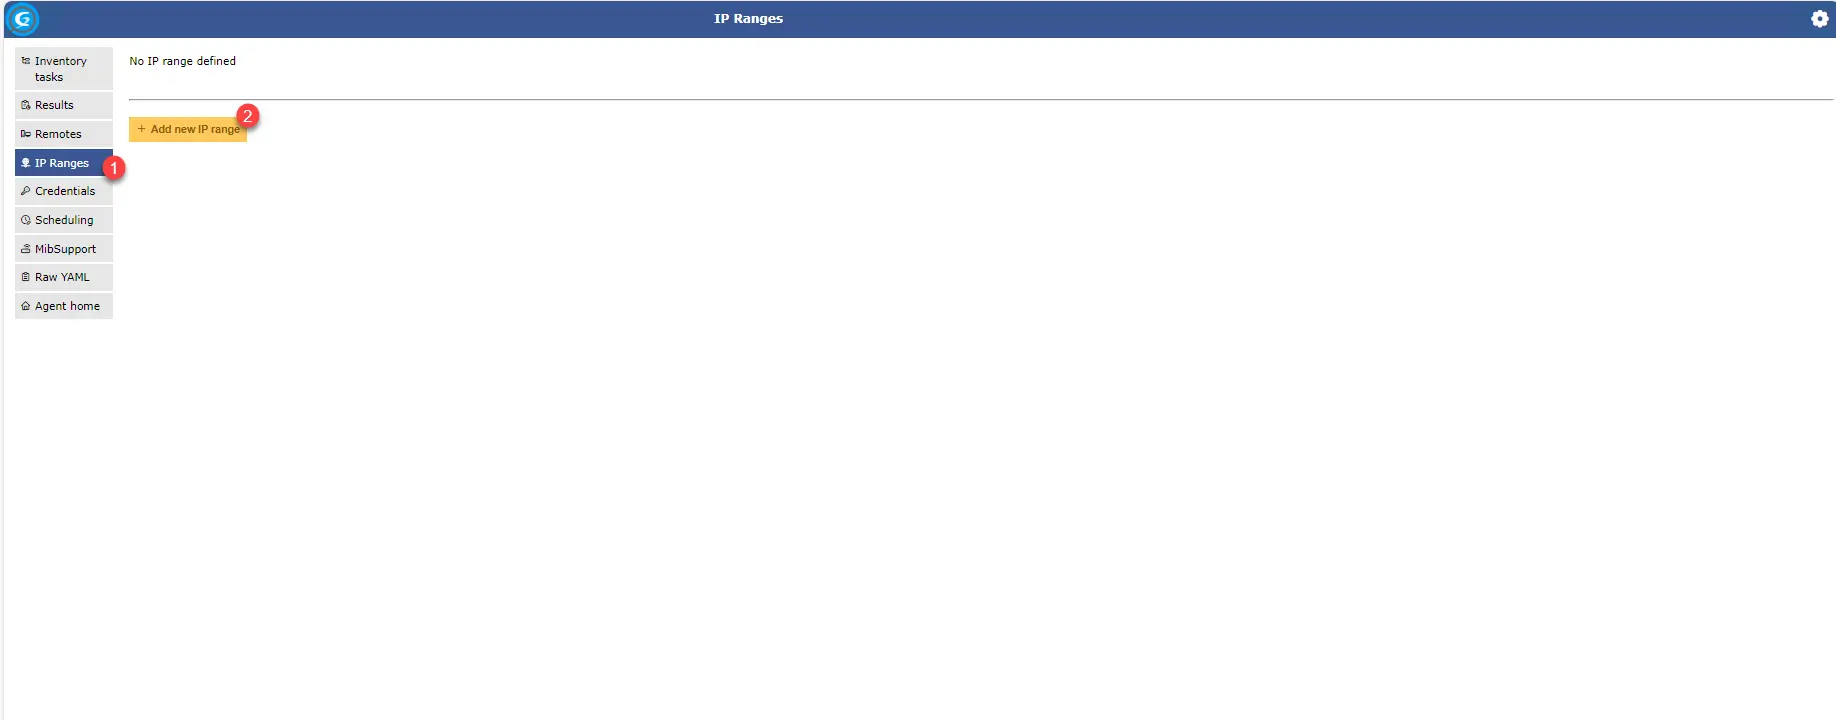
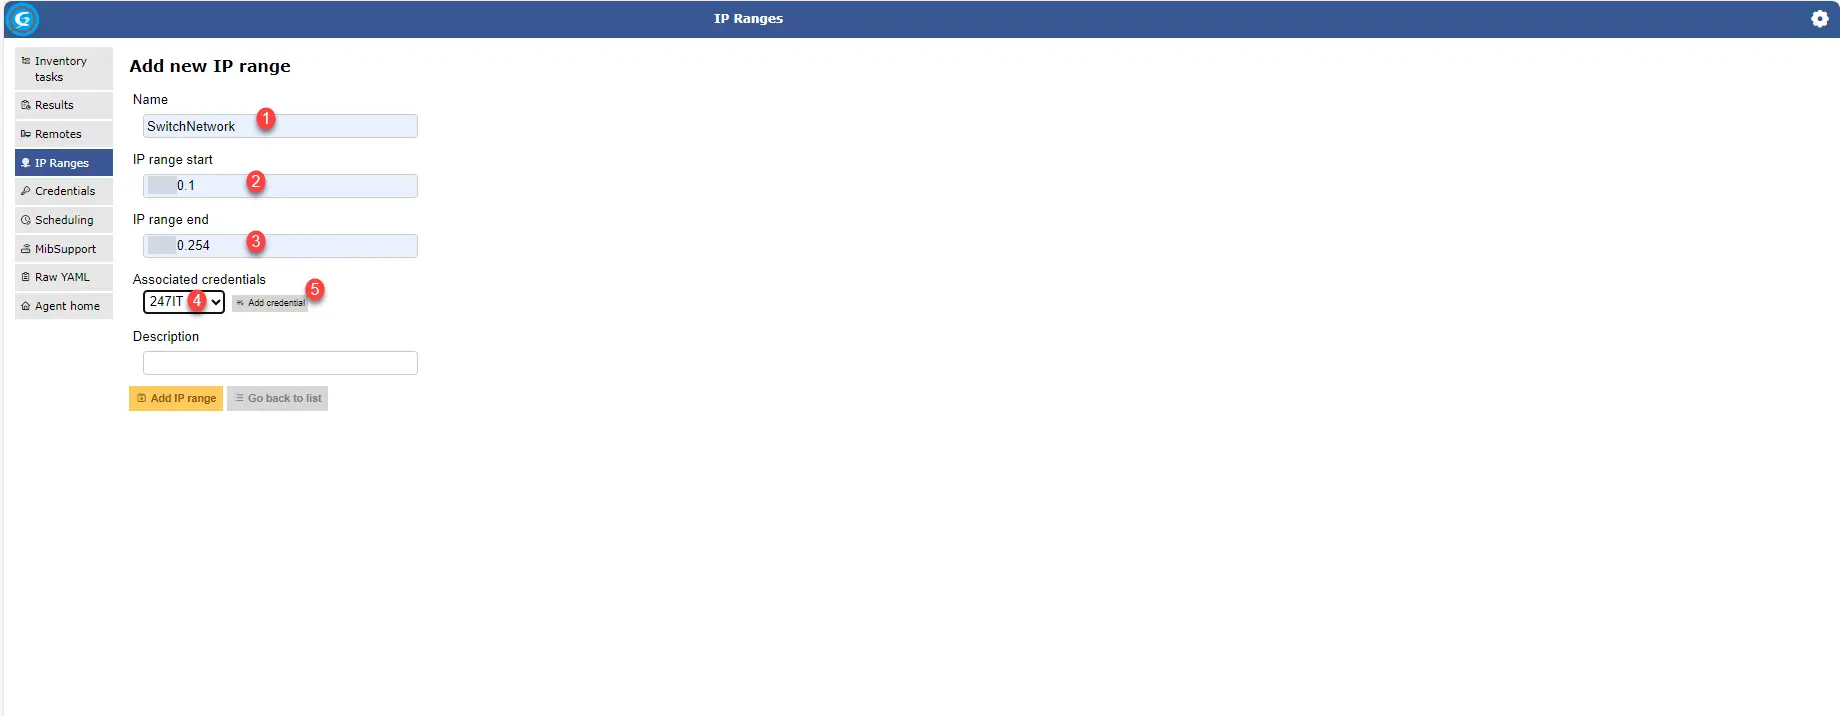
Go to IP Ranges 1 and click on Add new IP range 2.
Name the IP Range 1, indicate the start address 2 and the end address 3, select the snmp community 4 and click on Add credential 5.
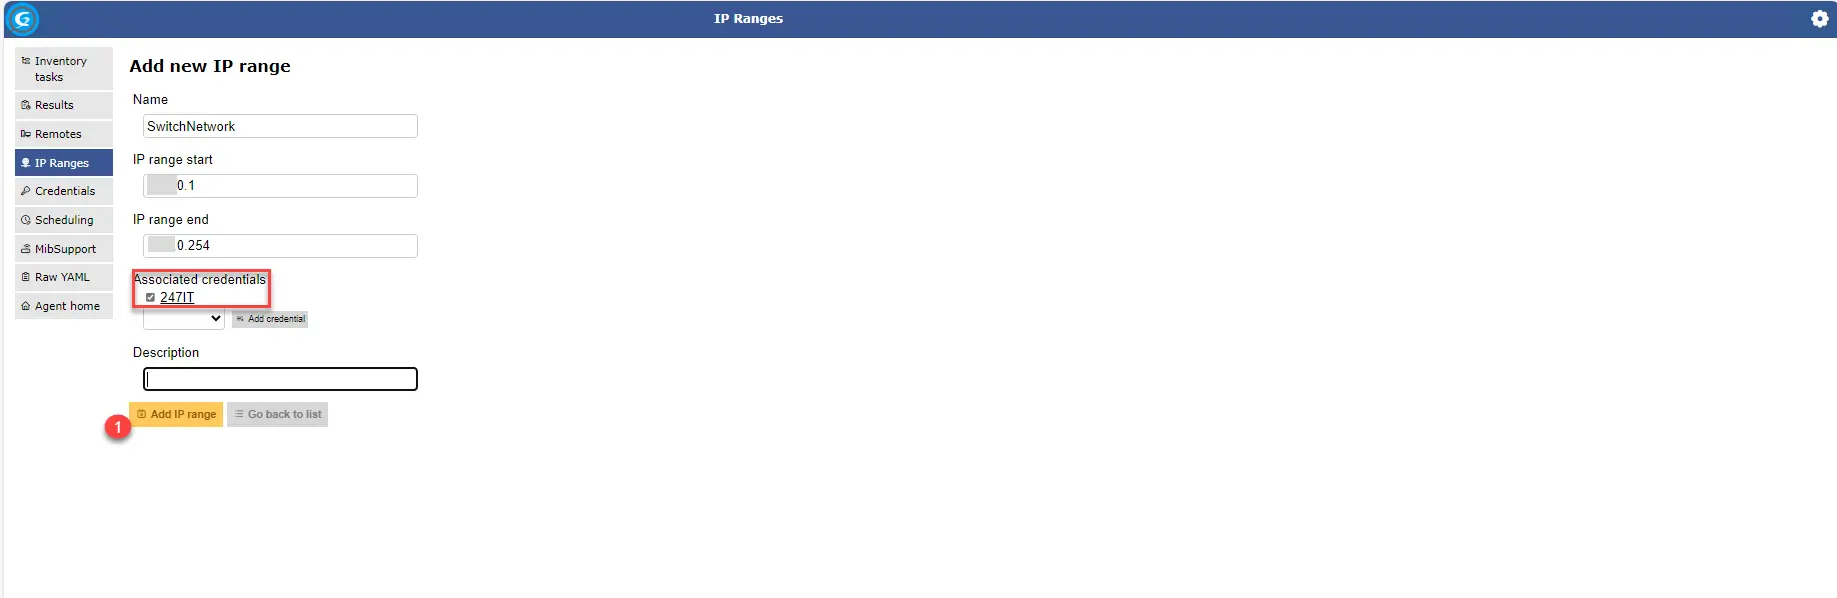
The “credential” is added to the range, click on the Add IP range 1 button.
Create a schedule for inventory tasks
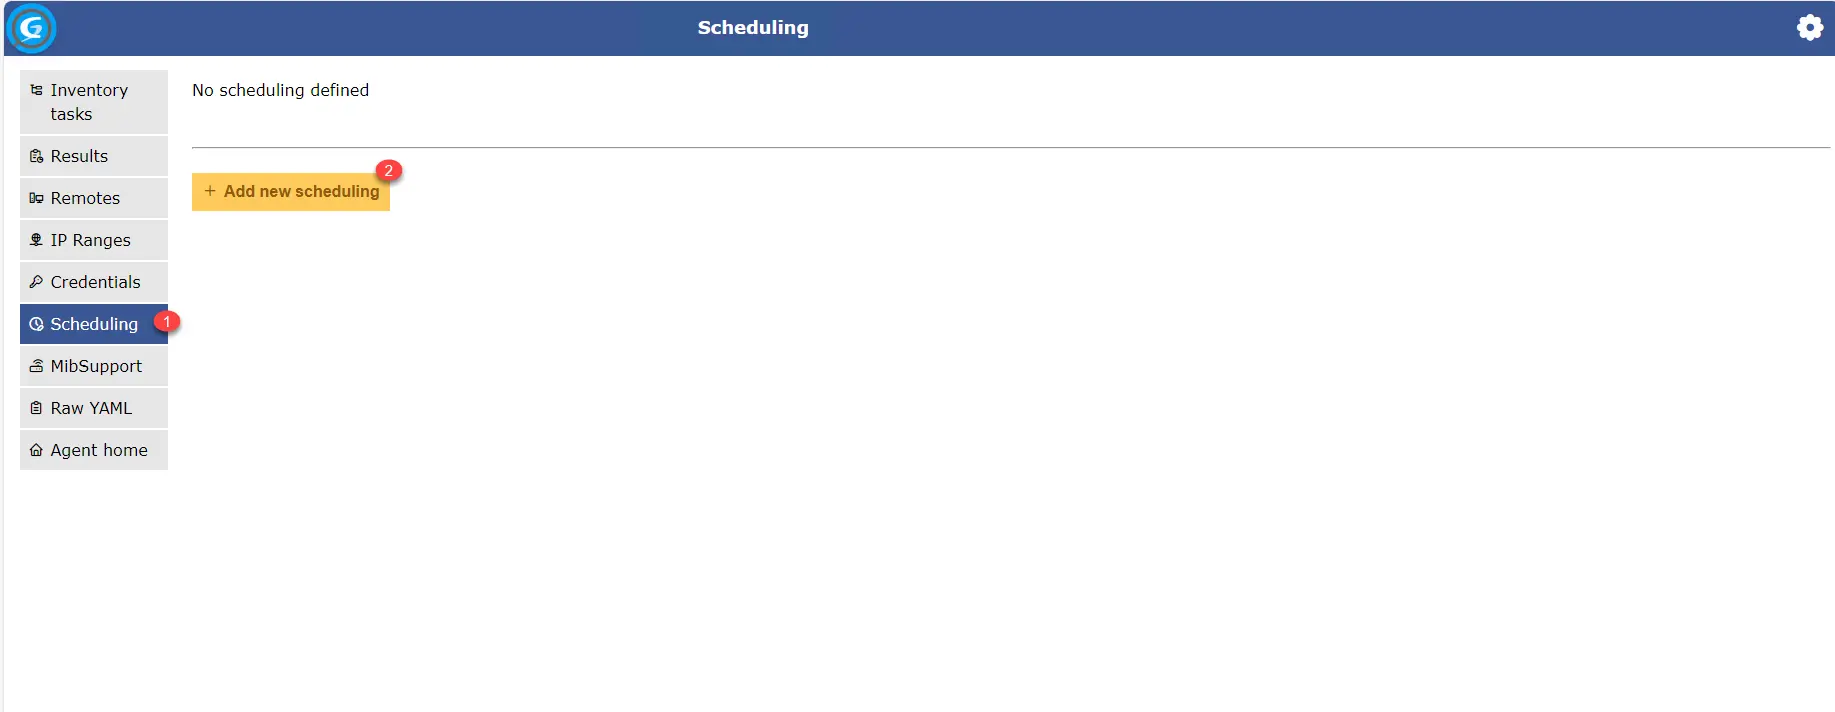
Go to Scheduling 1 in the navigation menu and click on Add new scheduling 2
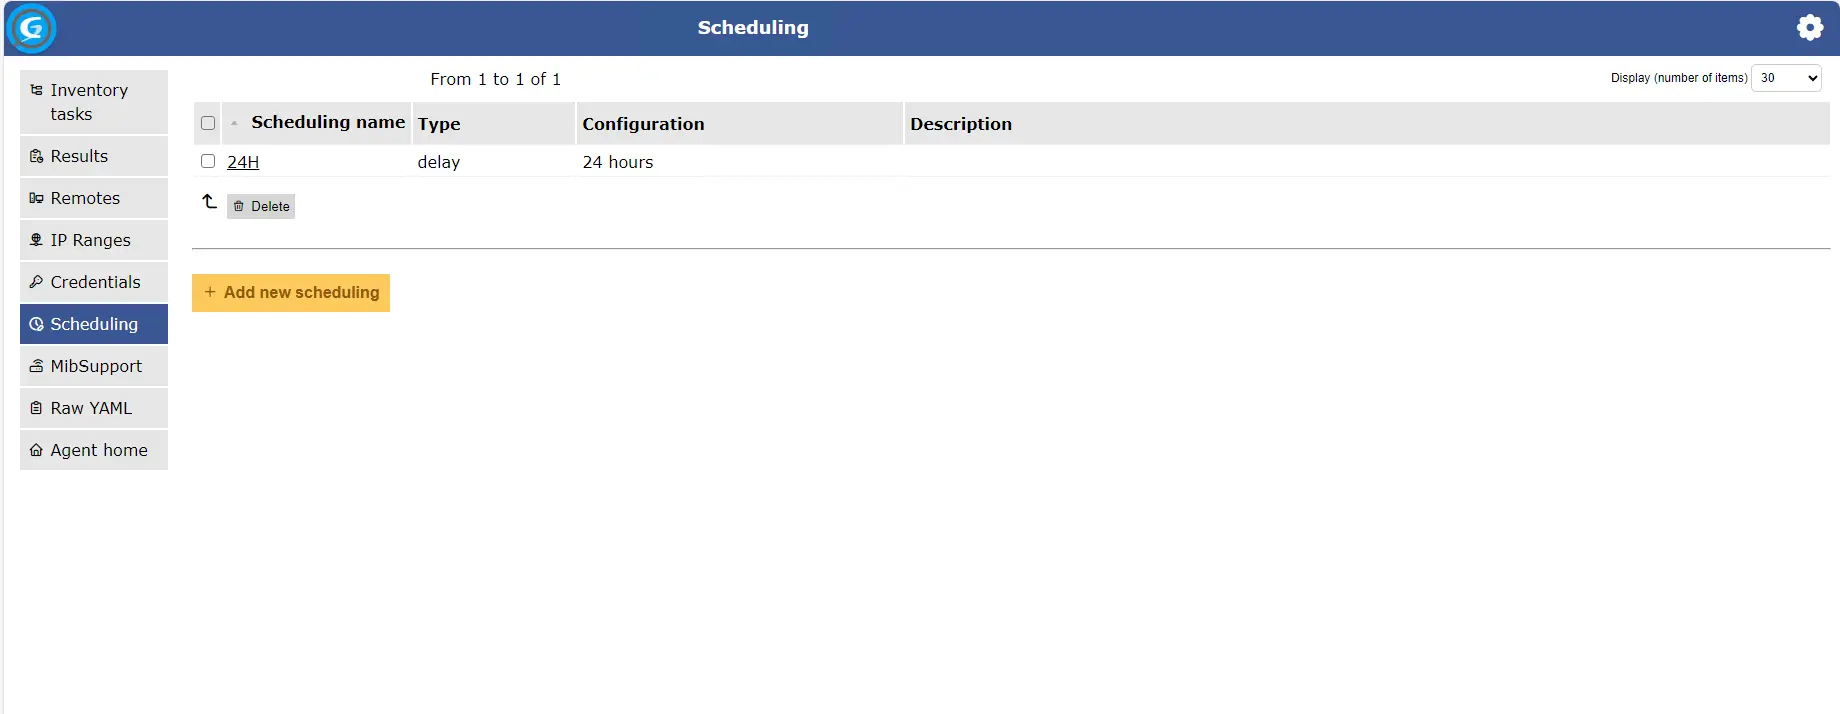
Name the schedule 1, configure the delay between two tasks 2 and click Add 3.

The schedule is added.
Add an inventory task in GLPI Agent
Last step, creating the inventory task in GLPI Agent which will retrieve the items for the inventory.
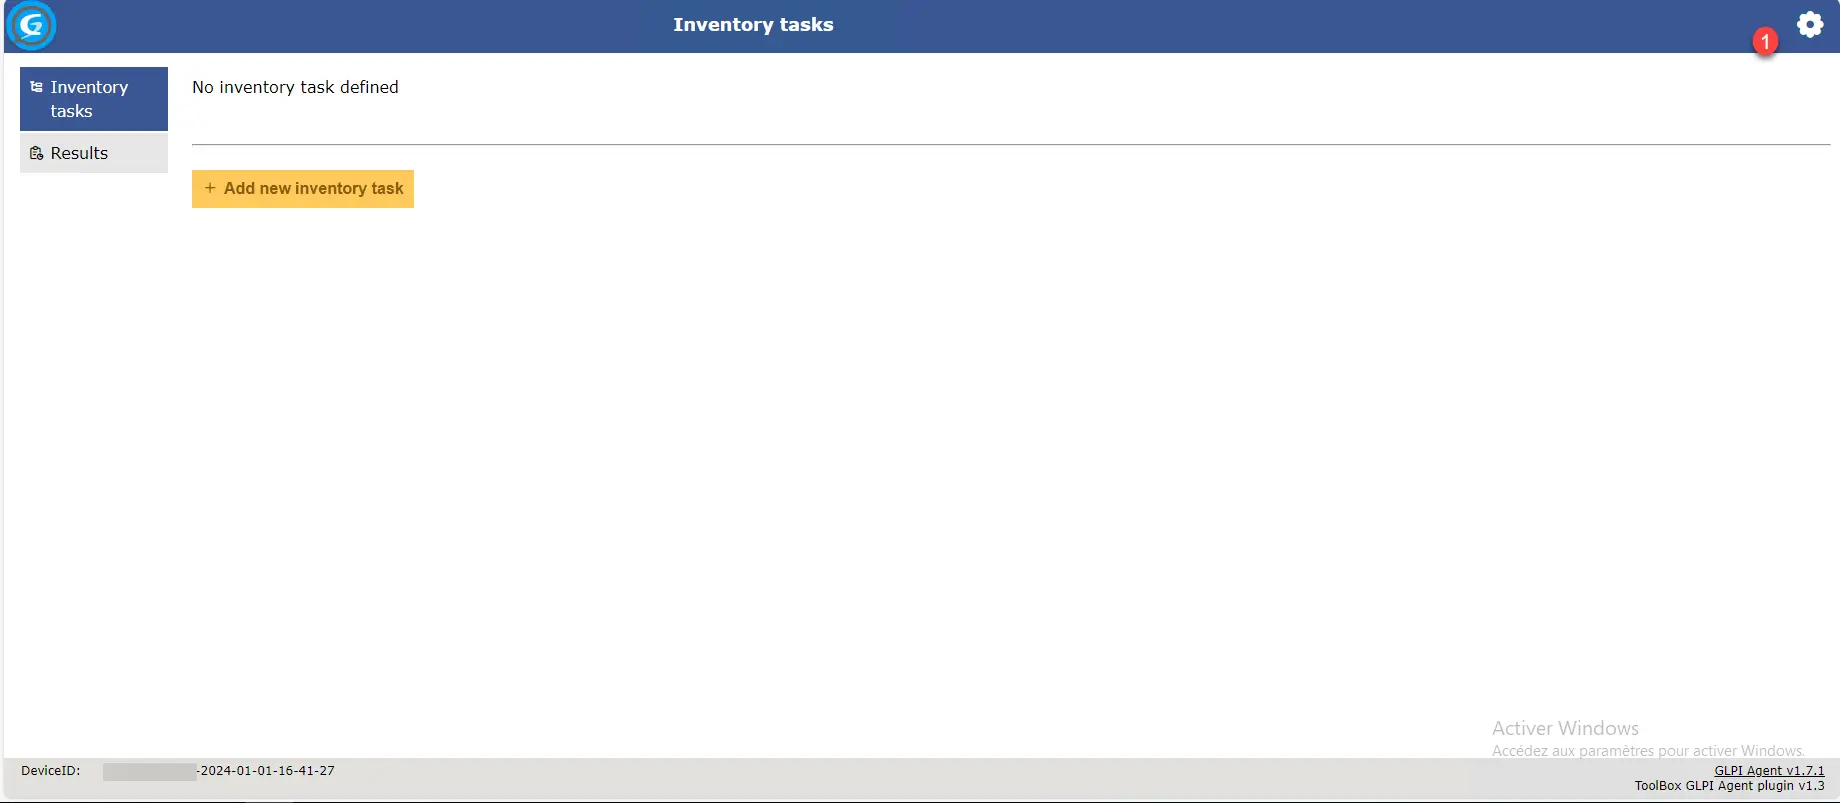
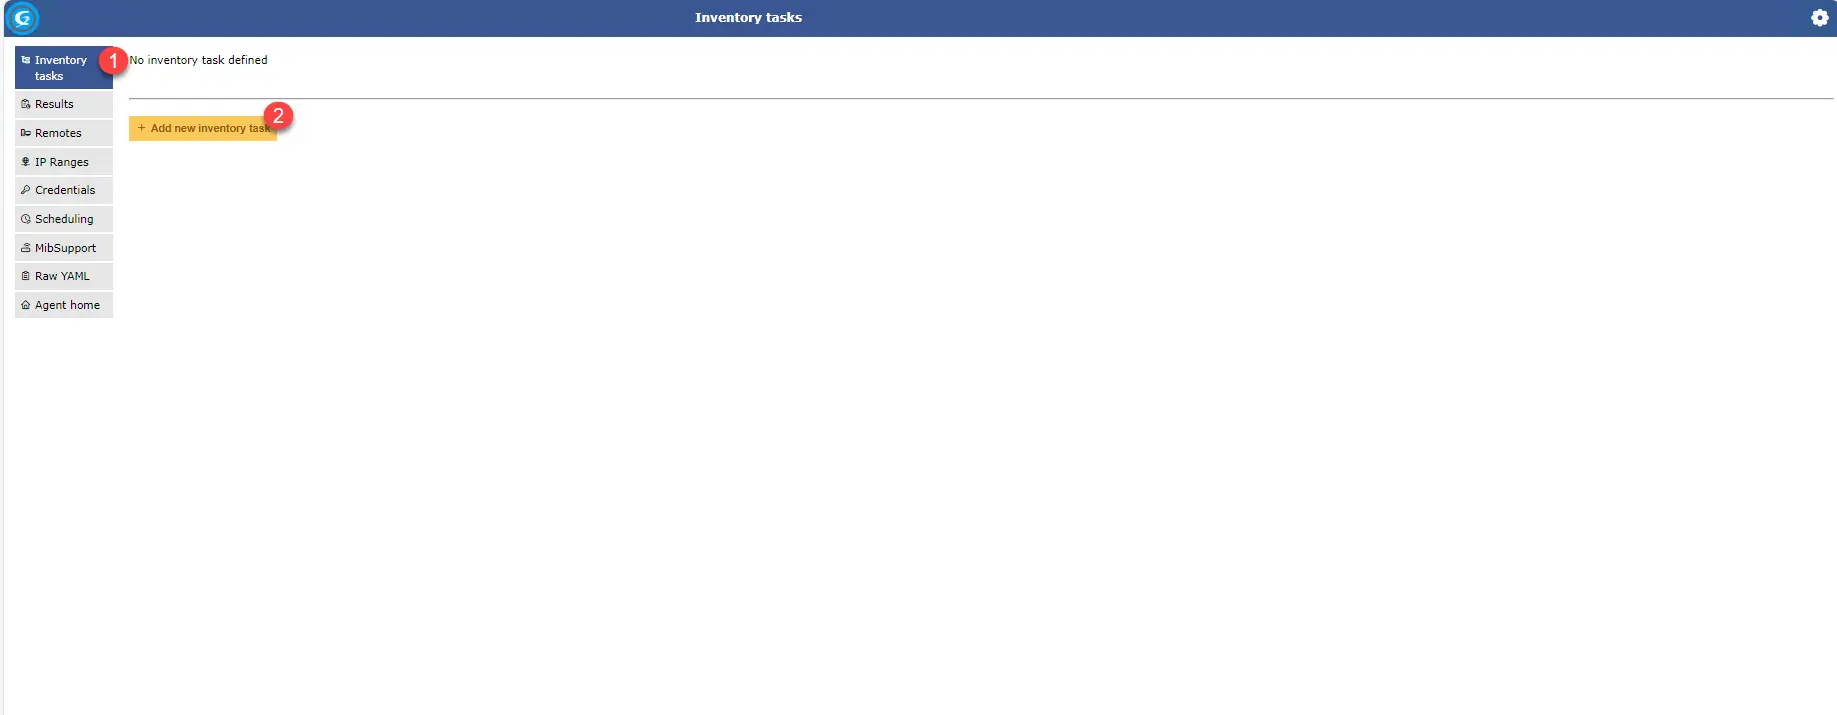
Go to Inventory Task 1 and click on the Add new inventory task 2 button.
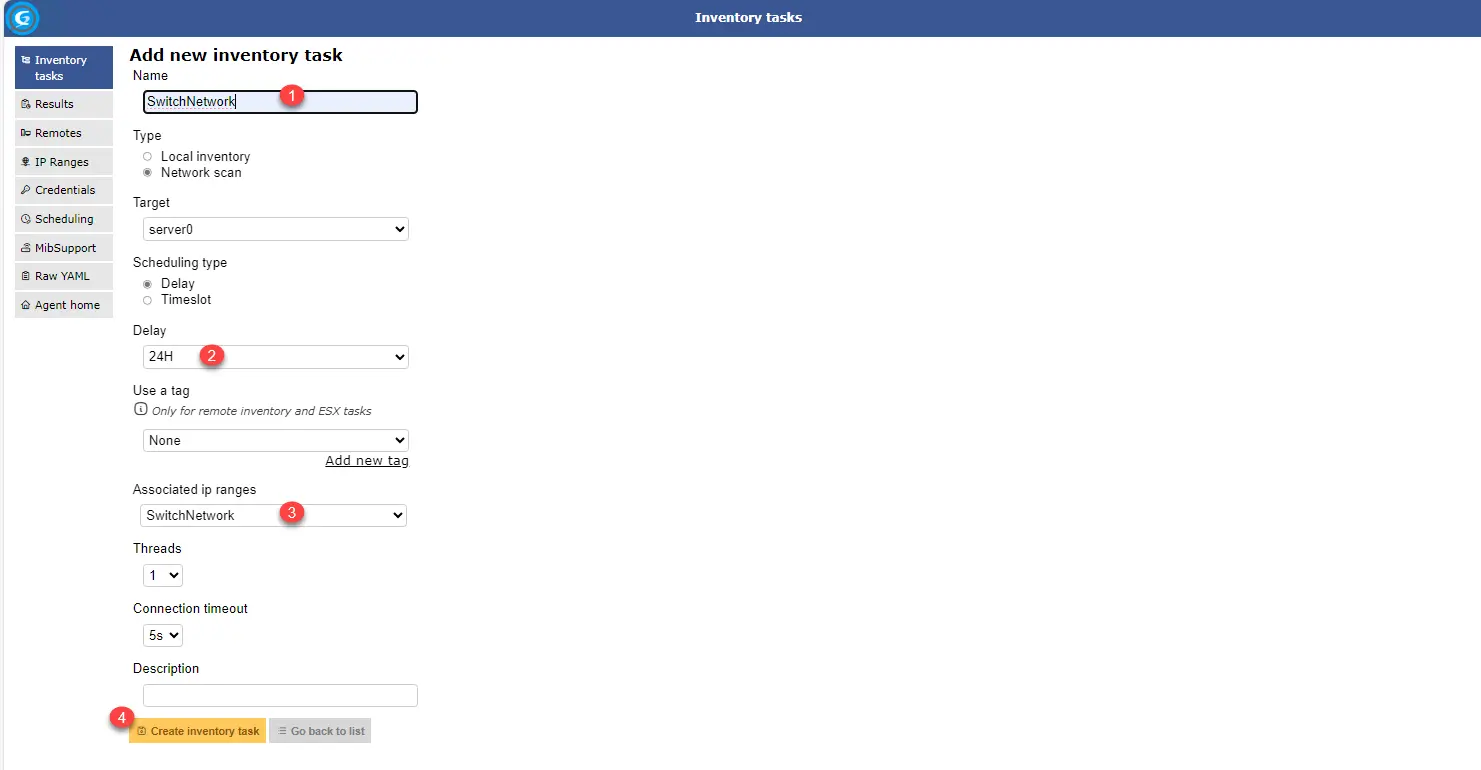
Name the task 1, select the schedule 2, choose the IP range 3 and click on Create inventory task 4.
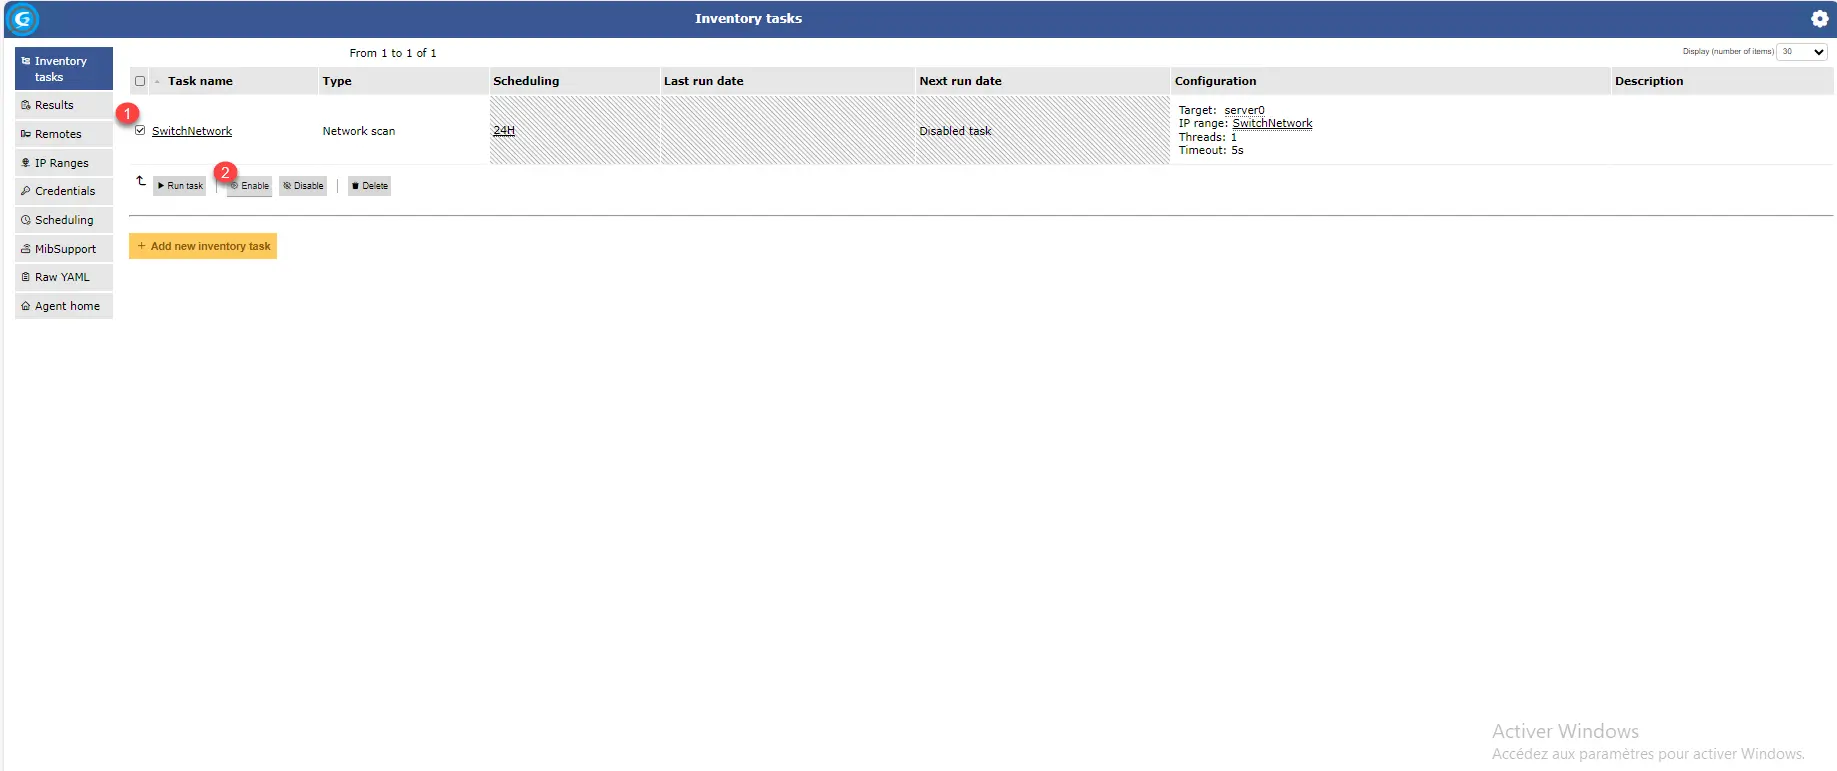
The task is created.

For the moment, this is disabled. Select 1 and click on the Enable 2 button.
The inventory task is now active and scheduled.
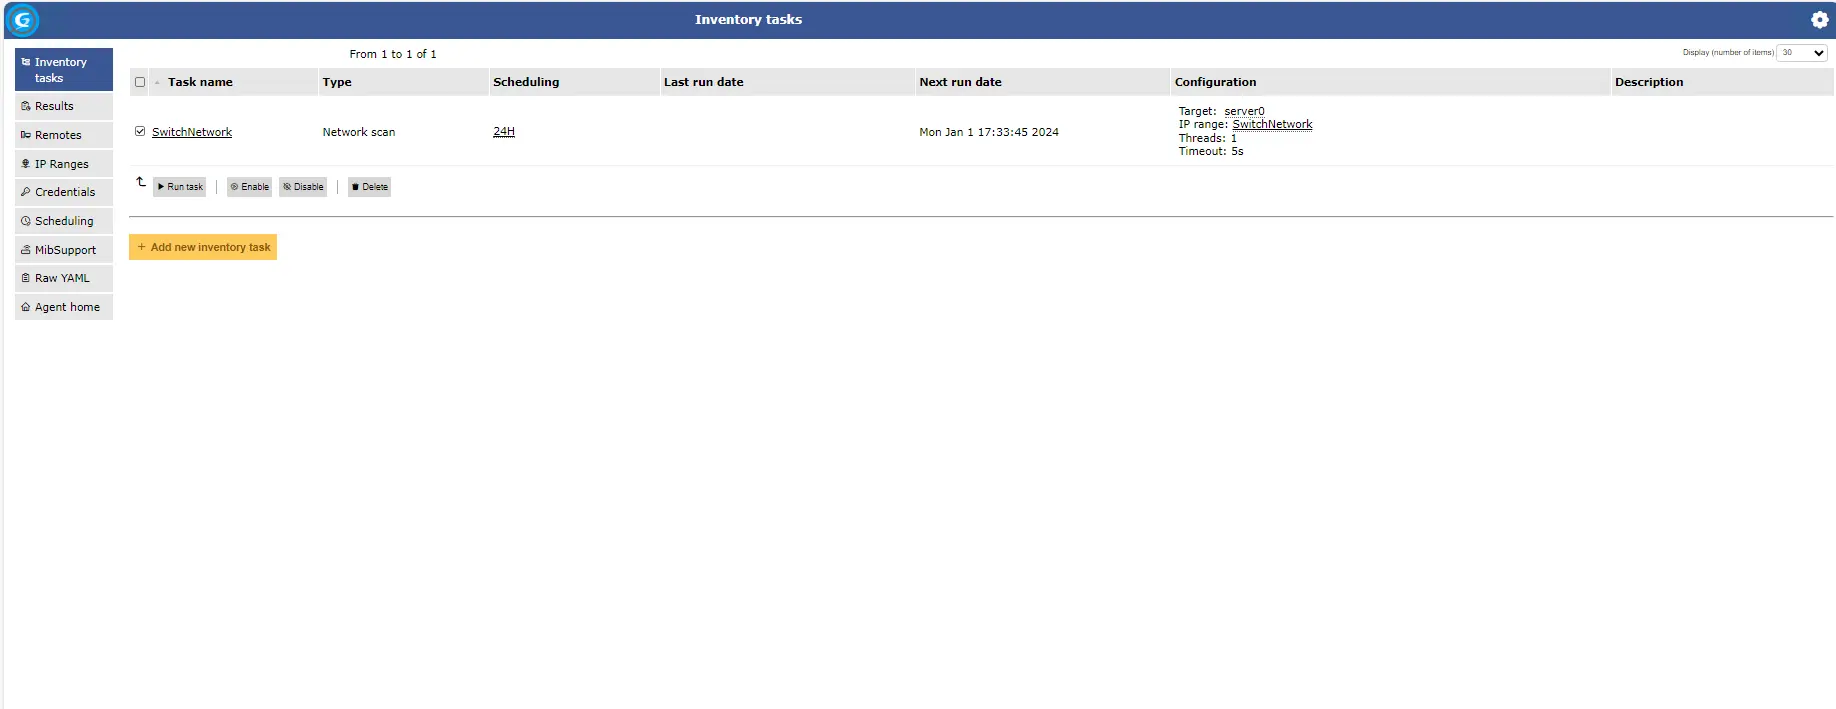
It is possible to launch it immediately, by selecting 1 and clicking on Run task 2

Once running, it is possible to see the logs in real time, click the 1 icon then on Show …. task log 2.
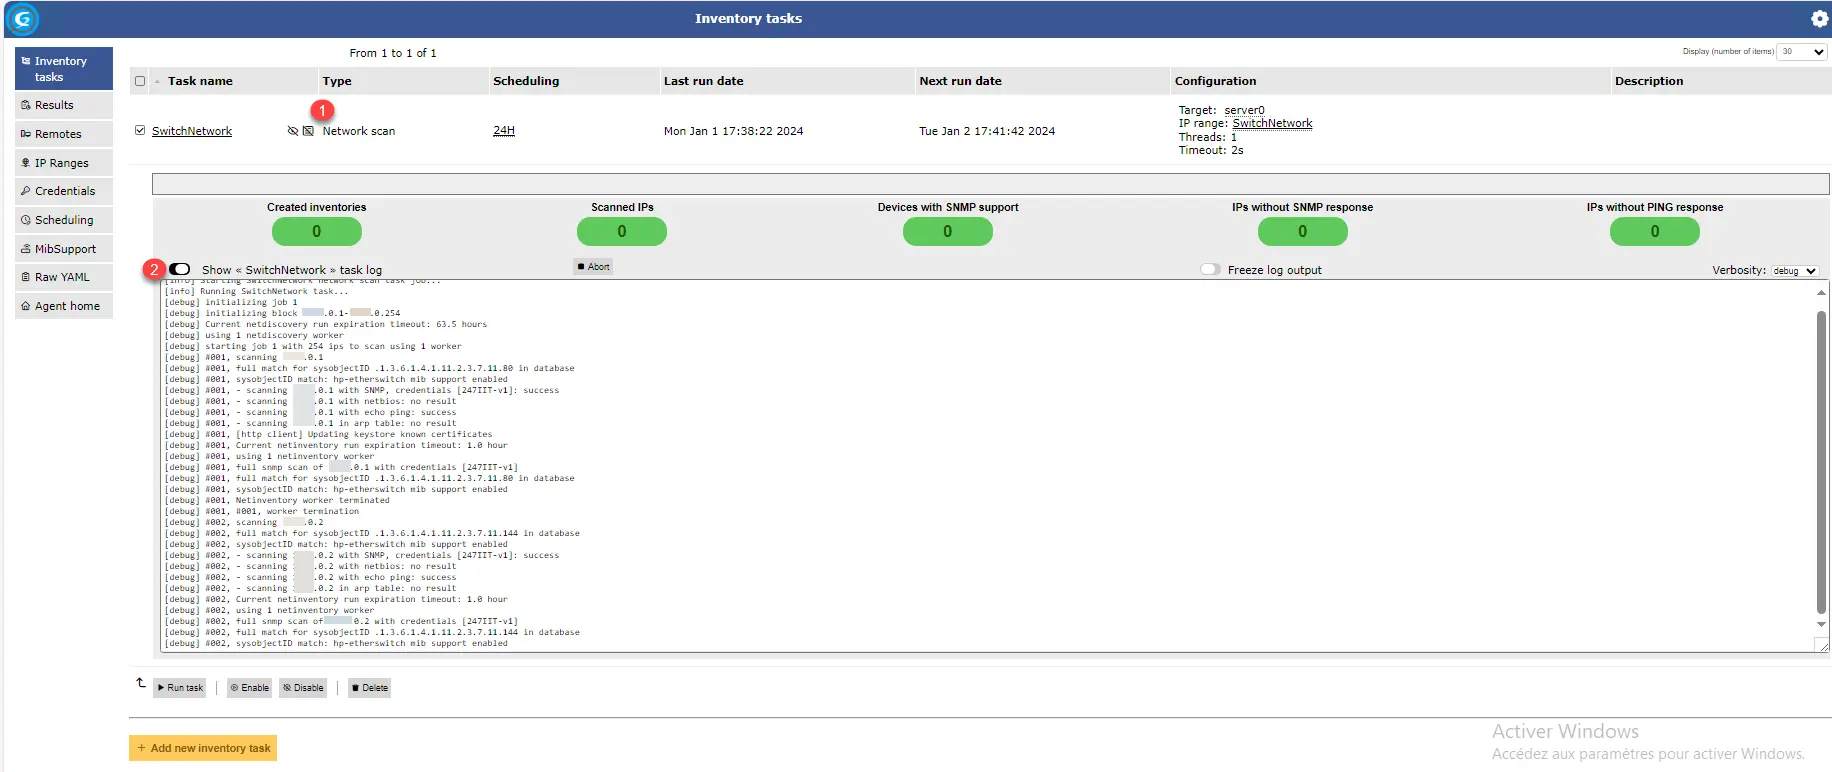
Wait while the task executes, which may take several hours.
It is possible to speed up the task by increasing the number of threads in the inventory task.
View equipment imported by inventory task in GLPI 10
In this tutorial, I inventoried network equipment, in GLPI, expand Park 1 and go to Network Equipment 2.
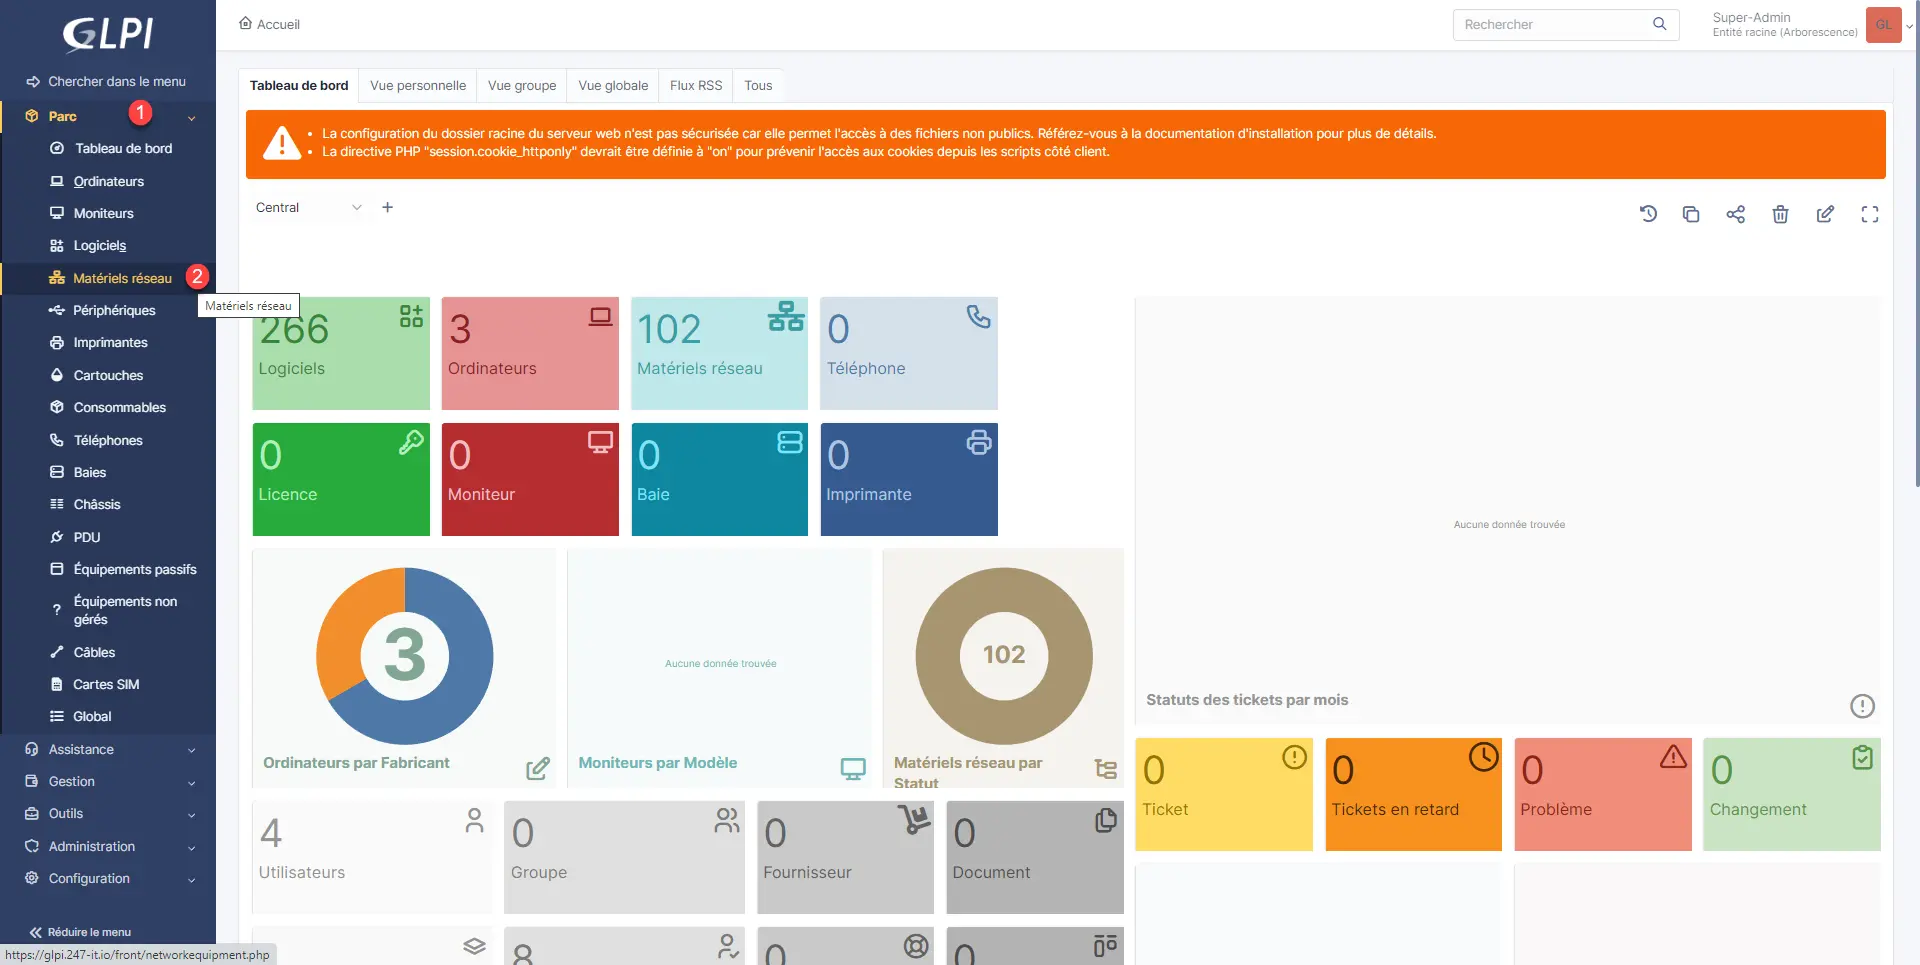
I can find the different switches on the network which were inventoried by the inventory task in GLPI Agent.
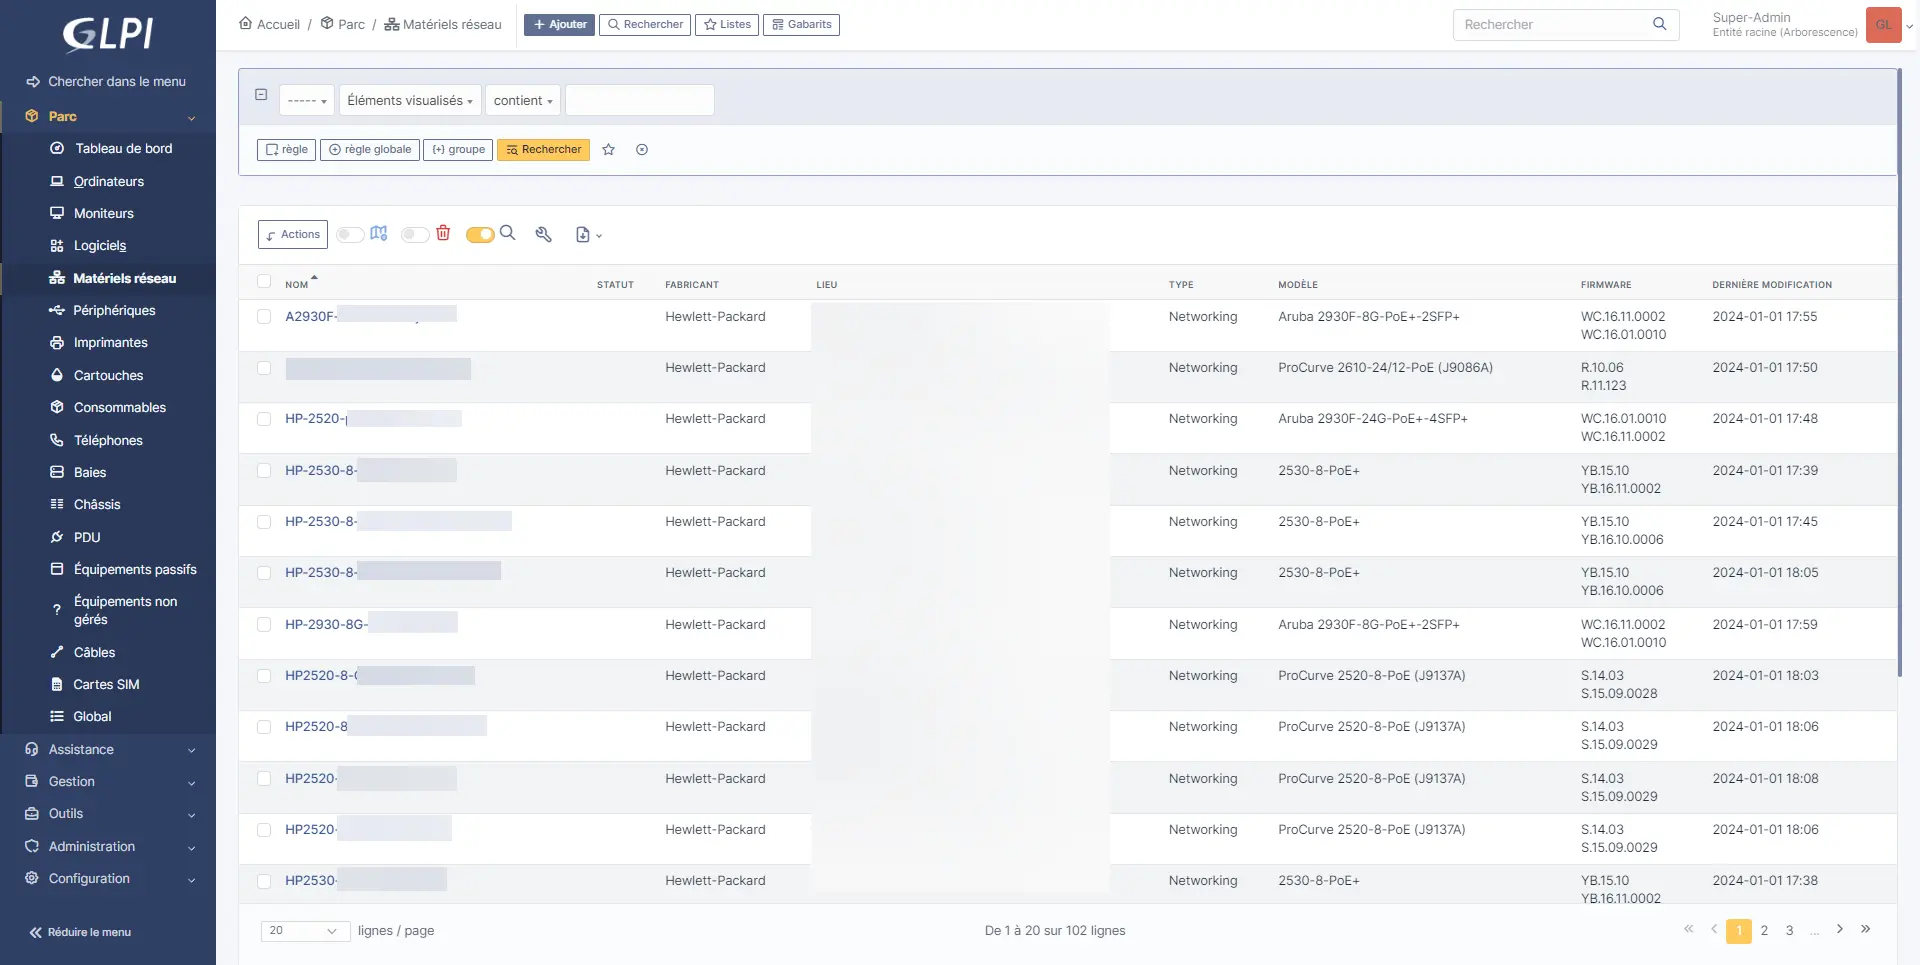
By going to the equipment file, you access the information about the equipment that GLPI Agent was able to recover.
For network equipment, when possible, all ports are shown with their configuration.
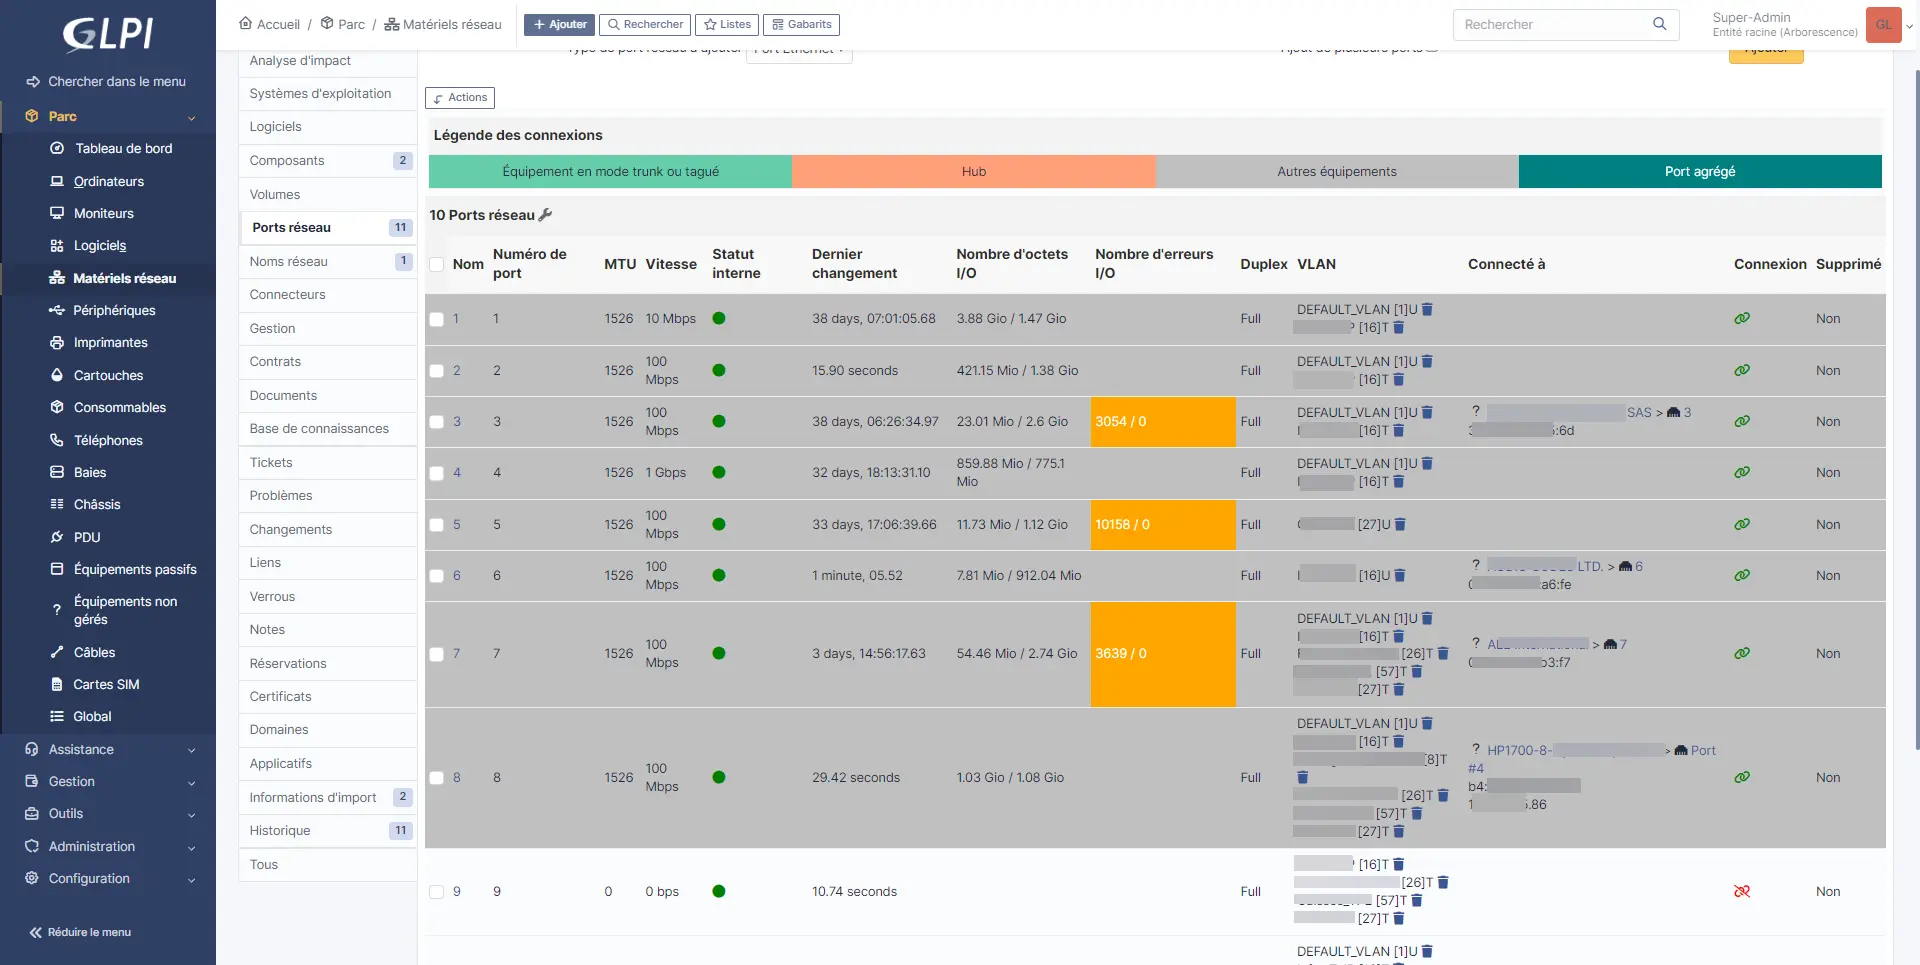
When the equipment on the ports is inventoried, GLPI makes the link, which can make it possible to know which port of a switch a computer is connected to.
For printers, other information is provided, such as the number of prints and the status of the cartridges.
In the Park section, you also have equipment that can be moved to Unmanaged Equipment, here we find equipment that responded to the ping but to which the inventory task was not able to connect to retrieve the information.
You now know how to configure network inventory with GLPI 10 using GLPI Agent.