In this tutorial, I will explain how to install GLPI 10.
Presentation of GLPI
GLPI is the acronym for Gestionnaire Libre de Parc Informatique, it is open source software written in PHP and which uses a MySQL or MariaDB database.
GLPI is today published by the company Teclib which distributes GLPI under an Open Source license. It is possible to subscribe to services from the Teclib company for hosting, support and also have exclusive plugins.
GLPI is an ITSM software that allows:
- Incident and problem management (Tickets).
- Automatic inventories of computers and various equipment through agents.
- Financial management
- Project management
- …
Prerequisites for installing GLPI 10
To install GLPI you will need:
- A web server (Apache, Nginx, Litespeed, IIS)
- PHP 7.4 to 8.2
- A database (MariaDB or MYSQL)
It is also possible to run GLPI on a Linux or Windows server.
Link to documentation : https://glpi-install.readthedocs.io/fr/latest/prerequisites.html
Environment to use in this tutorial
In this tutorial, I decided to install GLPI on an Ubuntu server (linux) and to run the various necessary services (web / php / database) in a container with Docker.
Having several websites on this server, GLPI will be accessible through an Nginx reverse proxy.
So I will use 3 containers:
- Nginx
- PHP
- MariaDB
The container images that I use are images that I built myself.
You will find all the files here: https://git.rdr-it.io/tuto/glpi10-install
Preparation of the environment
On my server, I will work in the folders : /containers/glpi10/.
I also created a DNS record for the GLPI access URL.
I’ll start by cloning the repository:
sudo git clone https://git.rdr-it.io/tuto/glpi10-install .
Edit filer .env
sudo nano .envAt a minimum change the two variables which contain the passwords of the database users.
I will also change the nginx port to 50001 and database port to 50002
Edit the Nginx configuration file:
sudo nano config/nginx.confIn the file, change the server_name variable to the url you want to give to GLPI
If you use an Nginx reverse proxy, you must also edit the following file:
sudo nano reverse-proxy/nginx-vhostIn this file replace NGINX-GLPI-PORT with the port configured in the .env file for Nginx and also change the value of server_name.
Create the symbolic link for the Nginx reverse proxy:
sudo ln -s /path/of/glpi/reverse-proxy/nginx-vhost /etc/nginx/sites-enabled/glpiTest the reverse proxy configuration:
sudo nginx -tIf everything is good, reload the Nginx configuration
sudo systemctl reload nginxSi vous avez installer certbot, générer un certificat SSL
sudo certbotWe will now download the images and start the containers to create the folders.
Download images
sudo docker compose pullStart containers:
sudo docker compose upCheck that no errors are displayed.
Stop containers with Ctrl+C.
Our different departments are ready.
Download and unzip GLPI 10
We will now download GLPI 10, to do this we will retrieve the latest release from Github.
Download GLPI:
sudo wget https://github.com/glpi-project/glpi/releases/download/10.0.11/glpi-10.0.11.tgzUnzip the archive:
sudo tar -xvzf glpi-10.0.11.tgzMove contents of glpi folder (unzip) to web server folder
sudo mv glpi/* /containers/glpi/www/Verify that the files have been moved:
ll /containers/glpi/www/In order not to have a legal problem, we are going to change the owner of the folders and files, because the commands are passed with sudo, the owner is root.
sudo chown www-data:www-data /containers/glpi/www/ -RIf you use the tutorial containers start them:
sudo docker compose up -dInstalling GLPI 10
From an Internet browser, go to the URL defined for GLPI.
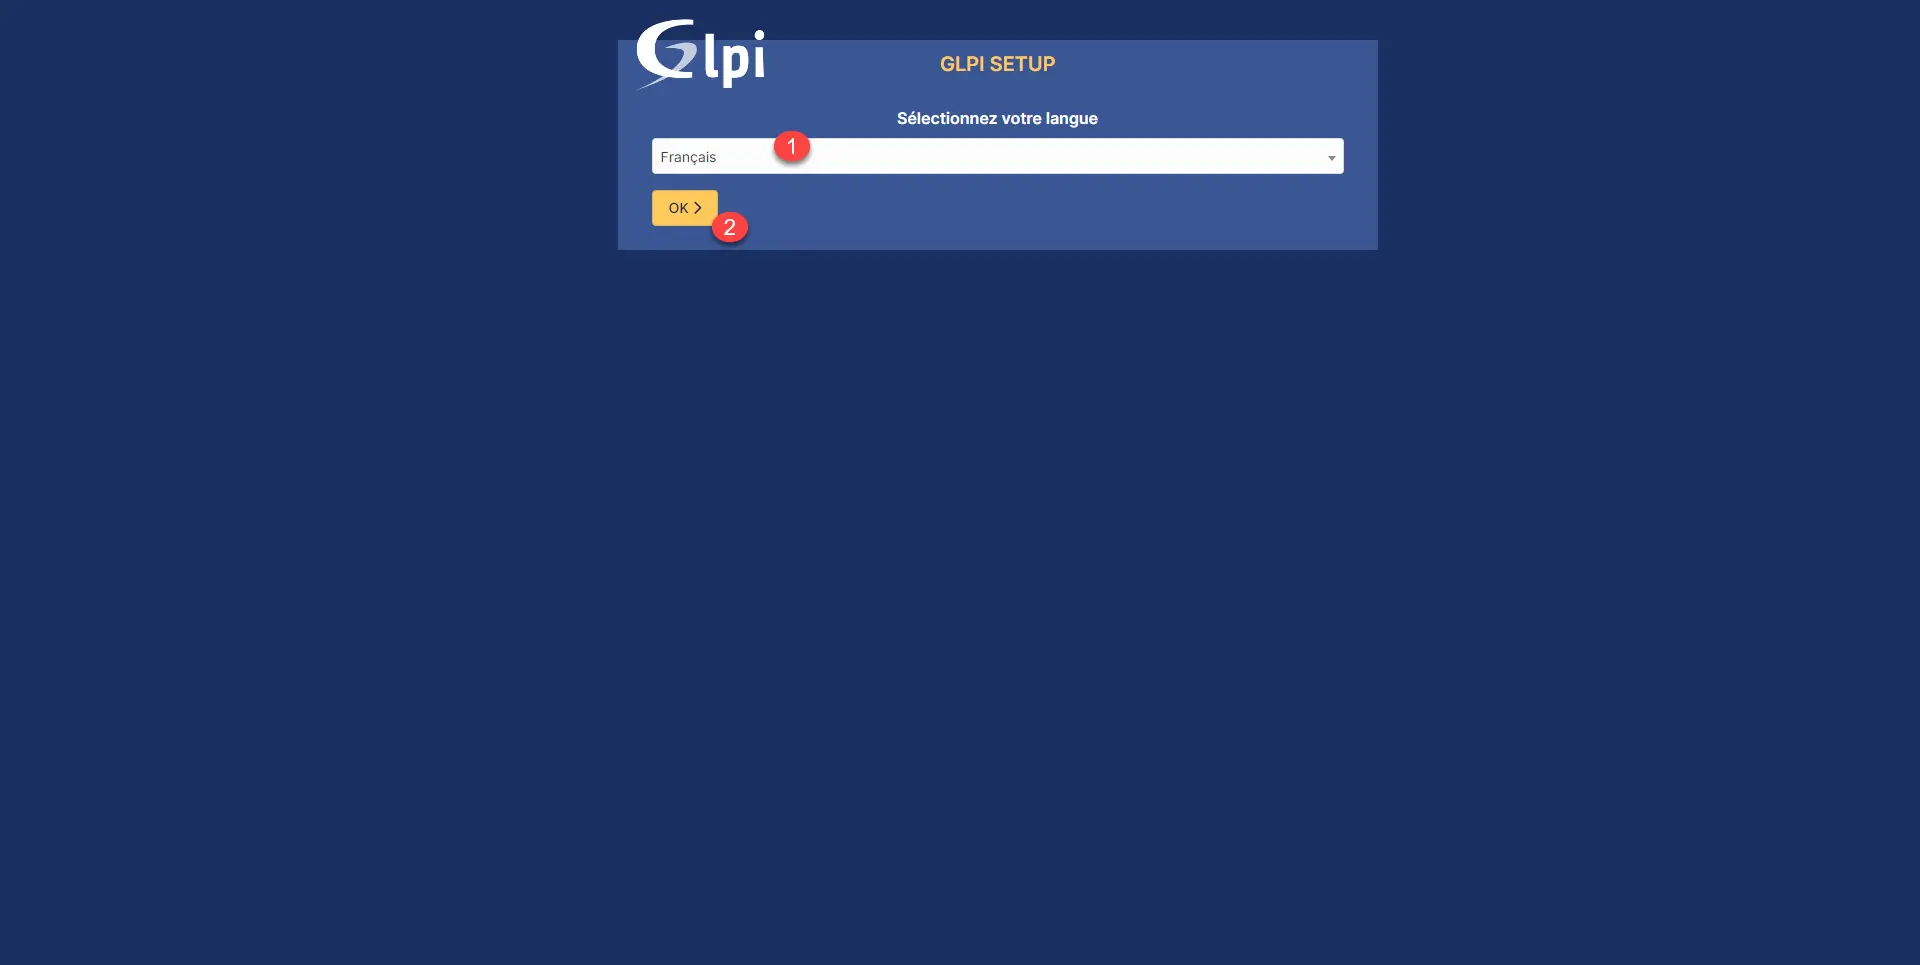
You should arrive at the GLPI installation wizard.
Select language 1 and click OK 2.
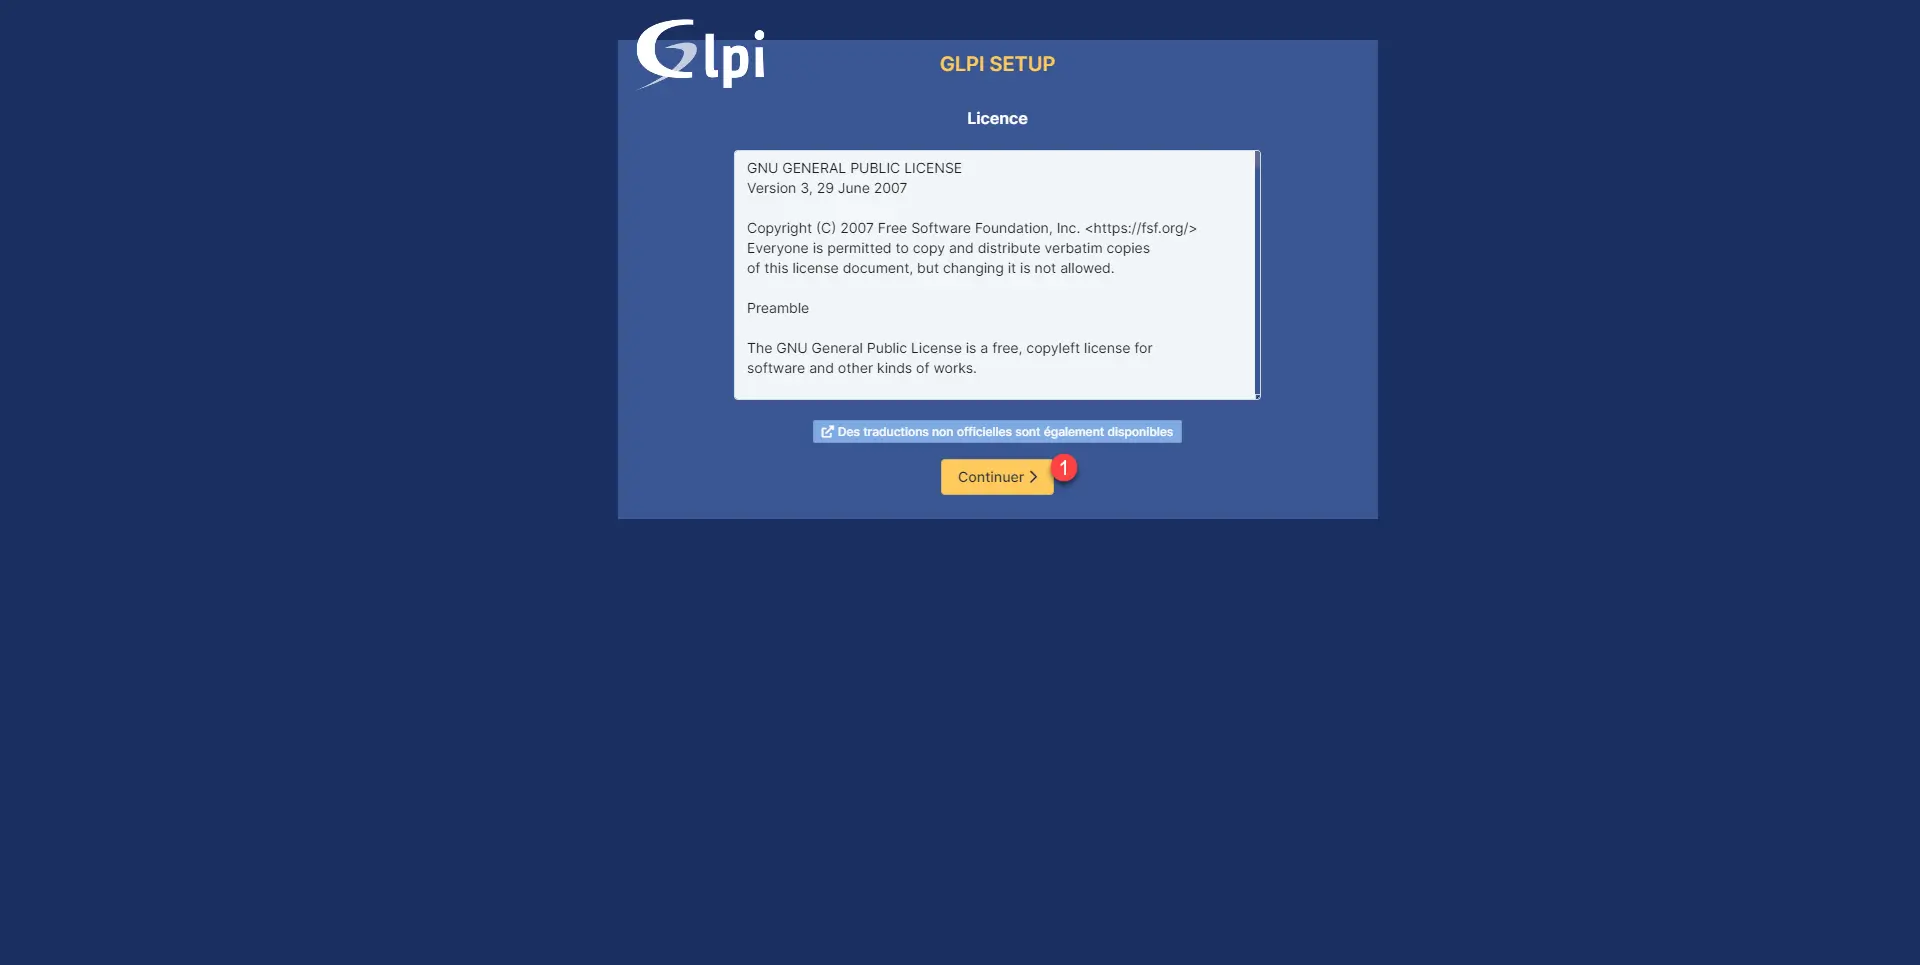
Accept the license by clicking on the Continue 1 button.
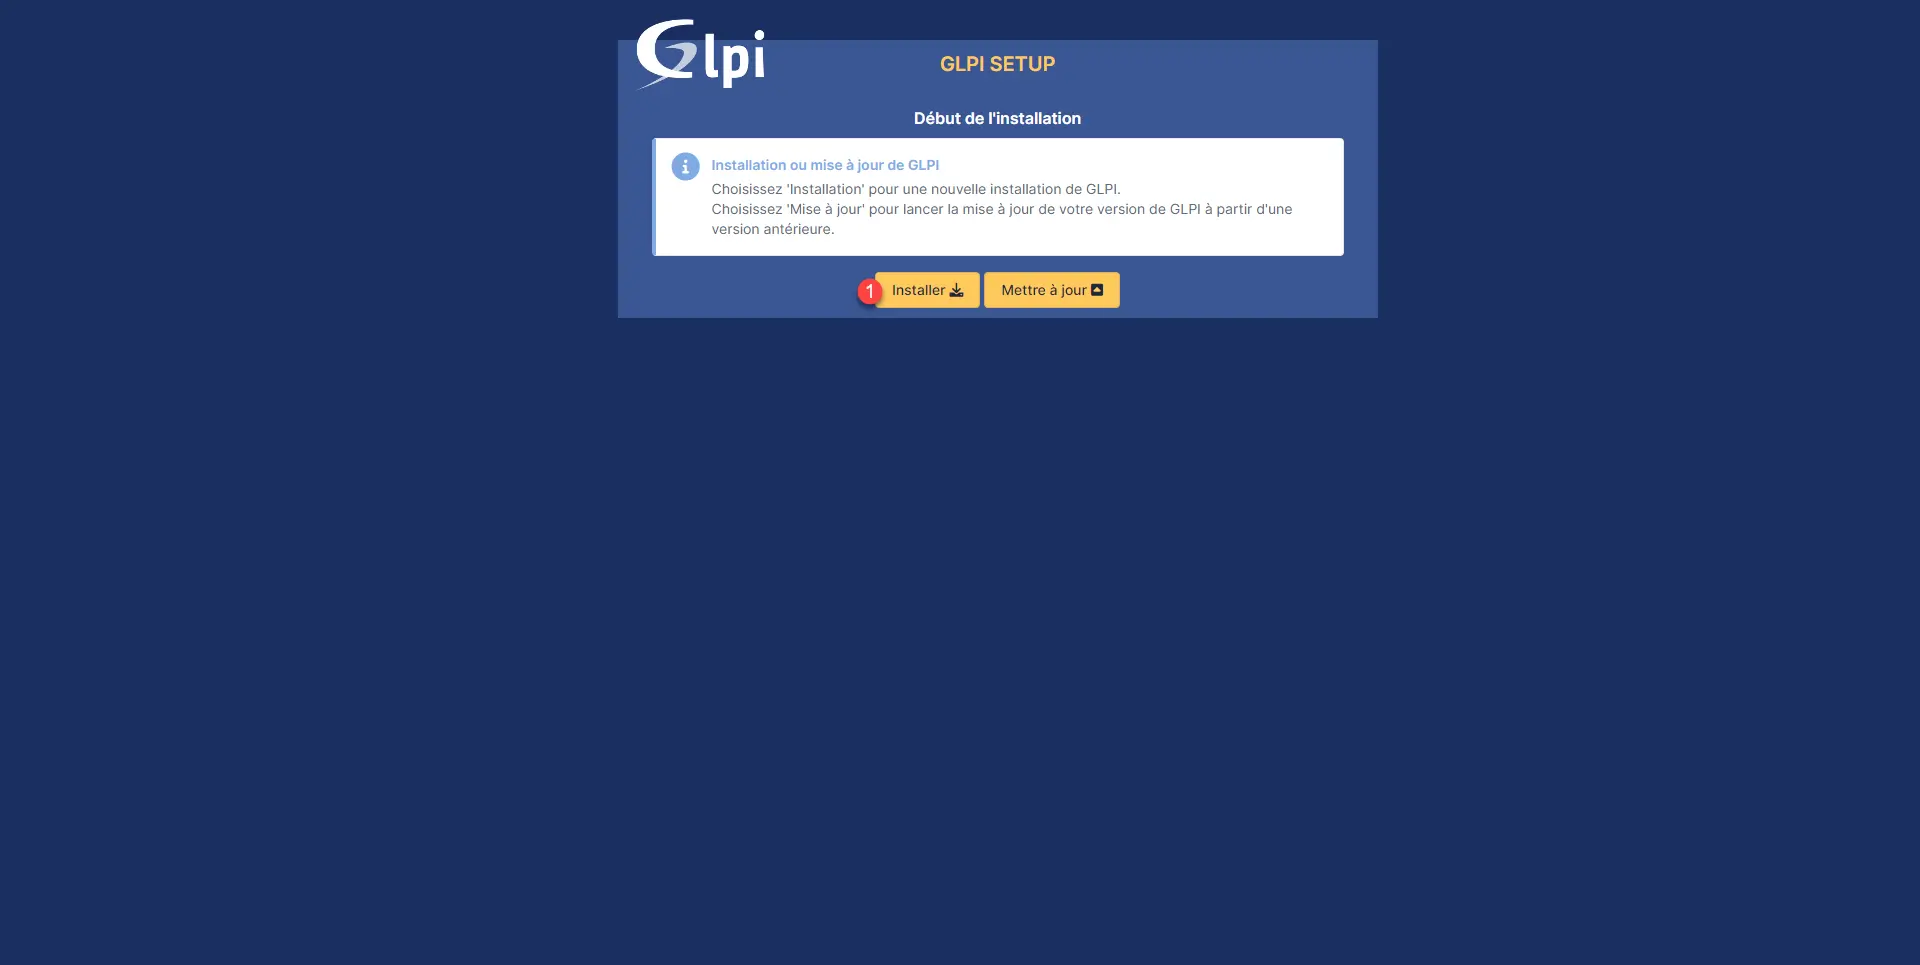
Click on the Install 1 button.
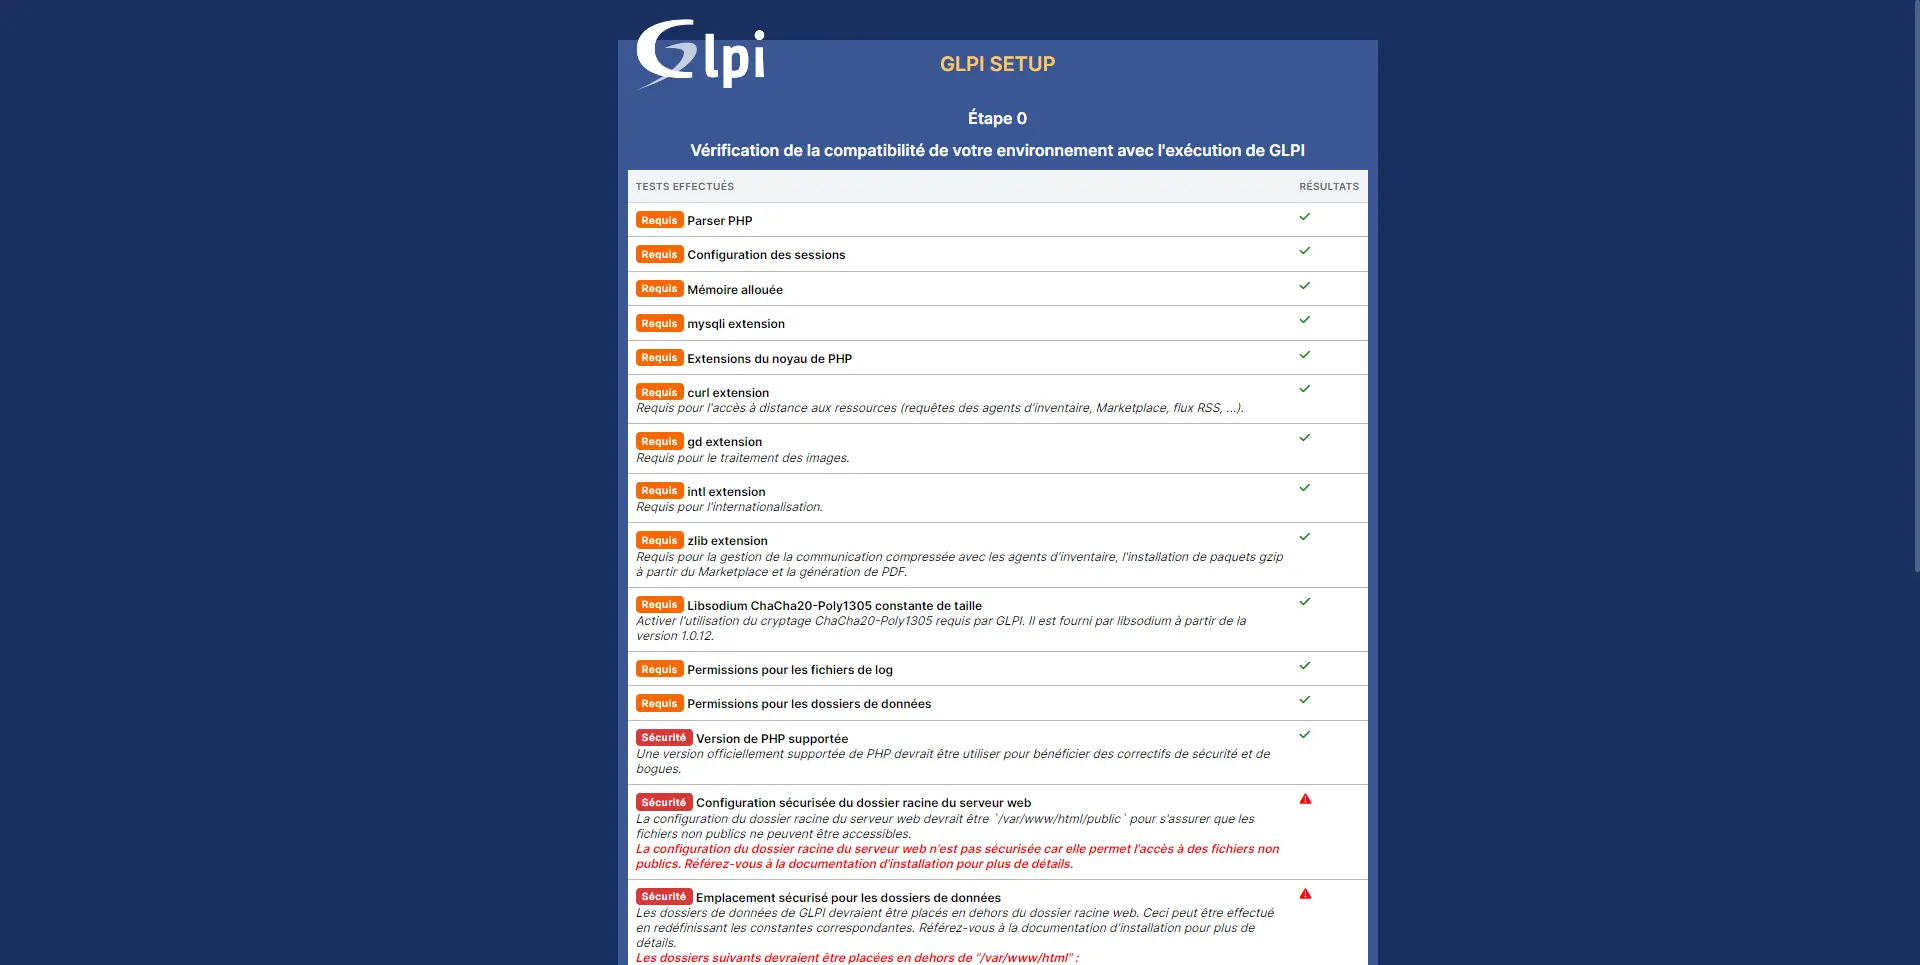
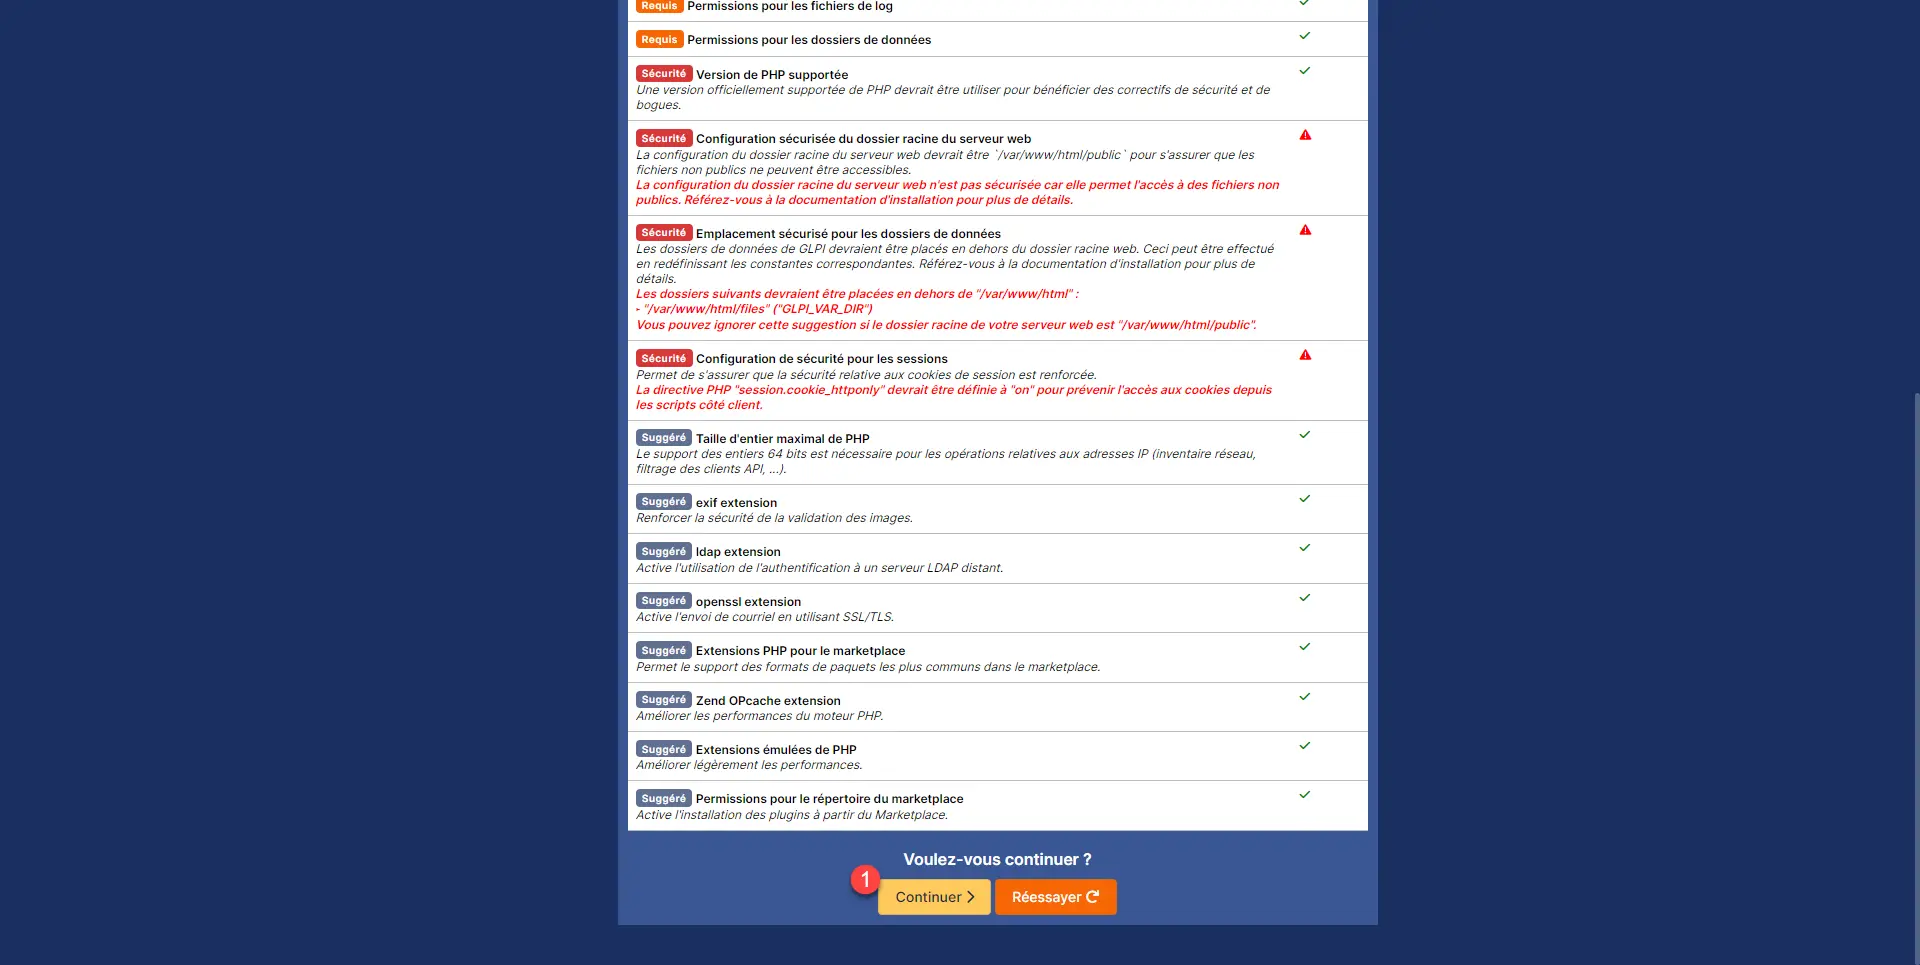
An environment check is carried out, if no blocking problem is detected, click on Continue 1.
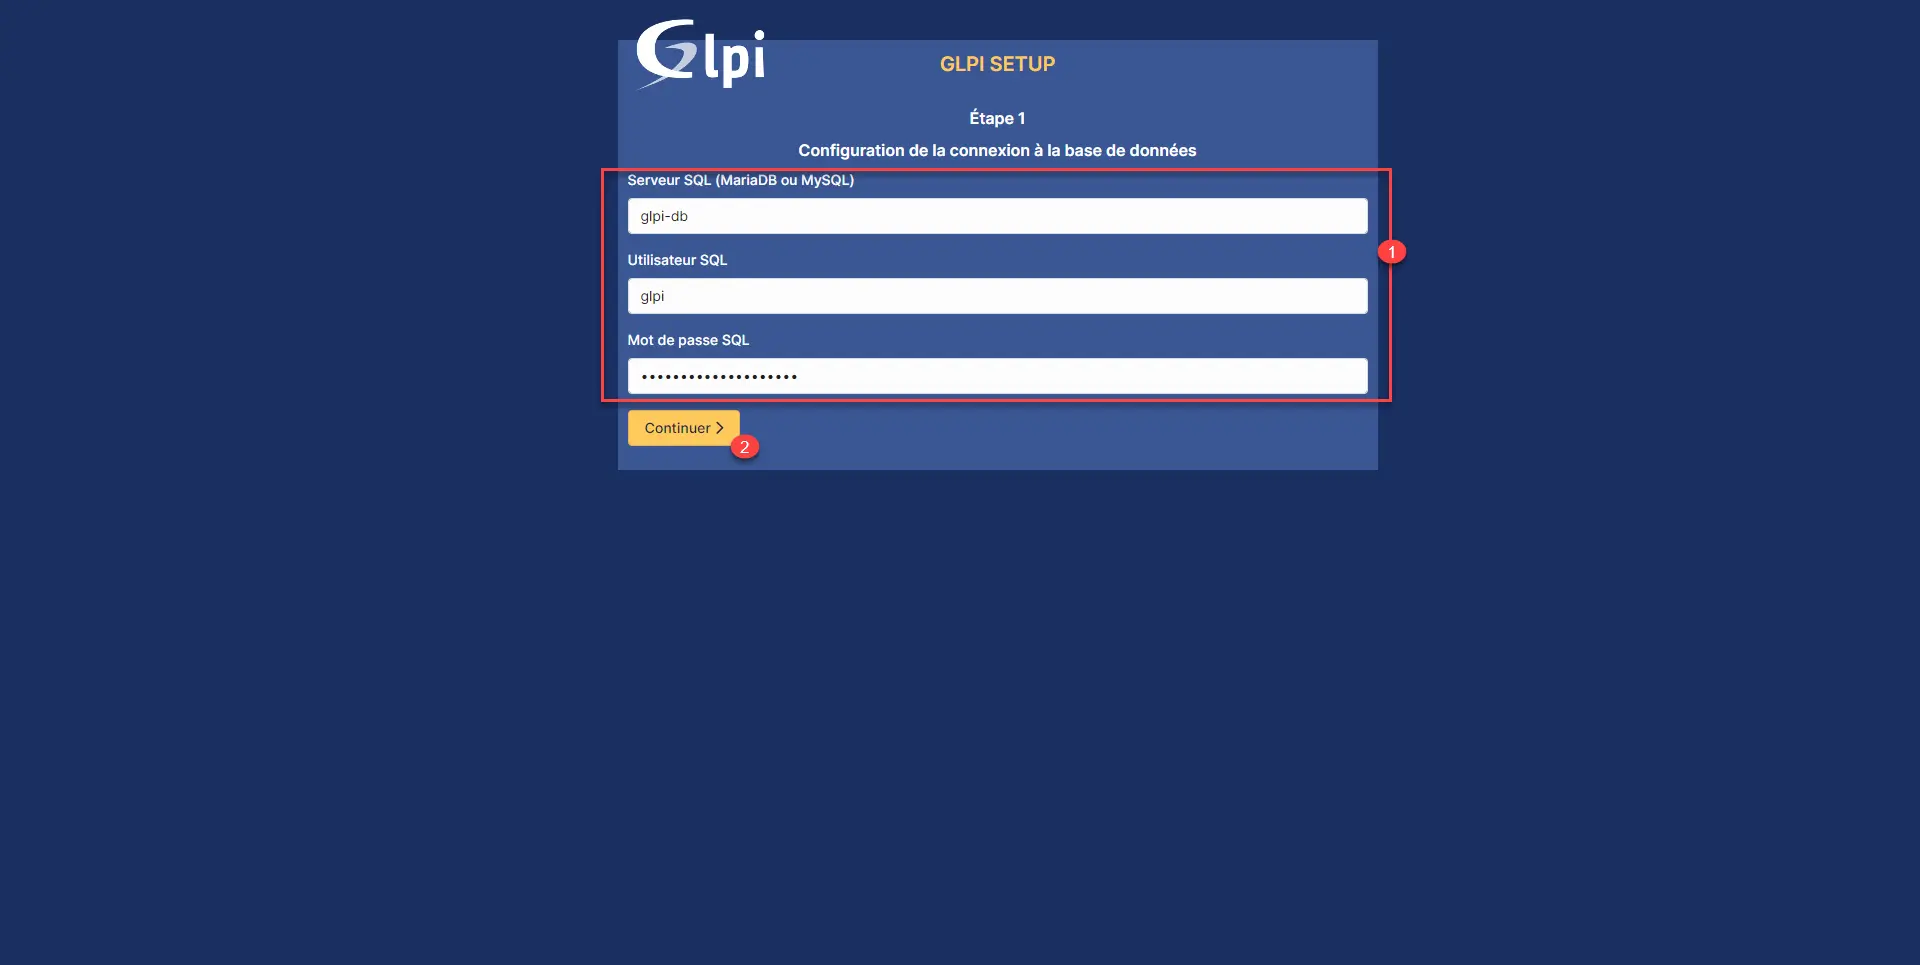
Entrer les informations de connexions à la base de données 1 et cliquer sur Continuer 2.
Select database 1 and click on the Continue 2 button.

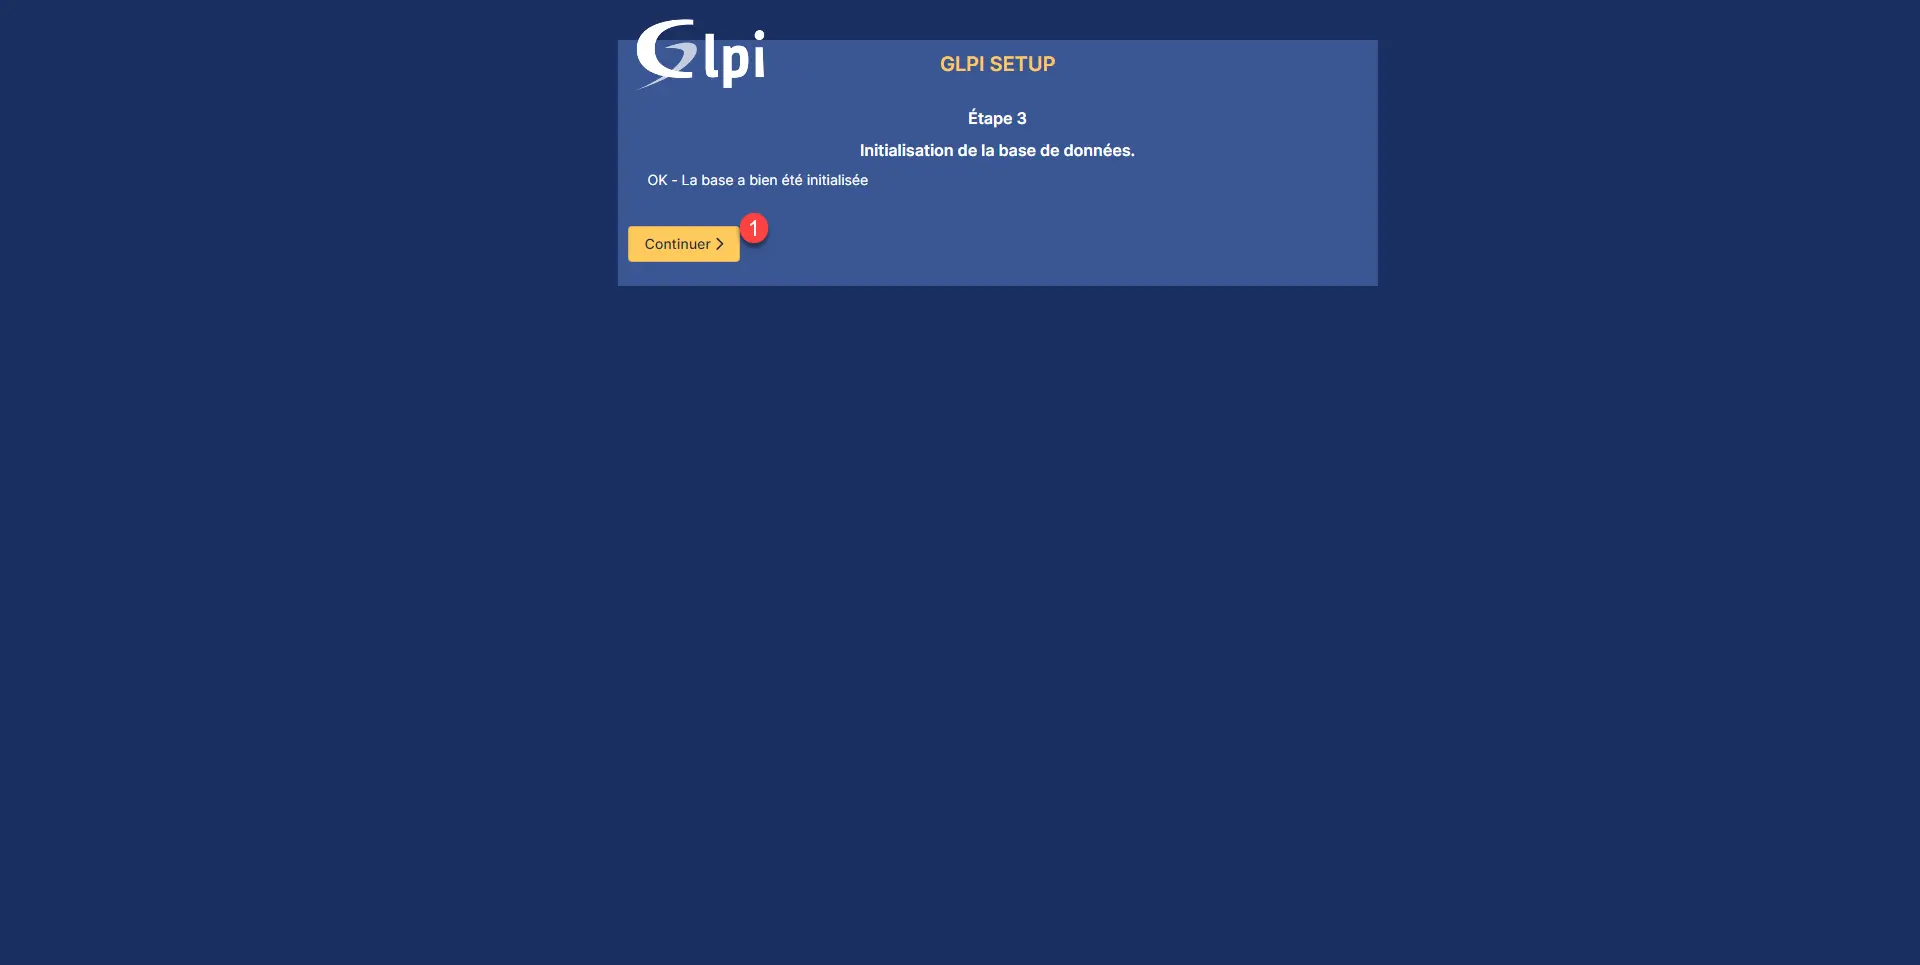
A message indicates that the database has been initialized, click on Continue 1.
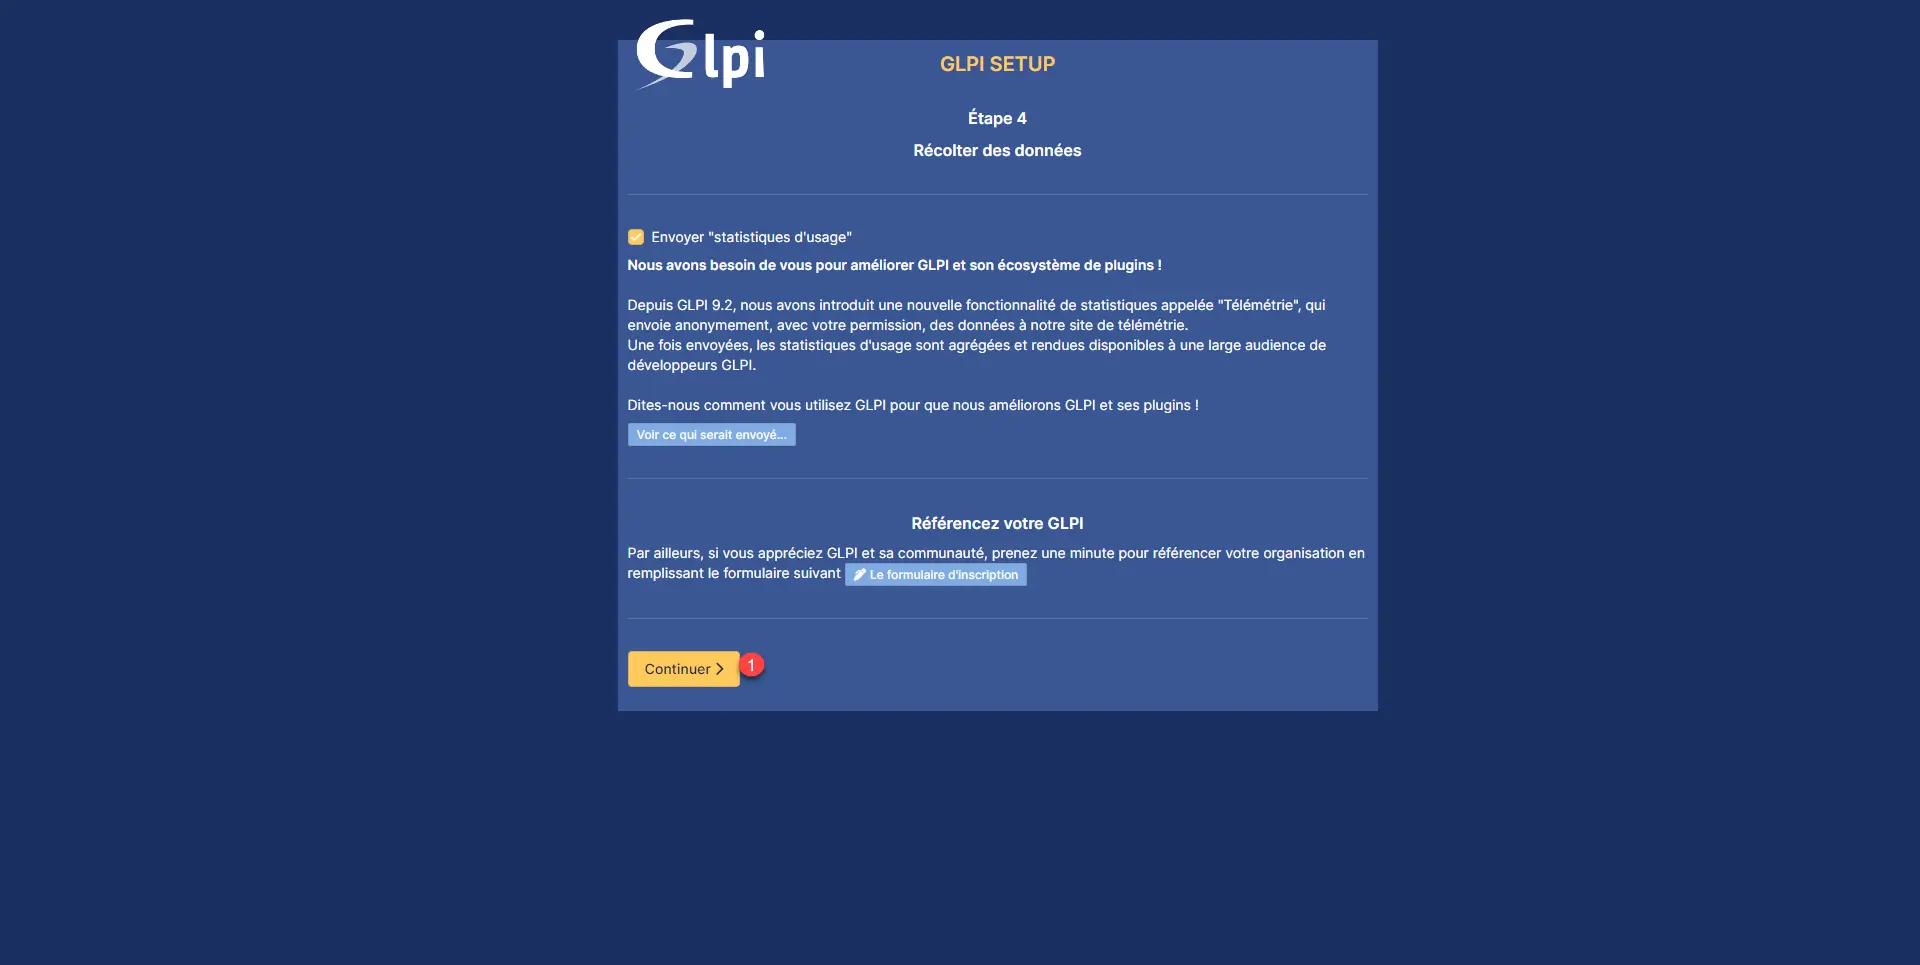
The last step asks for your consent to send statistics, click on Continue 1 after making your choice.
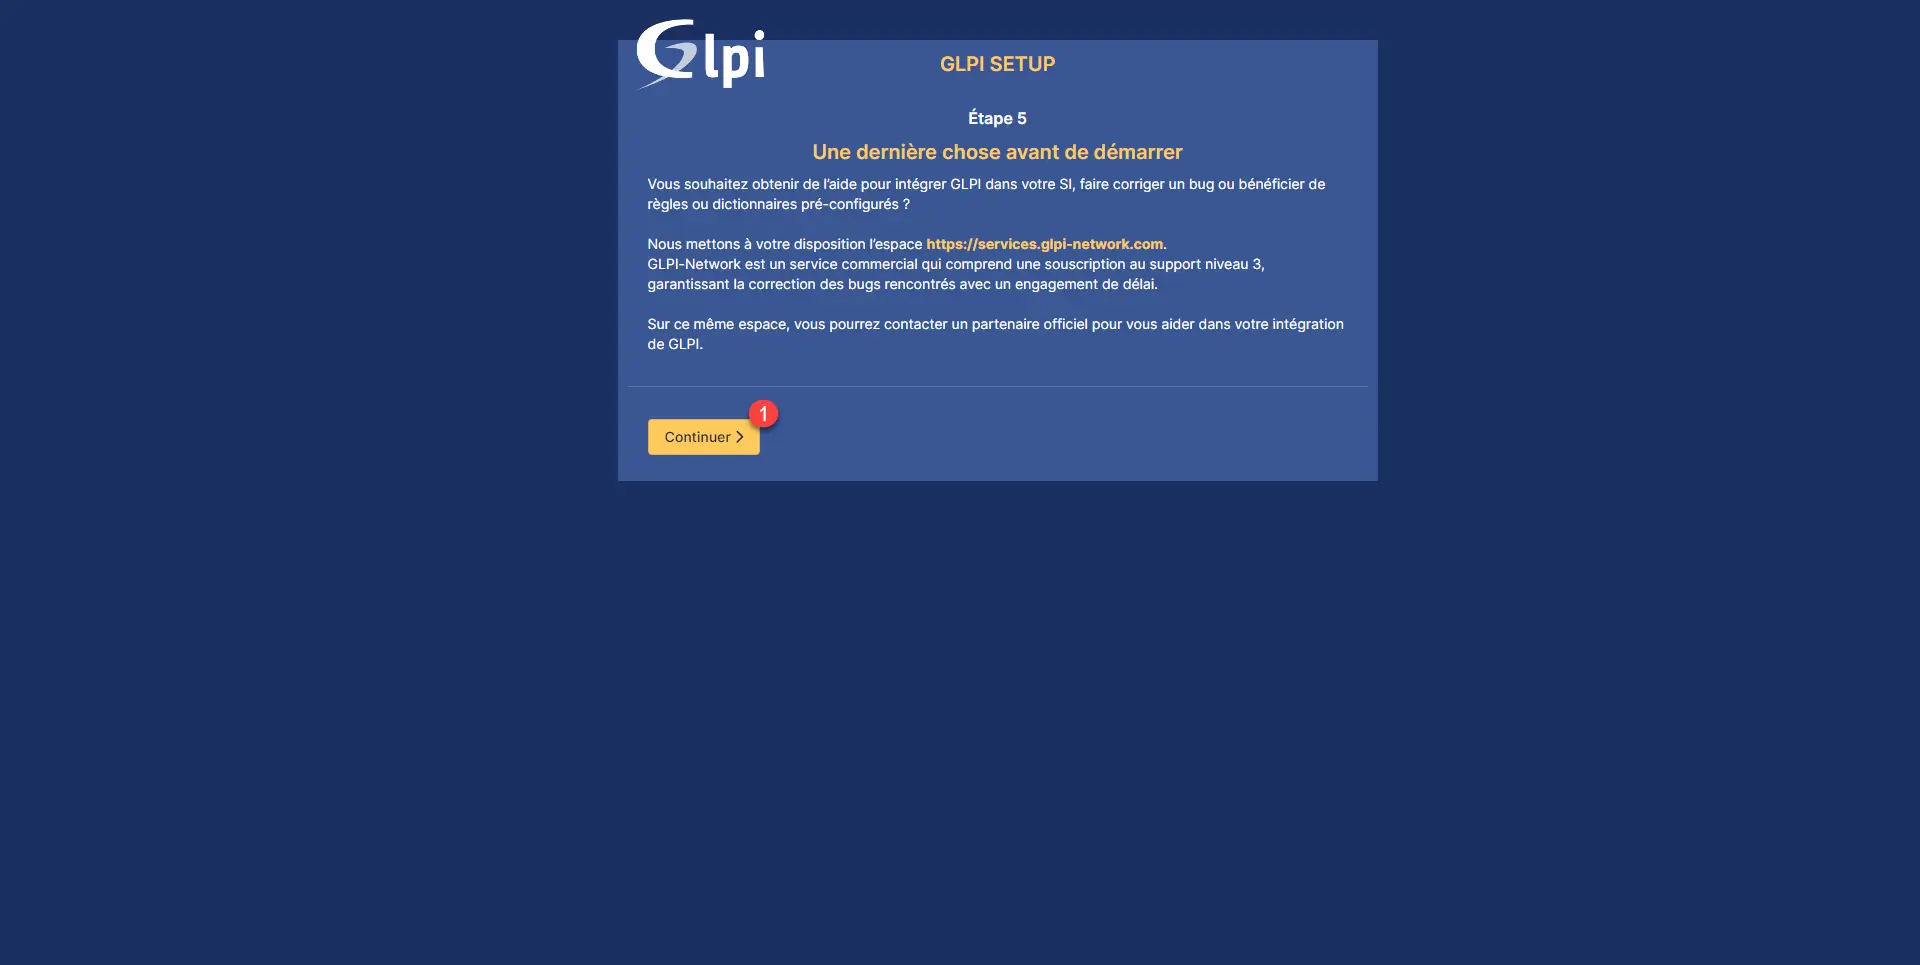
In step 5, click Continue 1.
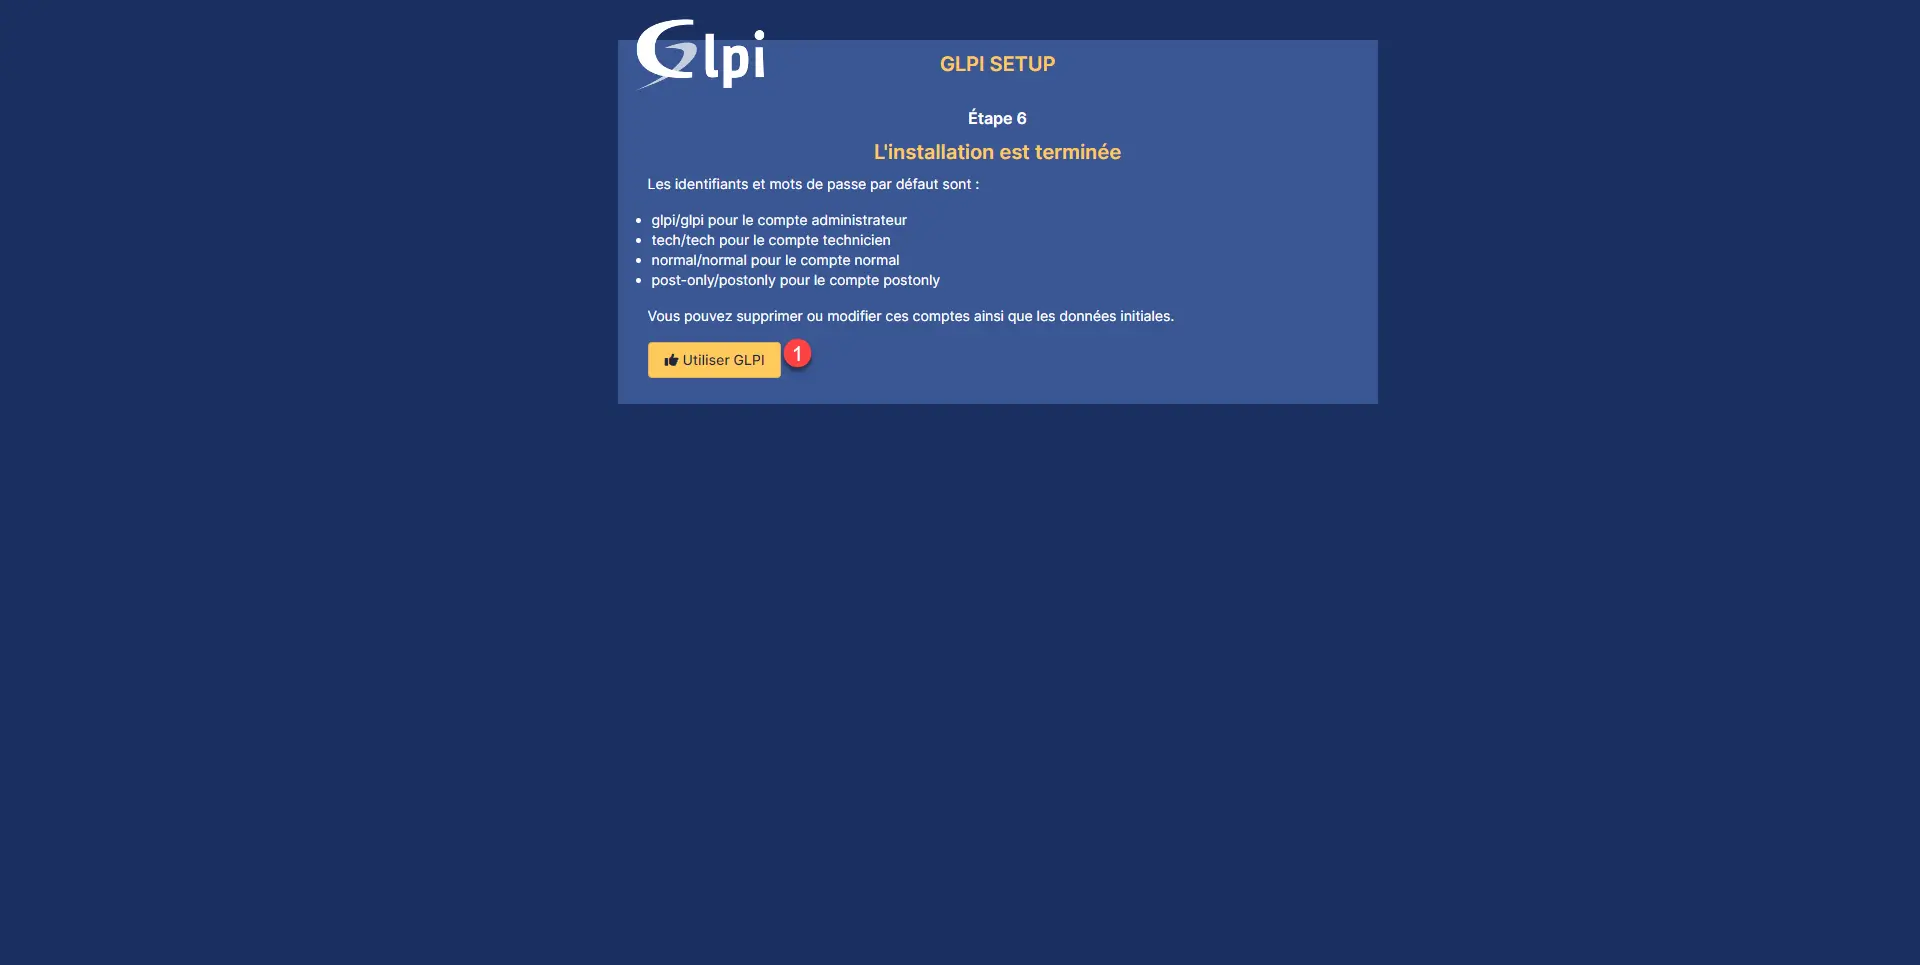
L’installation de GLPI 10 est terminée, par défaut 4 comptes utilisateurs sont créés. Cliquer sur Utiliser GLPI 1.
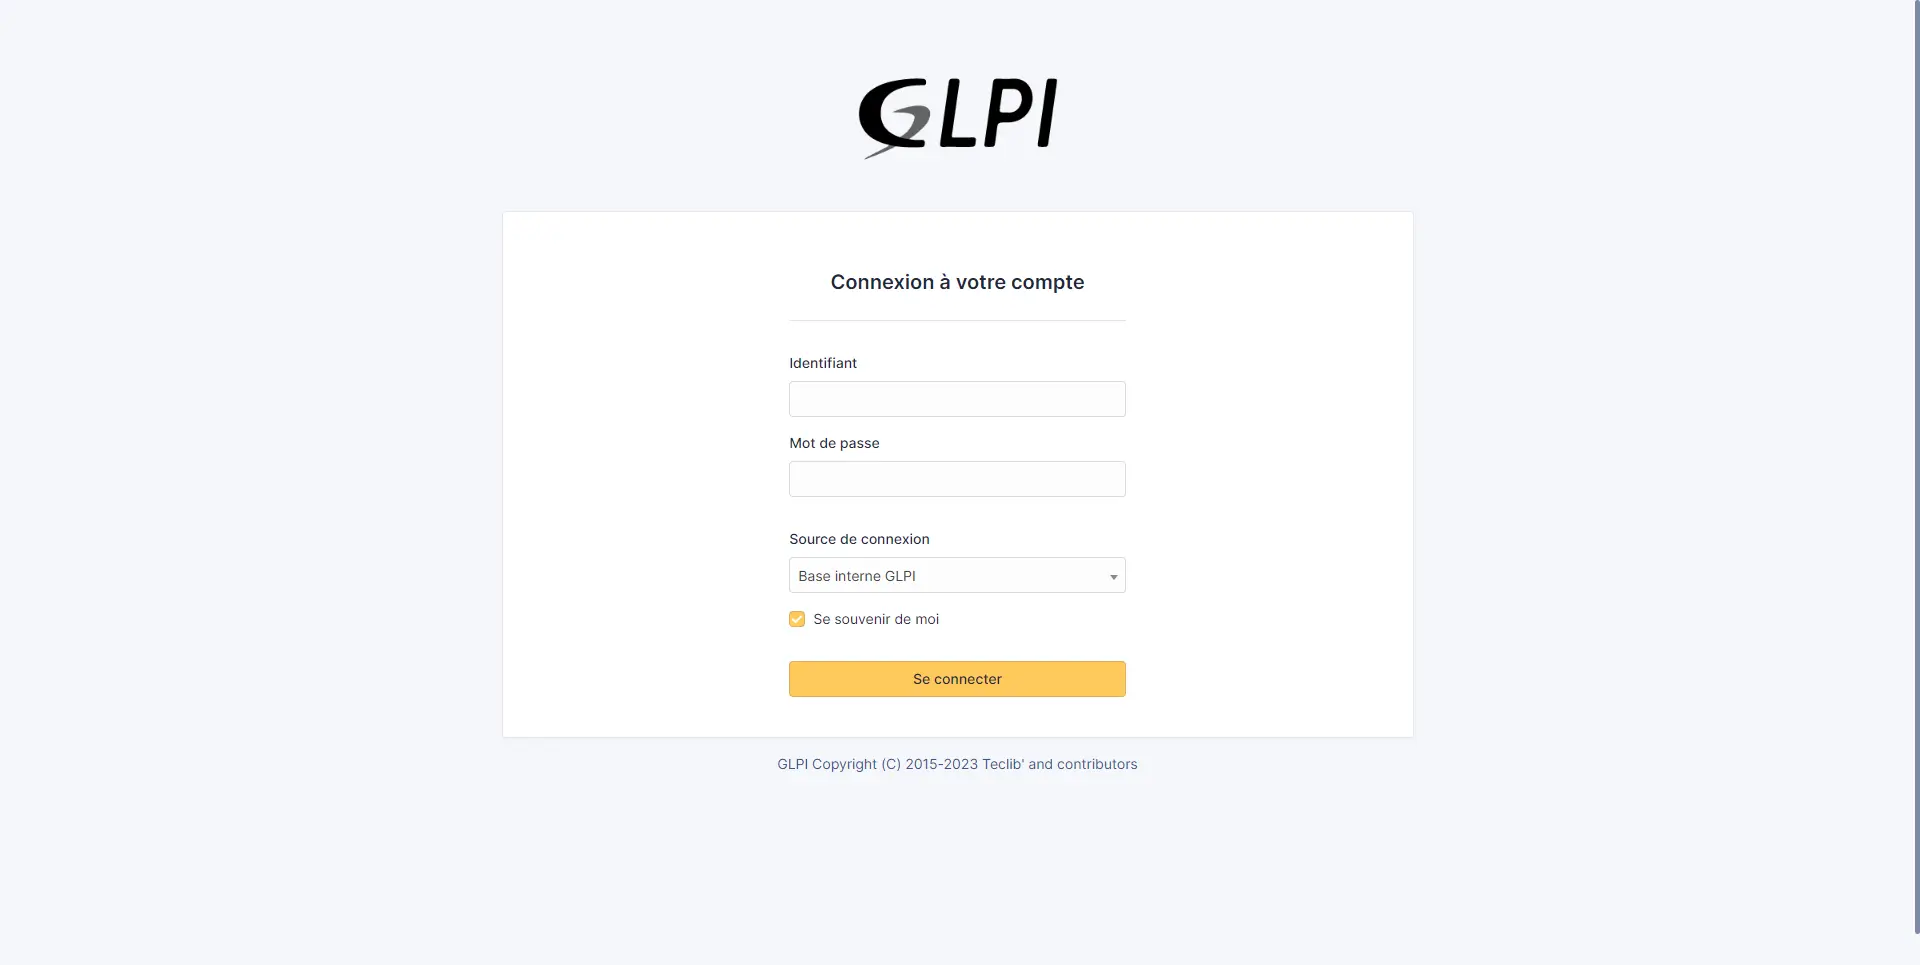
On arrive sur le formulaire d’authentification de GLPI.
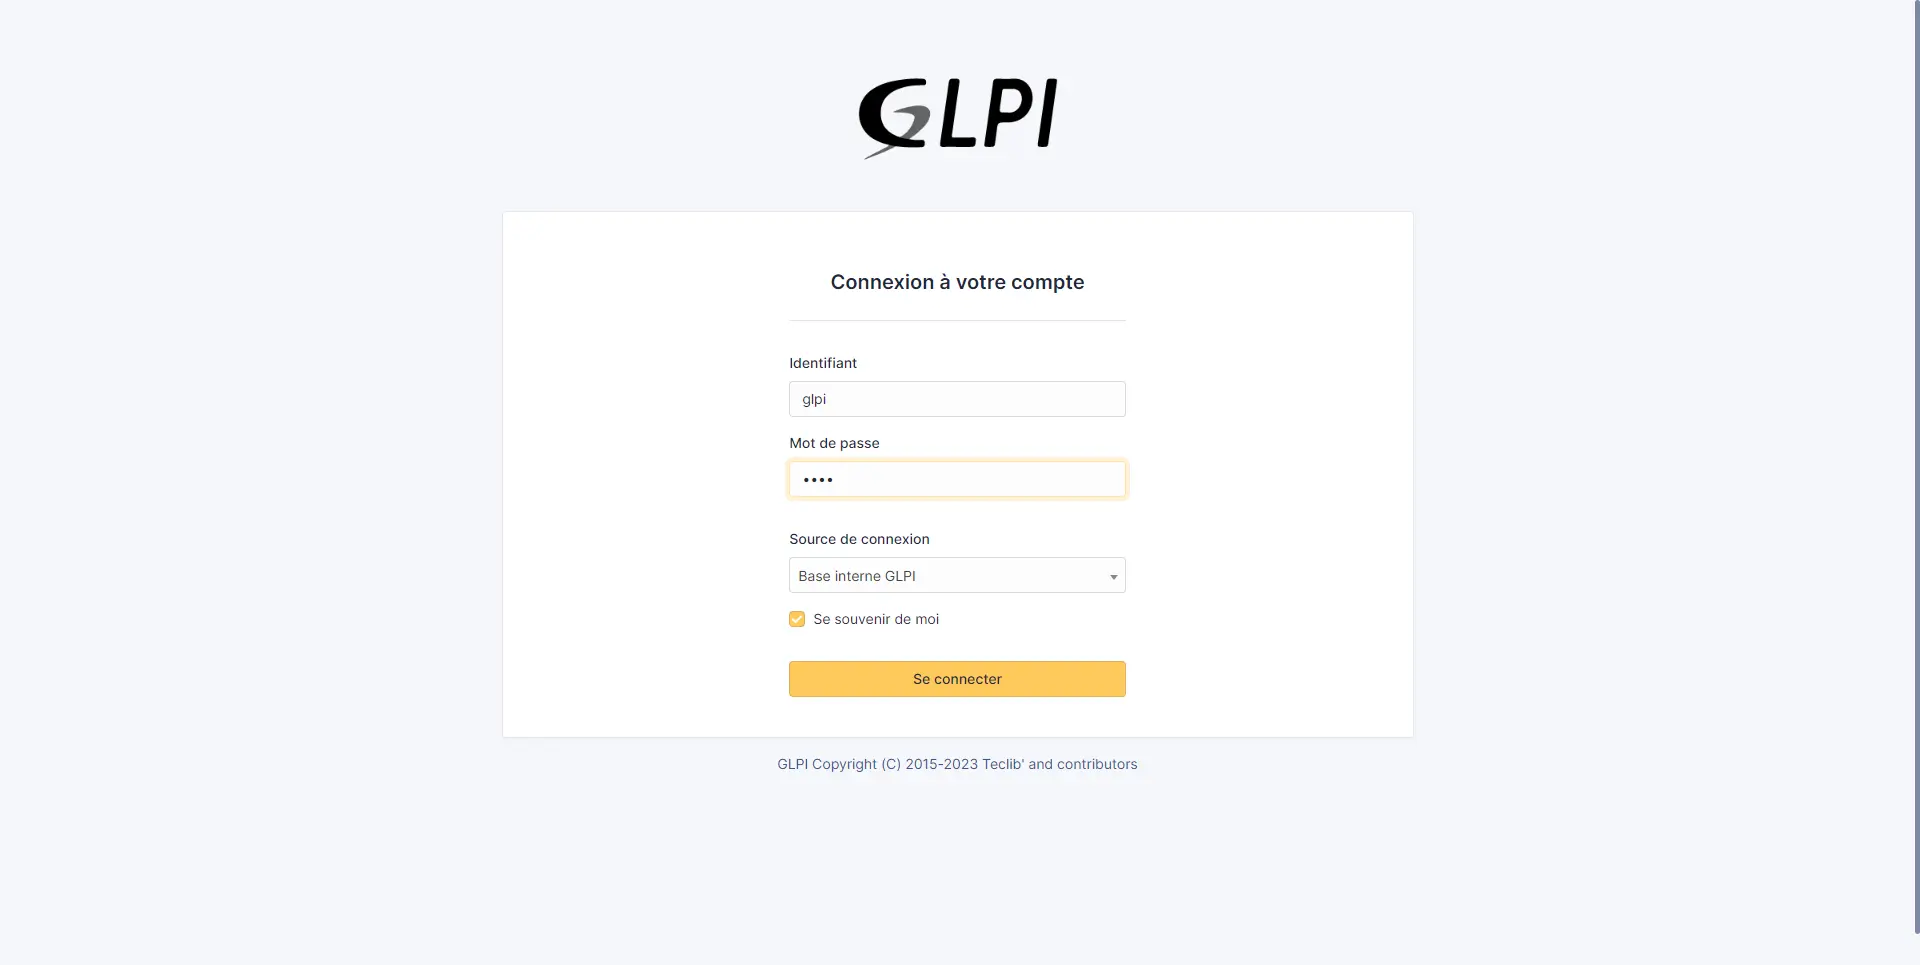
Use the glpi/glpi account to log in.
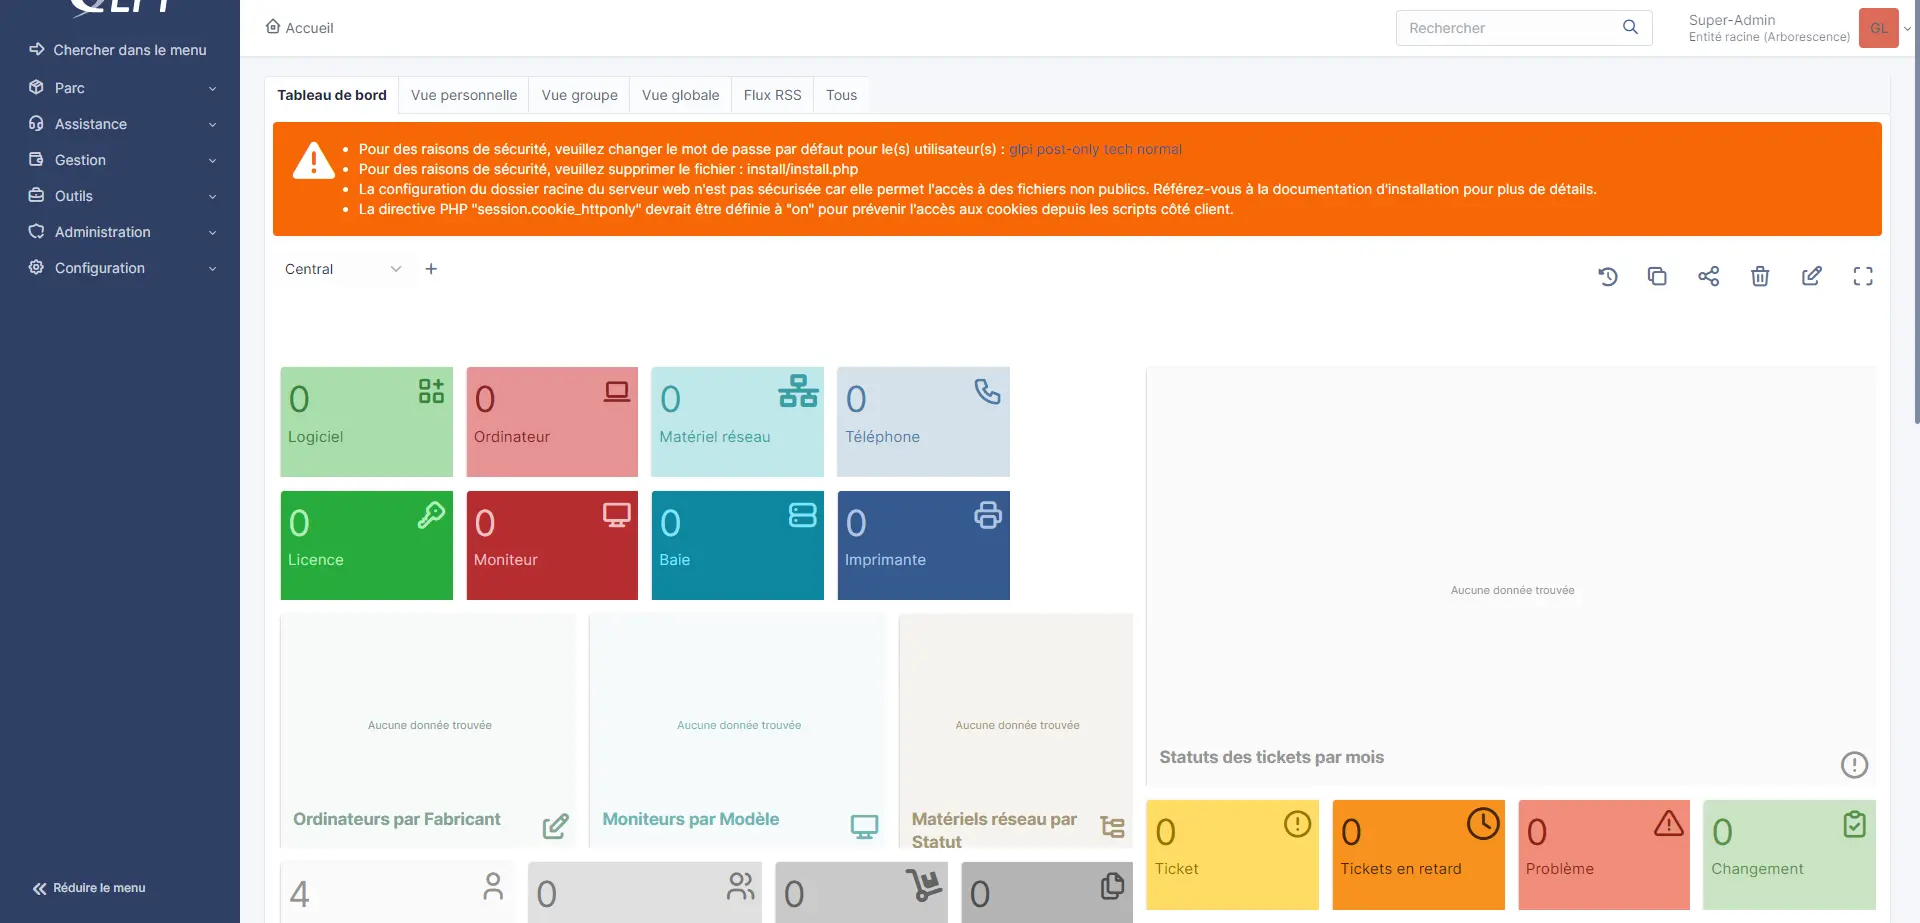
You are connected to the GLPI 10 installation.
This tutorial dedicated to GLPI 10 stops here, to continue here is what you can do:
- change GLPI user account password
- change the password of other default accounts or delete them.
- delete install folder
On the site you will find several tutorials on GLPI which have been written for GLPI 9.X.
A large part of these tutorials are applicable to GLPI 10, the big differences between GLPI 9.X and 10 is the design change and the native inventory (which we will see shortly).