Présentation
The collector in GLPI allows you to retrieve emails from a mailbox and then create a ticket.
If in your organization you have a mailbox dedicated to IT incidents, the collector will allow you to collect emails from this mailbox and create a ticket automatically.
When message (email) notifications are enabled, if users respond to the ticket notification, the message is collected and adds the email content to the existing ticket tracker.
Prerequisites
To function correctly, there are a few prerequisites to respect:
- Have a mailbox accessible via the IMAP or POP protocol
- Have the PHP extension that allows IMAP or POP connection
- Have correctly configured automatic actions in GLPI
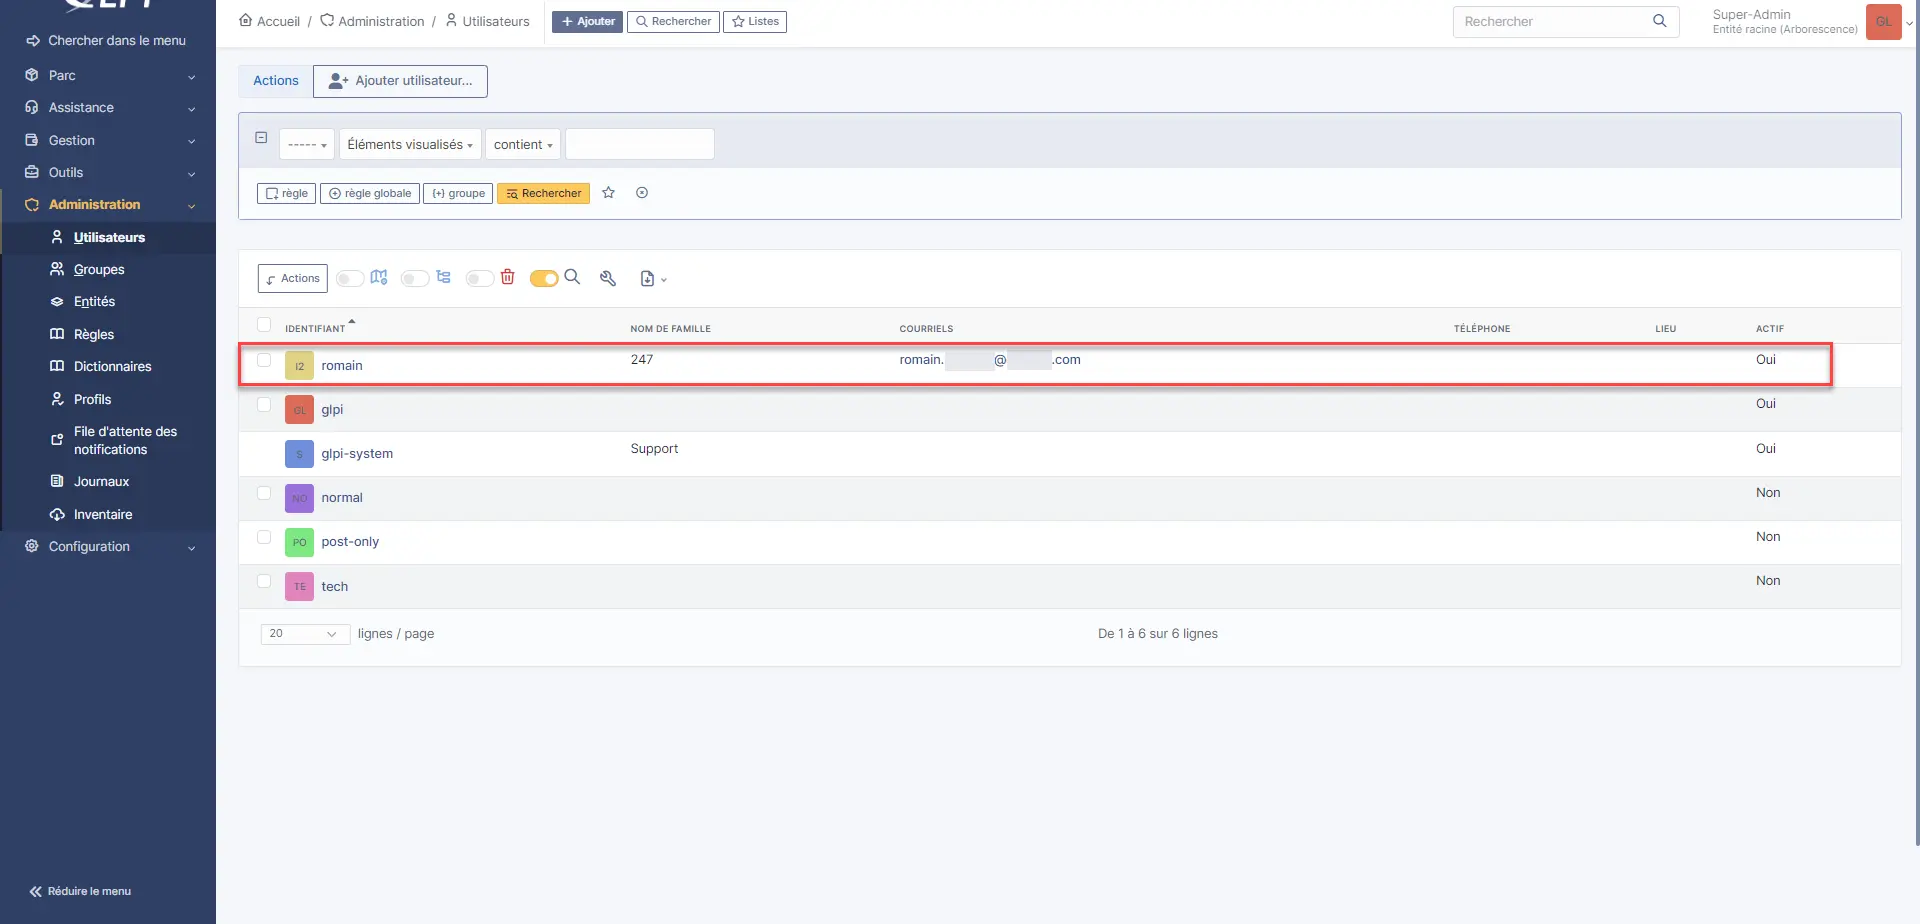
- For messages to be converted into tickets, it is necessary that a user with the email address be created in GLPI
Add a collector
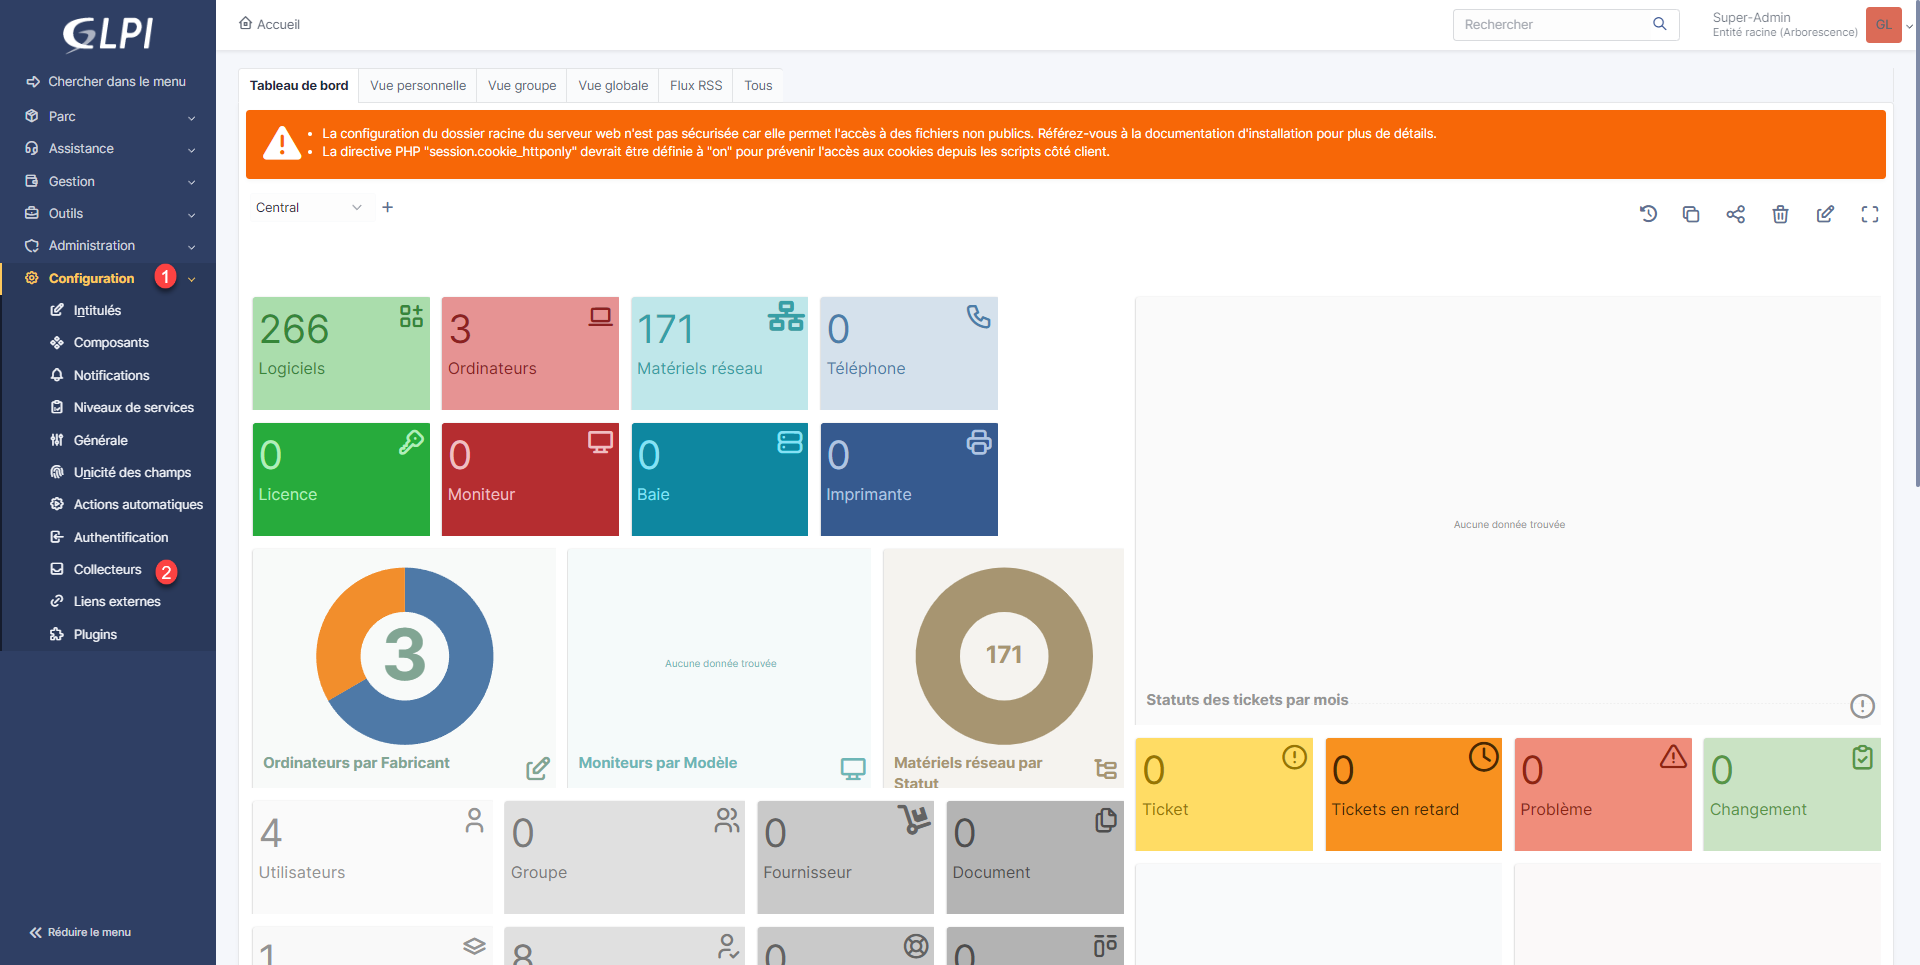
In the Configuration 1 expand menu and click on Collectors 2.
We arrive on the page which displays the list of collectors, for the moment it is empty, click on Add 1.

Name the collector 1, indicate the address of the collector 2 then configure the connection options to the collector 3. Enter the mailbox identifier 4 and the password 5 and finish by clicking on Add 6.

Adapt the connection options as well as the port according to the connection parameters to the mail server. Often this step requires several tests.
Once the collector has been added, return to the collector by clicking on it on the page which displays the list of collectors.
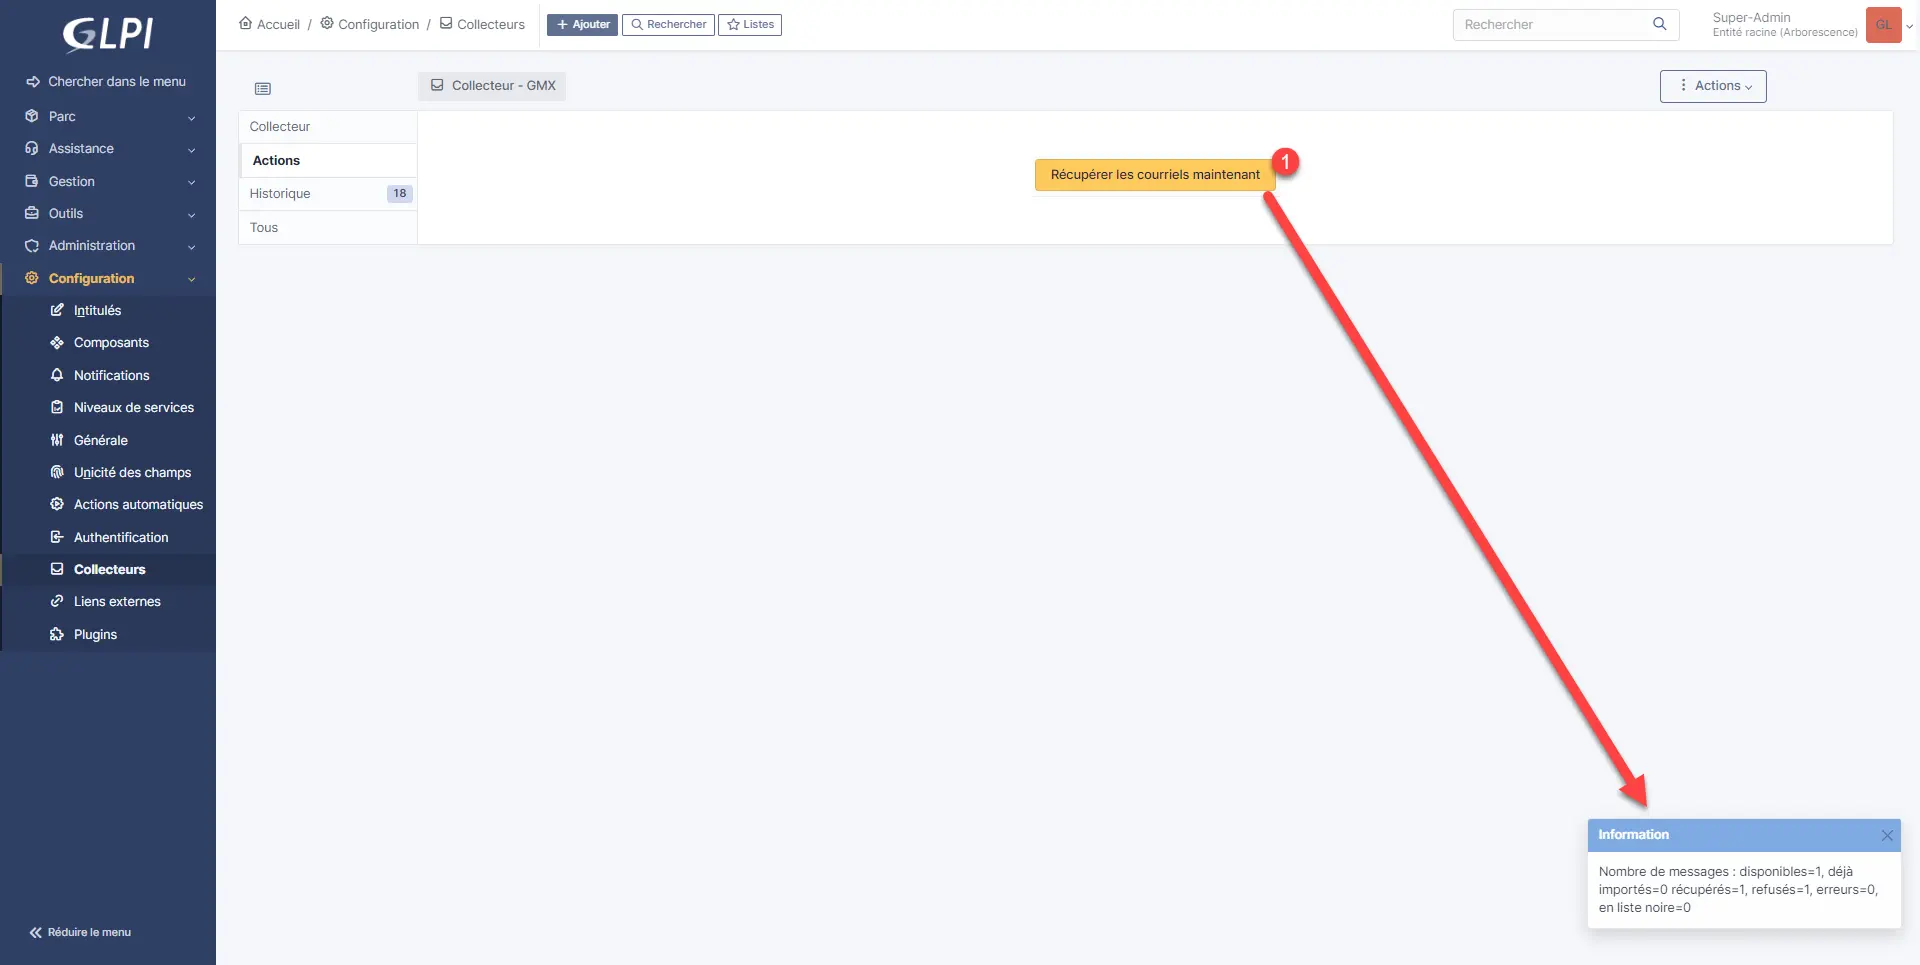
To test the collector, click on Actions 1.

To test the collector, click on Retrieve emails now 1, a notification is displayed at the bottom of the page, if you have no errors, the configuration is good, otherwise return to the configuration and look for the good settings.
Test the correct operation of the collector
Before testing my collector, I created a user with the sender’s email address as an email address.
Write an email to the collector’s address.
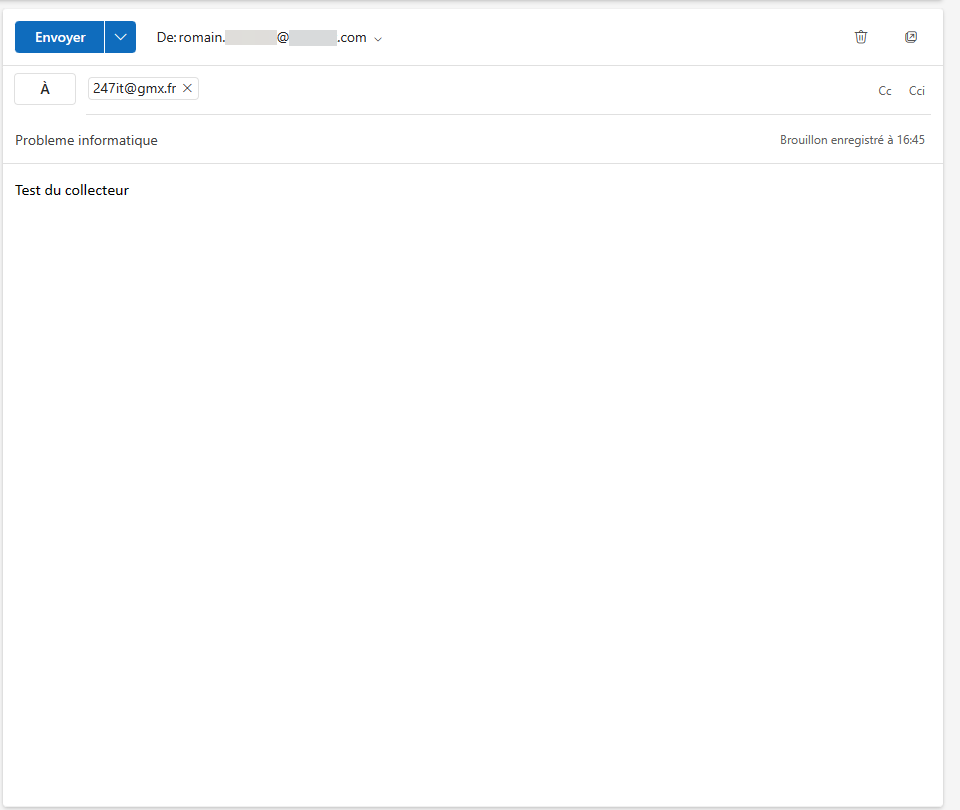
The message is received in the collector’s mailbox:

To retrieve the message in GLPI in normal condition, wait for the automatic action to be executed, to save time for testing, it is possible to force the collector by returning to the collector and clicking again on Retrieve emails now.

In the capture, we can see that the email has been recovered.
Then go to Assistance 1 then Tickets 2.
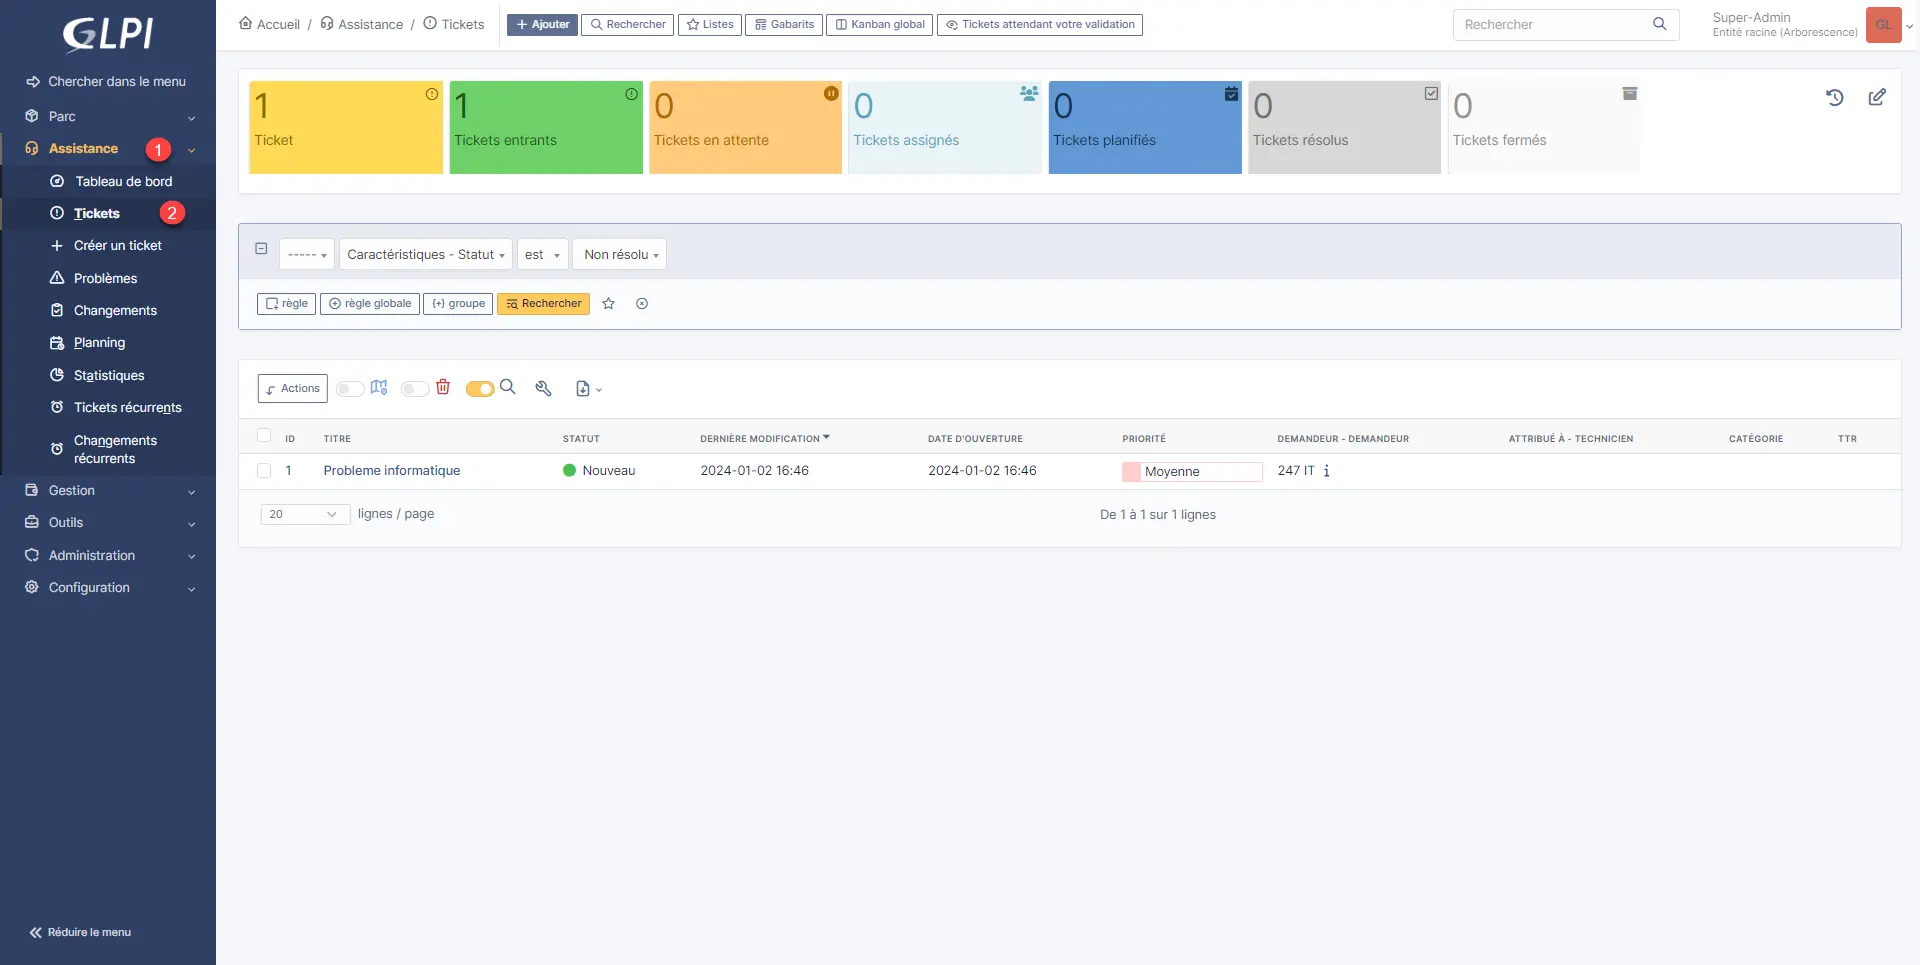
The ticket has been created successfully.
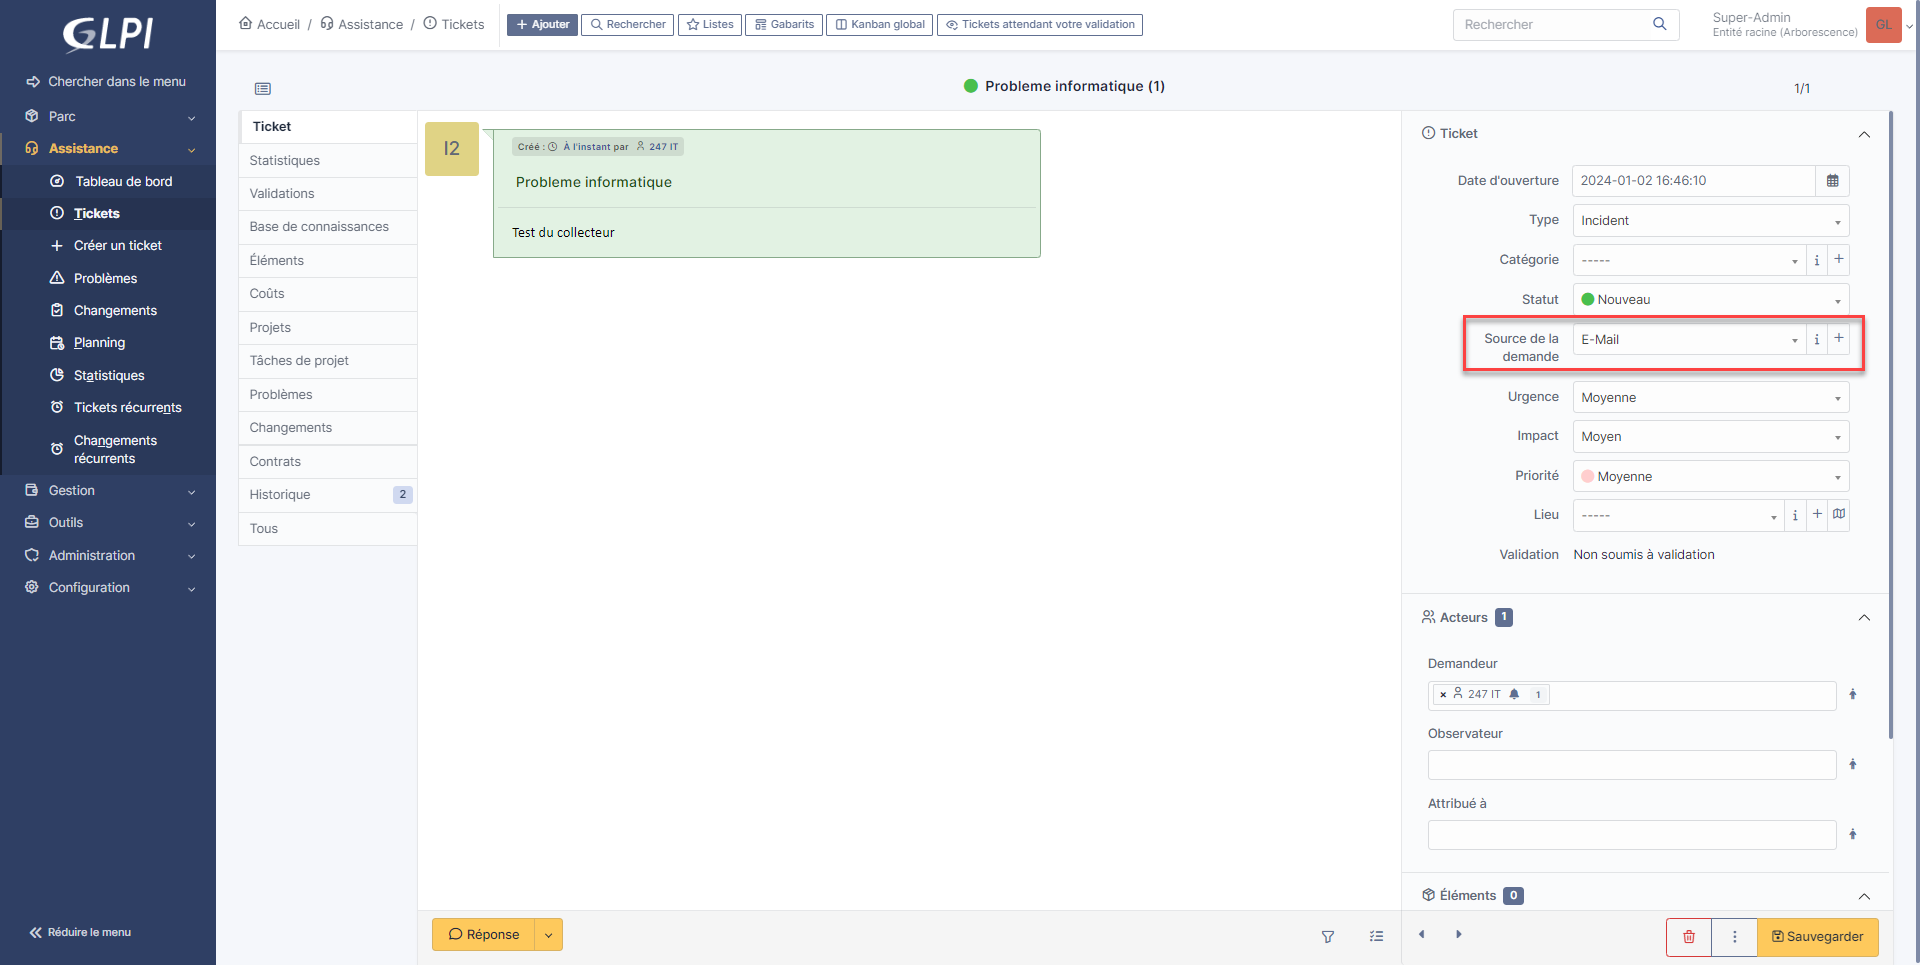
By going to the ticket, we can find the message, in the source of the request, we can see the ticket comes from an Email.
You now know how to add a collector in GLPI 10.