


Presentation of FusionInventory
FusionInventory (FI) is a GLPI plugin, which allows automatic inventory of positions.
The plugin is made up of two parts:
- The PHP script that adds functionality to GLPI.
- The agent which is an application which is installed on the workstations and which communicates with the PHP script to inject the information into GLPI.
FI also allows network discovery and inventory using agents, with these options you can go back to GLPI almost all the equipment on your network and get information and statistics feedback.
For my part, I prefer FI to its competitor OcsInventory because fusion is fully integrated with GLPI and this avoids having to have several administrations.

Installation of the plugin on GLPI
Download the latest version of FI from their GIT. You will also need to check the compatibility with your version of GLPI. If you are using FI for your inventory, when updating GLPI I advise to wait for the FI update before updating GLPI.

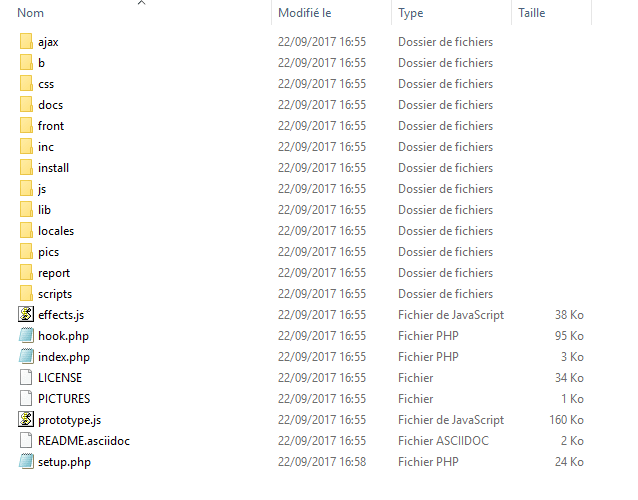
Unzip the downloaded archive, you should have the following contents in a folder named fusioninventory.
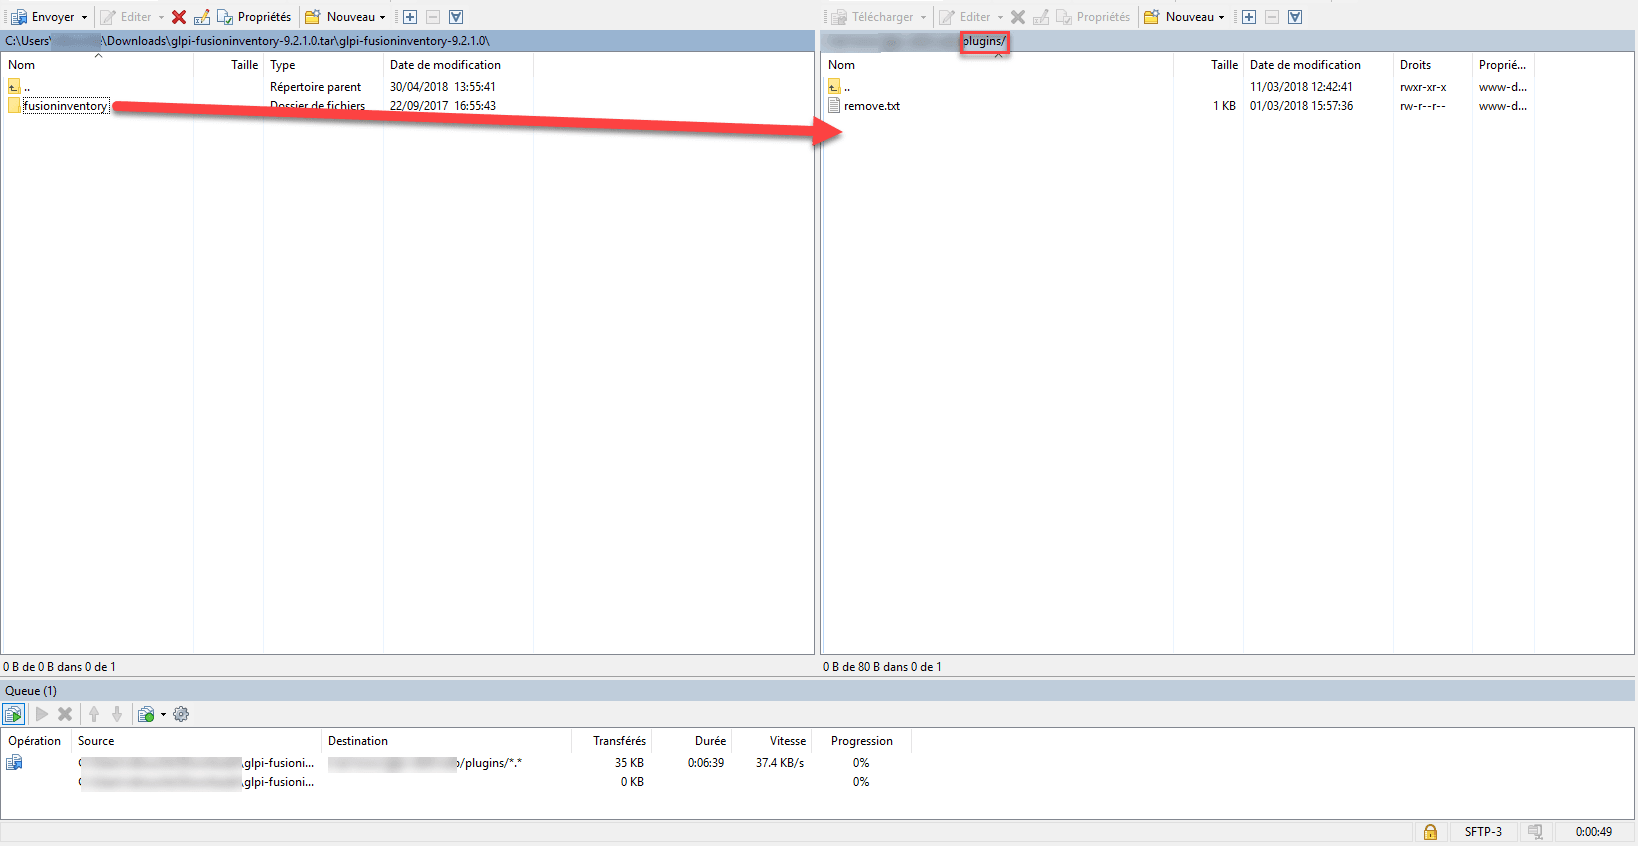
Transfer the fusioninventory folder to the plugins folder of your GLPI installation.
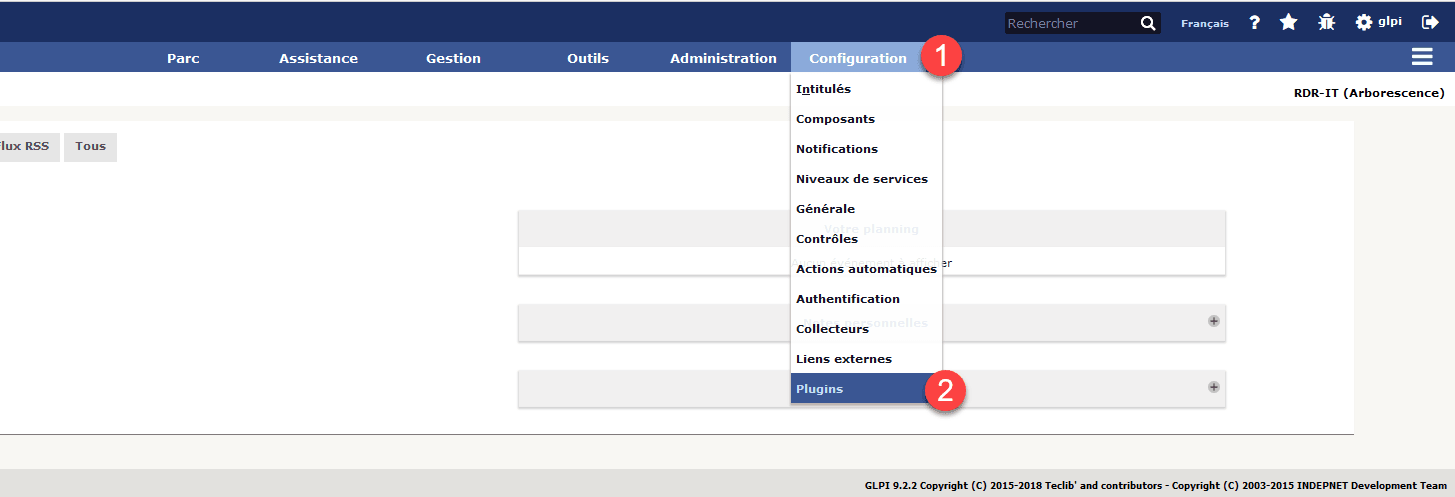
Go to your GLPI, from the menu click on Configuration 1 -> Plugins 2 to access the plugin administration.
You should see the FusionInventory 1 plugin, click on the Install 2 button.

You must now Activate for the plugin, click on the Activate 1 button.

Check the status of the plugin 1.

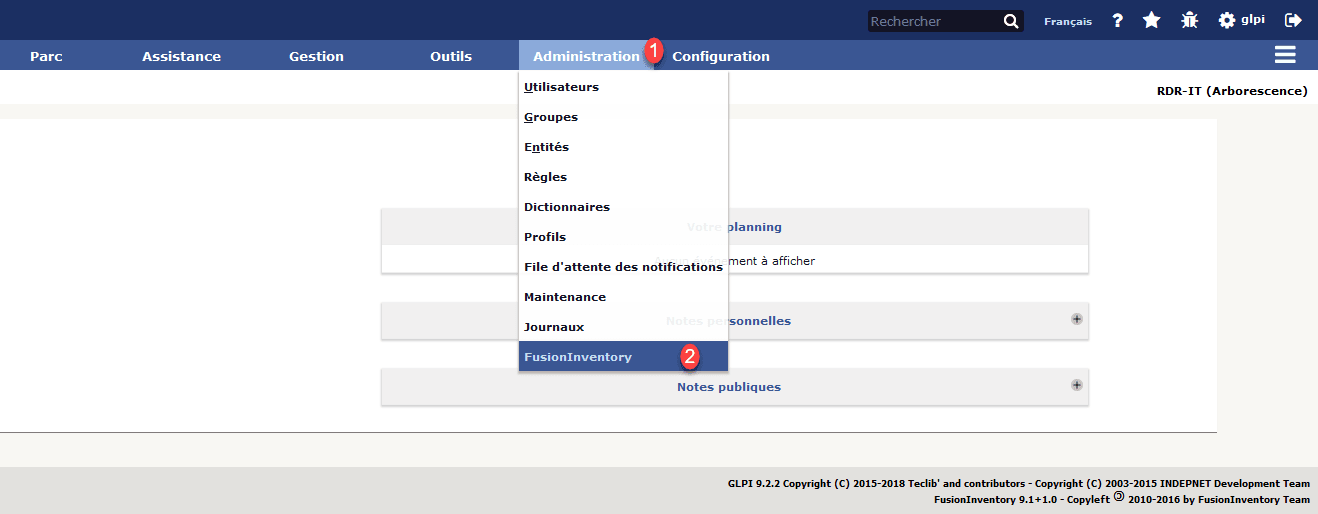
To go to FI administration, from the navigation menu click on Administration 1 -> FusionInventory 2.
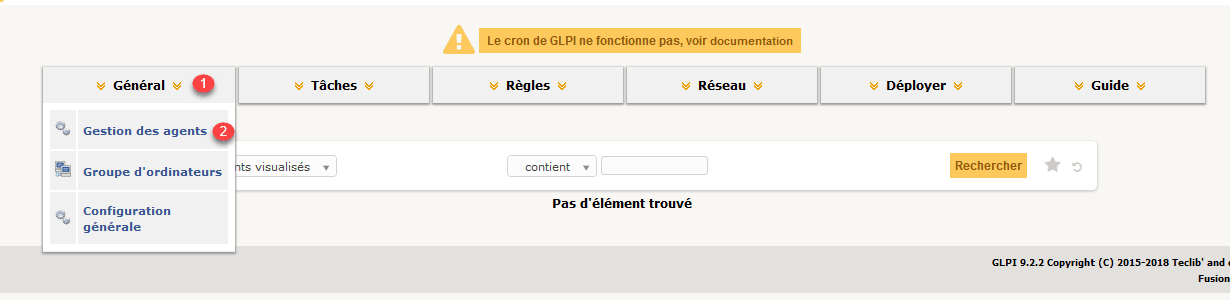
To go to agent management, click on General 1 -> Agent management 2.
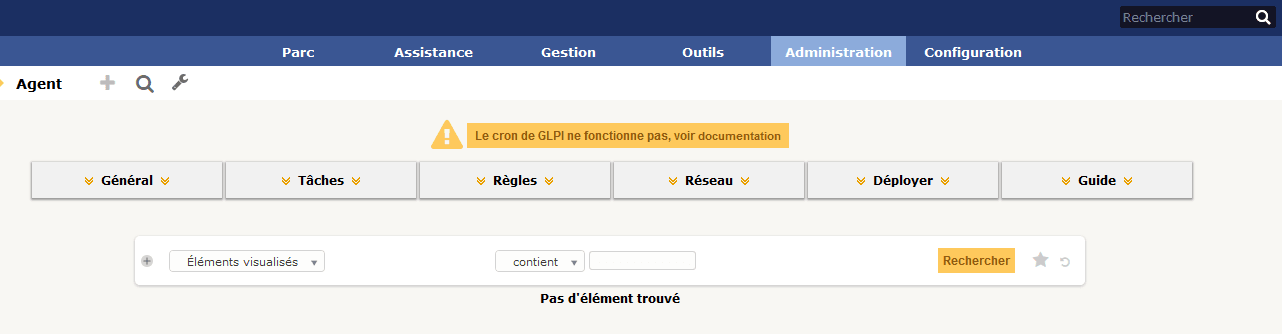
The agent list is empty at the moment.
Installing the agent on Windows
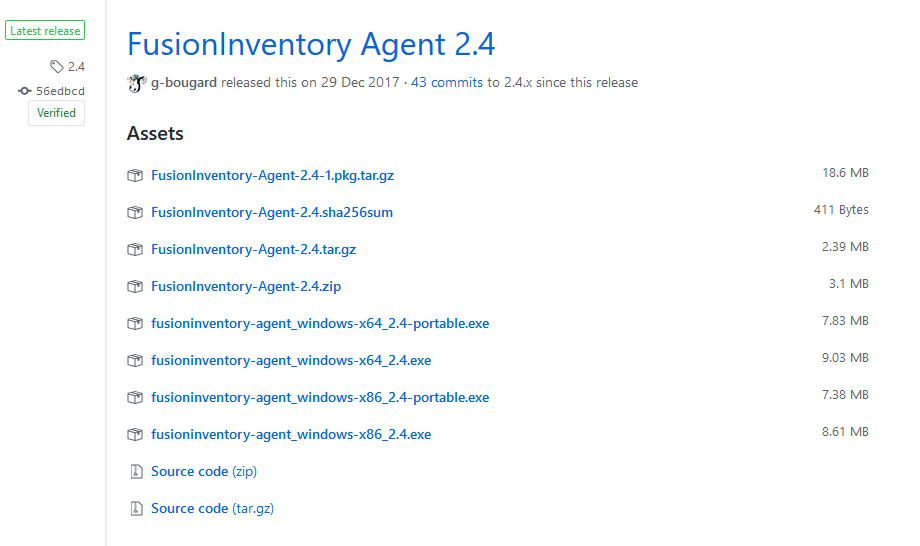
To download the latest version of the agent go to GIT and get the version according to your environment.
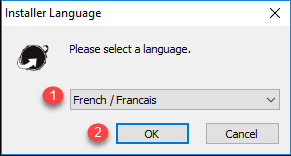
Run the downloaded file.

Select the language 1 and click OK 2.
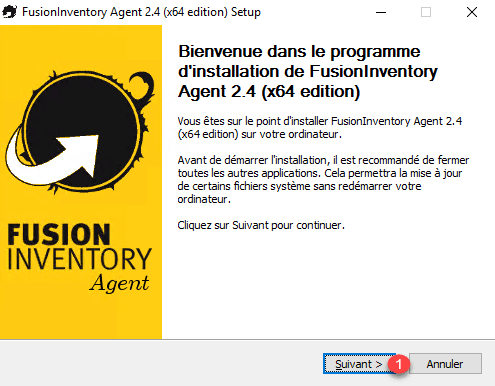
Click on Next 1.
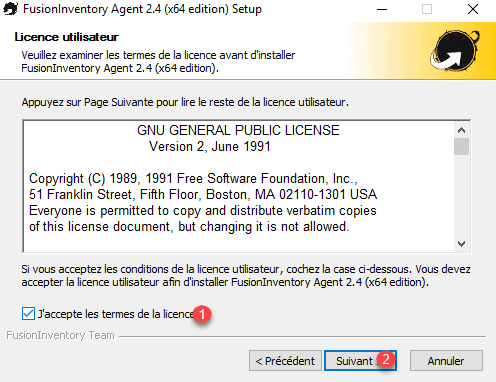
Accept the license 1 and click on Next 2.
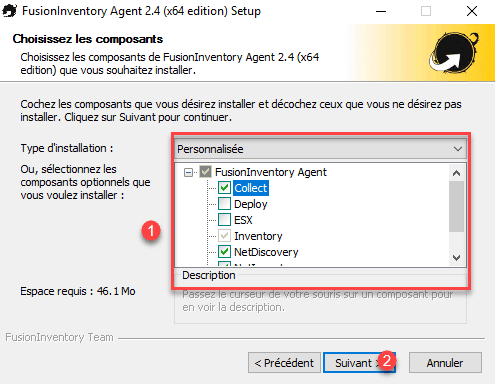
Select the components 1 you want to install and click Next 2.
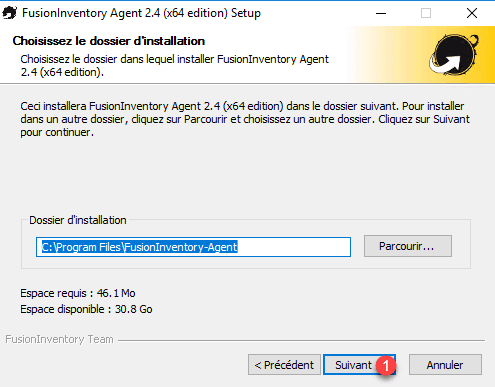
Click on Next 1.
Enter the FusionInventory plugin url 1 in the form http: // url_glpi / plugins / fusioninventory / and click on Next 2.
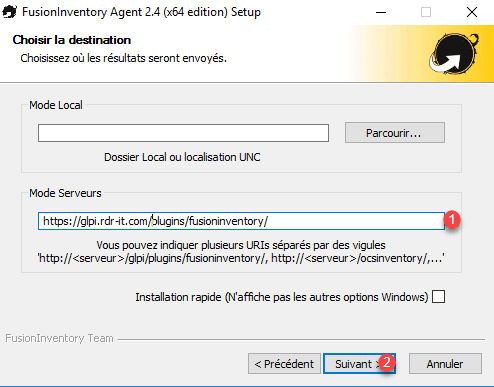
You can do a quick install by checking the Quick install box.
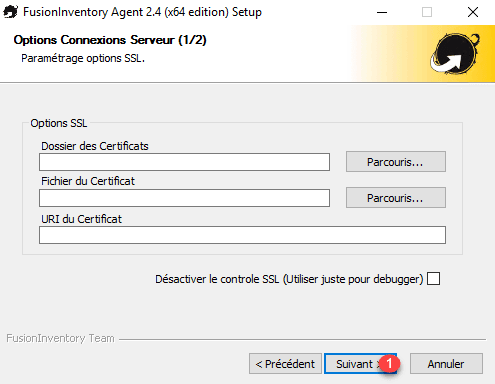
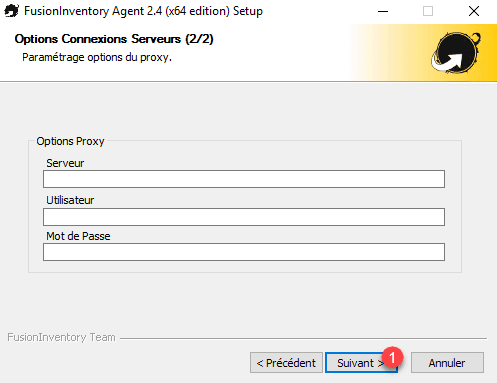
On the two windows that follow, click on Next 1 unless you are using an SSL certificate and proxy
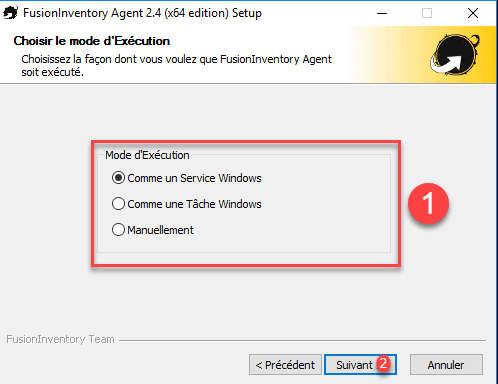
Choose the agent execution mode 1 and click on Next 2.
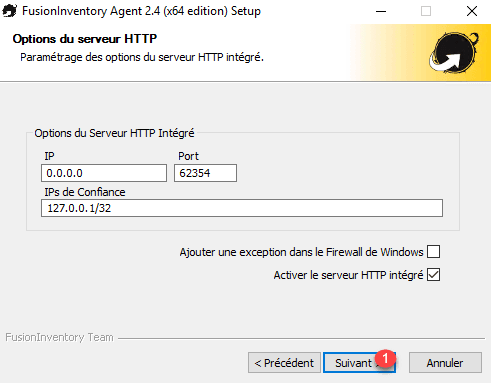
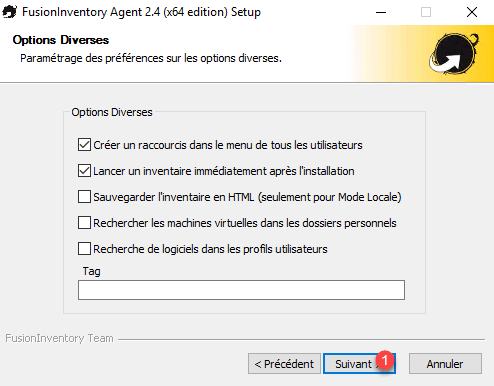
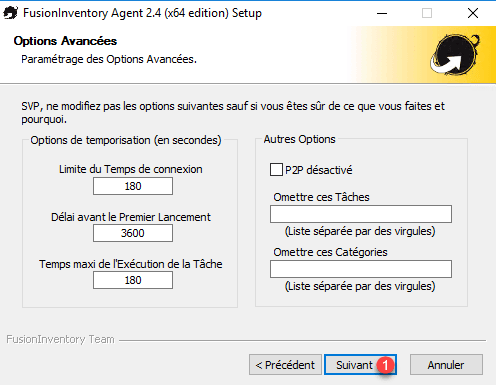
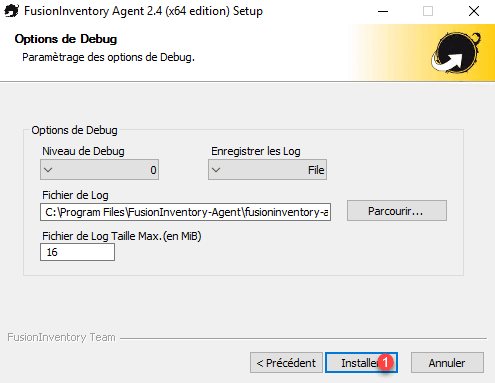
On the 3 windows that follow, click on Next 1. At the second you can check a box to launch an inventory as soon as the installation is complete.
Click on Install 1.
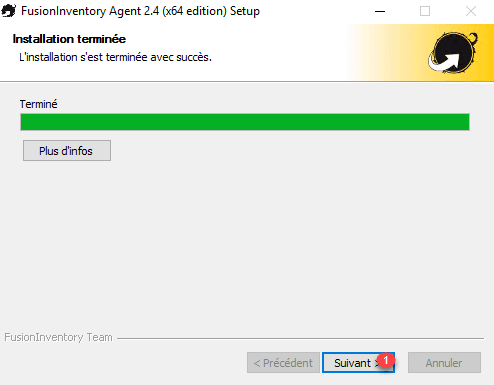
Once the installation is complete click on Next 1.
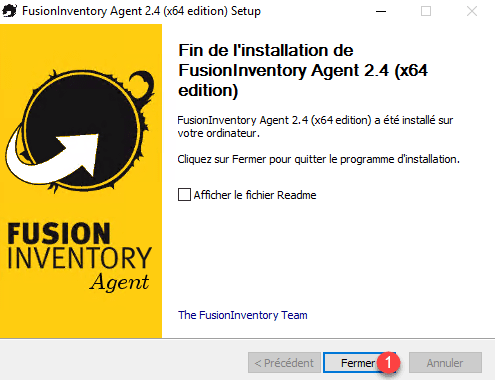
Click on Close 1.
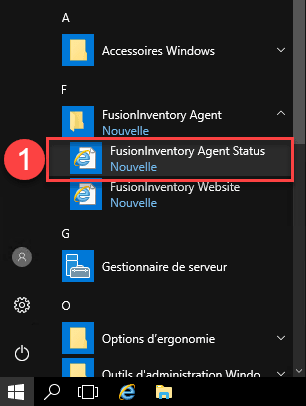
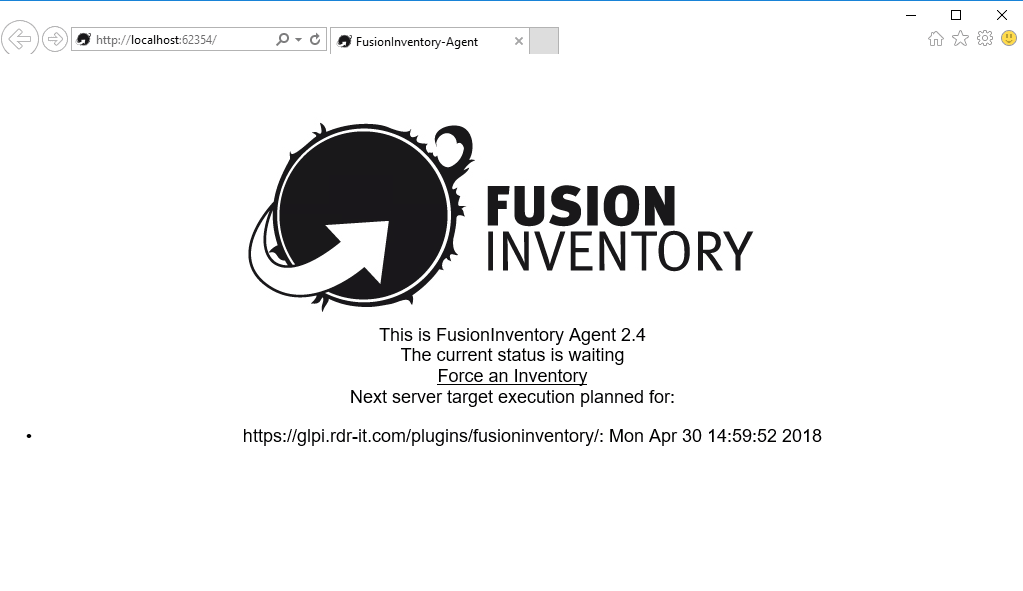
Checking correct operation
Launch the agent status page via the Windows 1 start menu.
From this page you can see the date of the last inventory and force a new one.
You should see the agent move up in the list of agents from the fusioninventory plugin.

The computer should also be visible in the computer list.

It is possible to install the FusionInventory agent automatically either by scripts or GPO. More information here.
For the servers I recommend a manual installation by selecting the inventory and network discovery (snmp) components for the execution of the tasks.