


Presentation
In this tutorial, we will see how to set up a Receive connector on Exchange to allow devices (copiers / firewall …) and applications to send email addresses to mailboxes that are hosted on Exchange.
Creating the connector
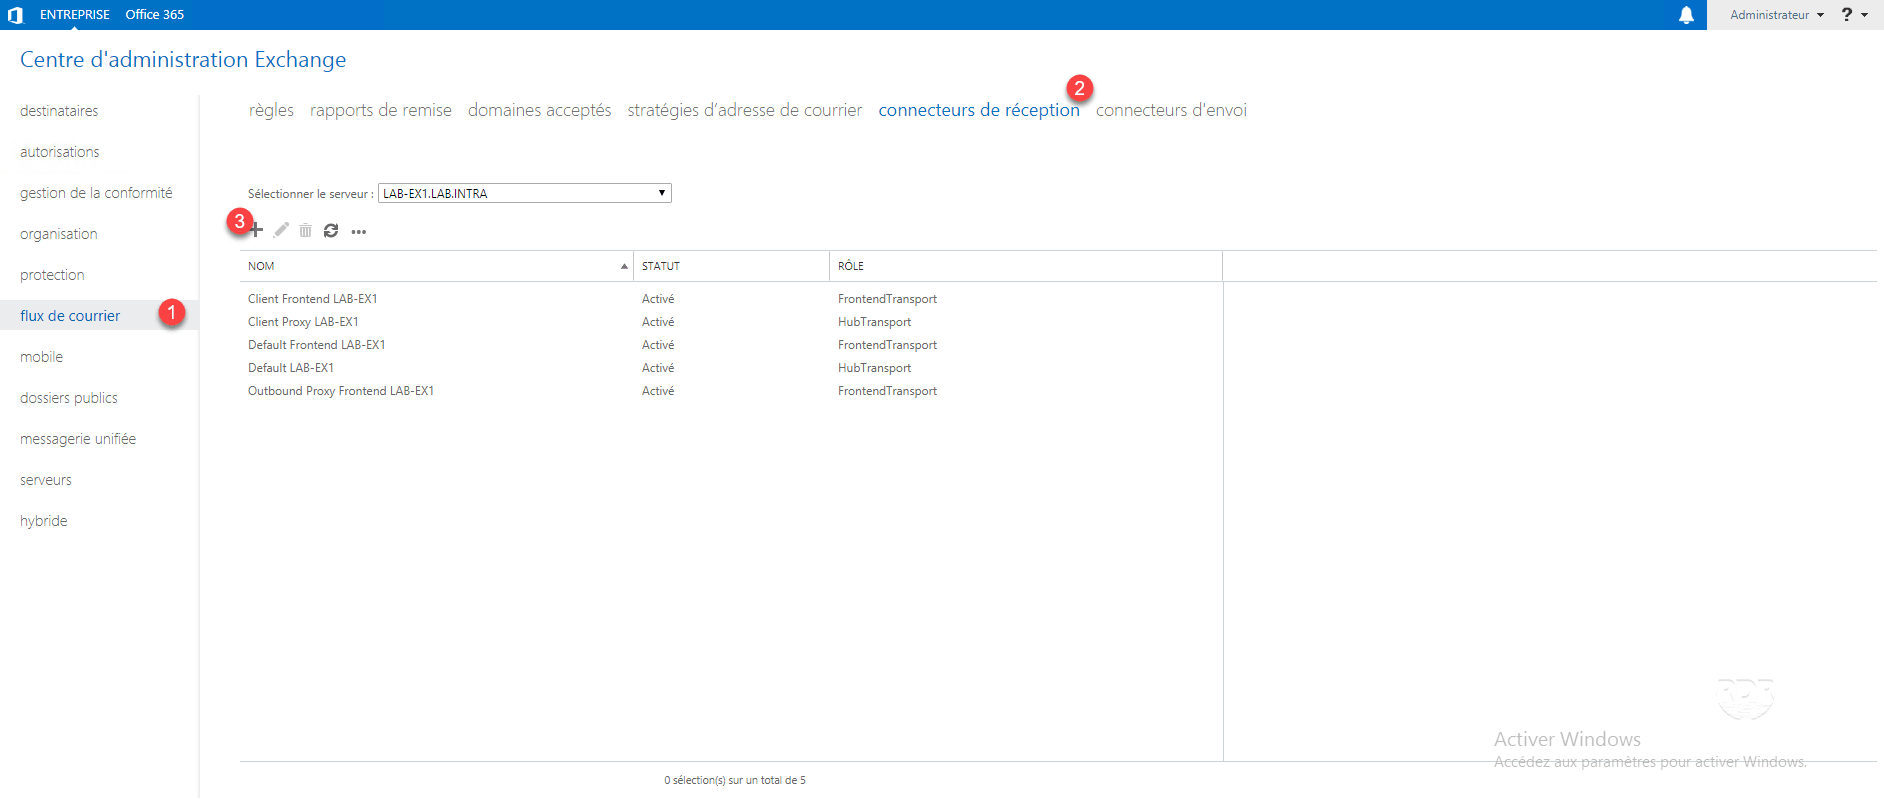
1. Open the ECP interface and go to Mail Flow 1 / Receive Connectors 2 and click on + 3 .
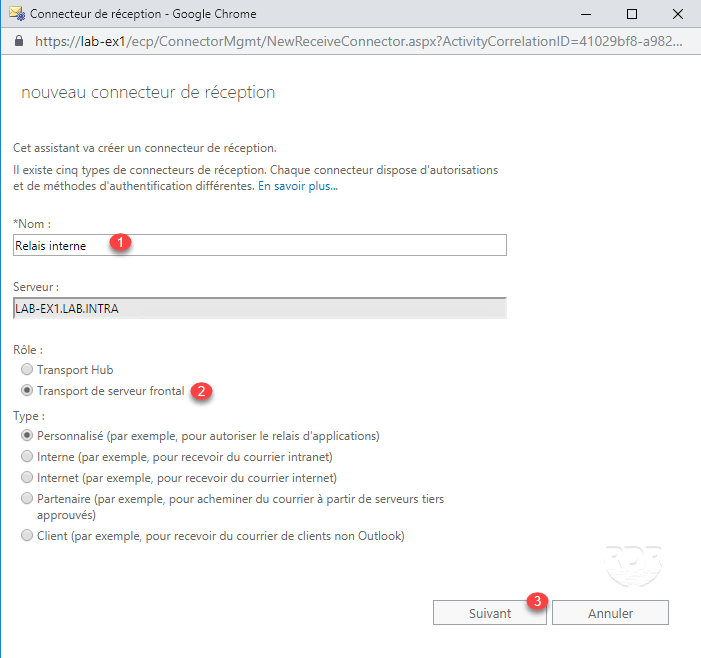
2. Enter the name of the connector 1 , select the role Transport frontral server 2 then click Next 3 .
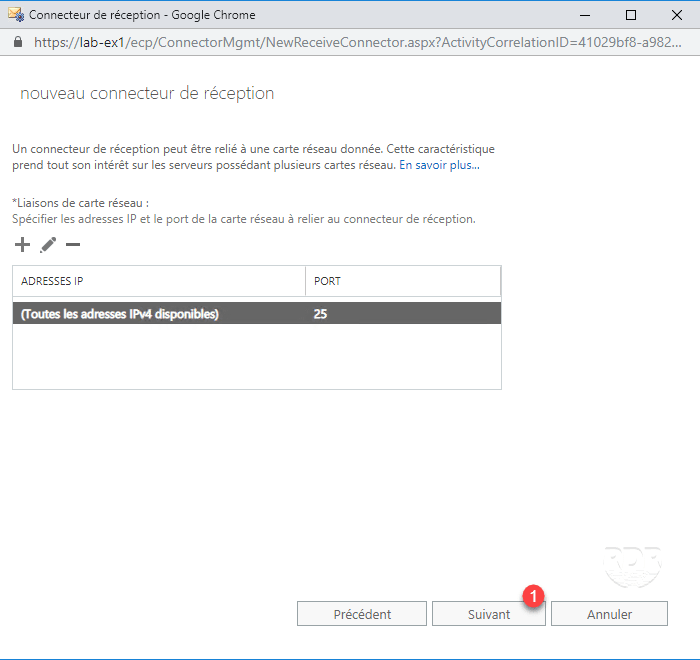
3. Click Next 1 , at this step you can configure the server’s listening IP address.
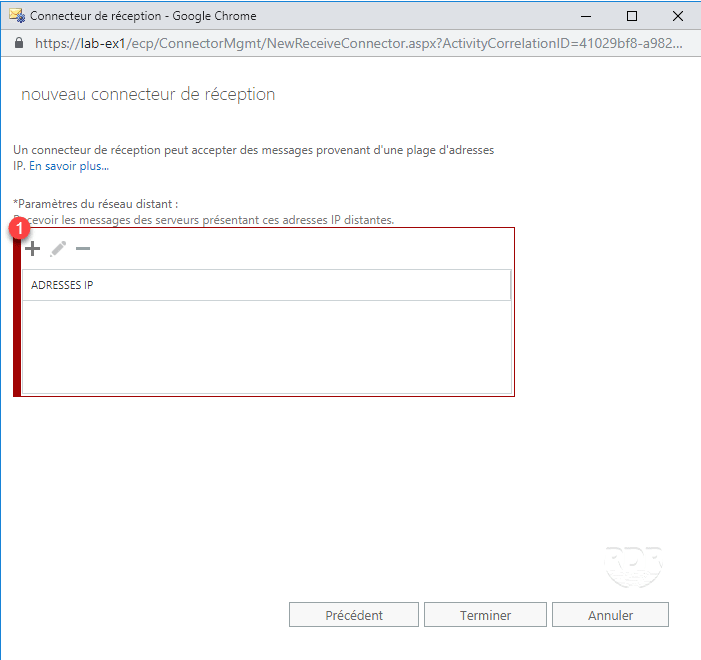
4. At this step, specify the IP addresses or address range of the elements that are allowed to send e-mails through this connector. Click on + 1 .
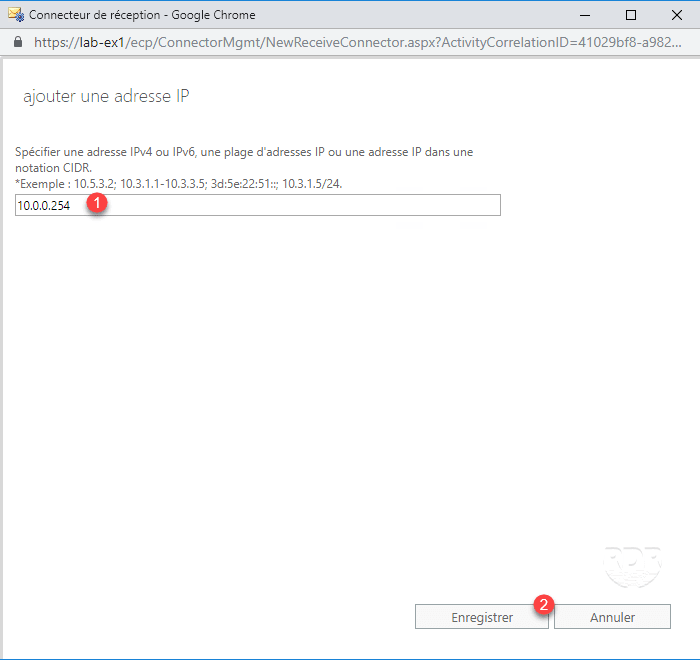
5. Enter the IP address or IP range 1 to allow the user of the connector and click Save 2 .
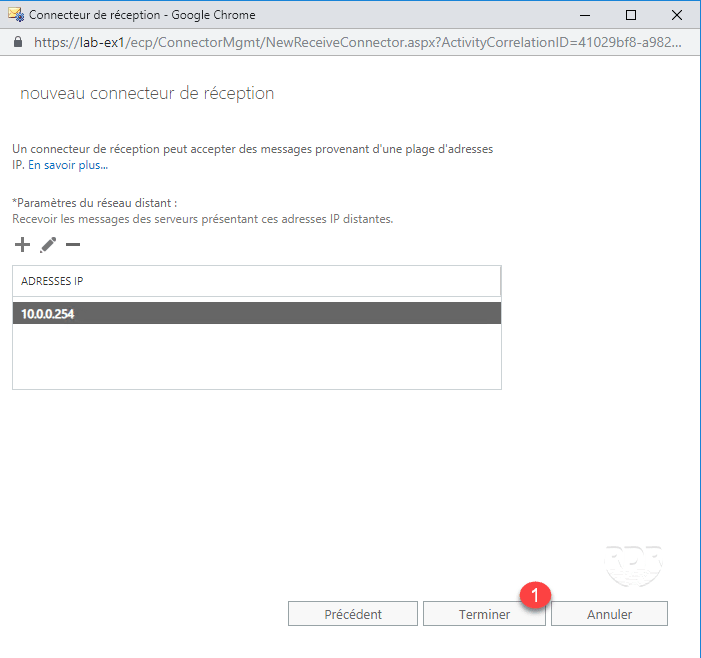
6. Click Finish 1 to create the connector.
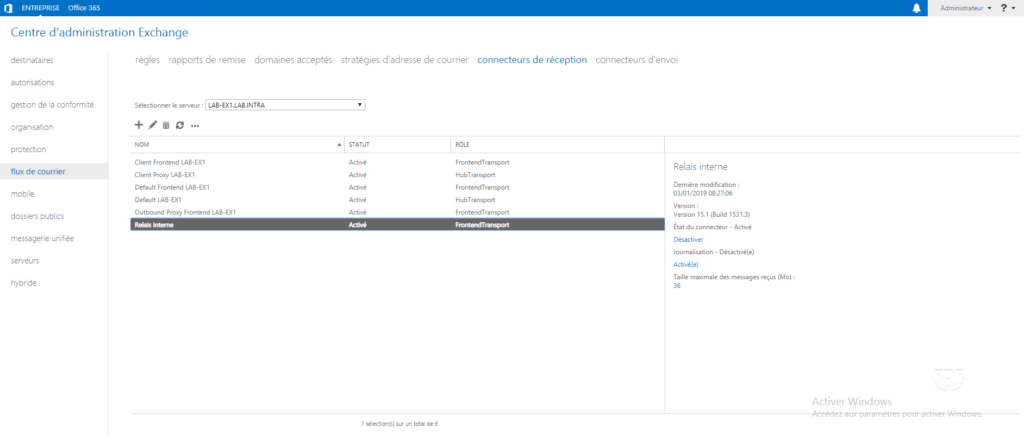
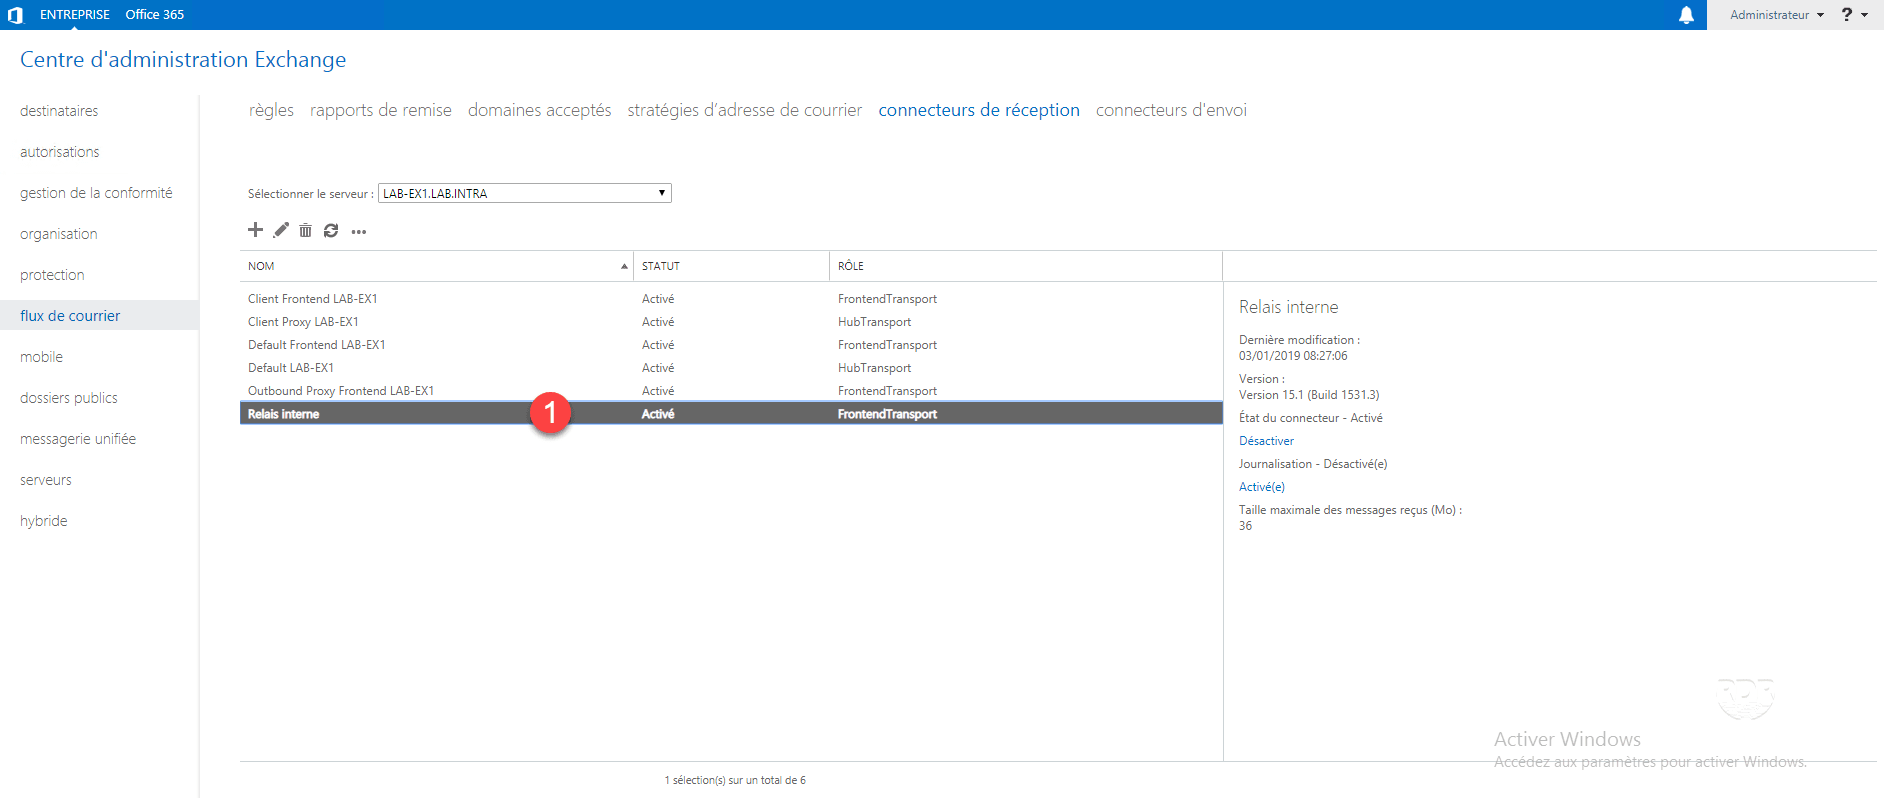
7. The connector is created 1 .
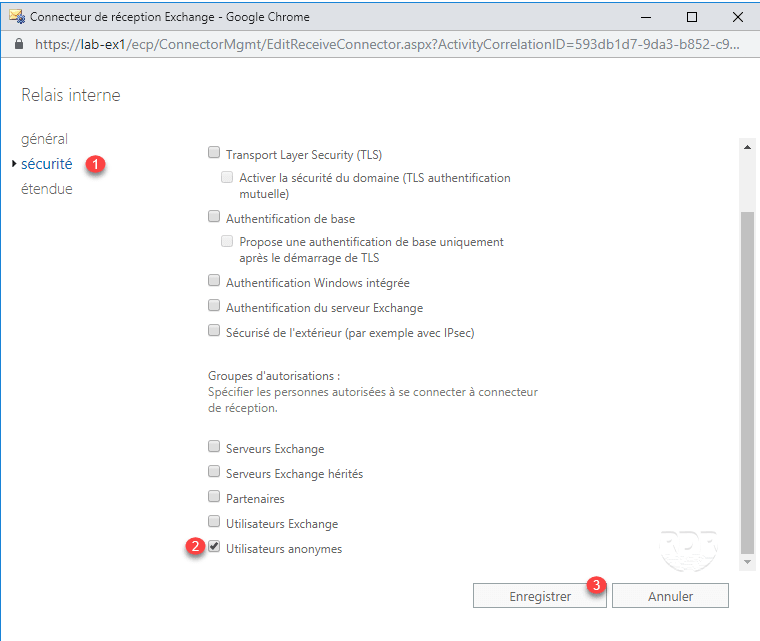
8. Open the properties of the connector and check in the security part 1 that the box Anonymous users is ticked 2 and validate by clicking on Save 3 .
In the case of an infrastructure with a DAG, the connector must be created on all the servers.
Allow sending to recipients outside the organization
For security reasons, the connector does not allow the transfer of e-mail to external domains.
1. Open the Exchange Management Shell and enter the following command (to adapt to your configuration).
Get-ReceiveConnector "LAB-EX1\Relais interne" | Add-ADPermission –User "NT AUTHORITY\Anonymous Logon" –ExtendedRights "ms-Exch-SMTP-Accept-Any-Recipient"