Dans ce tutoriel, je vais vous expliquer comment ajouter une base de données sur un serveur Exchange en PowerShell.
The use of PowerShell saves time because several manipulations are to be done, enter go through the ECP then on the list of services to restart a service for consideration.
Add a database to Exchange in PowerShell
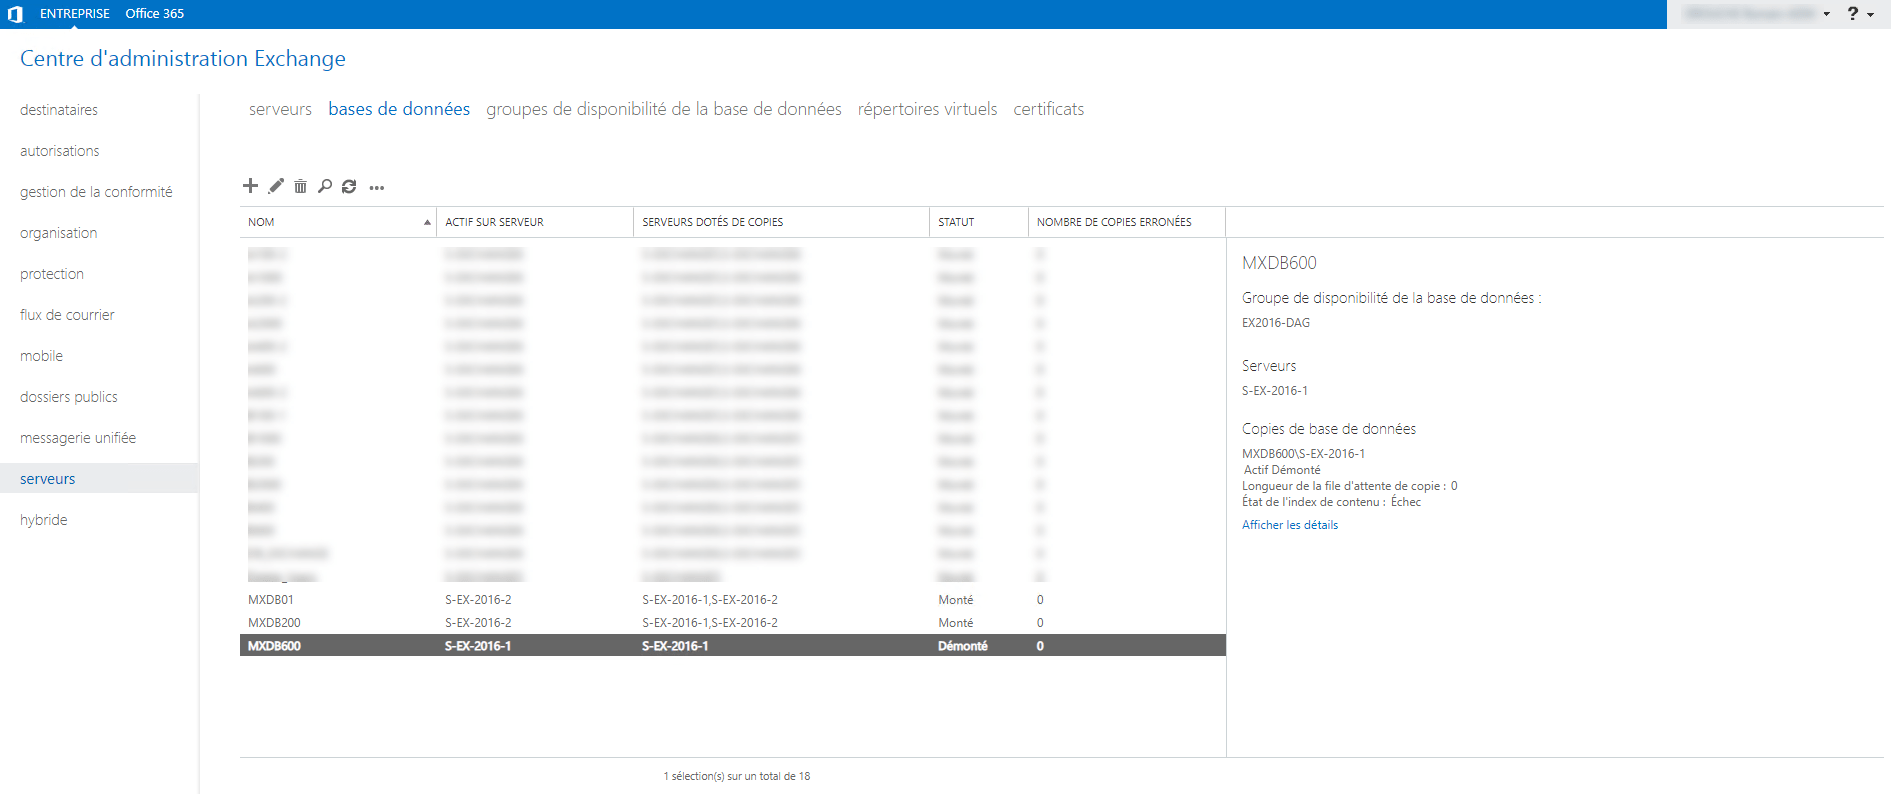
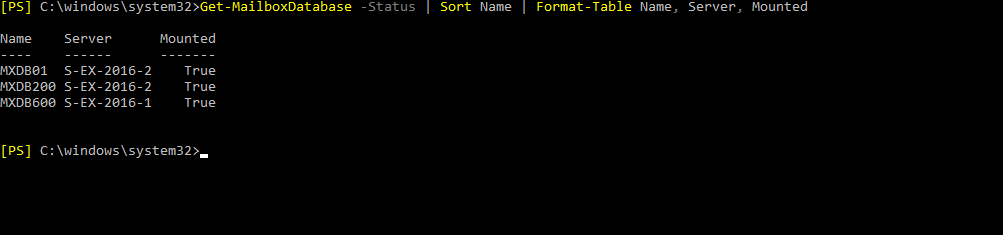
Here is an overview of my Exchange environment, below is the list of databases.
In this tutorial, I will create the MXDB600 database, which will be stored on the E drive of my server in a dedicated folder and the logs will be on another L drive also in a dedicated folder.

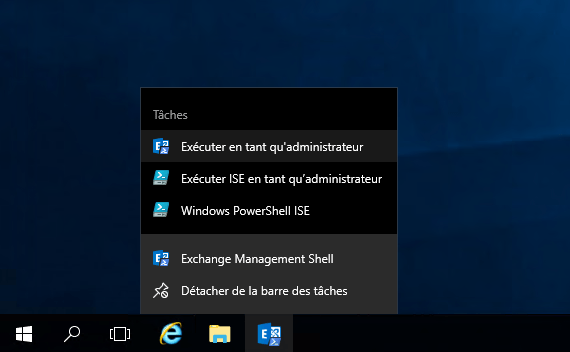
Open the EMS (Exchange Management Shell) console as an administrator.
The EMS console is open.
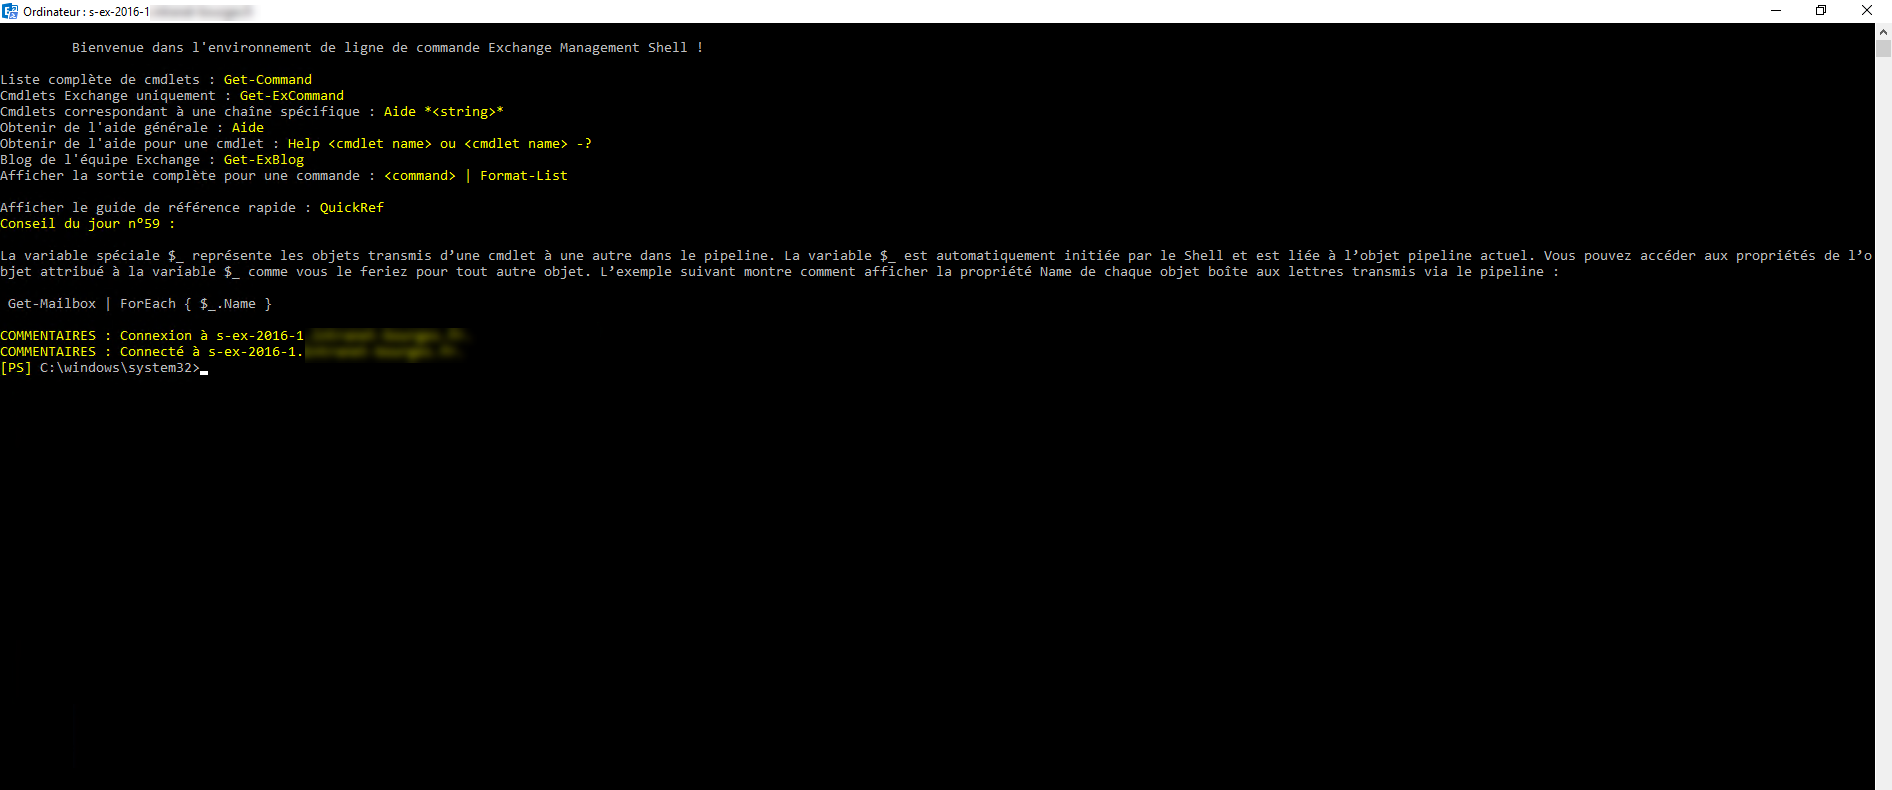
It’s a PowerShell window with the Exchange modules loaded and the connection established on the server.
We will now move on to creating the database with the Cmdlet New-MailboxDatabase, to which we will have to give it several parameters:
- Server : the Exchange server where you want to create the database
- Name : database name
- EdbFilePath : name and location of the edb file, which is the database file
- LogFolderPath : location of database logs
Which give :
New-MailboxDatabase -Server S-EX-2016-1 -Name "MXDB600" -Edbfilepath E:\MXDB600\MXDB600.edb -LogFolderPath L:\MXDB600
The return of the command displays the status of the database and a message tells us that the Microsoft Exchange Information Store service must be restarted.

Restart the service with the command below:
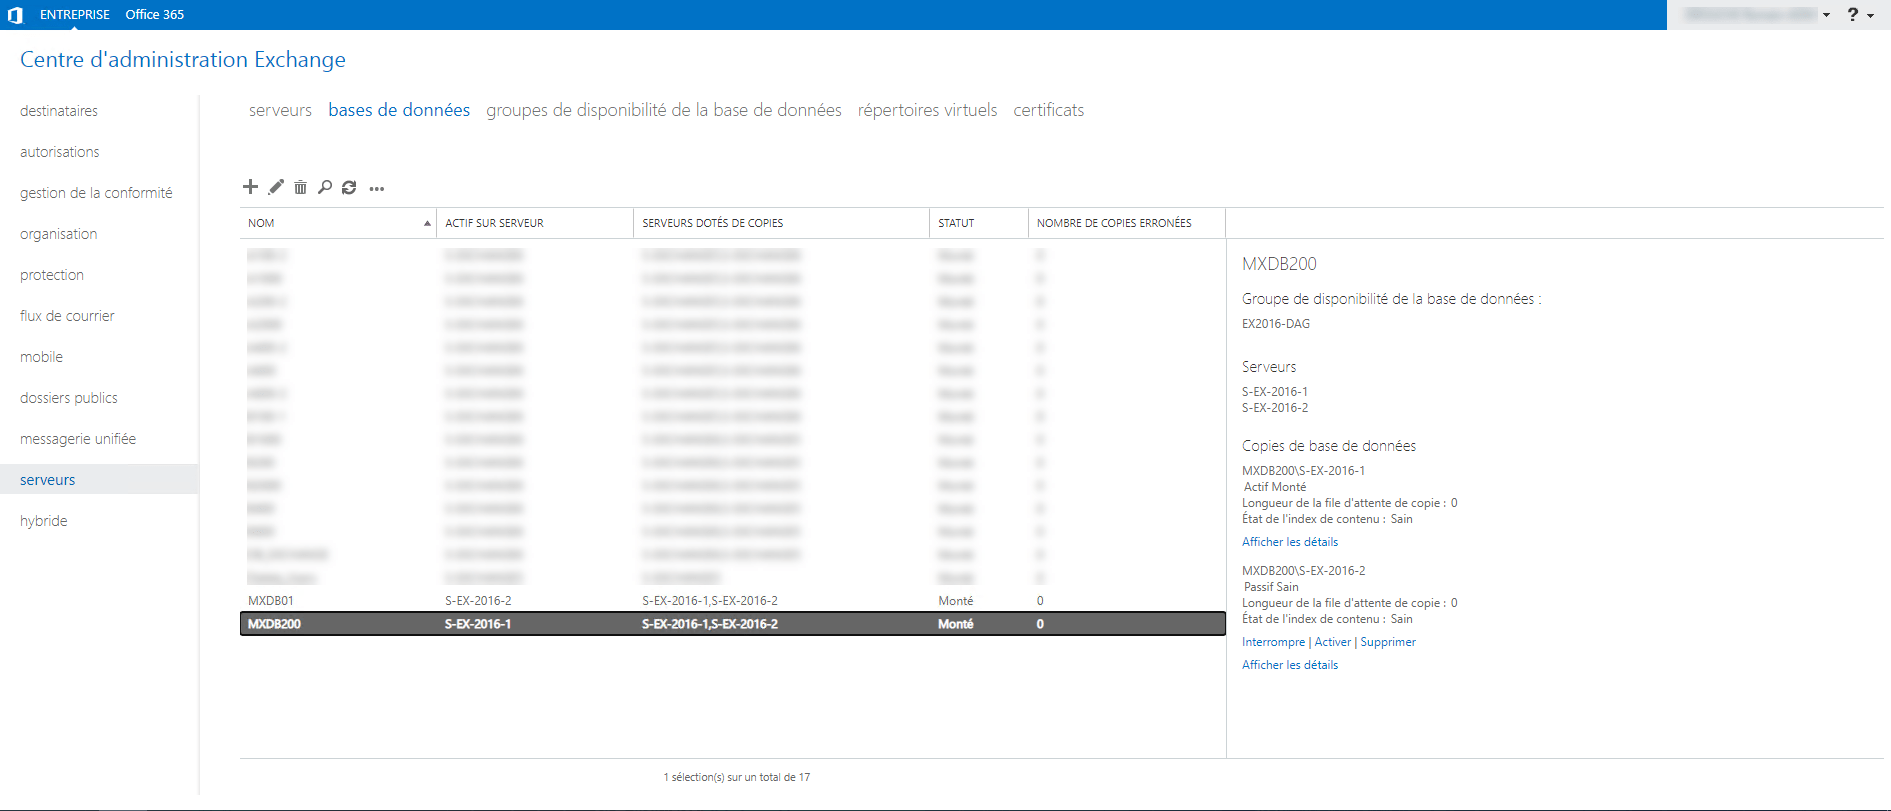
Restart-Service MSExchangeISIf we return to the Web interface (ECP), we are fine with our database, for the moment it is not mounted.
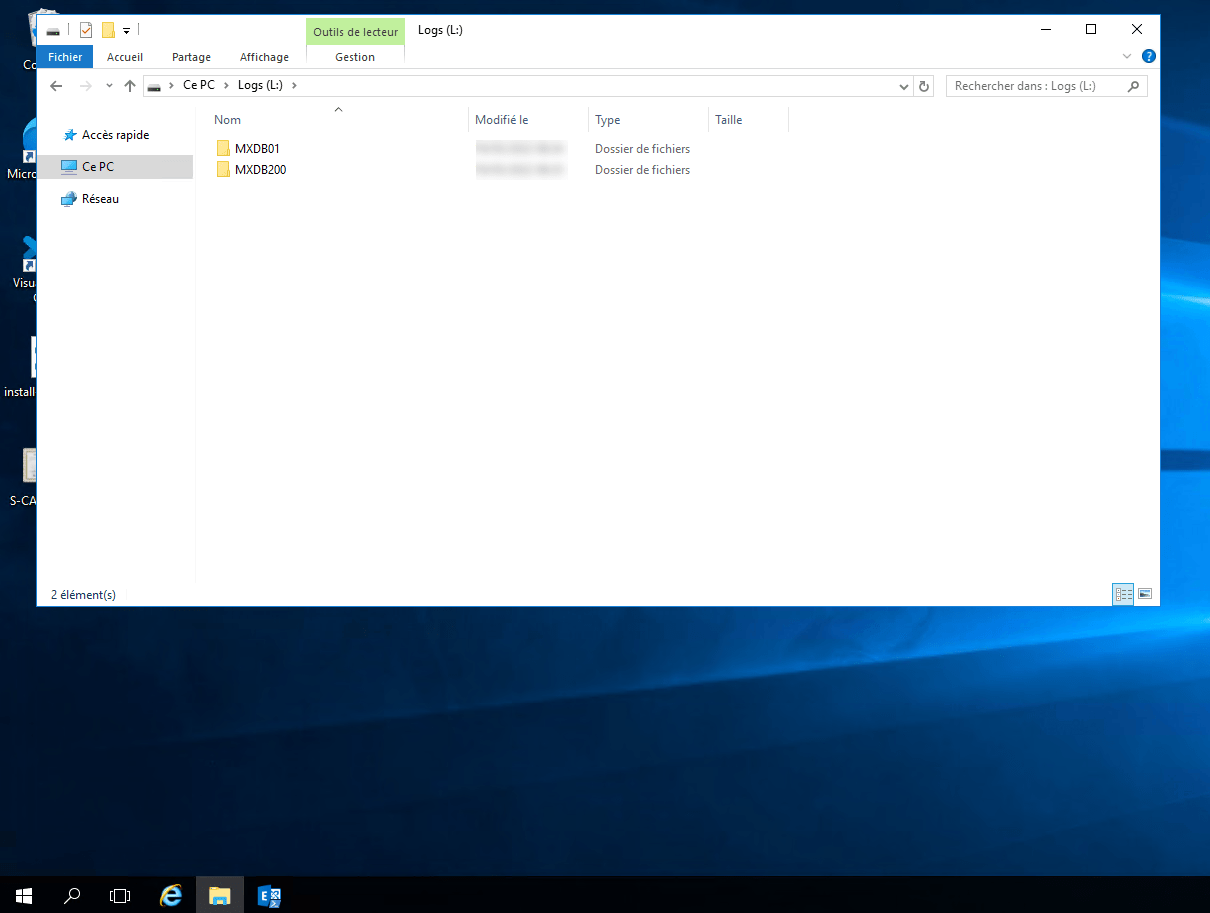
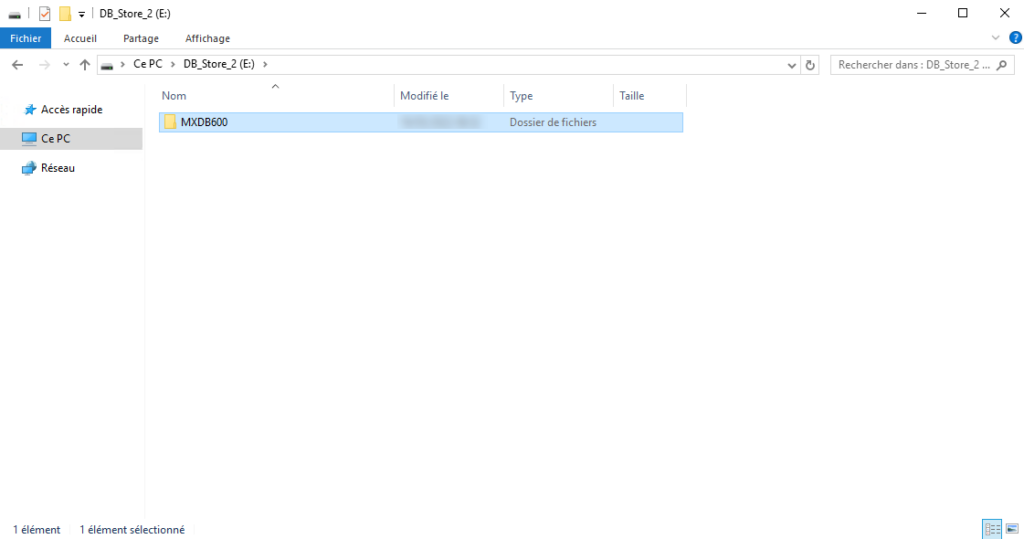
We can see in the file explorer that the folders and files have been created.

To find out if the database is mounted in Exchange, you can use this command:
Get-MailboxDatabase -Status | Sort Name | Format-Table Name, Server, Mounted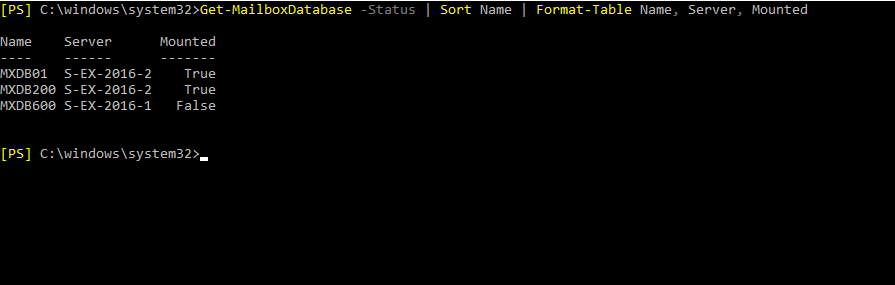
To mount the database, we use the Cmdlet Mount-Database by indicating the name of the database as a parameter:
Mount-Database MXDB600The command has no return, it is possible to check the status with the command that we saw previously.
You now know how to add a database in Exchange with PowerShell.
Depending on the environments, the database can be mounted as soon as it is created.
To sum up :
Add the database to a DAG in PowerShell
If your environment is configured with a DAG (Database Availability Group), we will see how to add the database to it.
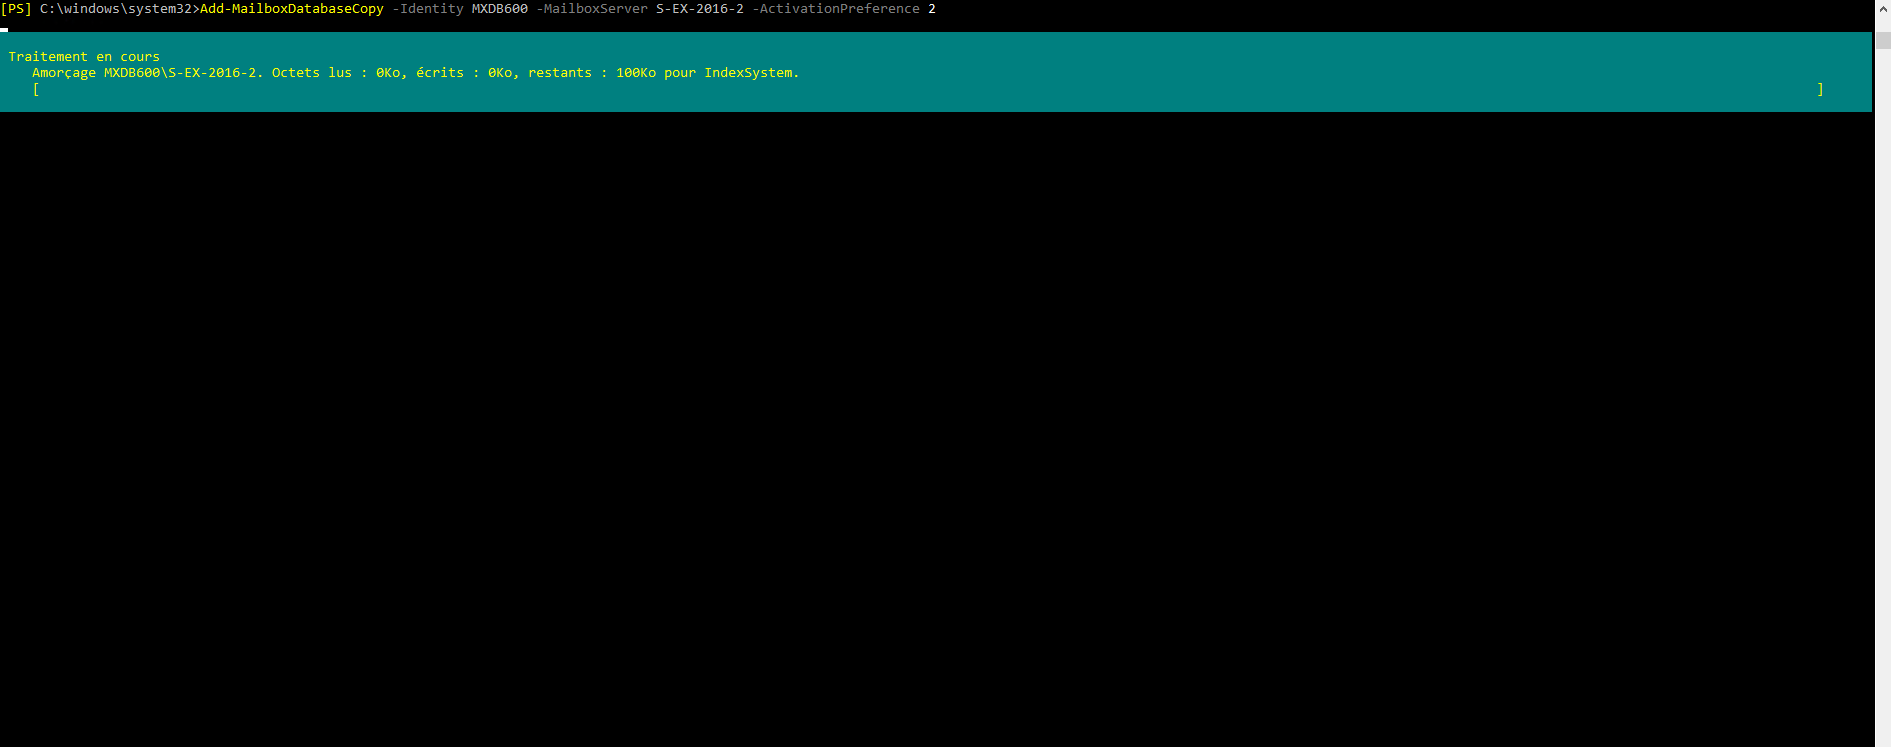
To add the database to the DAG, we will use the Cmdlet Add-MailboxDatabaseCopy indicating the database, the server that will receive the copy and the activation order.
To add the base created previously:
Add-MailboxDatabaseCopy -Identity MXDB600 -MailboxServer S-EX-2016-2 -ActivationPreference 2Once the command has been validated, wait while the Exchange database is copied.
Once the copy is complete, a message appears indicating to restart the Microsoft Exchange Information Store service, on the server that received the copy.
If you launched the command from a remote server (the one where the database was created), use this command to restart the service remotely
Get-Service MSExchangeIS -ComputerName S-EX-2016-2 | Restart-Service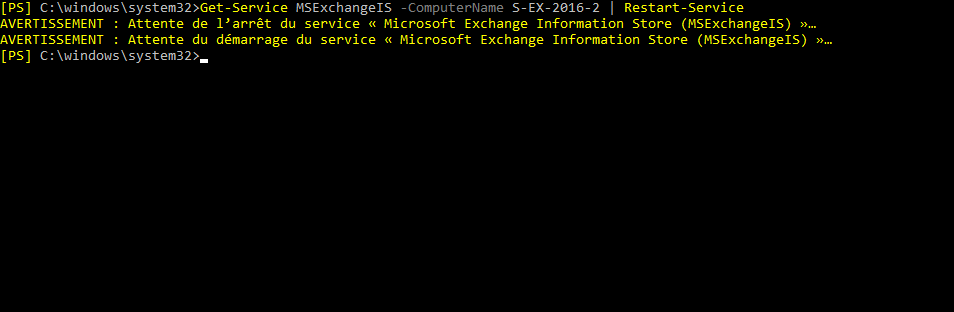
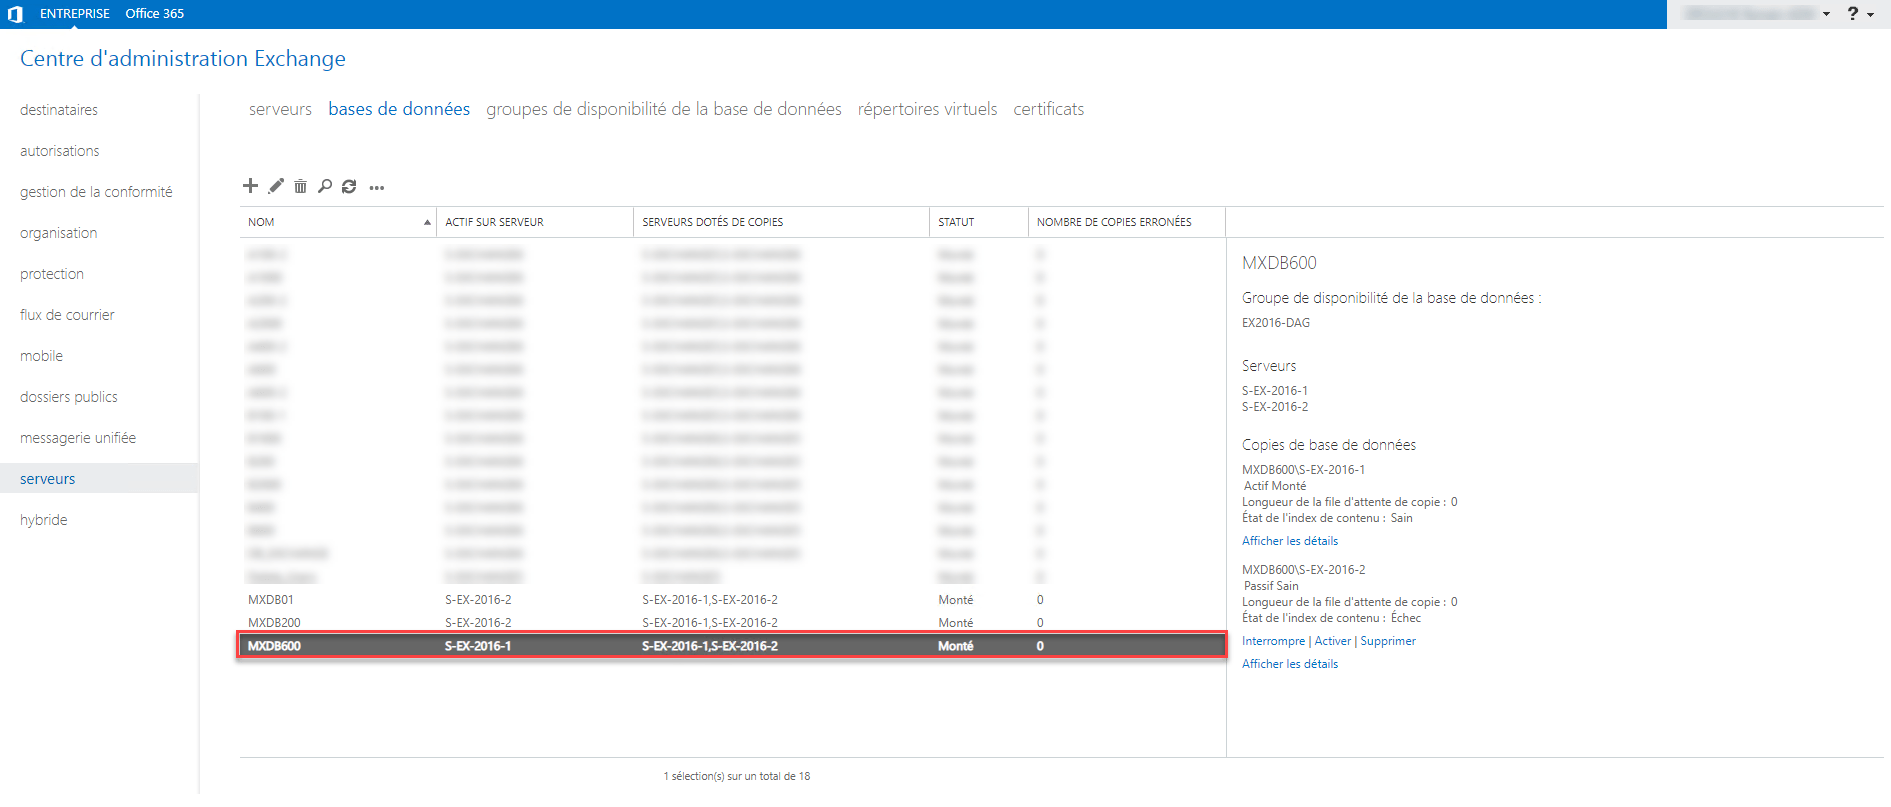
The database is added to the DAG, it can also be checked in the ECP.