

In this tutorial, we will see how to install Exchange 2019.
The Exchange 2019 installation procedure is similar to Exchange 2016.
Environment
- A domain controller running Windows 2019.
- A Windows 2019 server for Exchange installation, which is a member of the domain and has 3 disks (OS / Data / Logs).
The domain used for this LAB is blank from Exchange.
Prerequisites for the environment
Before you start deploying Exchange 2019 in your environment, check the following conditions:
- The Active Directory drill must have a functional level of at least Windows 2012 R2.
- A server with Windows Server 2019.
- Outlook clients must at least be in 2013 version.
In the case of a migration from Exchange 2010, you need to migrate to Exchange 2013/2016 and Exchange 2019.
Exchange 2019 does not support cohabitation with Exchange 2010.
Source Microsoft.
Preparation of the environment
Exchange requires a change to the Active Directory schema that will be performed during the Exchange installation.
Before installing the mail service, you must install the following software:
- .NET Framework 4.7.2 or newer: already present on Windows Server 2019.
- Visual C++ 2012
- Visual C++ 2013
- API Unified Communication Managed 4.0 : available on ISO Exchange 2019.
You must also install the Windows server features. Open a PowerShell command prompt and run the following command:
Install-WindowsFeature Server-Media-Foundation, NET-Framework-45-Features, RPC-over-HTTP-proxy, RSAT-Clustering, RSAT-Clustering-CmdInterface, RSAT-Clustering-Mgmt, RSAT-Clustering-PowerShell, WAS-Process-Model, Web-Asp-Net45, Web-Basic-Auth, Web-Client-Auth, Web-Digest-Auth, Web-Dir-Browsing, Web-Dyn-Compression, Web-Http-Errors, Web-Http-Logging, Web-Http-Redirect, Web-Http-Tracing, Web-ISAPI-Ext, Web-ISAPI-Filter, Web-Lgcy-Mgmt-Console, Web-Metabase, Web-Mgmt-Console, Web-Mgmt-Service, Web-Net-Ext45, Web-Request-Monitor, Web-Server, Web-Stat-Compression, Web-Static-Content, Web-Windows-Auth, Web-WMI, Windows-Identity-Foundation, RSAT-ADDS
Result of the command:
Success Restart Needed Exit Code      Feature Result
------- -------------- ---------      --------------
True    No             Success        {Message Queuing, Serveur Message Queuing,...
Now that the server is ready, we will proceed to the Exchange 2019 installation.
Exchange 2019 installation
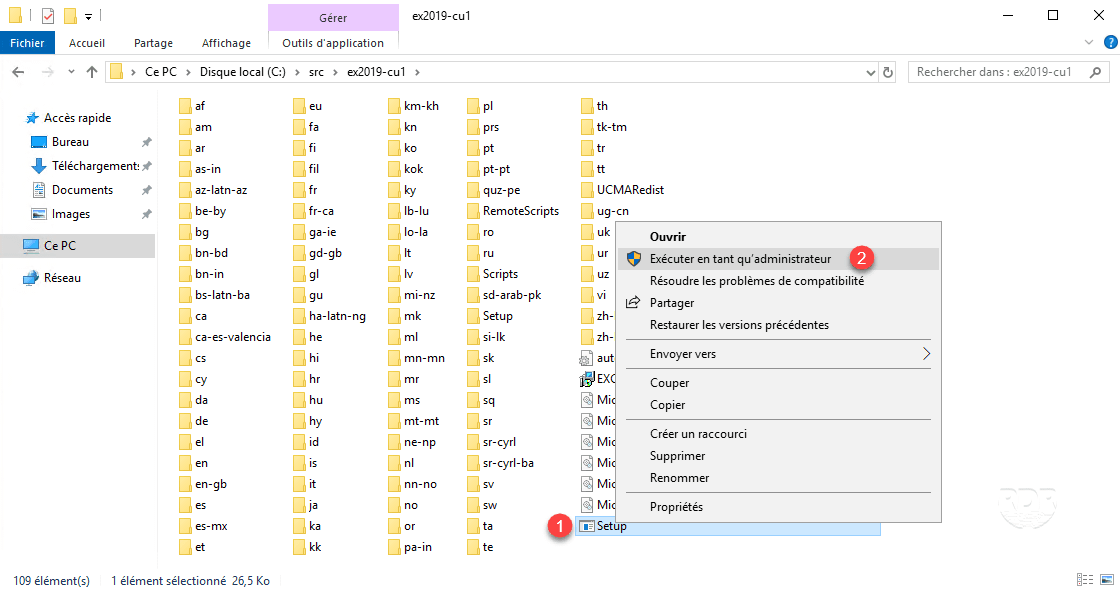
On the server mount or unzip the ISO.
1. Run the setup.exe file 1 as Administrator 2 .
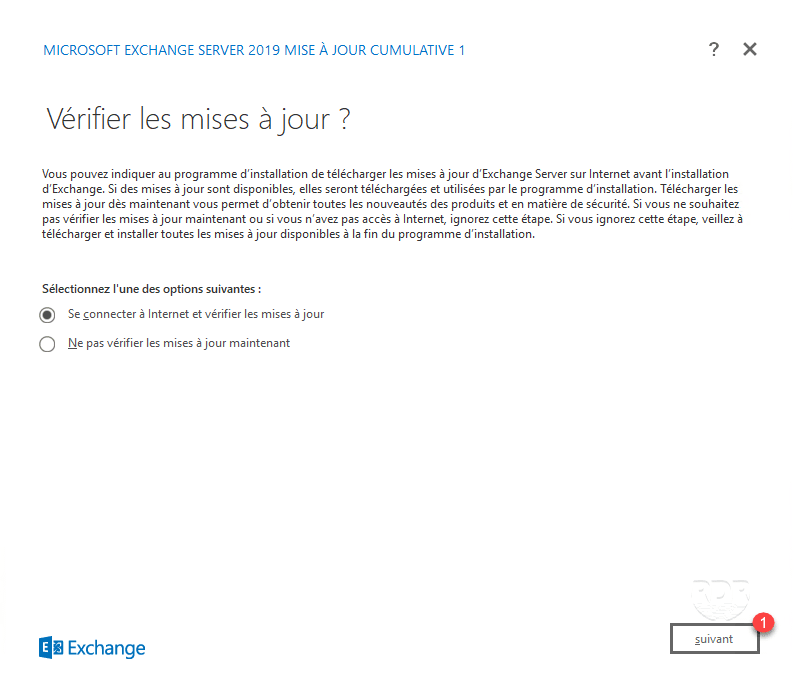
2. When launching the wizard, click Next 1 to check for updates.
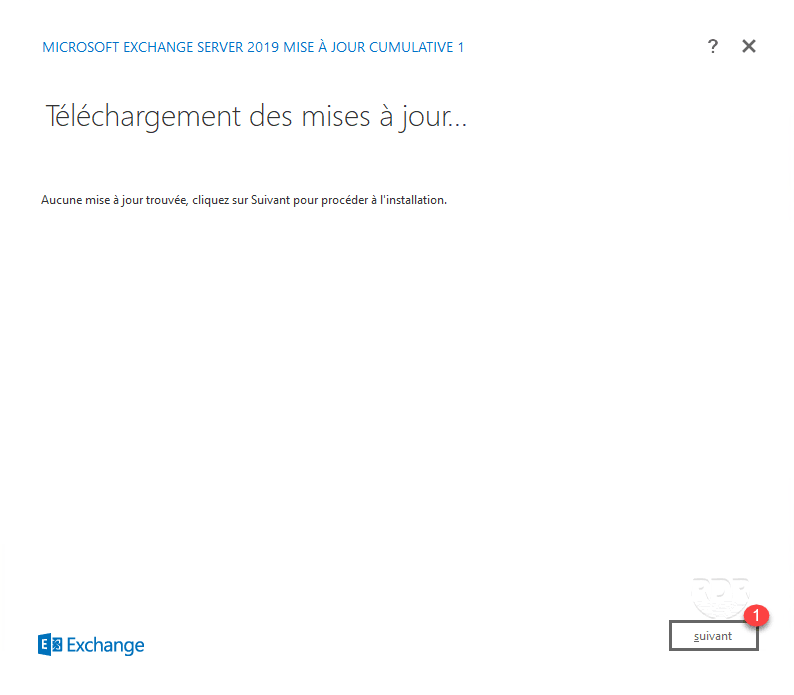
3. Once the verification is done, click on next 1 .
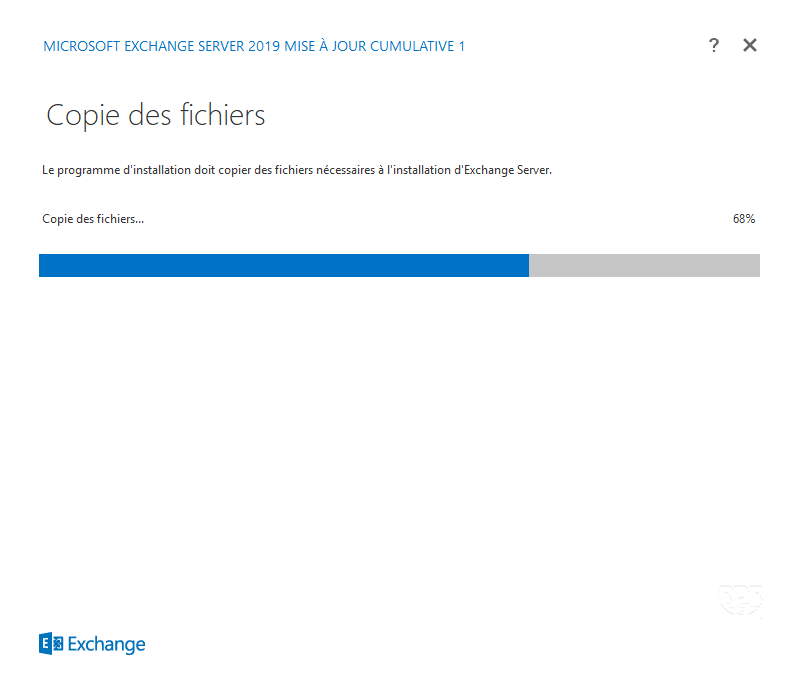
4. Wait while copying files …
5. Skip the Introduction by clicking Next 1 .

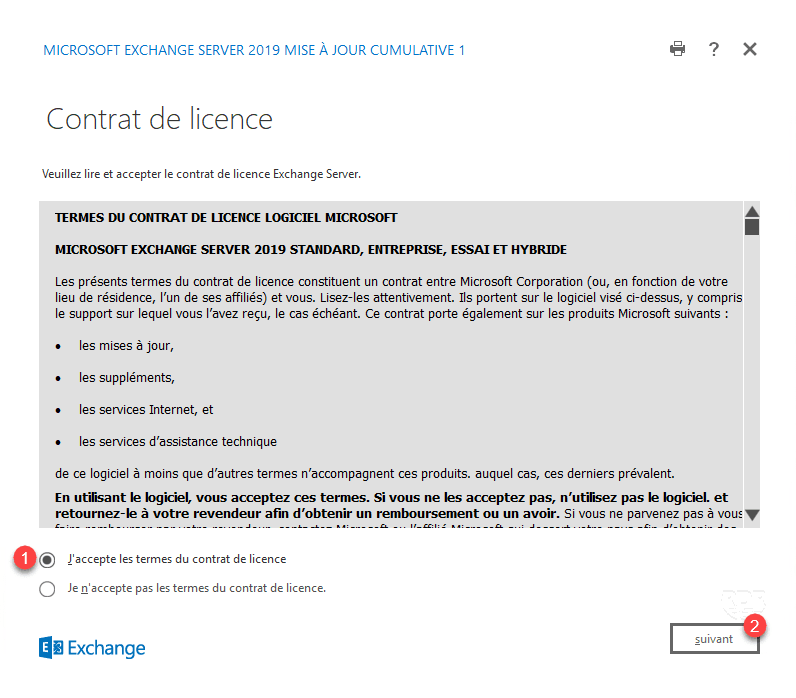
6. Accept license 1 then click Next 2 .
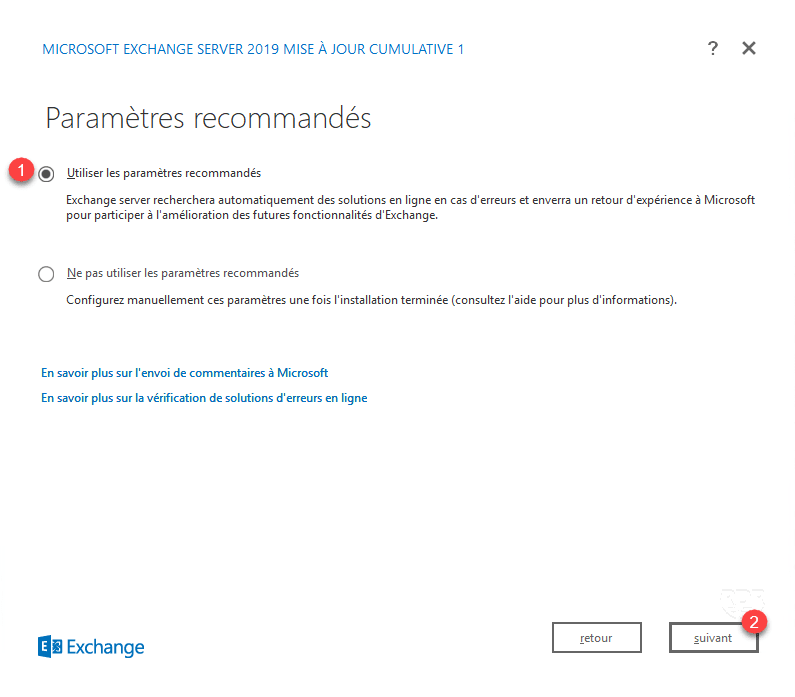
7. Choose Use Recommended Settings 1 and click Next 2 .
8. Select Mailbox Role 1 (select the Automatically Install Windows Server Roles and Features Required for Exchange Server check box) and click the following 2 button.

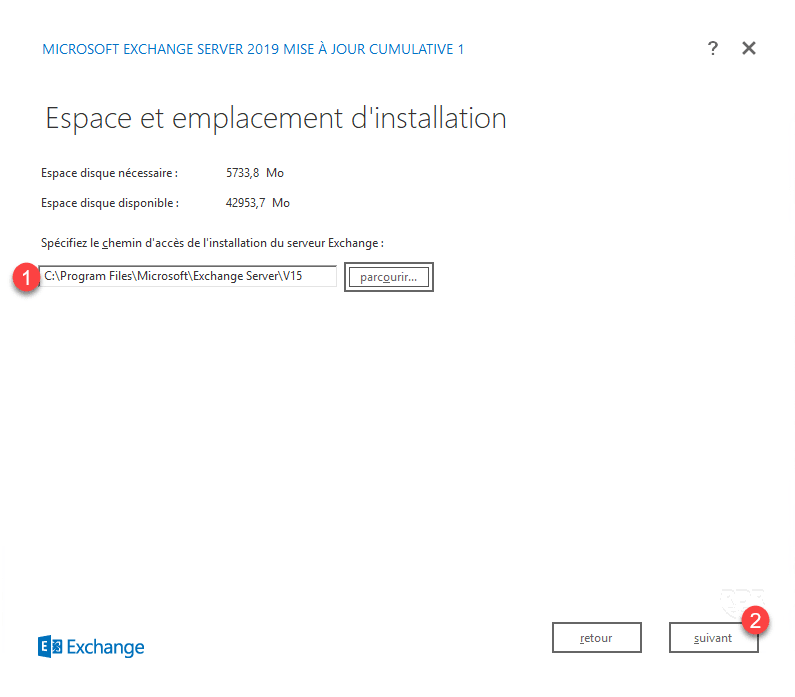
9. Configure installation location 1 if necessary and click Next 2 .
10. Enter the name of the organization (example: company name) 1 and click on next 2 .

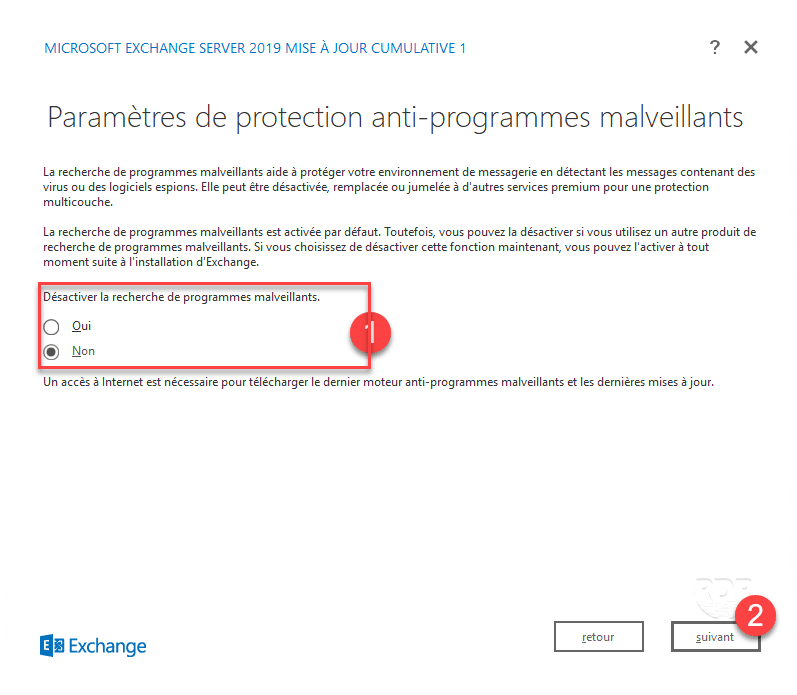
11. Configure Malware Protection 1 and click Next 2 .
12. Wait during the preparation tests, this step checks that the environment is suitable for installing Exchange 2019.

13. After testing, click on install 1 .
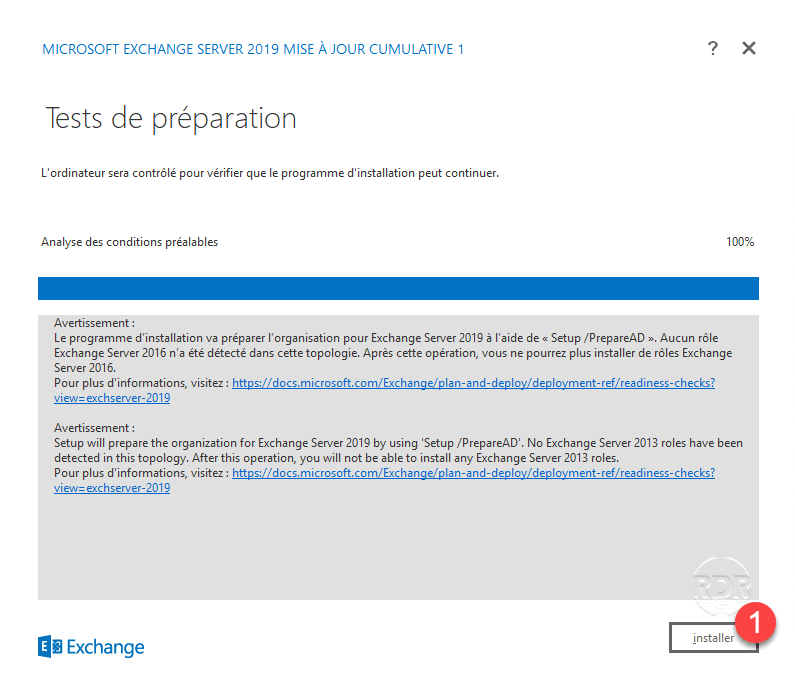
In an environment without Exchange, once the changes are made to the Active Directory, it will not be possible to install a version earlier than Exchange 2019.
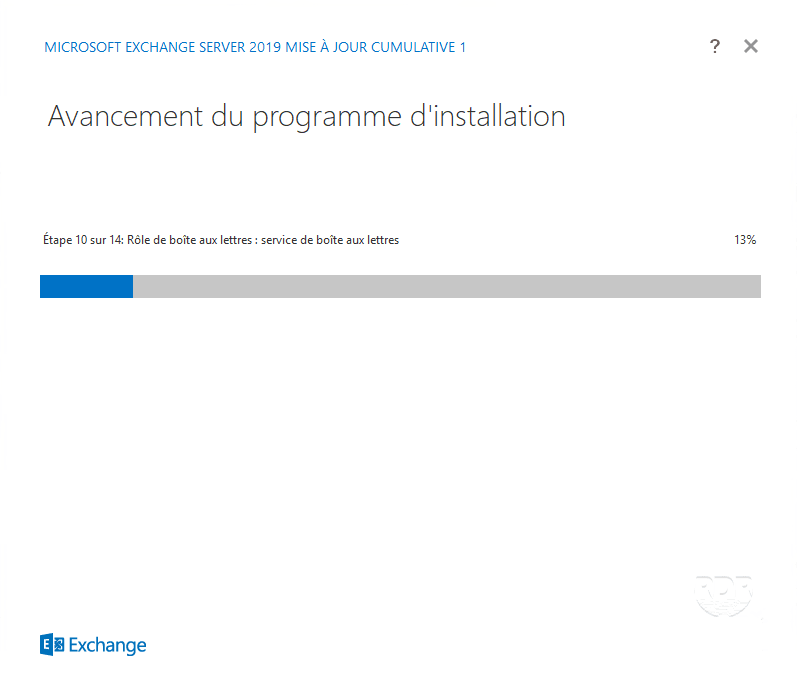
14. Wait during the installation (30 minutes to 2 hours).
15. The installation is finished, close the wizard by clicking on button 1.
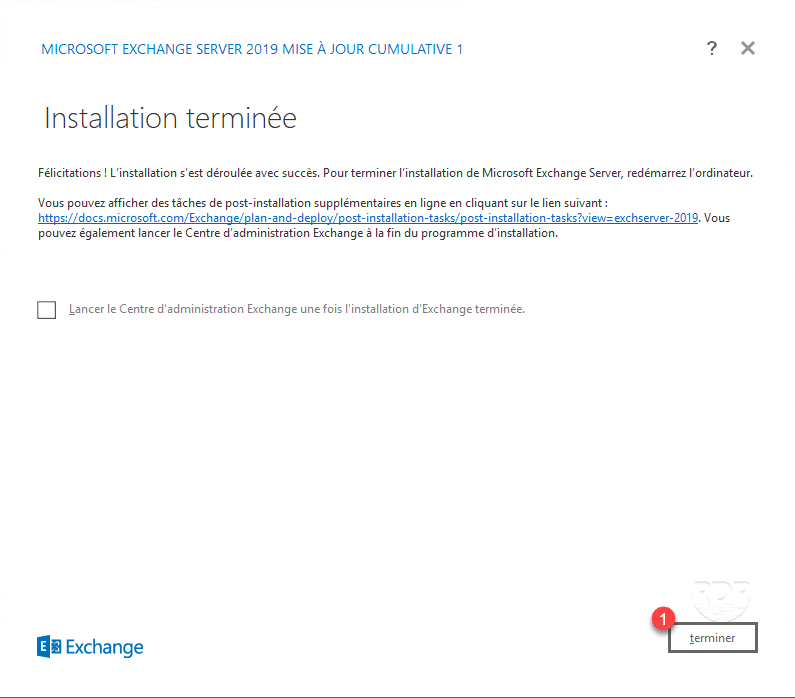
16. Restart the server.
Now that Exchange 2019 is installed, we will see a preview of the software.
For Exchange configuration, I invite you to read about the Exchange 2016 tutorial: Installation and Configuration, Administration and Configuration and 99% the same.
Exchange 2019 Overview
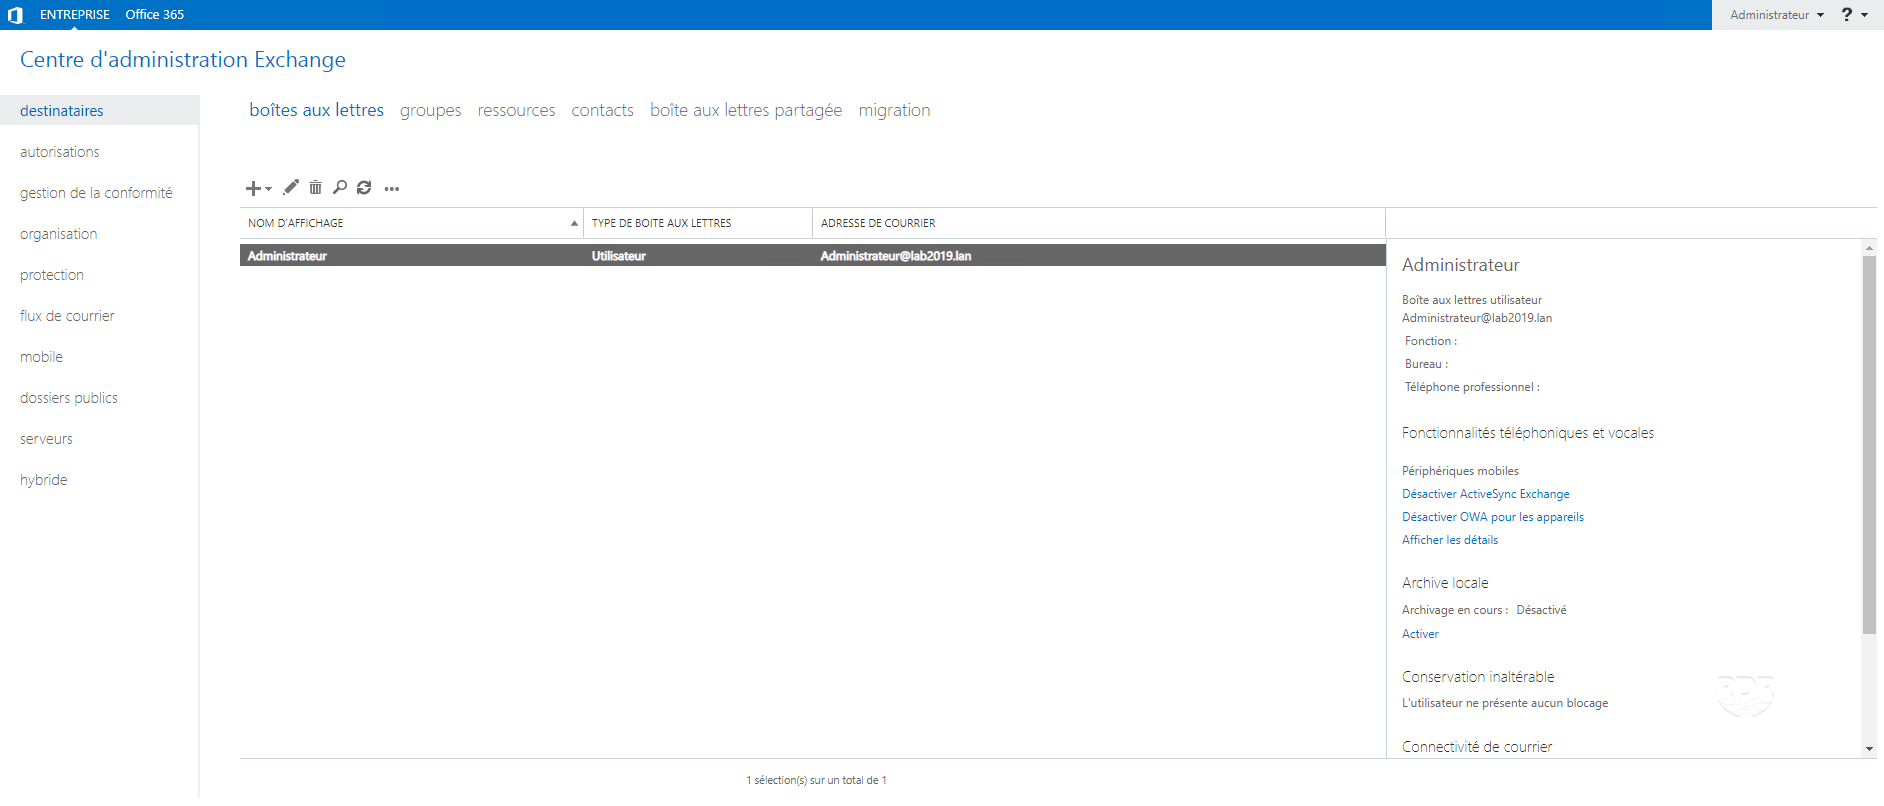
Exchange Administration Center
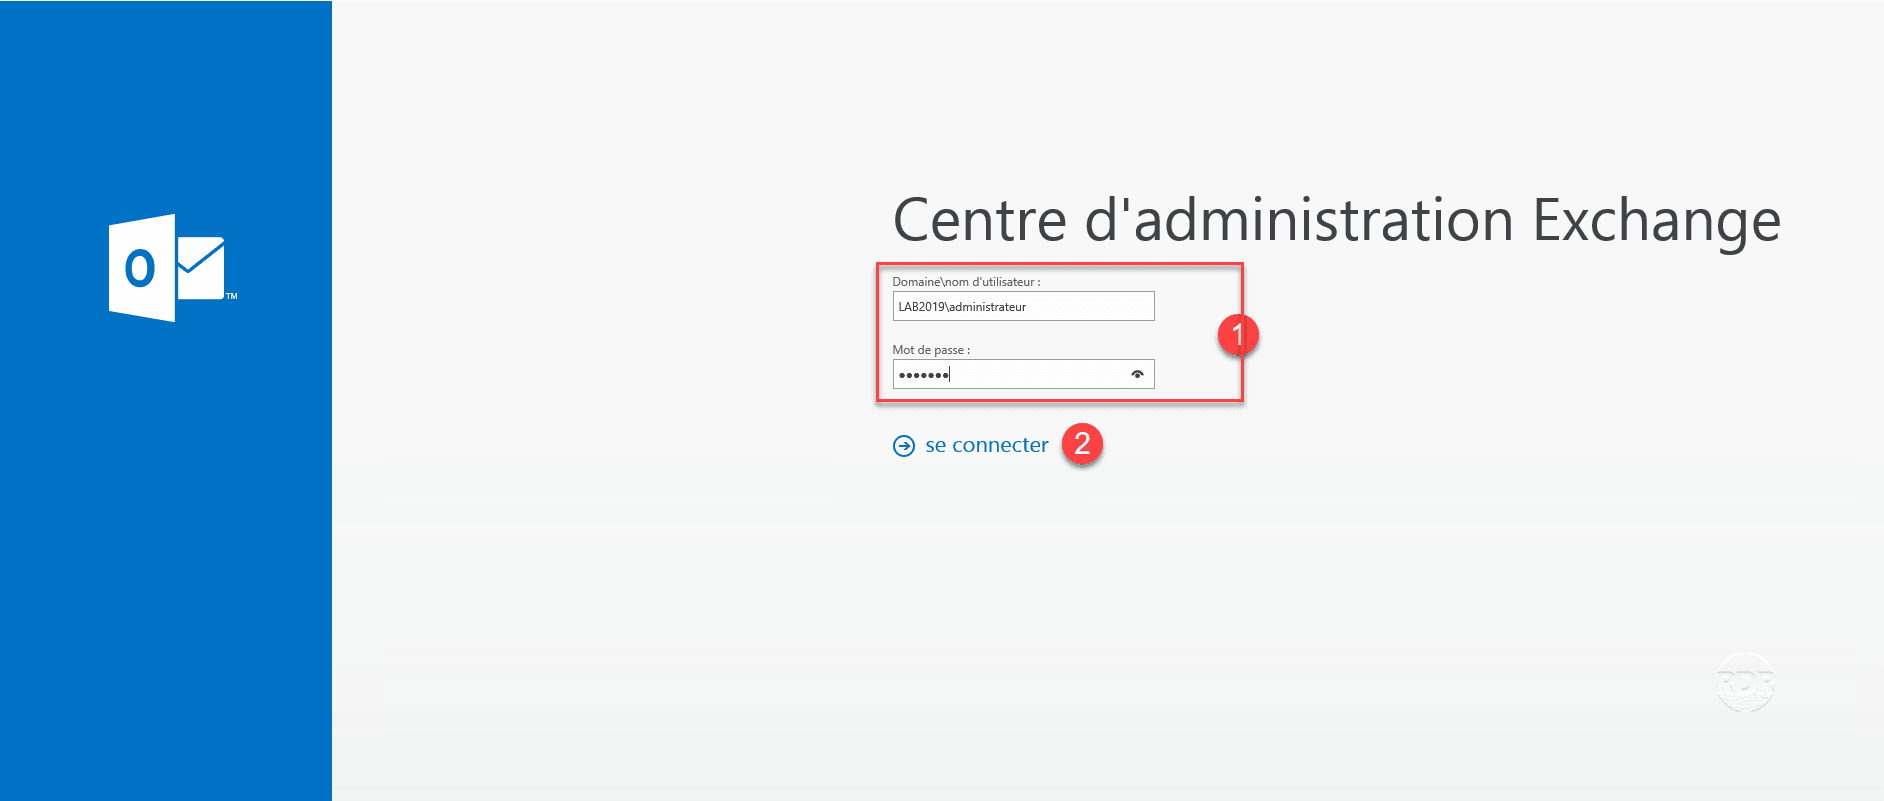
1. Open an internet browser and enter the following address: https: // <fqdn> / ecp
2. Enter the credentials of an administrator account 1 and click on connect 2 .
3. Management of mailboxes.
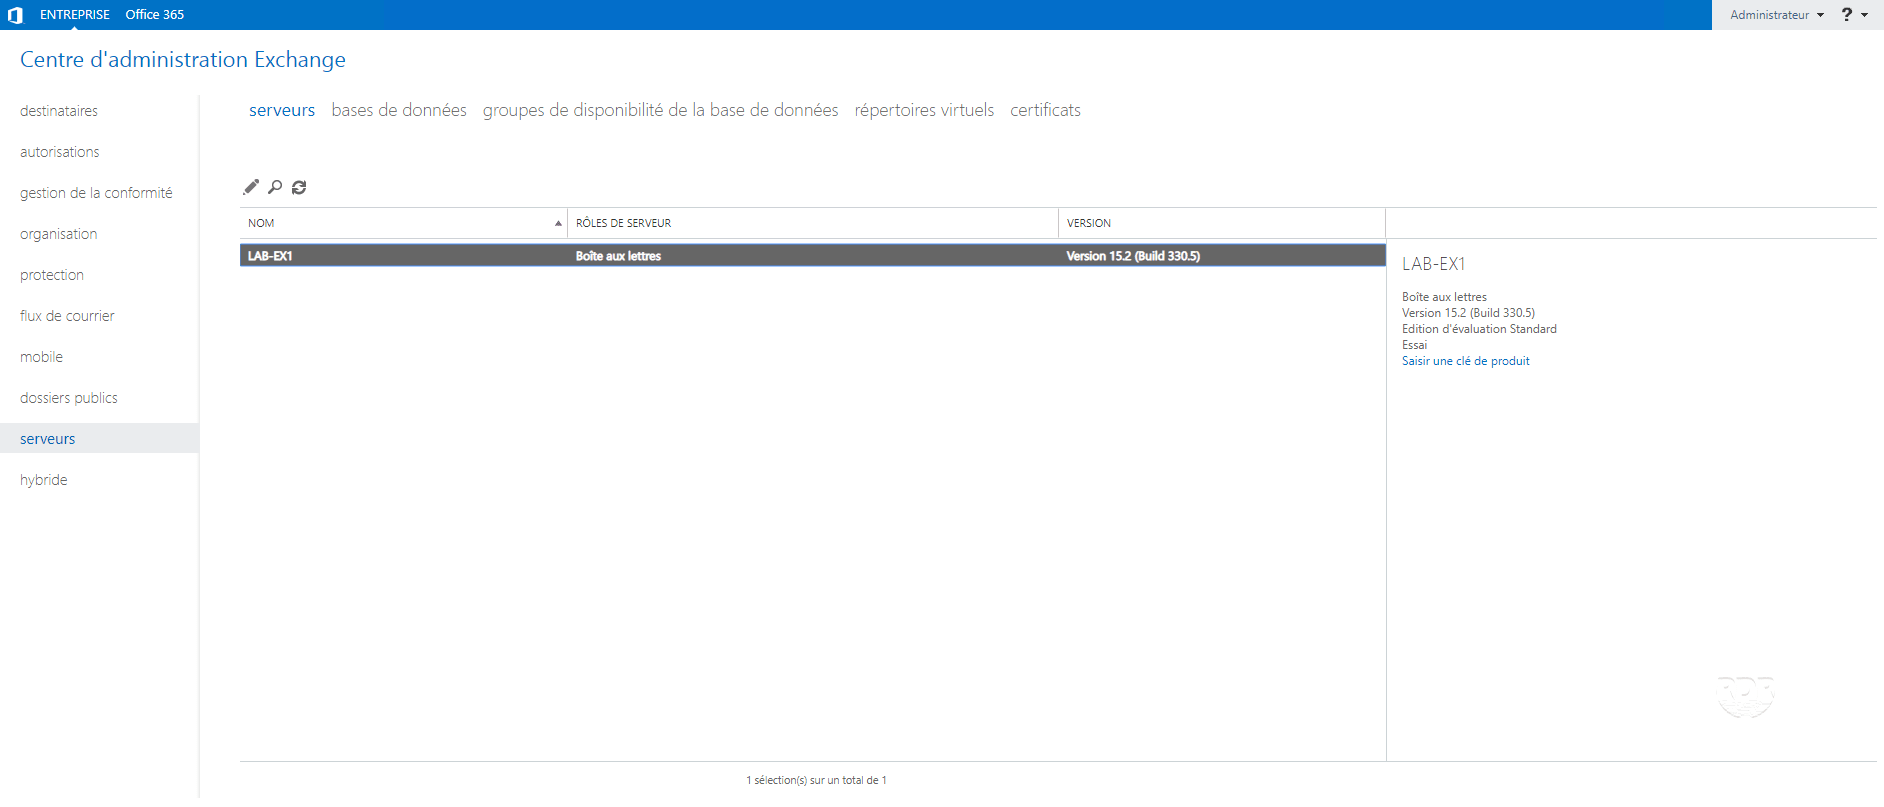
4. Exchange server management of the organization.
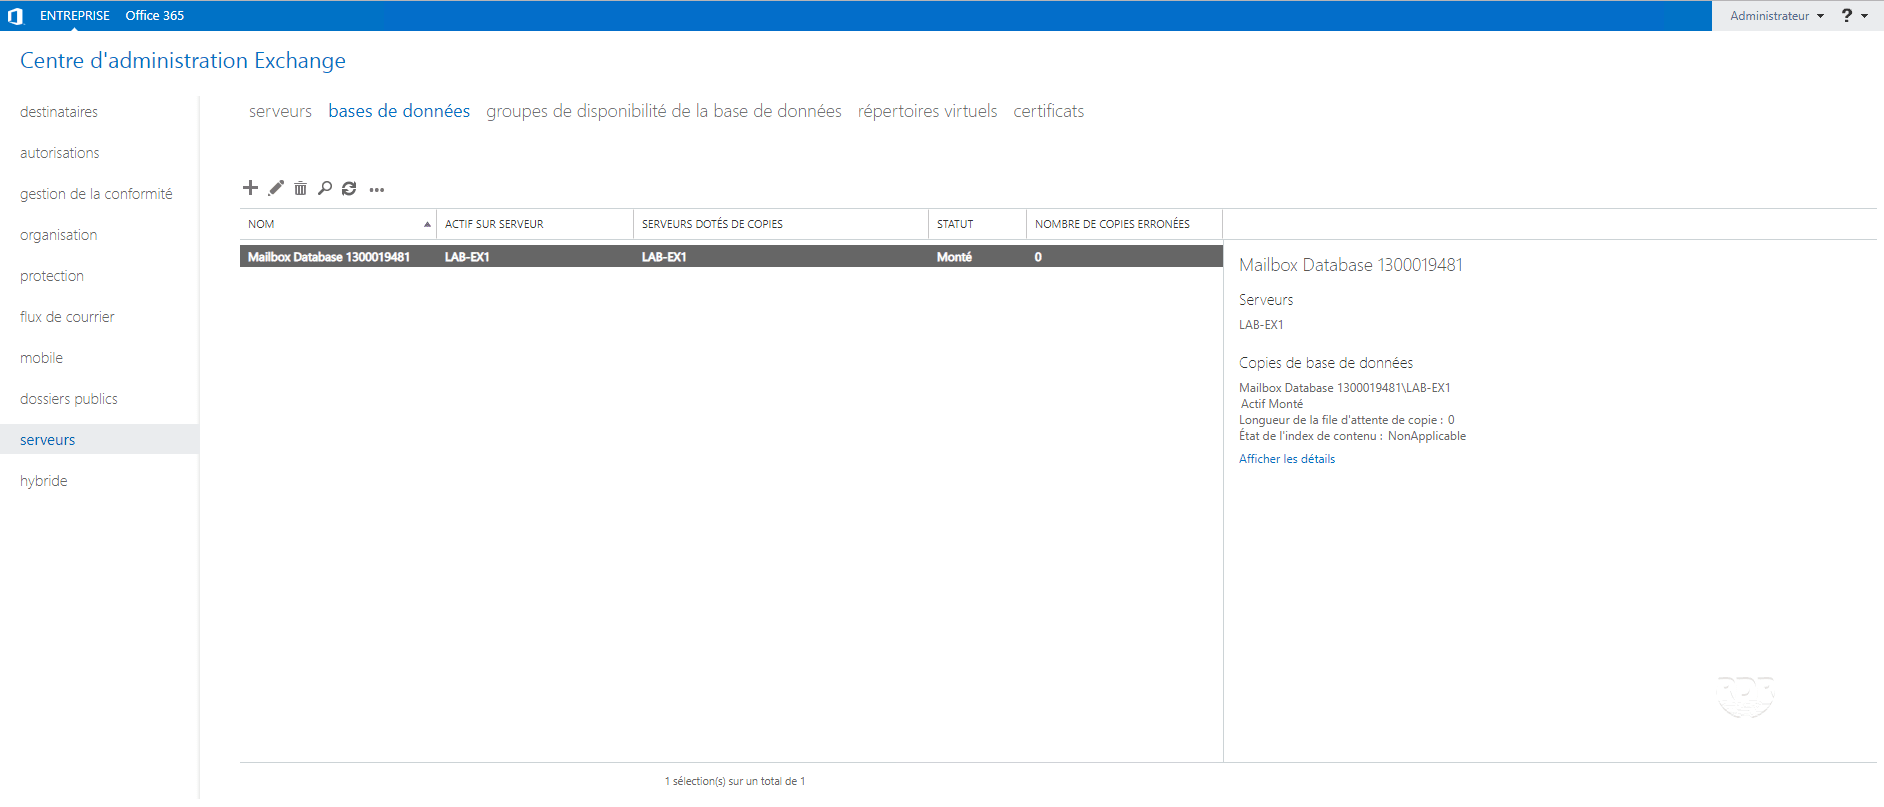
5. List of databases.
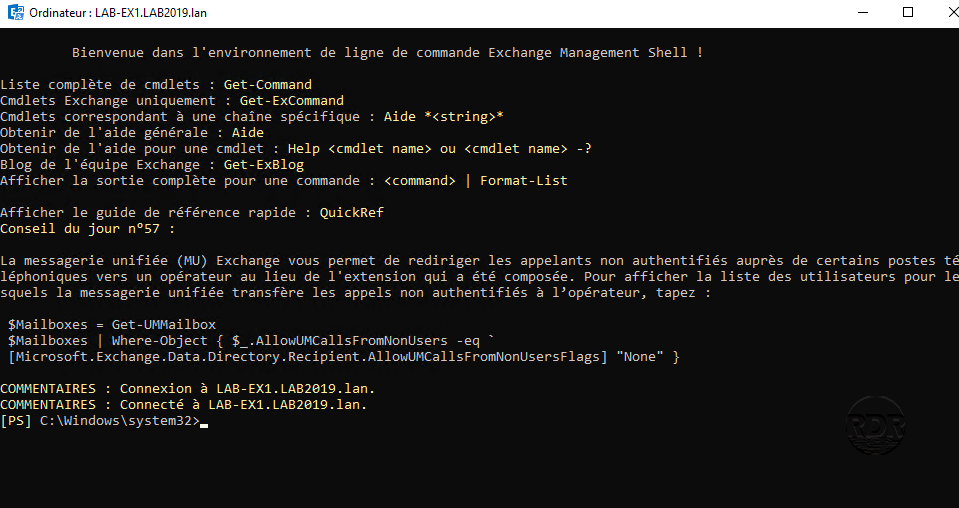
Exchangement Management Shell
Webmail
This version of Exchange is similar in its administration to the 2013/2016 versions, which helps to keep its benchmarks.
As a result, all Exchange 2016 tutorials can be applied to Exchange 2019.
You will find a list of news on the Microsoft website.