

In this tutorial, we will see how to configure a DAG with Exchange 2019.
A DAG (Database Availability Group) is the fact of putting one or more databases in high availability under Exchange in order to ensure continuity of service.
The procedure is similar to Exchange 2016 and already available on the site, I will not go into as much detail.
Prerequisites
- Have 2 Exchange 2019 servers with the same level of update (Windows and Exchange).
- Have a server to store the server quorum when using an odd number of Exchange servers.
- Exchange servers must have the same partitions
- Ideally, Exchange servers should have two network cards, one of which is dedicated to replicating databases.
Creation of the DAG Exchange 2019
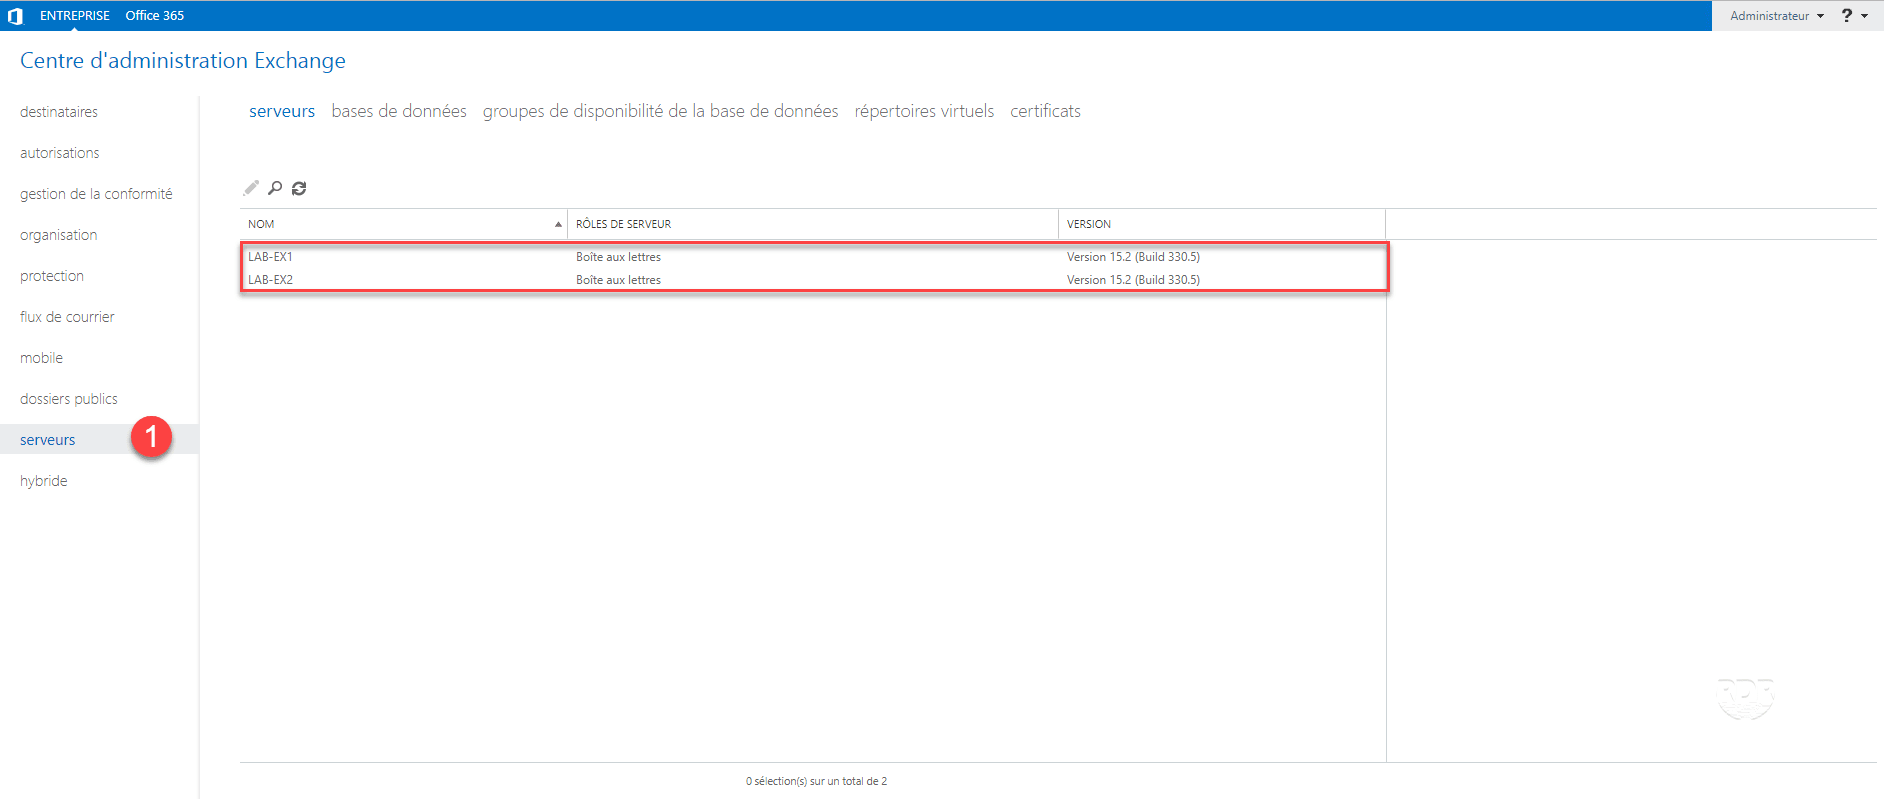
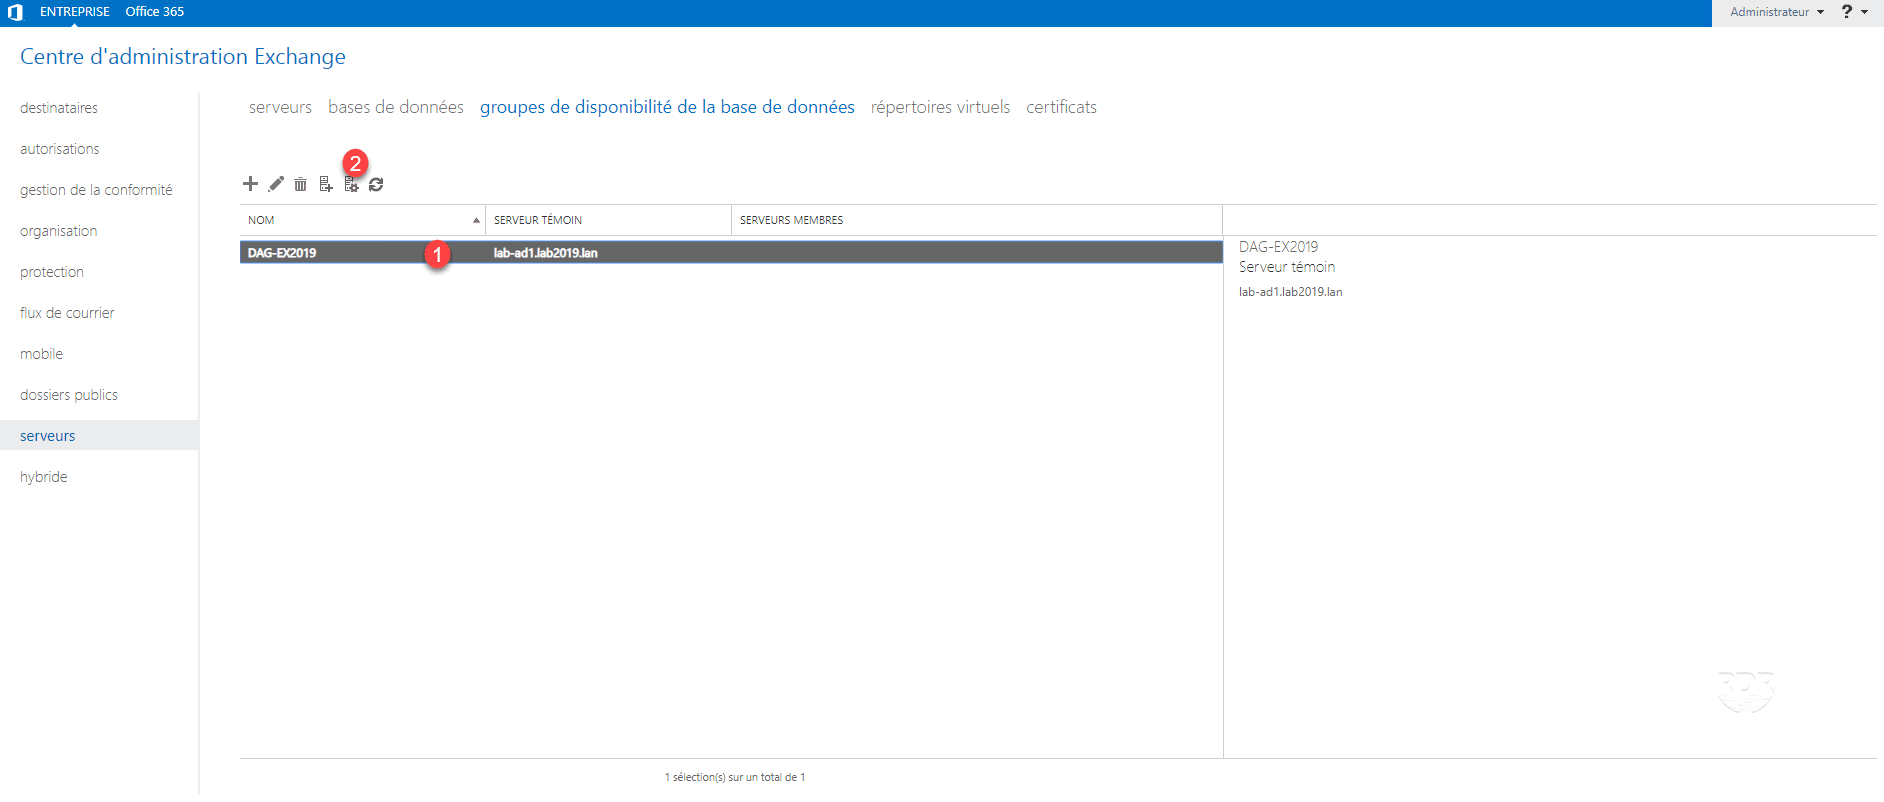
Go to the Exchange 2019 administration web interface and go to server management 1 and check that all the Exchange 2019 servers are present.
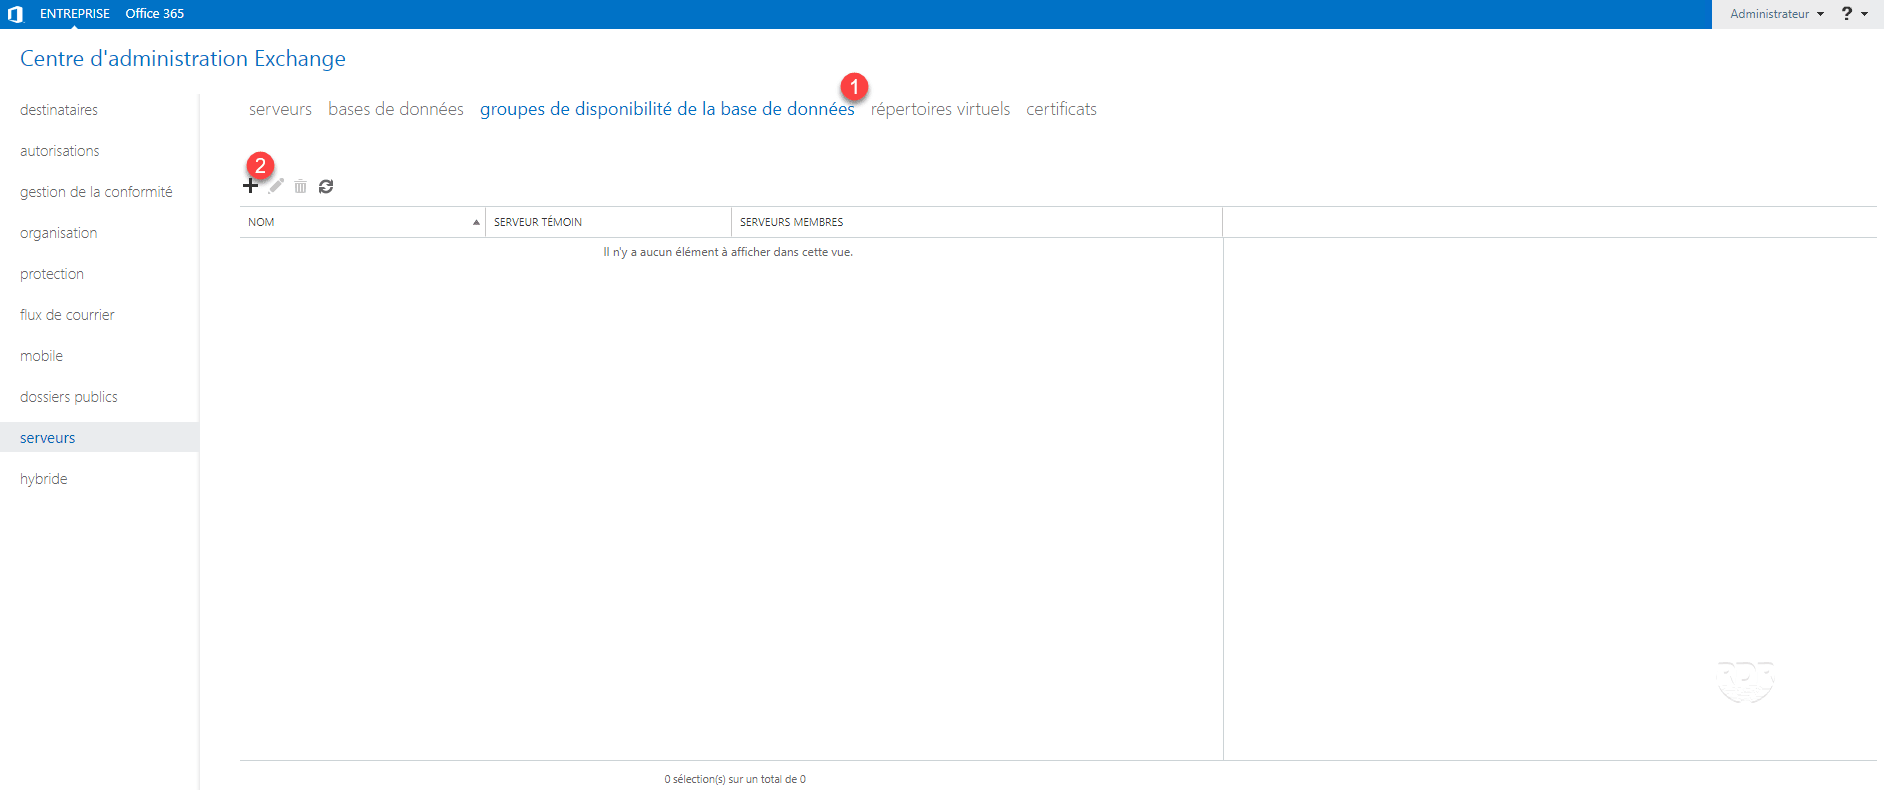
Go to database availability groups 1 and click on the + 2 to create the group.
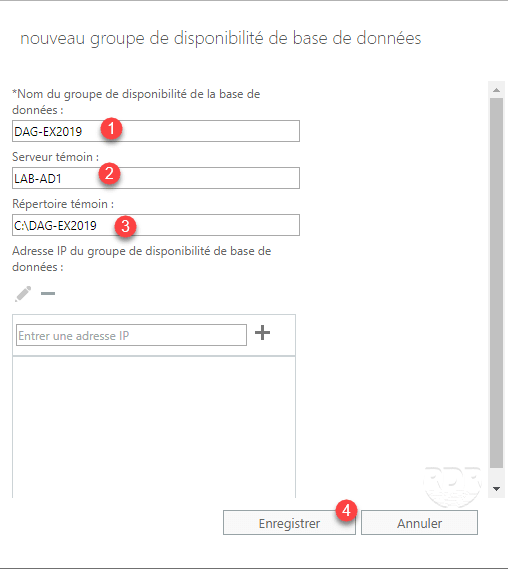
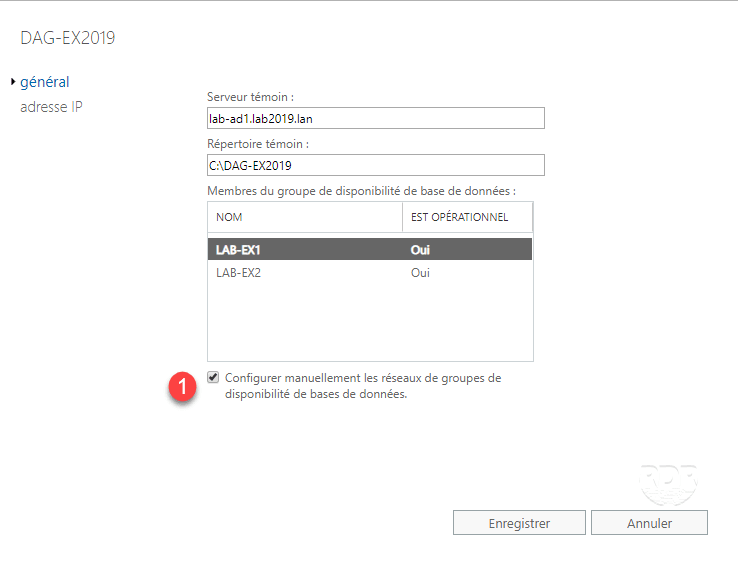
Enter the name of the group 1, the witness server 2, the location of the folder for the quorum 3 and click on Save 4.
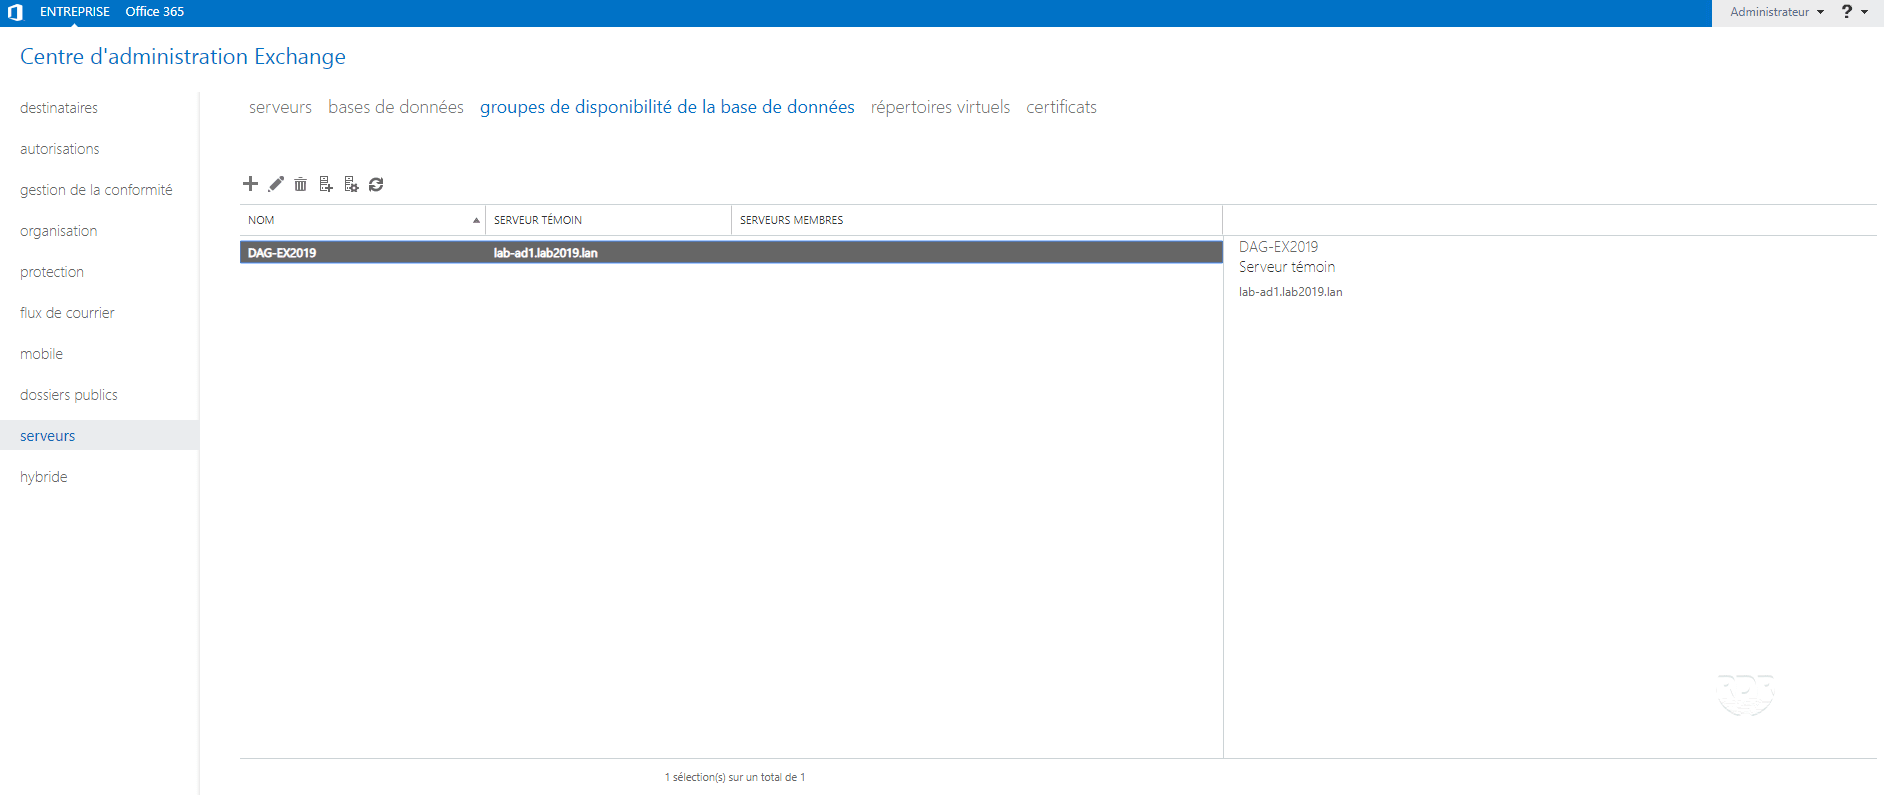
The DAG is now available in the interface.
The DAG was created without specifying an IP address, therefore it will not be possible to manage the failover cluster with the Failover Cluster Manager console, you must use the PowerShell commands.
To validate the creation of the cluster, open a PowerShell command prompt and enter the command:
Get-Cluster

Now that the availability group is created, you must add the servers that compose it.
Add servers to the DAG
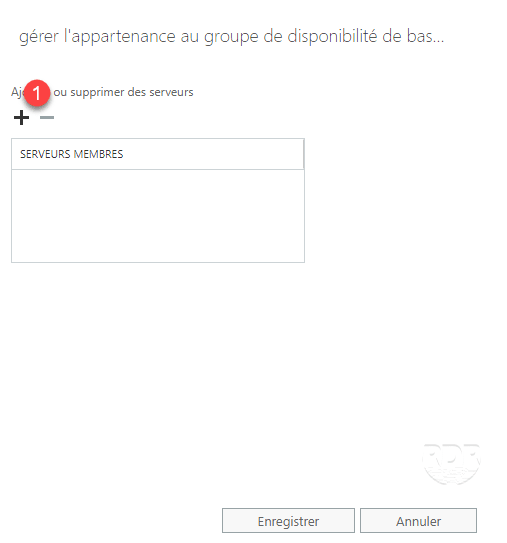
Select the DAG 1 and click on the server management icon 2.
Click on + 1.
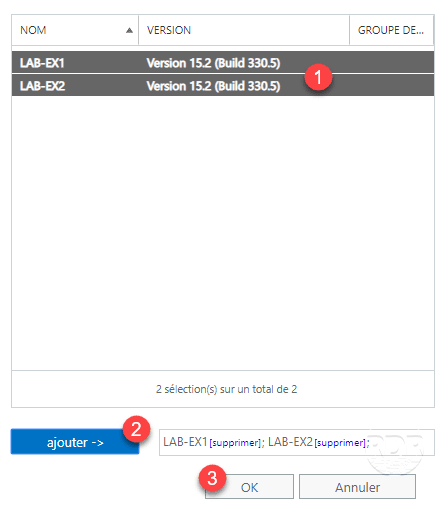
Select the servers 1 then click on add 2 and OK 3.
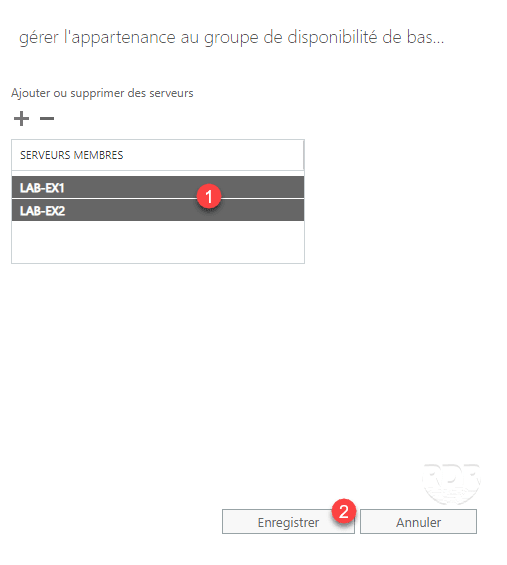
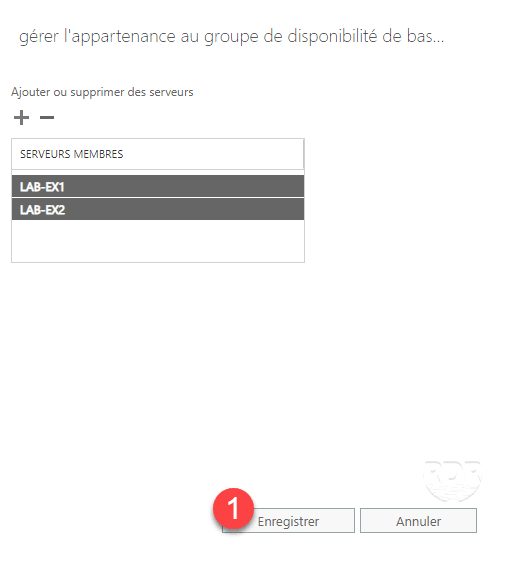
The servers added 1, click on Save 2.
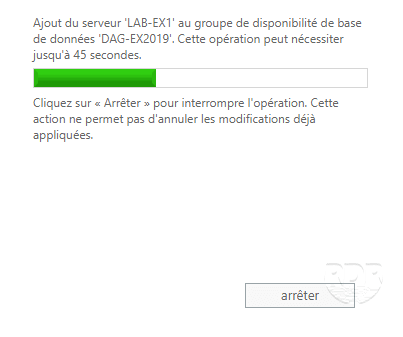
Click on Save 1.
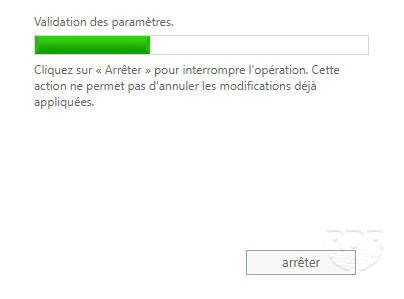
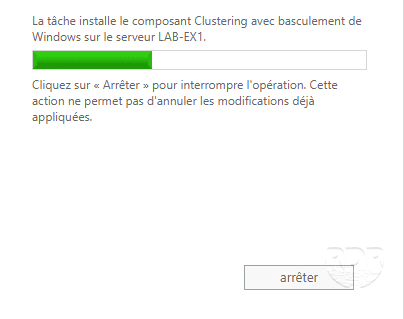
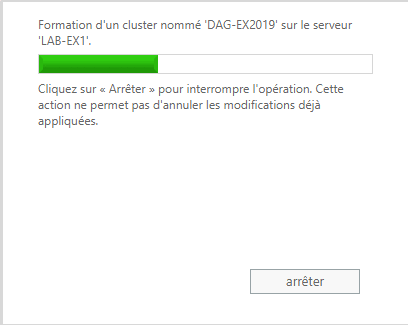
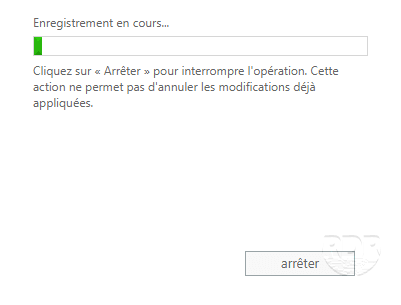
Wait while installing and creating the cluster.
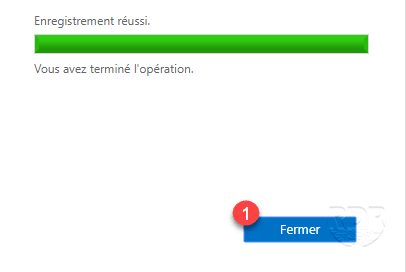
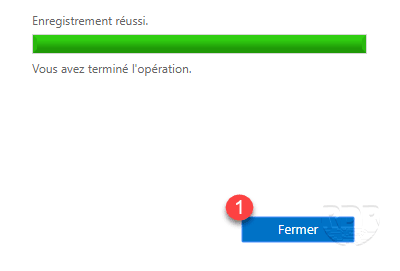
The configuration of the servers successful, click on Close 1.
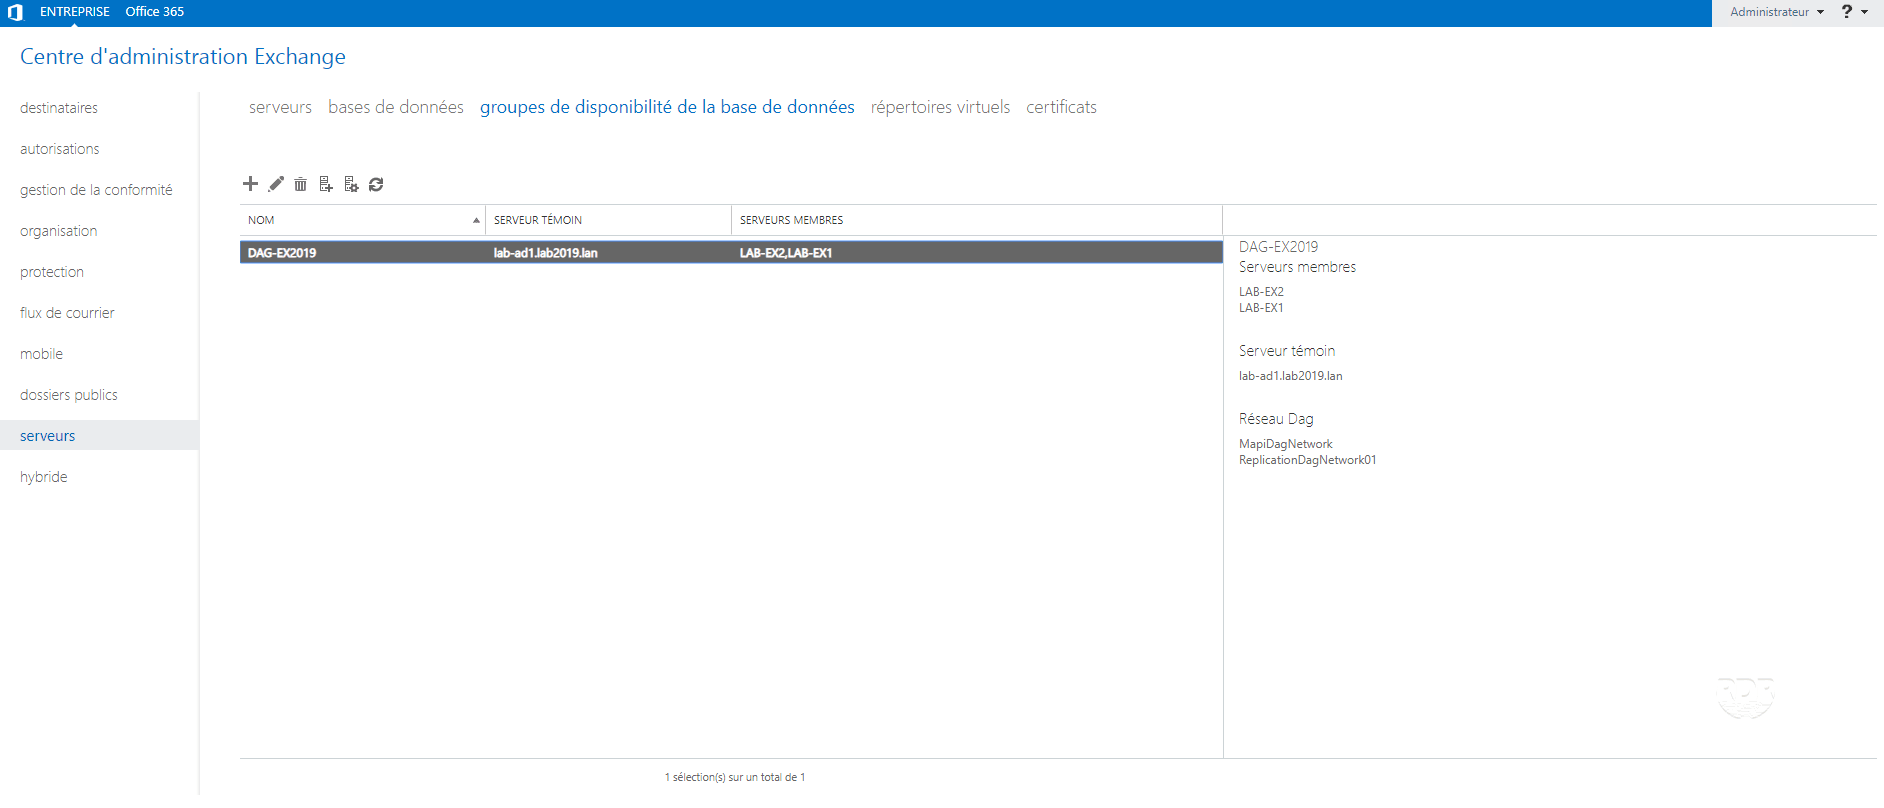
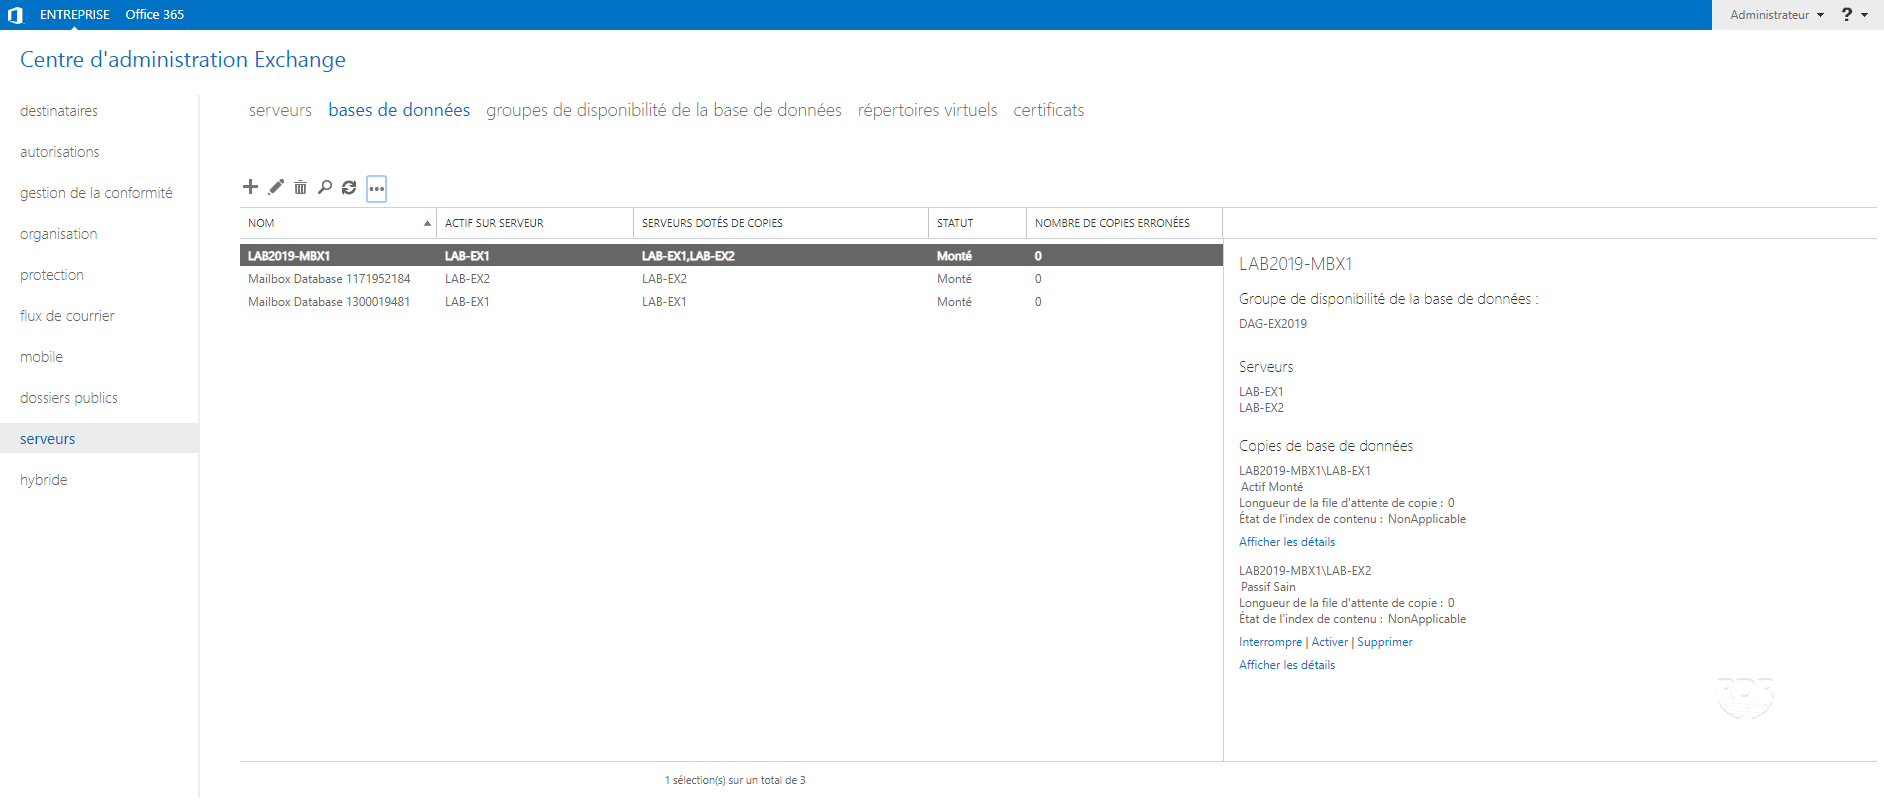
In the DAG settings, we see the servers that have been added to the group.
Now that the servers have been added to the group, we will move on to the configuration of the network dedicated to replication.
Replication network configuration
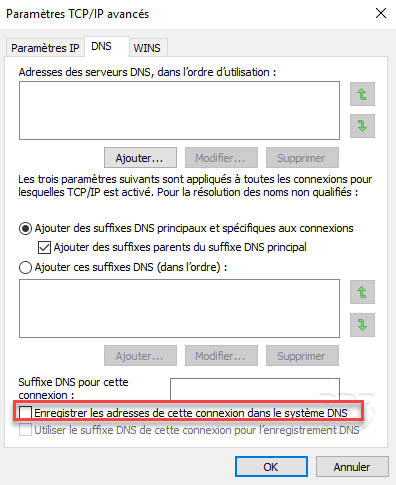
As a reminder, you must deactivate the DNS registration on the network card dedicated to replication.
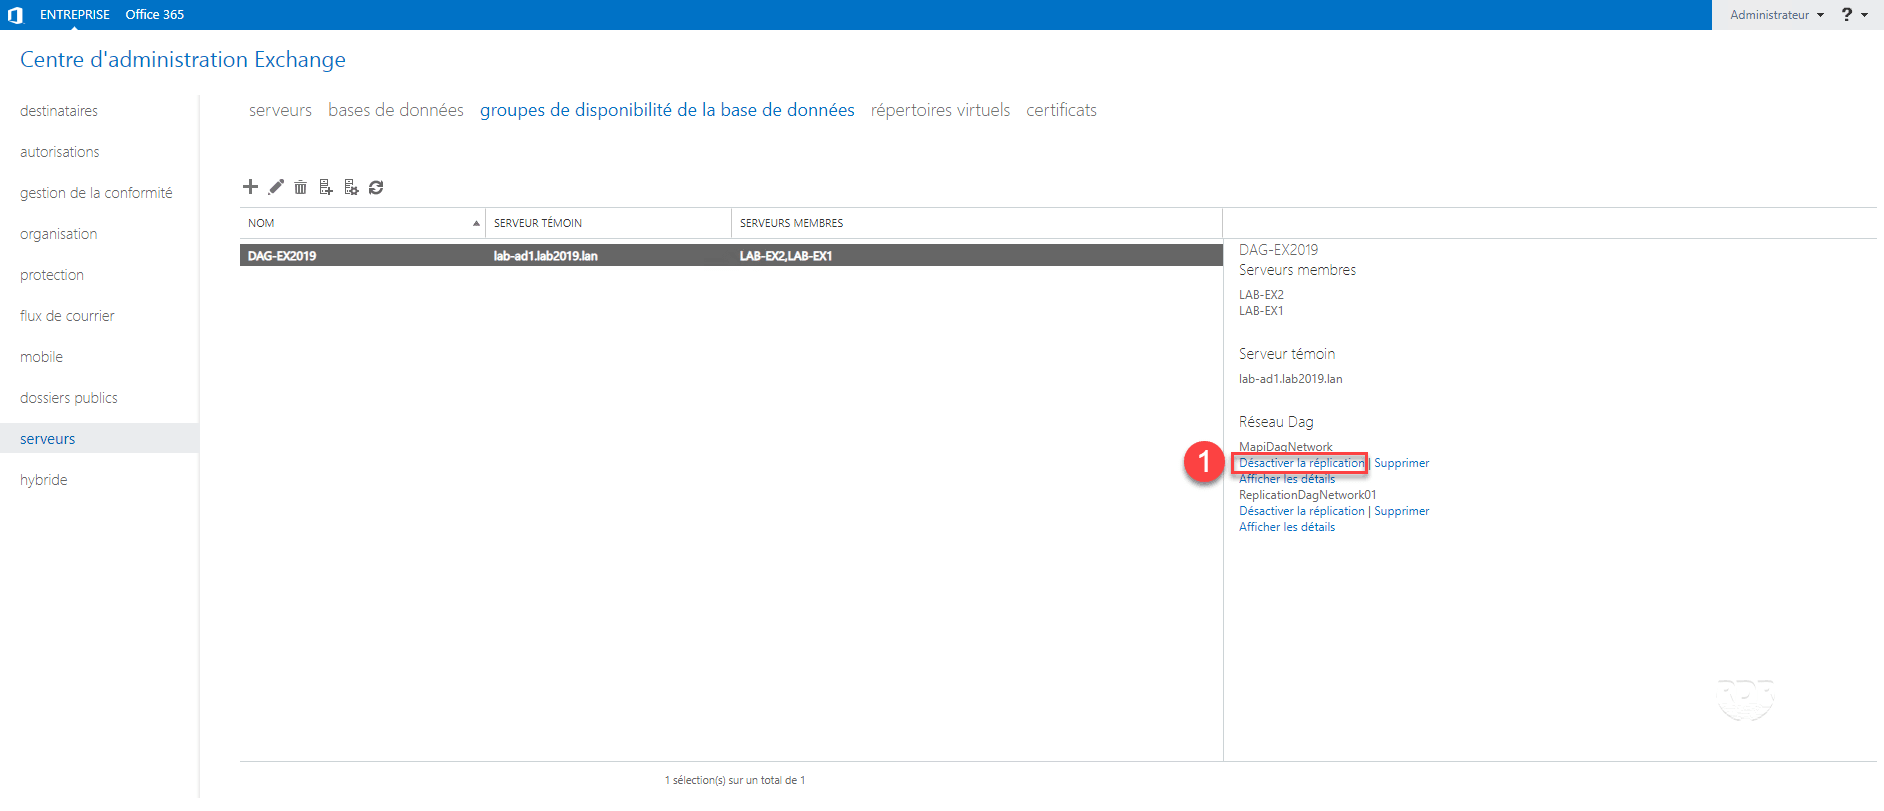
In the availability group properties, select the 1 Manually configure the networks in the database availability group check box.
Click on Deactivate replication 1 on the MapiDagNetwork.
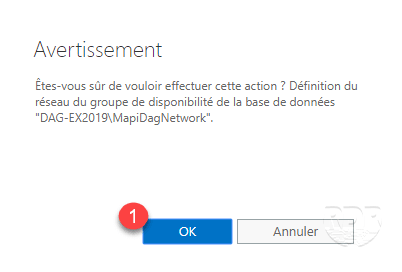
Confirm the action by clicking OK 1.
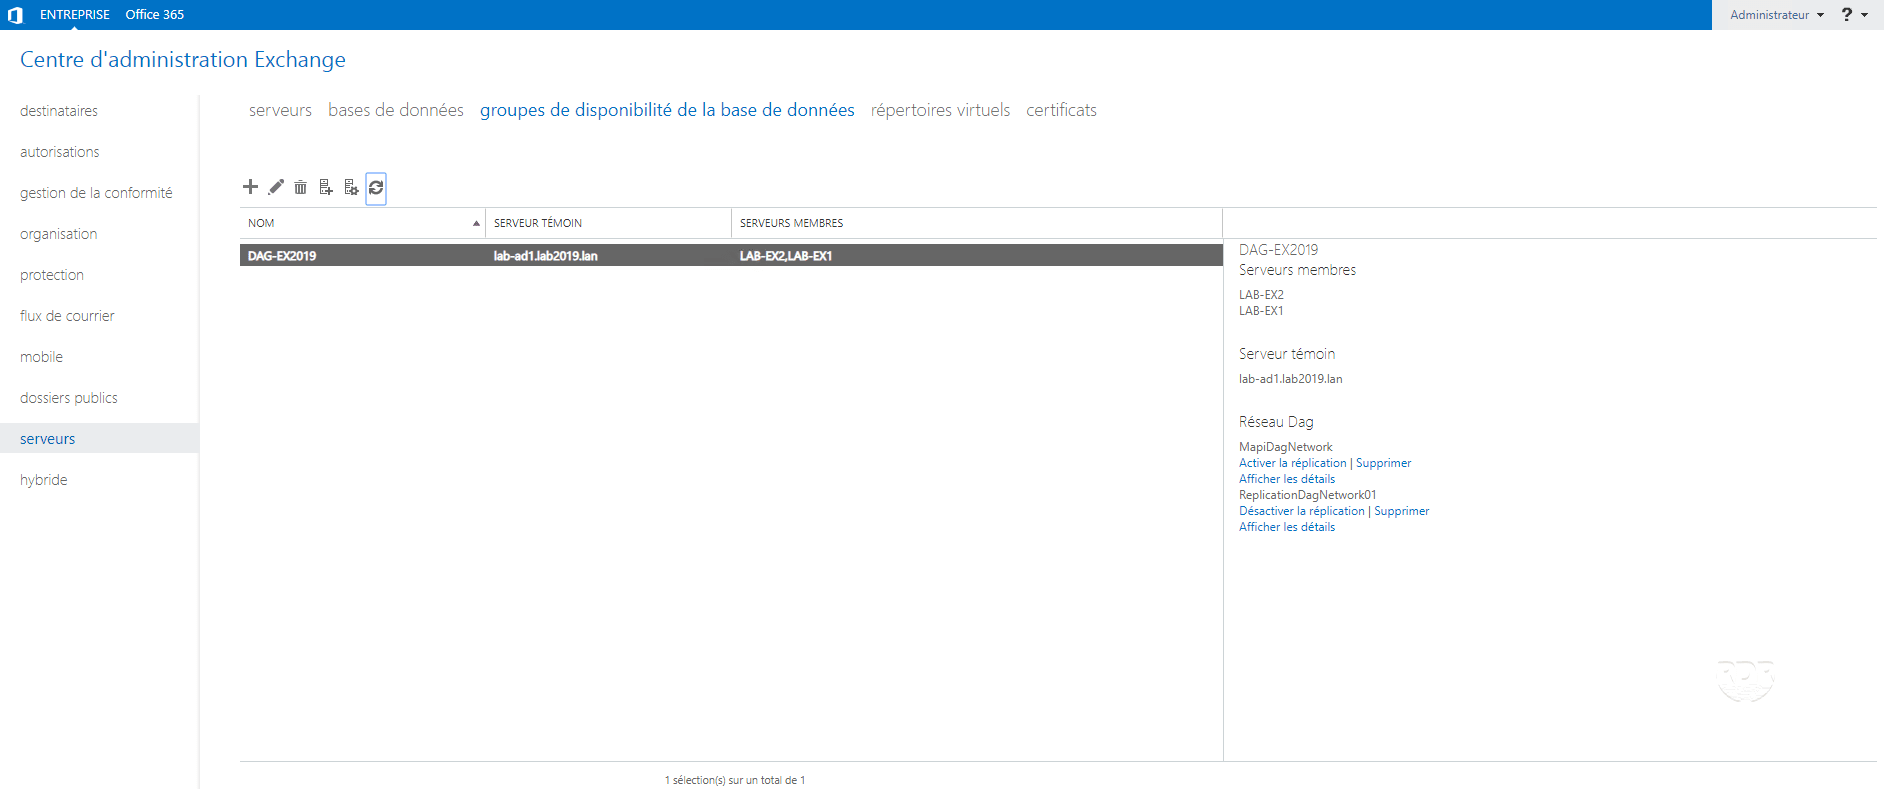
Wait a little, updating network management can take time. Once validated, we see that replication is deactivated on the network, it is possible to reset it by clicking on Activate replication.
Now that the DAG is ready, we will see how to add a database to the group.
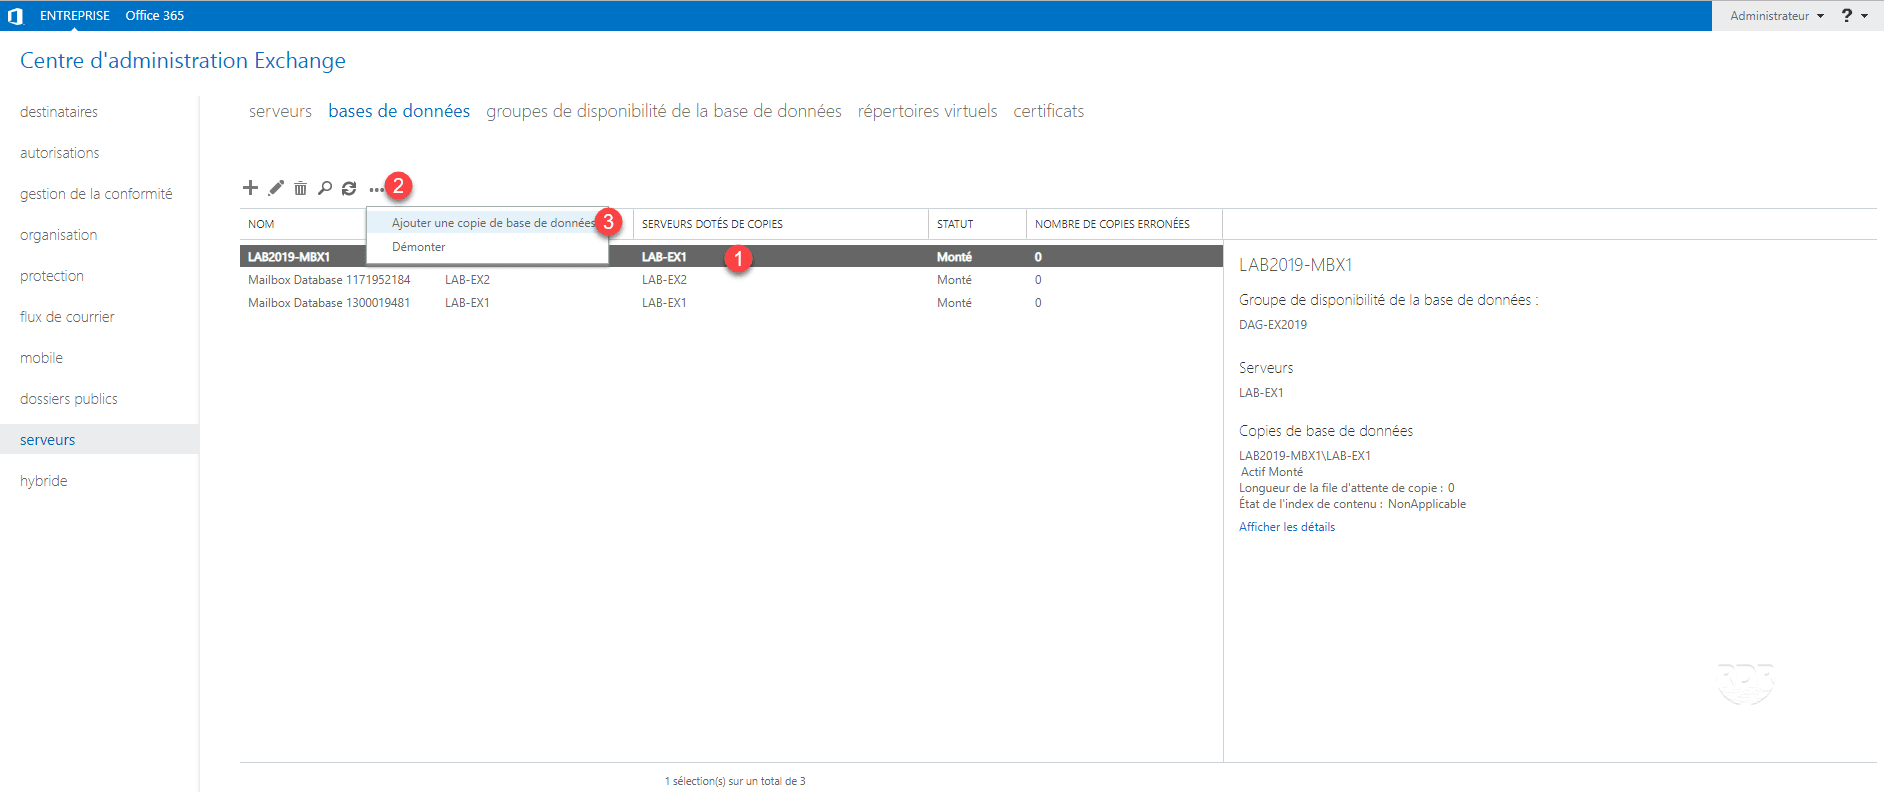
Add a database to the availability group
On the database management page, select the database 1 then click on … 2 and on Add a database copy 3.
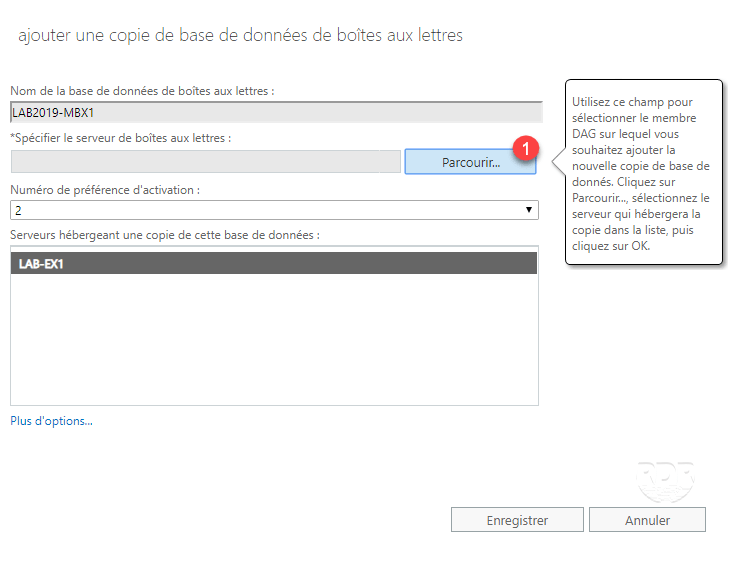
Click on Browse 1 to select the server.
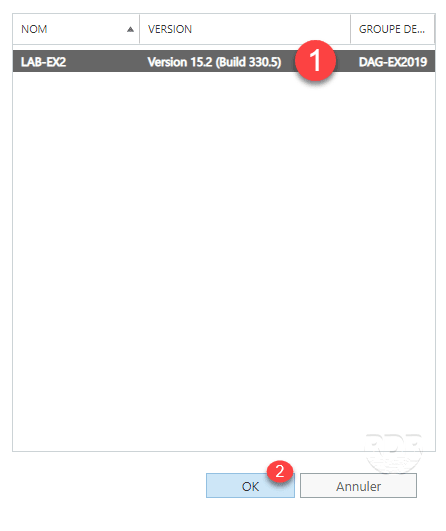
Select the server 1 and click OK 2.
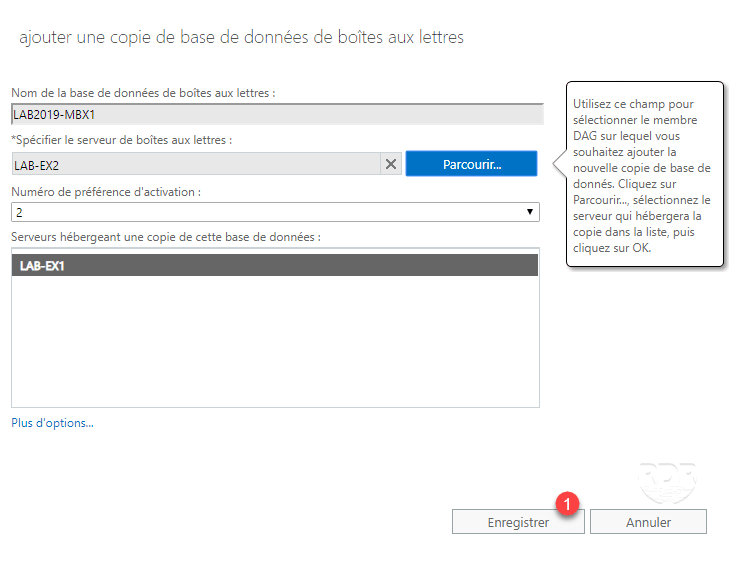
Click on Save 1.
Wait while copying the database.

When finished, click Close 1.
We see that the database is in copy on the two servers.
Conclusion
The implementation of a DAG under Exchange 2019 is similar to Exchange 2013/2016 and makes it possible to make messaging services high available.
For the rest of the configuration of your infrastructure, I invite you to read the different tutorials available on the site in the Exchange / Office 365 category.