


In this tutorial, we’ll see how to set up a Database Availability Group (DAG) that makes the Exchange Highly Available (HA) databases available.
This feature of Exchange makes it possible to put the databases that host the mailboxes in high availability, the databases replicate in “real time”.
This solution ensures high availability of Exchange messaging services.
A DAG consists of at least two Exchange servers.
Personal opinion: it is essential for me to set up a DAG when we want to host its Exchange infrastructure, the DAG will help ensure the HA databases that also facilitates maintenance tasks. With a DAG, it is “feasible” to do daytime maintenance tasks on an Exchange infrastructure with no downtime.
Prerequisites
Here are the prerequisites for setting up a DAG:
- 2 mini servers with the same version of Exchange and ideally the same level of patch.
- 2 network cards (LAN / Replication Networks), disable the DNS record for the network card dedicated to replication.
- the same number of disks / partitions with the same letters.
- sufficient volumetry on the disks to accommodate the databases.
- 1 server with a folder for quorum
Servers do not have to have the same CPUs and the same amount of memory. It is possible to mix VM / physical machines.
The following tutorial: Exchange 2016: Installation and Configuration will guide you through the installation.
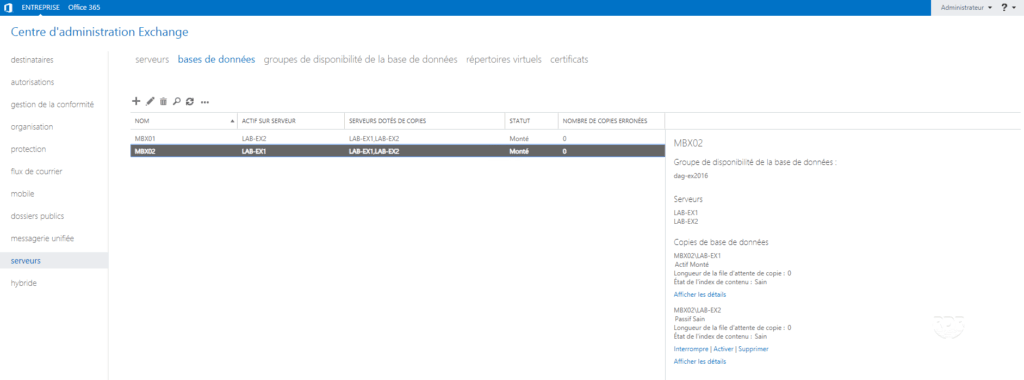
In the administrative console, both Exchange servers must be present:

Preparation of the environment
Witness file
To work, the Exchange DAG relies on the Windows Failover Cluster feature.
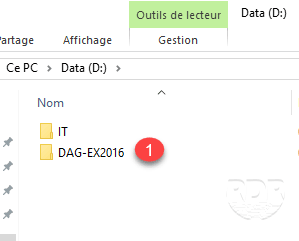
1. On a server (excluding Exchange), you must have a folder for quorum 1 .
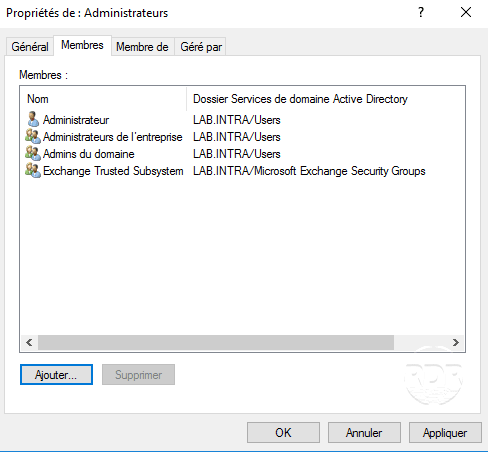
2. On the same server, you must add the Exchange Trusted Subsystem group to the local Administrators group on the server. In the case of a domain controller, add the Exchange Trusted Subsystem group to the Builtin \ Administrators group.
Networks on Exchange Servers
1. Identify network cards.

2. Configure the IP of the replication network.
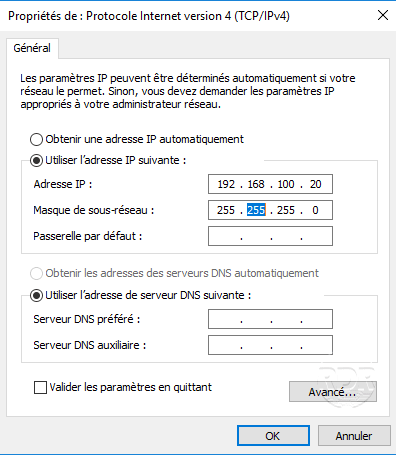
3. In Advanced TCP / IP Settings, clear the Save addresses for this connection in DNS 1 check box.
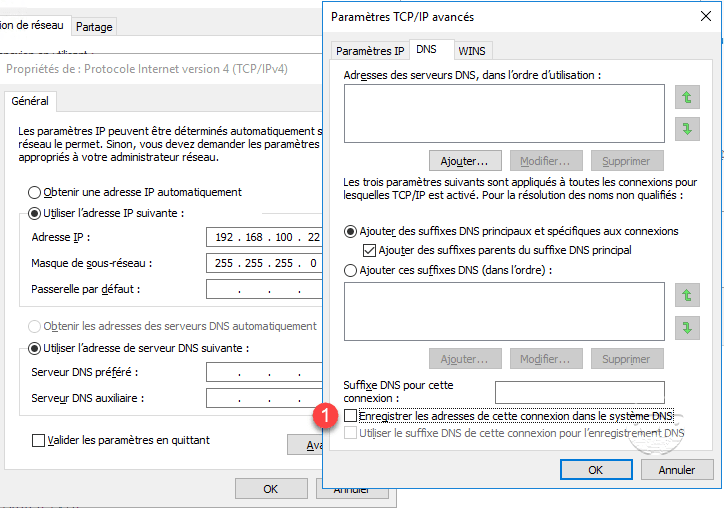
If this is not done, it will not be possible to map the network map to replication.
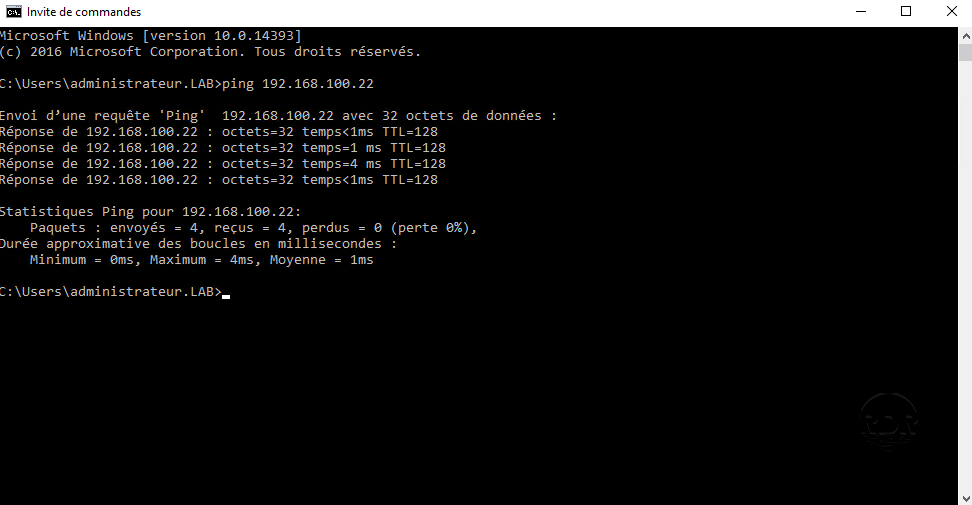
4. Test the communication.
Now that the environment is ready, we will move on to creating the DAG.
Creating the Exchange DAG
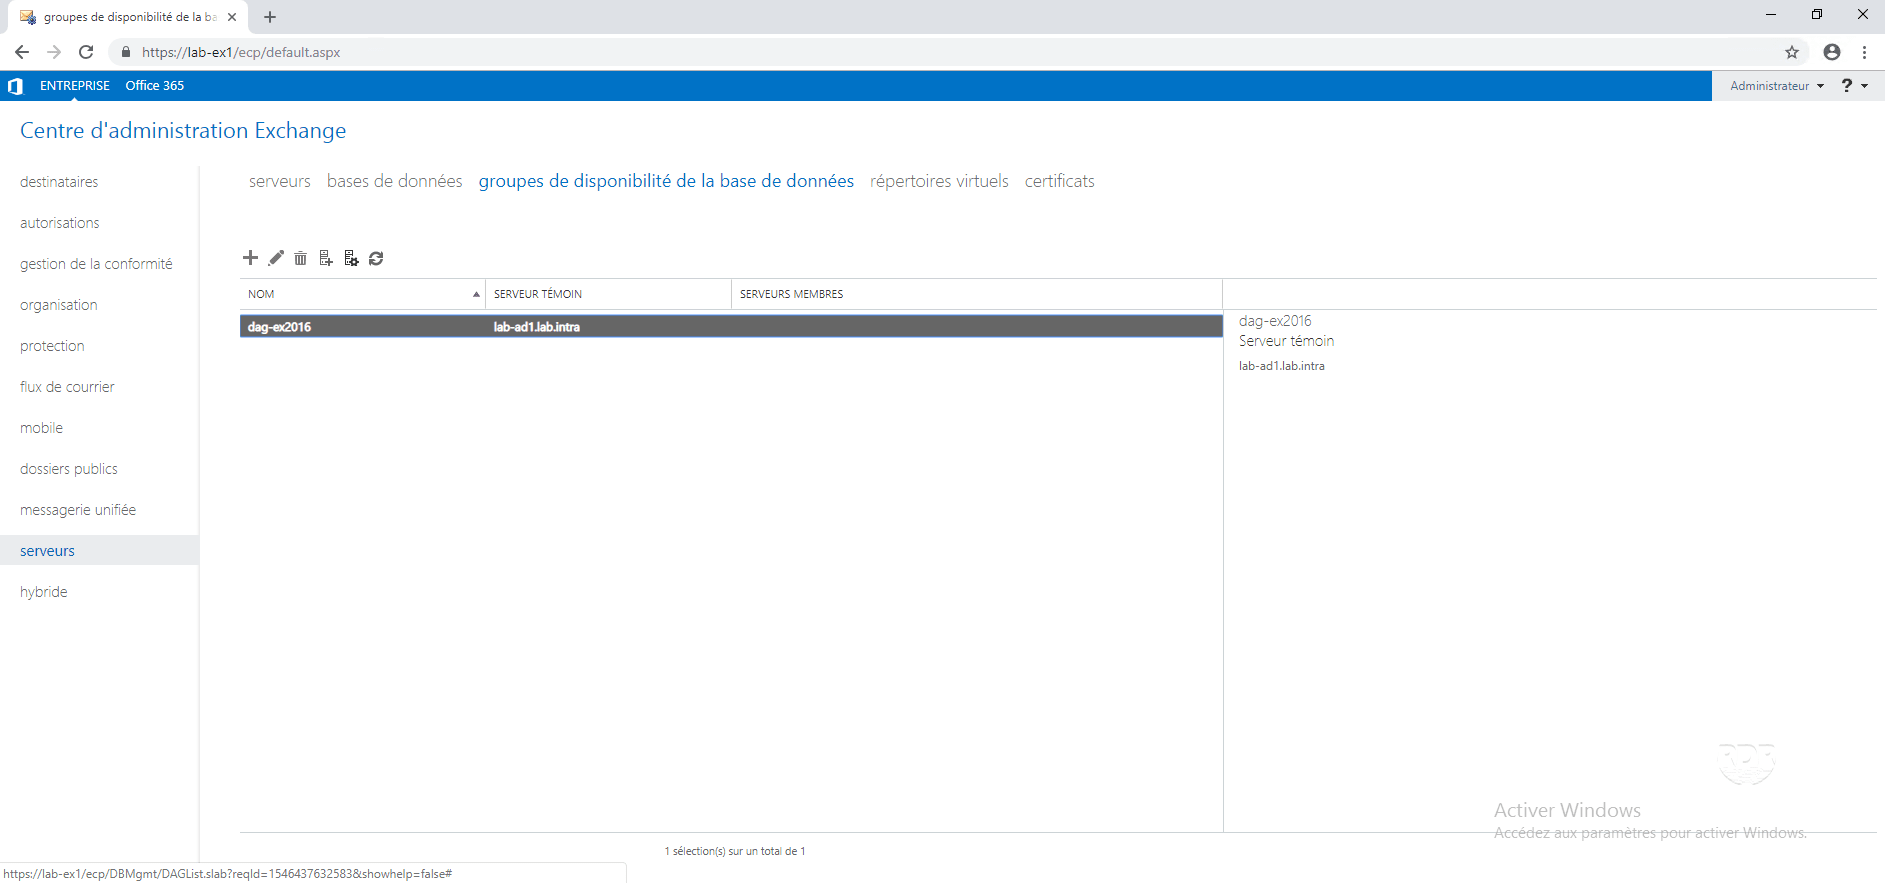
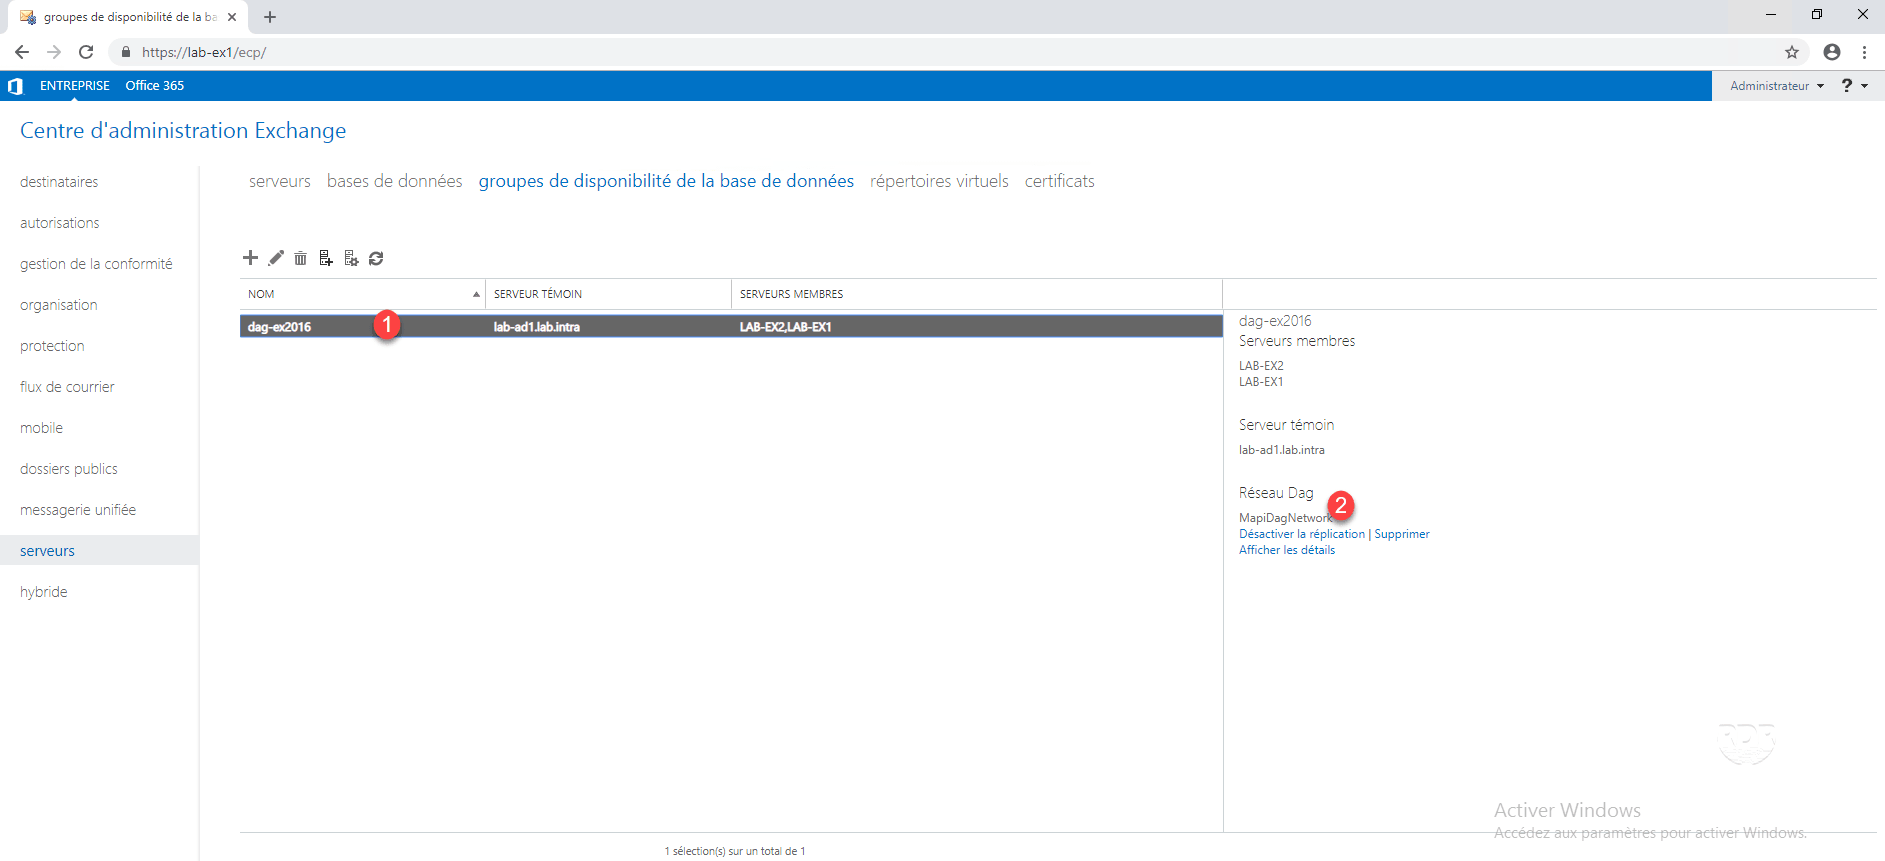
1. From the ECP, go to servers 1 / availability groups of database 2 . On this page appears the list of available DAGs.
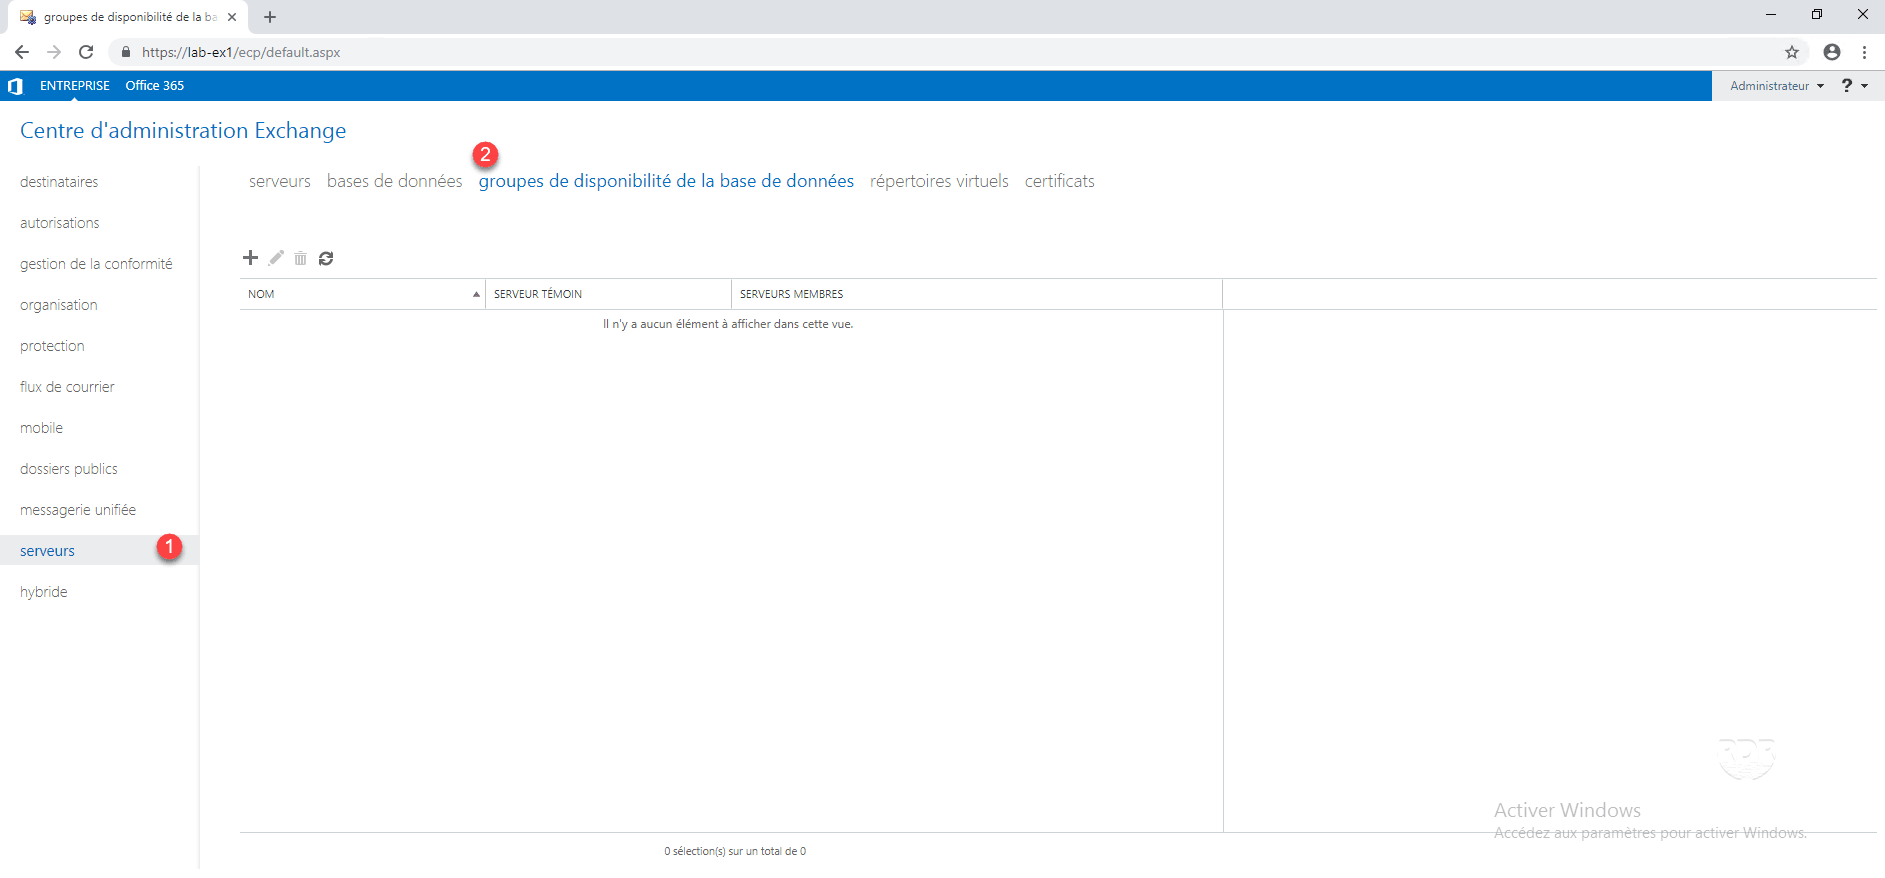
It is possible to have multiple DAGs within the same Exchange infrastructure.
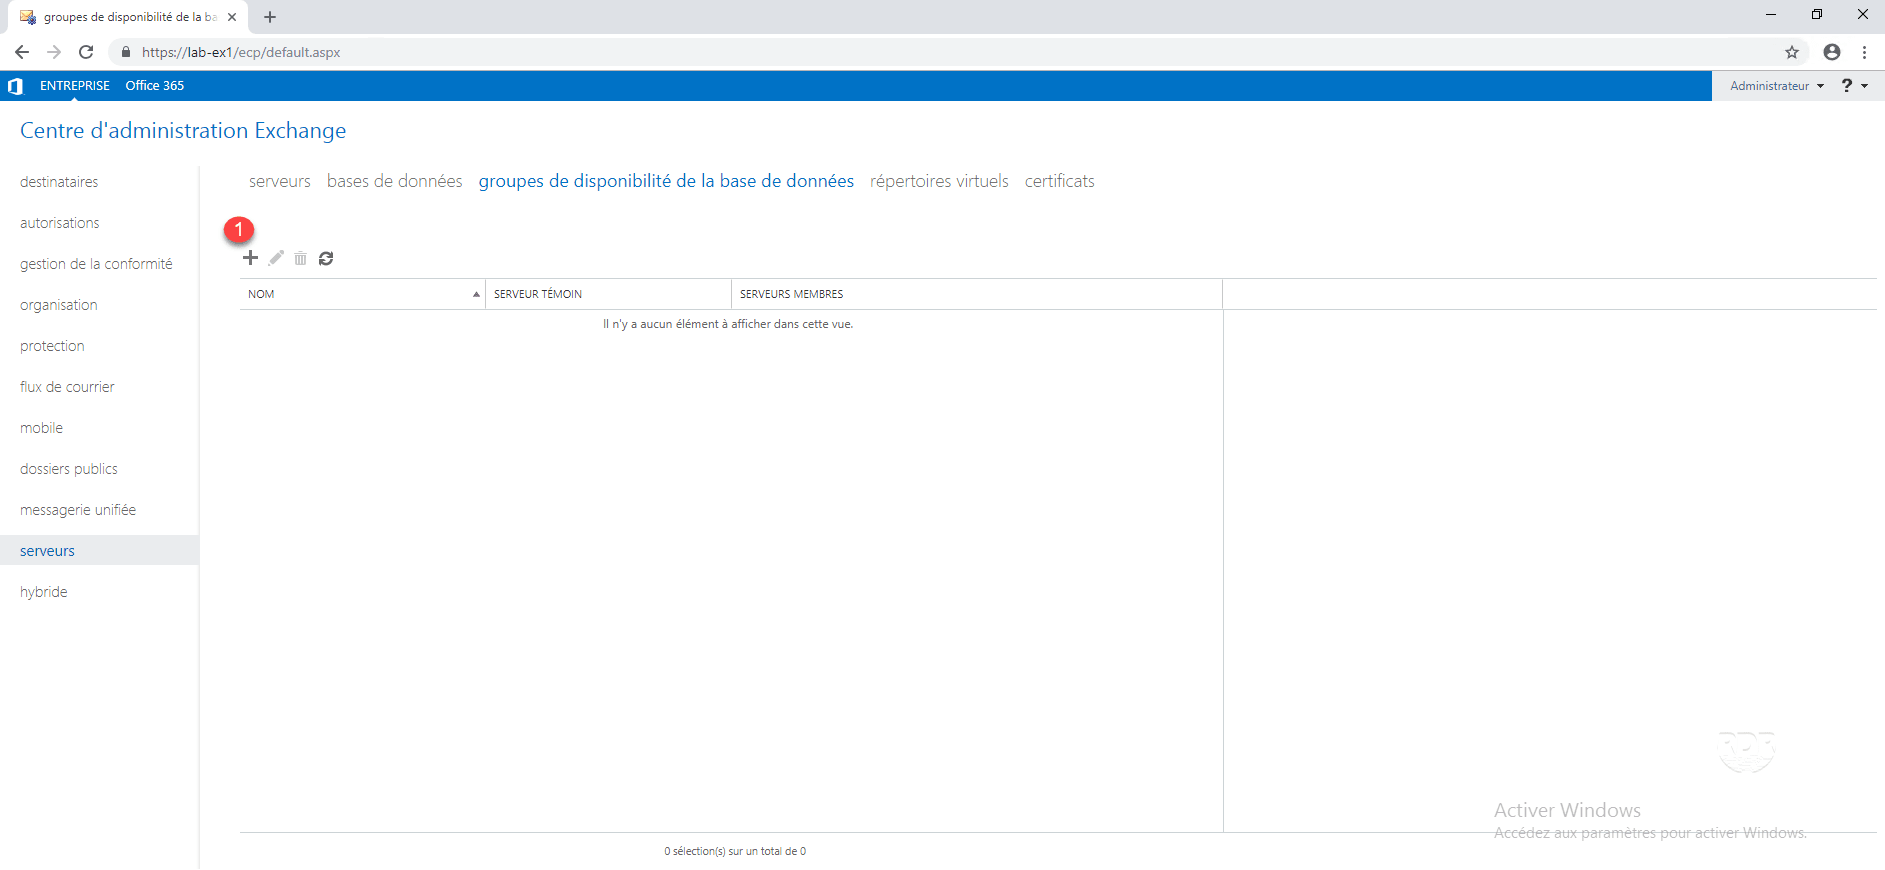
2. Press + 1 to add a DAG.
3. Enter the name of the DAG 1 , the witness server 2 and the directory 3 . It is also possible to enter an IP for DAG 4 . Finish by clicking Save 5 .

4. The availability group is created.
Now that we have created the DAG, we will see how to add the servers to the availability group.
Configuration: add servers
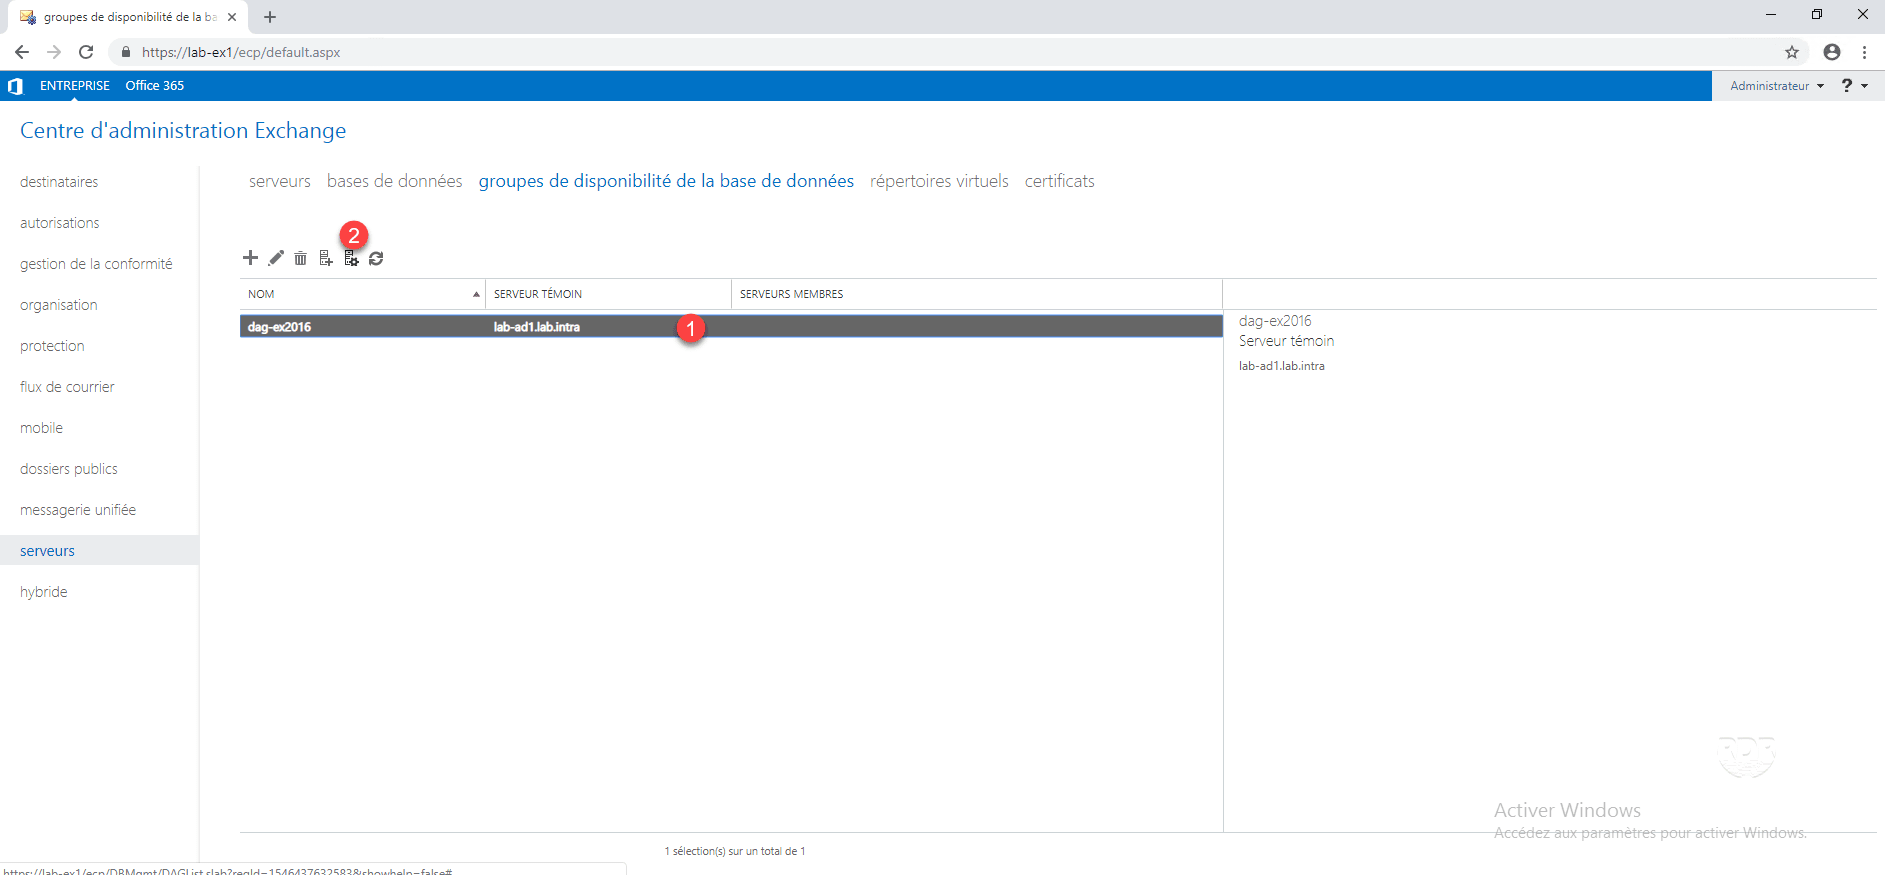
1. From the list of availability groups, select the DAG just created 1 and click on the server management icon 2 .
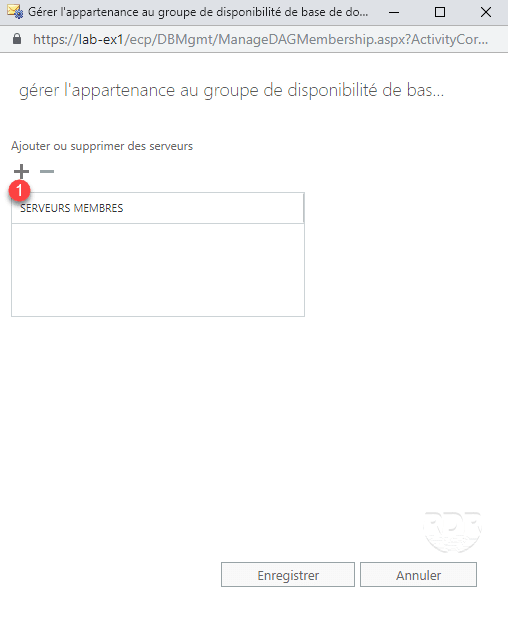
2. Click on the + 1 .
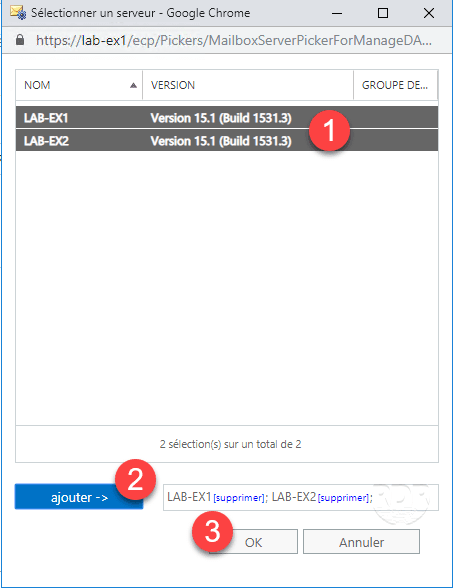
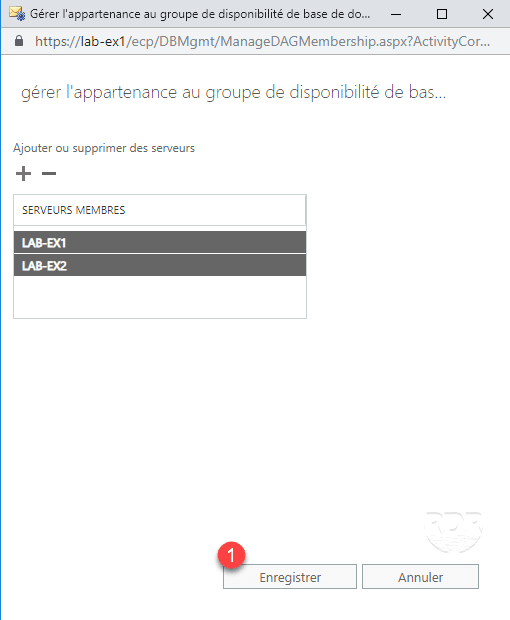
3. Select the 1 servers that make up the DAG, click on add 2 then OK 3 .
4. The servers are ready to be added to the group, click on Save 1 .
5. Wait while adding the servers to the group …
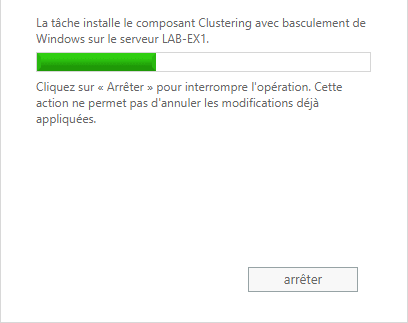
During this step, the Failover Clustering feature is installed on each server and a cluster is created.
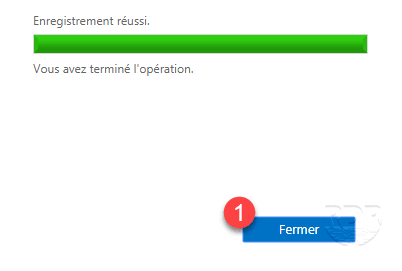
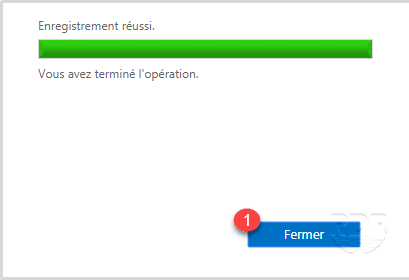
6. When finished, click Close 1 .
7. The servers are added to the group and are visible in the member servers section.

The following points on this part are optional, they are given as information.
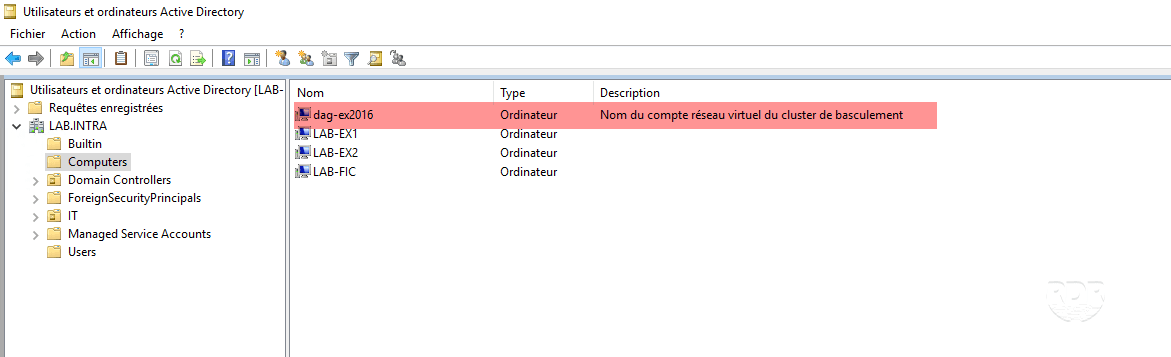
8. When creating the cluster an AD computer account with the name of the DAG was created.
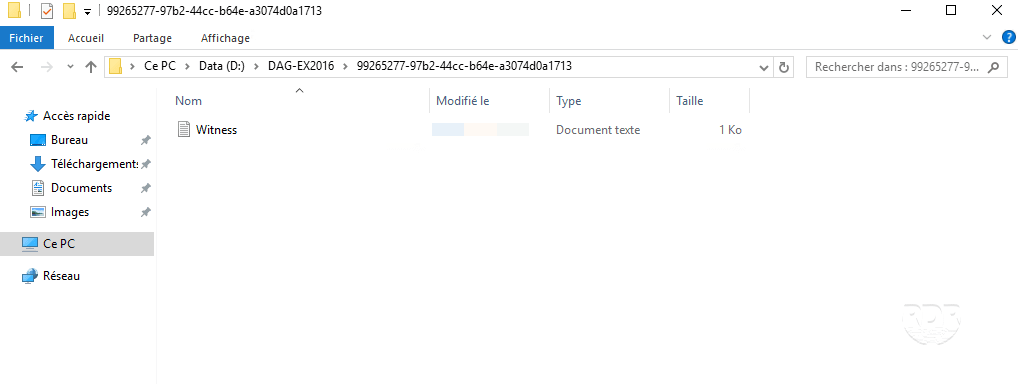
9. On the server that hosts the cluster witness, verify that the DAG servers have good access, a folder with a GUID is created and should have a txt file named Witness.
Now that the group is created, we will move to the network configuration of the DAG.
Configuration: Network Management
1. On the ECP at the level of the management of the availability groups, select the created group 1 , in the left part, we see that a network MapiDagNetwork 2 is created.
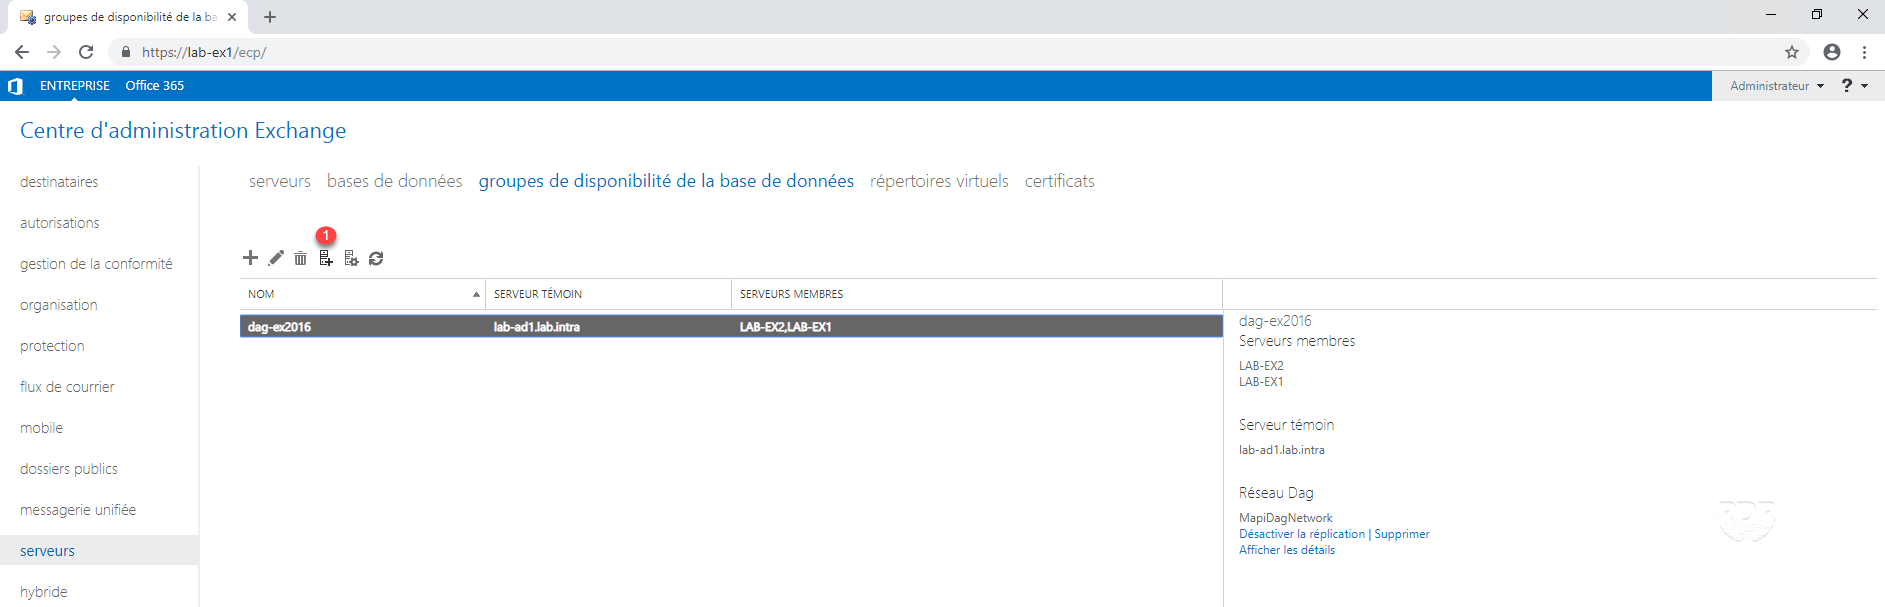
2. Click on the icon 1 to add a new network.
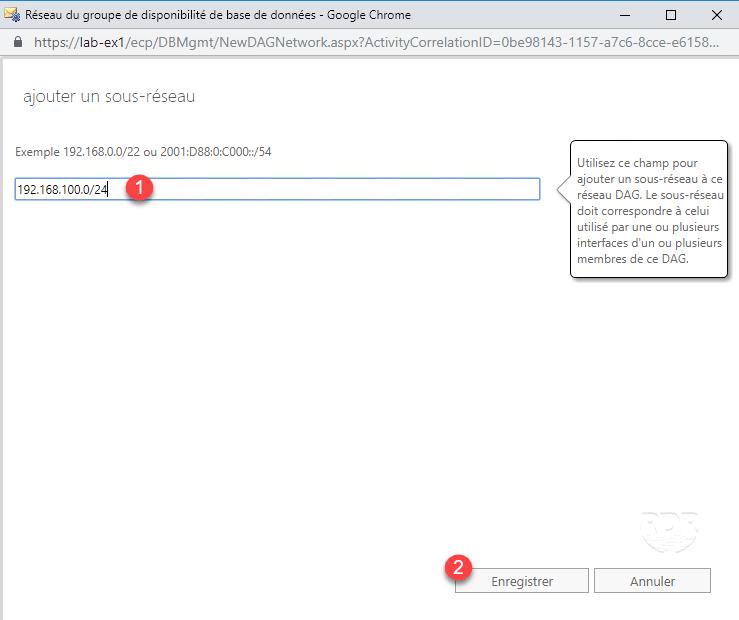
3. Enter the network name 1 and a description 2 then click on the + 3 to define the subnet.

4. Enter the network address 1 in the format x.x.x.x / y and click on Save 2 .
5. Click Save 1 to save the network.

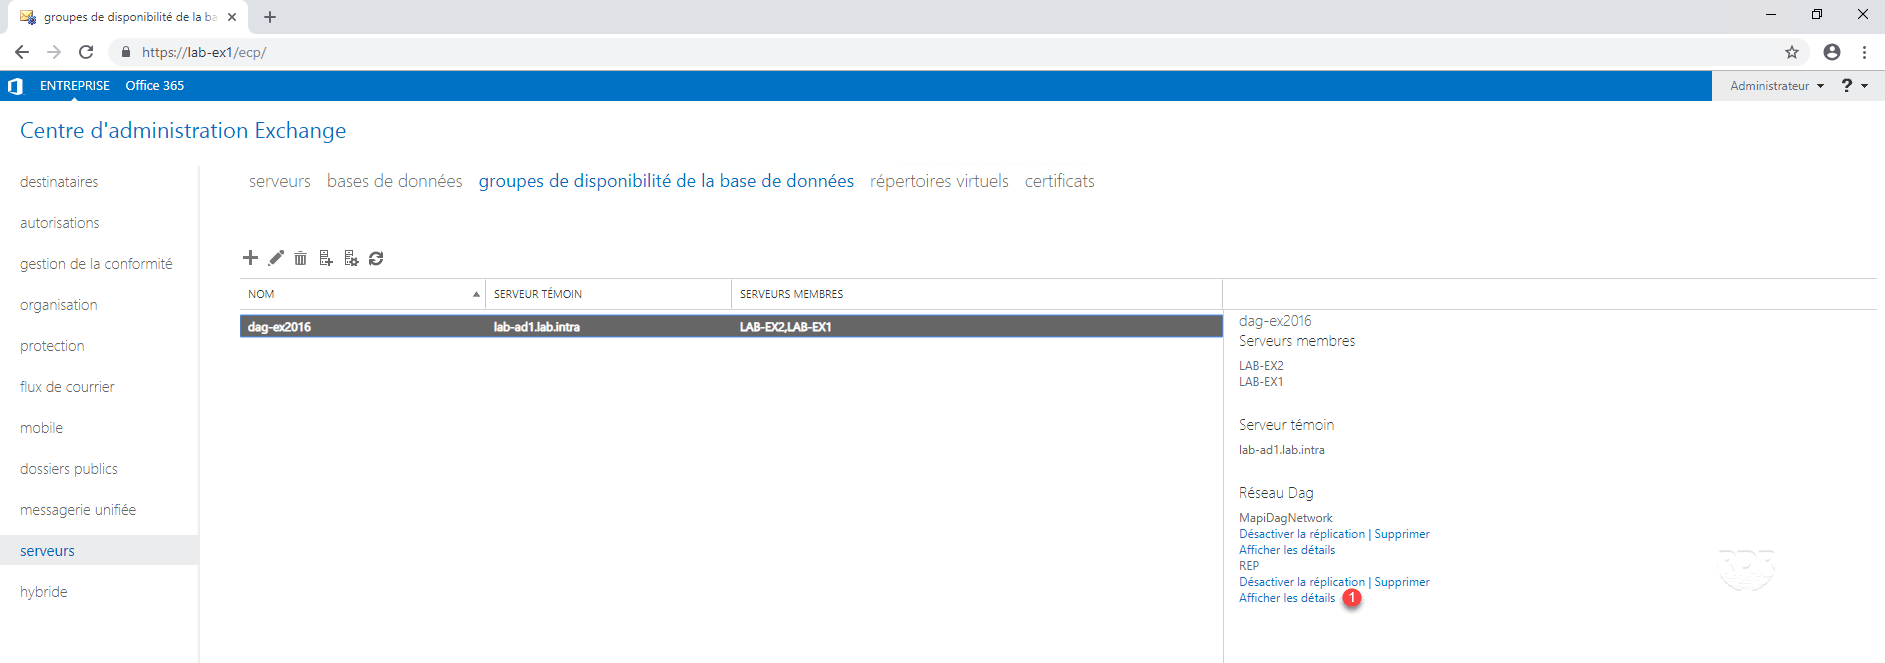
6. The network is added 1 .
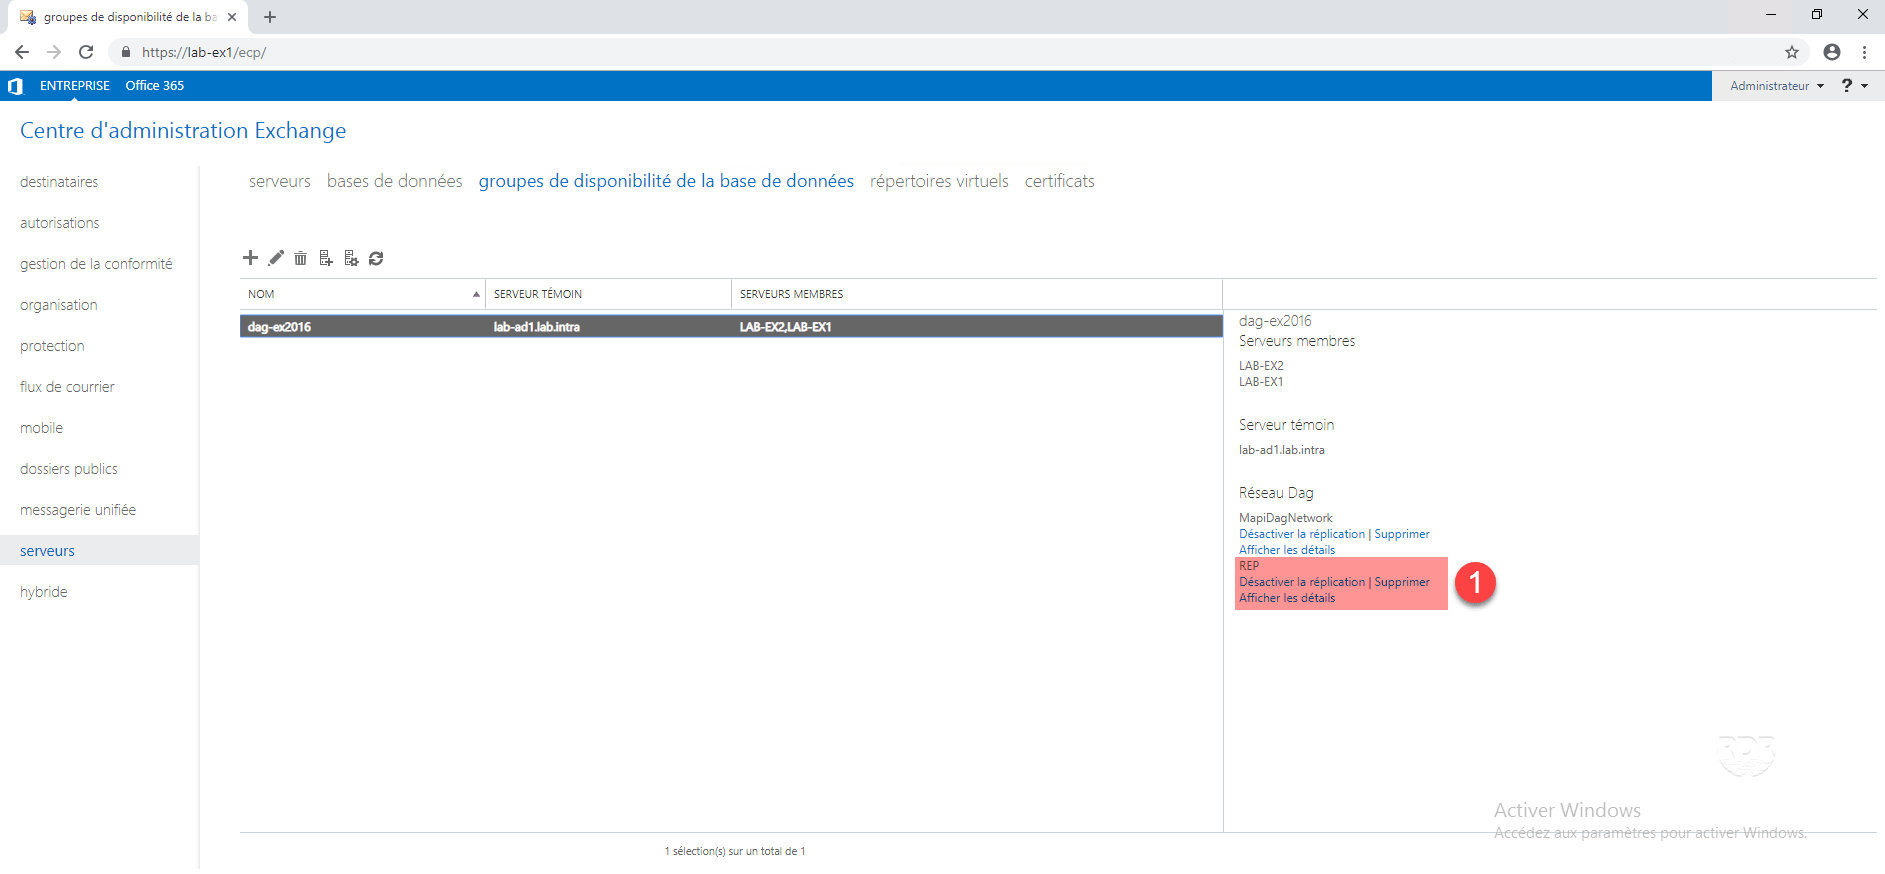
7. Click View details 1 of the REP connection.
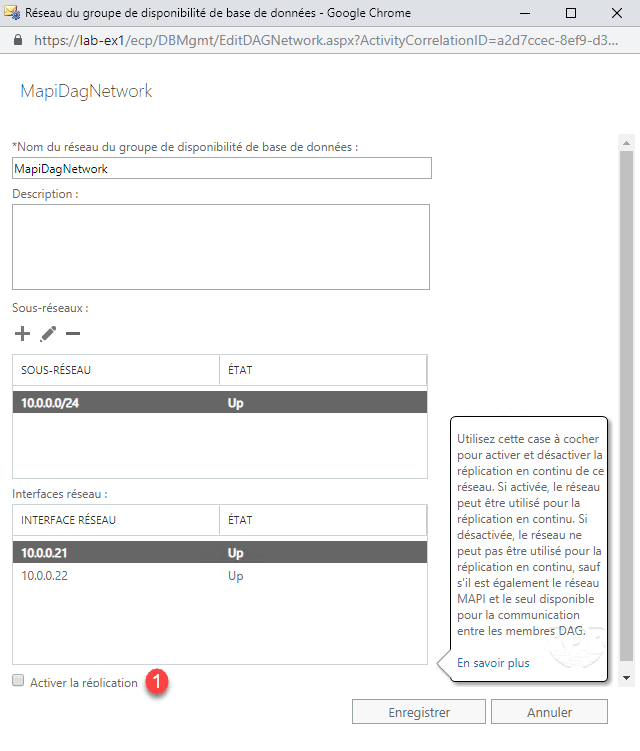
8. Check the following items:
- 1Subnets.
- 2 Network Interfaces.
- 3 Replication is Enable.

9. Do the same on the network MapiDagNetwork but this time by unchecking the box 1 Enable replication.
Now that the network cards are configured, we will see how to put a base in high availability.
Configuration: put a base in the DAG
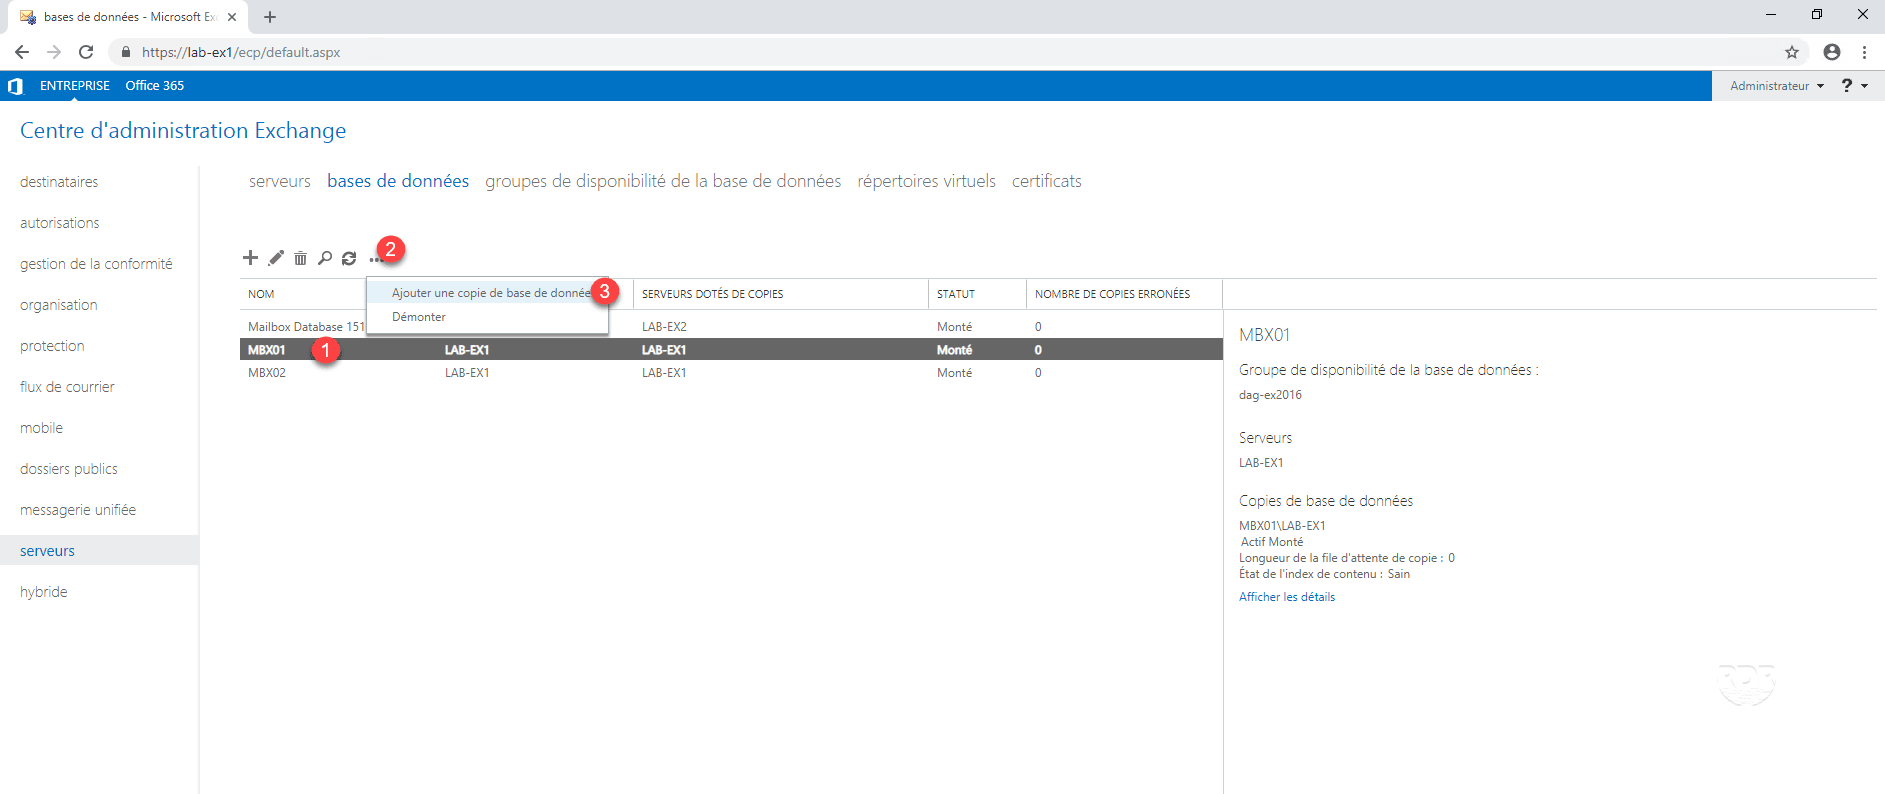
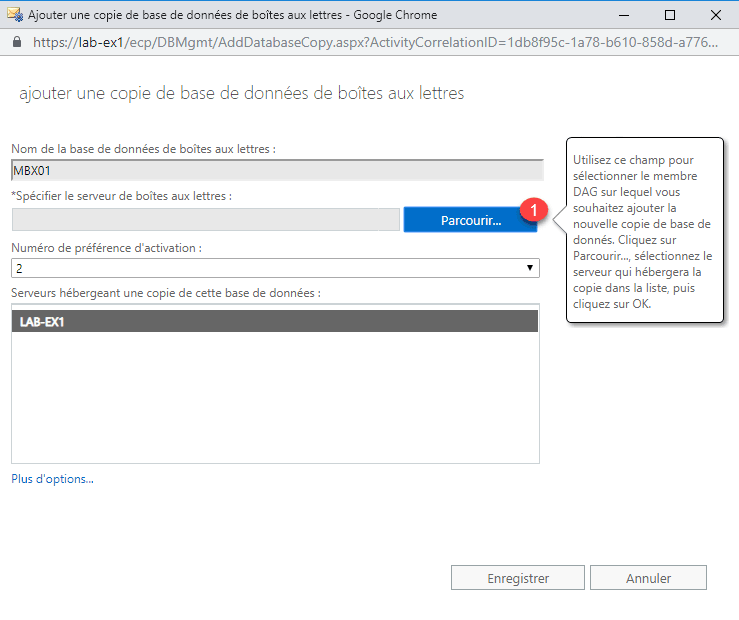
1. From the ECP, go to the databases, select the base to put in HA 1 , click on … 2 then on Add a database copy 3> >.
2. Click Browse 1 .
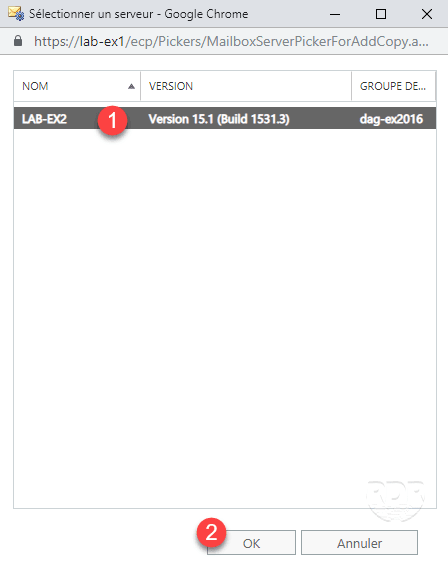
3. Select server 1 and click OK 2 .
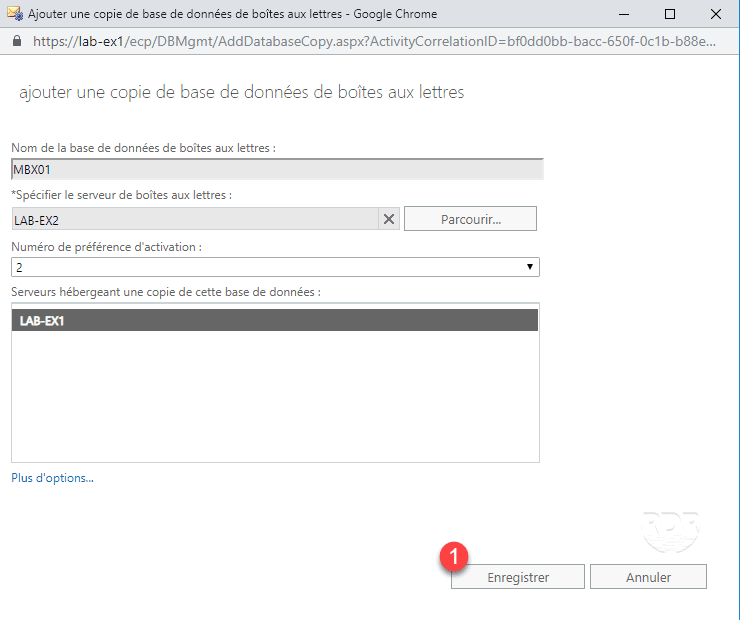
4. Click Save 1 .
5. Wait while applying and copying the database.
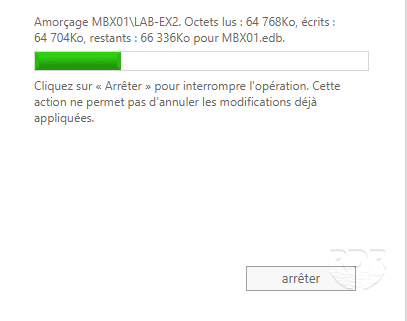
6. When the copy is complete, click Close 1 .
7. The MBX01 base is now in HA 1 .
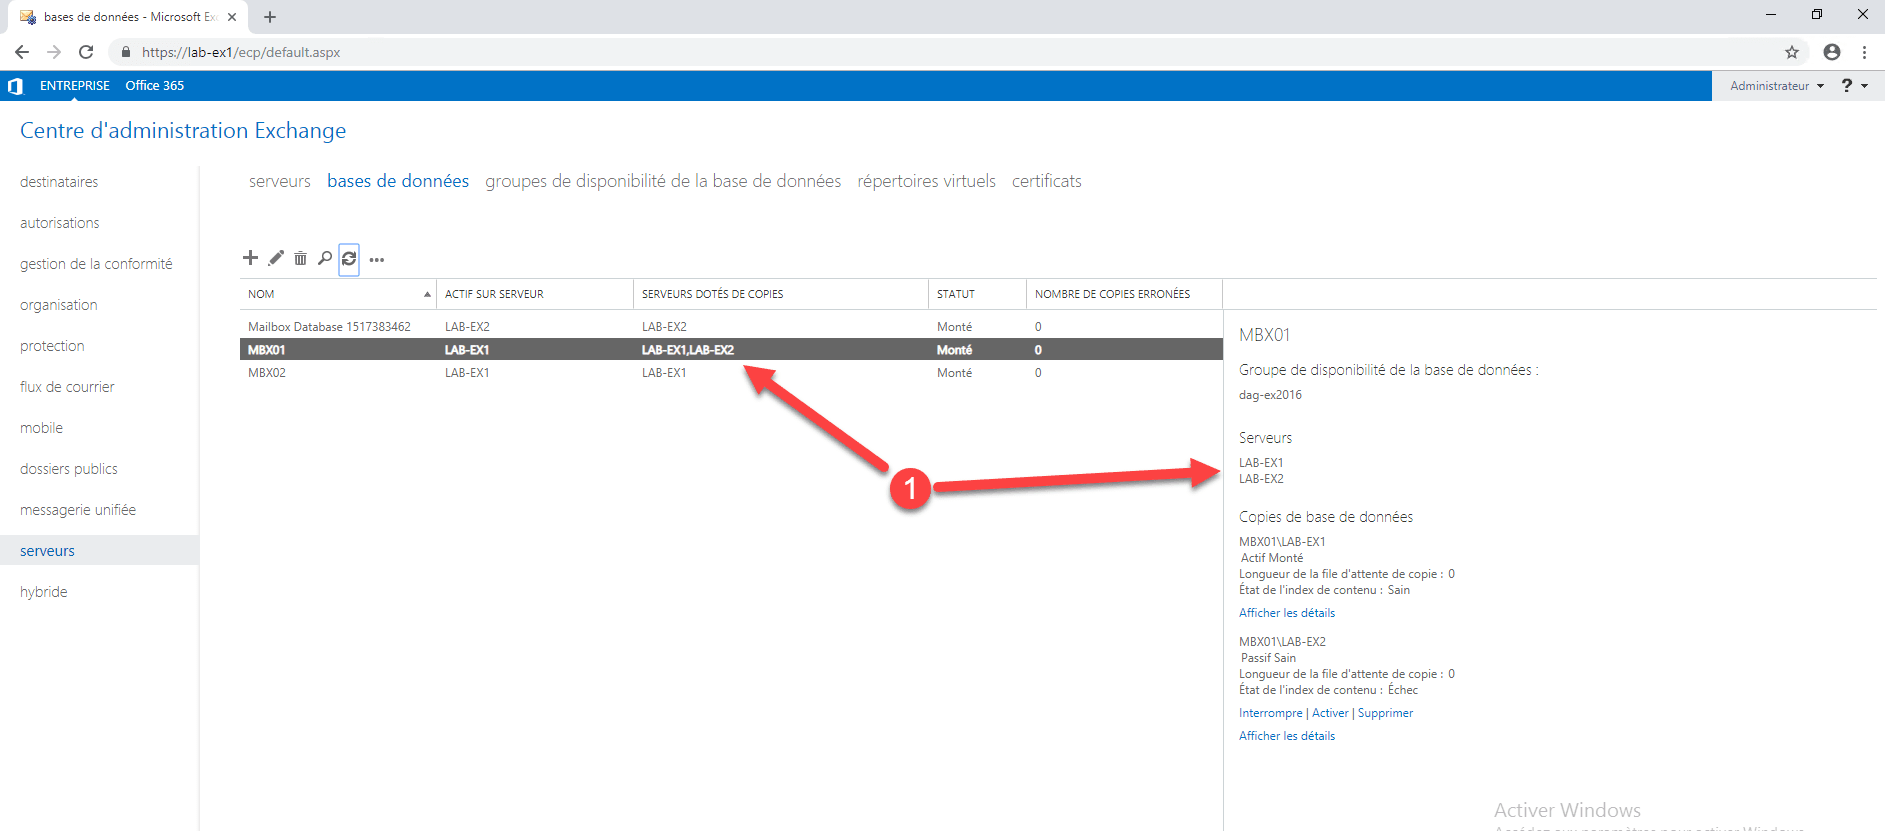
8. Repeat for the bases to put in the DAG.
To activate the copy on another server, select the base, in the left part, click Activate on a server with a copy.
To finish
Your Exchange infrastructure is now in high availability with the implementation of the DAG.
Now you only have to configure the client accesses, for that you two possible scenarios:
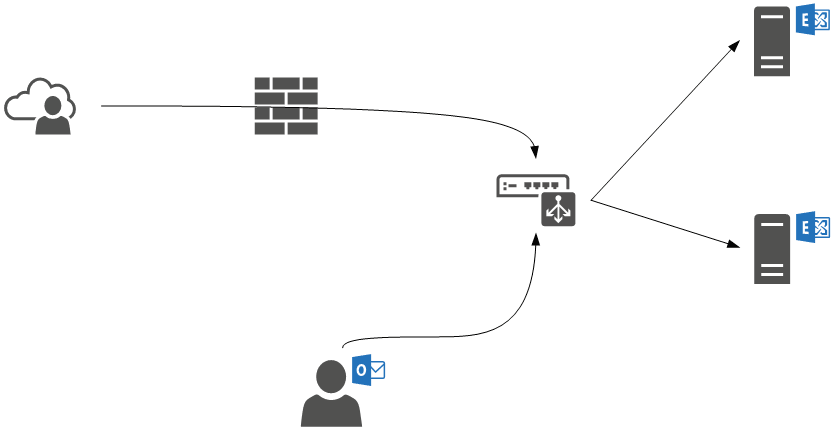
Scenario 1:
Using a Kemp or IIS ARR log balancer for clients to point to and the LB to switch back to available Exchange servers.
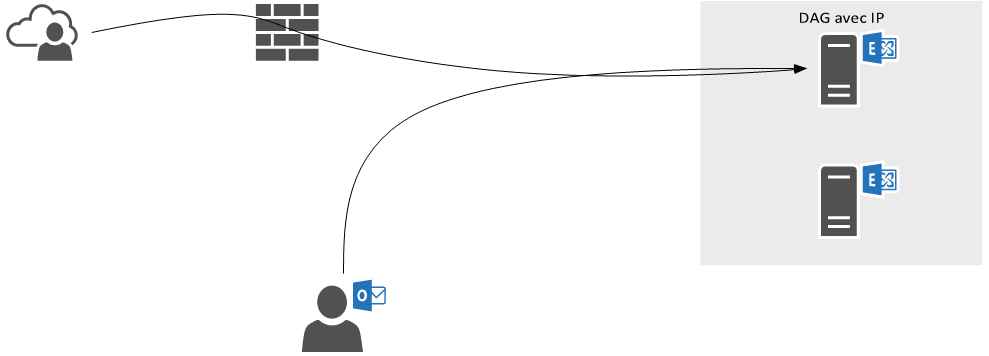
Scenario 2:
If you have configured an IP address to the DAG, you must create an external and internal DNS record to the IP (mail.xxxx.xx) and reconfigure OutlookAnyWhere and the virtual directories with this URL (s).
For incoming emails, in the absence of a server with the Transport Edge role, I advise you to add an address to your DAG if it does not have one and to forward the SMTP traffic above.
Why use a load balancer?
I will finish this tutorial on this question, if your customers (Outlook / Webmail / Mobile …) use the IP address of the DAG, the load of consultation of the messaging will be with the load of the server carrying the IP address, in a small environment this solution has little impact on overall performance, which is not the case on if you have a lot of user.