Introduction
In this tutorial, we will see how to install Exchange 2013 on a Windows 2012R2 server.
A complete tutorial on Exchange 2016 is available, installation and configuration is similar.
Prerequisites
To install Exchange 2013, you must:
- Un environnement Active Directory et avoir être administrateur du schéma et de l’entreprise*
- A virgin Windows 2012R2 server up to date for Exchange 2013 with ideally 3 partitions (System / Database / Logs).
- Provide a DNS record for email services.
When installing Exchange, a schema update is performed.
Installation d’Exchange 2013
Installing the roles and features needed for Exchange 2013
Open a PowerShell command prompt and enter the commands below:
Install-WindowsFeature RSAT-ADDS
Then:
Install-WindowsFeature AS-HTTP-Activation, Desktop-Experience, NET-Framework-45-Features, RPC-over-HTTP-proxy, RSAT-Clustering, RSAT-Clustering-CmdInterface, Web-Mgmt-Console, WAS-Process-Model, Web-Asp-Net45, Web-Basic-Auth, Web-Client-Auth, Web-Digest-Auth, Web-Dir-Browsing, Web-Dyn-Compression, Web-Http-Errors, Web-Http-Logging, Web-Http-Redirect, Web-Http-Tracing, Web-ISAPI-Ext, Web-ISAPI-Filter, Web-Lgcy-Mgmt-Console, Web-Metabase, Web-Mgmt-Console, Web-Mgmt-Service, Web-Net-Ext45, Web-Request-Monitor, Web-Server, Web-Stat-Compression, Web-Static-Content, Web-Windows-Auth, Web-WMI, Windows-Identity-Foundation
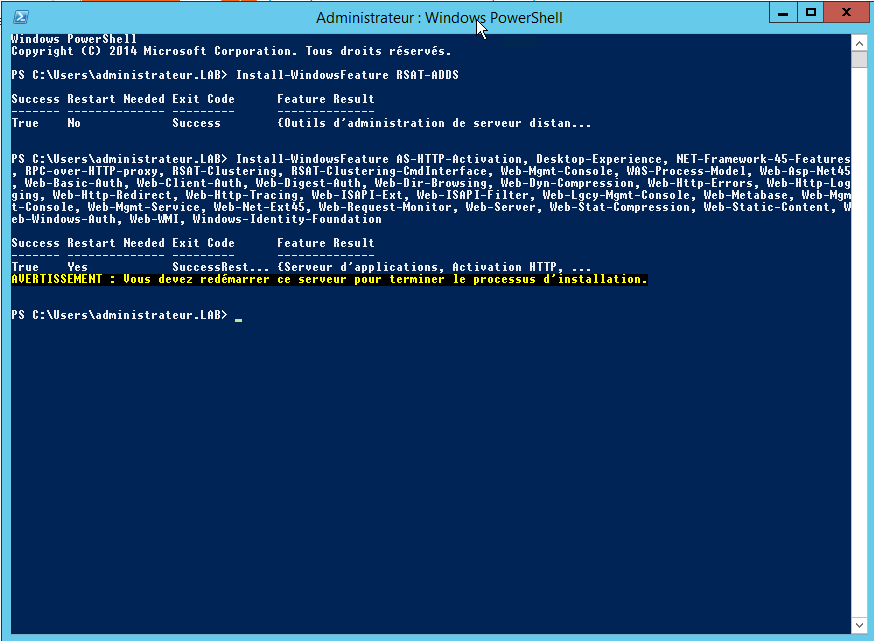
Once the installation is complete, restart the server.
Install prerequisites for Exchange 2013
You must now install the software prerequisites for Exchange 2013.
I give you the links to download the software, installing the software prerequisites does not require any particular configuration.
Install Exchange 2013
Now that the server is ready, we will move on to installing Exchange 2013.
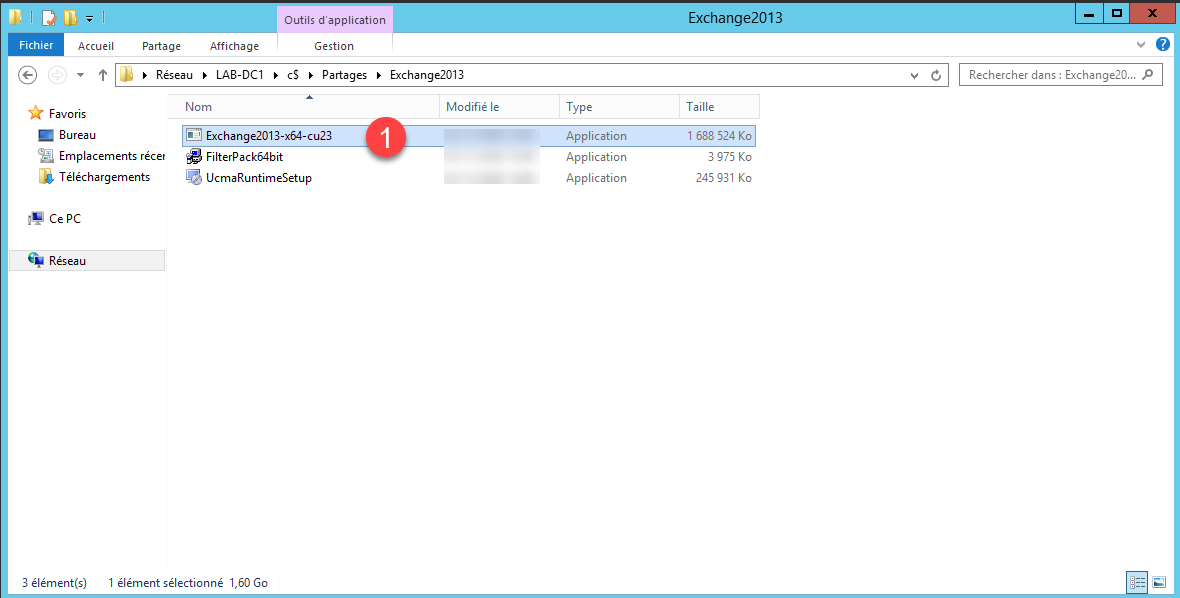
Download the latest version available (Exchange 2013 CU23)
Once downloaded, run the 1 file to decompress it.
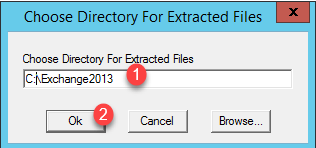
Indicate the location where the archive should be decompressed 1 and click OK 2.
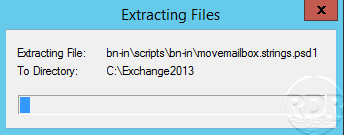
Wait while the files are extracted….
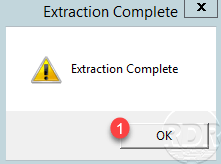
Once the Exchange 2013 installation files have been extracted, click OK 1 to close the message.
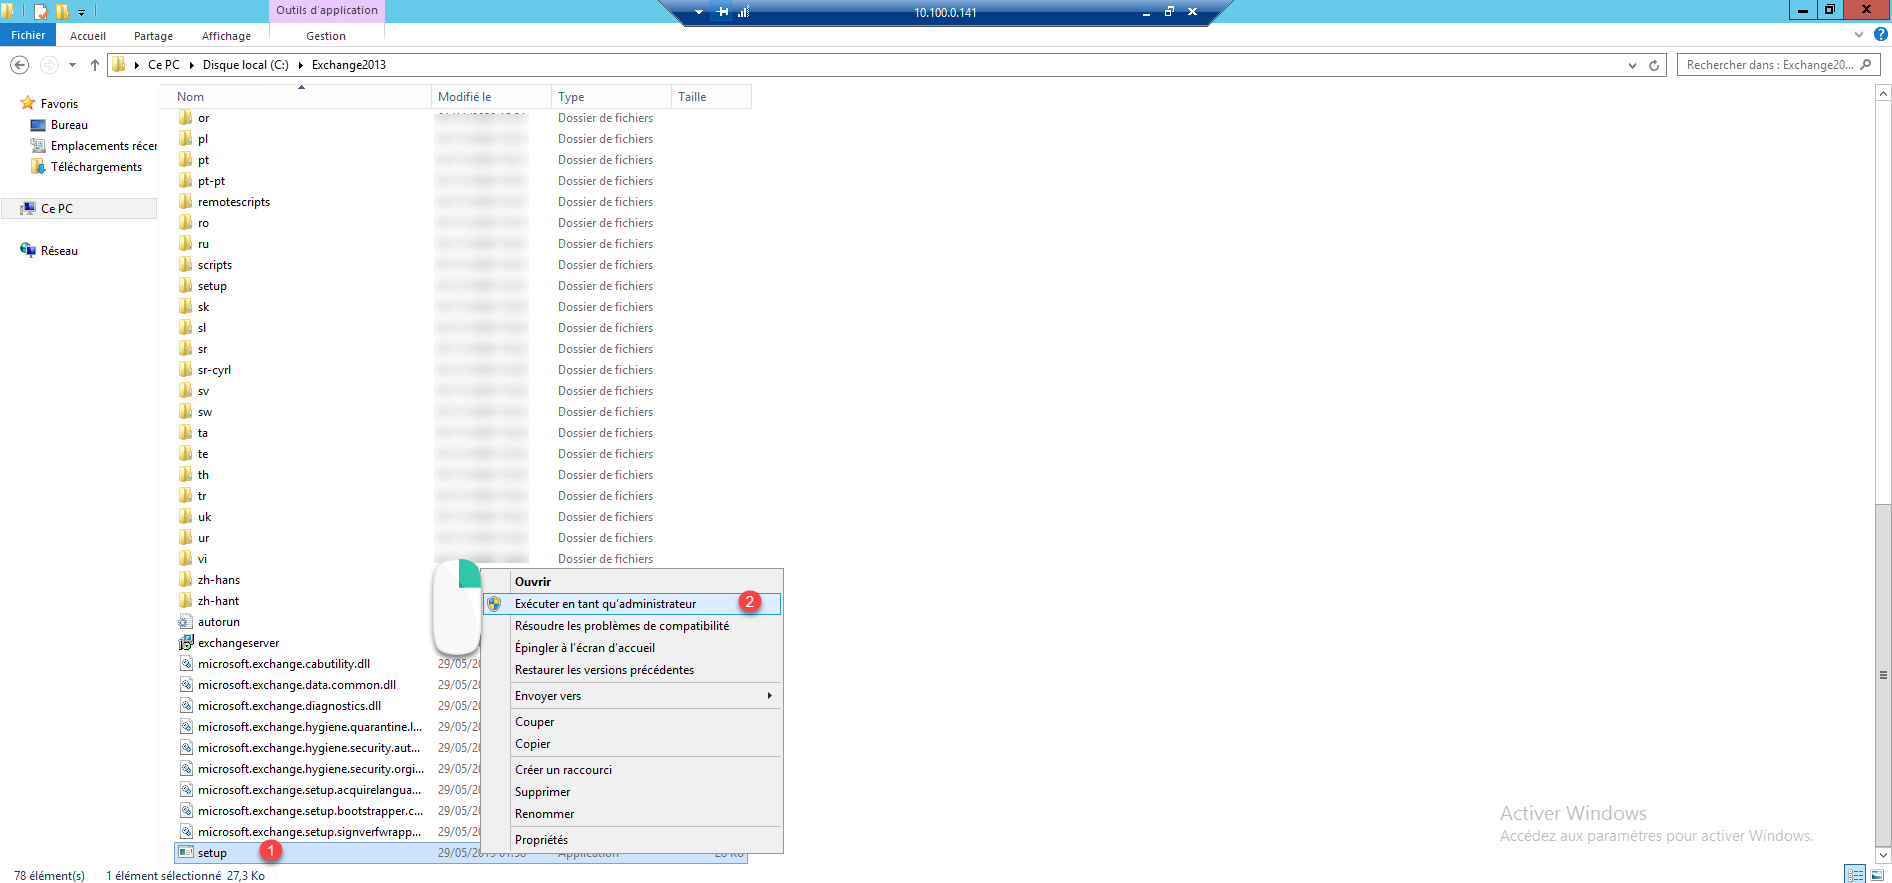
Go to the folder where the installation files are located, right-click on setup.exe and click on Run as administrator 2.
When launching the wizard, click Next 1.
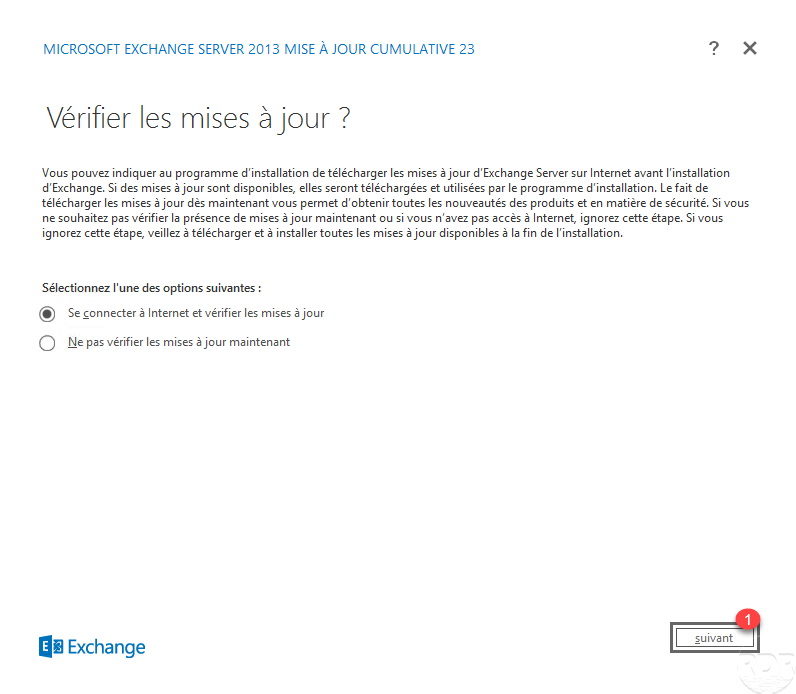
Normally if you have the latest version, no update is available, click on Next 1.
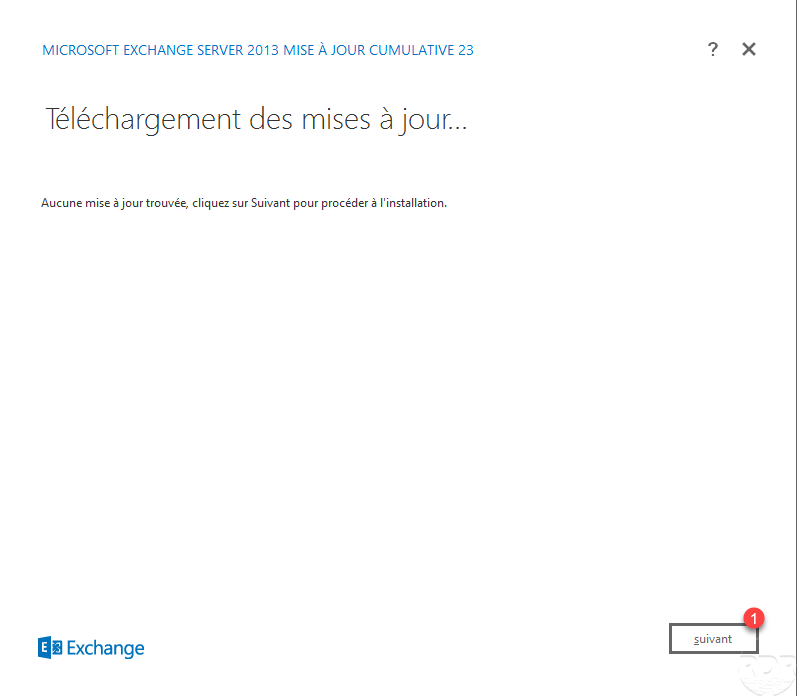
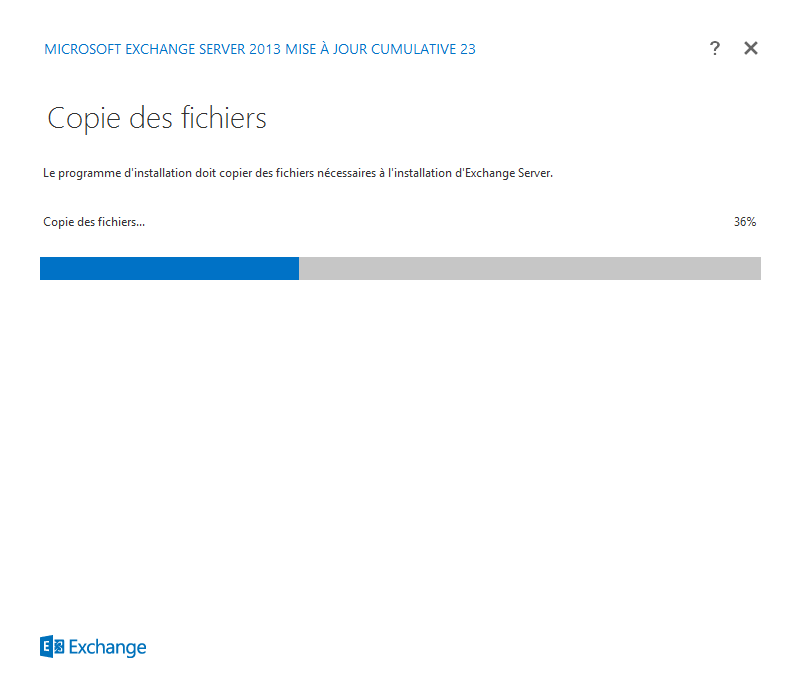
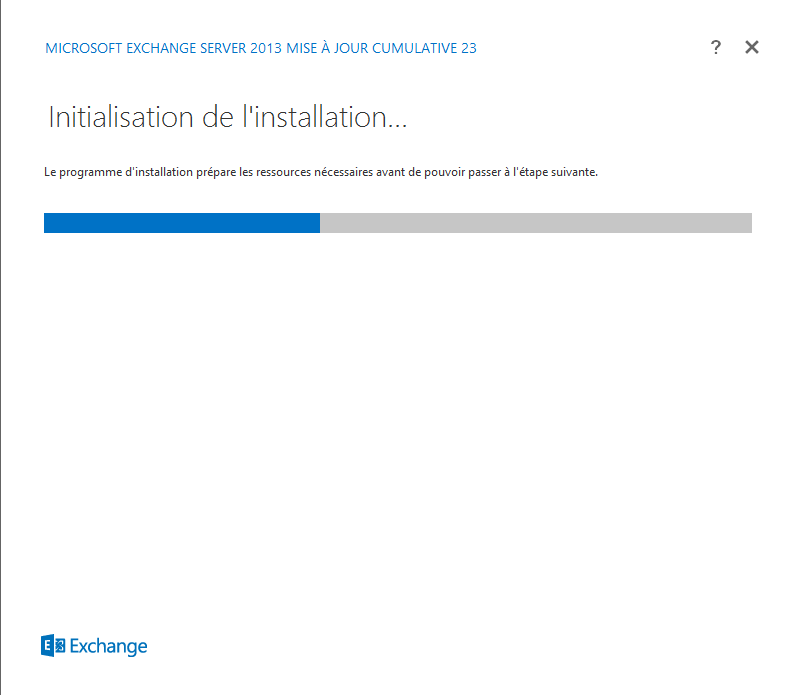
Wait while the files are copied and the wizard initializes…
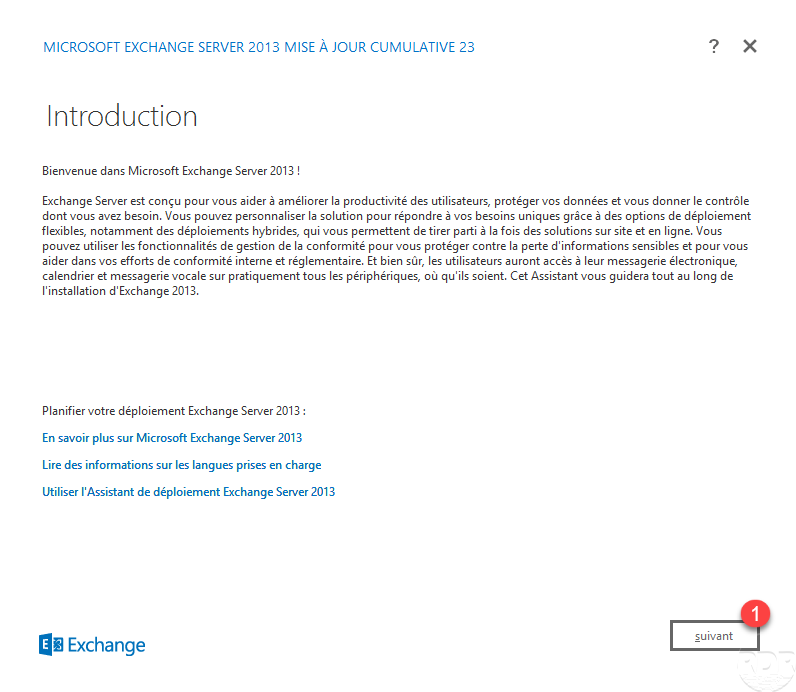
When the introduction page displays, click on Next 1.
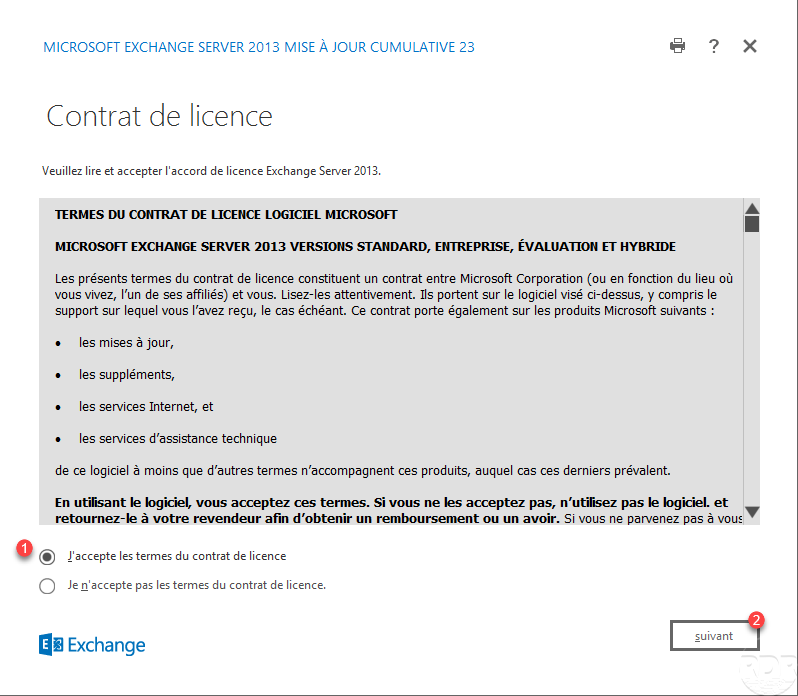
Accept the license agreement 1 and click Next 2.
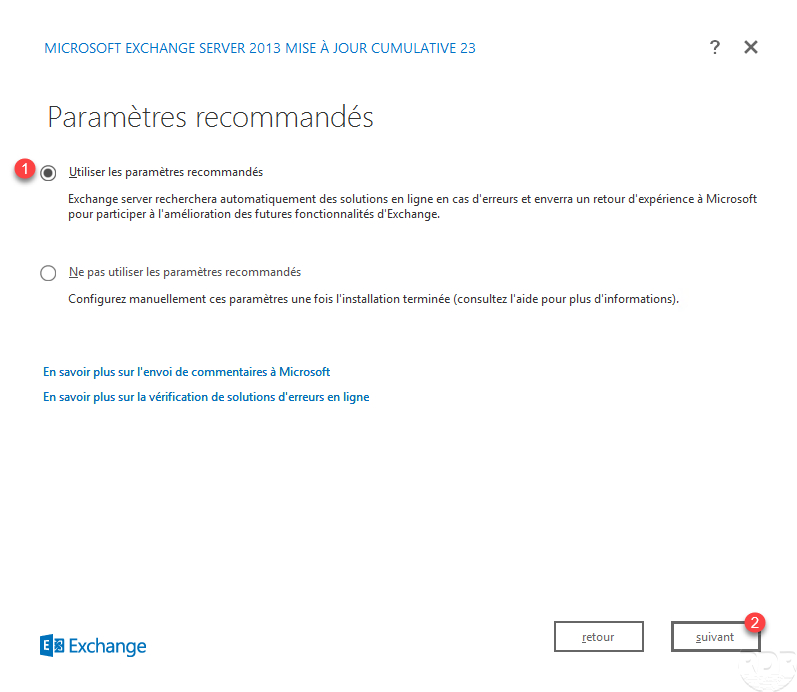
Install Exchange 2013 with the recommended settings, to do this select Use recommended settings 1 and click Next 2.
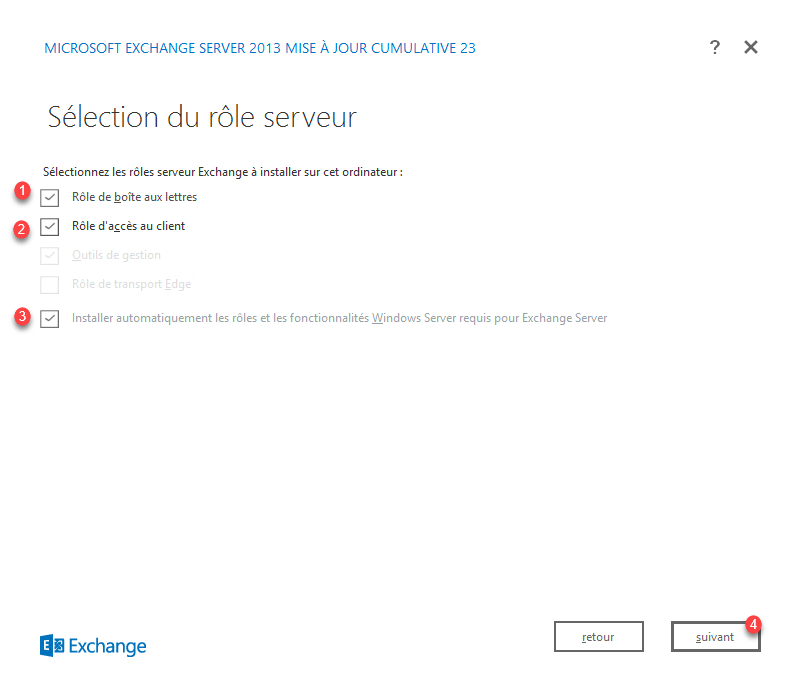
Check the boxes Mailbox roles 1, Client access role 2 and Automatically install Windows Server roles and features required for Exchange Server 3 then click Next 4.
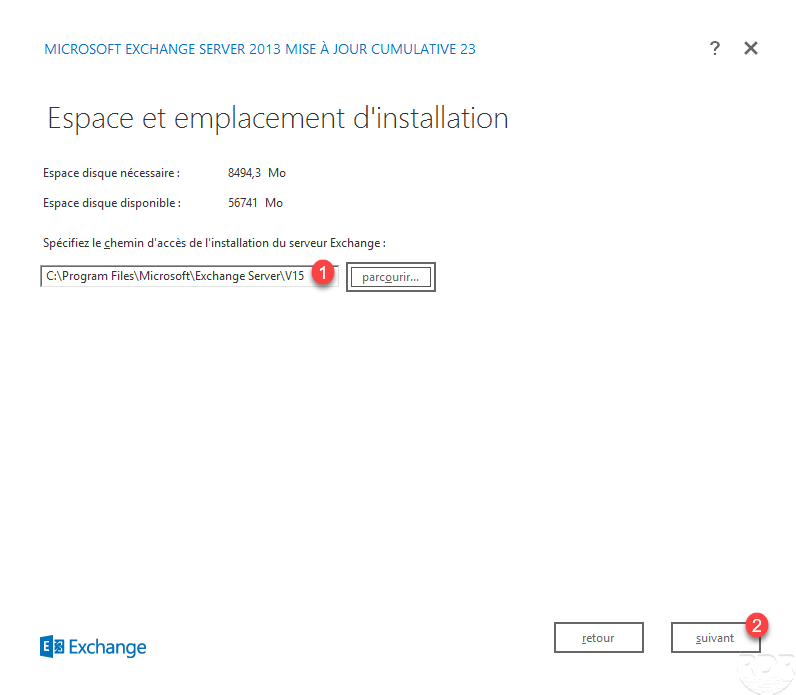
If necessary, change the Exchange installation folder 1 and click Next 2.
Enter the organization name 1 (usually the company name) and click Next 2.

Configure malware protection 1 then click on the Next button 2.

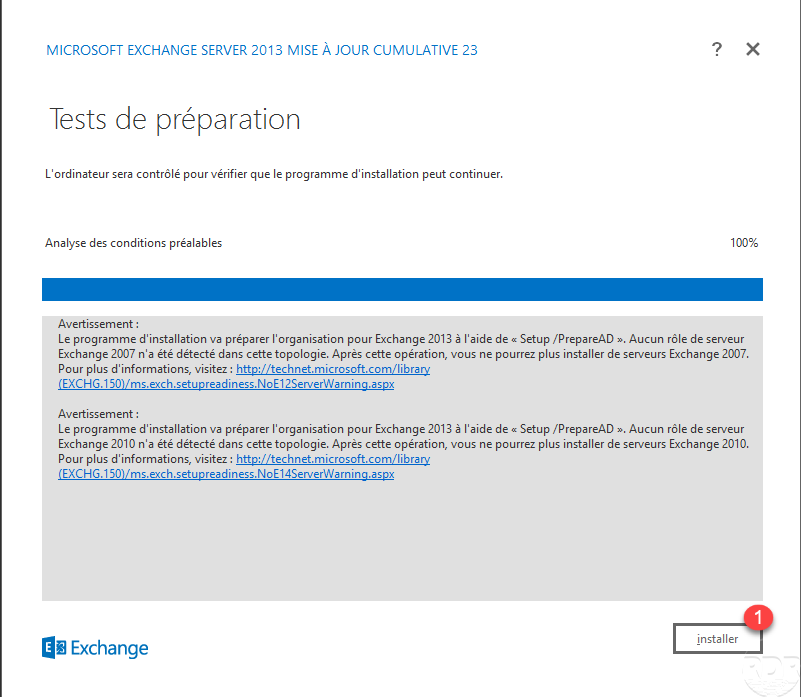
Wait while the Exchange 2013 installation readiness tests…
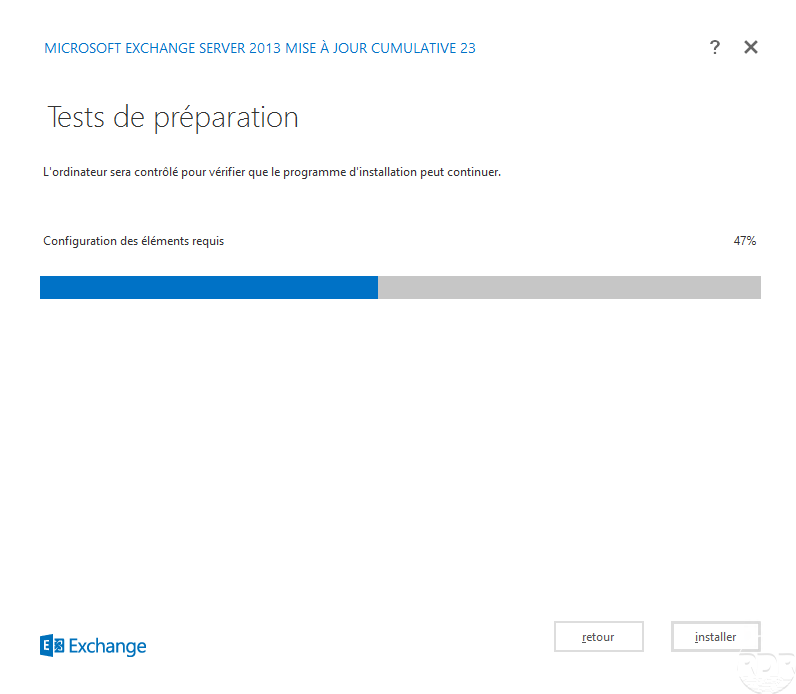
If there is no error, click on the Install 1 button.
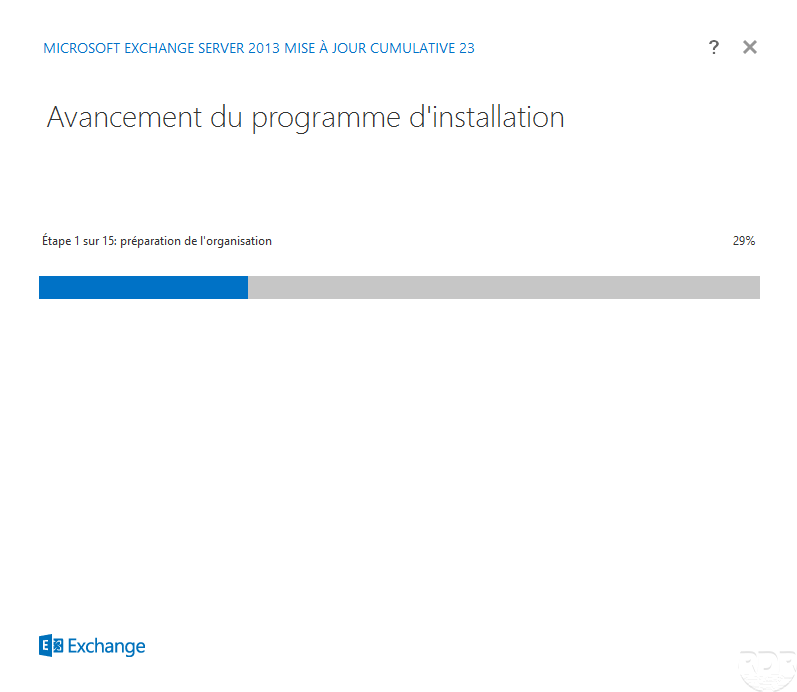
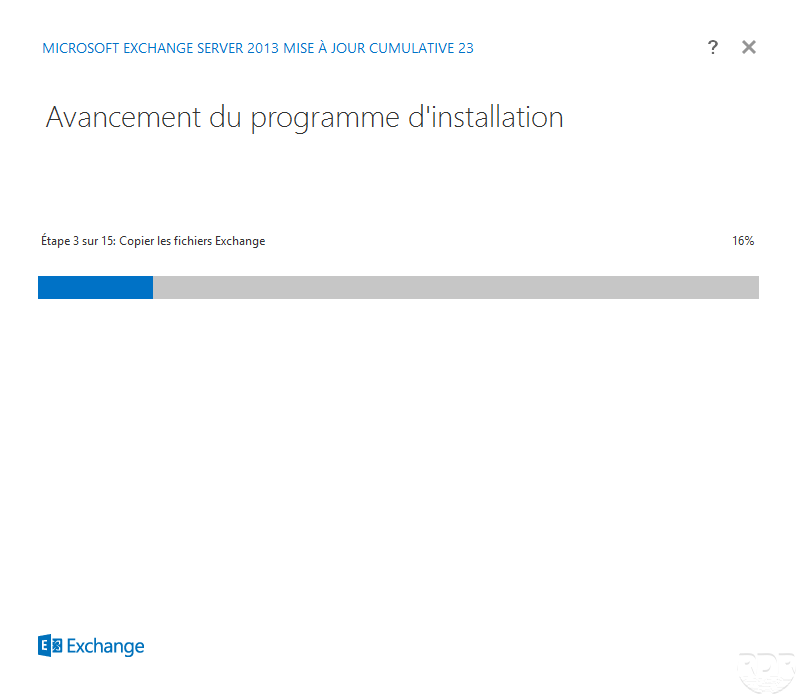
Wait while installing Exchange 2013 (30 to 90 minutes)…

Once the installation is complete, close the wizard by clicking on finish 1
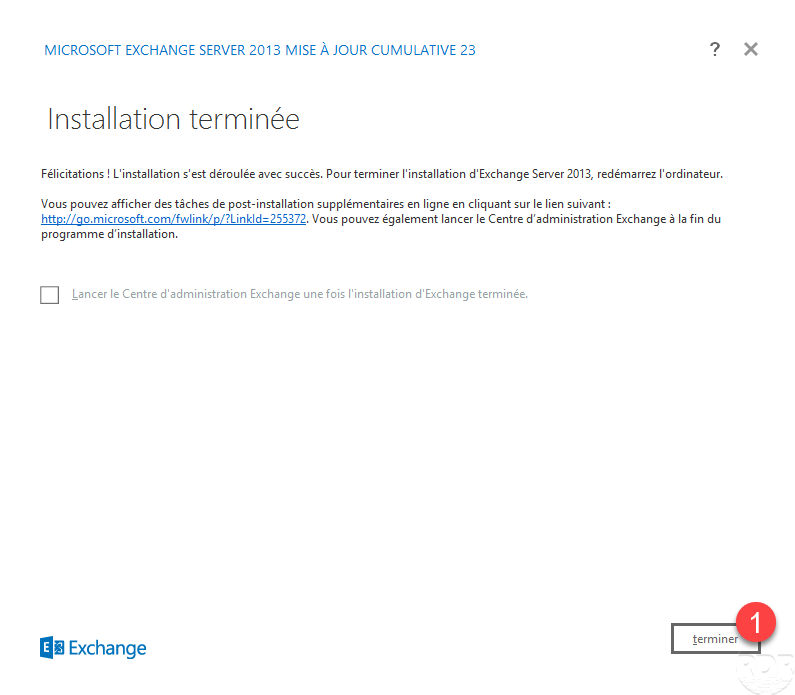
This is not mandatory, but I advise you to restart the server
Login to Exchange 2013 Administration
Before moving on to the configuration, we will test the installation of Exchange 2013.
From a computer, launch an Internet browser and enter the following address: https://server_name/ecp to access the administration panel.
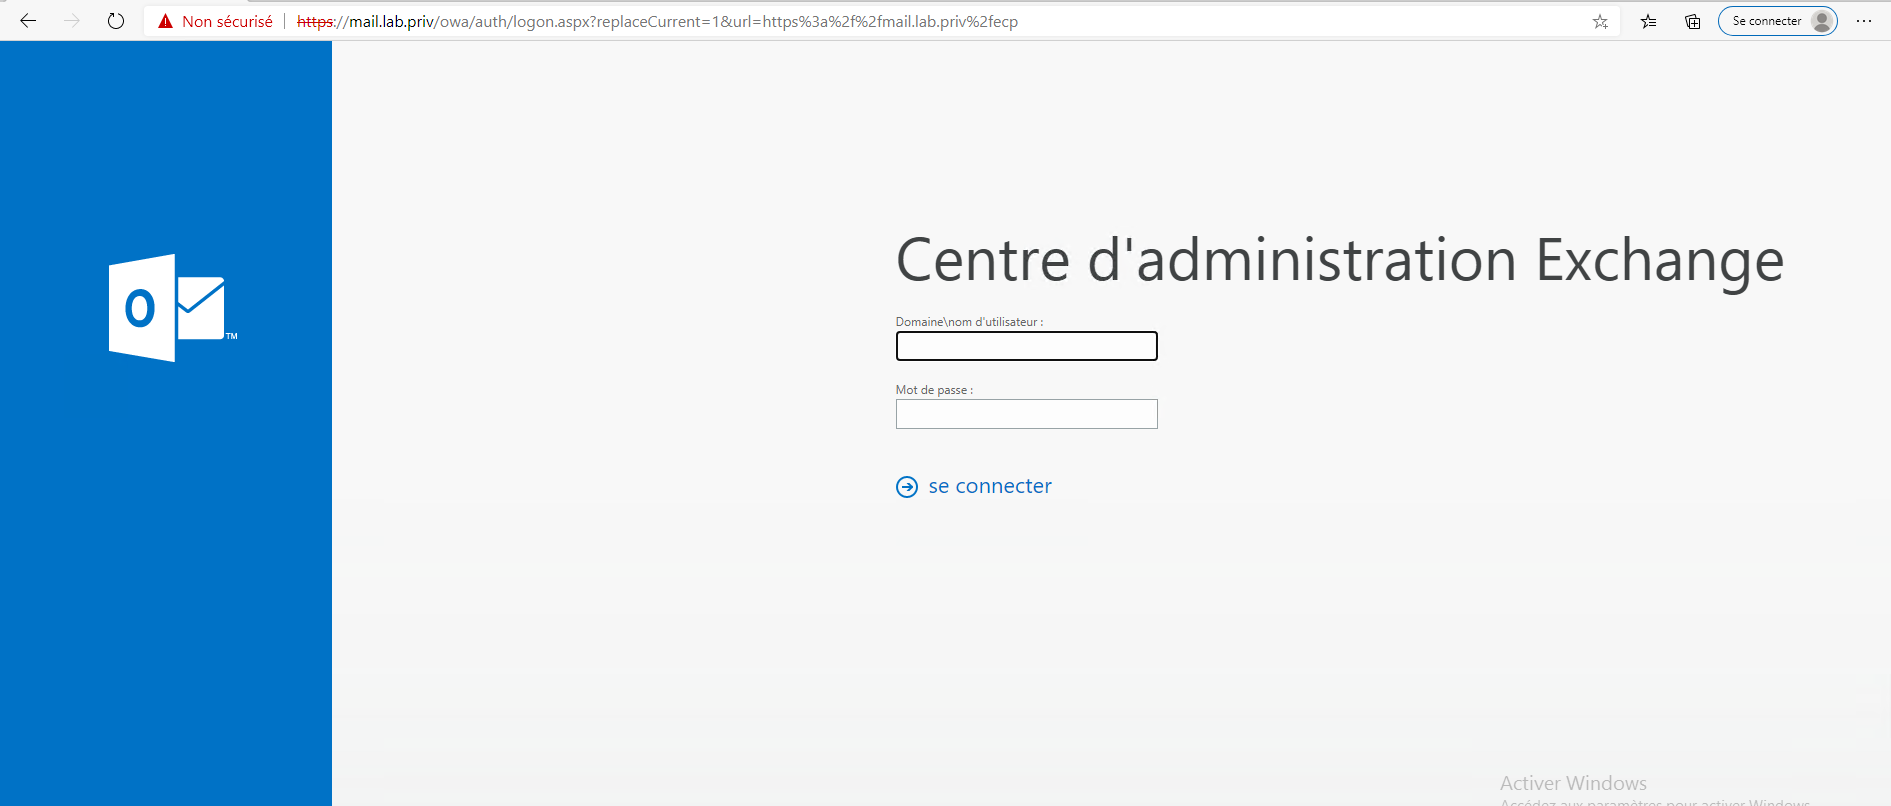
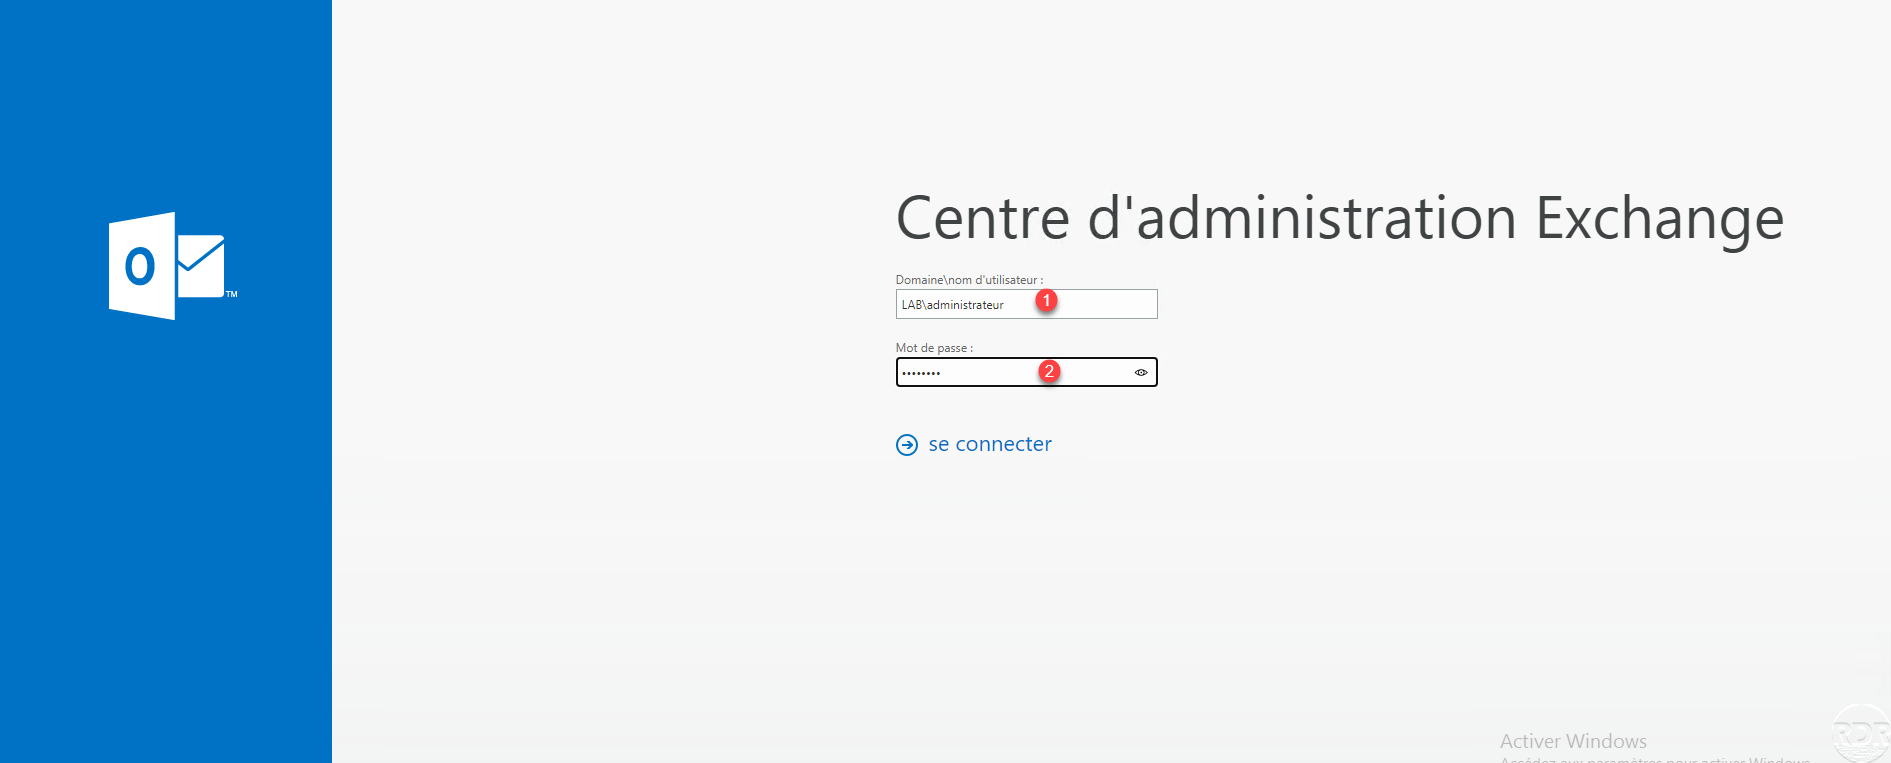
Enter username 1 and password 2 and click on connect 3.
Configure language 1 and time zone 2 and click save 3.
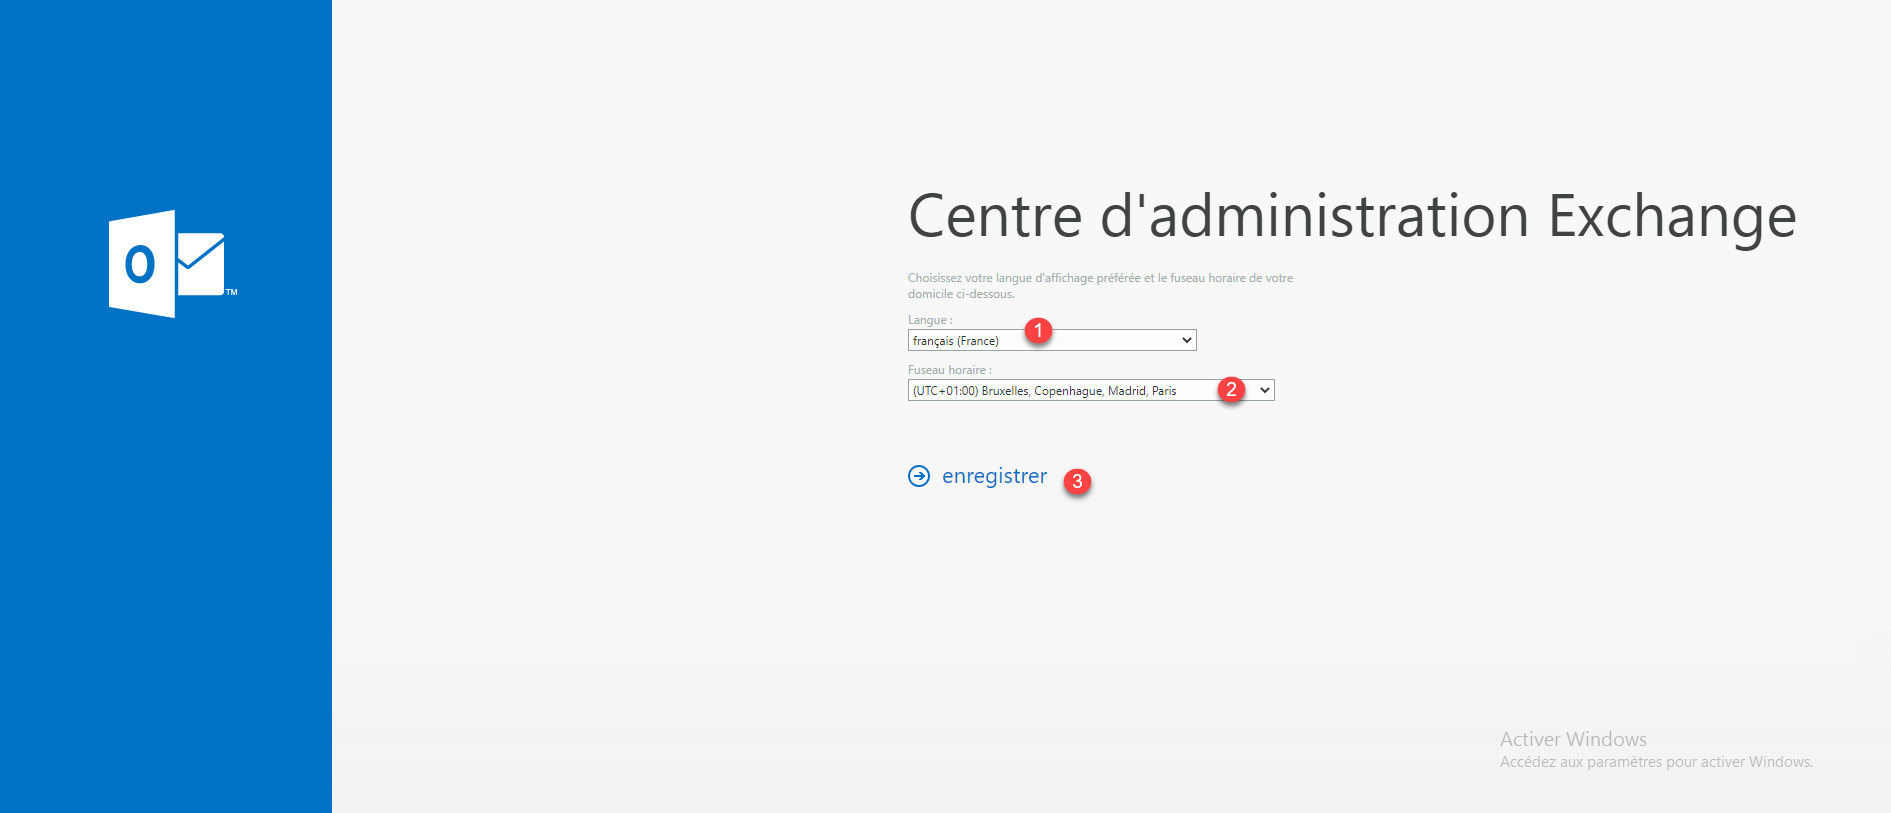
This information will be requested from all users when they first log in to the web interface (OWA/ECP).
It is important to put the right information, this subsequently impacts the language of the files and the time of receipt of emails.
Once connected, you arrive at the list of mailboxes which only contains the mailbox of the administrator account.
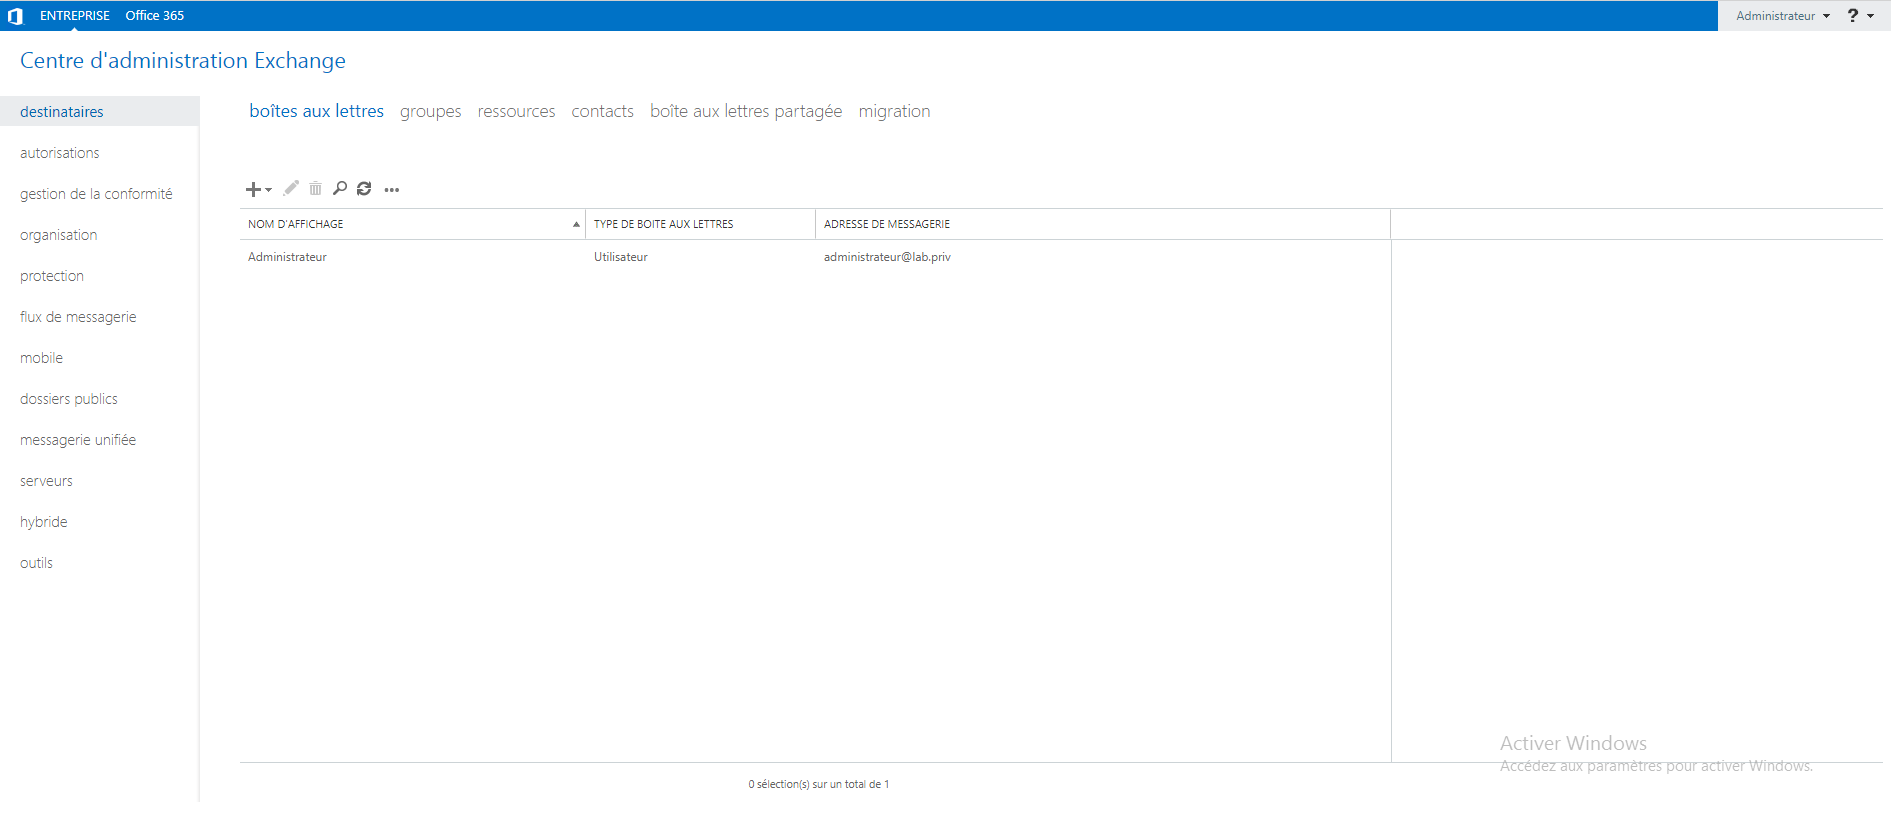
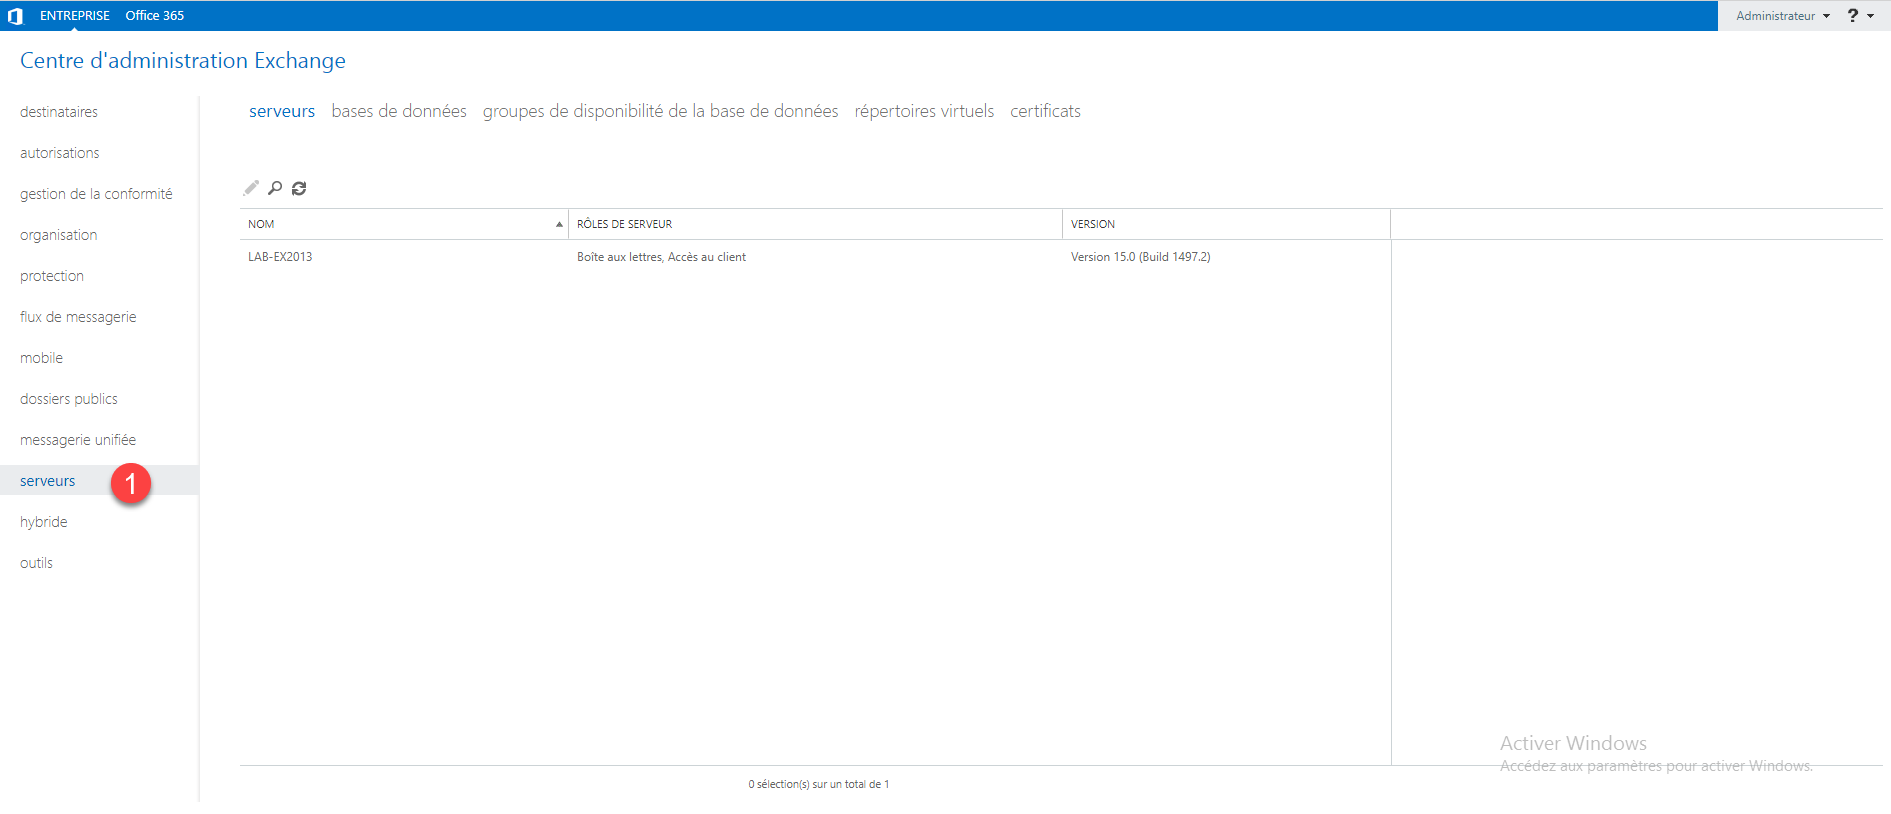
Click on servers 1 in the left menu to access the list of servers that make up the Exchange environment.
Setting up Exchange 2013
For the rest of the configuration, I invite you to read the tutorial: Exchange 2016: Installation and configuration which explains how to create an Exchange environment.