DNSSEC (Domain Name System Security Extensions) is an extension of the DNS protocol that adds security to the DNS protocol by signing the records by a public / private key system.
This extension allows the client to verify that the response received is valid and has not been changed by a man-in-the-middle attack.
This extension is standardized by the following RCF :
To illustrate this tutorial, we are going to have how to sign a zone on domain controller.
Sign a zone with DNSSEC on Windows Server
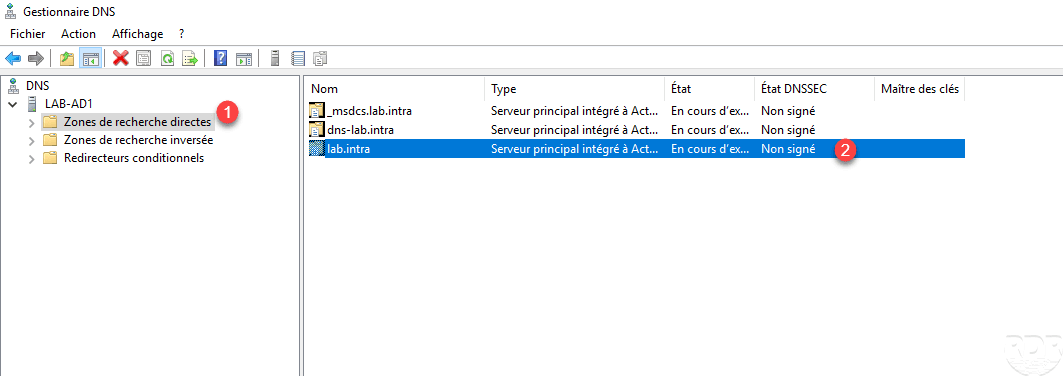
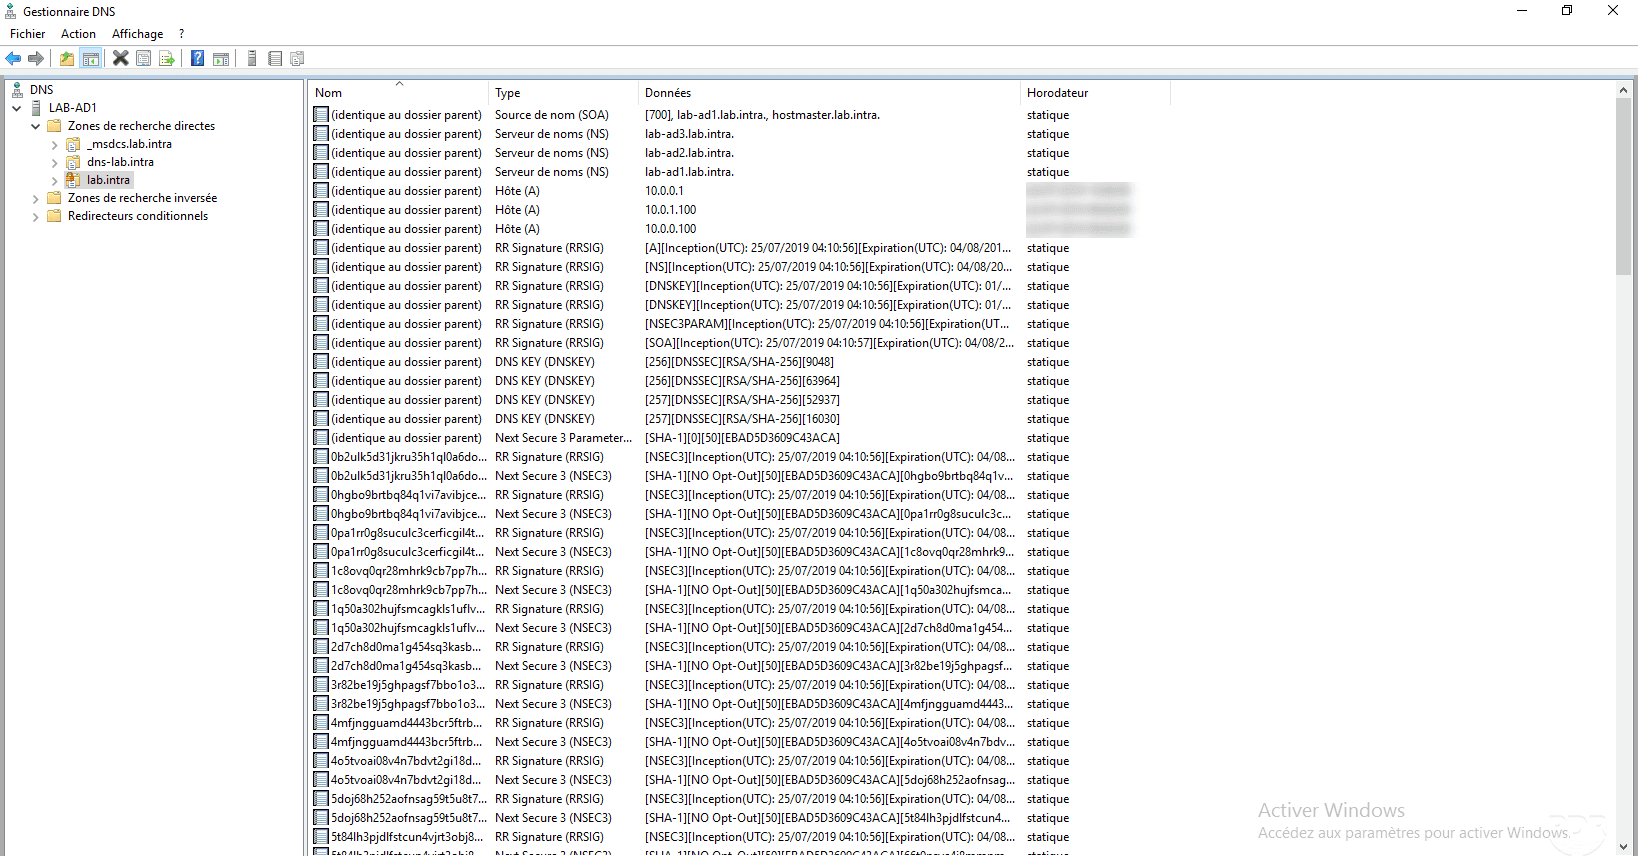
Open the DNS Manager console and go to the Forward Lookup Zones 1 node. It can be seen that the DNSSEC state of the lab.intra zone is Unsigned 2 .
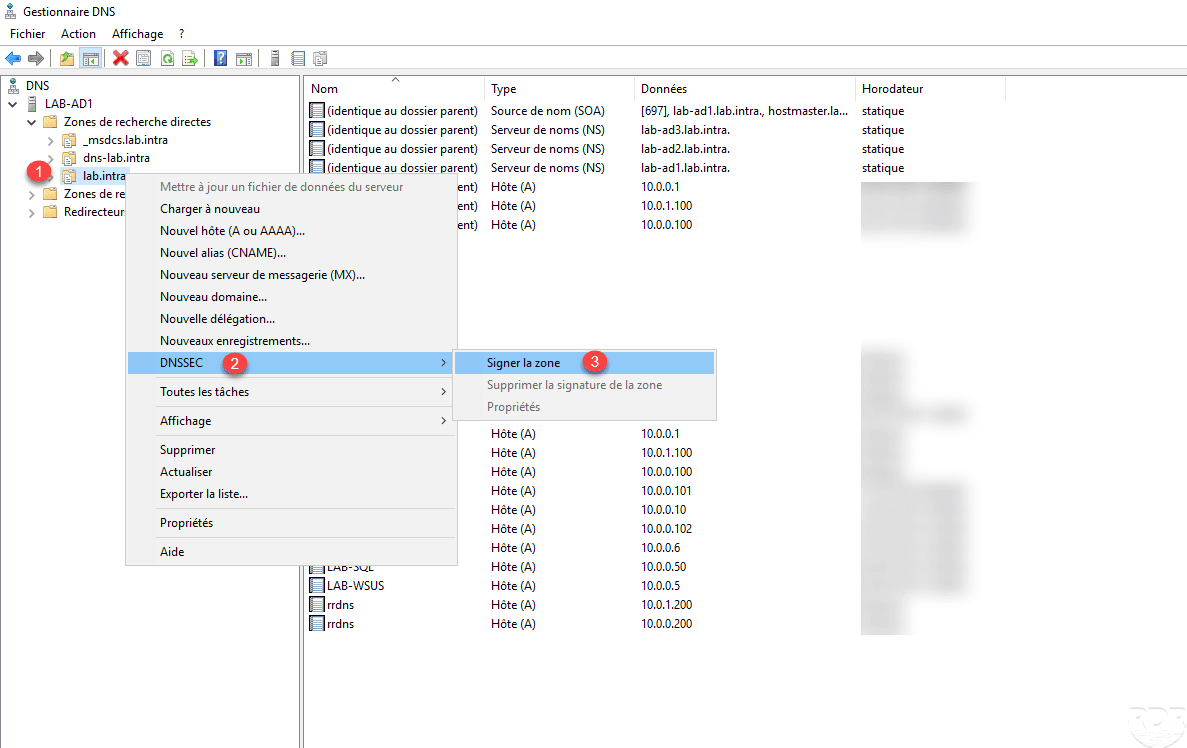
Right-click on the zone to sign 1 , go to DNSSEC 2 then click on Sign zone 3 to launch the wizard.
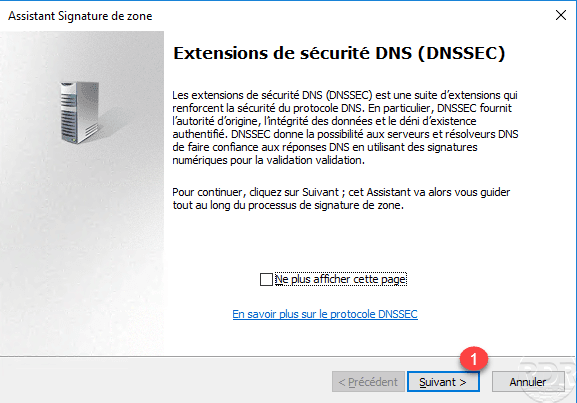
When launching the wizard, click Next 1 .
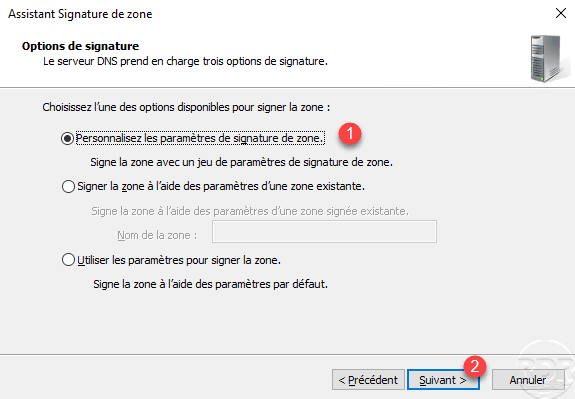
Choose the option Customize zone signature settings 1 and click Next 2 .
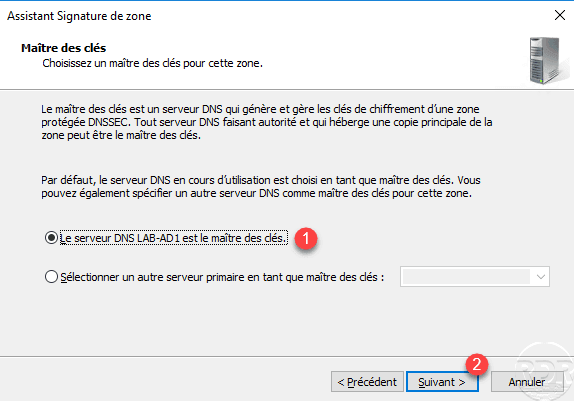
Choose the server to put keys 1 and click Next 2 .
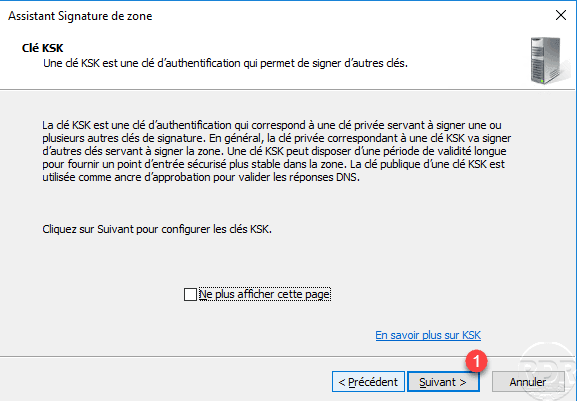
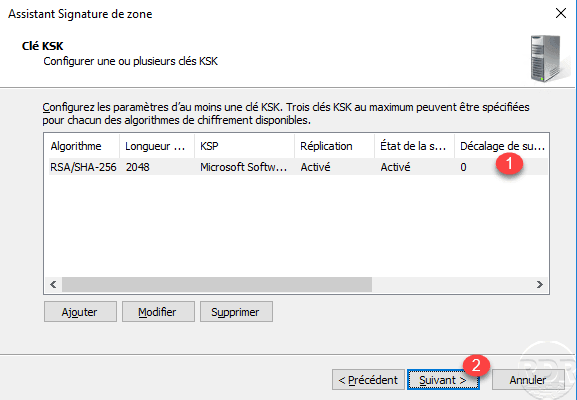
A summary of the KSK key is displayed (this is used to sign a zone), click on Next 1 .
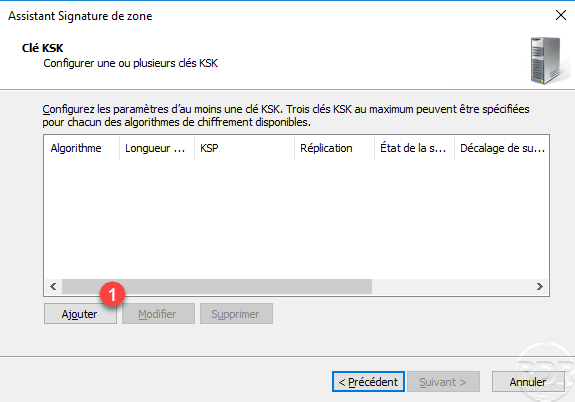
Click on Add 1 .
Click OK 1 to validate the parameters of the KSK key.

KSK key is added 1 click Next 2 .
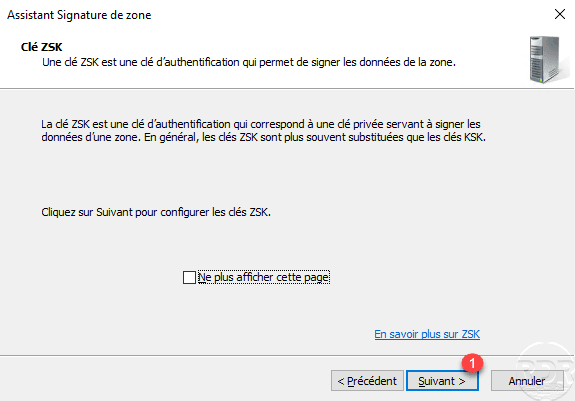
A summary of the ZSK key (data / record signature) is displayed, click Next 1 .
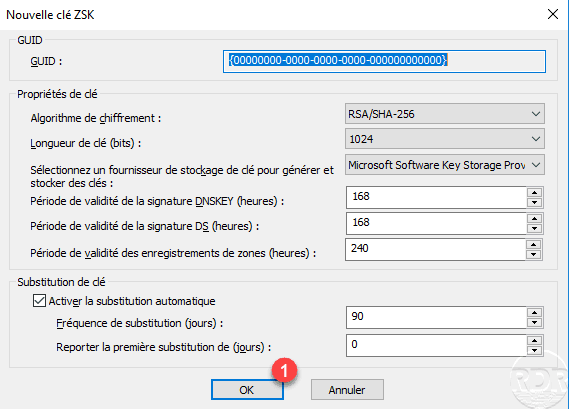
Click Add 1 to configure the ZSK key.

Click OK 1 to validate the parameters of the ZSK key.
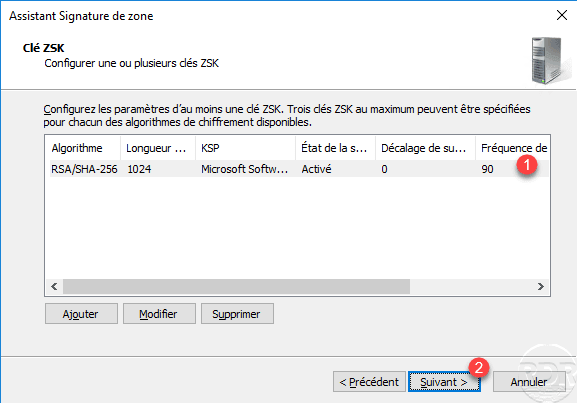
The key ZSK is added 1 , click Next 2 .
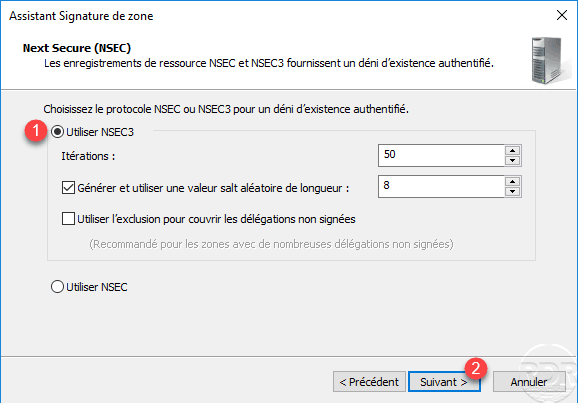
Select the protocol NSEC3 1 then click Next 2 .
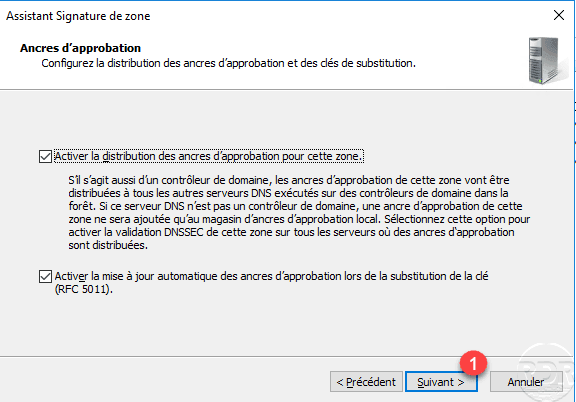
Leave the default options on the configuration of the approval anchors, click Next 1 .
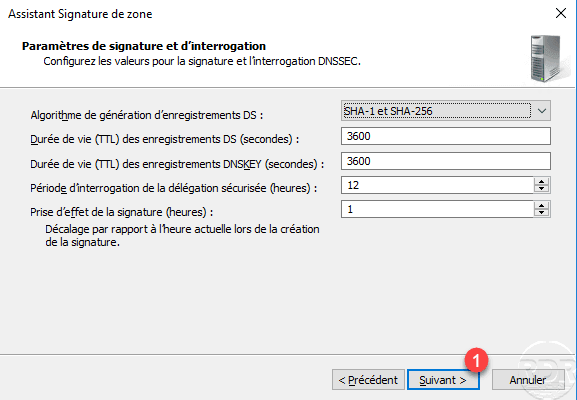
Leave the signature settings by default, click Next 1 .
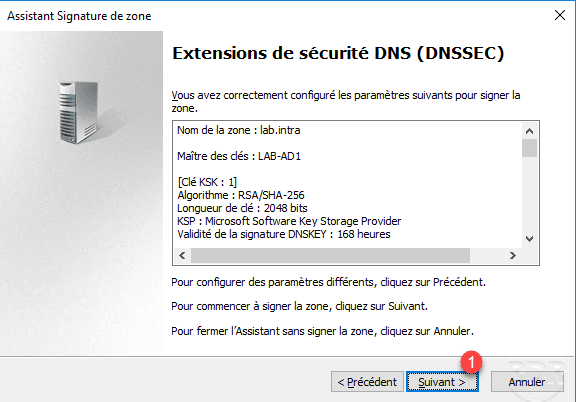
A summary of the DNSSEC configuration is displayed, click Next 1 to validate it.
The configuration applied to the zone, leave the wizard by clicking Close 1 .

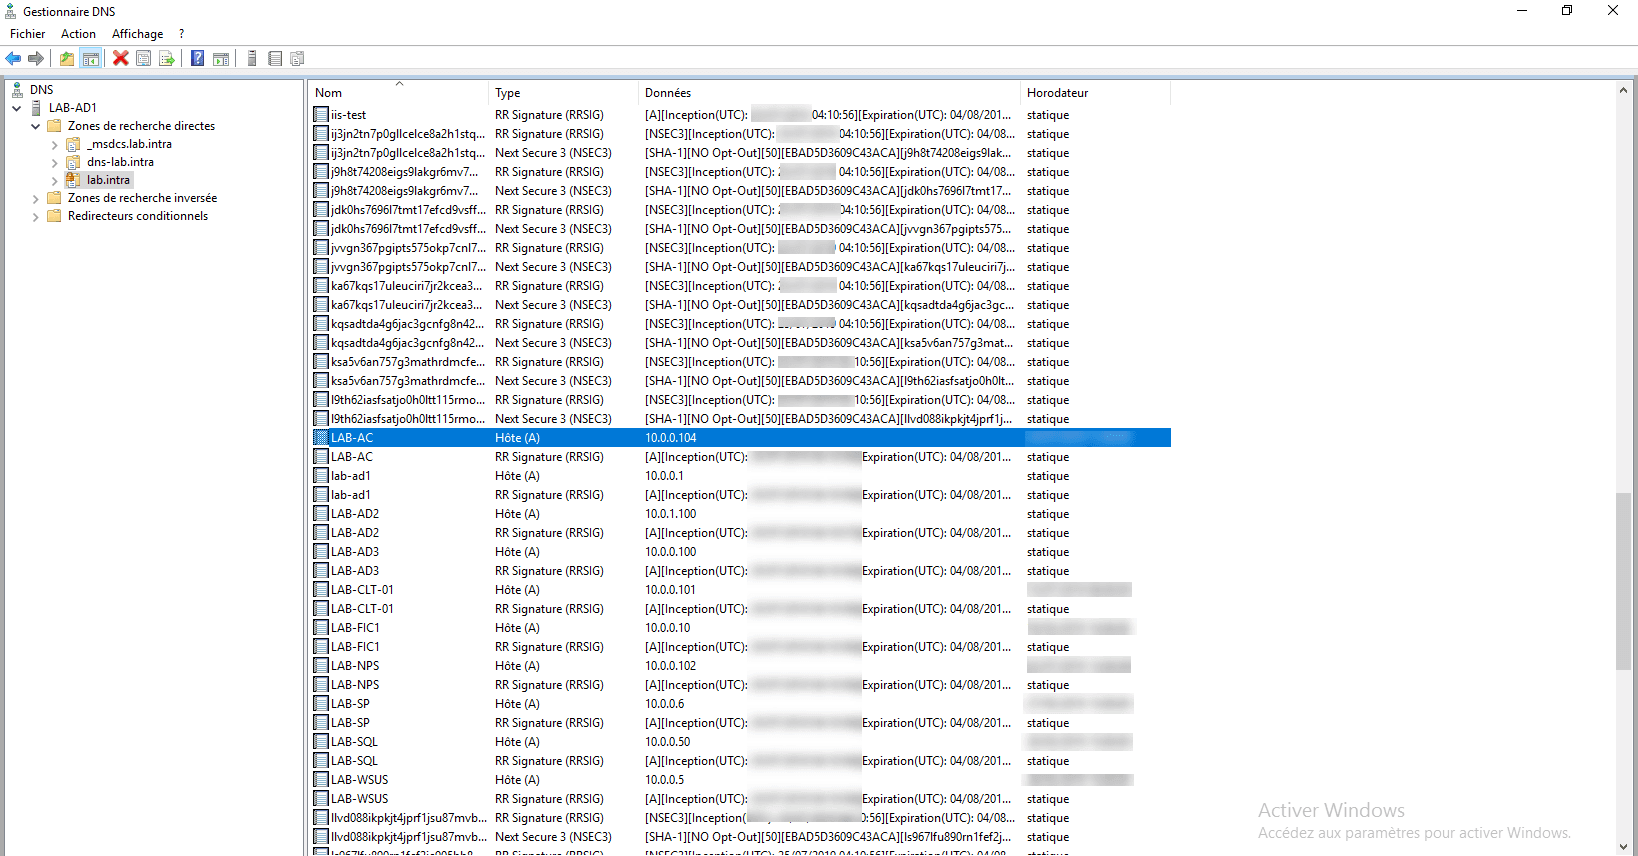
Refresh the zone in the DNS Manager console, we see that a padlock has been added to the zone folder to indicate that the zone is singed with DNSSEC and several RRSIG, DNSKEY, NSEC3 … records have been added. Each record contains its signature with an RRSIG record of the same name.
Use DNSSEC
On a DNS client node, open a PowerShell command prompt and enter the following command:
Resolve-DnsName -Server 
The DNS server returned a “normal” response, without any signing information.
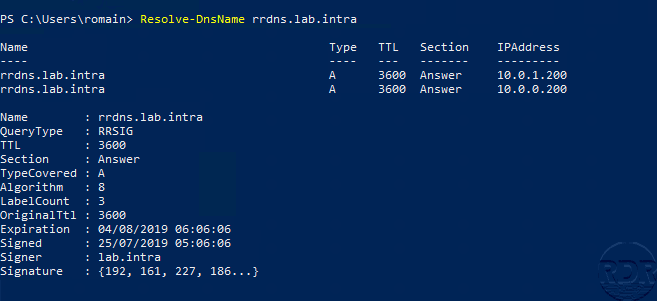
To force a query and especially a secure response, add the -DnssecOK parameter to the previous command.
Resolve-DnsName -Server -DnssecOK 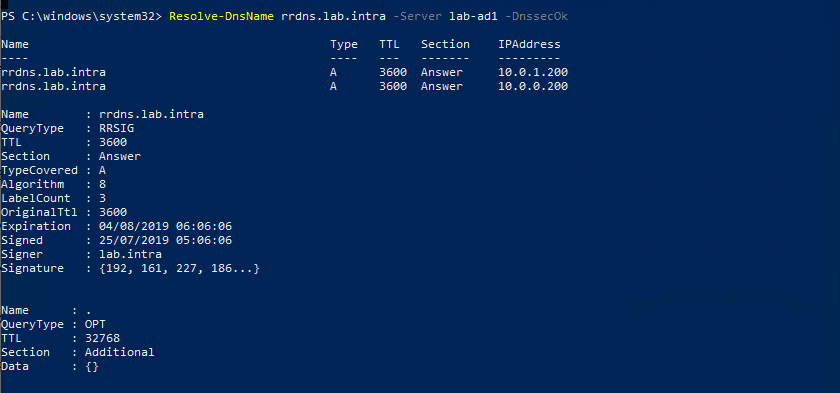
We can see the signature parameters in the answer.
Group Policy for a DNSSEC Resolution
As we have just seen, to recover a secure record, it is necessary to inform Windows to do so. In order for the extensions in the domain to use DNSSEC, we will add a Group Policy that will configure the NRPT (Name Resolution Policy) table of the computers to indicate that the zone is signed.
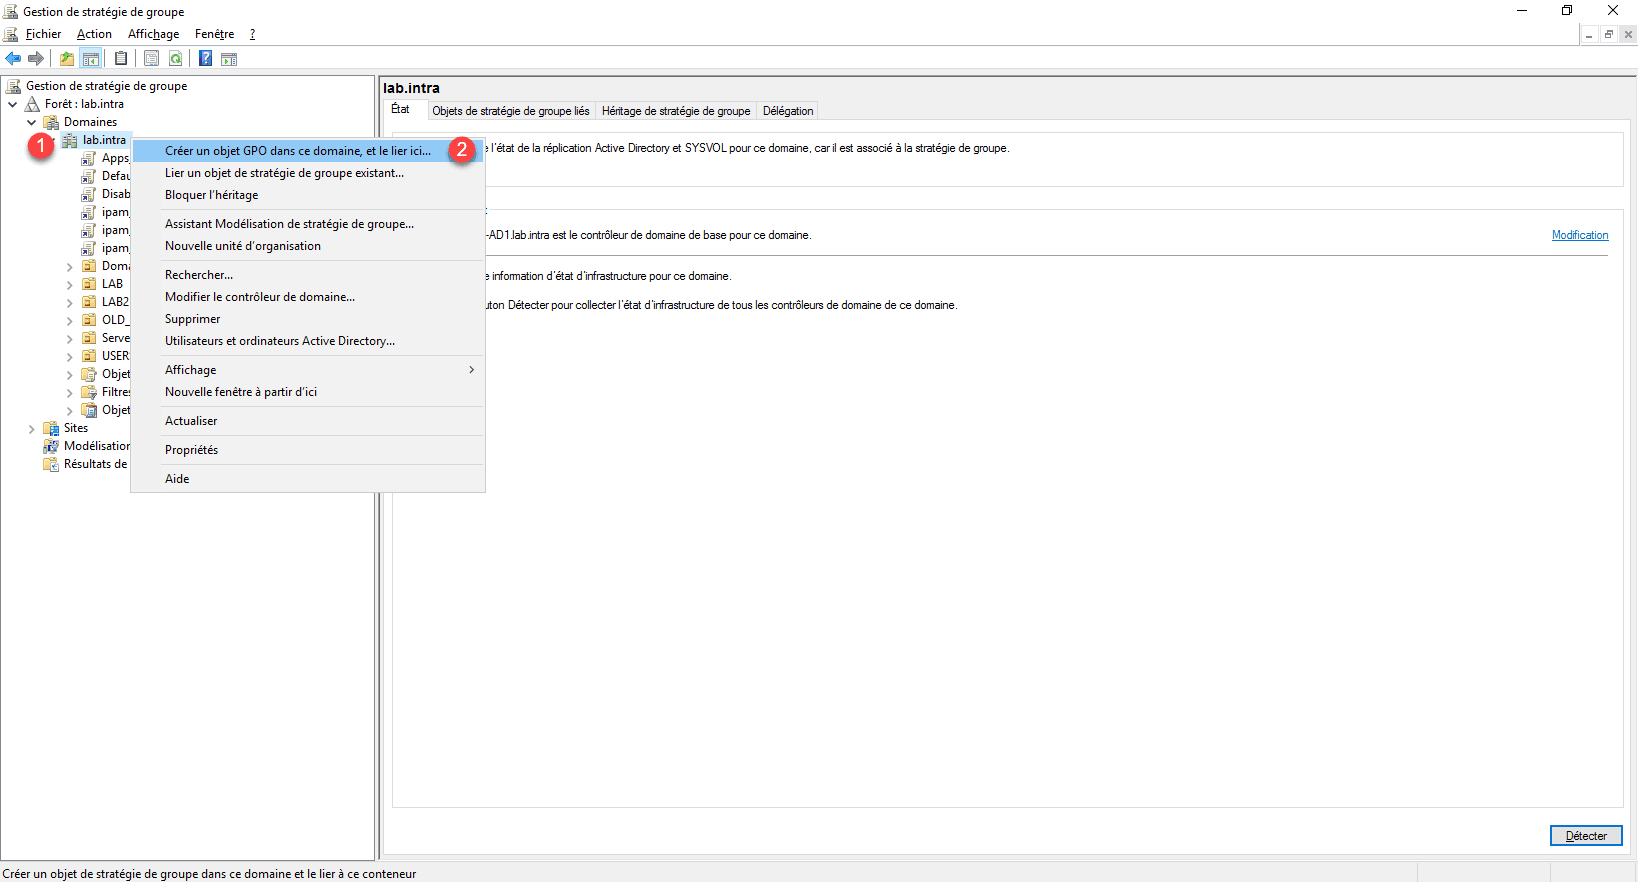
On a domain controller, open the Group Policy Management console, right-click on domain 1 and click Create GPO in this domain and link it here 2 .
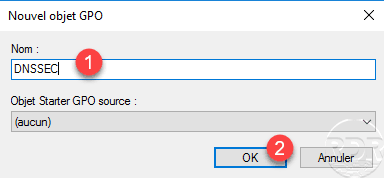
Name the GPO 1 then click OK 2 .
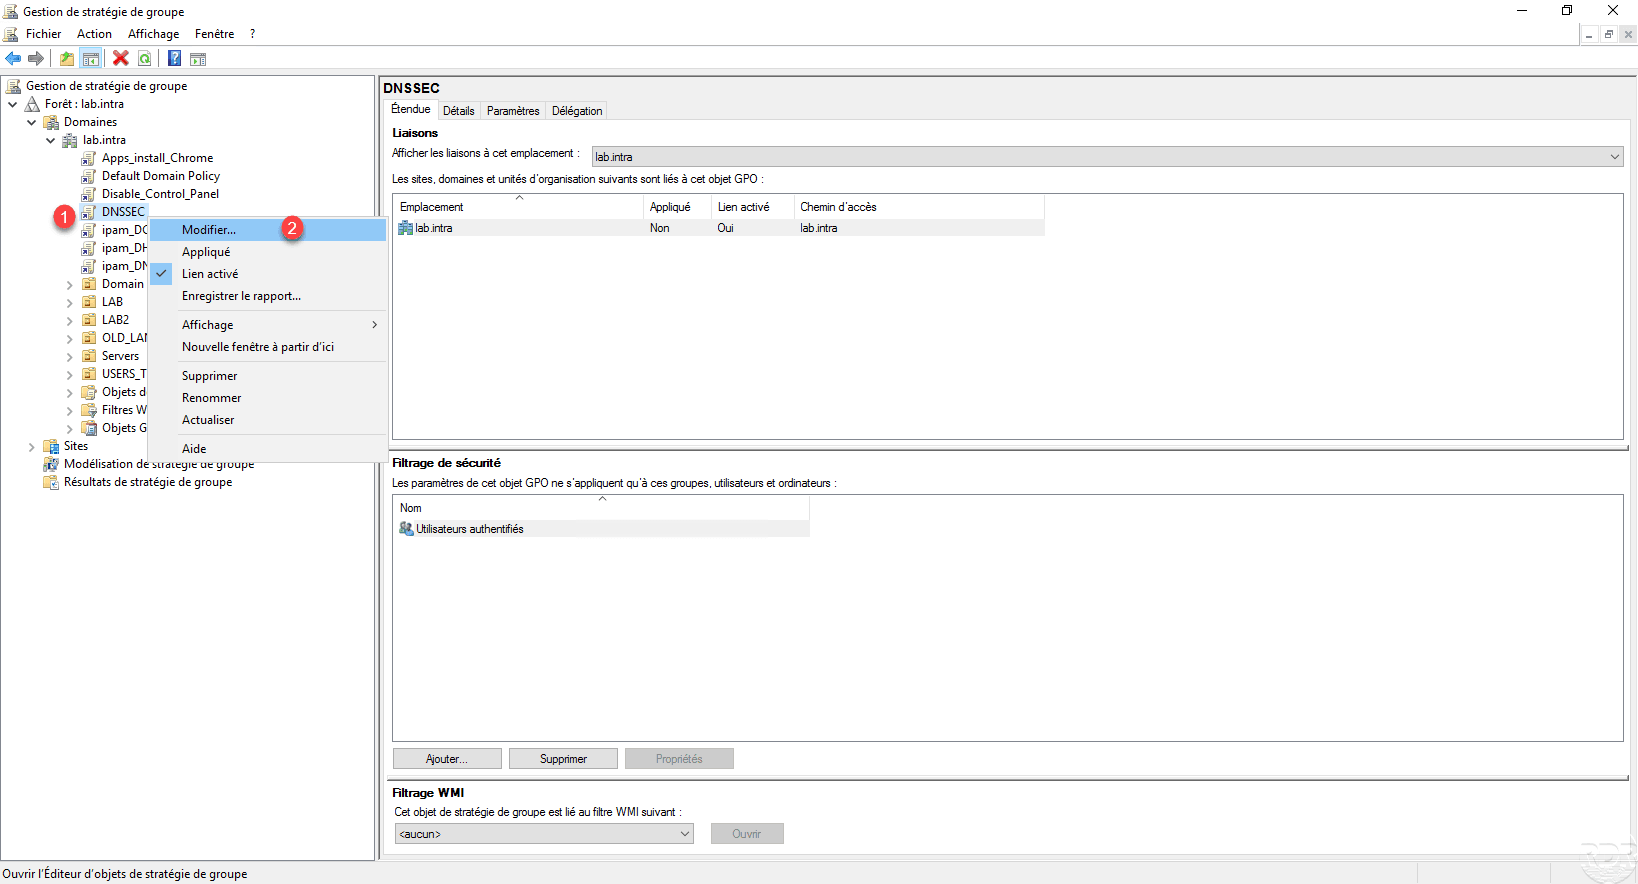
Right click on the added strategy 1 and click on Edit 2 .
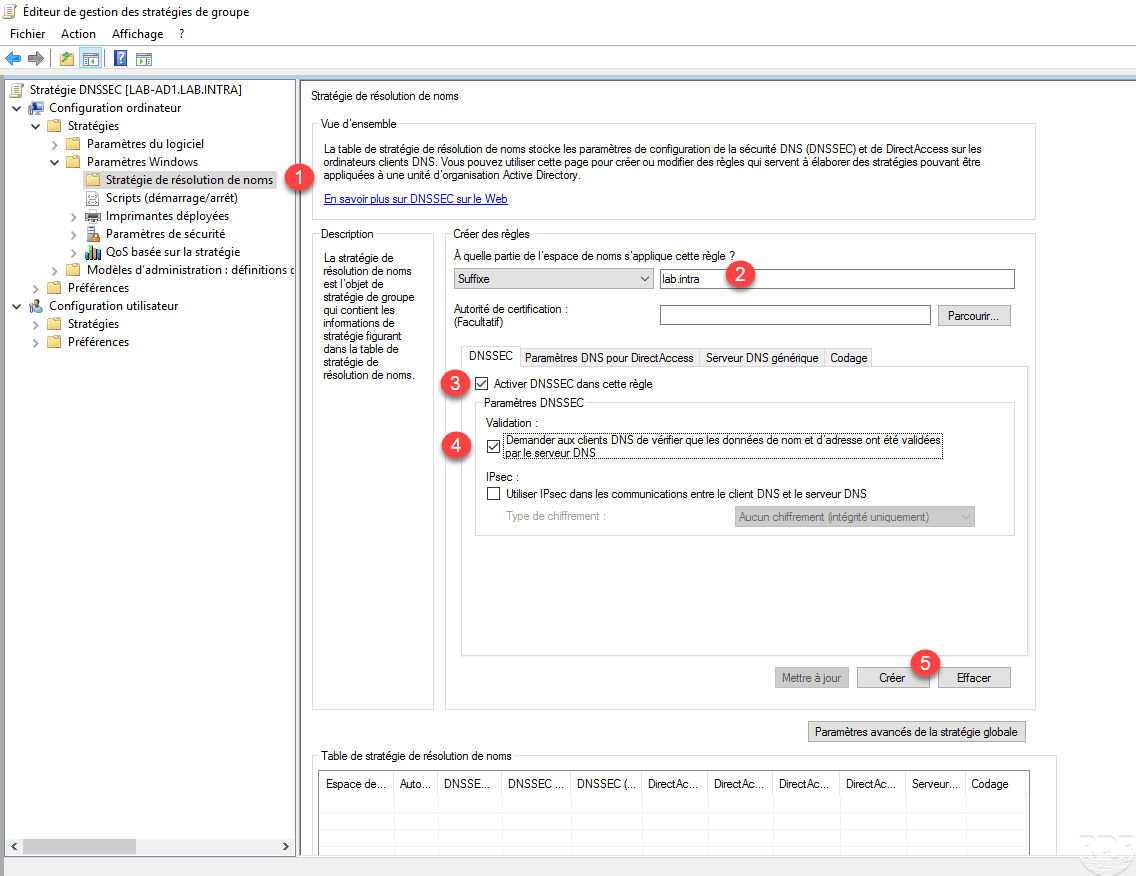
Go to Computer Configuration / Windows Settings / Name Resolution Policy 1 . Enter the DNS suffix of the signed area 2 , check that the Enable DNSSEC in this rule 3 and Ask DNS clients to verify address name data check boxes have been validated by the DNS server 4 are ticked and click on Create 5 .
The domain has been at the name resolution strategy table 1 , click Apply 2 .
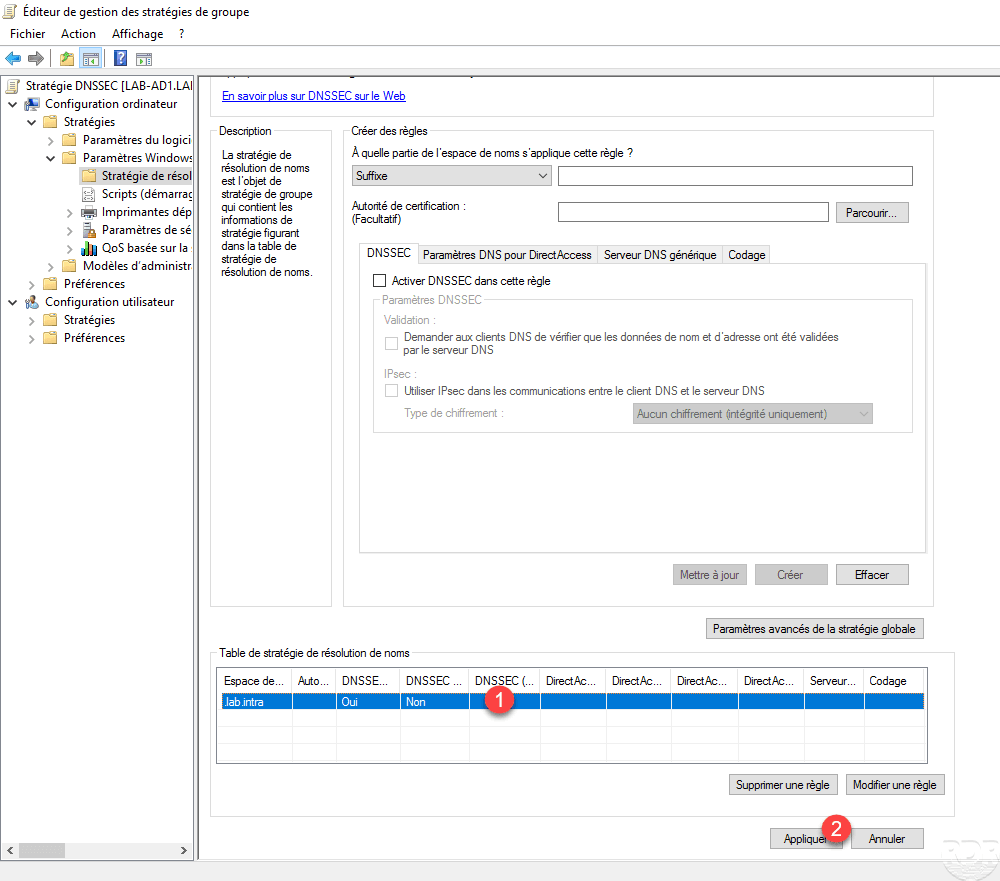
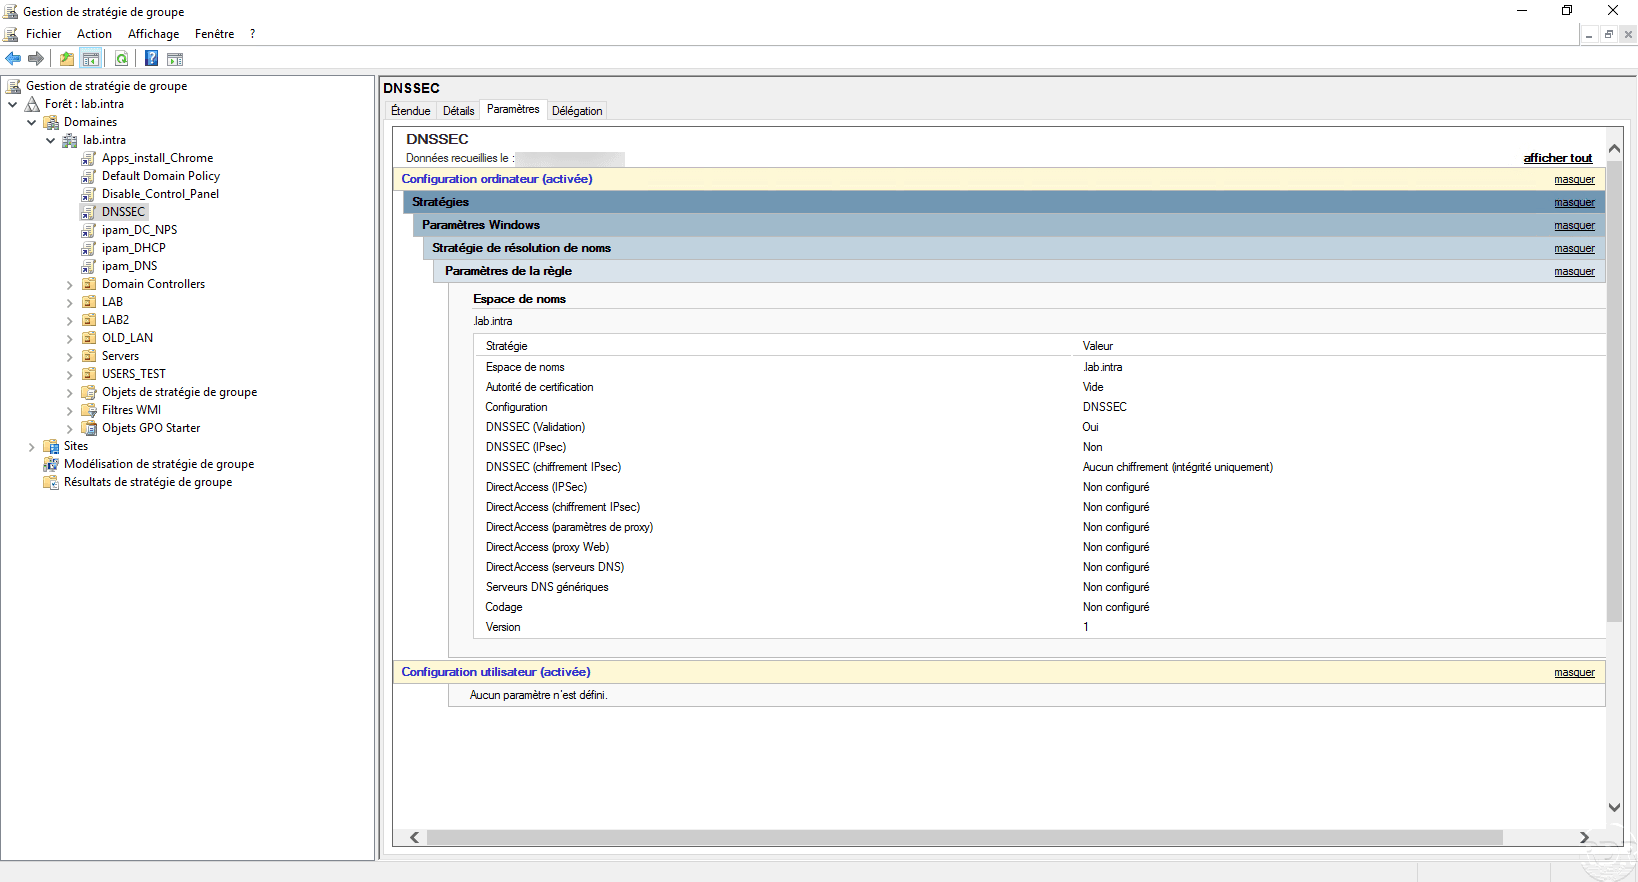
Summary of the strategy:
On a node in the domain where the policy is applied (gpupdate), open a PowerShell command prompt and enter the following command :
Resolve-DnsName <RecordInZone>
The command must return the IP address with the signature information.