Introduction
DirectAccess is a feature available with the Remote Access role, which allows you to set up an automatic connection solution to the corporate network for mobile computers or for small remote sites.
Unlike a VPN, the connection is initiated directly by a service on the remote computer, which allows for similar behavior if the workstation is in the corporate network:
- Applying group policies.
- Ability to open another user session in the Active Directory.
DirectAccess also has two other benefits that are:
- The automatic connection without manipulation on the part of the user.
- The ability to force internet traffic through the corporate network which allows to apply the rules of web filtering (proxy).
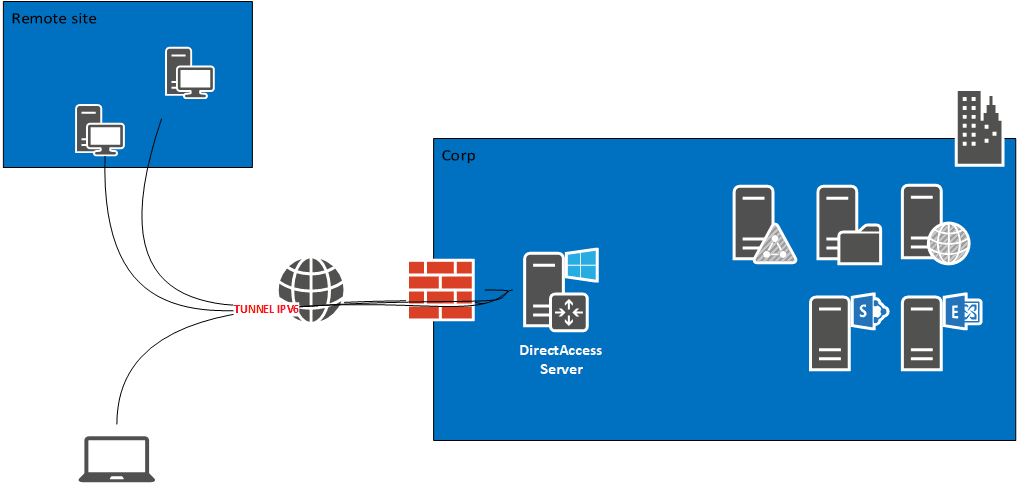
DirectAccess relies on the IPv6 protocol for communication between the corporate network and the customer.
Before establishing the connection, the client tests access to a probe to find out if it is in the company network or outside.
For DNS resolution, a Group Policy configures the NRPT table so that the computer when it is connected to the corporate network sends the requests from the local domain to the DirectAccess server.
It is possible to increase the security of connections by identifying computers with a certificate.
In this tutorial, we will see how to deploy DirectAccess with a server with a single network card behind a firewall.
This tutorial can also be used to deploy DirectAccess with Windows 2012R2
To work you have to make the server accessible from the Internet by correctly configuring the NAT / PAT.
Documentation Microsoft : https://docs.microsoft.com/fr-fr/windows-server/remote/remote-access/directaccess/directaccess
Prerequisites
Deploying and using DirectAccess requires several prerequisites:
- Being in a replicated Active Directory environment with DFS-R
- Dedicated a server to this role:
- Member of the domain
- The Windows firewall must be activated, it is this one that manages the transition IPv4 <-> IPv6
- Dedicate an Active Directory group for computers that use DirectAccess.
- Customers who are members of the domain:
- Windows 7,8,8.1,10 Enterprise
- Firewall activated
If you want to enable post authentication with a certificate, you need to set up an enterprise CA.
So that users can retrieve the DirectAccess configuration, they must be configured in the enterprise network.
Ports and protocols used by DirectAccess
Here is the list of ports and protocol to open on a firewall to authorize Direct Access
Access in IPv4 :
- TCP 443: for clients using IP-HTTPS which allows the encapsulation of IPv6 packets.
- UDP 3544: for customers use Teredo technology.
- IP 41 protocol: for customers using 6to4 technology.
- TCP 62000: If the network location server is on the DirectAccess server itself and the DirectAccess server has only one network adapter.
Access in IPv6 :
- IP 50 protocol
- UDP 500
Installing roles for DirectAccess
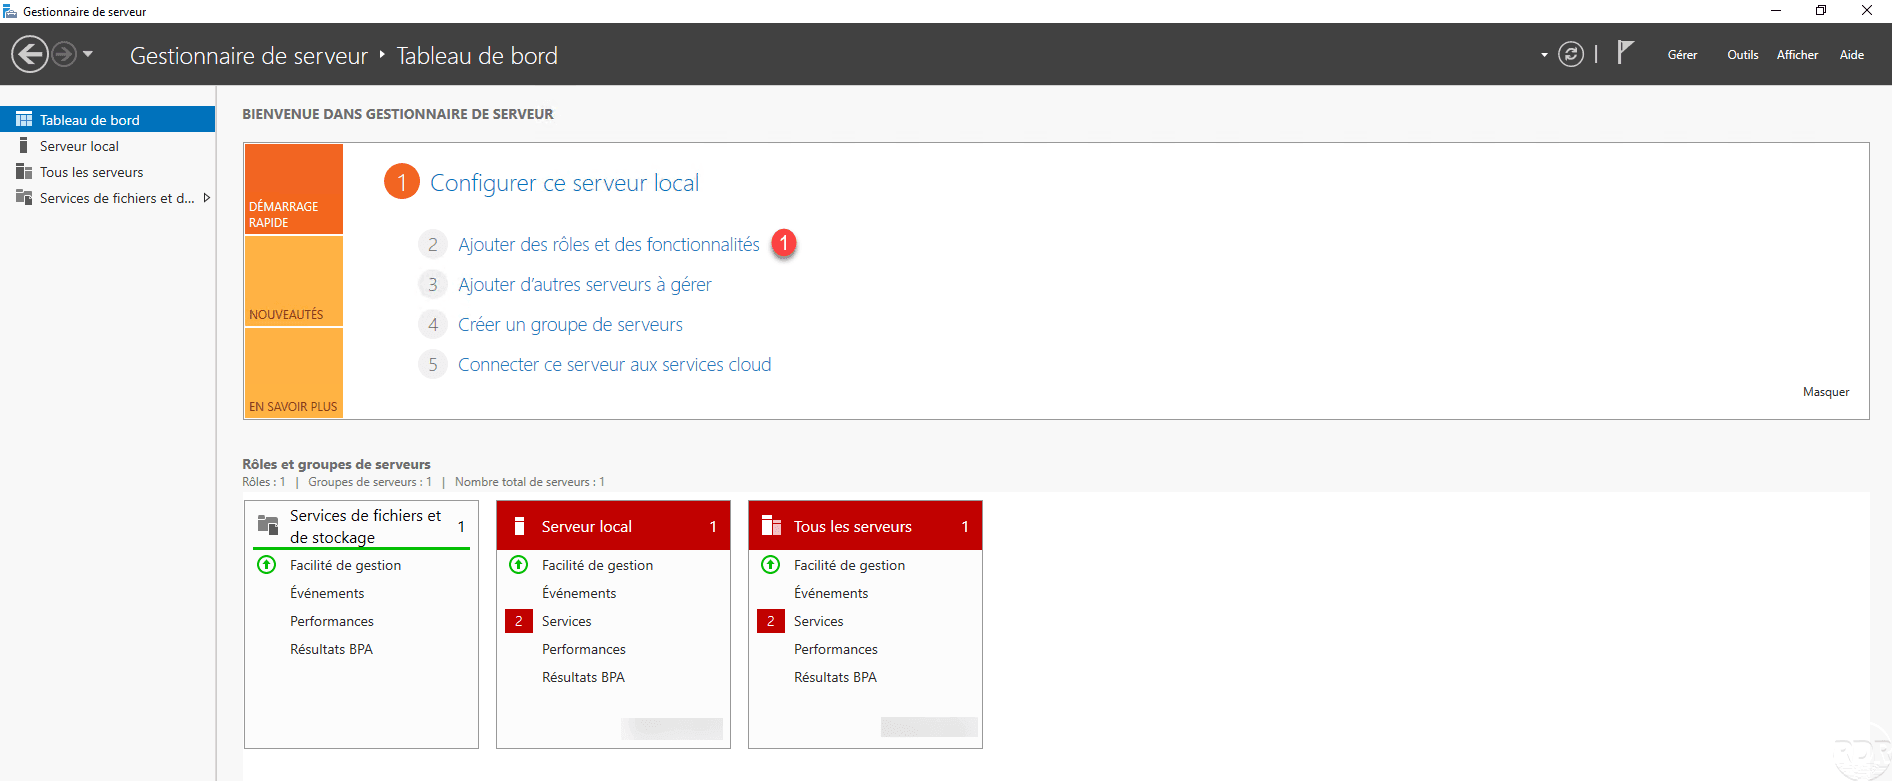
On the Windows Server dedicated to DirectAccess, from the Server Manager launch the Role Installation Wizard by clicking Add Roles and Features 1 .
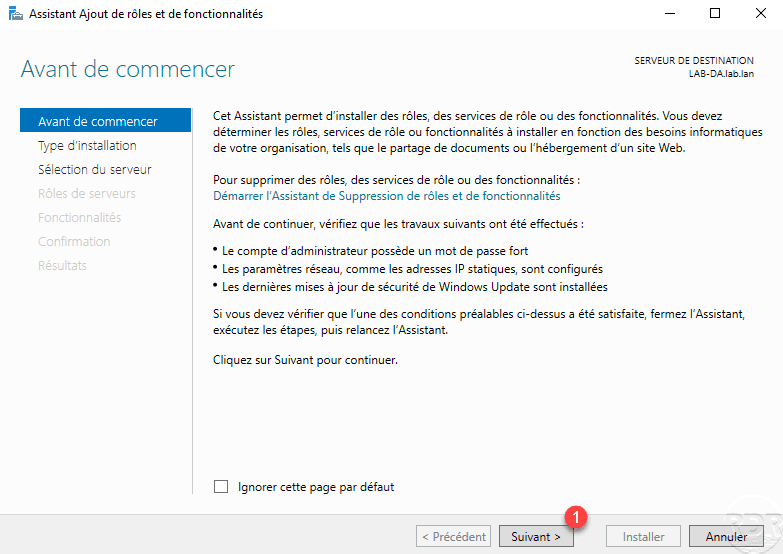
When launching the wizard, click Next 1 .
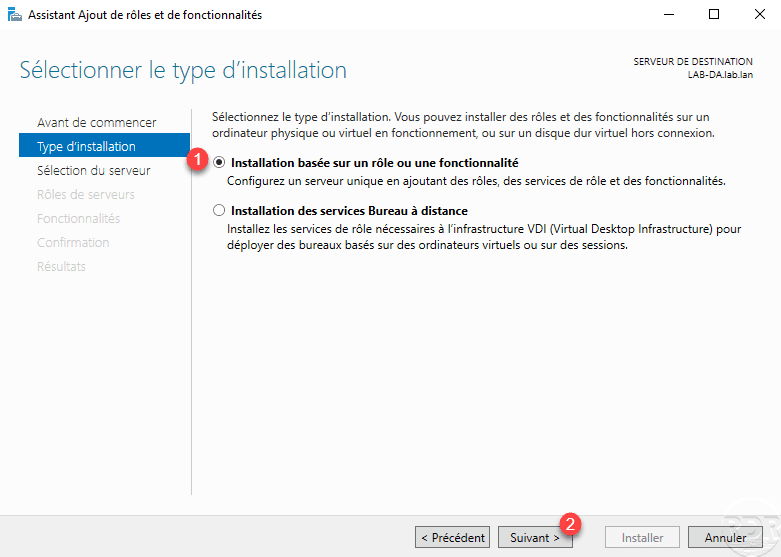
Select Role Based Installation or 1 Functionality and click Next 2 .
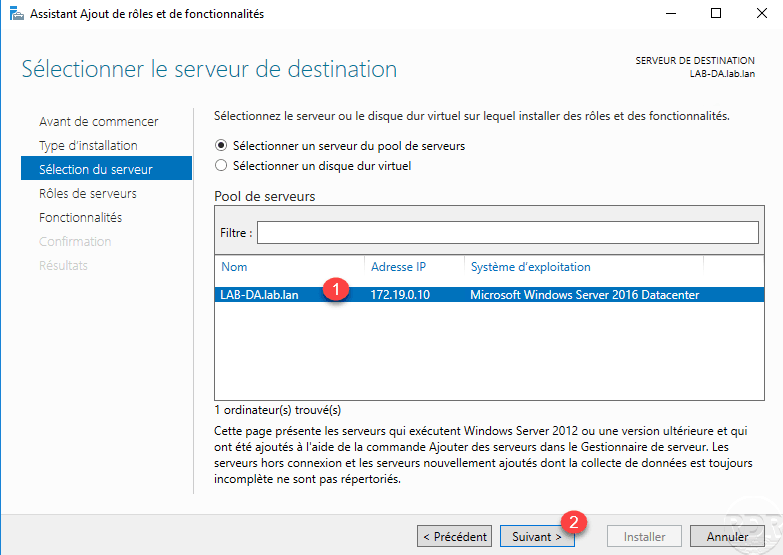
Choose server 1 and click Next 2 .
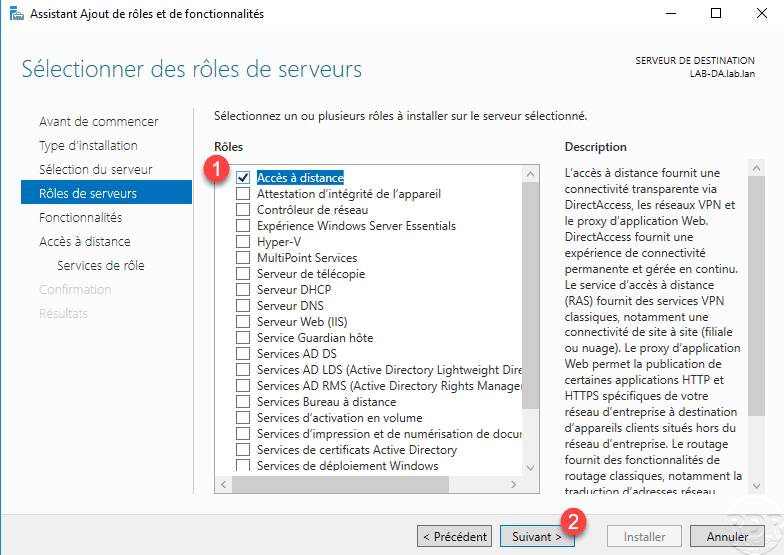
Check the Remote Access 1 role then click the Next 2 button.
Skip the features by clicking Next 1 .

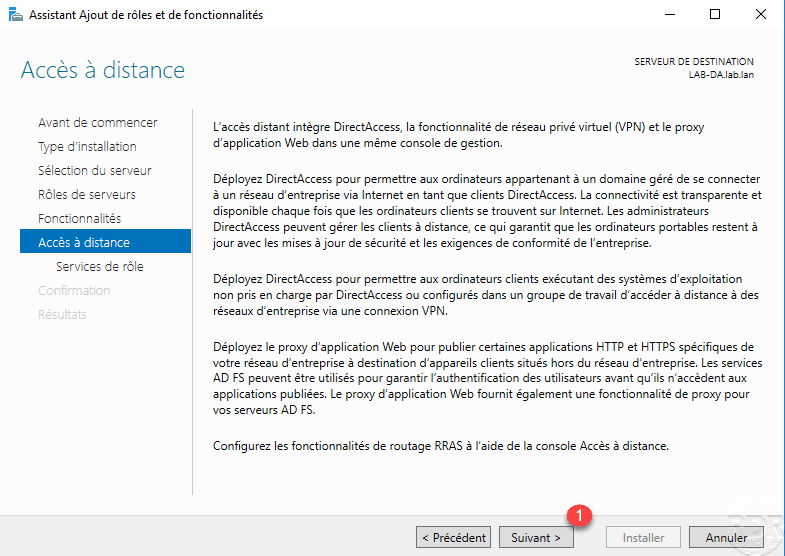
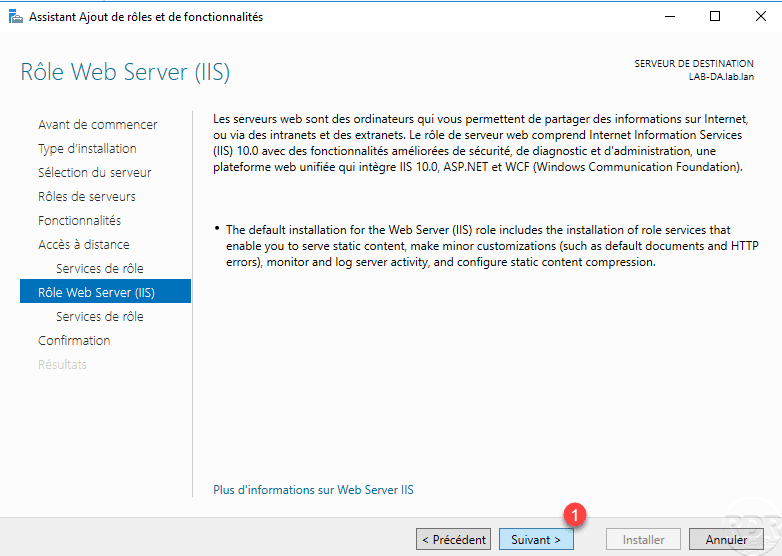
A summary of the Remote Access role is displayed, click Next 1 .
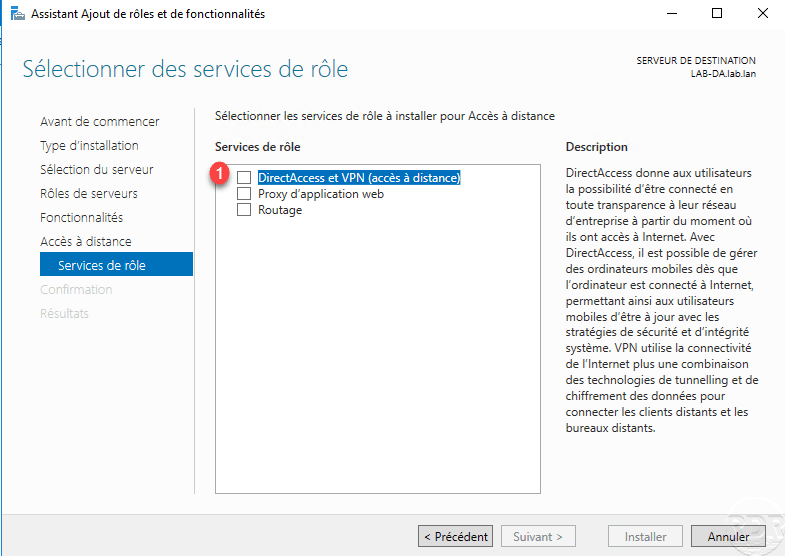
Check the box DirectAccess and VPN (remote access) 1 .
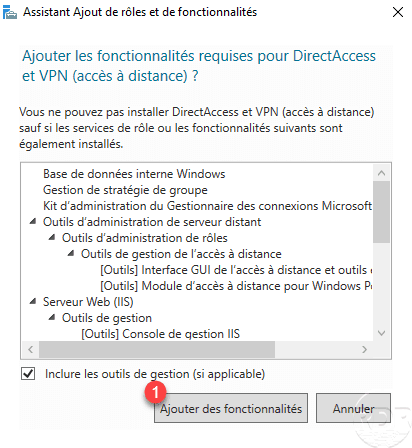
Click Add Features 1 to install the dependencies required for the DirectAccess and VPN roles.
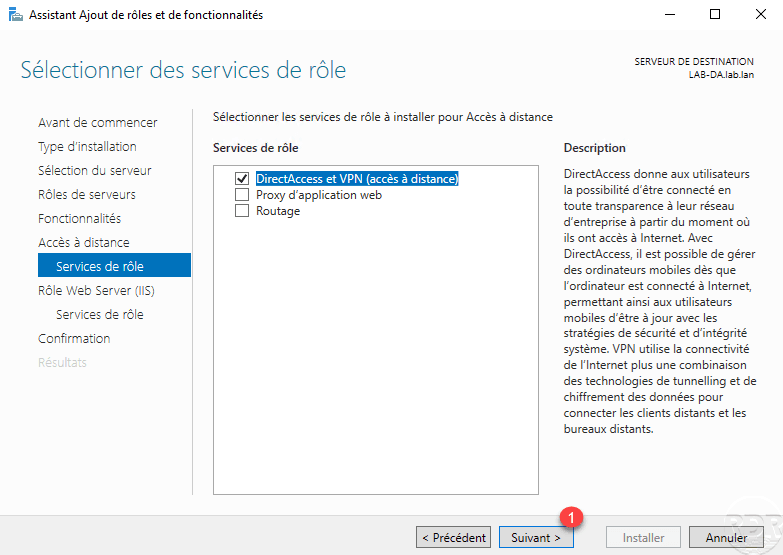
The box is checked, click Next 1 .
Pass the IIS role summary by clicking Next 1 .
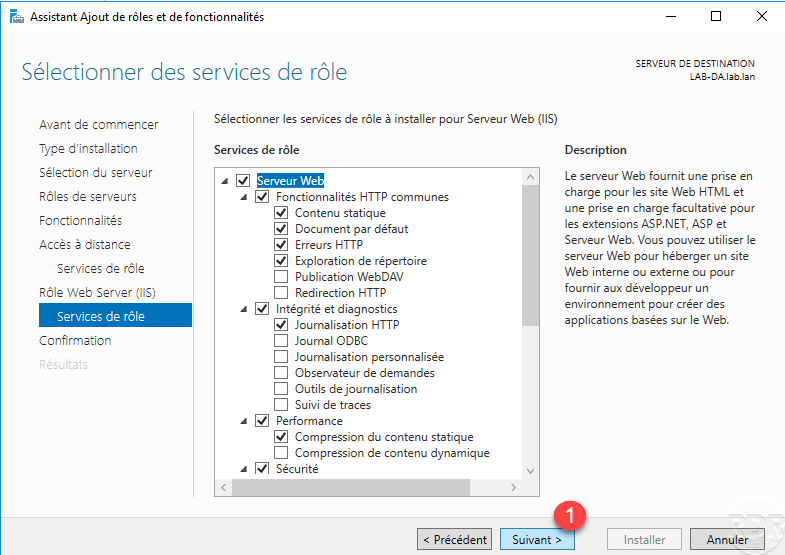
Click Next 1 again to switch to the IIS role services.
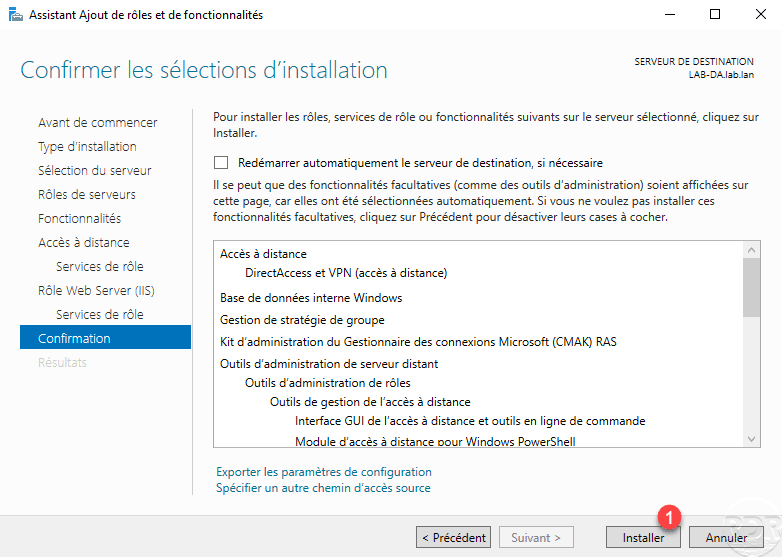
Click on Install 1 .
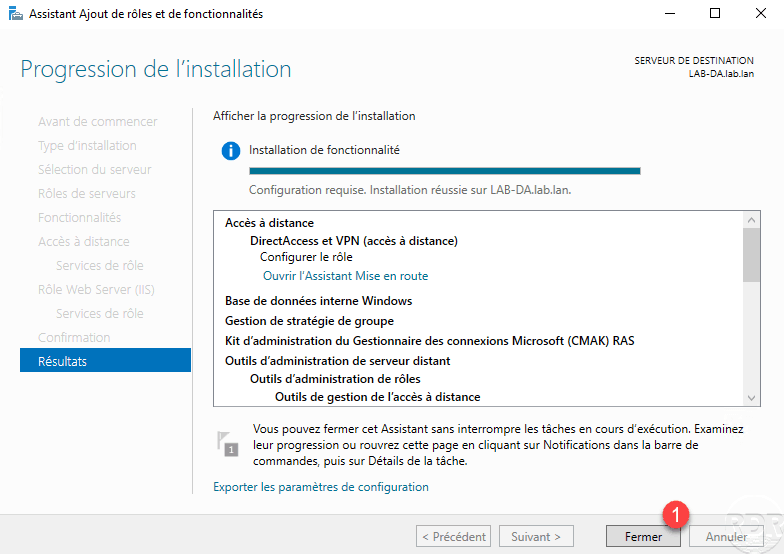
Wait while installing DirectAccess …
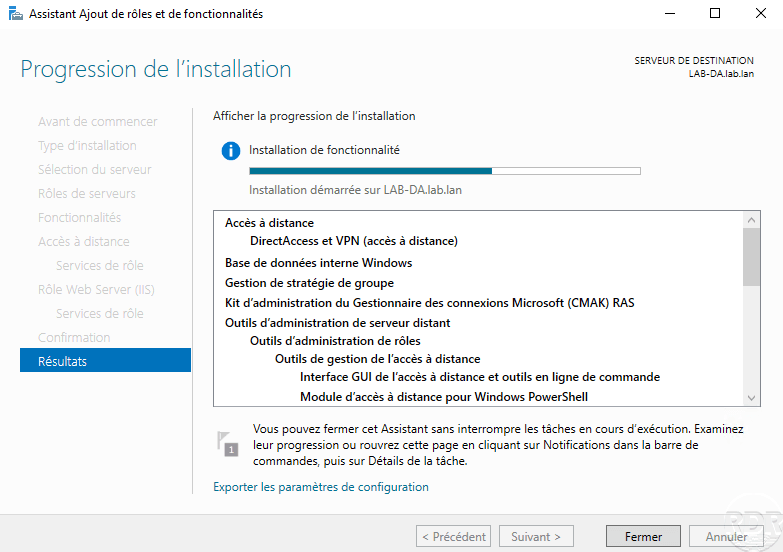
The installation completed, exit the wizard by clicking Close 1 .
Now the remote access role is installed, we will move to the DirectAccess configuration.
Configuring and Administering the DirectAccess Service
Configuration
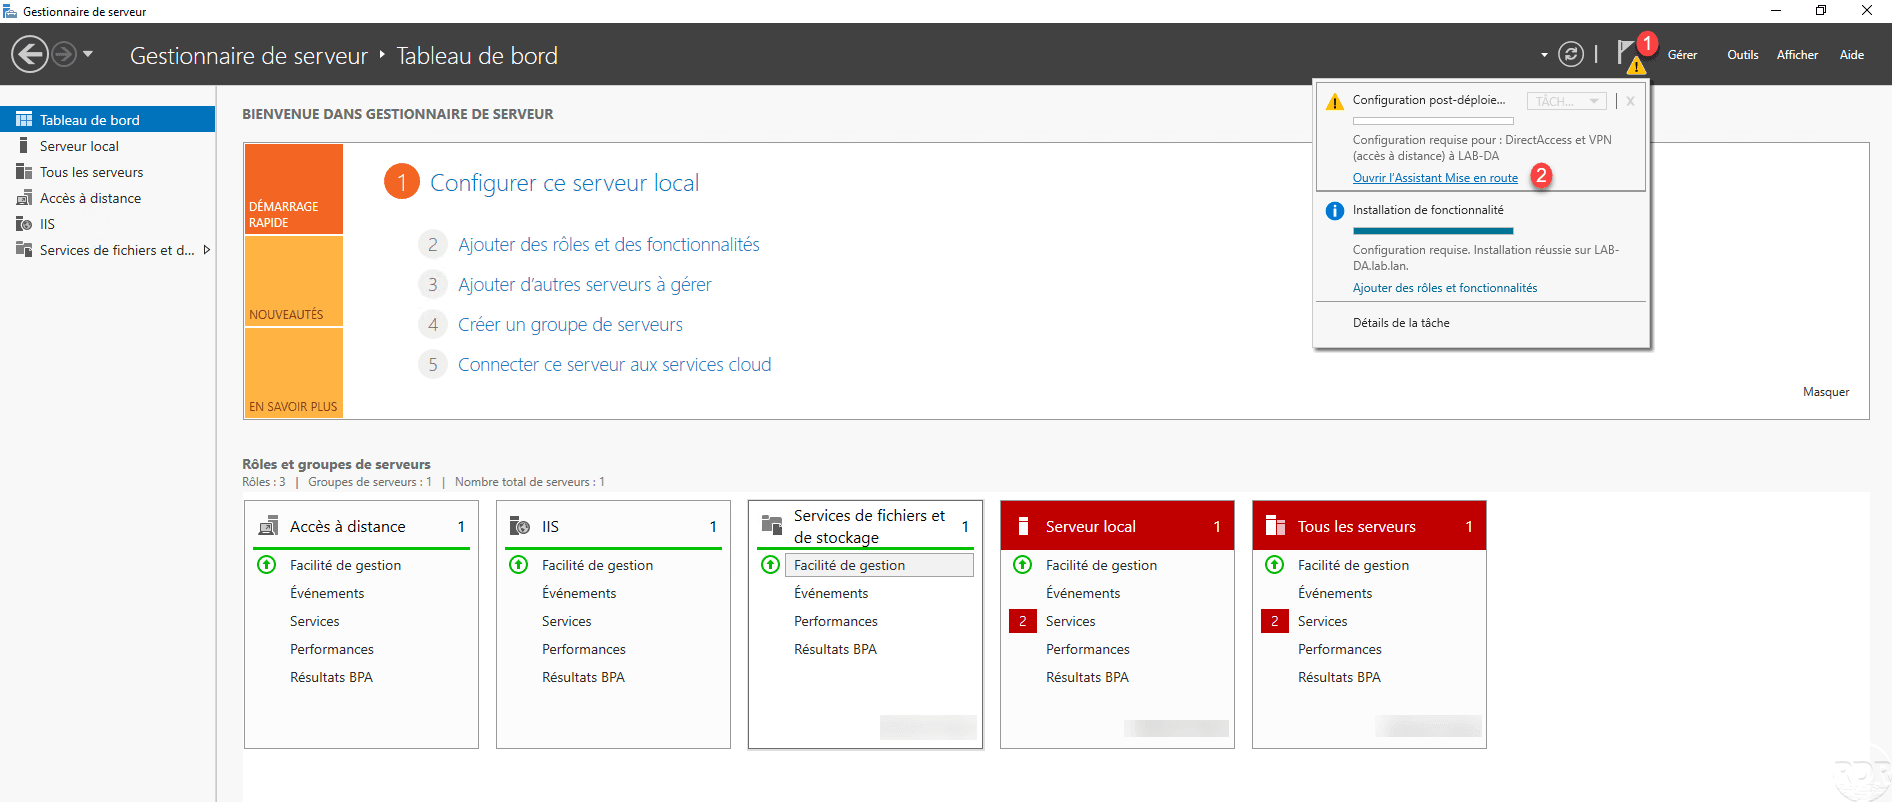
From the server manager, click the notification icon 1 and then click Open Startup Assistant 2 to launch the wizard.
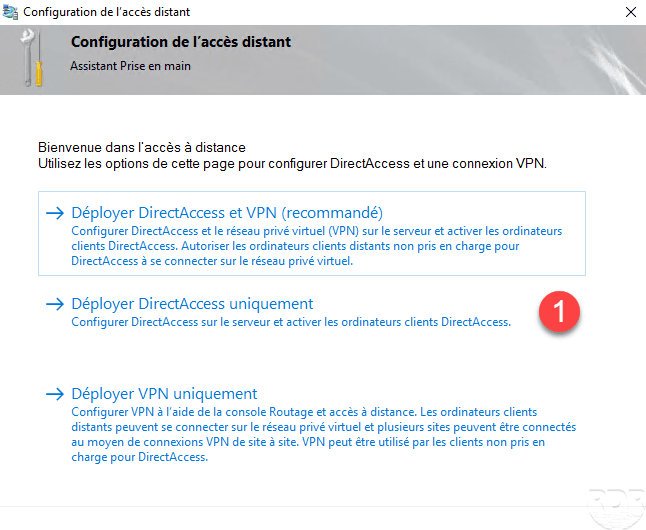
Click Deploy DirectAccess only 1 .
Wait while checking the configuration …

The deployment topology is normally detected automatically based on the network adapters configured on the server, indicate the FQDN 1 name through which the DirectAccess service will be accessible and click Next 2 .
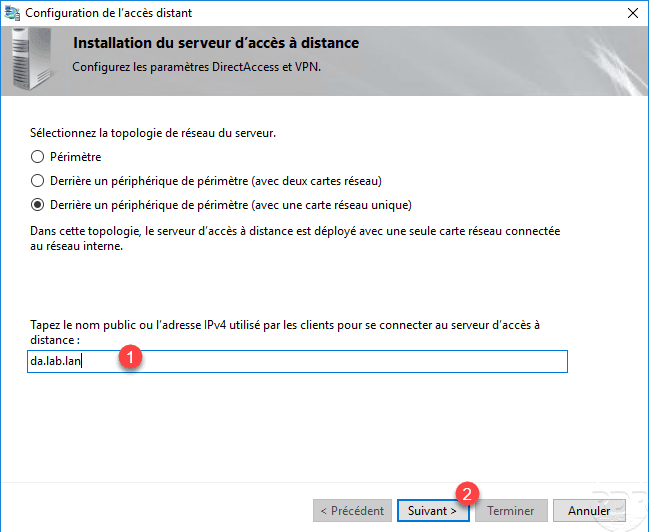
On the capture above, I use a private FQDN name (url), because infrastructure has been mounted in LAB and the WAN (public) part simulated.
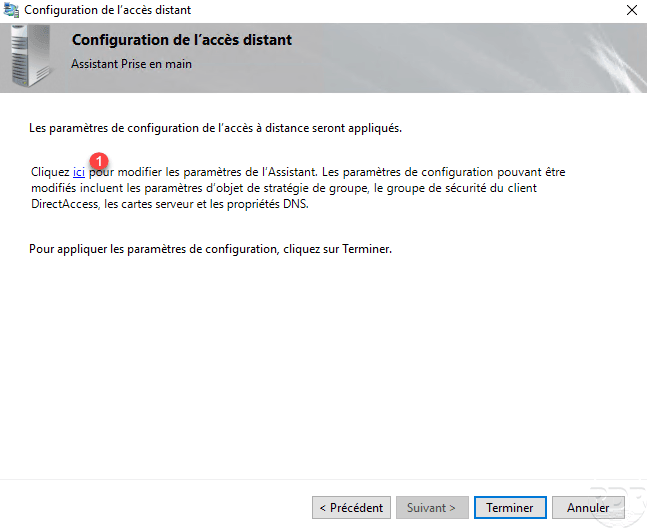
Click here 1 to change the default configuration, we will indicate the group of computers that can use the service.
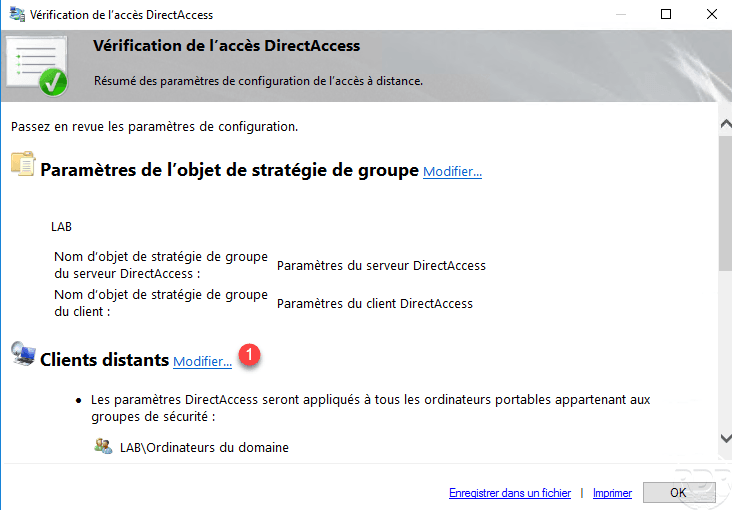
In the Remote Clients section, click Change 1 .
Select the Computer group of domain 1 and click on Delete 2 . If desktop computers need to connect through DirectAccess, uncheck box 3 Enable DirectAccess for laptops only.
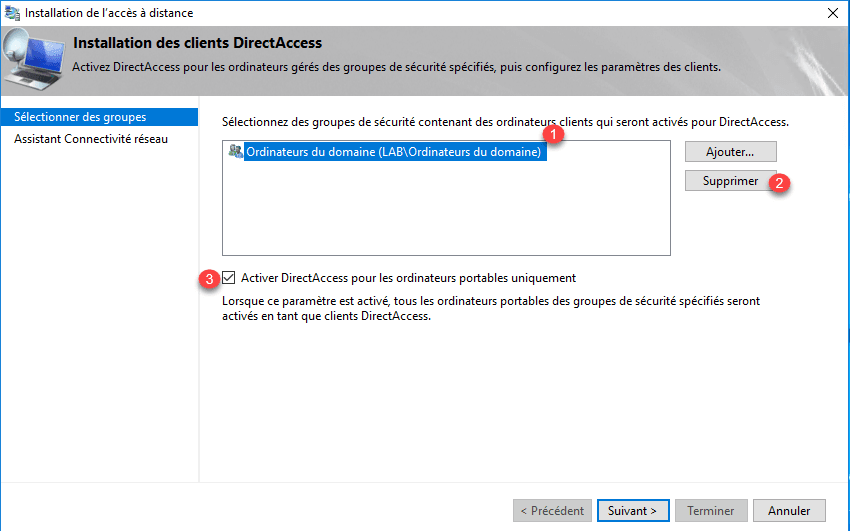
When the Enable DirectAccess for Laptops Only check box is selected, a WMI filter is added to the Configuration Group Policy for DirectAccess.
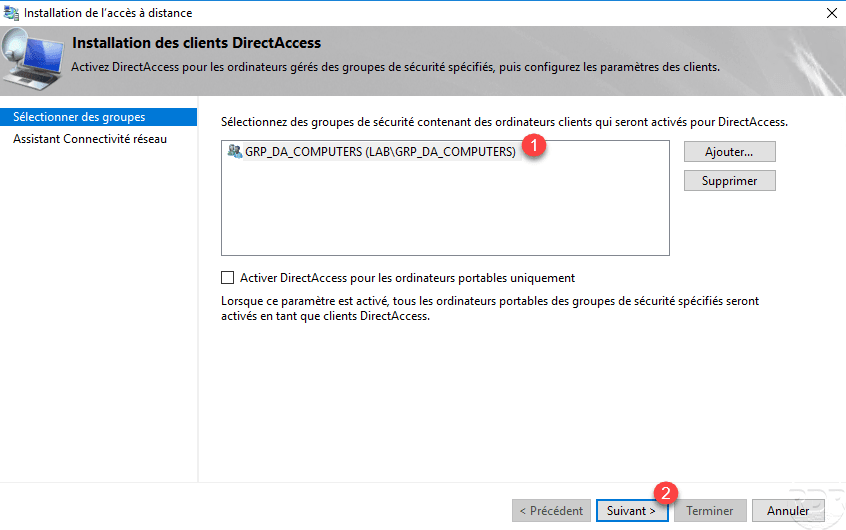
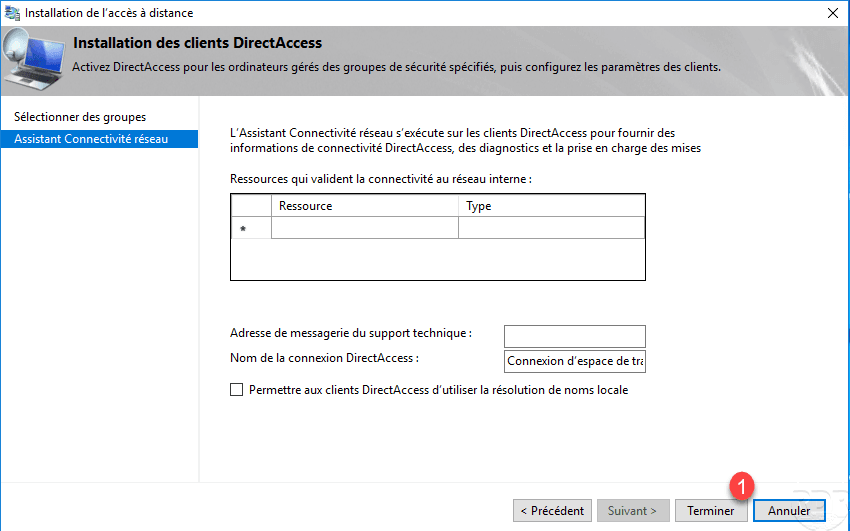
Add the Active Directory Group 1 that contains the computers that are allowed to connect to the service and click Next 2 .
Click on Finish 1 to validate the configuration.
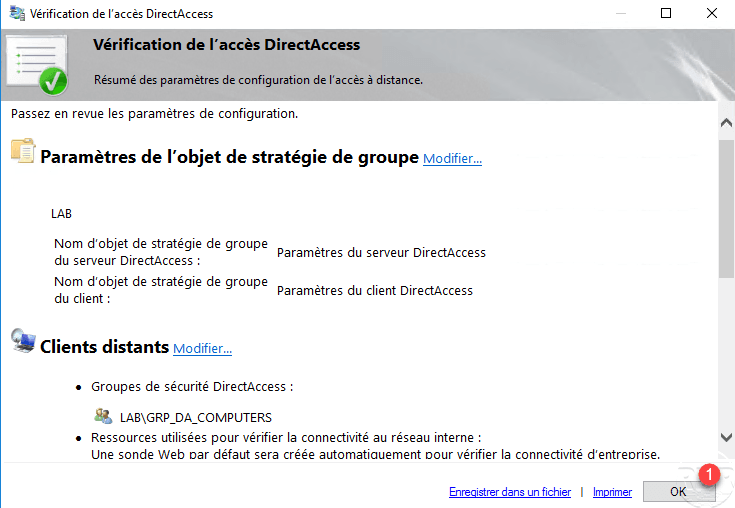
Close the parameter access window by clicking OK 1 ….
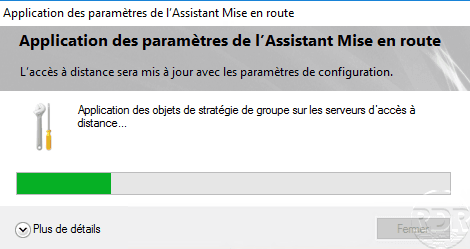
Apply the configuration by clicking Finish 1 .

Wait while configuring DirectAccess …
When the configuration is complete, click Close 1 . When closing the configuration wizard the remote access management console will open.
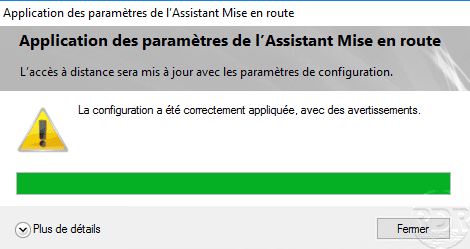
An alert may be displayed if the fqdn name for DirectAccess is part of the same domain as the ActiveDirectory. This will add an exception entry in the NRPT table for DNS resolution of clients.
Management
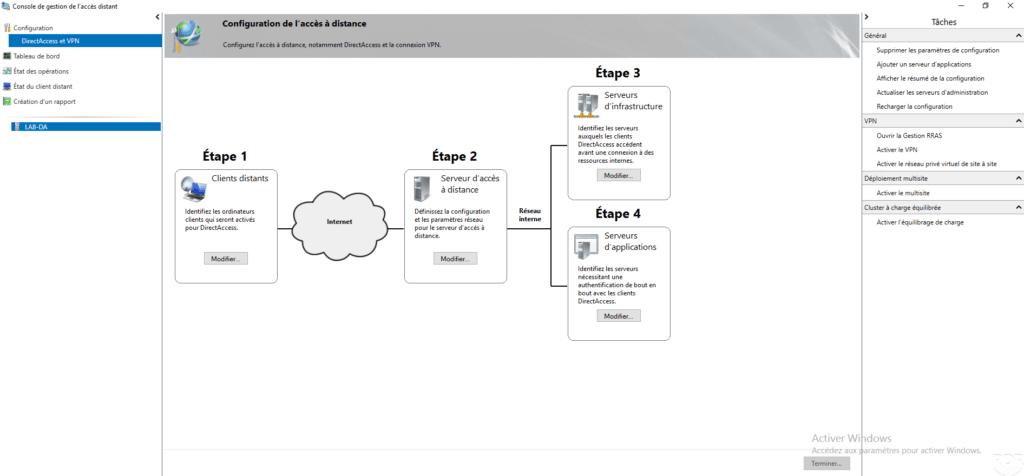
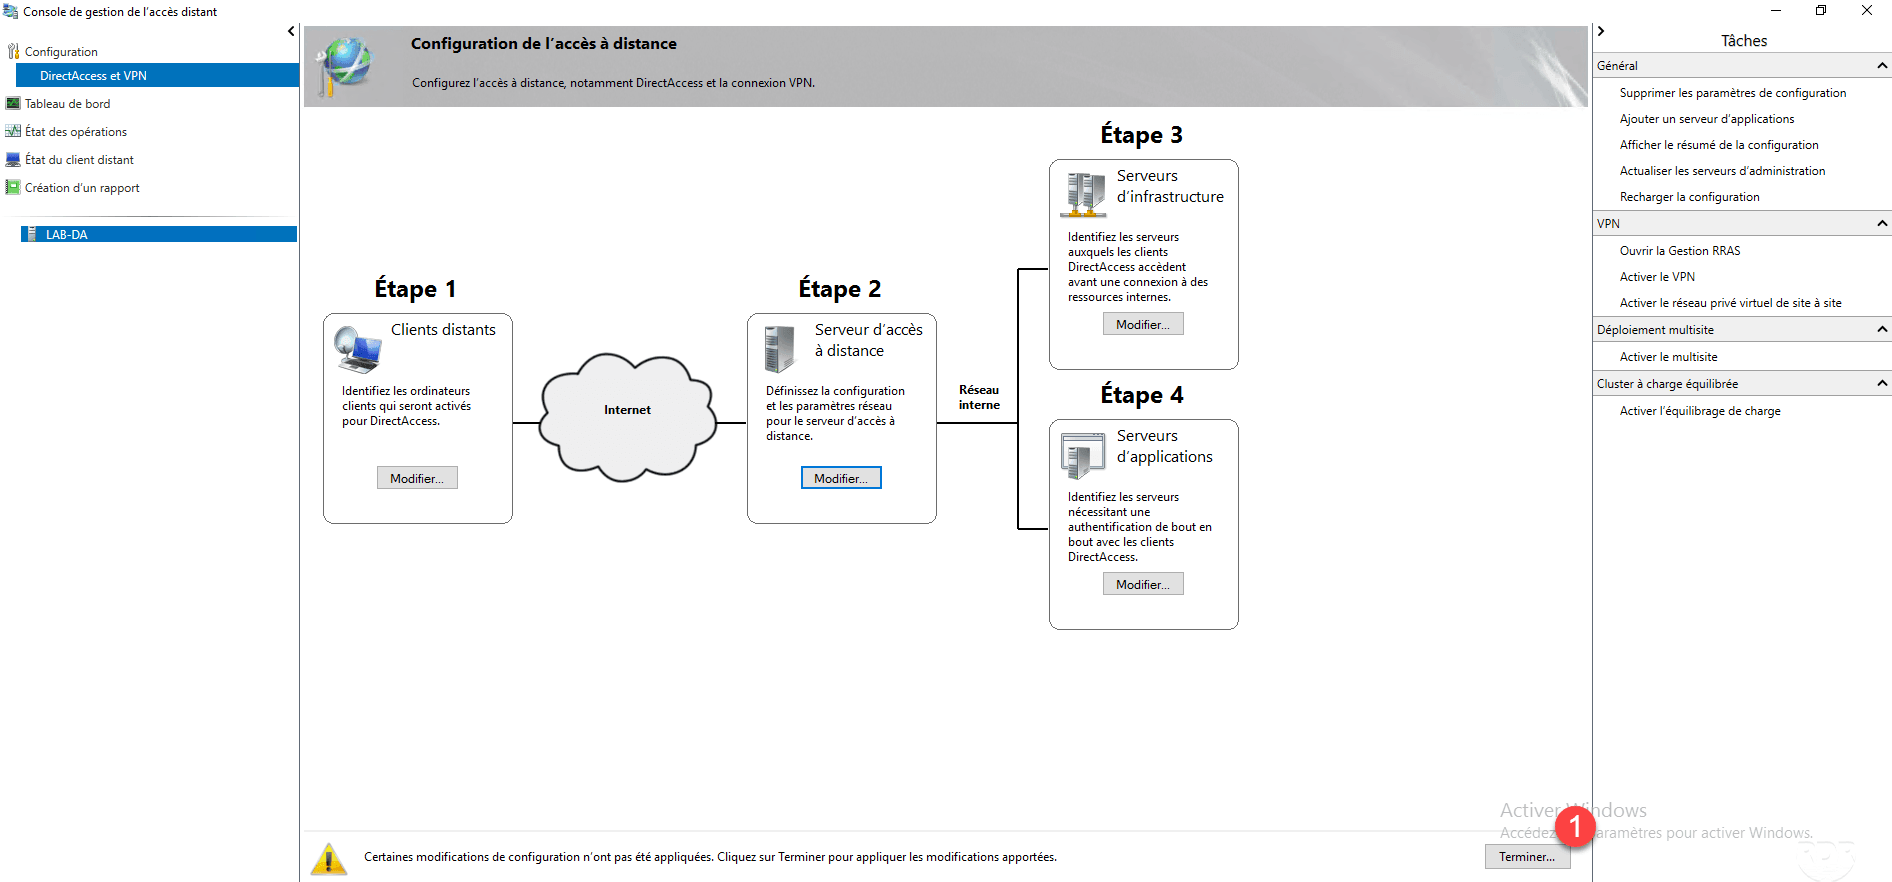
Administration and changes to DirectAccess service settings are done through the Remote Access Management console.
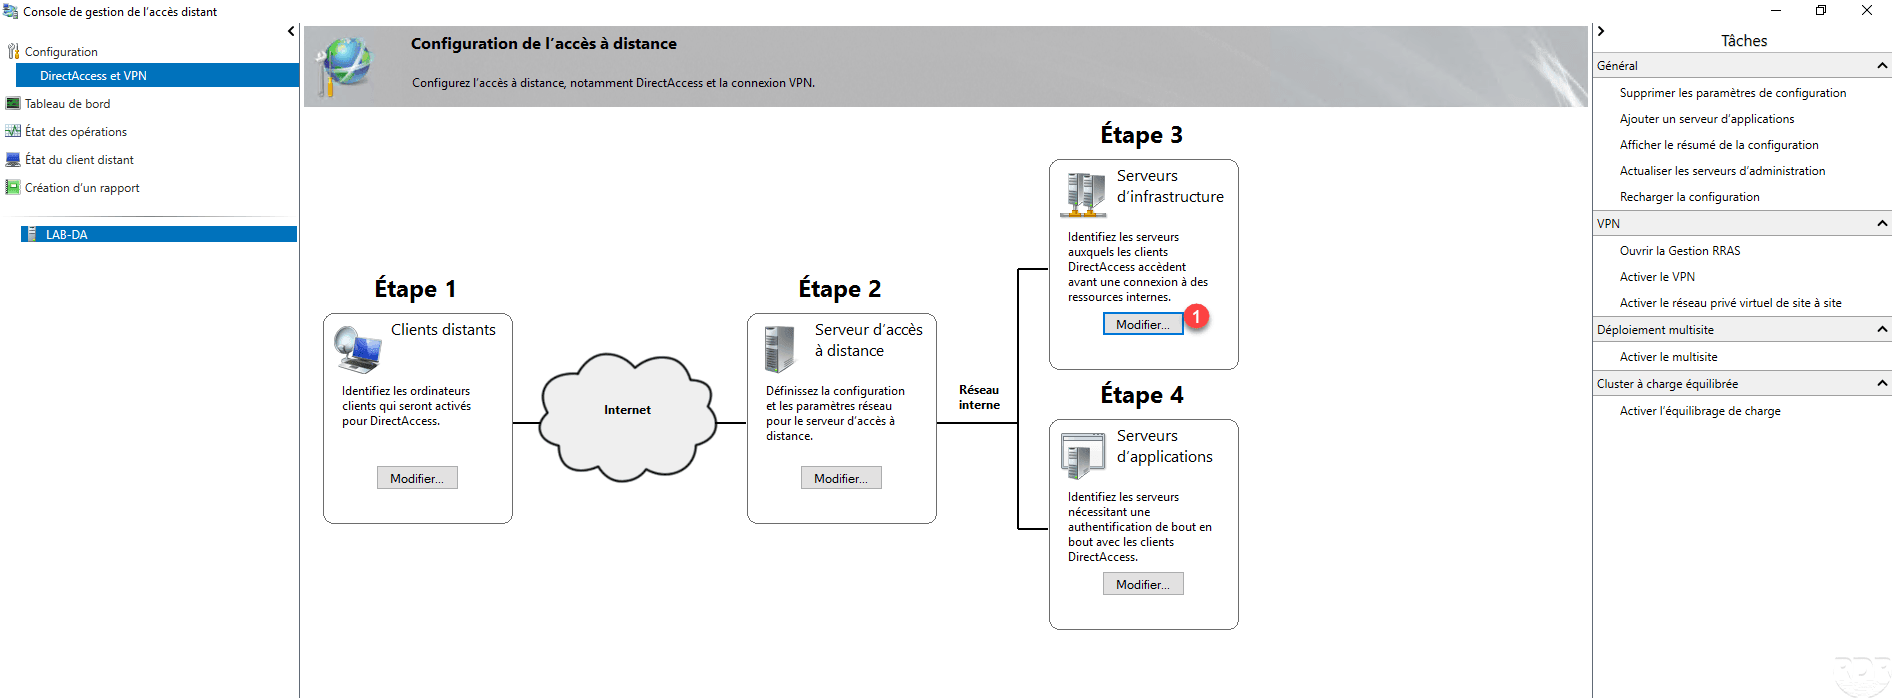
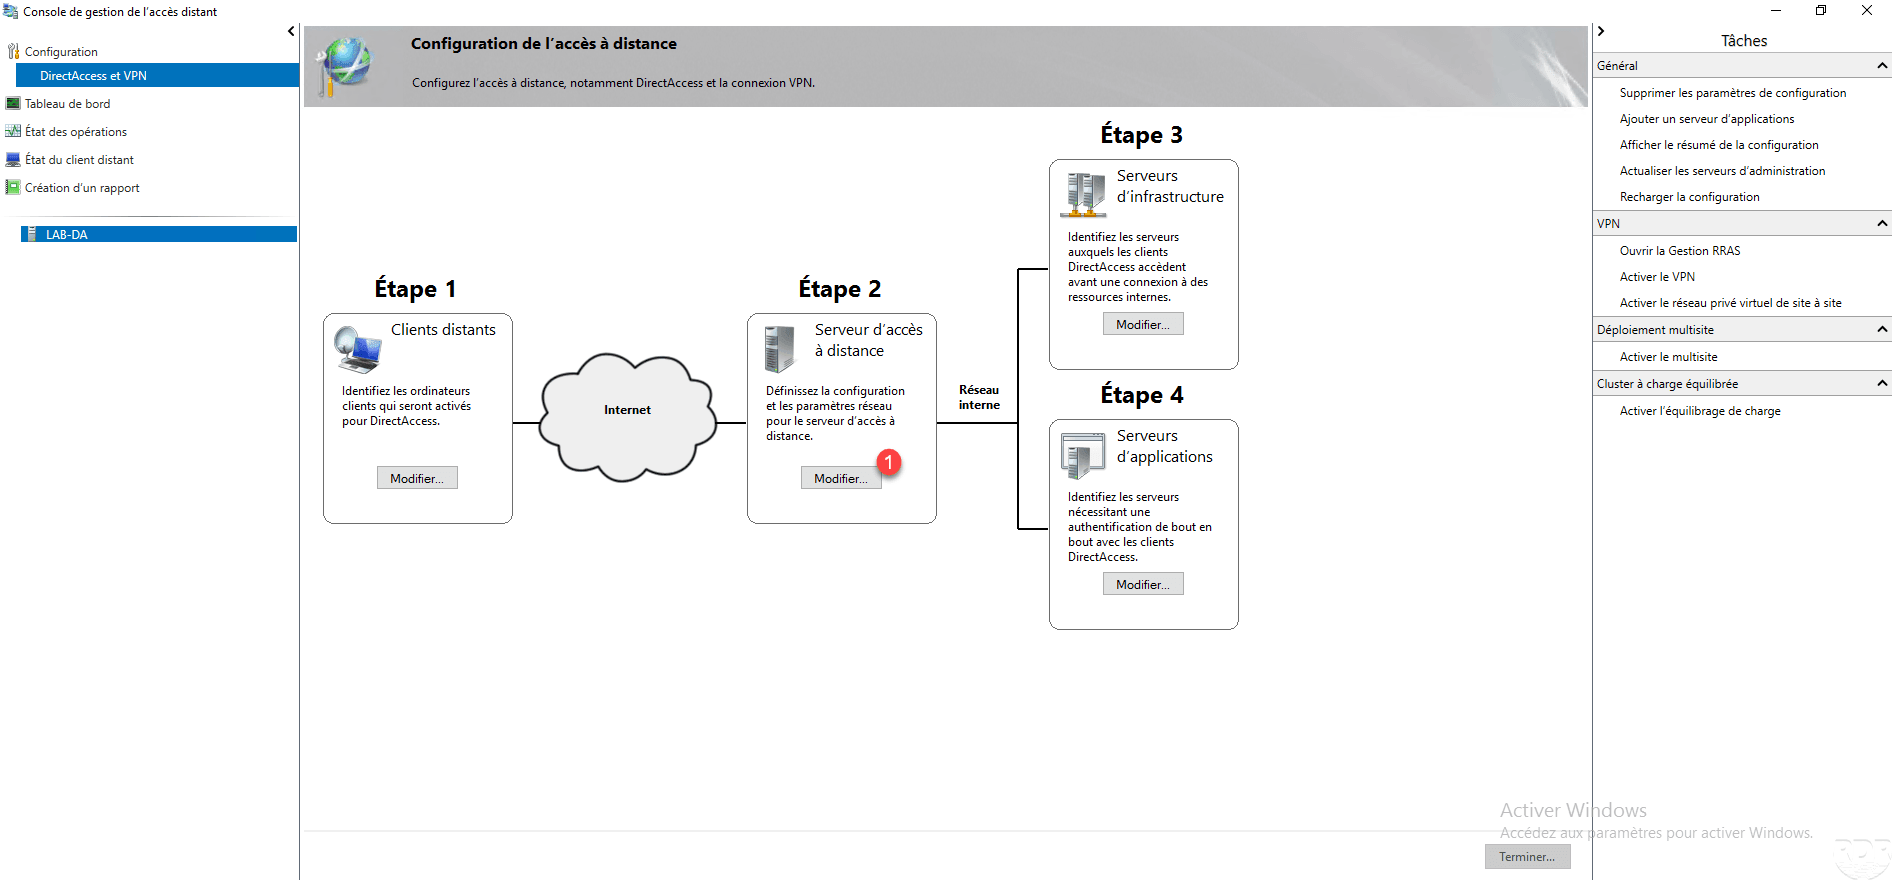
In the menu on the left, by clicking on DirectAccess and VPN 1 , you can access the service deployment view with the possibility to modify the configuration.

In the box of Step 3, click Edit 1 .
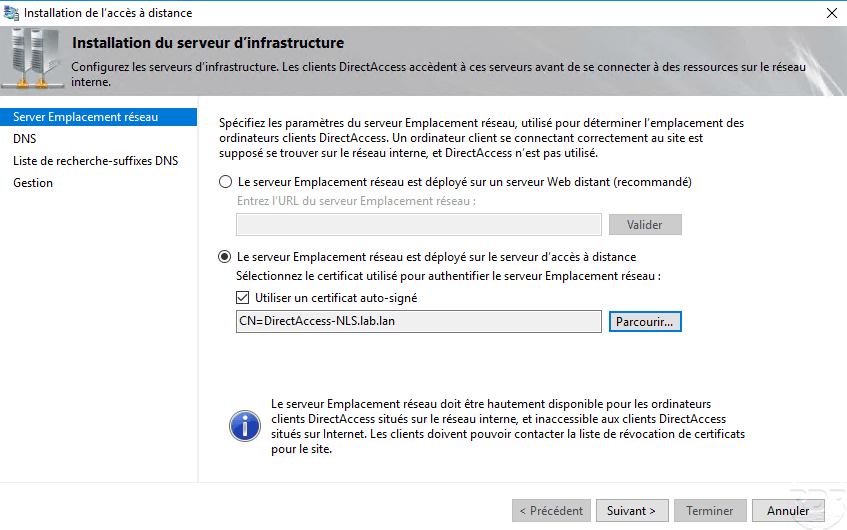
The first Server Network Location setting is used to configure the probe that lets the computer know where it is in the network.
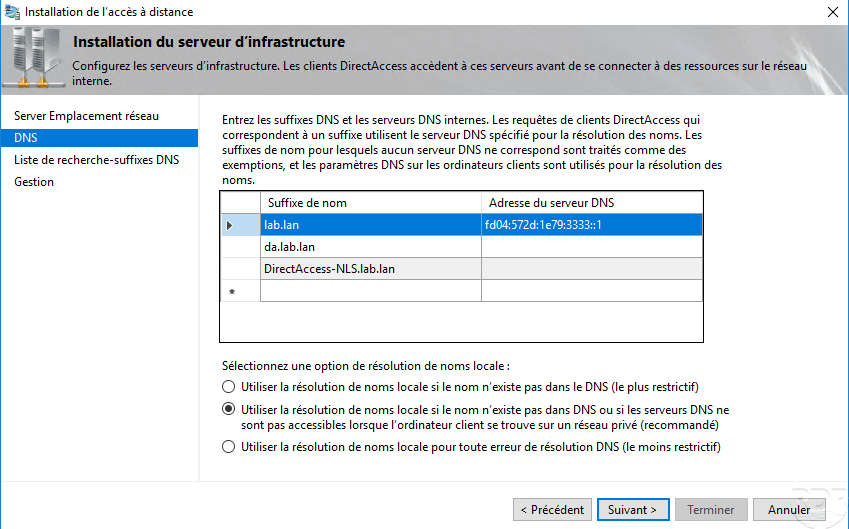
The DNS settings show the resolution strategies for the NRPT table, we can see that an exception has been added for the fqdn name to access the DirectAccess service.
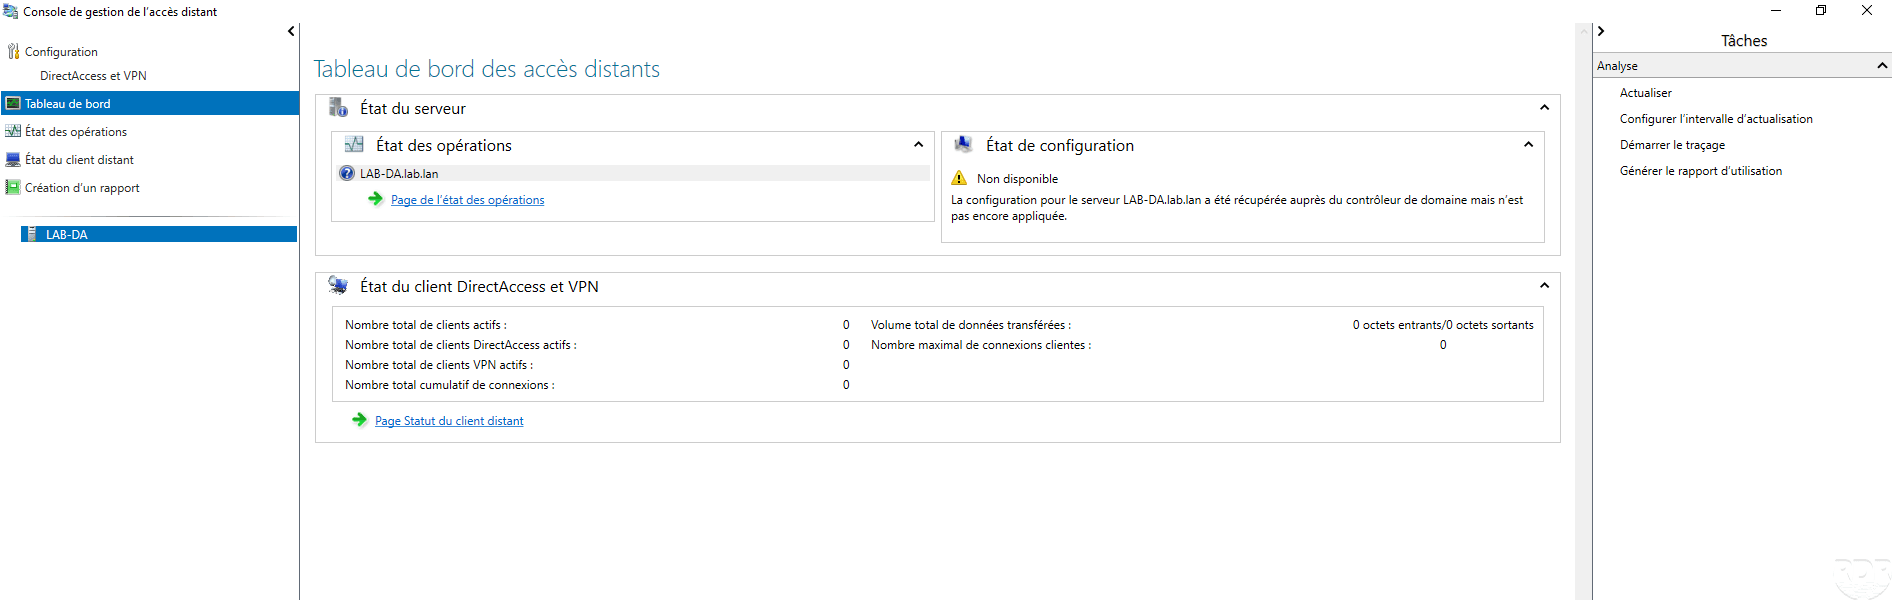
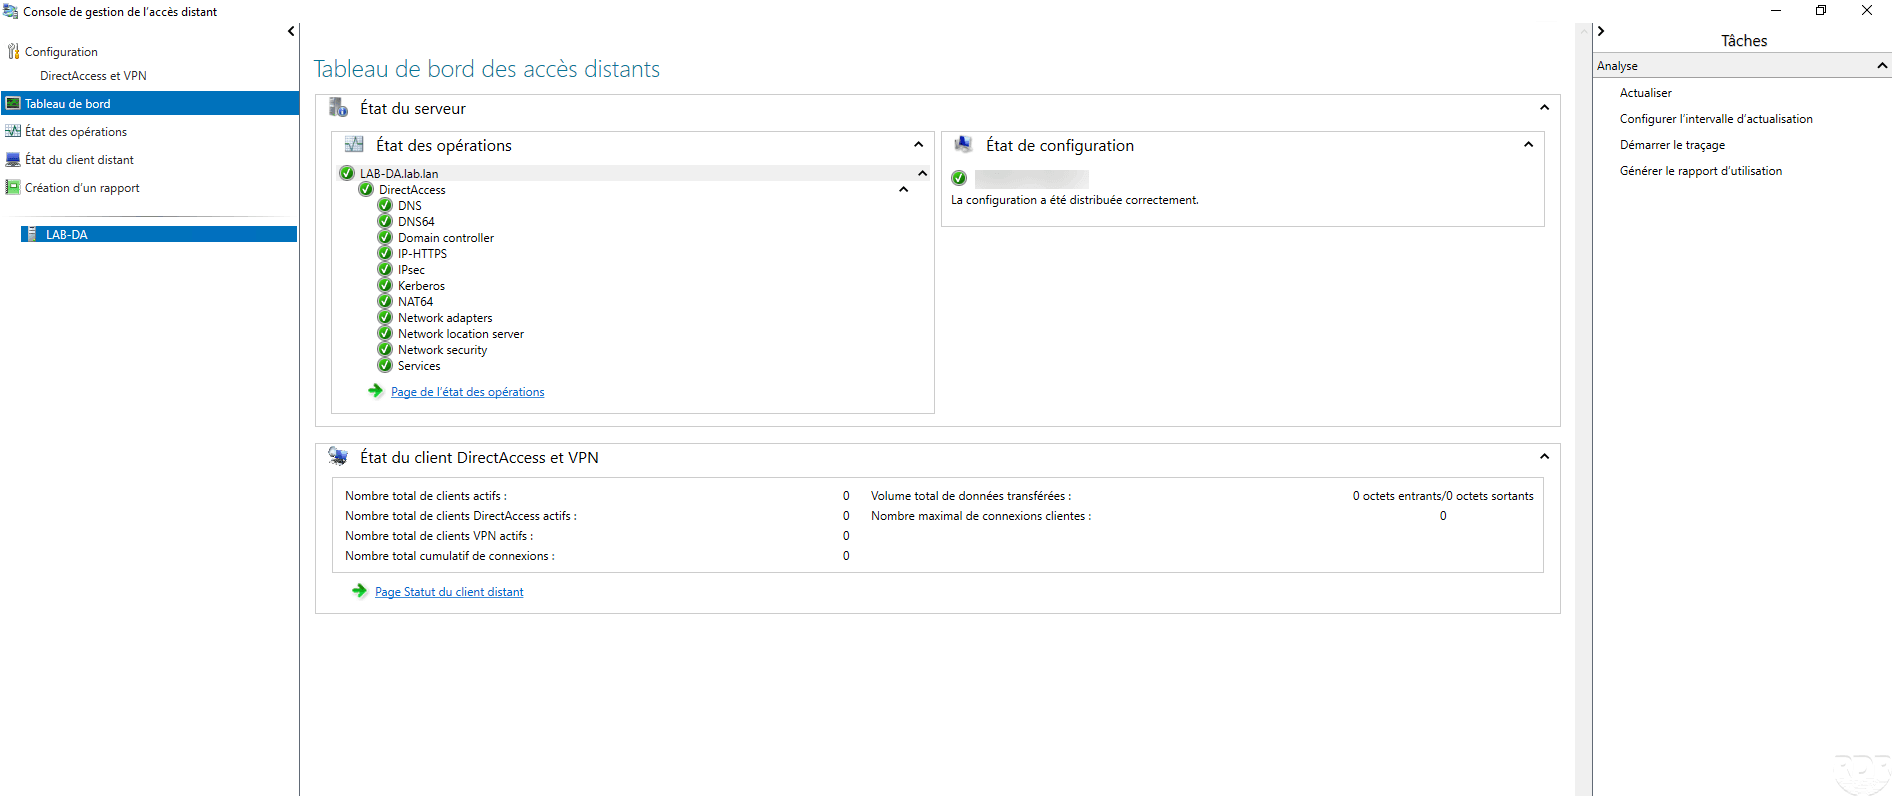
Back on the Remote Access Management console in the Dashboard section, verify that all services are green.
Configuring DirectAccess GPOs for Servers and Computers
When configuring DirectAccess, two group policies were normally created so that servers and computers are automatically configured.
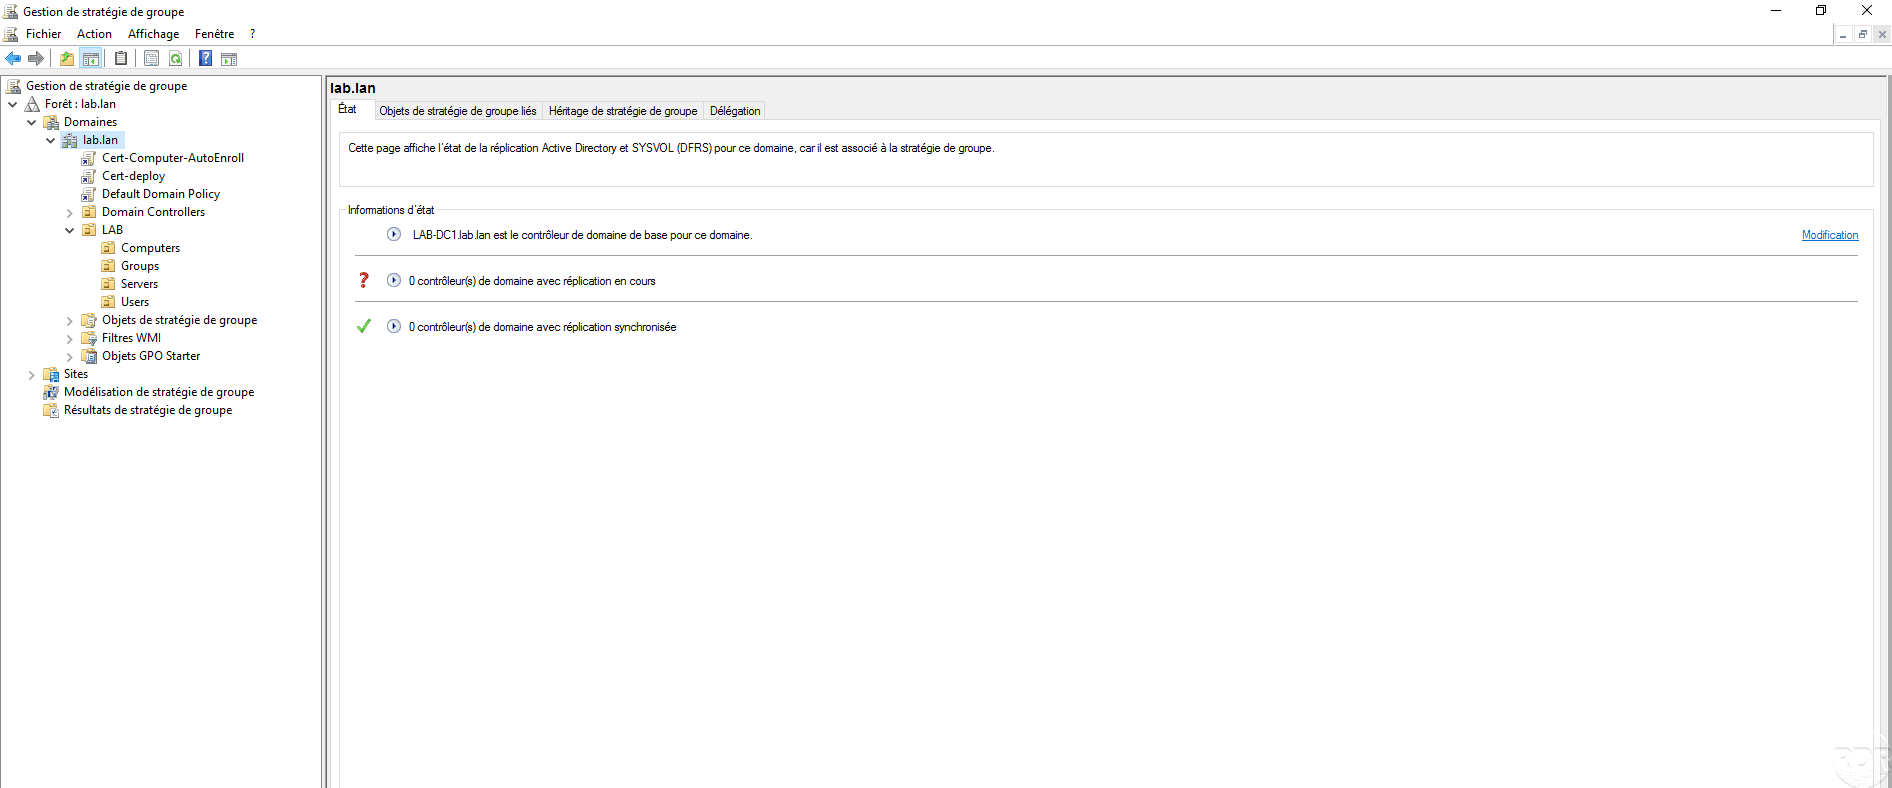
To open the Group Policy Management console on a domain controller or directly from the DirectAccess server, it has normally been installed. Check both strategies have been added to the root of the domain. If this is not the case as on the screenshot below, we will see how to add them.
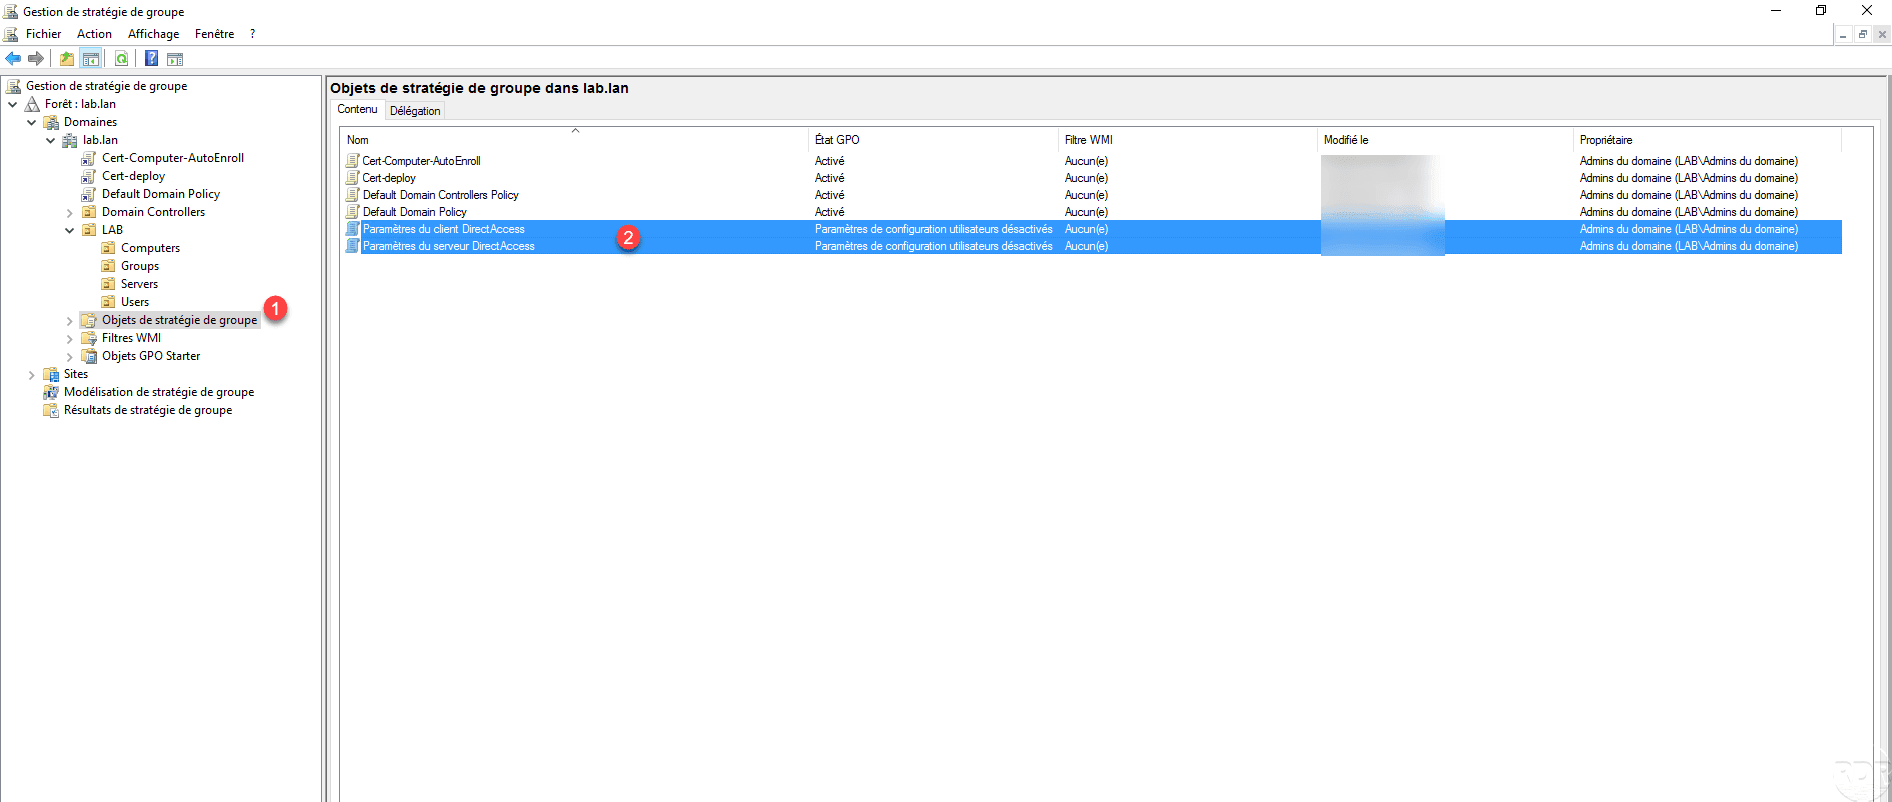
Go to the Group Policy Objects 1 node and verify that the two 2 strategies for DirectAccess have been created.
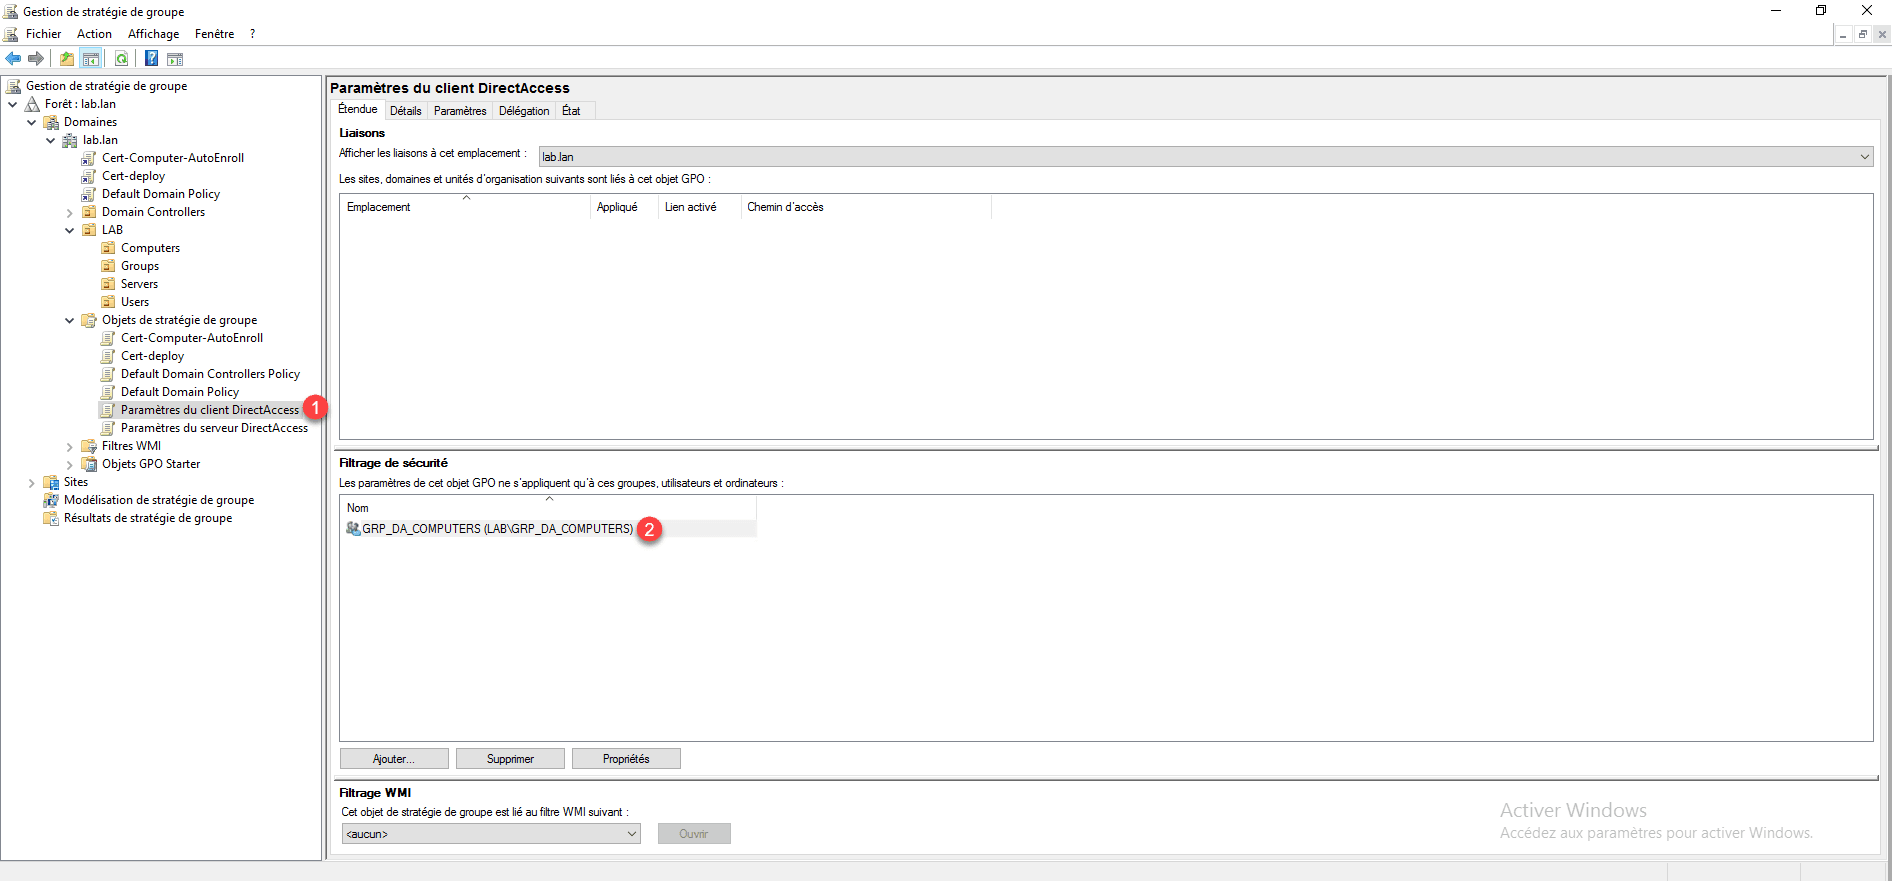
Before linking the policies, check that the strategy for the 1 clients is limited to the 2 group configured in DirectAccess.
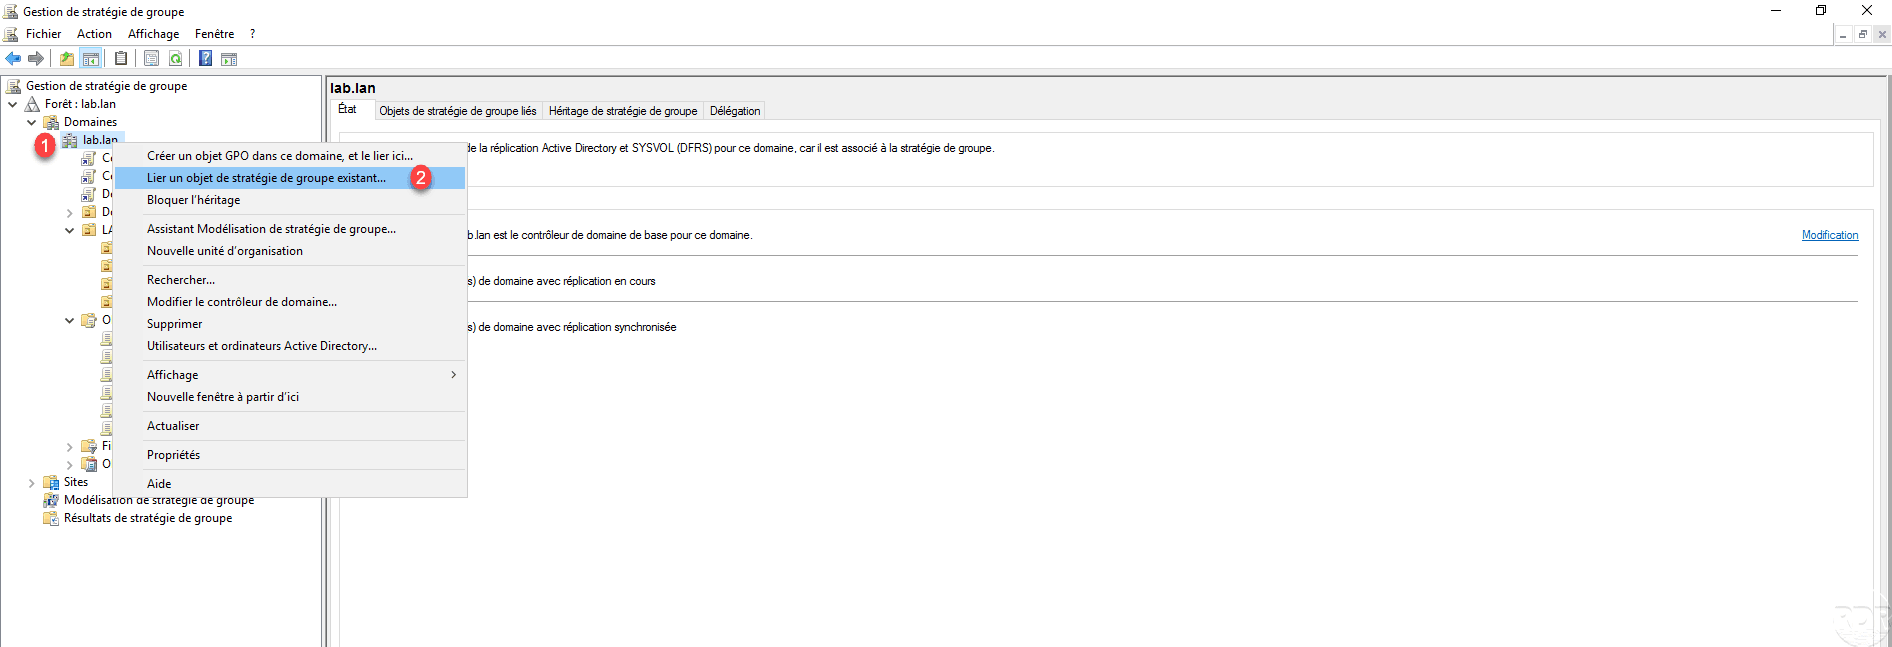
Right-click on domain 1 and click Link an existing Group Policy object 2 .
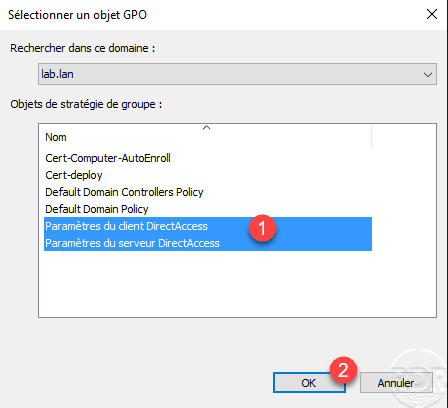
Select both 1 strategies and click OK 2 to add them.
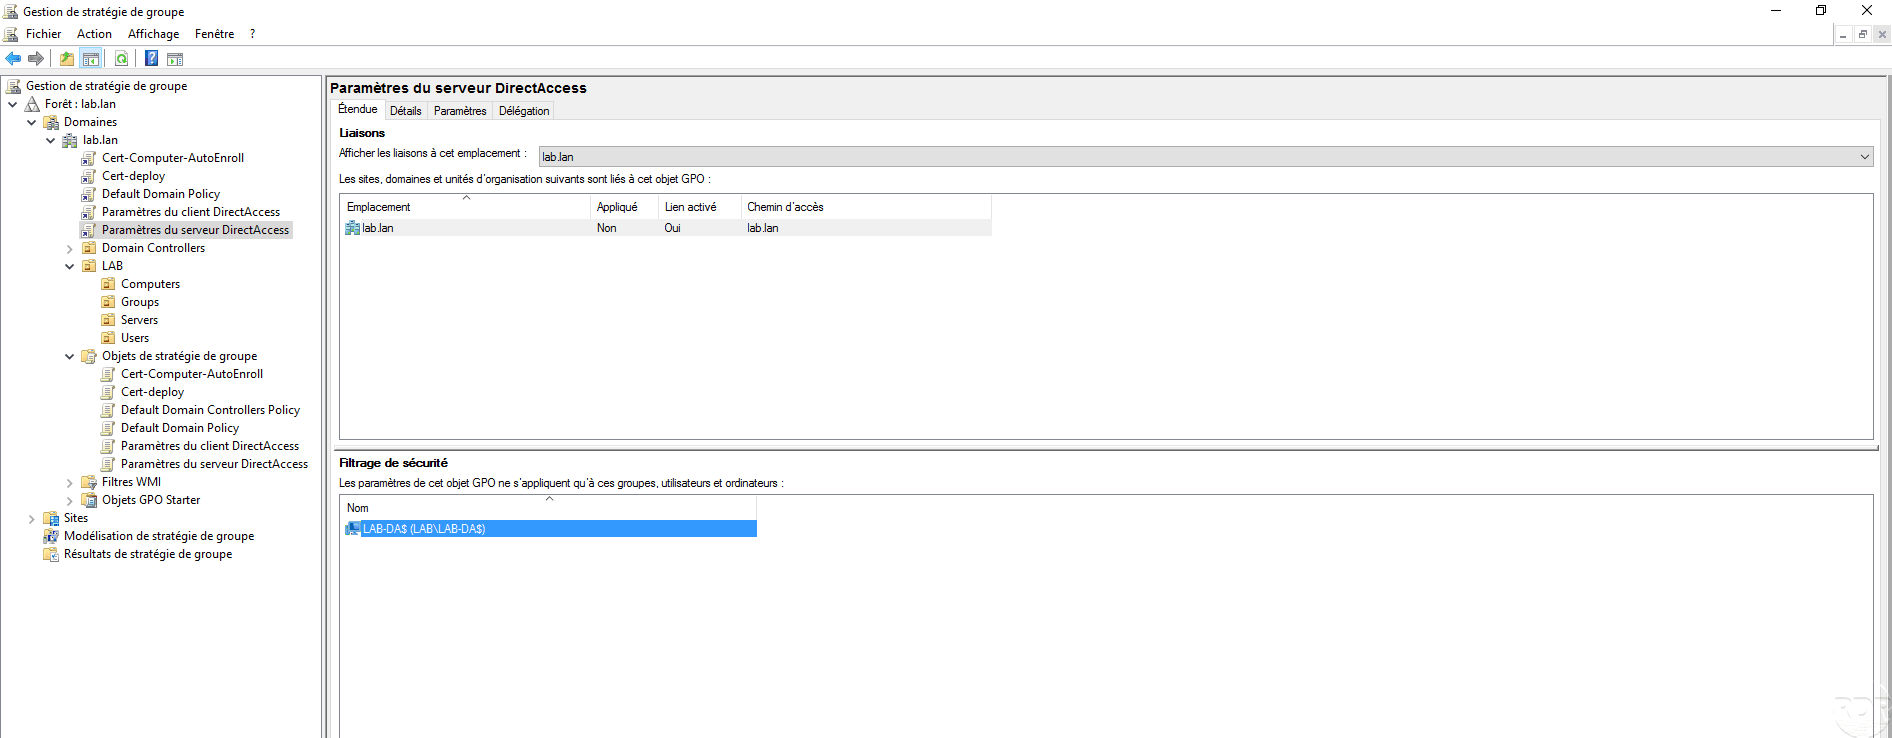
The strategies are related to the domain.
On the DirectAccess server, open a command prompt as administrator and enter gpupdate to enforce the policy.
Test DirectAccess with a Windows 10 client
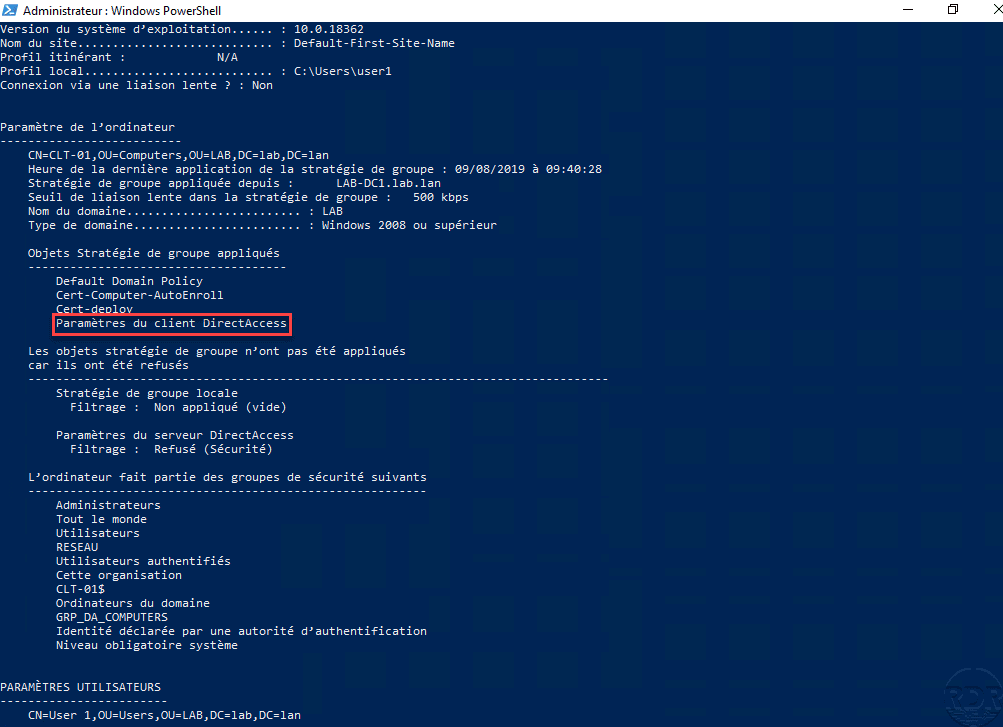
Before testing the configuration of a client computer, it must be connected to the corporate network, verify that the policy is applied using the command gpresult /r.
It is possible to verify the configuration before the following PowerShell command that returns the DirectAccess configuration:
Get-DAClientExperienceConfiguration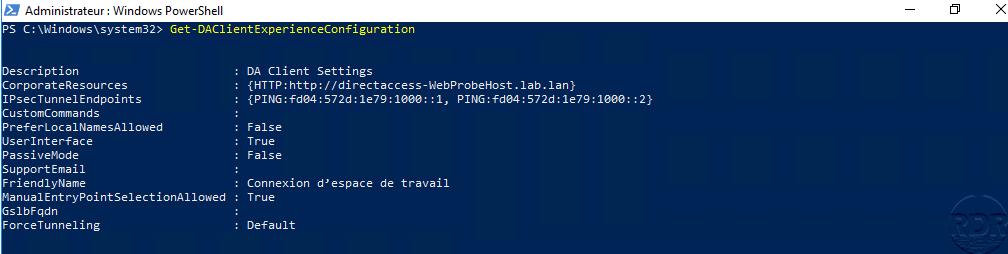
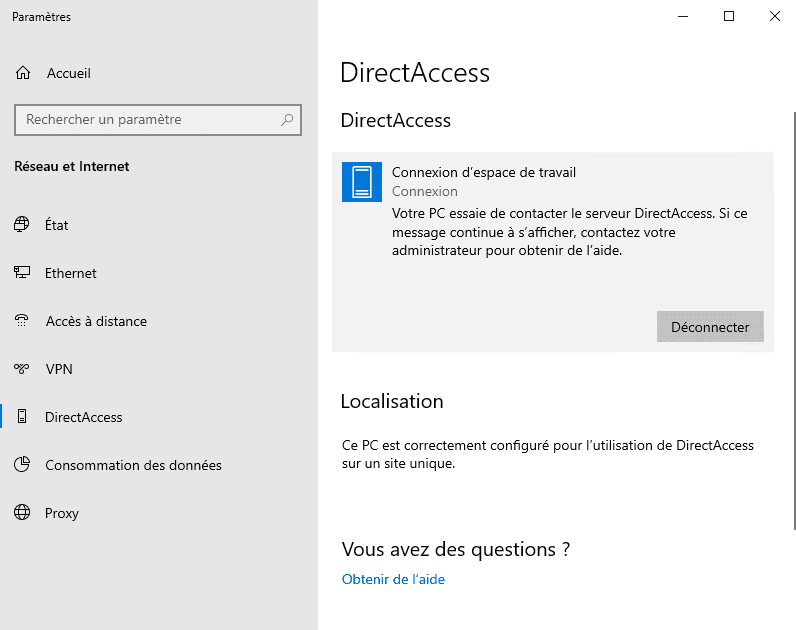
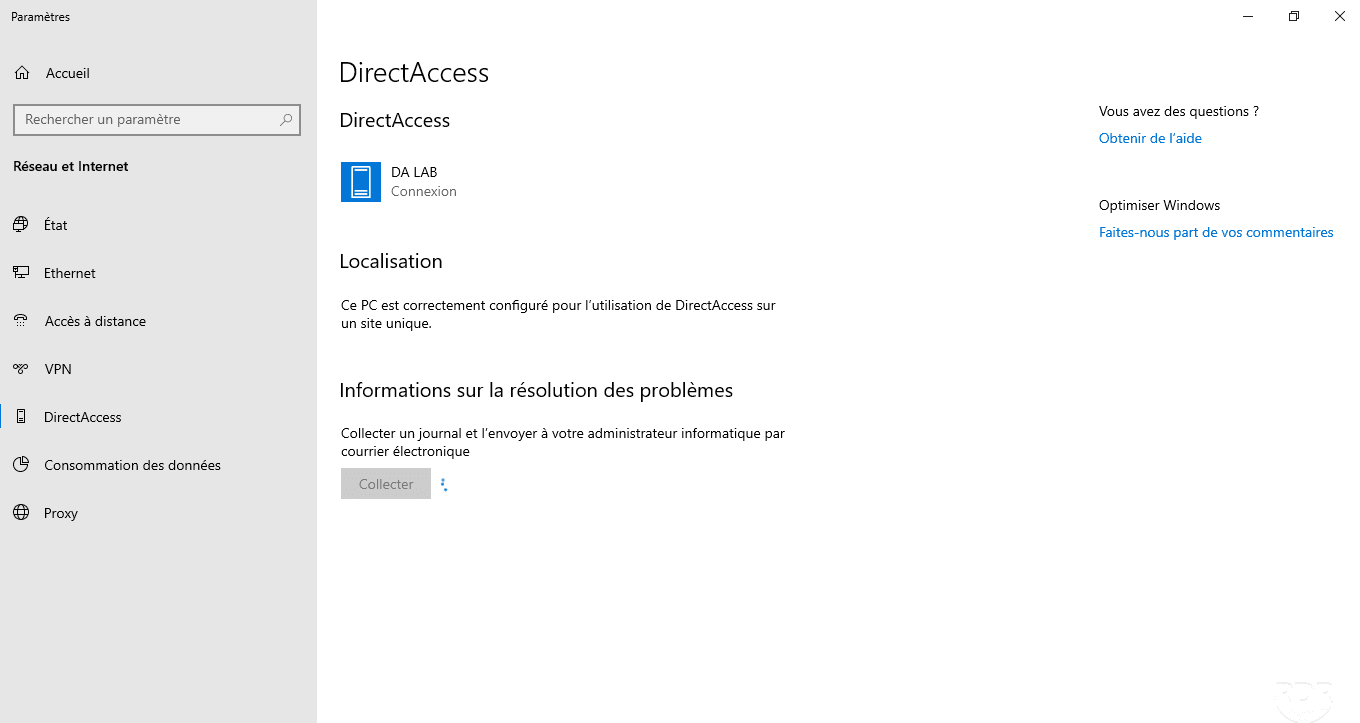
It is also possible to check the activation of DirectAccess in the Windows 10 connection settings with the addition of a DirectAccess section 1 .
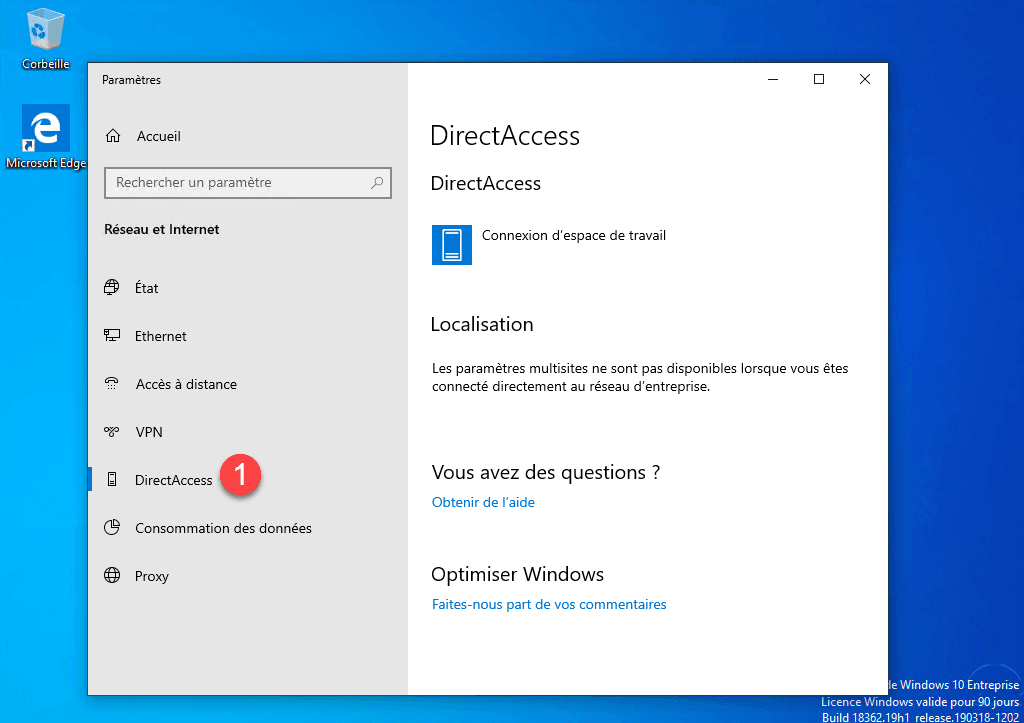
We can see on the screenshot above that we are located as being in the network of the company because the station can contact the probe.
If the DirectAccess section is unavailable, verify that the Network Connectivity Assistant (NcaSvc) service is started.
As a reminder, you must have an Enterprise version of Windows
Now place the computer outside the company network (Internet) and check that it connects …
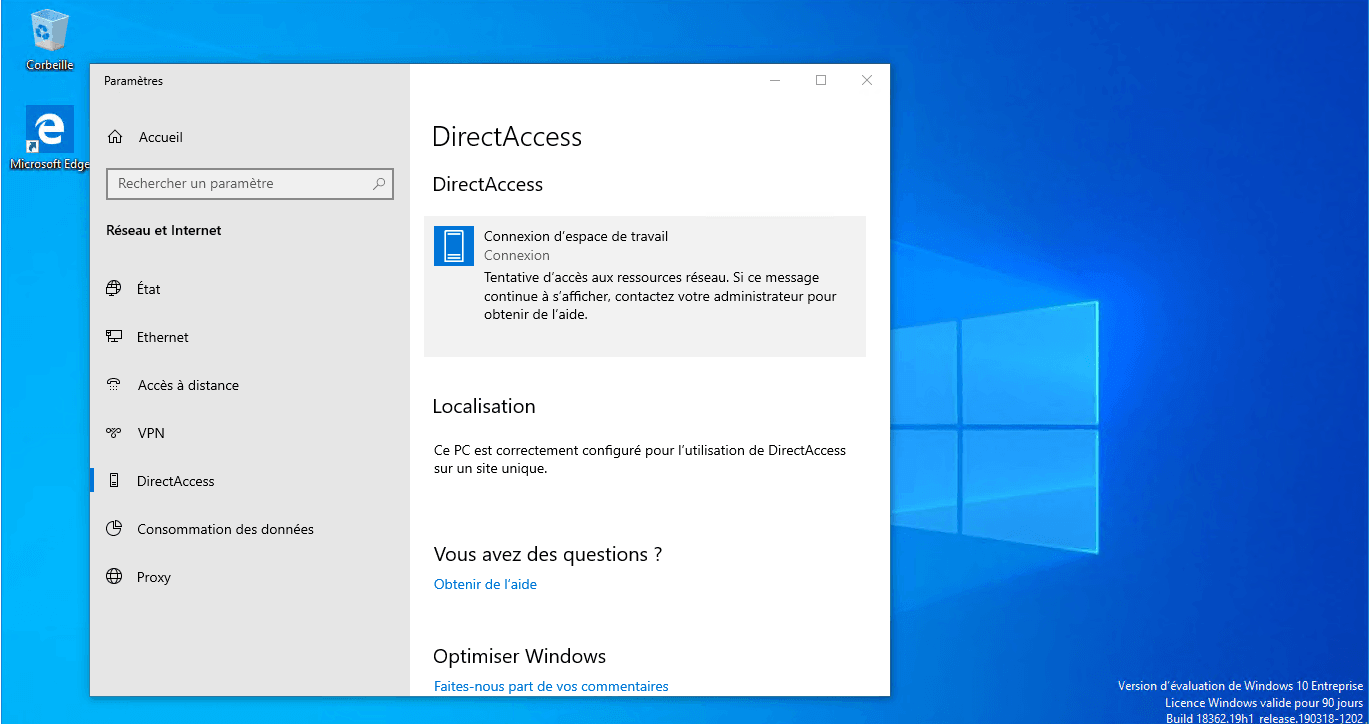
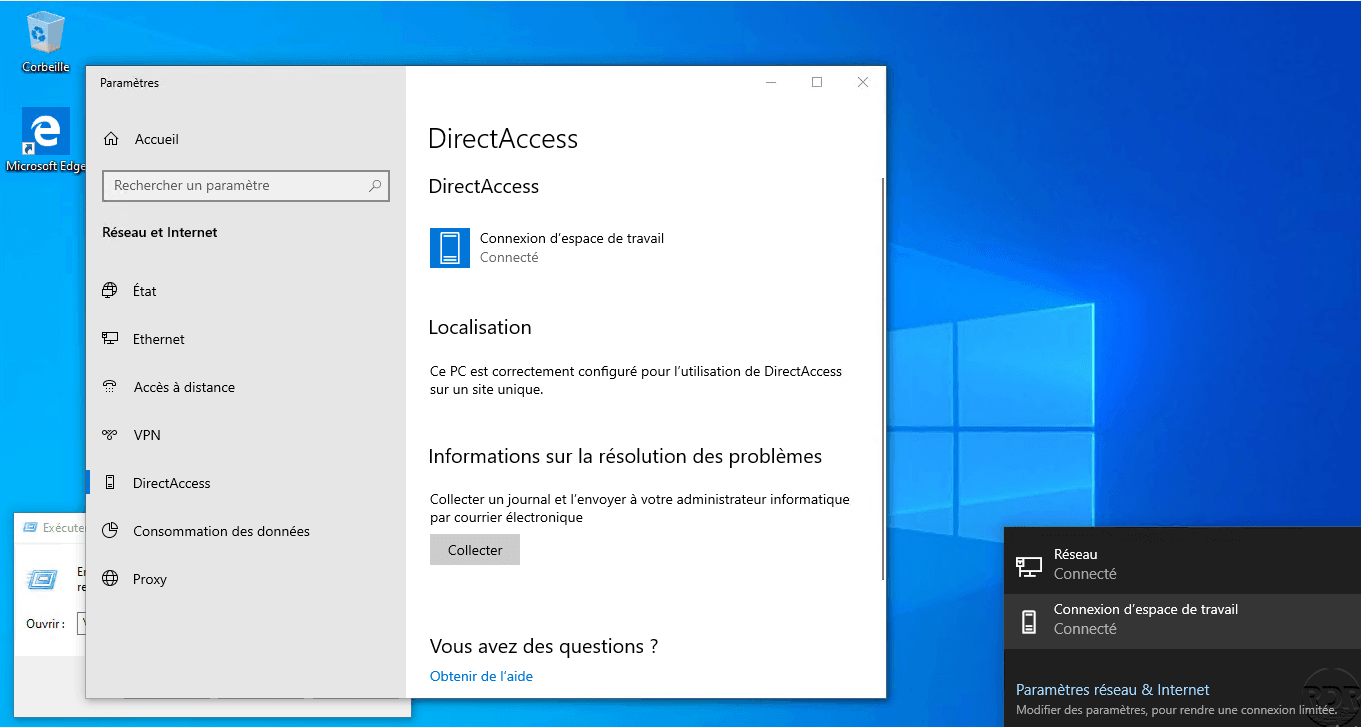
The computer is connected.
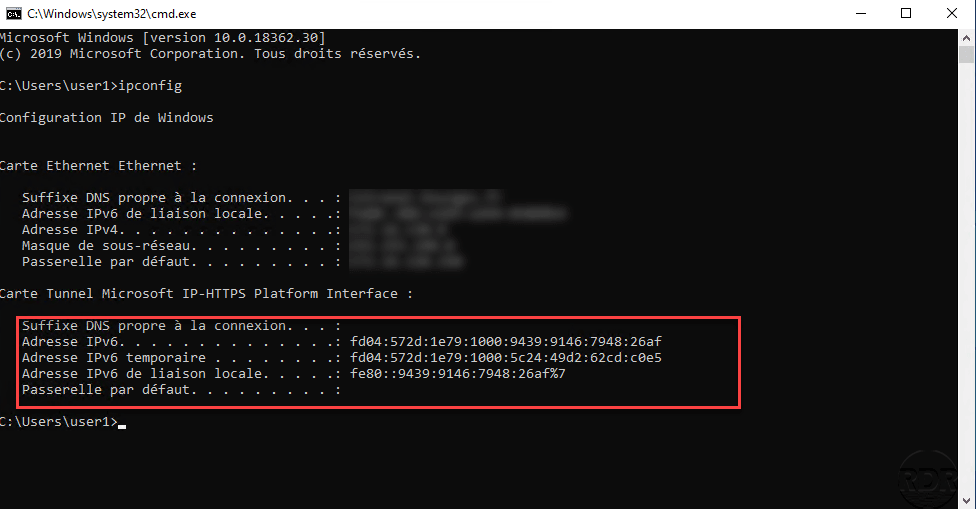
In a command window enter ipconfig to check the ipv6 address of the Microsoft IP-HTTPS Tunnel Card.
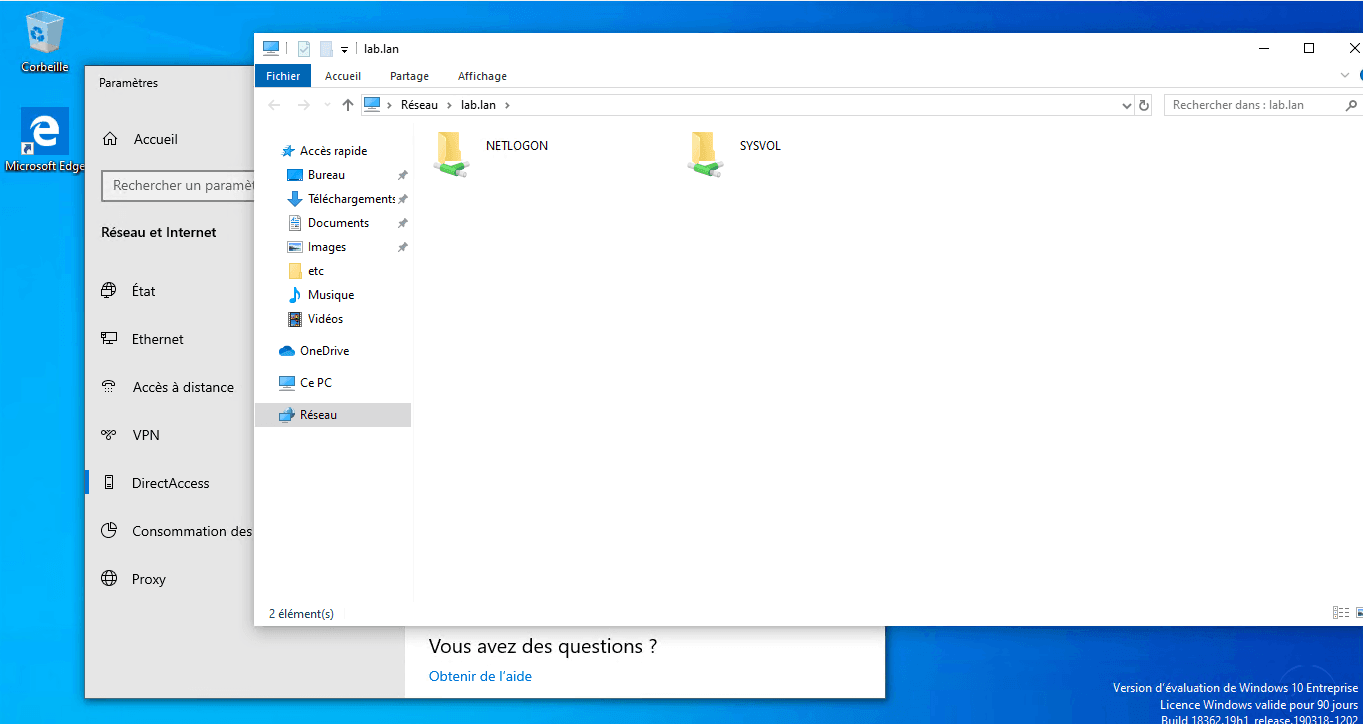
To validate the proper functioning, try to access a resource on the corporate network, in the screenshot below I access the domain controller by entering the Active Directory domain name.
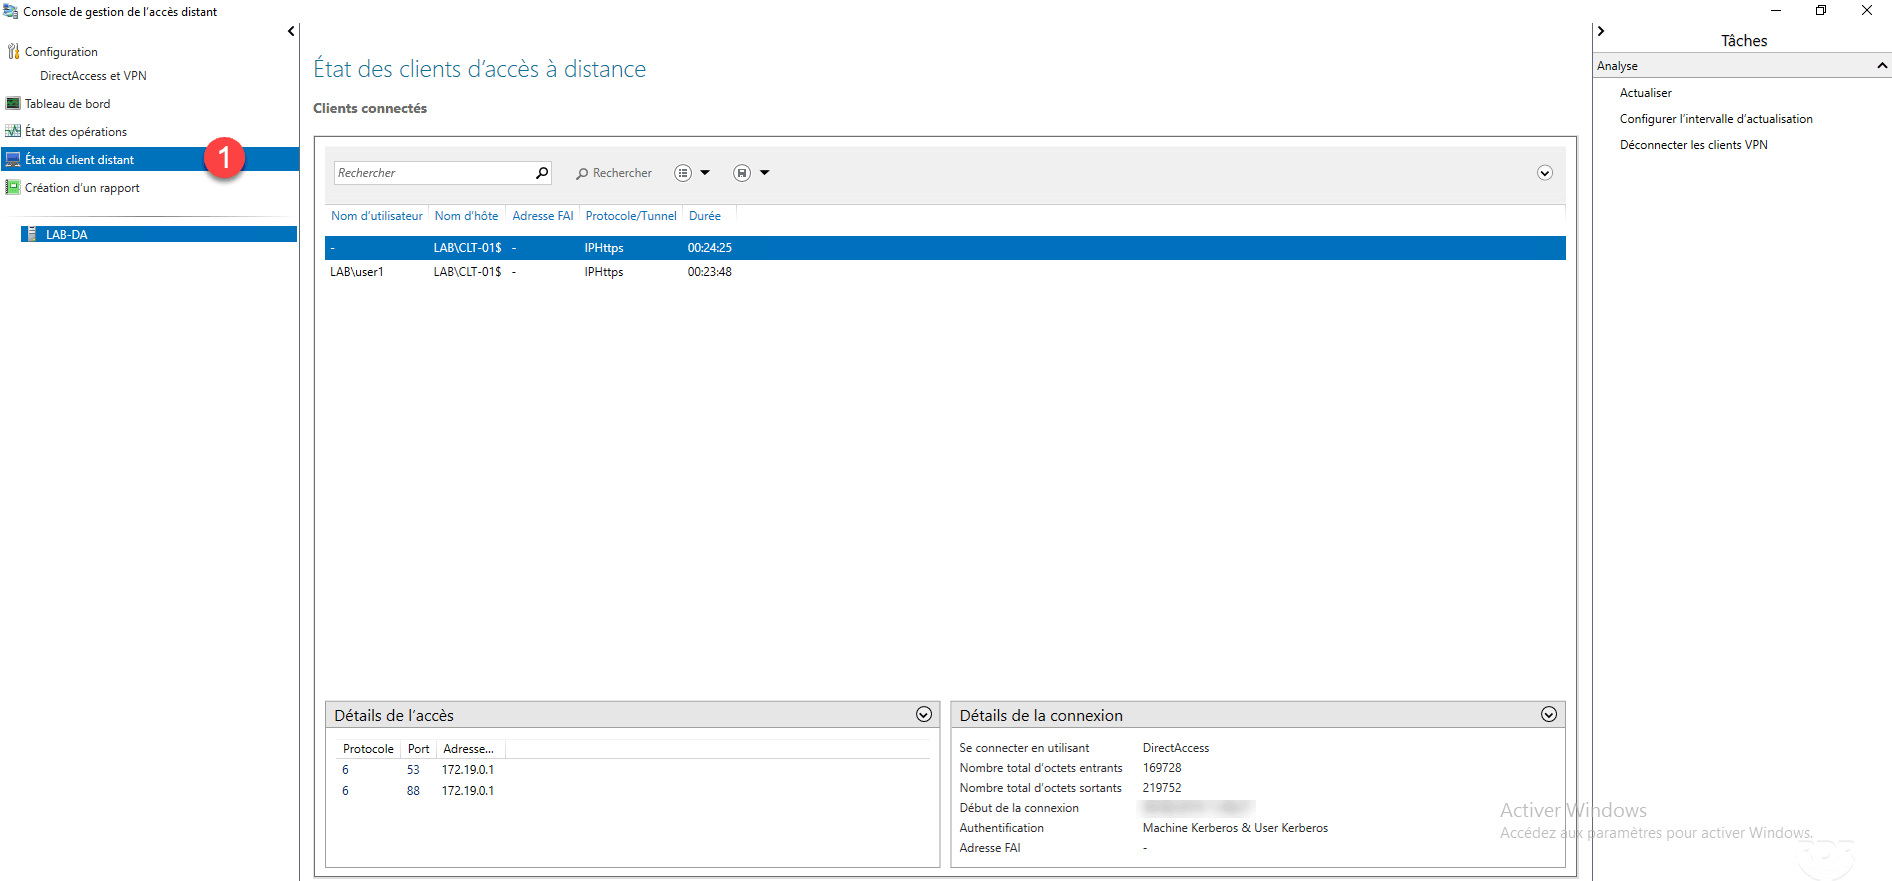
On the DirectAccess server on the Remote Access Management Console in Remote Client Status 1 , you can see the connected computer and user.
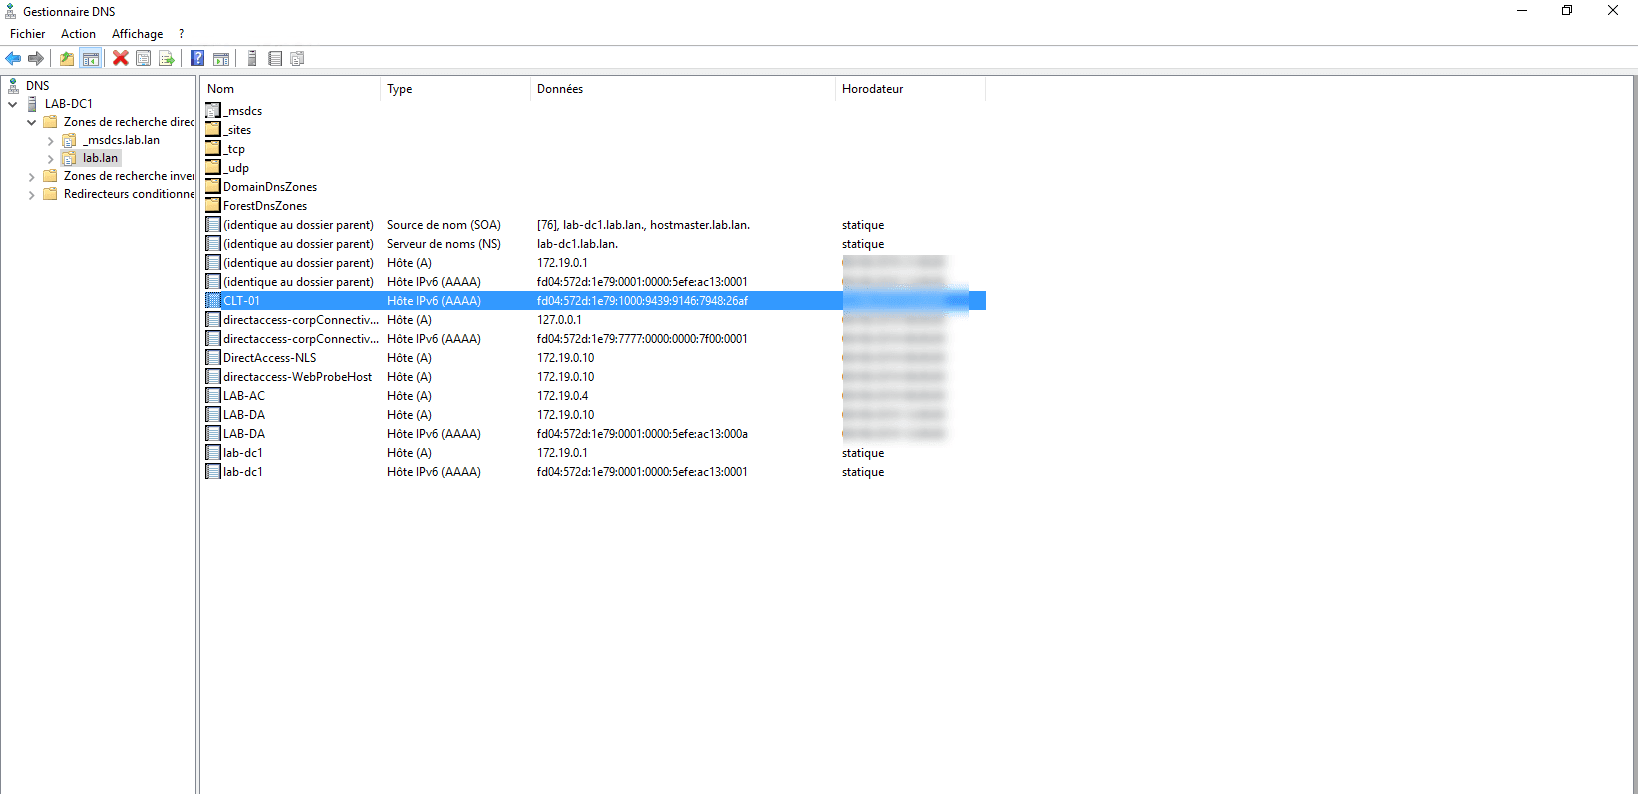
If we look at the DNS records on a domain controller, we find a record for the client connected with an IPv6.
Configure ISATAP to access clients
As we have seen, the DirectAccess connection uses IPv6 and at the moment it is impossible for computers and servers in the corporate network to access clients outside the network.
If you want to access from the inside to the outside, that is to the connected customers, you have to configure an IPv6 gateway, it can be convenient for the support teams to take control of a computer.
The ISATAP gateway will be the DirectAccess server, there are several ways to configure this gateway, in this tutorial we will see how to do it in PowerShell.
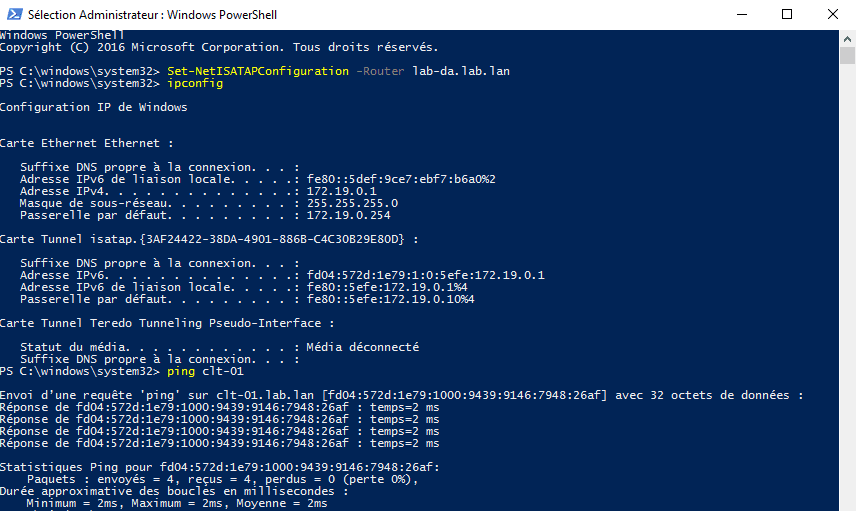
Open a PowerShell command prompt as an administrator and enter:
Set-NetISATAPConfiguration -Router <fqdn.server-directaccess.lan>The screenshot below shows the command above, then an ipconfig and a ping to the client connected by DirectAccess.
Client Troubleshooting
PowerShell Diagnostic Commands
Here is a helpful ordering list to help you diagnose problems.
View the client’s DirectAccess configuration:
Get-DAClientExperienceConfiguration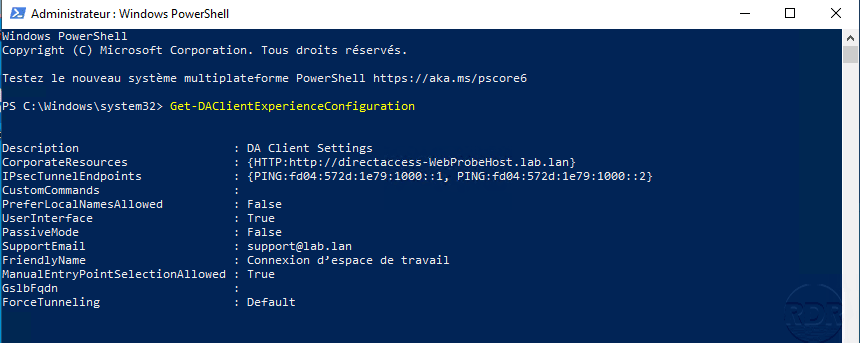
View the IP-HTTPS configuration:
Get-NetIPHttpsConfiguration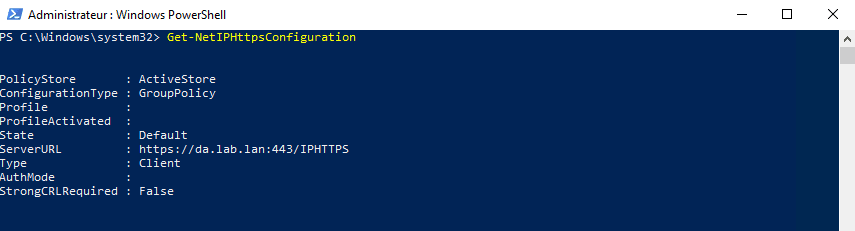
View the configuration of the connection patterns to determine the location.
Get-NCSIPolicyConfiguration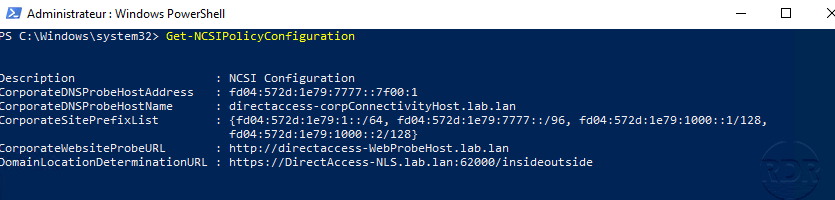
View the status of the connection:
Get-DAConnectionStatus
Enable collect
It is possible to collect information for troubleshooting by the DirectAccess client, by default the button is not available, it is necessary to configure an e-mail address in the service configuration. Below is a screenshot of the client without the information collection option.
On the DirectAccess Administration Interface click the Edit 1 button in step 1.

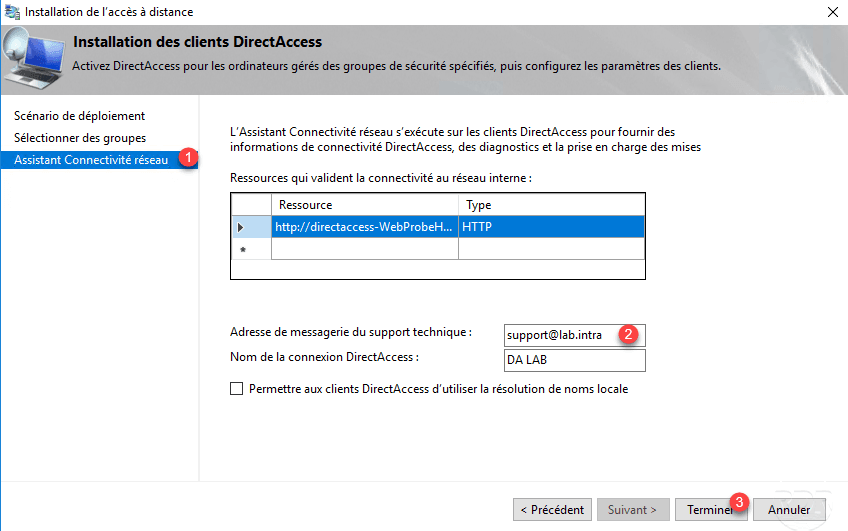
Go to the Network Connectivity Wizard part 1 , enter a 2 email address, and click Finish 3 .
Click Finish 1 to update the configuration group policies.
Computers must be able to update their group policies, if they are already connected by DirectAccess this will be done automatically otherwise they will have to return to the corporate network.
Changing some DirectAccess setting may force you to need to reconfigure the computers so that they can log in again as the authentication mode switch.
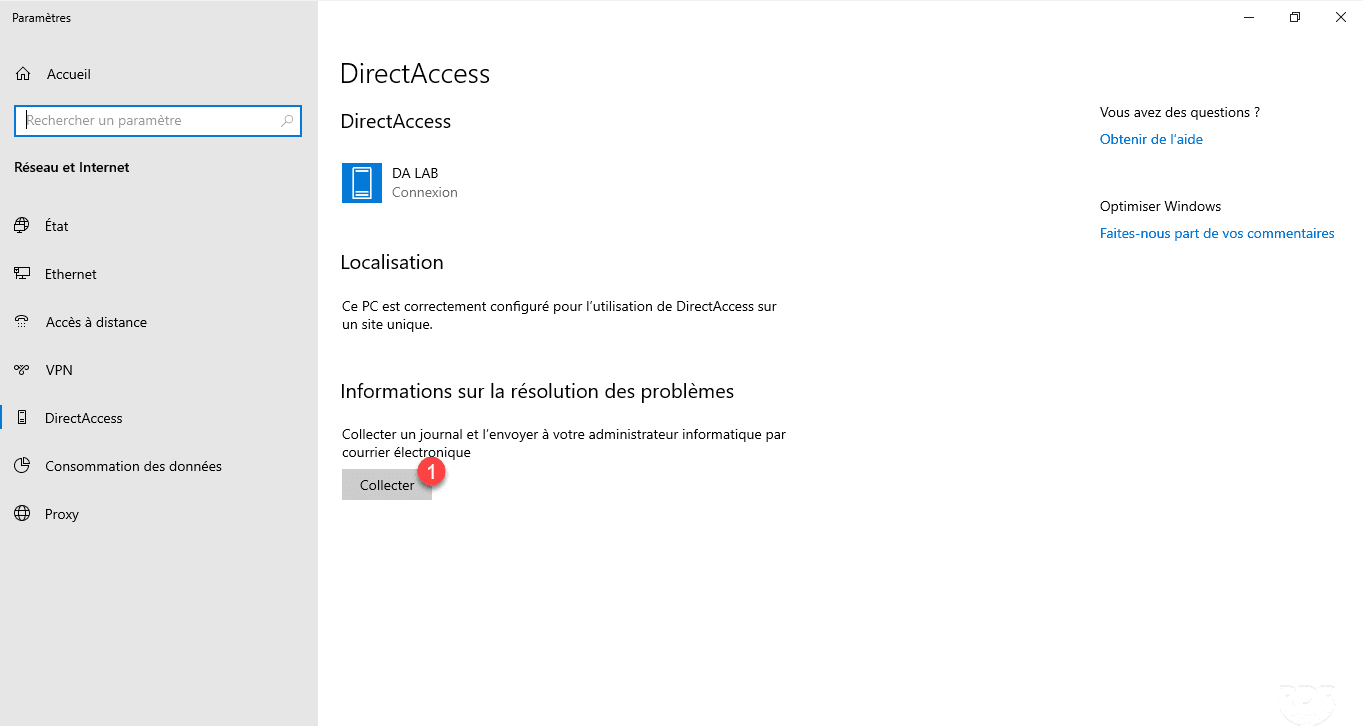
On a client computer, click Collect 1 .
Wait …
At the end of the collection, if an email client is installed (Outlook) it opens to send the information otherwise a message appears indicating that no client is available.
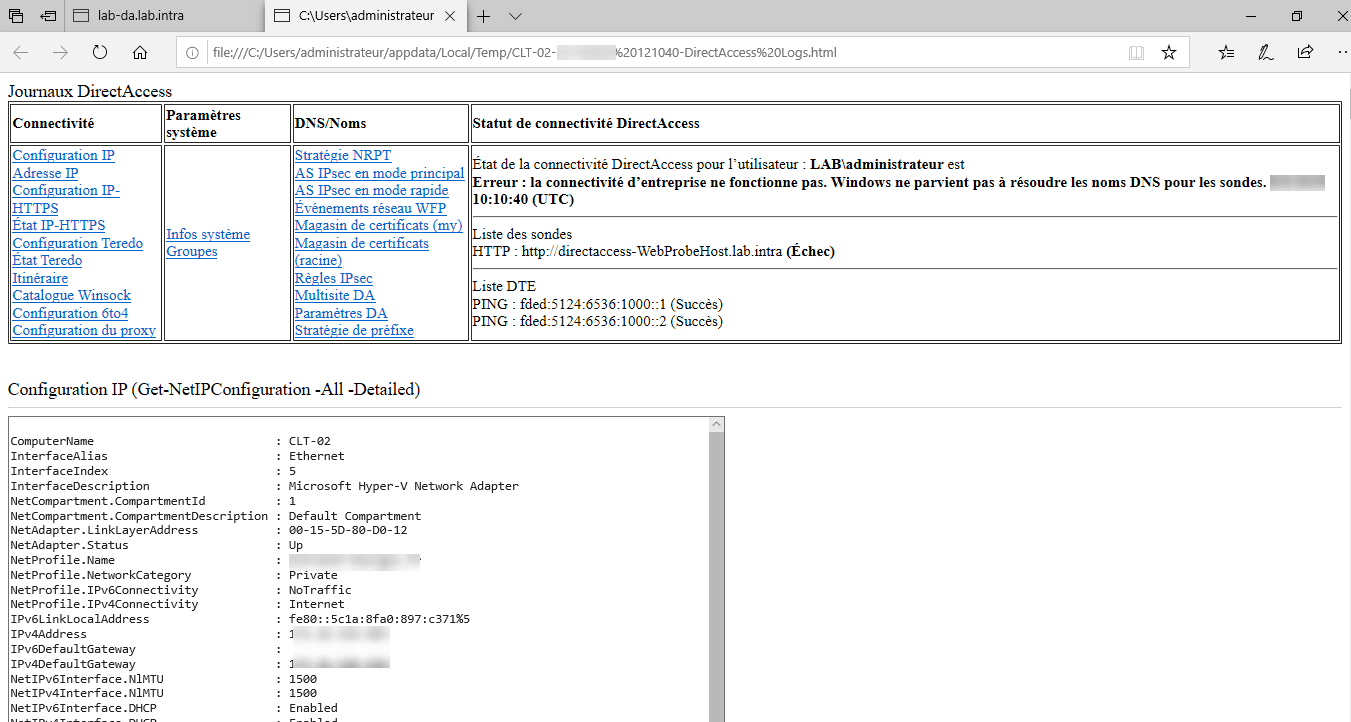
To view the diagnosis, go to the following location: C: \ Users \% USERNAME% \ AppData \ Local \ Temp 1 . In this folder must be an HTML file 2 containing the result.
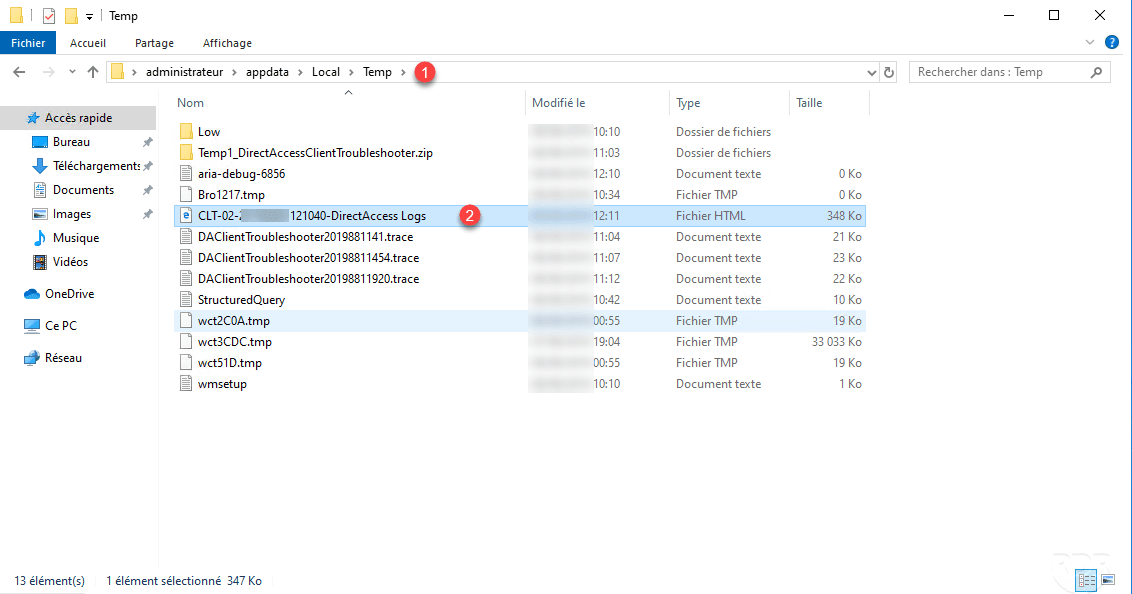
The file contains all the information about network configuration and failed items.
Authentication of computers by certificate
To increase security, it is possible to use Computer Certificates. To enable this feature, it is necessary to have a configured enterprise certification authority.
Configuring this option after deployment may prevent computers from connecting if they do not have a certificate.
From the Remote Access Management Console in the DirectAccess configuration, click the Edit 1 button in step 2.
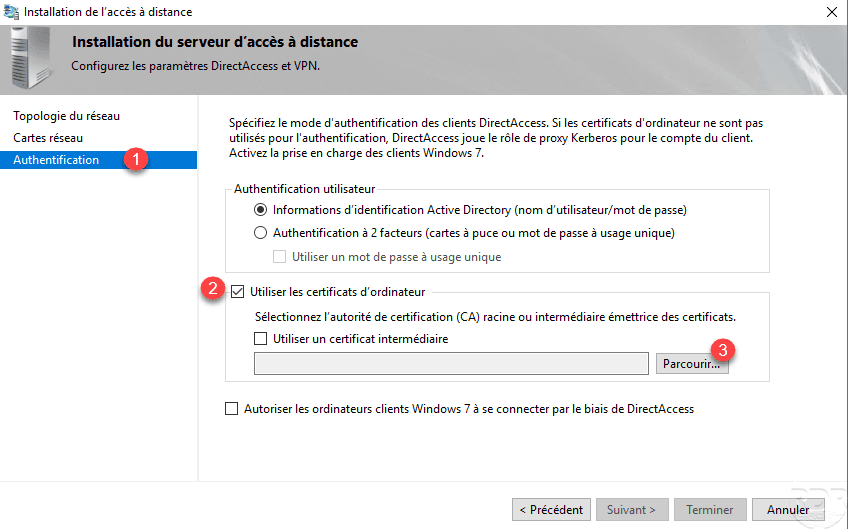
Go to Authentication 1 , check the Use Computer Certificates 2 box and click on the 3 Browse button.
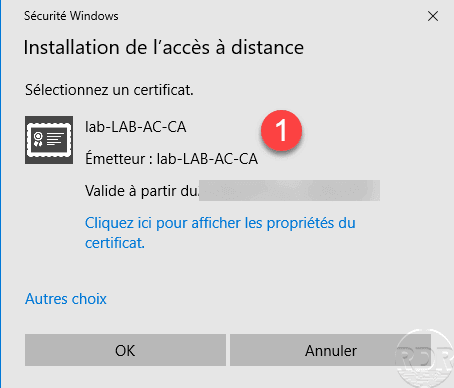
Select the certificate authority 1 .
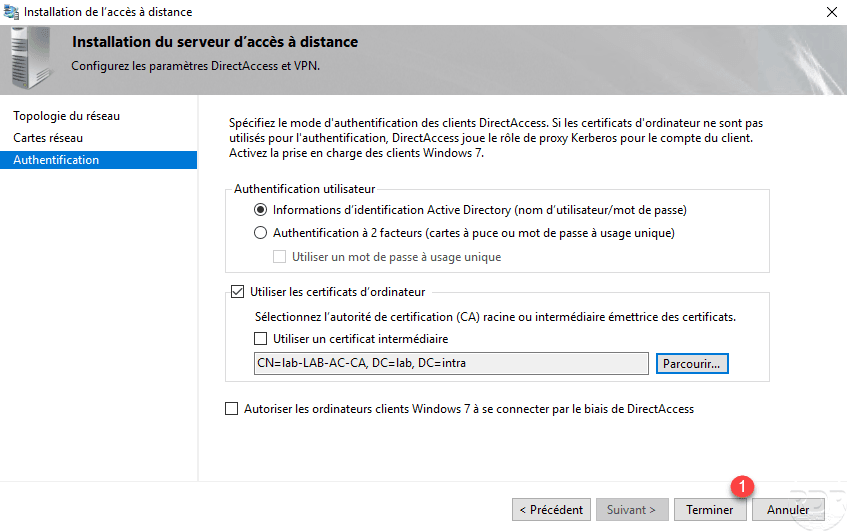
Click on Finish 1 to validate the configuration.
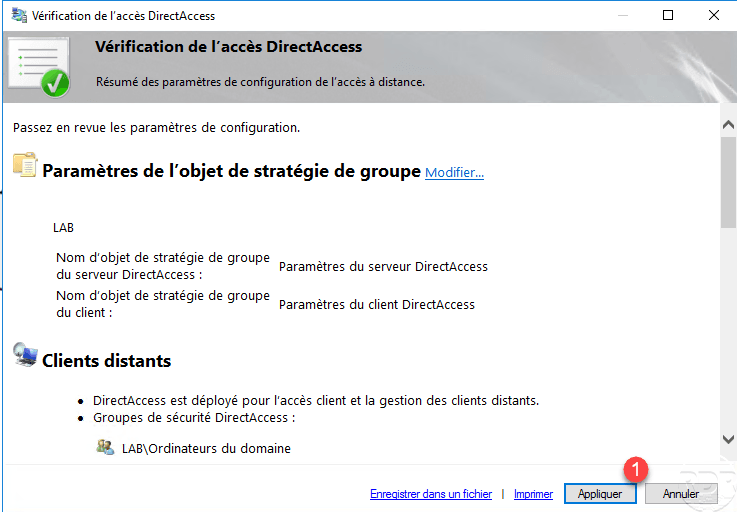
Click Finish 1 to apply the configuration to DirectAccess.

Click on Apply 1 .
Once the configuration is applied, exit the window by clicking Close 1 .